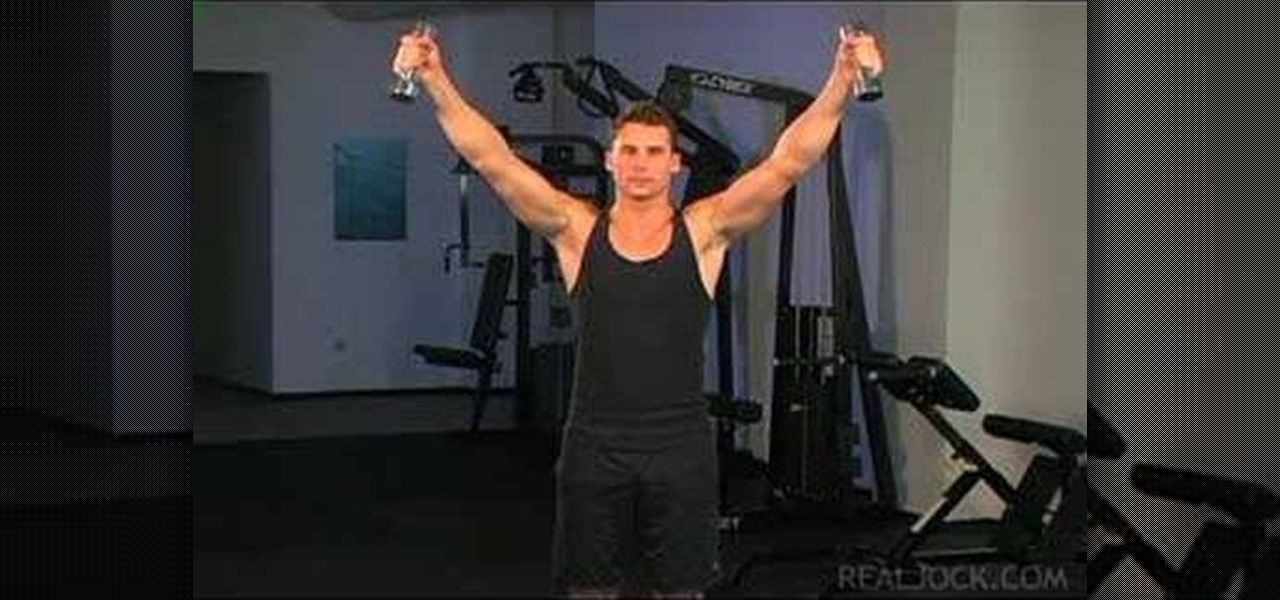
How To: Do dumbbell 45-degree angle raises
Learn how to do dumbbell 45-degree angle raises. Presented by Real Jock Gay Fitness Health & Life. Benefits


Learn how to do dumbbell 45-degree angle raises. Presented by Real Jock Gay Fitness Health & Life. Benefits
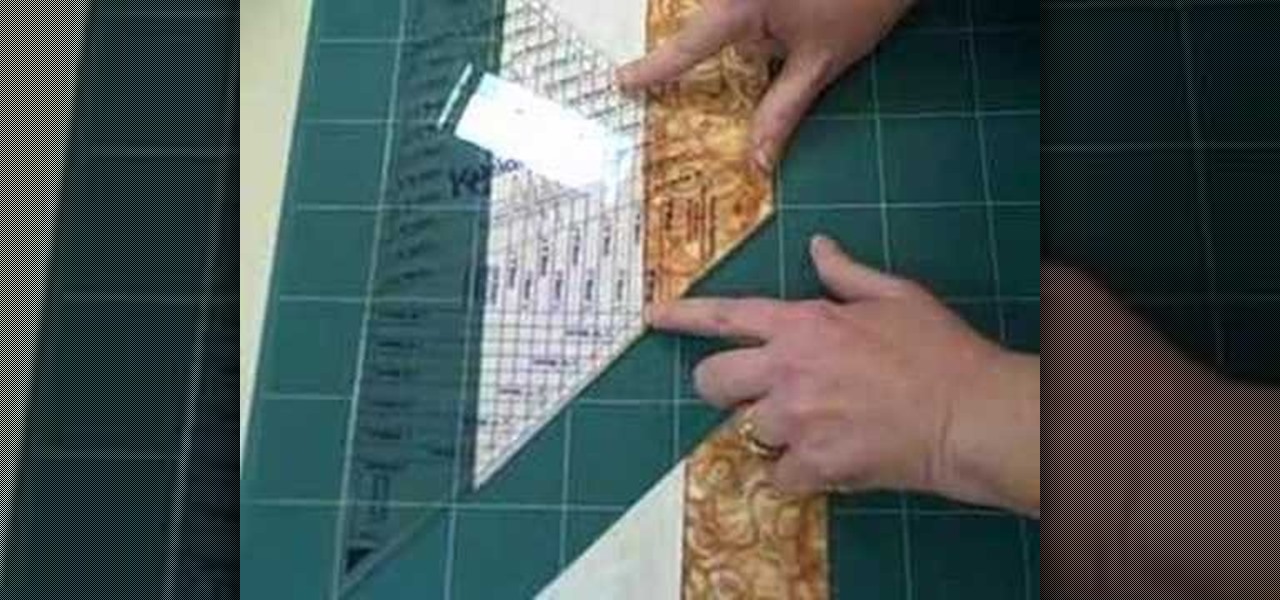
Watch this short quilting video to cut a 45 degree angle precisely. When sewing quilts with large triangle patterns, cutting your fabrics precisely can be vital to the geometric vitality of your quilt. Follow these instructions to keep your colonial quilt from drifting off center.
This video will show you how to make a glass stand at a 45 degree angle. Make a glass stand at a 45 degree angle.
This pool shooting tutorial illustrates the 90 degree rule, which states that when the cue ball hits the object ball straight, the two balls will separate at 90 degrees. This is true regardless of the "cut angle," or angle the balls are apart from each other. Use the 90 degree rule with cut angles in pool.
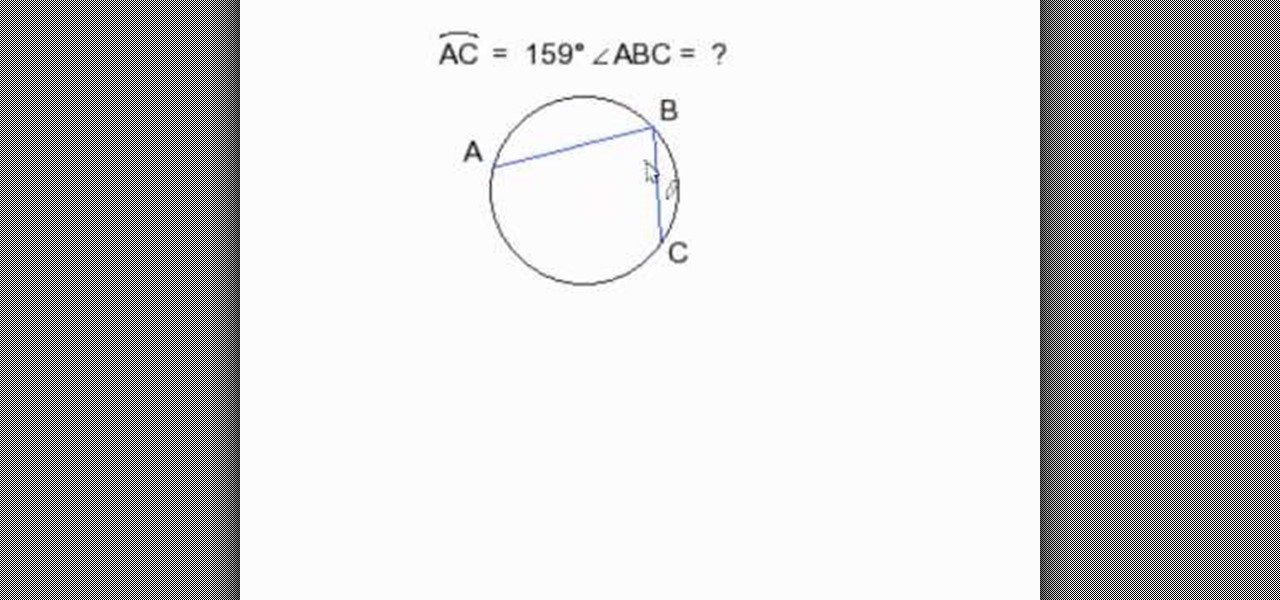
In this tutorial the instructor shows how to find an inscribed angle when its corresponding arc degree is given. He shows how to do this with the help of an example. He states that the angle of arc degree is always twice the angle of its corresponding inscribed angle. So now to find out the angle of the inscribed angle we just need to divide the corresponding arc degree by two. In this video the instructor shows a simple way to find the inscribed angle when its corresponding arc degree is given.
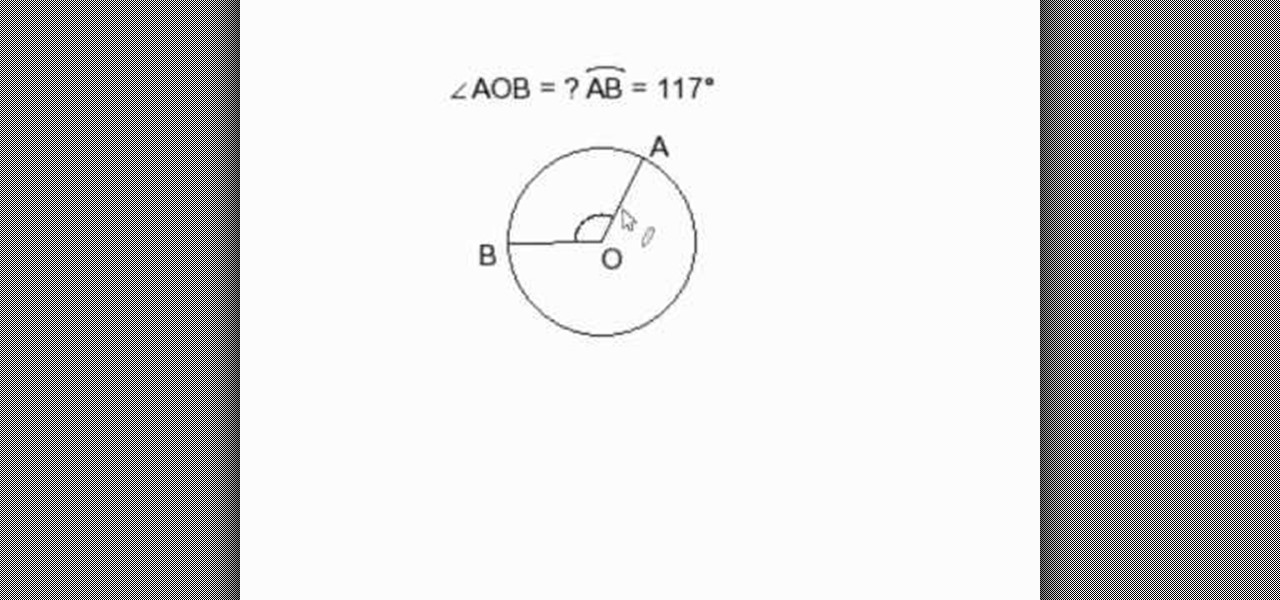
In this video the author shows us how to find the measure of a central angle when its corresponding arc degree is given. He shows how to solve this kind of problem by solving an example. He states the central angel made by the arc is nothing but the given arc degree and states that both are one and the same. The author in this video gives a quick example of what a central angle is and its relation to the arc degree.

This video instructs you on how to draw angles in geometry. The instructor begins by showing you 4 example angles you can create. He then draws a straight line that can be linked to any of the other four angles. The first example of an angle shown is 180 degrees. He draws a line at 50 degrees and then he continues to draw a 90 degree angle. The instructor varies whether he uses the left or right side of the protractor. He ended by noting some angles will be larger than the protractor.
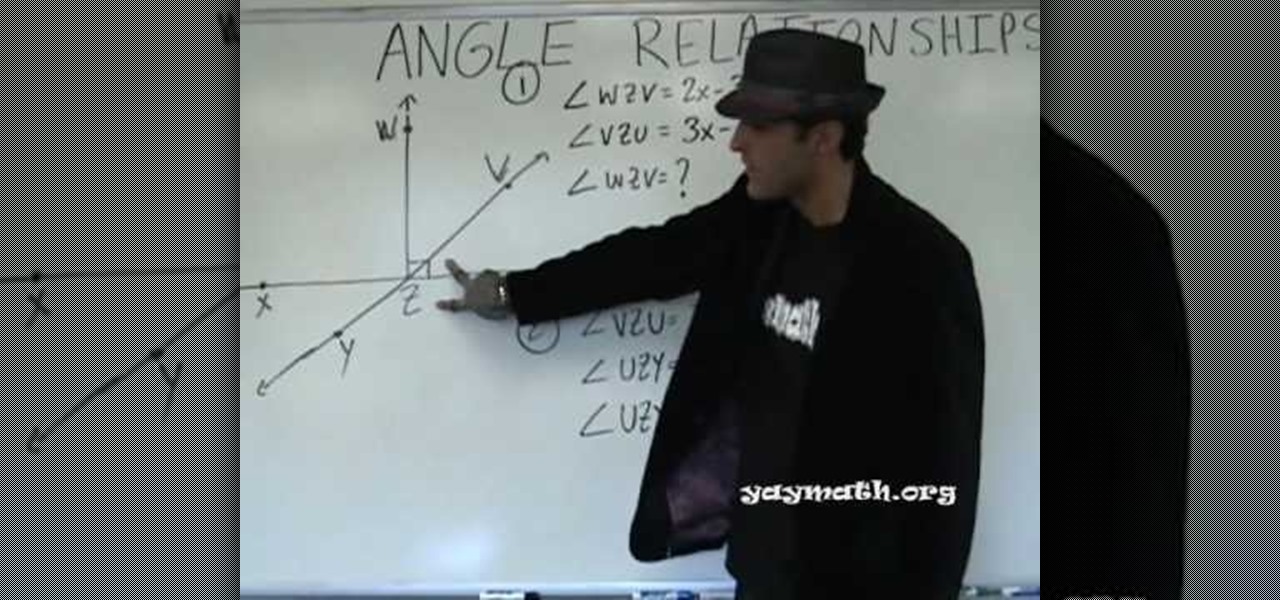
In this tutorial, we learn how to understand angle relationships. Start out by drawing an angle out and looking at the different parts of it. From here, you will start to find where the different angles are. Linear pairs equal 180 degrees and are on a straight line. Once you learn this, you can write them out on the paper. Supplementary angles equal 180 degrees as well. Two angles that add up to 90 degrees are complimentary angles. Once you learn the relationships between angles, you can bett...
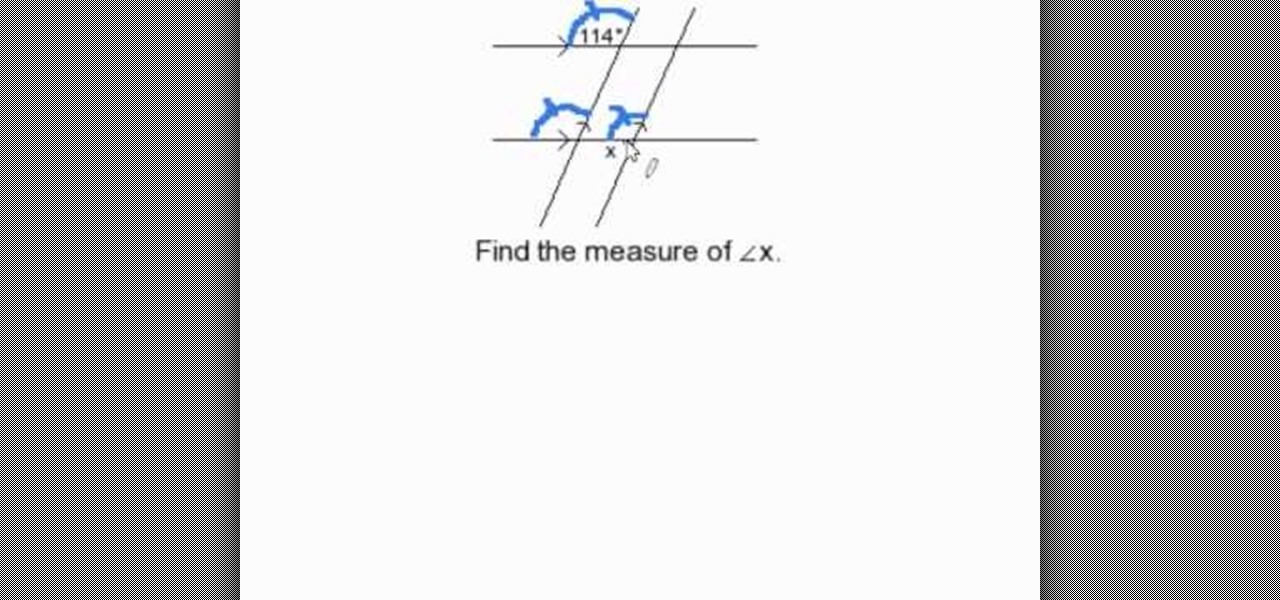
Consider two pairs of parallel lines, one pair horizontally and another is inclined from vertical position. If one of the four angles is given, then the other three angles can be easily identified. First select the angle which is down to the known angle, it will be same as first one. Then according to the law, that a straight lines consists of 180 degrees. For example if the known angle is 114 degrees, the unknown angle will be 180-114= 56 degrees.
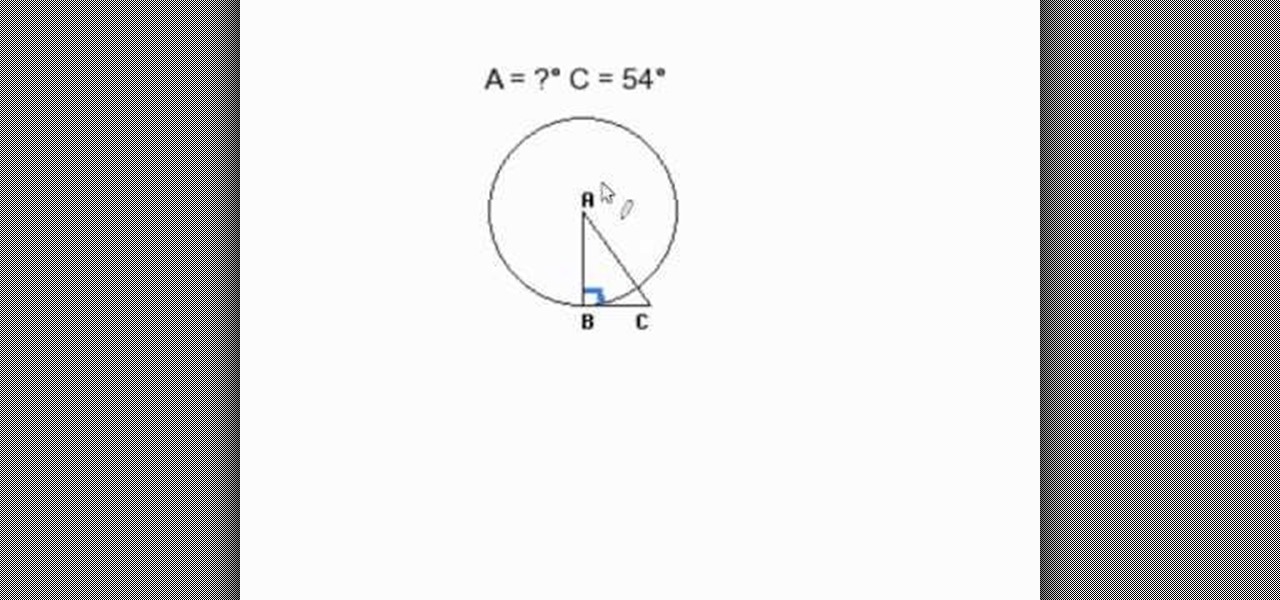
mathproblemgenerator.com provides a video about how to find a central angle with a given radius and a tangent. The angle at the intersection of the radius and the tangent is equal to 90 degrees. The second angle is also given in the problem. So the central angle is equal to 180 minus (90 plus the other angle given). In the video, the given angle is 54 degrees, making the equation = 180 - (90 + 54). Therefore the central angle is equal to 36.
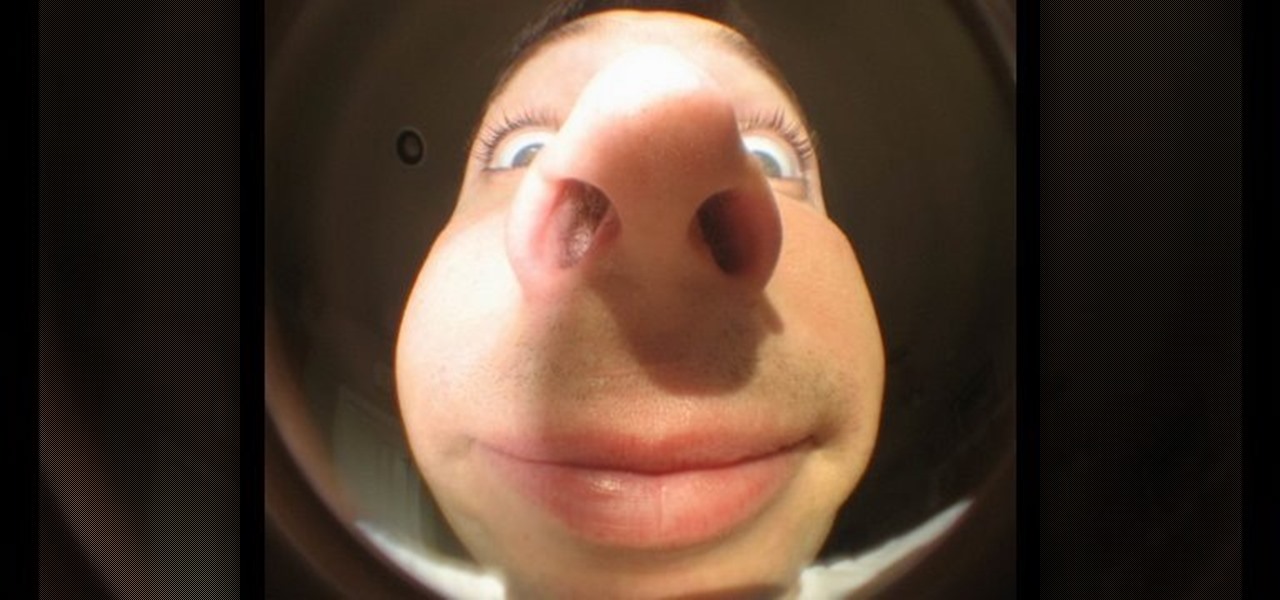
Get wide-angle and fish-eye effect for about $5 with this DIY lens attachment. Expands your camera's viewing angle up to 200 degrees. Great for tight-quarters indoor shots, stunning landscapes, and funny fish-eye photos. Amazing results. For use on photo and video cameras.
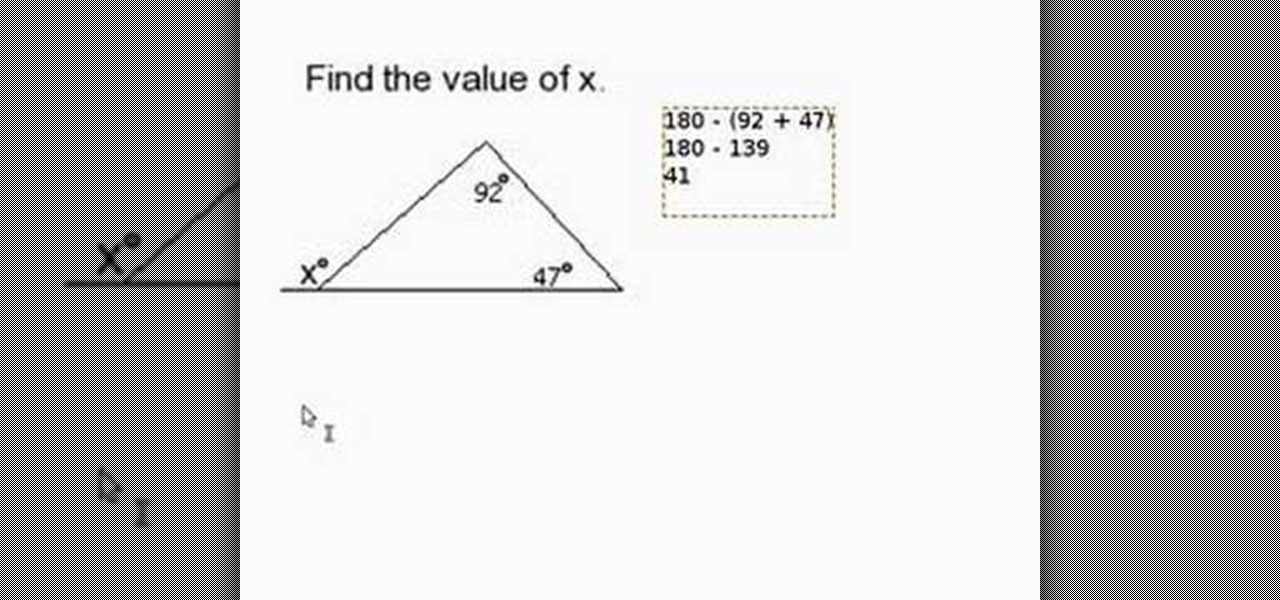
For people who are having problems with certain parts of geometry, this video will offer you advice on how to find a missing angle on the outside of a triangle when you are provided with the measurements of the other two angles in the triangle. Since the sum of the angles in a triangle is always 180 degrees, you should first take the sum of the other two angles and then subtract this from 180 in order to find the measurement of the missing angle in the triangle. Next, since there are also 180...
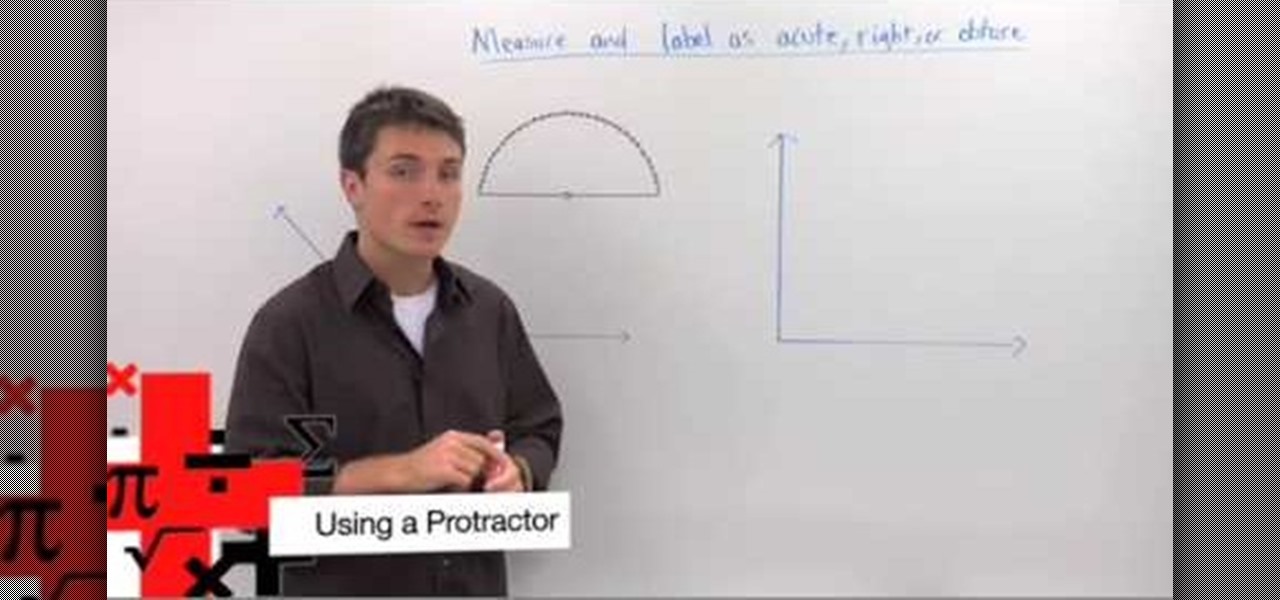
This video in the Education category will show you how to use a protractor to measure an angle. This video is from Brightstorm. In Geometry it is important to know how to measure an angle. This is a very simple and easy process. In order to measure an angle, you will need a protractor. Every protractor has a base and a center point marked on the base. You will put the center point on the vertex of the angle. Then align the base line of the protractor perfectly on one side of the angle. Now ch...

Taylor Erkkinen, co-owner of the Brooklyn Kitchen, shows how to properly hone a knife Hold a butcher steel vertically. Place it on a towel on a flat surface in order to anchor and hold it in place. Most knifes are sharpened to 20 degrees. To find this angle, hold the knife perpendicularly to the butcher steel--this is 90 degrees. Reducing to half that angle is 45 degrees, and half of that angle is 22 degrees. Pass the knife equally on each side of the butcher steel, making sure you run all th...
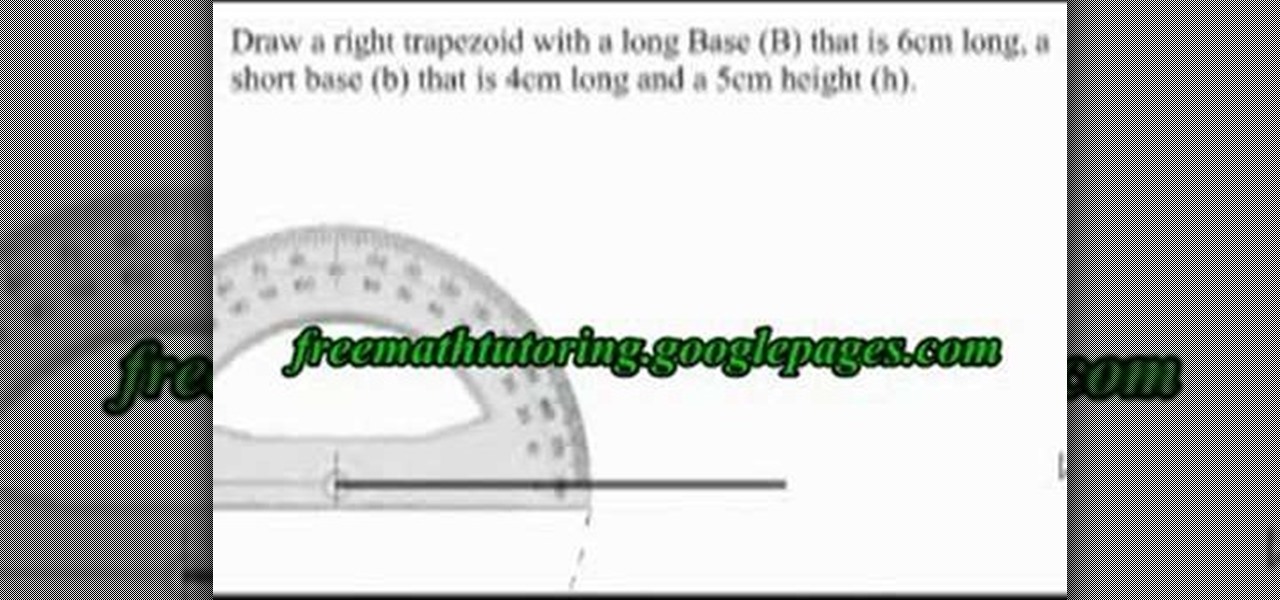
Watch this video to learn how to draw a right trapezoid using given specifications for lengths of sides. A right trapezoid is a four-sided shape with two right angles and two parallel sides. First, draw the long base. Then draw a 90 degree angle at one end of the base, using a protractor. Mark the angle to show it is 90 degrees. Then draw another 90 degree angle at the top. This is the first video in a set--to finish learning you must watch the next segment. If you watch these videos you will...
Check out this instructional hockey video that demonstrates the beginning concepts of skating. Learn how to do inside outside edges. Ice skating for hockey requires skills like mastering inside outside edges. Learn hockey skills and moves in this sports video on how to play hockey.
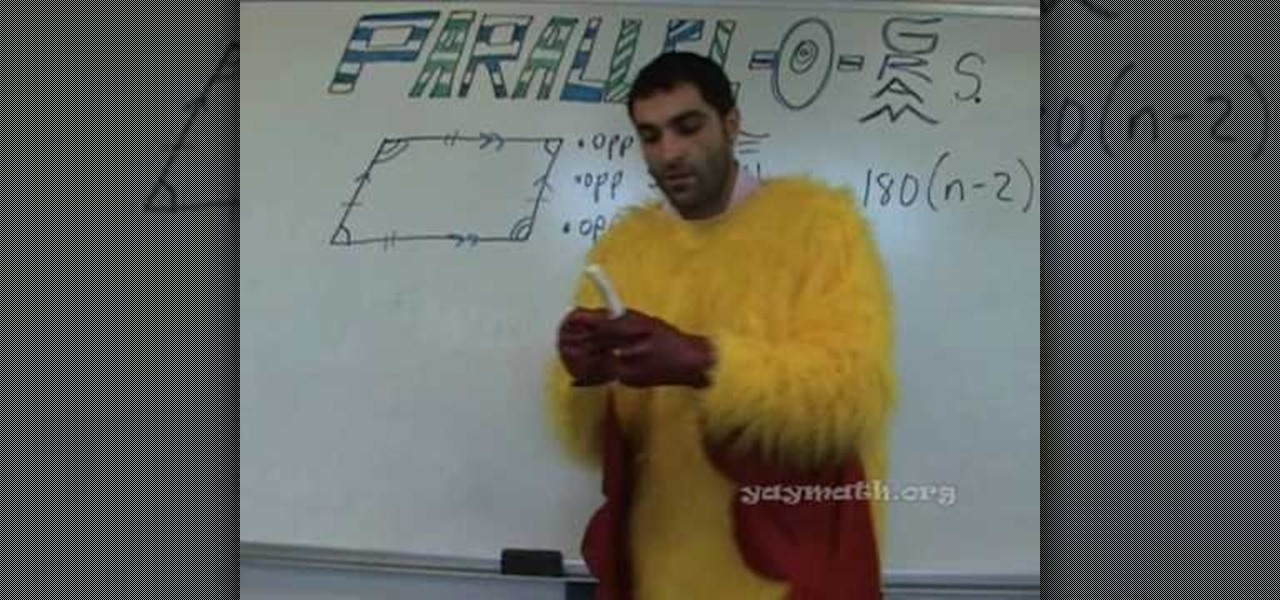
This video helps us understand parallelograms and its properties. The video starts with the description of the basic properties of a parallelogram. The parallelogram is a four sided shape which has the sum of all four interior angles equal to 360 degrees. The opposite sides of a parallelogram are equal and parallel. Then the video talks about the angles in the parallelogram. The parallelogram has a lot of symmetry. This makes the opposite angles of a parallelogram equal. The same side angles ...
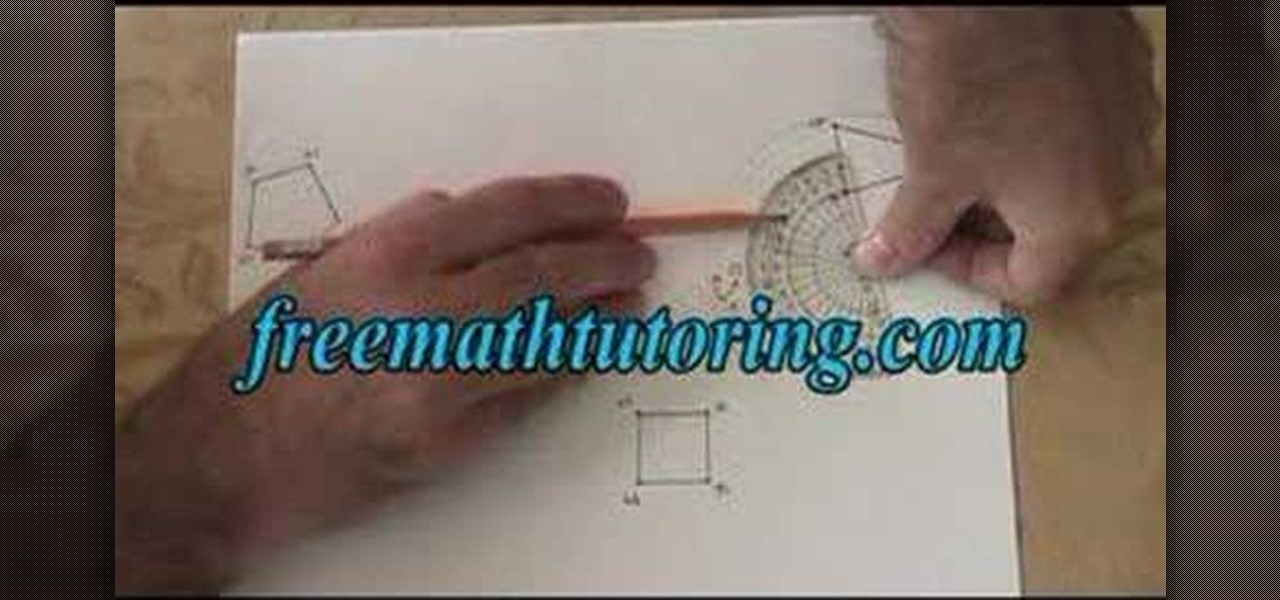
Learn how to do a rotation in geometry with this video! First step is to pout the pencil into the compass. Adjusting the pencil and compass needle is same. Suppose you want 165 degree size circle. Measure the reading with compass in protractor. Note the point and adjust the compass. After place the sharp end of the compass at the point and rotate the compass the circle will enabled. Next use protractor. We see 75 degree acute angle. Place the protractor on the line and mark the reading we wan...
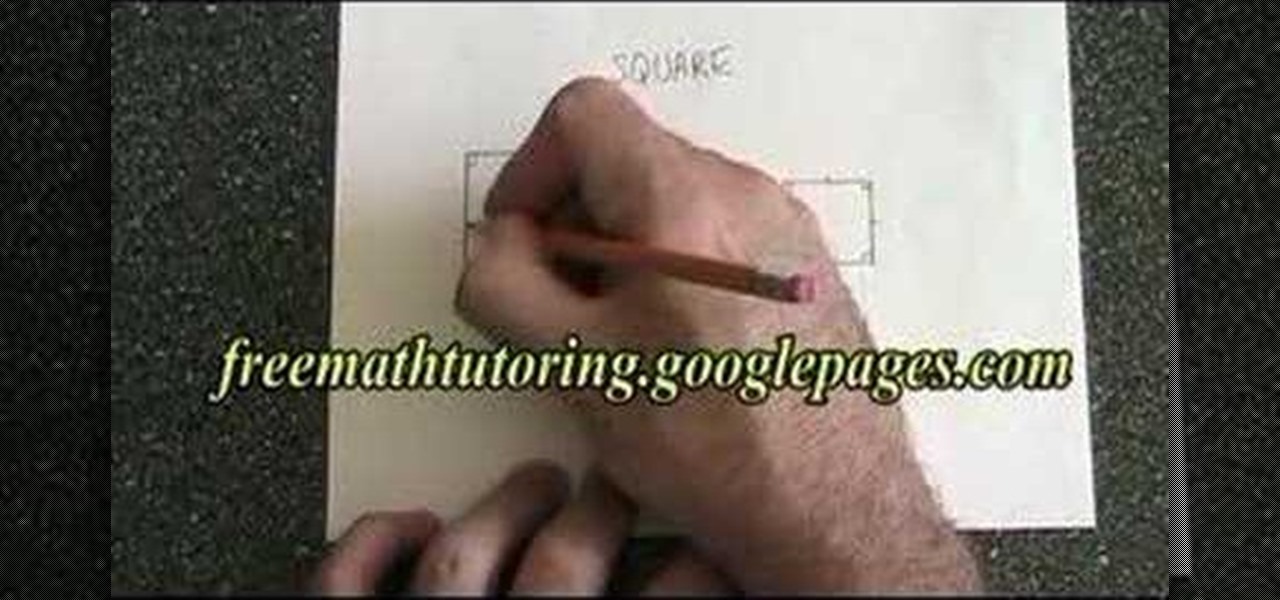
In this tutorial, we learn how to understand the properties of a square in Geometry. The four angles on the inside of a square have to be right angles. All but be 90 degrees and add up to 360. A square has four equal sides, which you can notate with lines on the sides. The diagonals of the square cross each other at right angles, so all four angles are also 360 degrees. Diagonals have to be equal in length to each other as well. Once you better understand this, you will be able to learn more ...
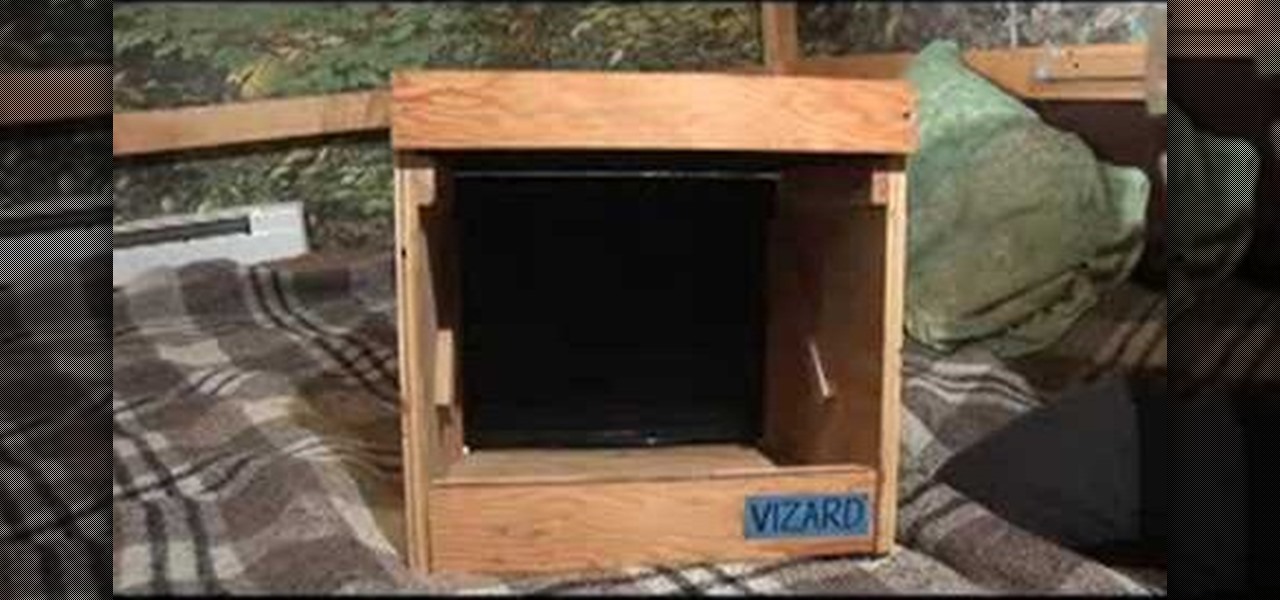
Want a great, inexpensive, 3D movie experience in your bedroom (and have an aversion to the perennial red/blue anaglyphic glasses)? Sean Hellfritsch from Encyclopedia Pictura shows how to make the Vizard, a home 3-D viewing station. This podcast from Wired Magazine is a creative and whimsical hack with both modern and nostalgic technology perfect for watching a flip book style movie in 3D. The Vizard is a polarized stereoscopic display. It's not a red or cyan filter. LED has a natural polariz...

In this tutorial, we learn how to find the North Star. To find this, measure the angle distances on the sky, while using your hand stretched out at arm's length. For the angles, three joined fingers make 5 degrees and a fist makes 10 degrees. You can make 15 to 20 degrees using your entire hand. Polaris is in the center of the sky, but it is not the brightest star there is. If you can find the Big Dipper, you will be able to find the North Star because it's in line with this. By using this te...
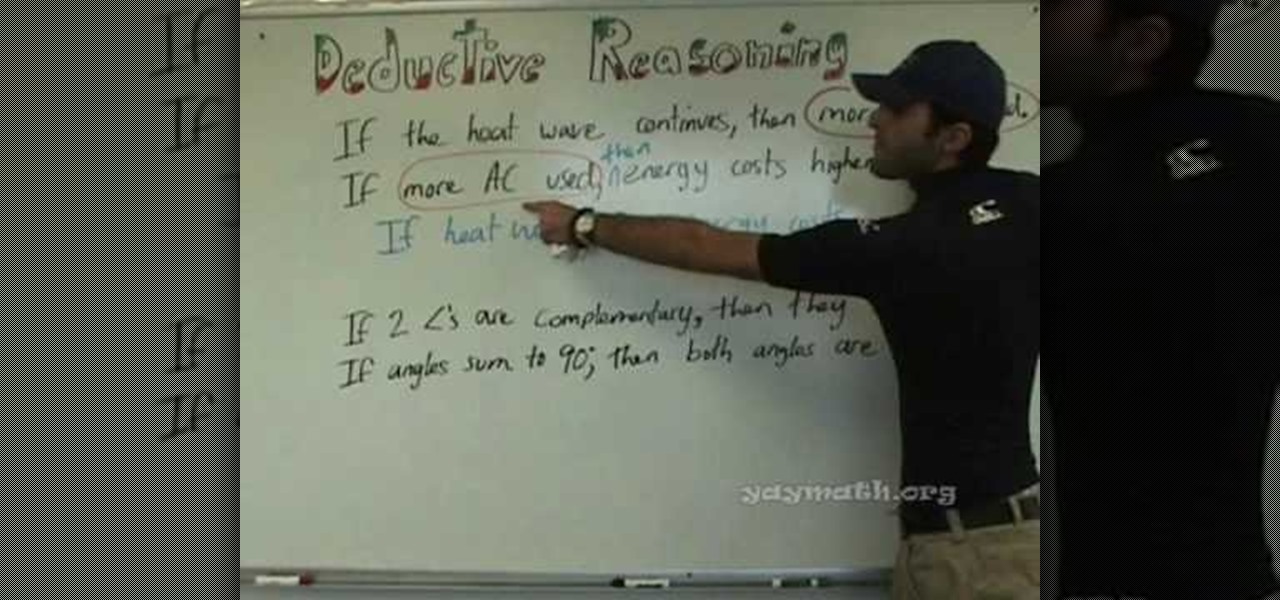
In this video, Robert Ahdoot becomes "surfer dude" and shows us the ways of deductive reasoning, as relating to geometry. He begins with a simple example of a syllogism, taking two premises and using them to form a conclusion. This is called the Law of Syllogism. This concept is then used for geometric statements. If two angles are complementary, they sum to 90 degrees. If two angles sum to 90 degrees, then they are acute. By the law taught, it can be said that if two angles are complementary...
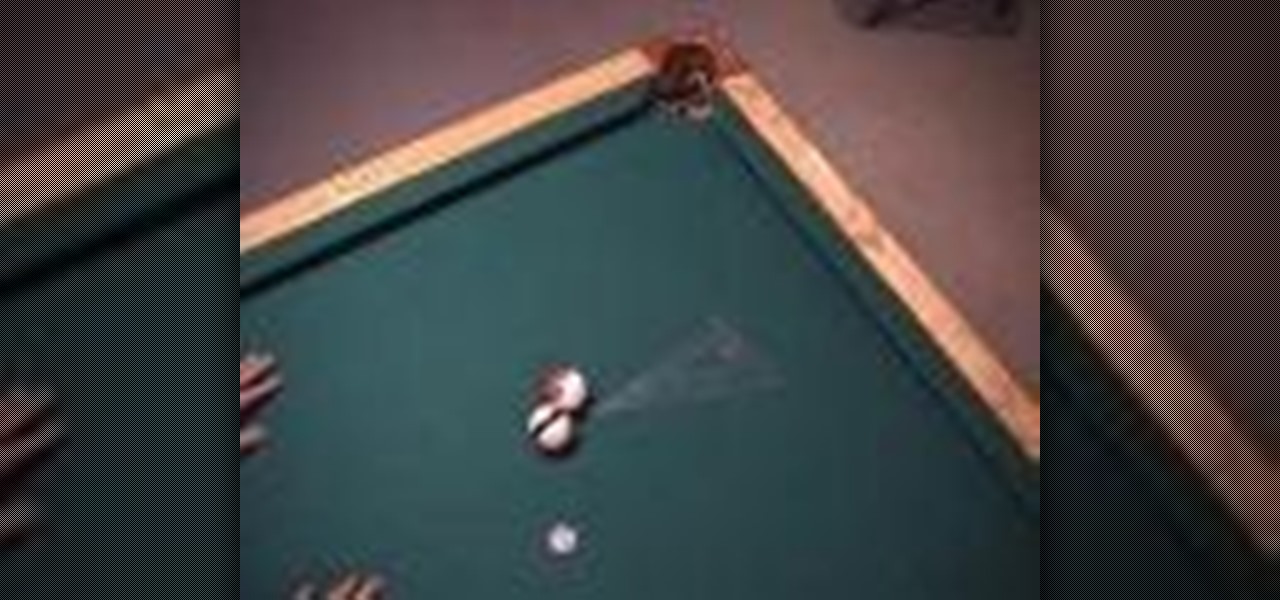
Similar to the 90 degree rule, the 30 degree rule is demonstrated in this video. Your two forefingers in a V-shape are the best tools to use for visualizing this angle.
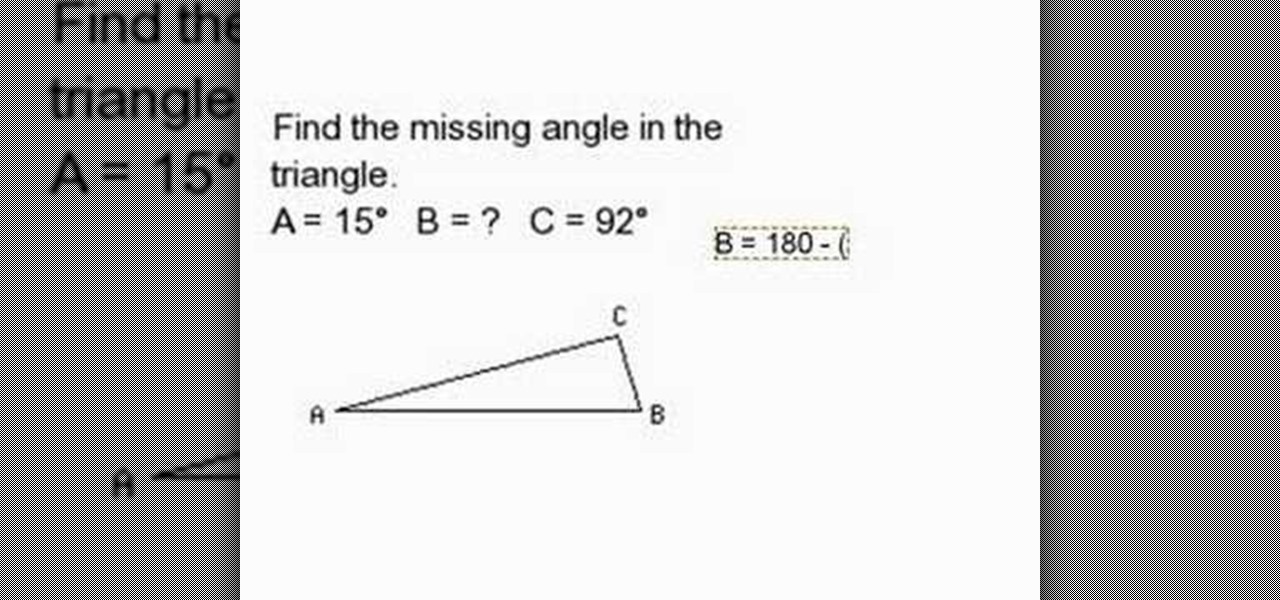
Are math problems getting you down? Well this should be of some help. Here is how to find a missing angle inside of a triangle. Now the first thing to remember when solving this type of question is that the sum of all the three angles inside a triangle is equal to 180 degrees. Therefore, whenever we have two of the three angles inside the triangle, all we have to do in order to obtain the missing angle is to add up the two known angles and subtract the total from 180 and we will get the missi...

Omar, Hayley, Gary, and Autumn teach us how to use a protractor. They give a bit of information from About.com on the history of protractors. They are used to measure angles. The first protractor was used to help with navigation and invented in 1801. To measure an angle, line up the base of the protractor with 1 line of the angle. The center circle should be on the vertex of the angle. Use the "swivel thing" to find what degree the other end of the angle lines up with. If there isn't one, you...

Particles, such as electrons, have a property called spin which can be measured at any angle, but when measured always results in one of two answers—up or down.
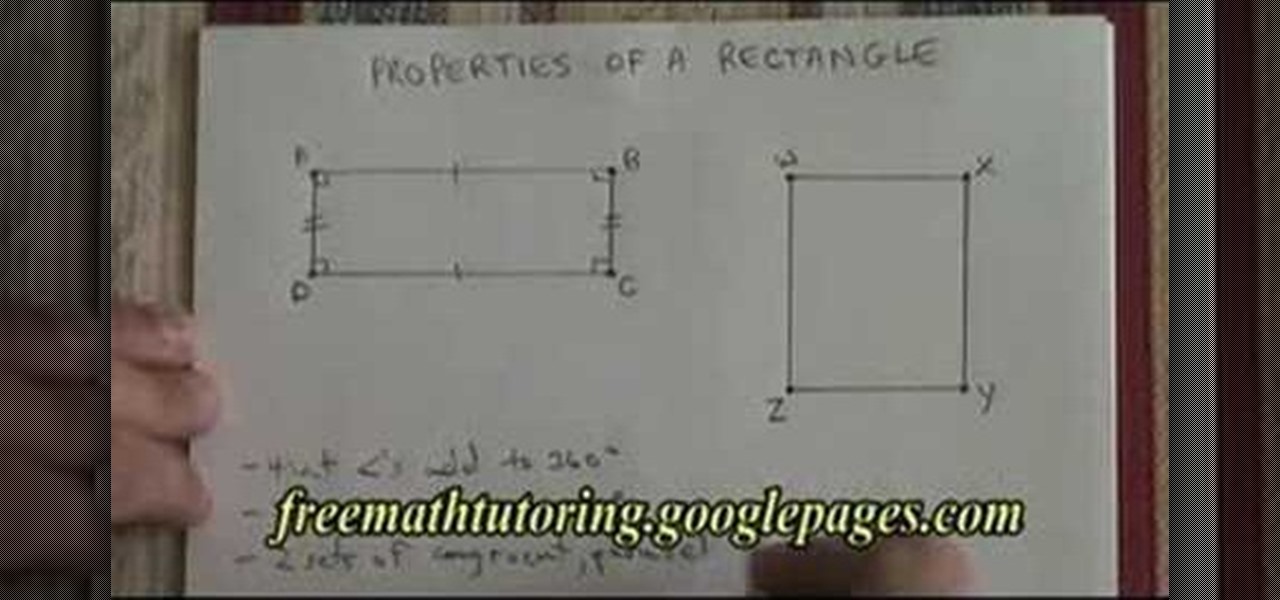
In this tutorial, we learn how to understand the properties of a rectangle. A rectangle has four interior angles that add up to 360 degrees. All of the angles have to be exactly 90 degrees in a perfect rectangle. Two opposite sides have to be congruent and parallel. The other opposite sides also have to be congruent and parallel. The diagonals of the rectangle are not perpendicular but they are congruent and they intersect at the mid points. Diagonals are not perpendicular, but they are congr...
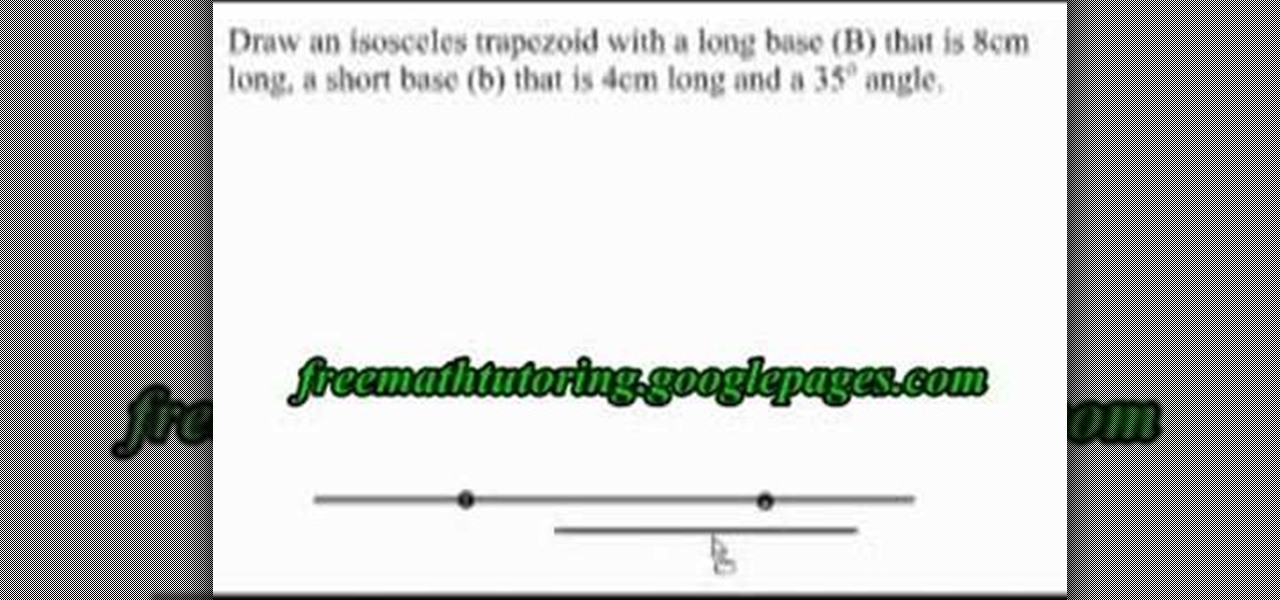
This is a video tutorial in the Education category where you are going to learn how to draw an isosceles trapezoid. This video demonstrates how to draw an isosceles trapezoid with a long base (B), a short base (b) and a 35 degree angle. First you draw the long base. Now center the short base at the center point of the long base and mark the end points of the short base with dots. Next draw perpendicular dotted lines from the dots extending upwards. Draw 35 degree angles from either end of the...
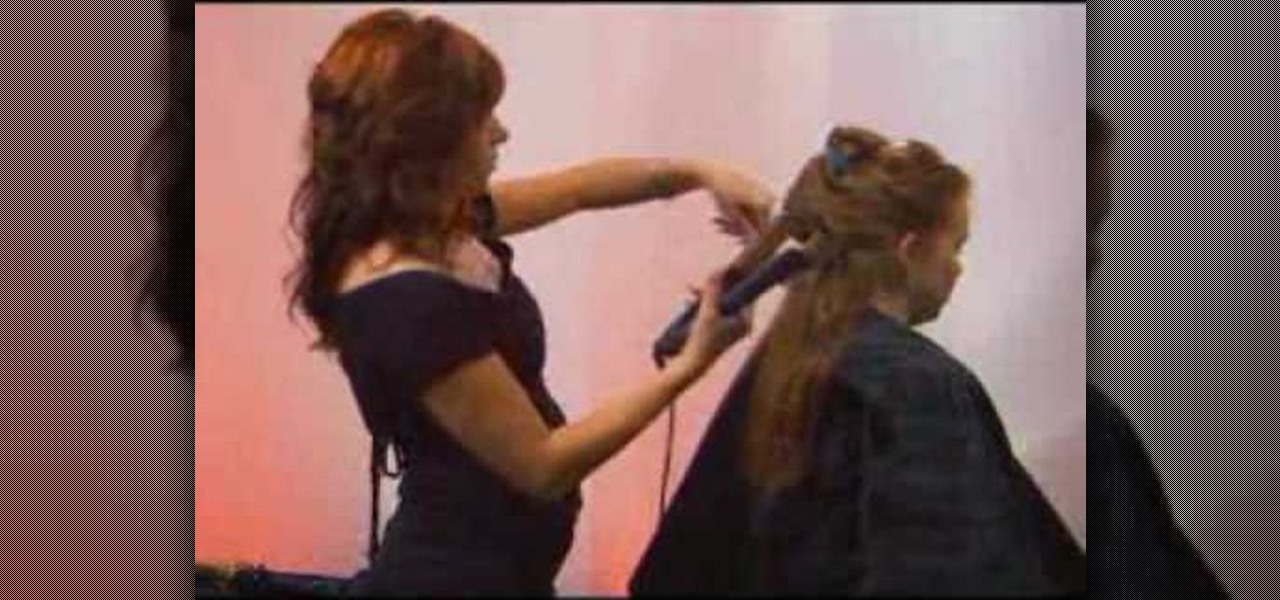
Beauty schools Directory presents how to cut and take weight out of long hair. Video also demonstrates two style options to hair. In the video we have Jenny with long hair whose hair is being cut.
From task tutorial.com that how to create an envelope icon on illustrator. First draw a rectangle change the angle to 90 degrees then select gray color, select pen tool draw a shape and then go to layer select duplicate then rotate the shape using left mouse button by selecting the rotate tool. Now using down arrow key move the shape to down ,choose select tool and resize the shape then select the path go to gradient and change it angle to 90 degrees. Finally select the layer and go to effect...

Adobe Photoshop CS4 lets you create images and graphics that represent your personality. This video tutorial demonstrates how to make a quick, cool, and easy wallpaper design for your personal computer desktop. Either copy the provided example, or make your own tweaks and come up with a cool custom design.
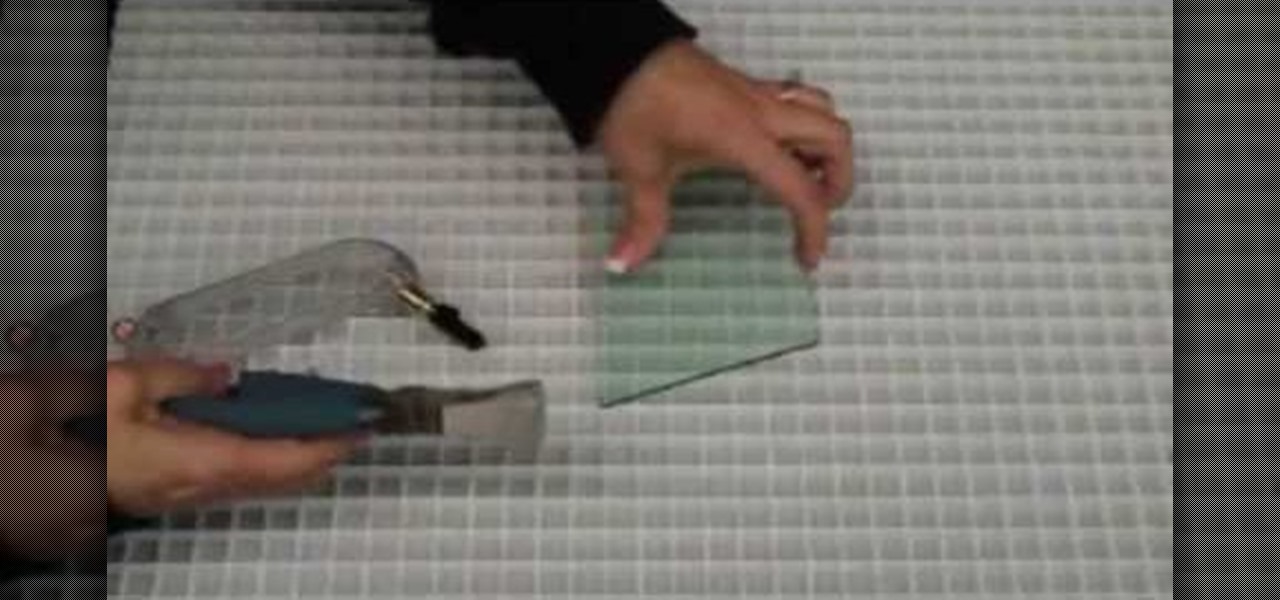
This is a great simple video, which will show you how to properly use a glass cutter and runner. The very first step is how to hold the glass cutter, you want to hold it at a 45 degree angle straight on the glass. Make sure to try your best to avoid leaning it to the left or right and at a 90 degree angle, and also make sure to start off the glass before cutting. Depending on your preference you can either push or pull the cutter, it doesn't matter which way. Once you make the cut, take the r...
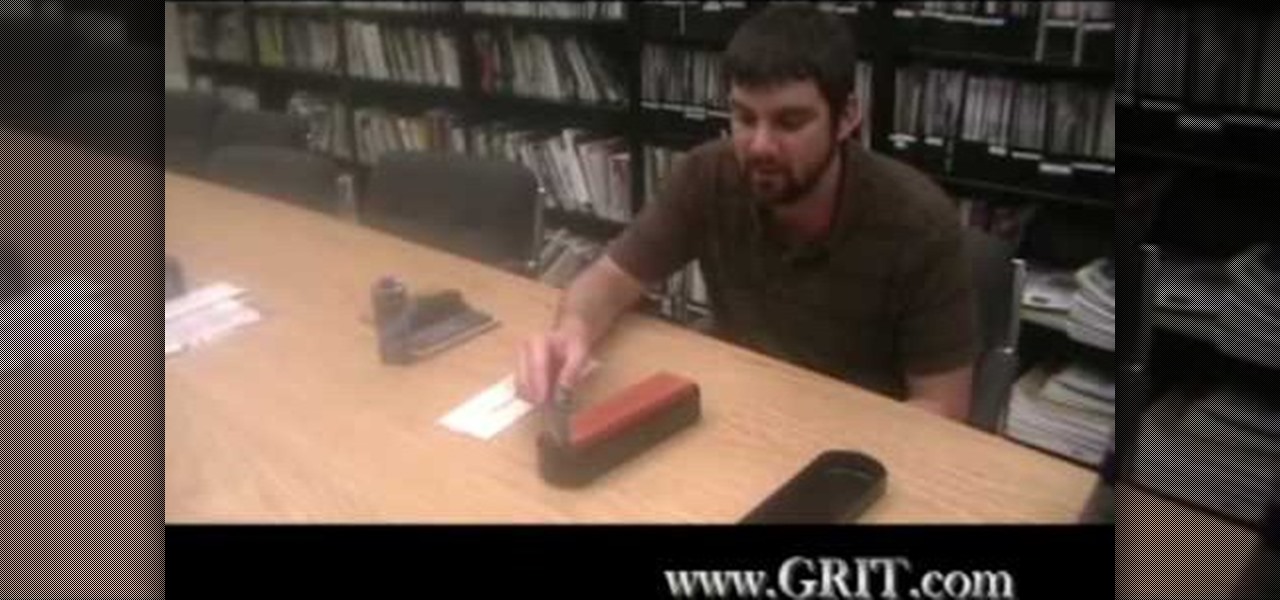
Wondering how to sharpen a kitchen knife?

Studying to be a nurse? Then follow along with this how-to video to learn how to start an IV on a live person. IVs are an important part of a nurse's everyday routine. When inserting an IV needle, be sure to enter at a 30 degree angle. The nursing students in this video, Moe and Drew, insert the needle at 10 to 20 degrees.
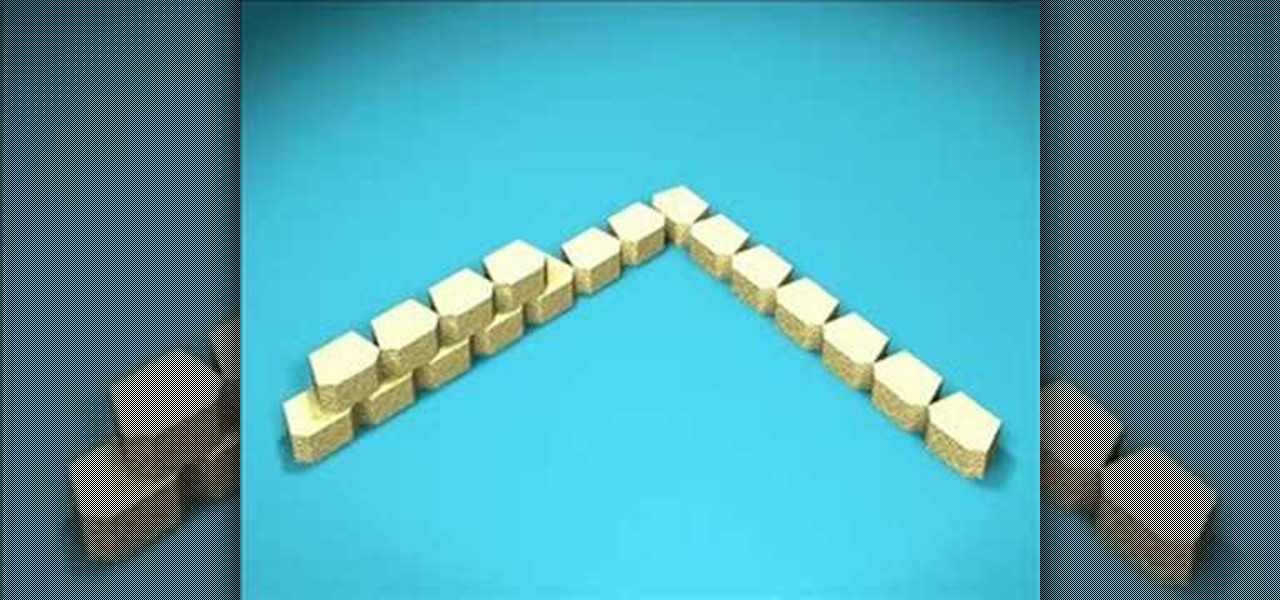
This video tutorial shows you how to build a retaining wall system with another wall inside it at a 90 degree angle. This video is a must-watch for eveyone in the construction business.

This clip shows how you can draw a hypercube, which is a complex shape composed of cubes. You start with a series of equally spaced horizontal lines. Then you draw a vertical line from the origin (o, o, o). From the same point, you draw a horizontal line of the same length and two more lines at 45 degrees and 135 degrees from the horizontal. The vertical line and the 45 degree line form two of the vertices of one of the cubes. The vertical line and the 135 degree line form two of the vertices...
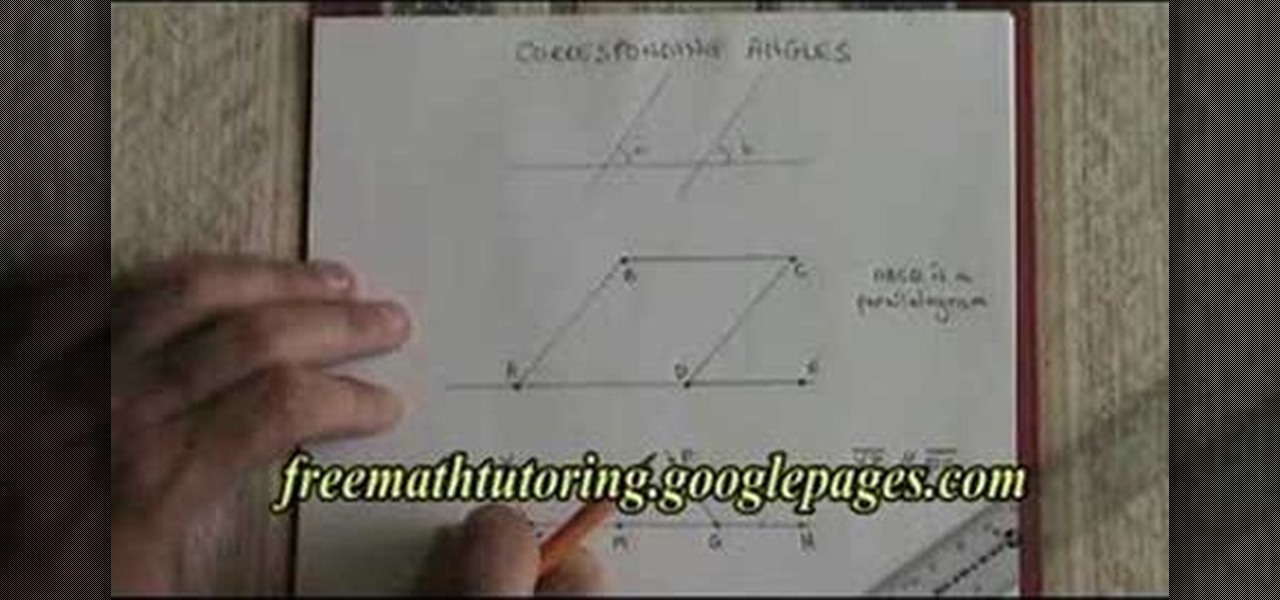
This video explains about the rule of corresponding angles. When measuring the angle between the parallel lines (i.e.) Line1 and Line2 across the straight line. The angle A and angle B are equal. The angle C and angle D are equal. The angle E and angle F are equal. Finally angle G is equal to angle F. So, the angle between the parallel lines in all the angles are equal. Hence, this is the rule of corresponding angles. This video is very useful to basic high school geometry courses. Correspond...
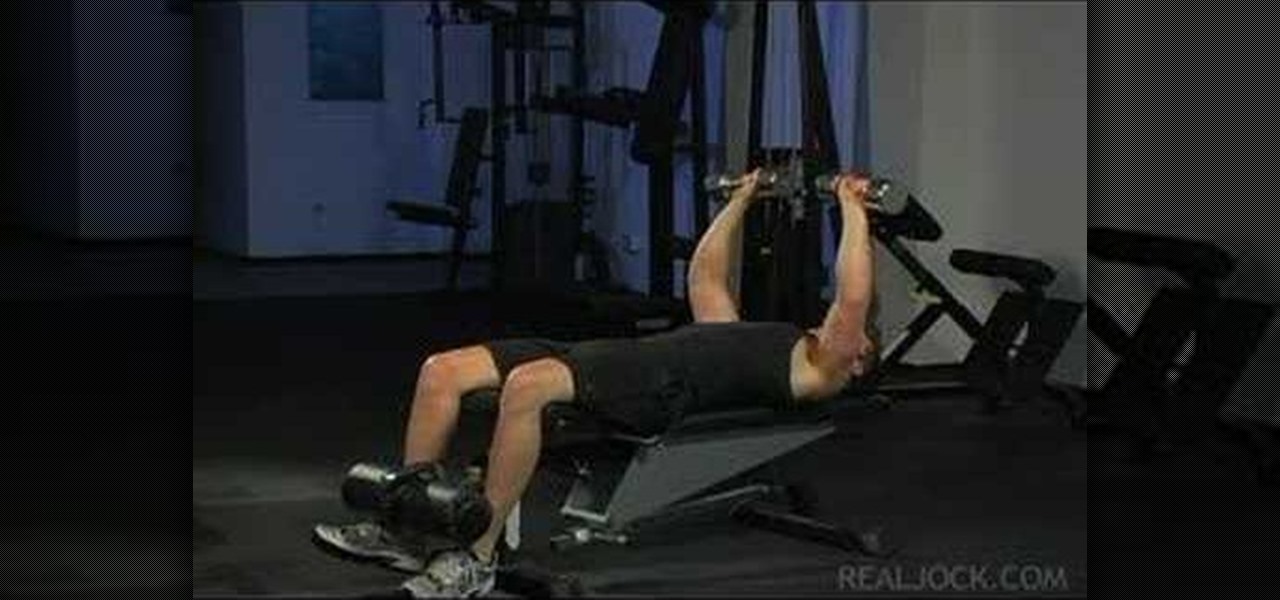
Learn how to do dumbbell chest press incline reduction (incline to decline). Presented by Real Jock Gay Fitness Health & Life.
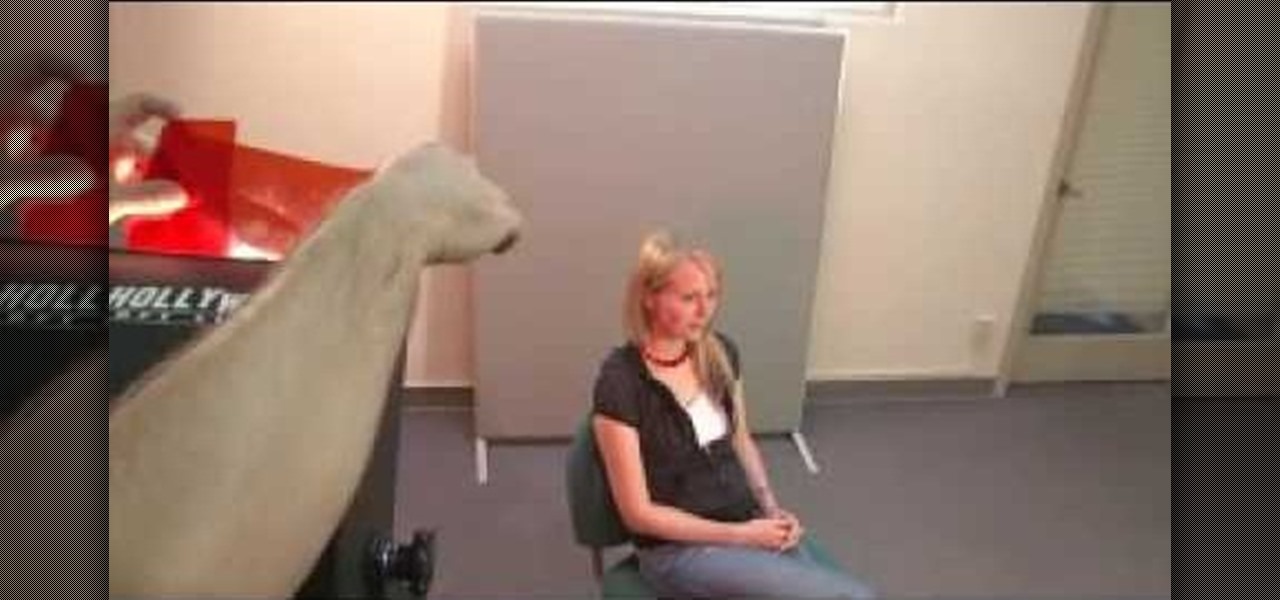
Three point lighting can be used to achieve professional studio results. For this, you will need: a key light, a fill light, and a backlight.
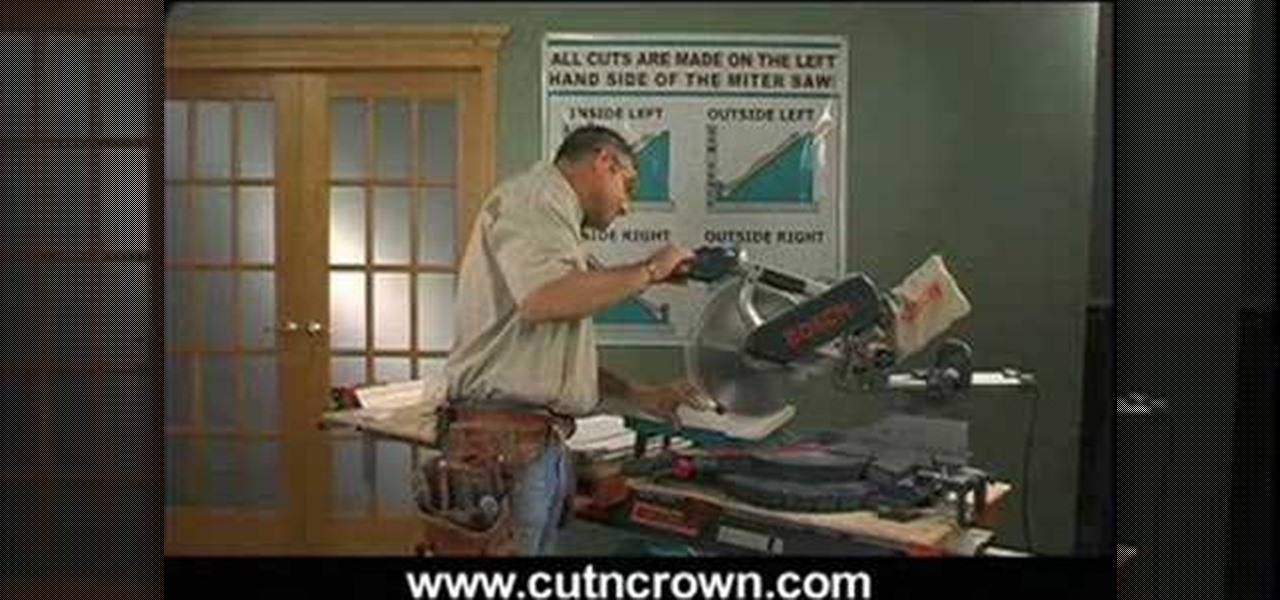
In this tutorial, we learn how to cut crown molding perfectly for your home. First, you will need to determine what spring angle your crown molding is. It comes in 38 degrees, 45 degrees, and 52 degrees. If you buy the wrong kind, it will not match your crown molding and will look odd. Once you have figured out what you need, you will need to cut the molding on the side that is on the back side of the bottom. You will also need to drop your block next to it to get it cut at the right angle. W...