Who doesn't want to look like a Victoria's Secret model? Inspired by the Victoria's Secret fashion show that's a holiday staple, MakeupGeek shows us how to create a look that's sexy and sultry. It's a fabulous makeup look that's easy to pull off and appropriate for any holiday party or event.
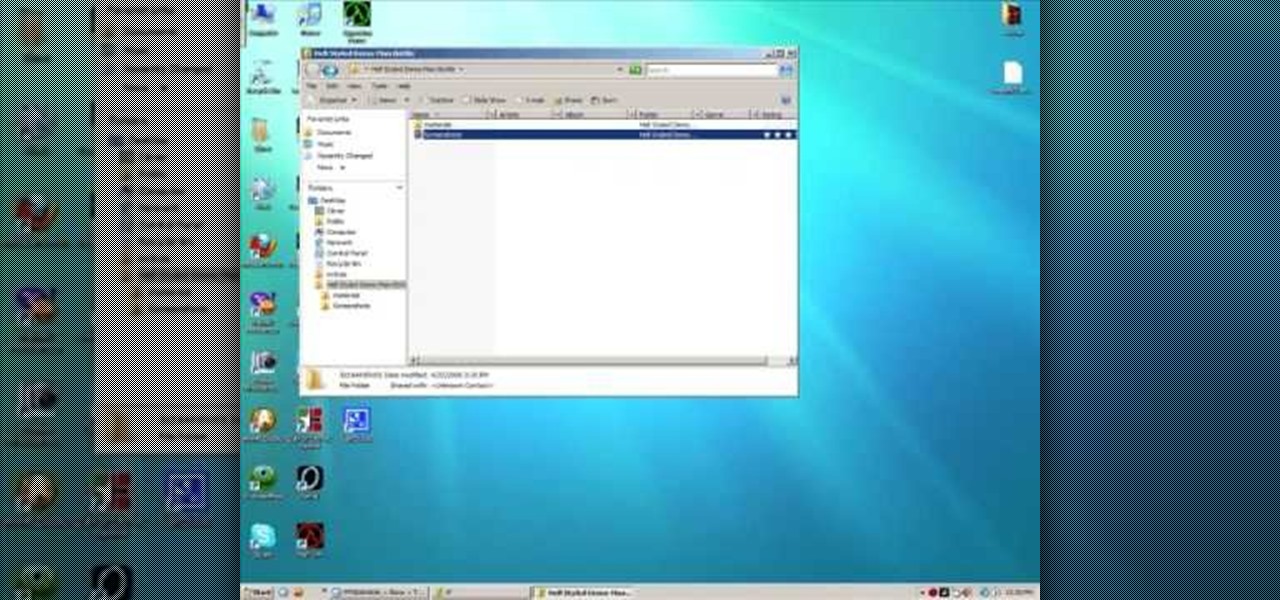
This video provides a short tutorial on how to install custom skins onto the popular online FPS Team Fortress 2. Custom skinning will make the models in the game appear differently, adding a bit of flare to your gameplay.
Ngai Chun Cheung demonstrates classic origami models. How to fold an origami jumping frog.
Ngai Chun Cheung demonstrates classic origami models. How to fold an origami seahorse.

Ngai Chun Cheung demonstrates classic origami models. How to fold an origami turtle.

Ngai Chun Cheung demonstrates classic origami models. How to fold an origami bunny.

Ngai Chun Cheung demonstrates classic origami models. How to fold an origami ring.
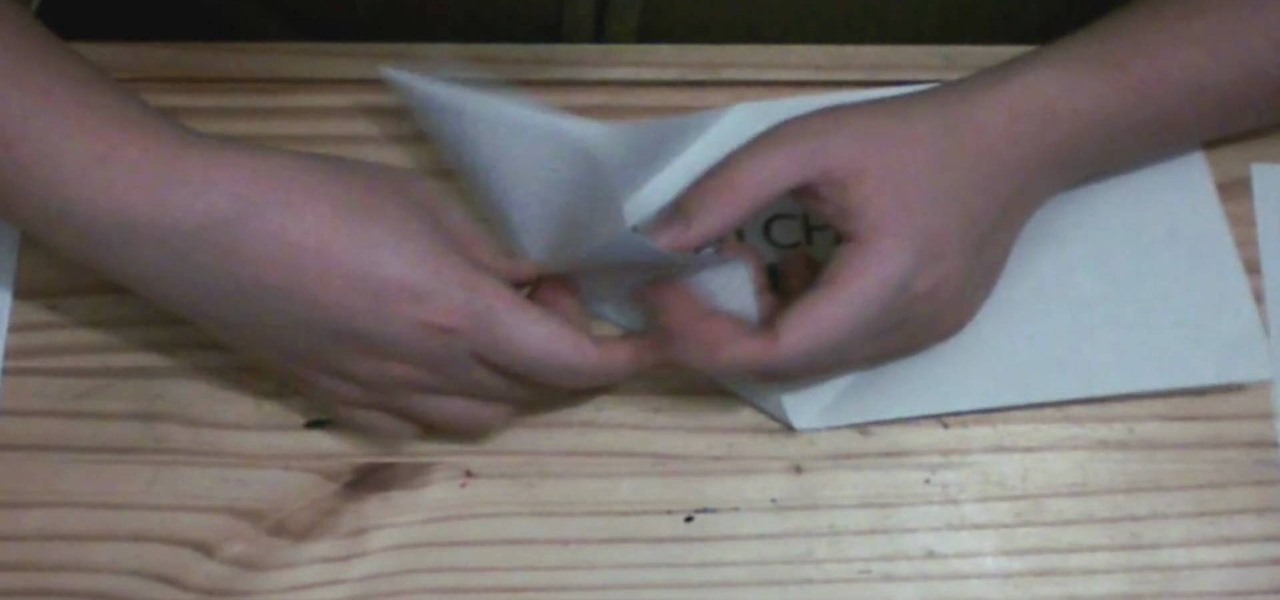
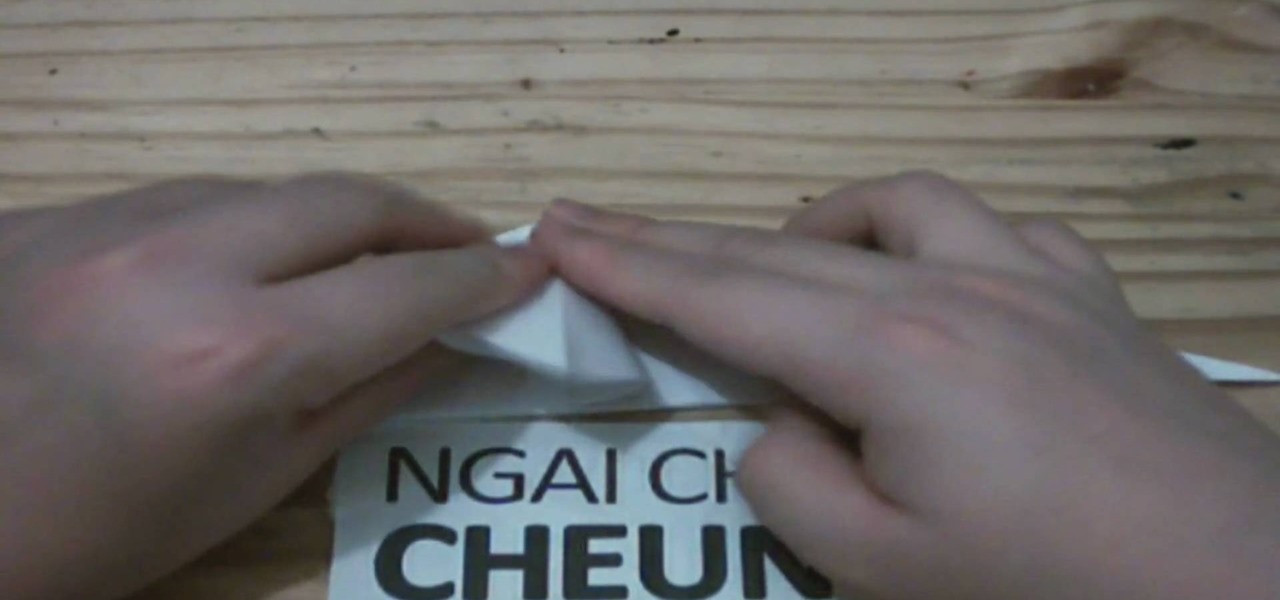
Ngai Chun Cheung demonstrates classic origami models. How to fold an origami simple boat.
Ngai Chun Cheung demonstrates classic origami models. How to fold an origami King's crown.
Ngai Chun Cheung demonstrates classic origami models. How to fold an origami frog.
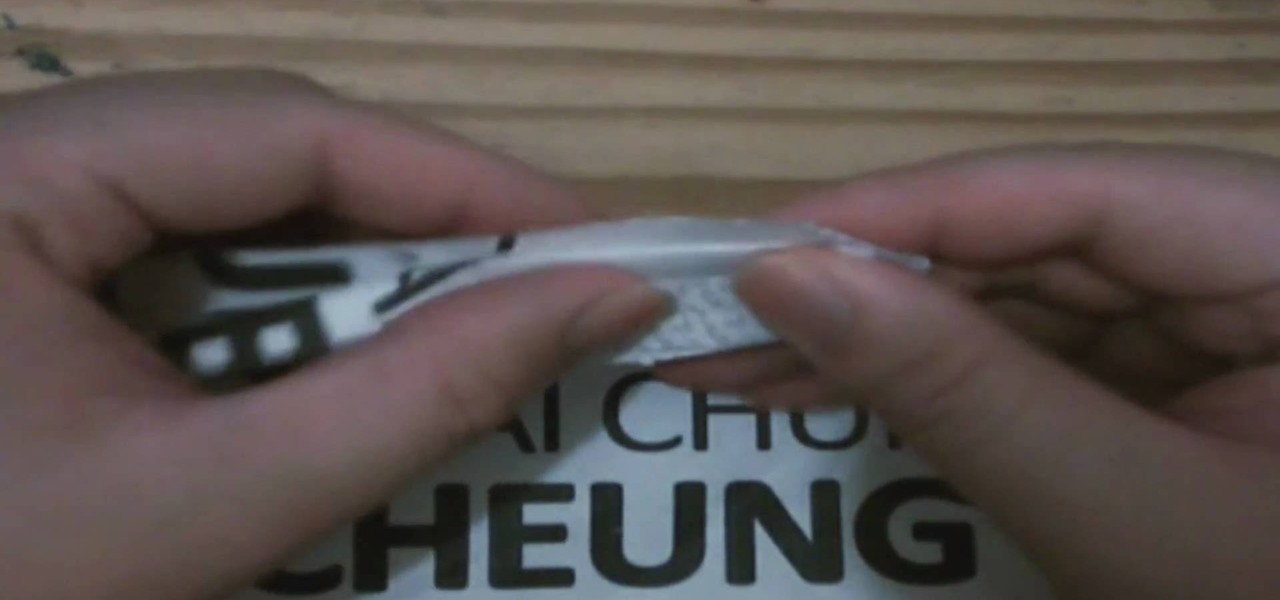
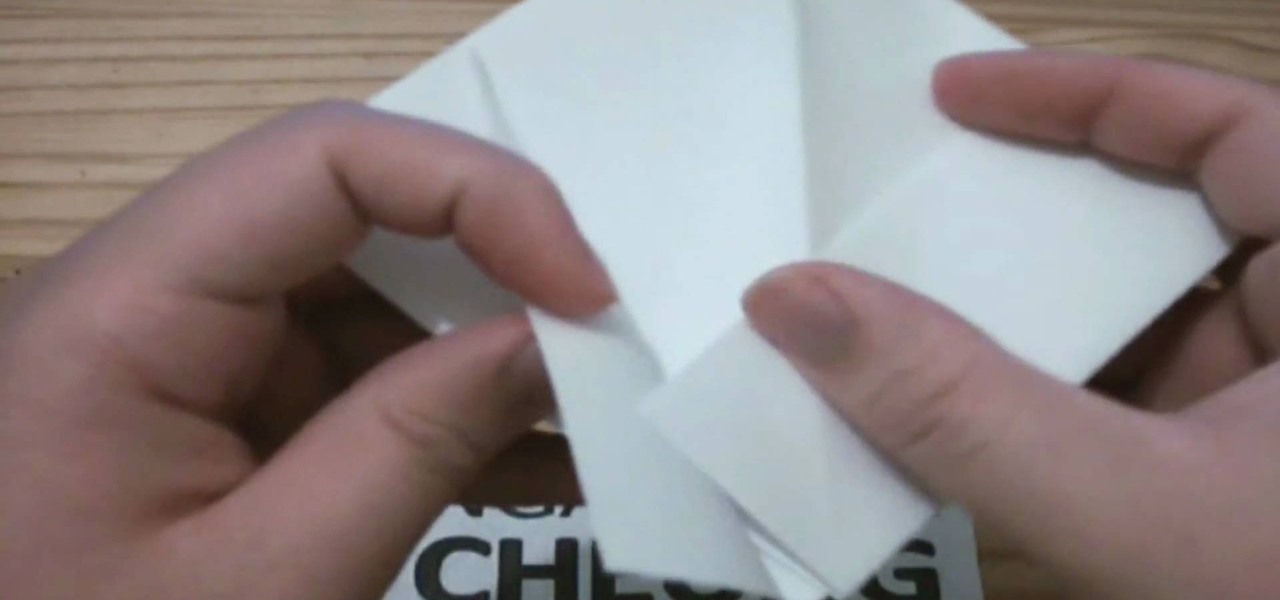
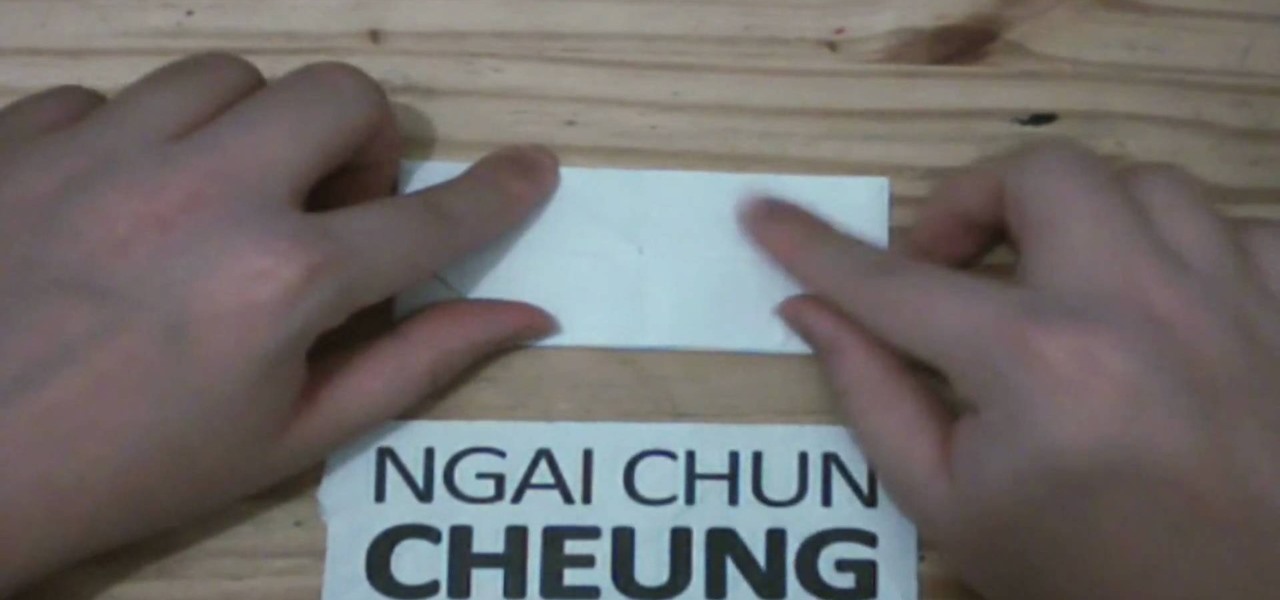
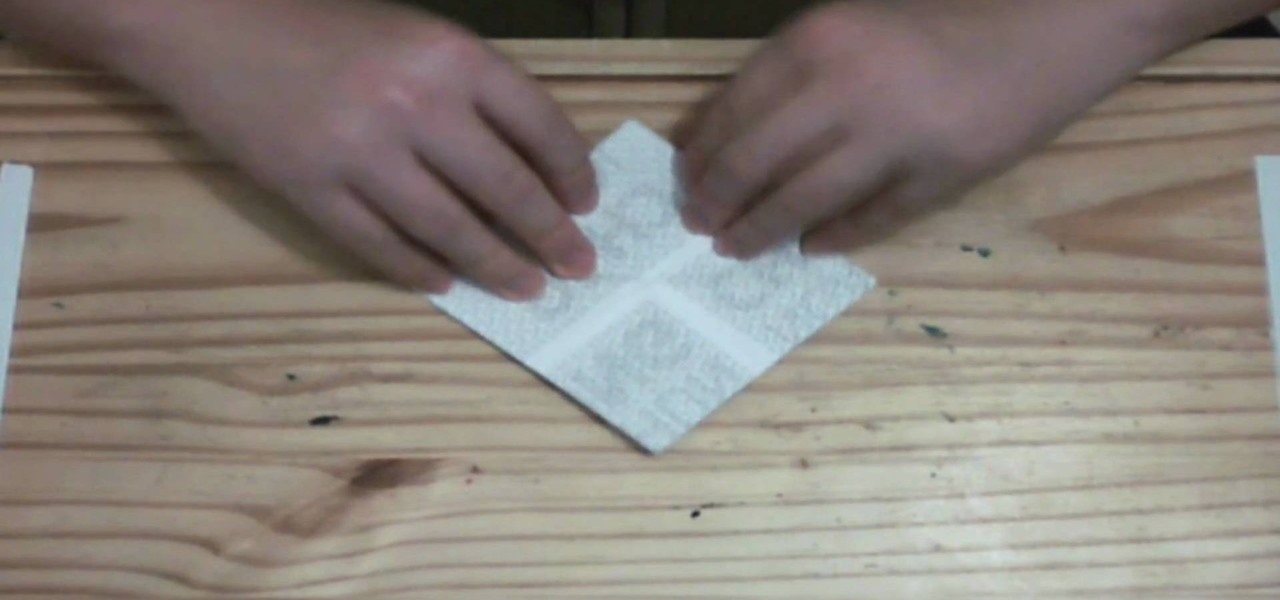
Ngai Chun Cheung demonstrates classic origami models. How to fold an origami star box.
Go beyond the traditional 3D workflow to an immersive creative experience with the software Modo, created by Luxology. Modo is the next evolution of 3D modeling, painting and rendering for Mac and PC. Modo includes 3D sculpting tools, animation and network rendering, and advanced features such as n-gons and edge weighting.
Gypsy Charms explains how to pose like a pinup. This is a tutorial from the Ministry of Burlesque on how to pose like a classic pinup girl of the exotic showgirl style. This is part modeling and part exotic dancing.
UncleTom of Azerothian Super Villains fame introduces the first episode of How 2 Machinima. This series of tutorials is aimed to introduce both the fundamentals and advanced techniques of WoW machinimaking.
Think every model you see in a magazine has perfectly smooth skin? Sure, but don't worry, it's not natural! You can do the exact same thing in Photoshop with this tutorial. Watch and learn how to smooth skin by retouching portraits with blur tools in Photoshop CS3.
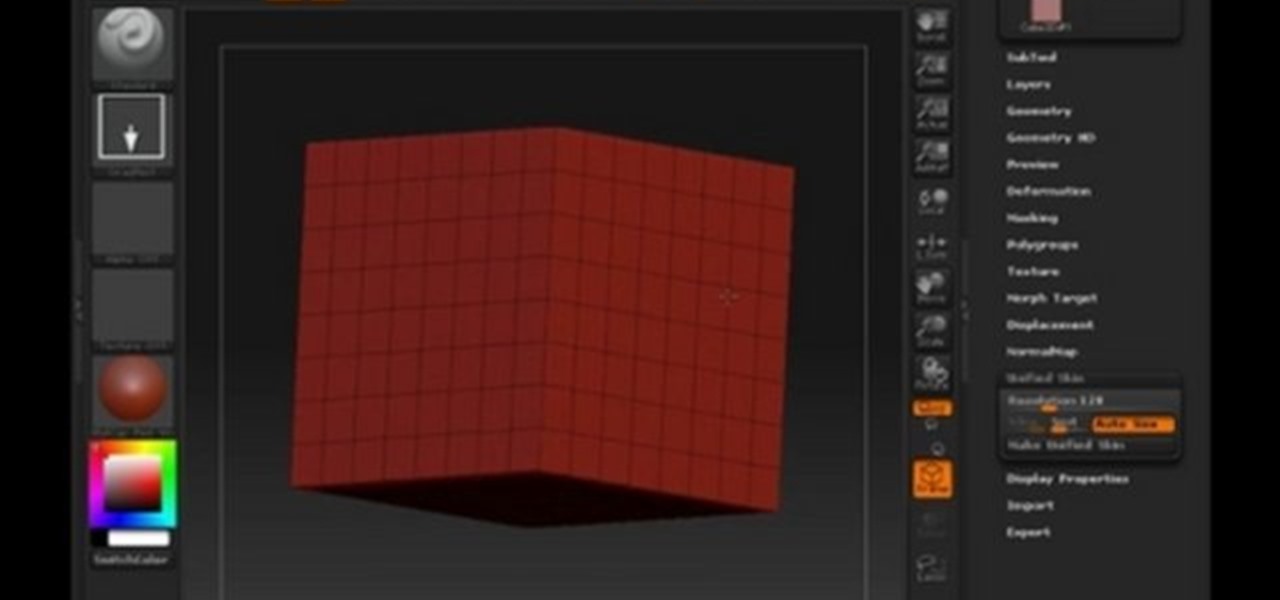
This 3D modeling software tutorial shows you how to make a squirkle in Zbrush 3.1. What's a squirkle? it's a square circle divided down once - perfect for faces!
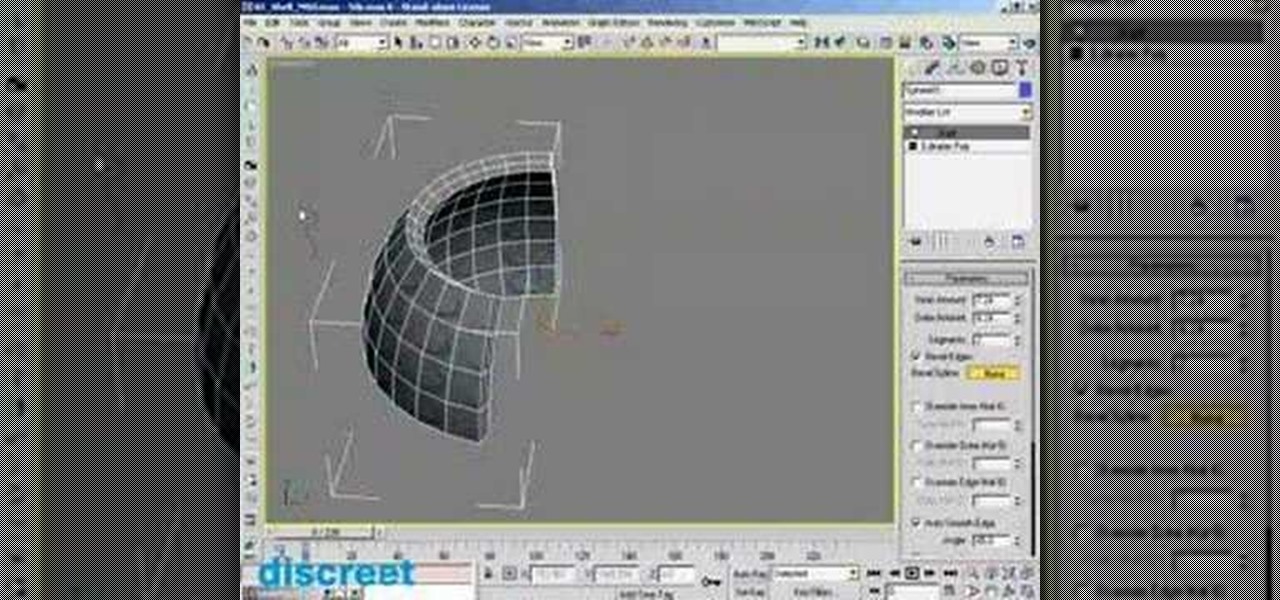
This 3D software tutorial was developed by Discreet (creators of 3ds Max) to show you how to use the shell modifier new to version 6 and up of 3D Studio Max. If you are a 3ds Max modeler, you should learn how to use this powerful tool. Great 3ds Max tutorial for anyone new to modeling in 3ds Max or needing to know how to use the shell modifier.
The PowerForce G3 ZIF (Zero Insertion Force) is the super-fast, yet economical CPU upgrade for your "Beige" Power Mac G3 desktop or minitower, "G3 All-in-One" educational model, Blue and White Power Macintosh G3's and the Power Macintosh G4 "Yikes." This video tutorial will walk you through the PowerForce G3 installation process. For step-by-step instructions, take a look!
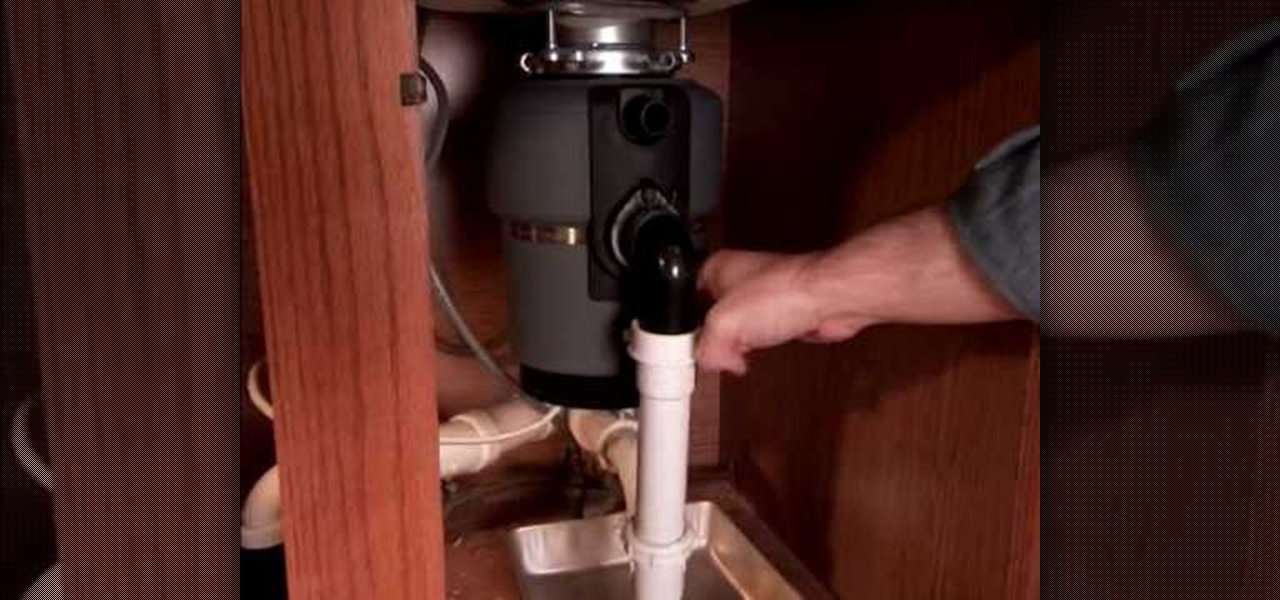
Is your garbage disposer under-powered or just too loud? Learn how easy it is to install a new unit. In addition, learn about the differences between continuous and batch feed models, as well as other features available on new disposal units.
Heidi Hewett demos utoCAD 2009 and shows you how to use the QuickView layouts button. The QuickView layout button is located on the status bar. It provides a faster and more visual alternative to using the model and layout tabs to switch between layouts and views in AutoCAD 2009. Learn how to improve your AutoCAD 2009 workflow with the QuickView layout icons.
This 3D software tutorial shows you how to use the displace modifier in 3ds Max. The displace modifier allows you to create perfect materials and realistic shadows in 3D Studio Max. Proper materials and shadows are key to creating a realistic 3D scene. See how to work with the displace mod in 3ds Max to achieve more realistic models. This video is best viewed full screen.
In this beginners CAD software tutorial you will learn how to navigate in Pro/DESKTOP. Learn how to model objects the way you desire with this extended knowledge of workplanes and viewports. Workplanes allow you to work precisely in Pro/DESKTOP and are worth knowing how to use. This ProDESKTOP tutorial is best viewed full screen.
This 3D modeling software tutorial shows you how to use the text tool in modo 301. Create any type of 3D text you need and manipulate it with the text tool in modo 301. This is a great beginners tutorial.
This 3D software modeling tutorial shows you how to use the edge bevel tool in modo 101. The Edge Bevel has the nifty "Round" option to quickly round off the hard edges of your polygonal mesh in modo.
Modo is a subdivision surface modeler, but that doesn't mean it doesn't provide a path for spline patching, lofting and extruding via curves! And if you are going to use curves, why not drive the Cadillac of curves, the Bezier curve. AKA the "B-Spline". This modo 103 tutorial shows you how to model with bezier curves. Bezier curves will also work in newer version of modo.
This is a short clip examining the use of the Eraser tool for 2D and 3D painting in modo 201 and higher. The eraser tool will erase pixels from the currently selected texture map on a modo model according to the currently selected brush. Choose the size brush you need and simply paint across the surface you need to remove the texture from. Learn how powerful a painting tool the eraser tool is in this modo tutorial.
This 3D software tutorial covers the basics of using the clone tool in modo 101. The clone tool works the same way in newer versions of modo. This tutorial is great for anyone new to learning modeling in modo. The clone tool allows you to make copies of the currently selected geometry and then use the handles to move the new copy.
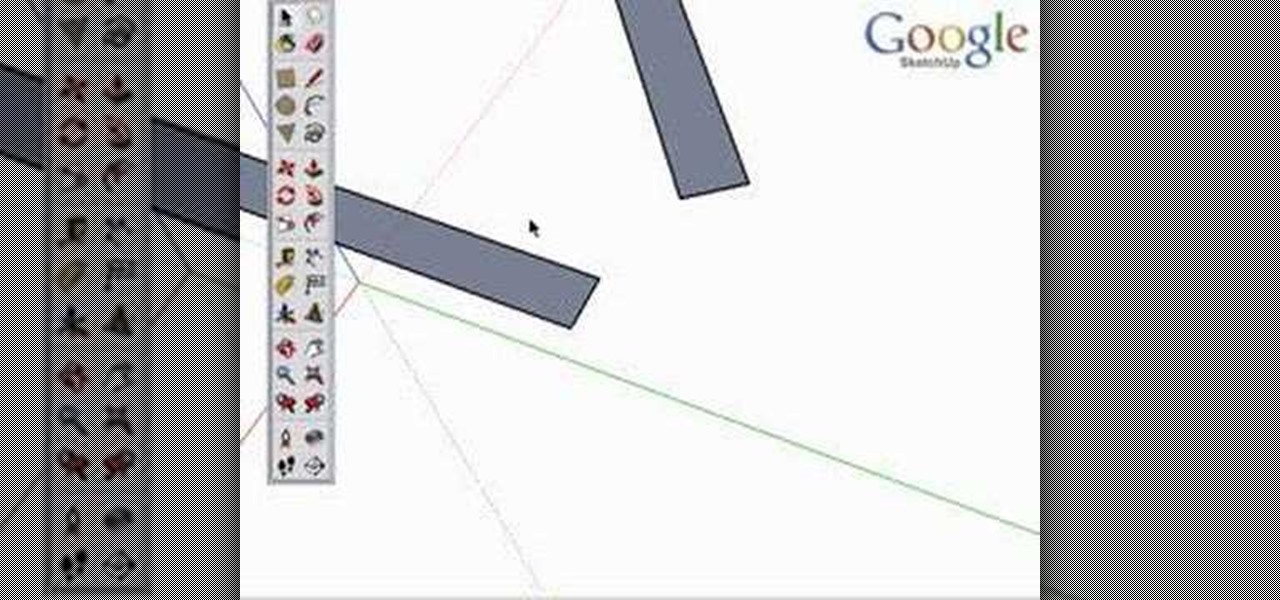
Inference locking is the ability to draw or move in only one locked direction in SketchUp. This SketchUp tutorial will teach you how to use the inference lock technique and show a few examples of inference locking in use and the advantages it has for modeling and navigating the SketchUp viewport.
These models are sometimes called "elevator" helicopters because they basically go up and down. There are no cyclic controls, so don't expect much control. Here is a simple explanation of how to trim the Reflex or Helix on your remot control helicopter.
Are you left handed? While some people have perfected the art of playing left handed guitar, it's still a little challenging to figure out how to crochet with your left hand. Follow the guidelines on this instructional video to crochet a granny square left handed. The granny square is a useful crochet model that allows you to crochet blankets with a creative flare.
Opening an iPod Nano 3rd generation is more difficult than previous models, because of the metal clips. You will need the specialty tool designed to pry open the iPod, before you can get the iPod open and remove the screws. Watch this video iPod tutorial and learn how to install an LCD screen into a third generation iPod Nano.
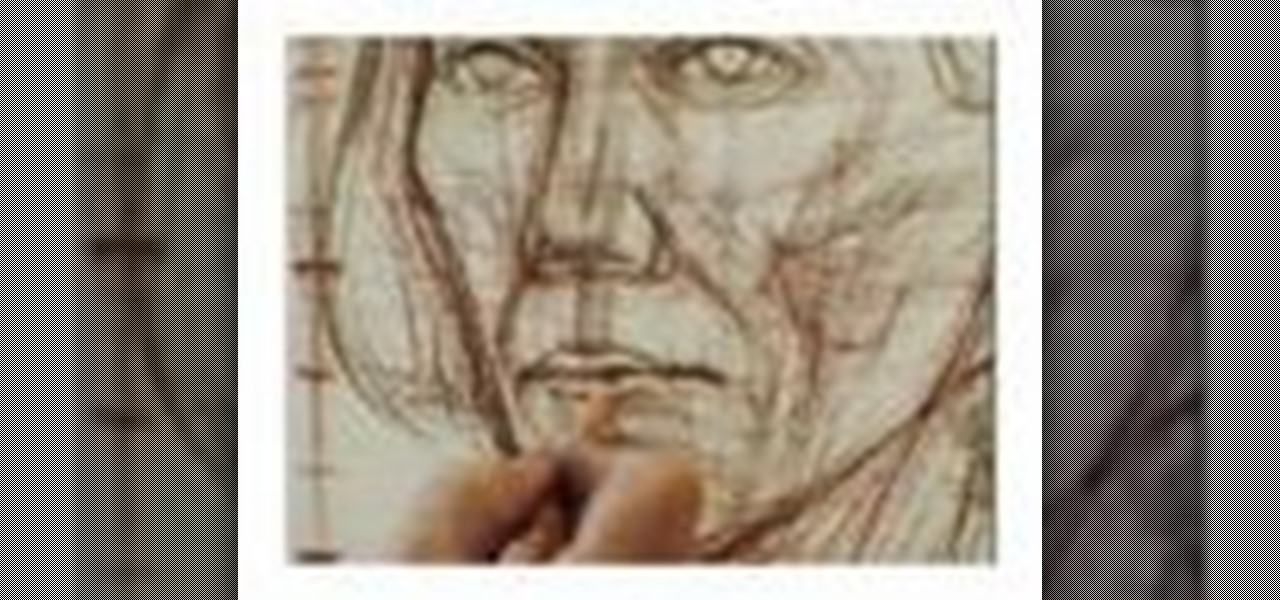
Watch this instructional drawing video to draw portraits of the head using a live model. Follow the detailed description of how to do a drawing of a head, showing close ups, examples and tips. Gary Geraths is a professor in the exceptional Foundation Program at Otis College of Art and Design in Los Angeles.
One of the long-standing problems of guerilla and indie filmmakers is the quest for exactly what kind of prop gun to use in their films. To help guide you through this quest, Mat Nastos takes a look at all of the options open to filmmakers, including blank firing guns, Airsoft guns, Japanese Model Guns, Real Action Markers and even firing blank loads with real guns. Check out this instructional prop video to learn how to choose a prop gun that's right for your film.
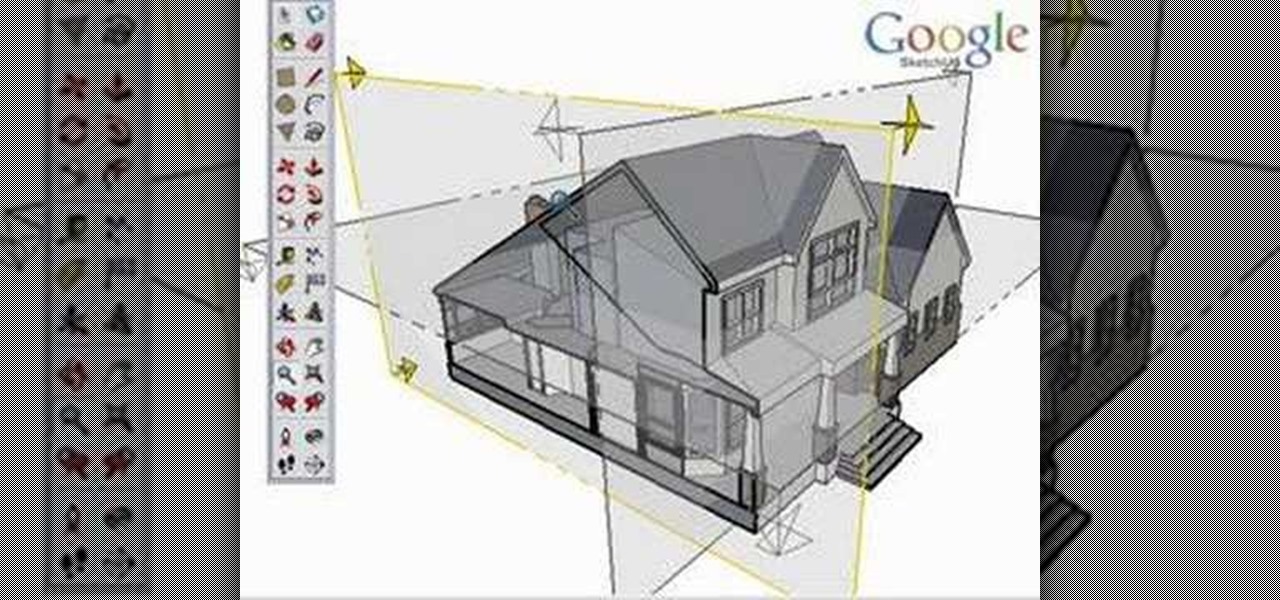
Take a look at this instructional video and learn how to use the section tool in Google SketchUp. This tutorial covers how to create cut-away views of your model in any direction, the context options for the section plane, and how to move and rotate the section plane. You can lock the section orientation by holding the "Shift" key.
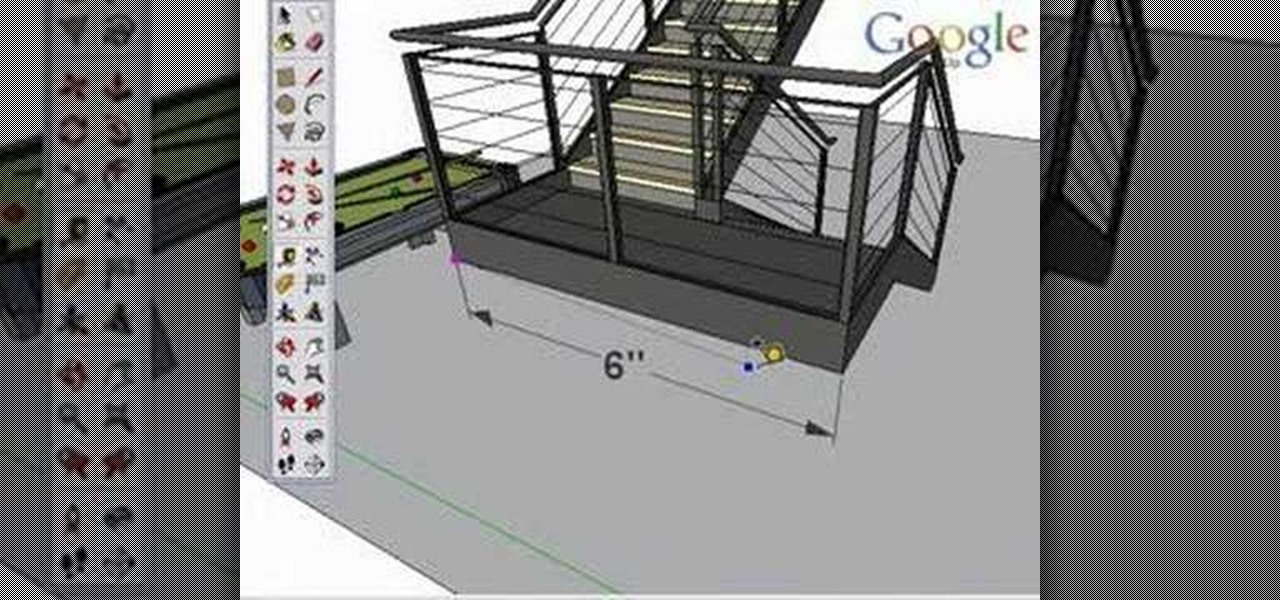
Take a look at this instructional video and learn how to use the tape measure tool in Google SketchUp. You can use this tool to measure edges and distance, create construction geometry or dashed guidelines, and resize individual groups or the entire model. This tutorial covers all three of these functions in a step by step guide.
Take a look at this instructional video and learn how to use the select tool in Google SketchUp. Making good selections in SketchUp is crucial in properly using the other tools available in this 3 Dimensional modeling program. This tutorial covers the basic selections, window selections, modifier keys to add to and subtract from your selection, and tips for accurate and quick selection sets.
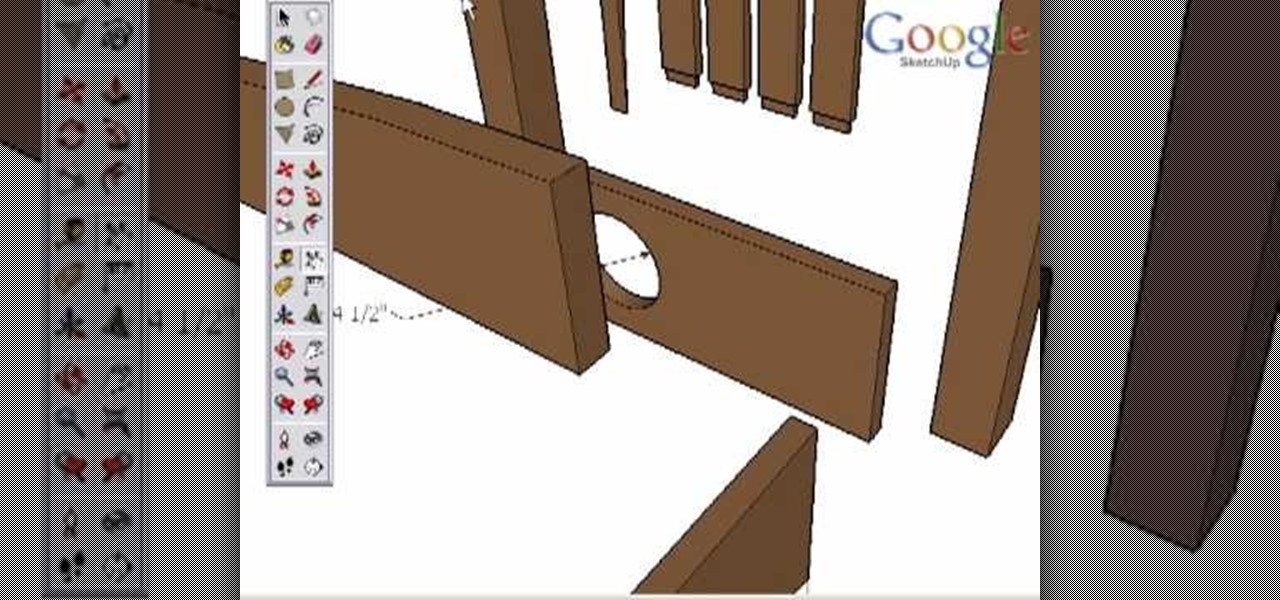
Take a look at this instructional video and learn how to use the dimension tool in Google SketchUp. This tutorial covers how to add dimensions directly to your model and how to adjust dimension settings. To dimension a distance between two points, simply select the dimension tool and click between the two points your want to measure. Pull away and click to finish.
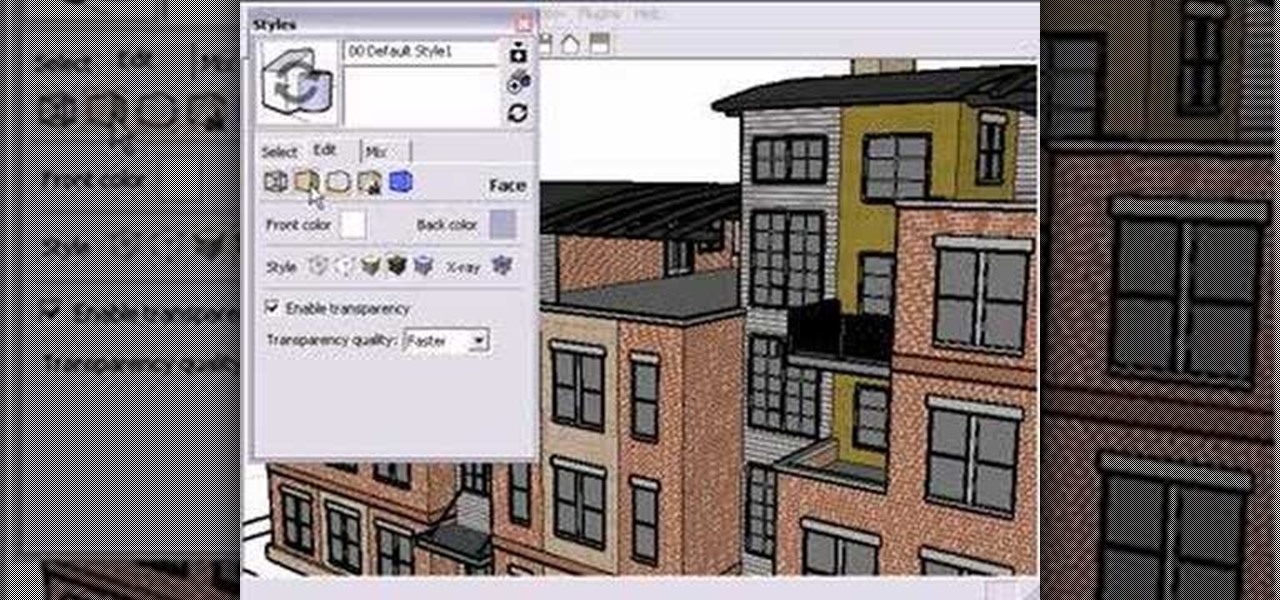
Take a look at this instructional video and learn how to choose, change, or update different styles to your sketch up models in Google SketchUp 6. This tutorial covers the new Styles dialog box that is a part of Google SketchUp 6. This replaced the previous dialog box called "Display Styles", and is much more powerful and combines many options for your convenience.
In this Houdini 9 modeling tutorial you will learn how to create objects using the sweep sop (surface operator). You can create or animate objects by sweeping them along curves or other objects. Watch and learn how to use the sweep sop in Houdini 9.
In this Houdini 9 software tutorial you will learn how to use the creep sop. The creep sop is a surface operator used for creating surfaces and modeling as well as animating. As the name suggests, you learn to use the creep sop to creep objects or surfaces along another object or curve. Watch and learn how to use the creep sop in Houdini 9.