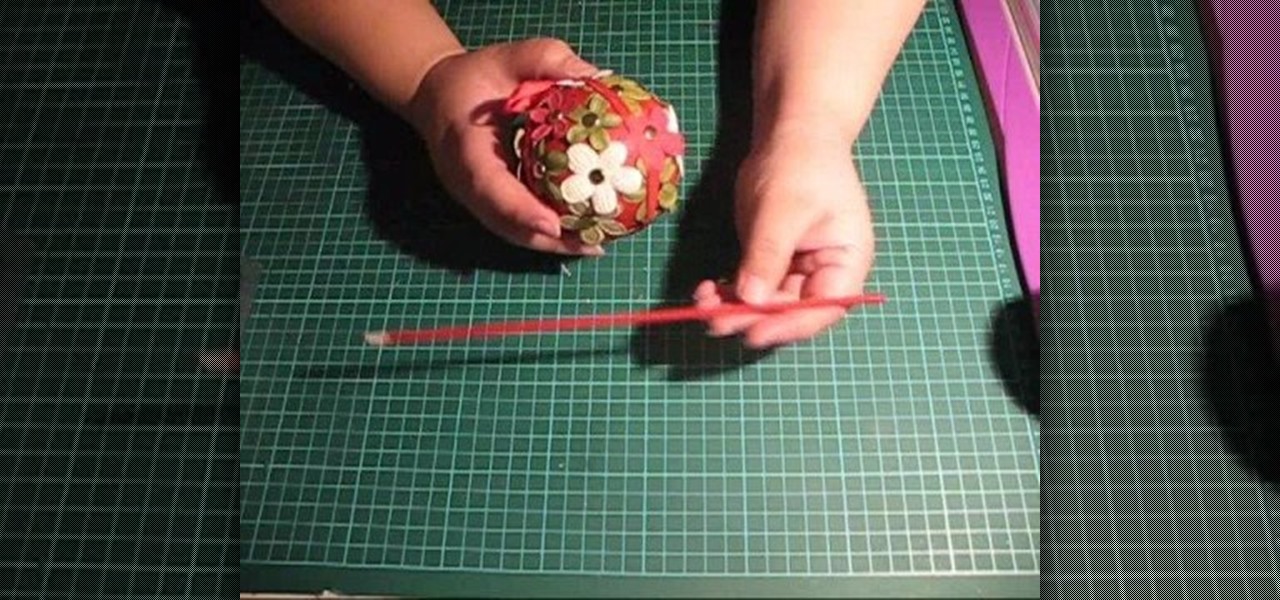
This is an easy craft, though it does take some time. Start with a soft ball of florist foam, and then attach balsam boughs. Keep it watered, and it will last for several months in your house. Add ribbons and flowers for decoration!

This tutorial shows you how to make a lovely Christmas wreath out of cardstock, a few gems and some ribbon. You can include this as an embellishment to your handmade holiday cards, or include it in one of your scrapbooks.
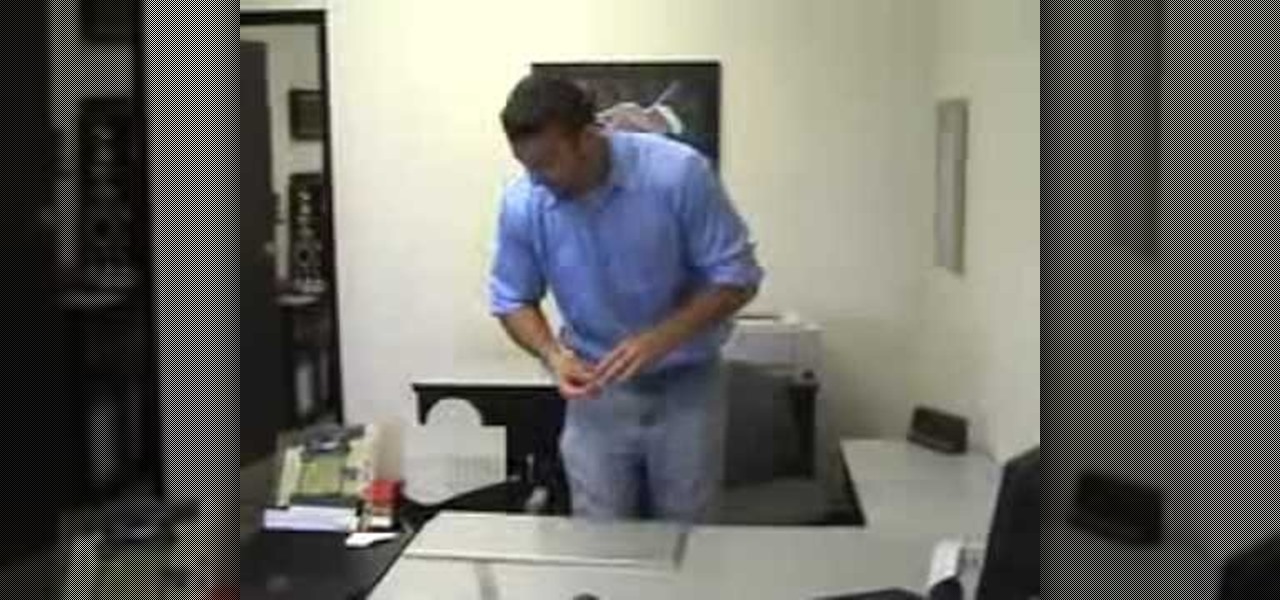
In this tutorial, we learn how to read a tape measure like a professional. Rulers are awkward and you can't measure something over 13 inches with them. A retractable tape measure will measure as long as you would like and it has different markings on it. It has an inch, half inch, and goes on and on. The smallest is 3 32nd's of an inch. As you become more familiar with measuring the tape measure, you will take more accurate measurements for the projects you're working on. When finished learni...

This is a great seasonal arts and crafts project that you can do to turn a basic barette into a Thanksgiving themed hair clip. By using just a little bit of fall colored ribbon and some brown felt, you can make a cute turkey barette!
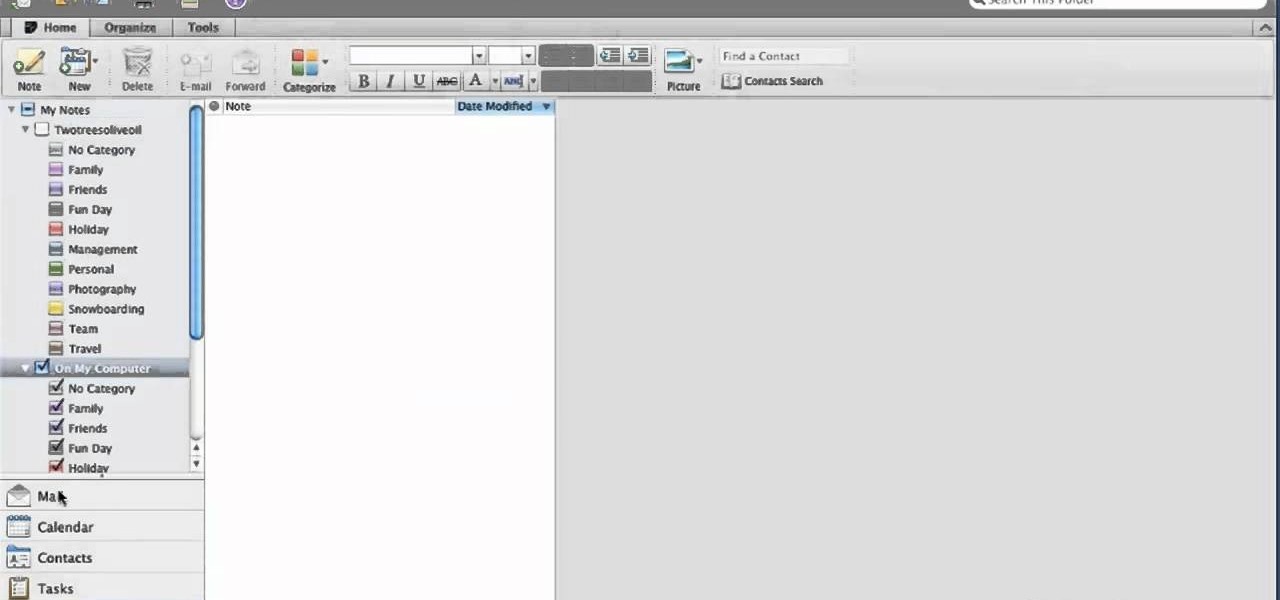
Need some help making sense of the Outlook 2011 Ribbon UI? This video will show you how it's done. Whether you're new to Microsoft's popular word processing application, new to MS Outlook 2011 or even an expert merely looking to brush up on the fundamentals, you're sure to be well served by this quality video tutorial from the folks at Lynda. For detailed, step-by-step instructions, watch the video.
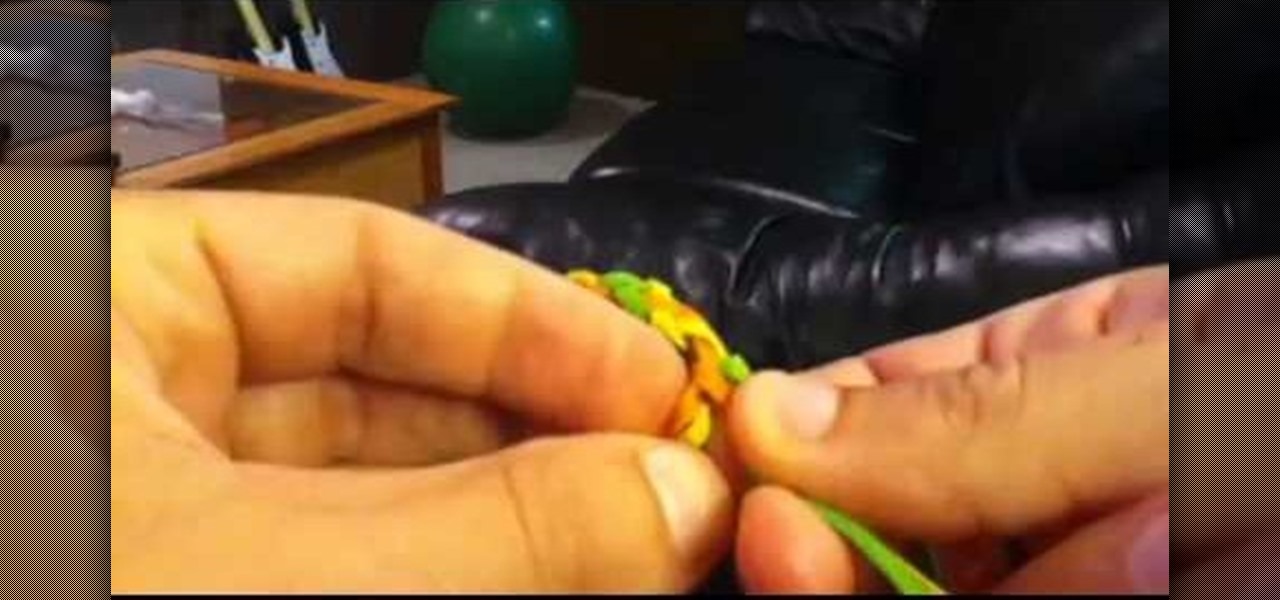
Take three strips of cloth, ribbons, lanyards or embroidery floss, and use the following tutorial to make a lovely three colored friendship bracelet. You can turn this into a necklace, or bend it into a loop to make a keychain.

Help your child decorate their room! This tutorial shows you how to use craft foam to construct a curtain of flowers. In addition to the foam, you will also need a glitter pencil, decorative ribbon and a pair of kid safe craft scissors.

In this tutorial, we learn how to read a school box ruler. A ruler will be divided into inches, each inch will be divided in half. From there, it will be in quarters, then eighths, then sixteenths. Once you understand how the inches get divided up into halves, you will be able to read the ruler better. Start off by counting the small lines that you see on the ruler to get an idea of where the eight, quarter, and half inches are located at. After practicing this, you will be able to read a rul...

In this tutorial, we learn how to know the ruler. An inch ruler will have 12 inches on it. Each mark will be right next to these. Half of these marks will be a half an inch and the half of those with be an eighth. Half of this will be a sixteenth. On the other side of the ruler, you will see the metric system of the ruler, which is not used in the United States. It has centimeters listed on it instead of inches. To use the ruler, you will need to look at the mark it is on, then count the smal...

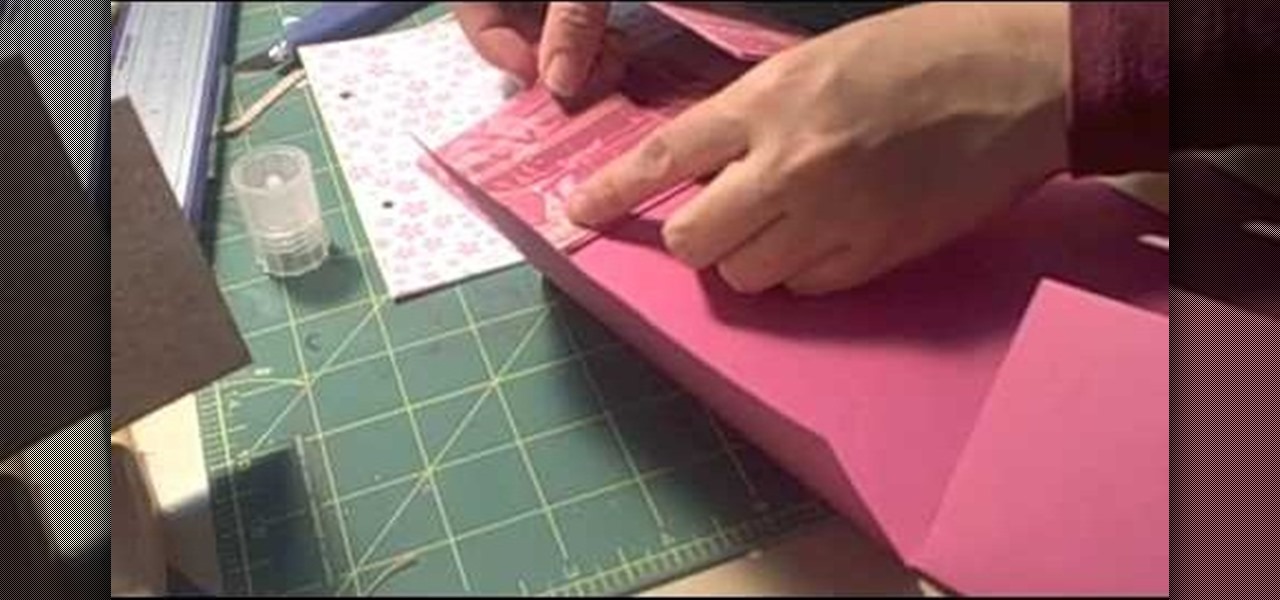
This video tutorial is in the Arts & Crafts category which will show you how to make a flip square album. Take a 12 x 12 inches square cardstock and make a score line at 3 inches on all 4 sides of the paper. Now cut along the score line at the top and bottom of the paper up to the 3 inch line. Next you fold along all the score lines inwards and you have all the flaps ready. Then mark along the edge of the center part of the sheet and punch two holes for tying the album as shown in the video. ...

Party centerpieces are something of a lost art, but this video will show you how to make a really original one quickly and easily. It looks like a hot air balloon, and requires only a basket, a balloon, some ribbon, and flowers.

In this clip, you'll learn how to convert between yards and inches by formula. From Ramanujan to calculus co-creator Gottfried Leibniz, many of the world's best and brightest mathematical minds have belonged to autodidacts. And, thanks to the Internet, it's easier than ever to follow in their footsteps. With this installment from Internet pedagogical superstar Salman Khan's series of free math tutorials, you'll learn how to solve word problems that require you to express yards as inches or in...

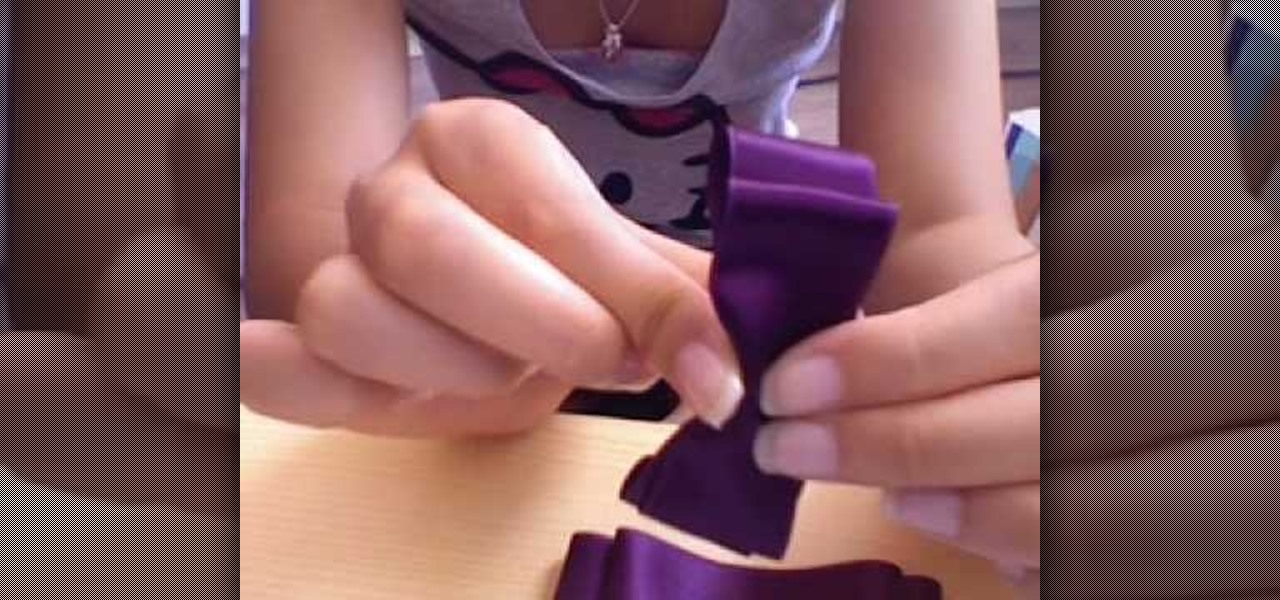
You can use this tutorial to decorate any plain or boring pair of shoes in your closet. The easiest way is to make a pair of cute bows from ribbon matching the color of your shoes, and attach them to the toes.

This video features an image from Squizzlefly. The card is Spring suite 2. Use a regular A2 size card. Cut 8 1/2 x 5 1/2. Score in the middle. Go down another 1/2 inch and score. Take a ruler across the top of the fold. Make a pencil mark at every 1/4 inch. Should be 21 small hash marks. Measure down 1/4 inch on both sides. Go 1/2 inch in and make a dot every 1/2 inch. Go down 1/2 inch from the fold and make a dot every 1/2 inch. Make long-short, long-short cuts with the dots along the whole ...

A hand-tied bouquet could really show you care. It's one for the prettiest ways to give a beautiful bouquet of flowers to your loved one. Hand tie the with ribbons for the perfect touch. Watch this video for the know-how on making hand-tied bouquets, perfect for any bride or any recipient.

Sandra Lee shows viewers how to make a No-Bake Love Cake in this video. You will need the following ingredients:

Calculating The Area Of A Parallelogram A parallelogram is a 4-sided shape formed by two pairs of parallel lines. Opposite sides are equal in length and opposite angles are equal in measure. To find the area of a parallelogram, multiply the base by the height. The formula is:

Two guys from the YES magazine project crew provide a simple and very cleanly humorous way to make a toga and laurel wreath out of simple and common art supplies and household items. Some of the materials required include: some laurel leaves, some green tissue paper, a bit of red ribbon, scissors, and some cloth (which should be purple if possible). As they explain this simple process, they never fail to display a few silly antics that can amuse the average viewer.

Patti Moreno, the Garden Girl, shows how to install a drip irrigation system in a container garden for growing herbs and vegetables. Container plants also need more fertilizer. First, at the spigot, connect a manifold/timer with a fertilizer dispenser and a filter to remove particles. Then run a half-inch main tube line to the patio, using clamps to secure the tubing to fencing and elbow joints at any corners. For each container, punch a hole in the main tube and attach a quarter-inch tube wi...

If shaky home videos are making your audience seasick, it's time to steady your hand. Watch this video to learn how to make a camcorder stabilizer.

Today you will learn how to make two different Christmas ornaments that you can hang from your Christmas tree. You will need decorative stamps, decorative hole punch, rubber stamp ink pad, styrofoam bowls, fake flowers, acrylic paint, ribbon and clips for hanging. This is a fun project for the holidays that you can do with family and friends. Handmade Christmas ornaments are always better than store bought ornaments.

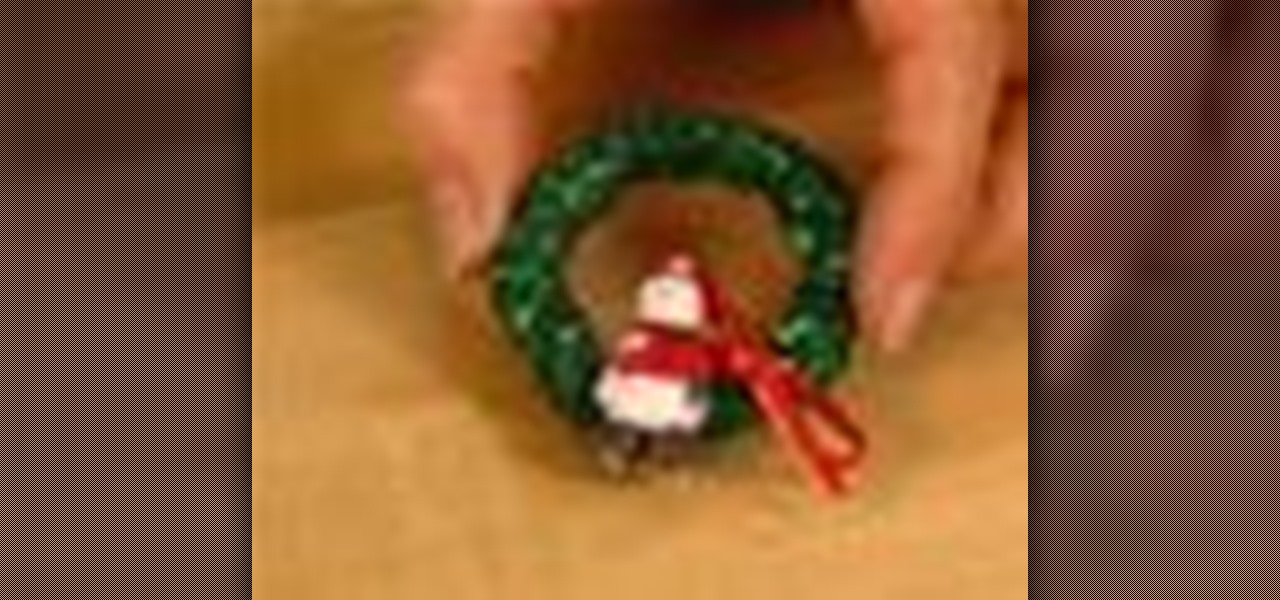
Here's a quick and easy way to add some Christmas flair to your home this holiday season. These mini wreaths will be a huge hit.

Don’t throw out those beautiful holiday cards you received! Recycle them into something useful. You will need:

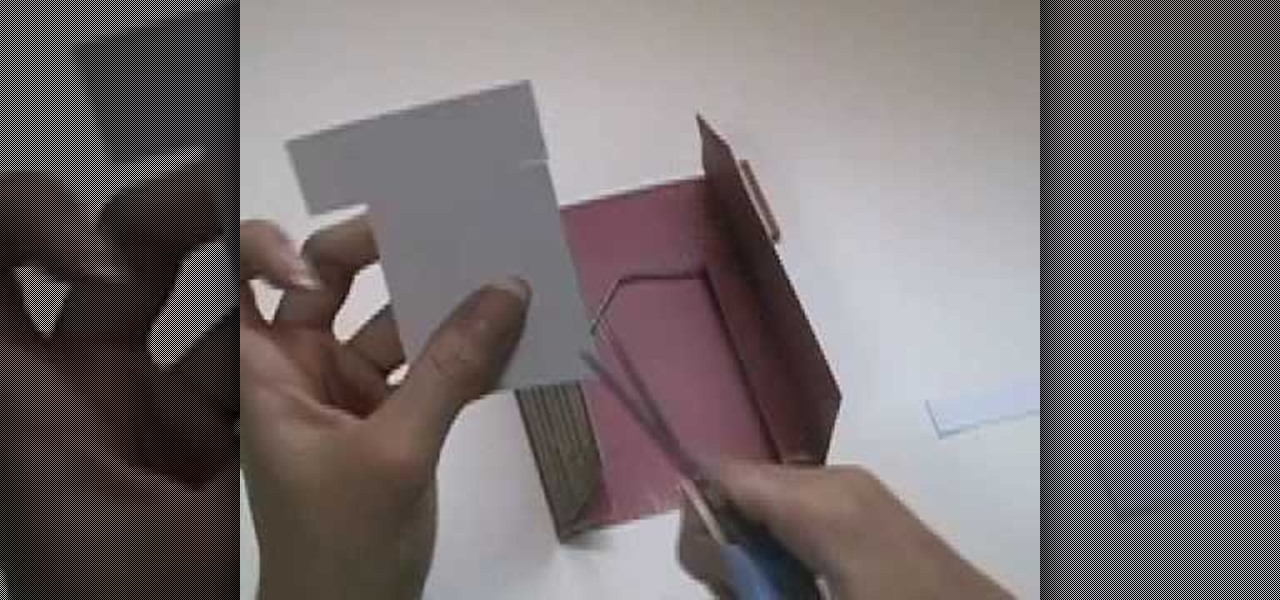
Watch this video tutorial on how to make a note card holder that holds four note cards and four envelopes. You will need a large piece of cardstock to complete this box. Use double stick tape to hold the joints together. You can decorate the outside with store bought cut outs or use recycled scraps of paper and ribbon.

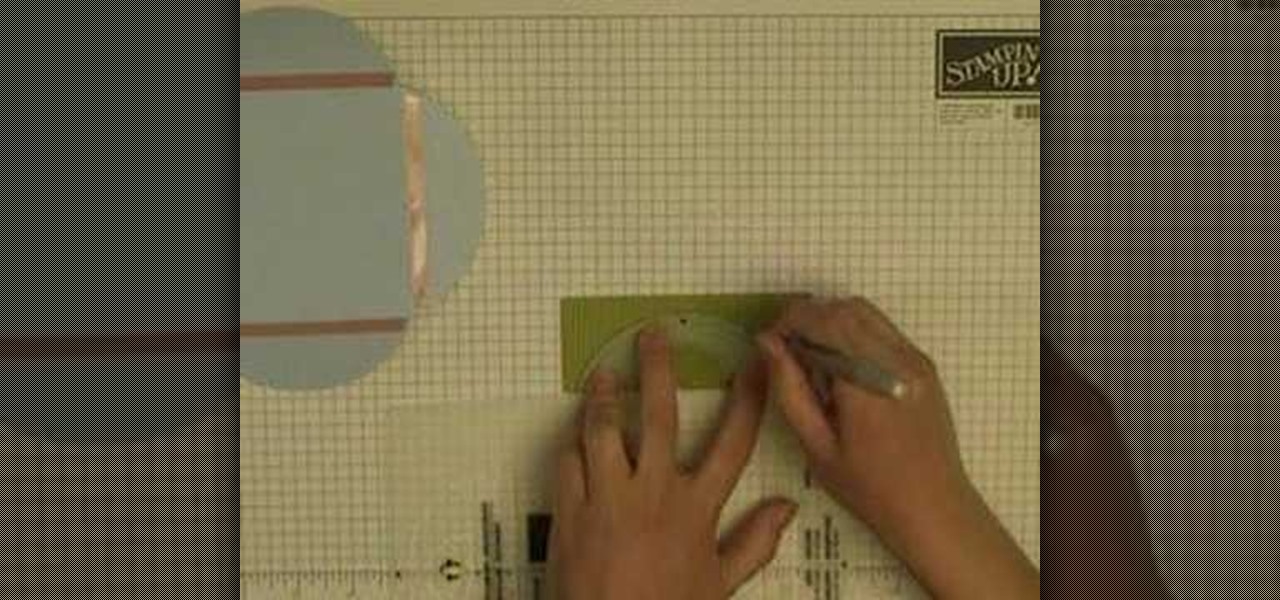
This is a video tutorial on how to make a box with a scalloped lid. You will need a large piece of cardstock to craft this box. Use double stick tape to hold the joints of the box together. You might need a stenciling tool to make accurate cuts. You can use store bought or use recycled scraps of paper ad ribbon to decorate the outside of the box.

Watch this origami tutorial to make an origami box with a little window. You will need one large piece of sturdy origami paper to complete this box. You can cover the window with clear plastic to make a unique candy box. Add ribbons and decorations to personalize your paper box. These origami boxes make great gifts for bosses and teachers.

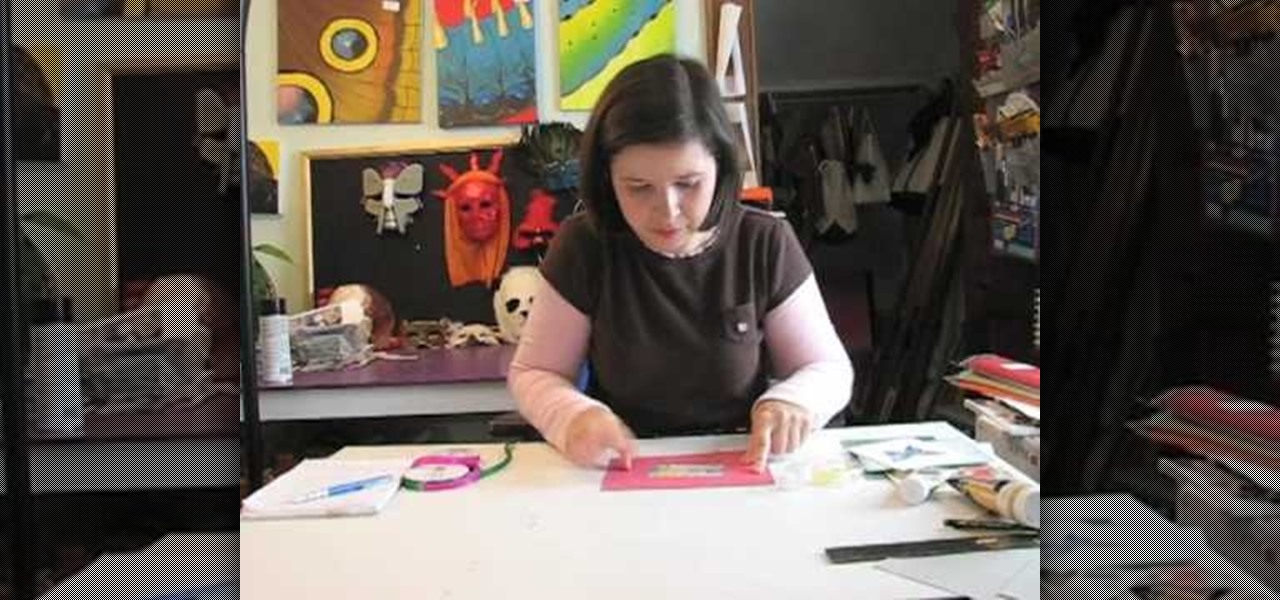
Make framed artwork from old greeting cards! You will need a greeting card, paint, cardboard, double stick tape, ruler, a pencil, a craft knife and some ribbon. This video demonstrates how to craft artwork from recycled material. These pieces make great gifts.

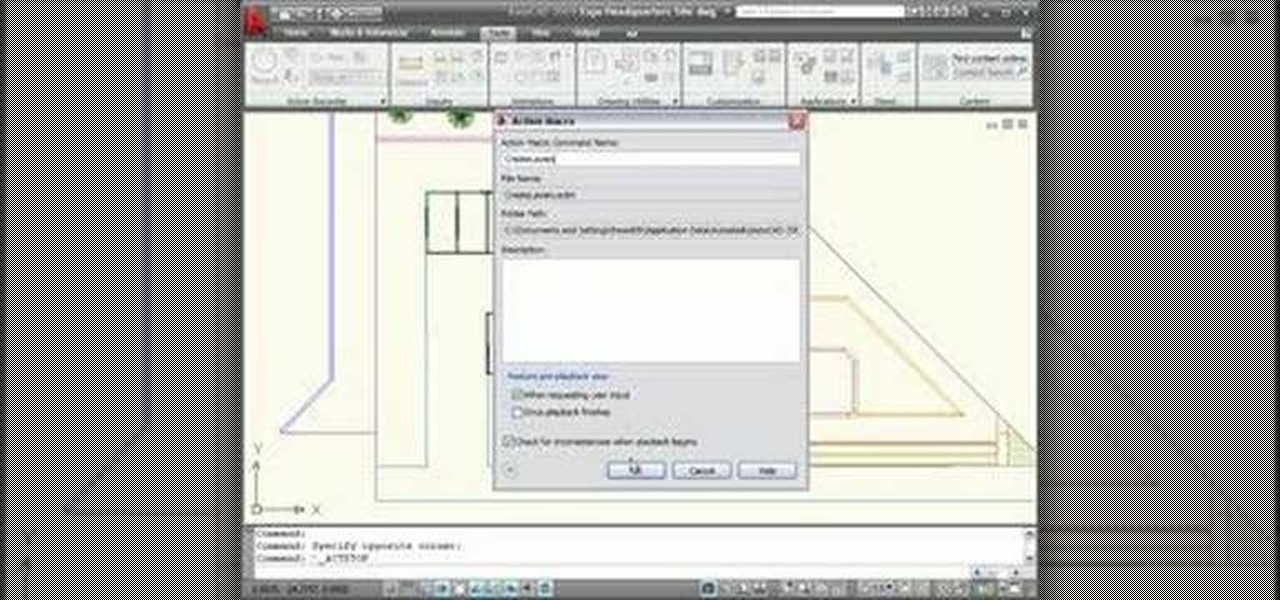
Heidi Hewett demos the Action Recorder feature in AutoCAD 2009. Recording actions with the Action Recorder can increase your productivity by automating repetitive tasks you have to perform on every AutoCAD 2009 drawing. You can record actions from the command line, toolbars, ribbon panels, and more. See how in this AutoCAD 2009 lesson.

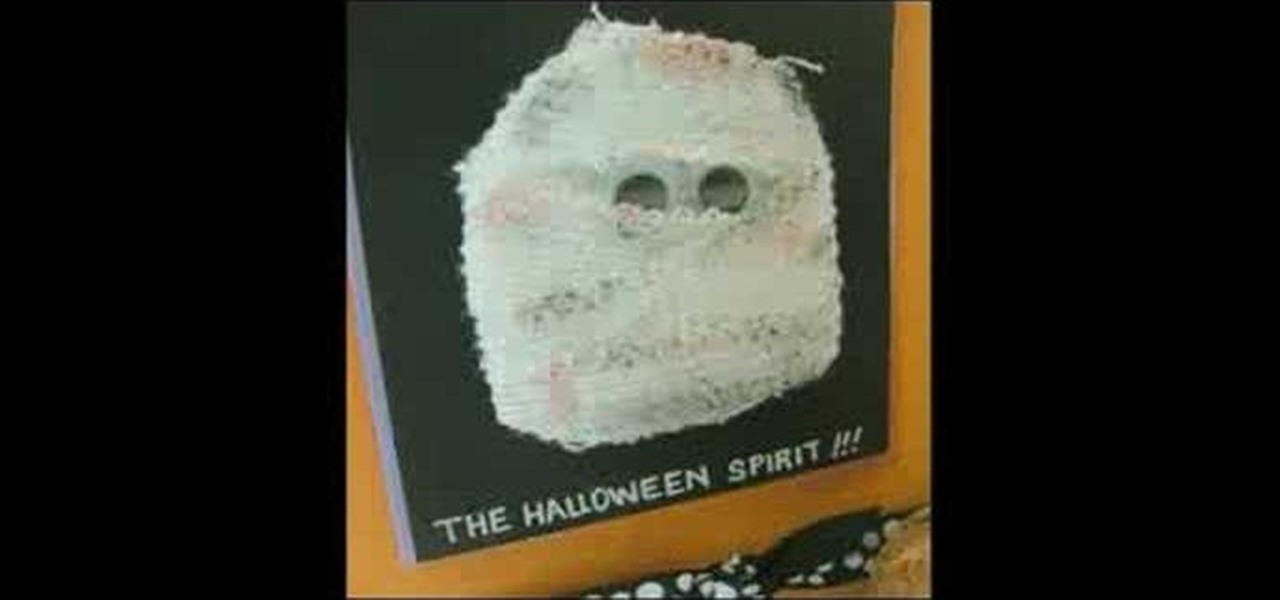
Watch this instructional scrapbooking video to make a Halloween card with a scary mummy design. This is a spooky Halloween card for anyone who won't be going trick-or-treating. You can use store bought cut outs or use recycled scraps of paper and ribbon. This unique card is also good for Halloween invitations!

Watch this instructional scrapbooking video to make a spooky Halloween card that says, "Boo!". This charming Halloween card will cheer up anyone who won't be going trick-or-treating. You can use store bought cut outs or use recycled scraps of paper and ribbon. This unique card is also good for Halloween party invitations!

Watch this instructional scrapbooking video to make a greeting card with a nifty clay tag. Use a stamp and a piece of air dry clay to make a personalized hanging tag for your card. You can use store bought cut outs or use recycled scraps of paper and ribbon. This unique card is good for invitations, graduations, holidays, bar mitzvahs, and birthdays.

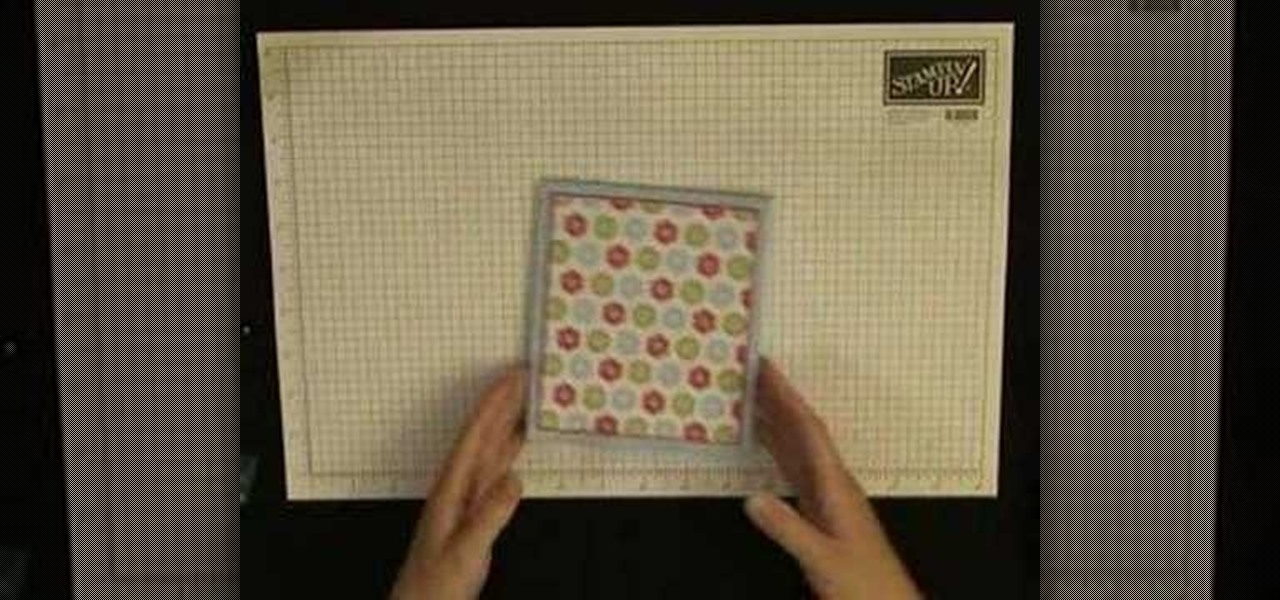
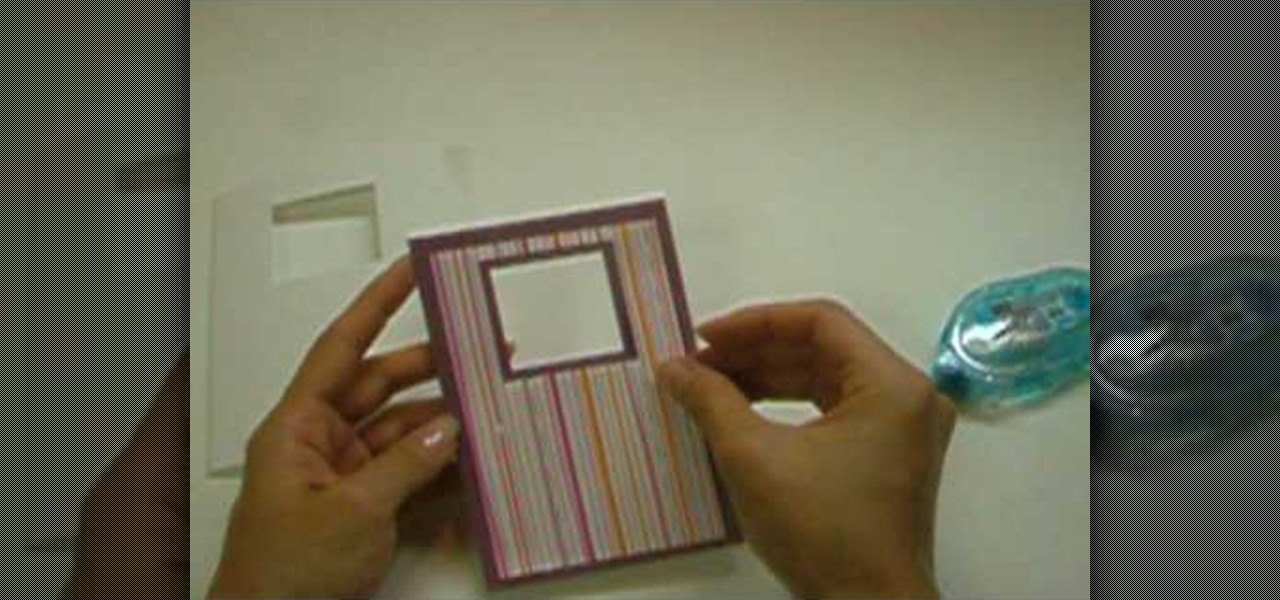
Watch this instructional scrapbooking video to make a greeting card with a sparkly window frame. You can use this technique to make a small paper window in your card or make a picture frame. You can use store bought cut outs or use recycled pieces of scraps and ribbon. This unique card is good for thank you cards, holidays, bat mitzvahs and birthdays.

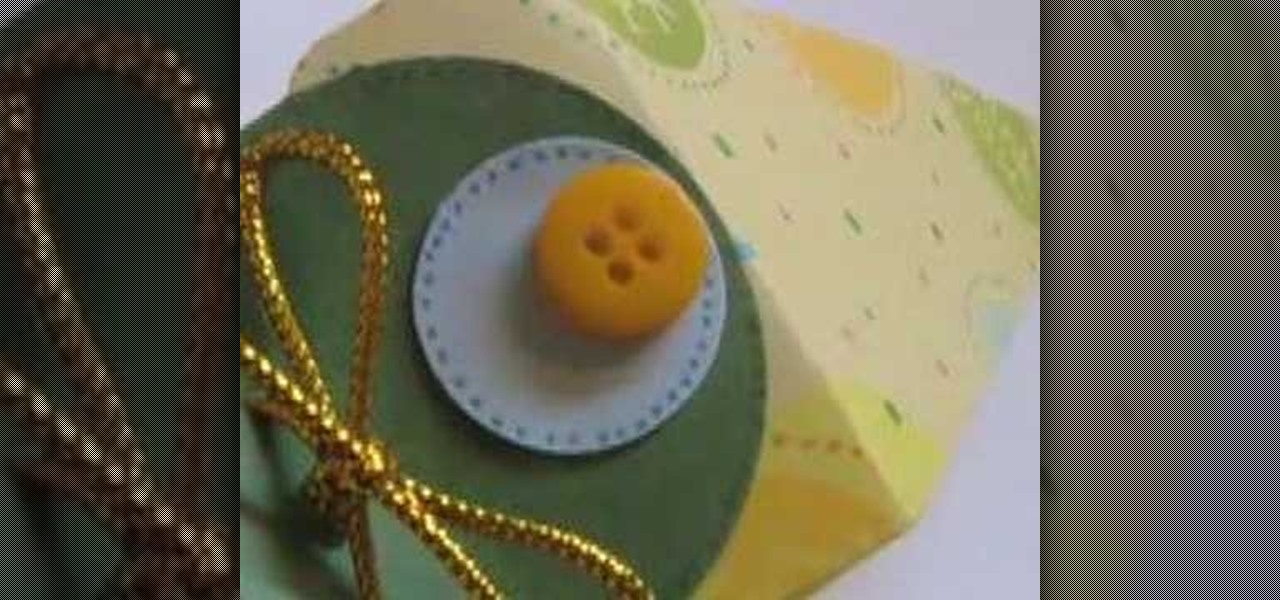
Watch this instructional arts and crafts video to make a charming pyramid shaped gift box. Fill this gift box with candies or other small surprises to give a personalized, yet affordable gift to a friend, teacher or boss. You can use store bought wrapping paper or use recycled pieces of scraps and ribbon. This unique gift is also good for holiday parties, grab bags, valentines, party favors and birthdays.

Watch this instructional scrapbooking video to make a charming t-shirt shaped Father's day card. This is an affectionate Father's Day card which can be personalized to really charm your dad. You can use store bought cut outs or use recycled pieces of scraps and ribbon. This unique card is also good for thank you cards and birthdays.

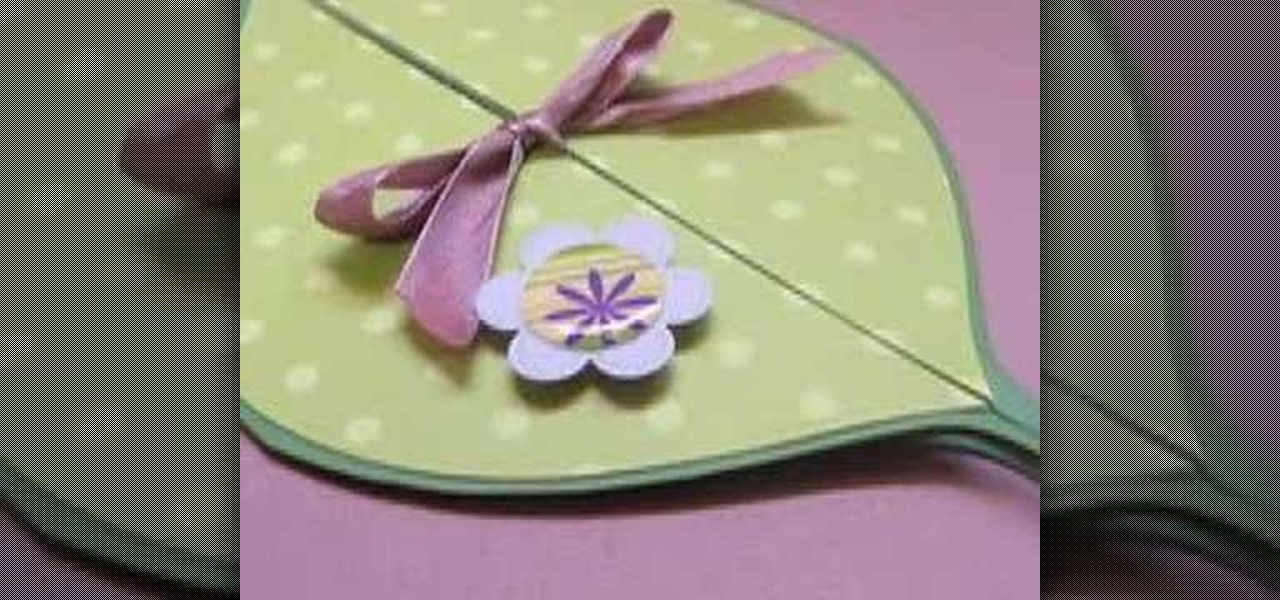
Watch this instructional scrapbooking video to make a leaf shaped card. This is a sophisticated card to give an old friend. You can use store bought cut outs or use recycled pieces of scraps and ribbon. This unique card is also good for Easter, birthdays, and graduations.

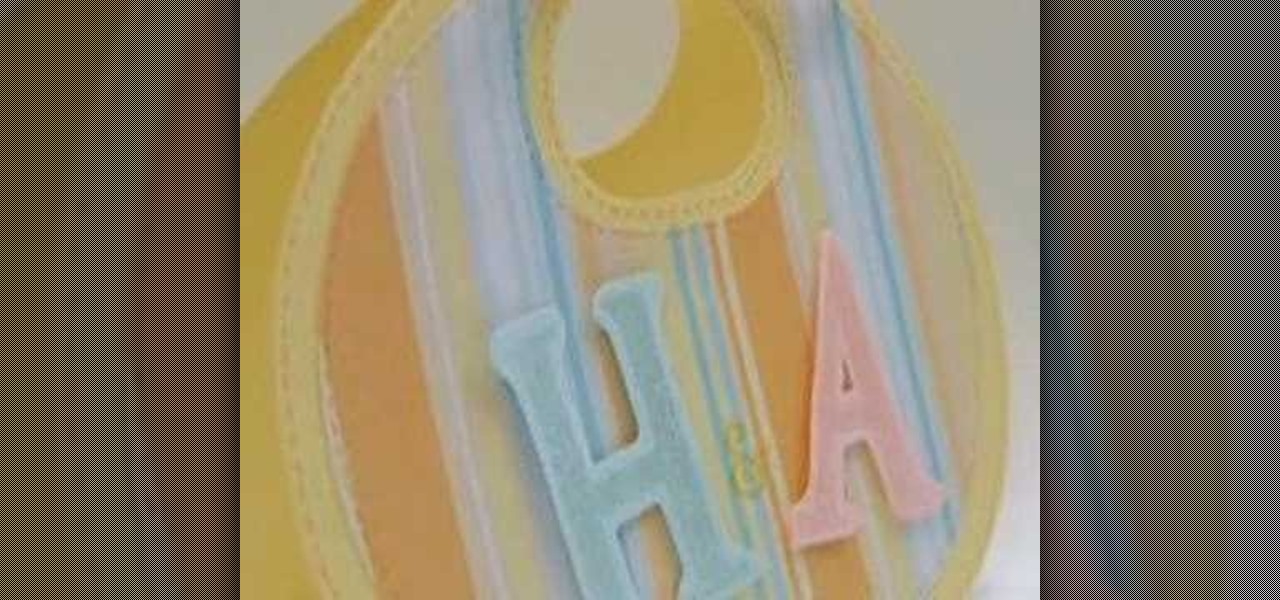
This instructional scrapbooking video will teach you how to make a congratulatory card for a baby. This adorable card serves as the perfect first birthday card. Or, simply celebrate the occasion of eating solid foods with this cute baby bib card. Add texture to your birthday card with embossing tools. You can use store bought cutouts and decorations, or make your own out of recycled scraps of paper and ribbon.

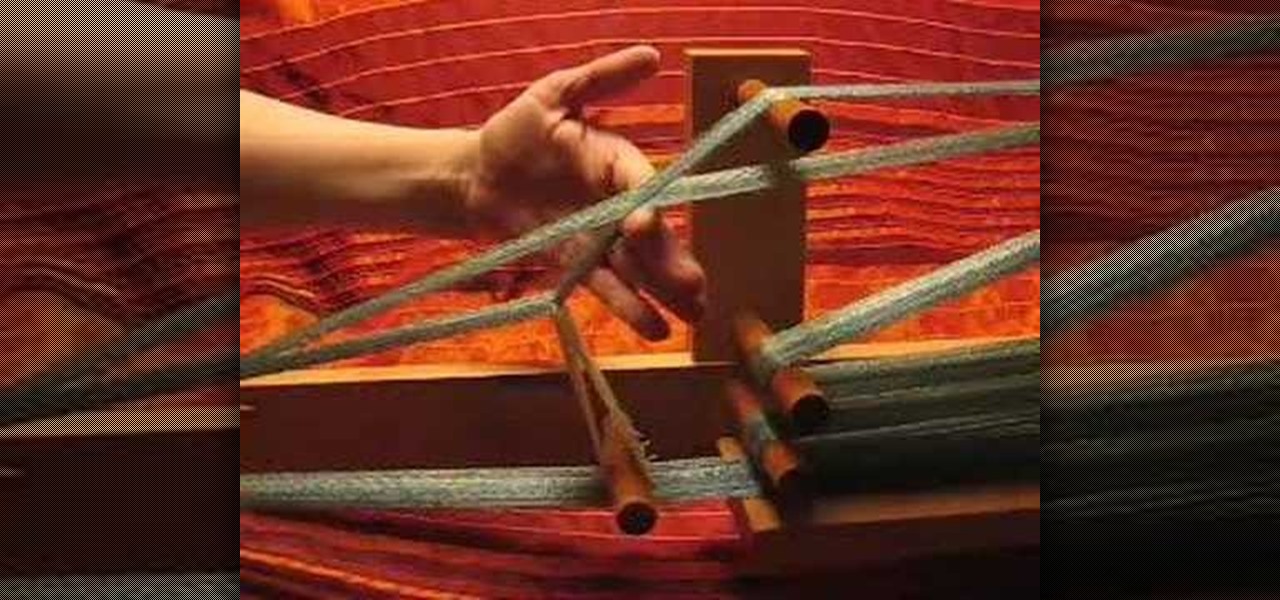
This intro to inkle weaving focusses on the the inkle loom. The weaving area is one one end, in between the weaver and the heddles. For centuries, inkle weavers have used looms similar to this to produce narrow tapes, ribbons and bands. Inkle looms are thought to have their origins in Britain.

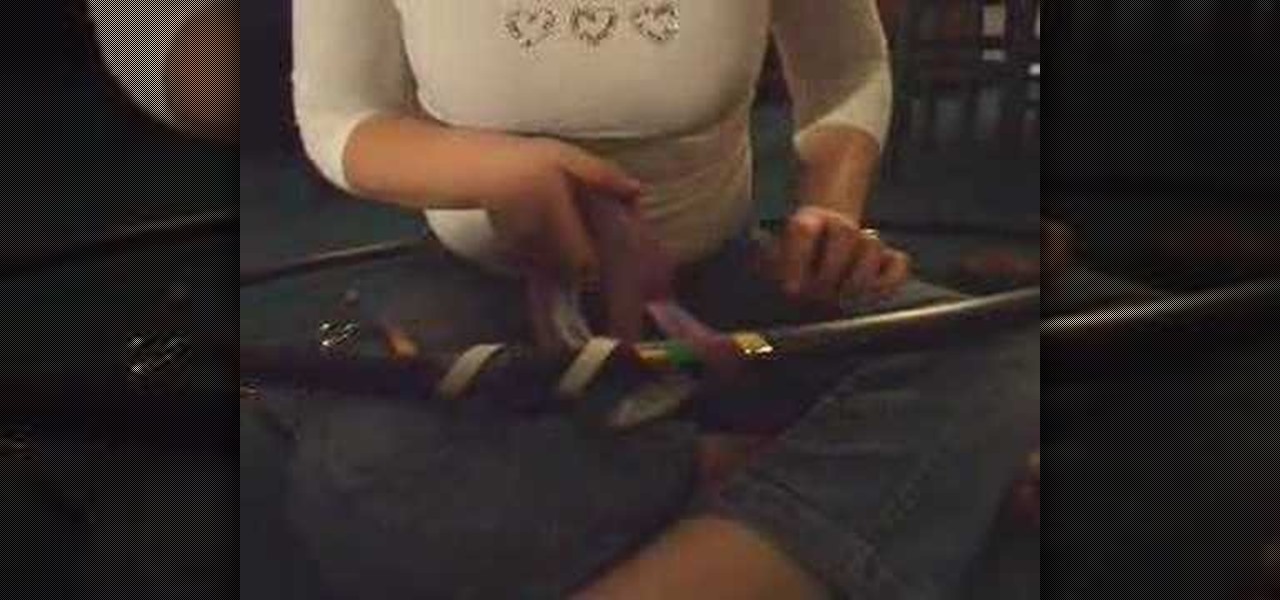
Add a little bit of flair to your hula hoop. Ribbons and tape can add some color and design to an otherwise plain hoop. However, it's important to be careful of certain techniques when decorating as to not disturb the aerodynamics of the hula hoop. Watch this video tutorial and learn how to tape and decorate a hula hoop.

Everyone has extra t-shirts sitting around that don't get used anymore. Give one a new life, by sewing together a new outfit. The sexy GiannyL demonstrates this DIY closet hack that's simple and cheap. Just find a t-shirt, a needle, thread, pins, and a ribbon. Watch this video fashion design tutorial and learn how to turn a t-shirt into a top and skirt outfit with Gianny L.

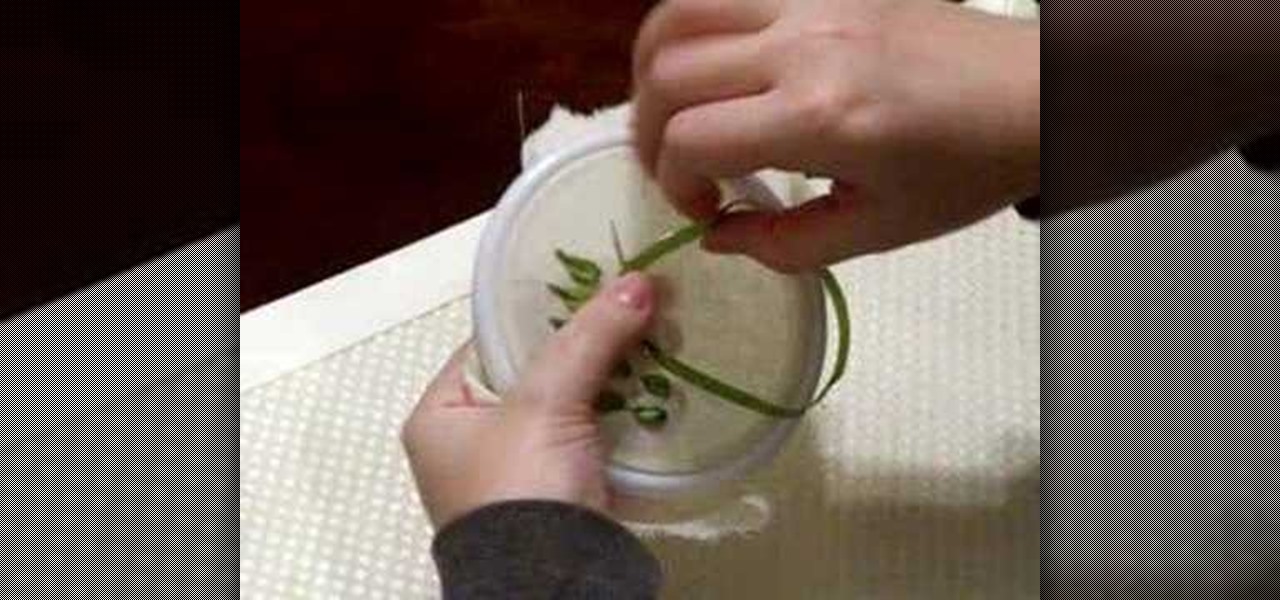
This video is a tutorial for Silk Ribbon Embroidery for the Bullion Tipped Lazy Daisy Stitch. This stitch is extremely cute, and all your friends will be jealous of your embroidery of the lazy daisy.


