In this video tutorial, Creative Cow contributing editor Eran Stern shows you a very cool way to create 3D ribbon text animation using After Effects CS3 Text tool. Part two enhances the 3D ribbon text composition by adding a ripple effect to the floor plus a flock of fireflies that dance around the scene. Create tornado text in After Effects - Part 1 of 2.
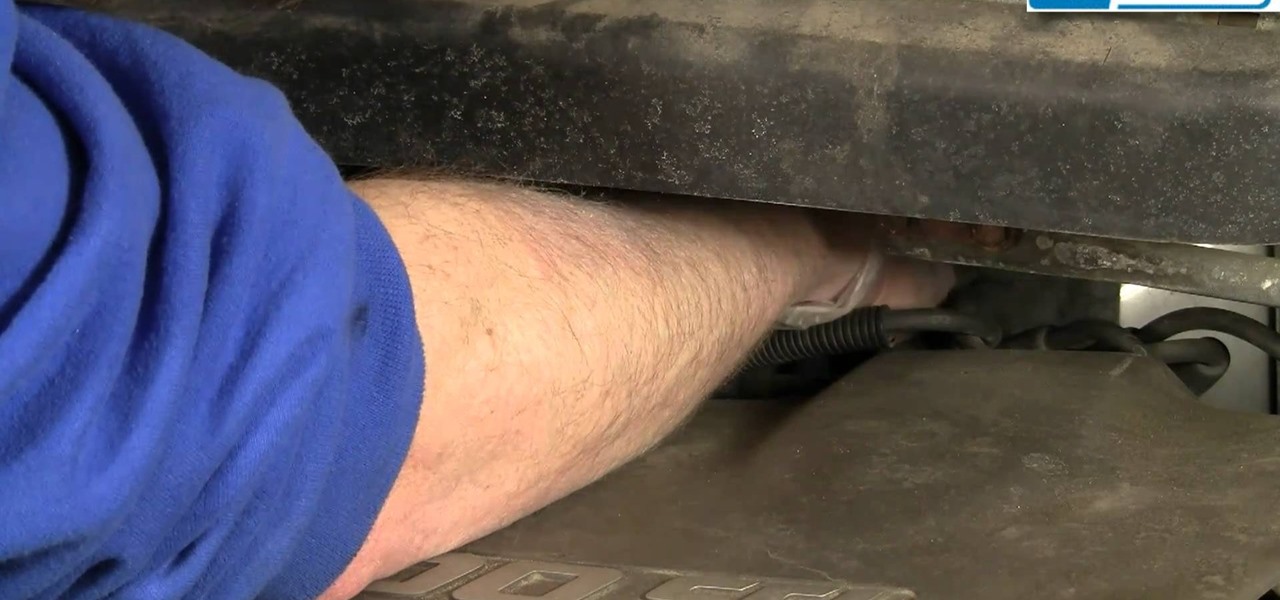
Every van is put together in a different way, so make sure that the car you want to fix is either a Chevy Venture or Pontiac Montana. You will need a quarter inch ratchet, a two inch extension for the ratchet and a 732 socket.

Are you into Gaara? If so, why not make one of his gourds? Materials you will need:
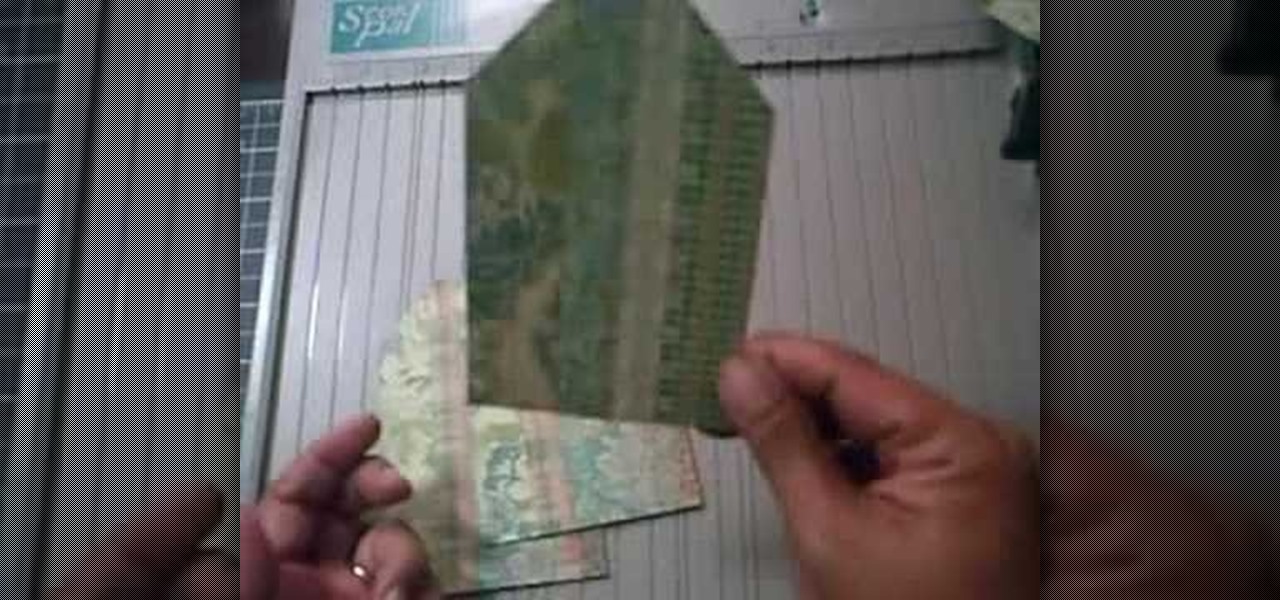
This video explains how to create a 4z4 tri-fold mini album. The first step is to score your designer paper at four inches and then fold along the score mark. The previous step is completed three more times until you have four score marks along your paper. Three separate pieces of paper are then cut measured at three and half inches. Your chosen picture is then glued into the center of your original twelve inch panel. using the three individual pieces of paper you must glue them around the pi...
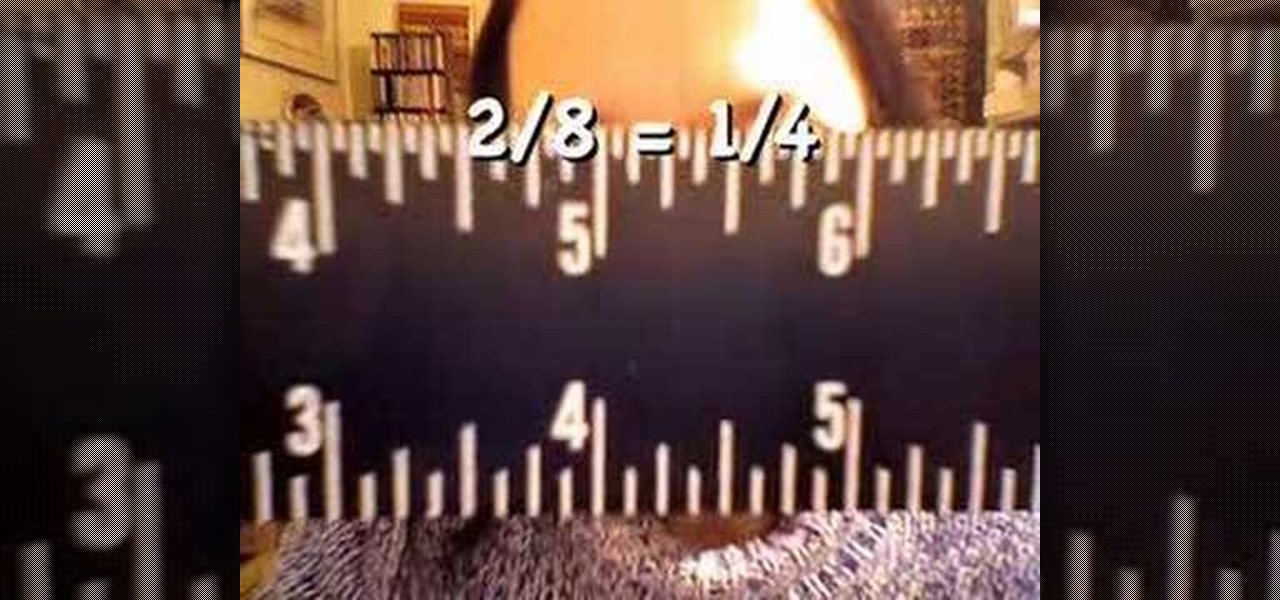
In this video, we learn how to read a ruler. First, grab you ruler and look on the top and the bottom of it. The top is divided into different marks that shows inches, half inches, and quarter inches. If you aren't familiar with reading this, just use the markers at the top to help you count between 1/4, 1/2, 1/8, etc. The other side of the ruler is used for centimeters, which you usually will not use in the United States very often. Learning how to read a ruler can help you get better with f...
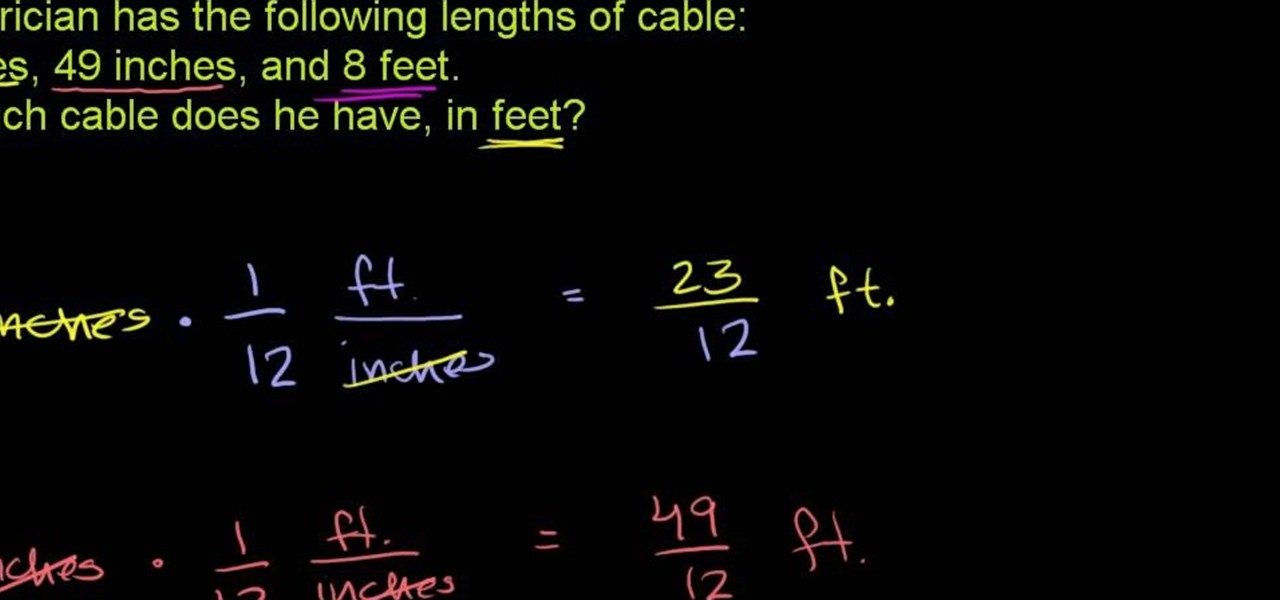
From Ramanujan to calculus co-creator Gottfried Leibniz, many of the world's best and brightest mathematical minds have belonged to autodidacts. And, thanks to the Internet, it's easier than ever to follow in their footsteps. With this installment from Internet pedagogical superstar Salman Khan's series of free math tutorials, you'll learn how to sum inches and feet, expressing your result in feet.

The great thing about owning a car is the ability to do whatever you want with it. This ranges from adding a certain type of brake pads to an awesome looking spoiler.

An animated GIF is a great addition to any website. By animating your image, you will draw someone's eye to it almost immediately. This is especially useful if you are creating an advertisement or a logo.

You can make your own canopy for your boat and save hundreds of dollars from the store bought ones. You’ll need 1 inch pvc pipe, some nuts and bolts and you‘re set. You’ll set you’re canopy off of some swivel brackets that secure on the pvc pipe with 2 inch screws. This video will show you how to rig everything and you’ll be sitting in the shade in no time.

In this video we are shown how easy it is to complete the finishing join on a quilt binding. Just before the final join 6 inches of binding should be left over at the beginning and the end, while the rest of the binging should already be sewn down. The two ends of the binding should overlap by at least 6 inches. You will then need to cut the thread and remove the quilt from the machine, then measure the binding width and overlap the two pieces and cut off the excess binding to match the width...

Catherine demonstrates how to create an eclectic, sunset-inspired necklace in this video. To create the necklace you must gather 40 yellow bugle beads, 18 orange chip beads, 3 mm red round beads, a barrel clasp, 2 crimp beads, 2 bead covers, about 20 inches of beading wire, clippers and pliers. The design is to start by threading a clap and a crimp bead onto the wire, leaving a 2 inch tail. Then thread on 15 yellow beads, remembering to cover the tail you left with the beads, 3 orange beads, ...

Those interested in learning how to make their own jewelry, can learn how to make a floating illusion necklace by following the steps in this video tutorial. You will need a beading board, beading wire, crimp beads, beads of your choice, a barrel clasp, wire cutters, and crimping/flat-nosed pliers. First measure out how much wire you will need. The tutorial is making a 16-inch necklace. Make sure to cut extra wire. For a 16-inch necklace, this means you should cut approximately 20 inches of w...

This video shows the method to install bifold closet doors. The doors are of two sizes. They include a thirty inch and a twenty four inch door. The video first demonstrates the installation of the thirty inch door. This is then repeated for the other door. The middle line of the upper part is drawn over the opening. The middle line is extrapolated to the sides to put the bottom support. The tracks are installed on the top. The floor bracket is fitted at the bottom. The top glides are installe...

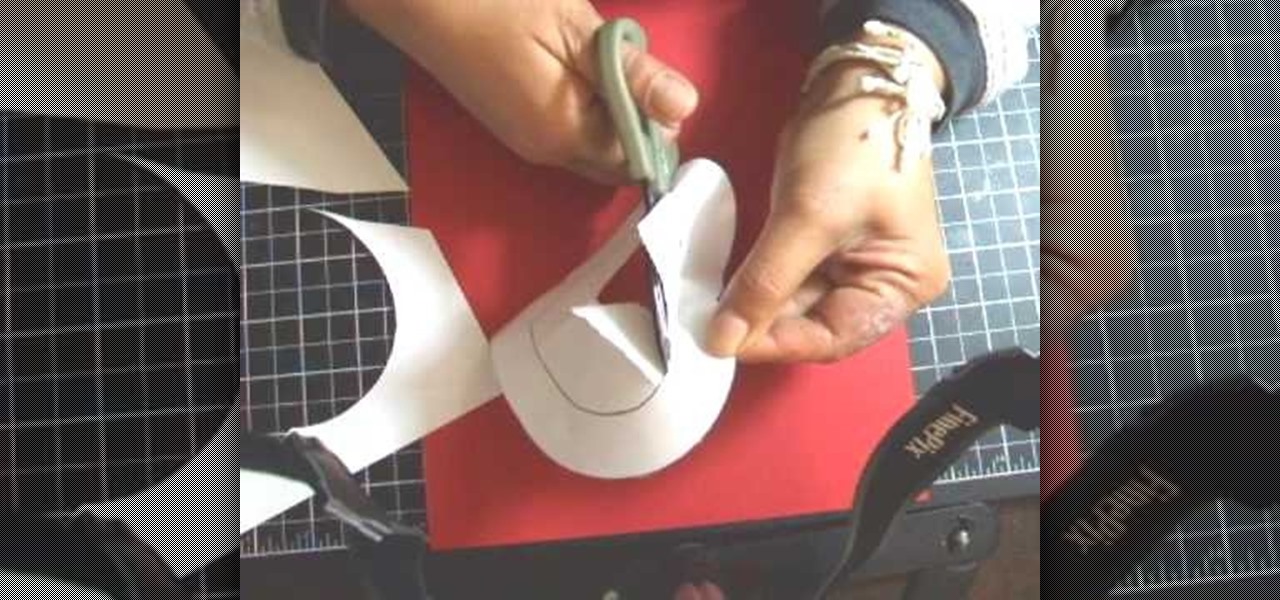
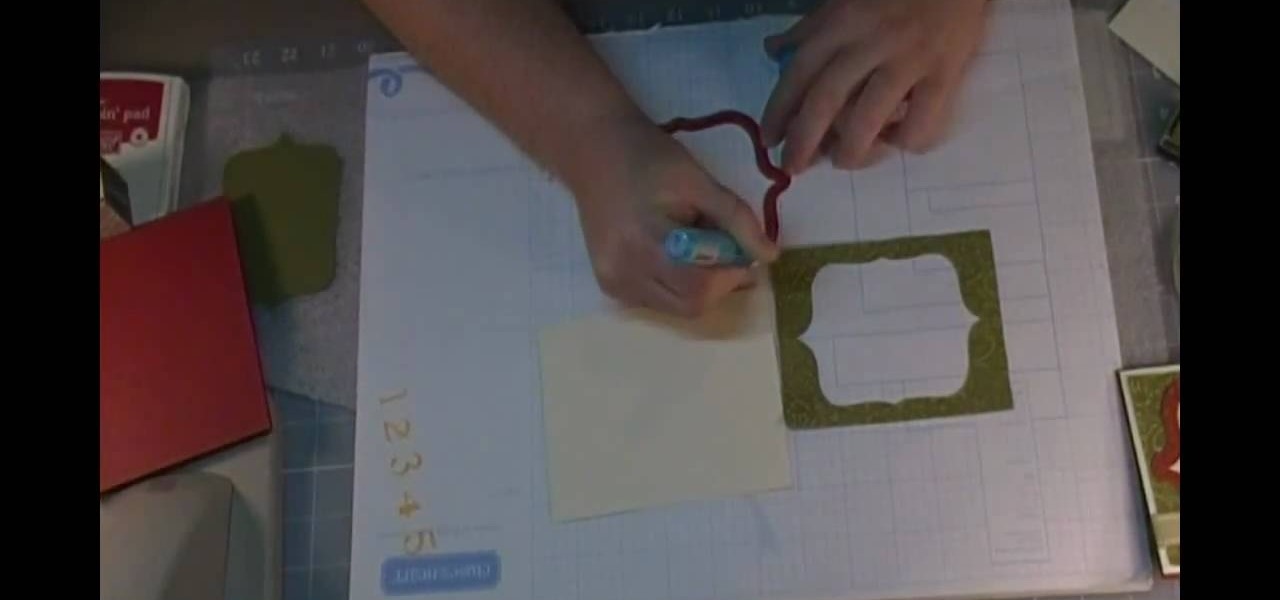
The template for this heart-shaped window card can be found at [www.stampininspirations.blogspot.com stampininspirations.blogspot.com]. You will need the template and cardstock and the other usual materials needed to make a card. You can re-size the template to about 5 1/2 inches across by about 5 1/2 inches high. Cut out the heart and remove the center heart as well. Take an 8 1/2 by 11 inch piece of red card stock and fold it in half, then trace the inside and outside of the heart-shaped te...

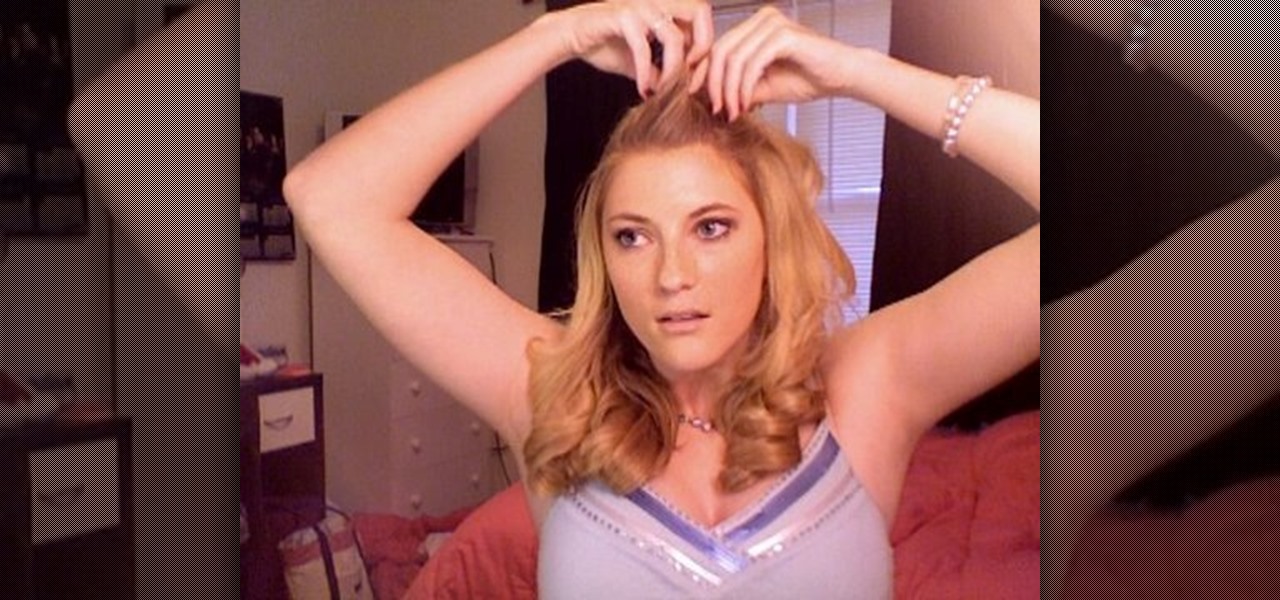
This video author explains how to curl hair with a curling iron. She uses a 2 inch curling iron for flipping the ends of her hair out, or to cover up frizziness at the ends. The next curling iron she shows is a one inch curling iron, and she explains how it snags her hair. The one she's going to use for the video is a different one inch curling iron. She uses two clips to split her hair into two sections. She curls the bottom layer first, and then uses hairspray to prolong the curls. She does...

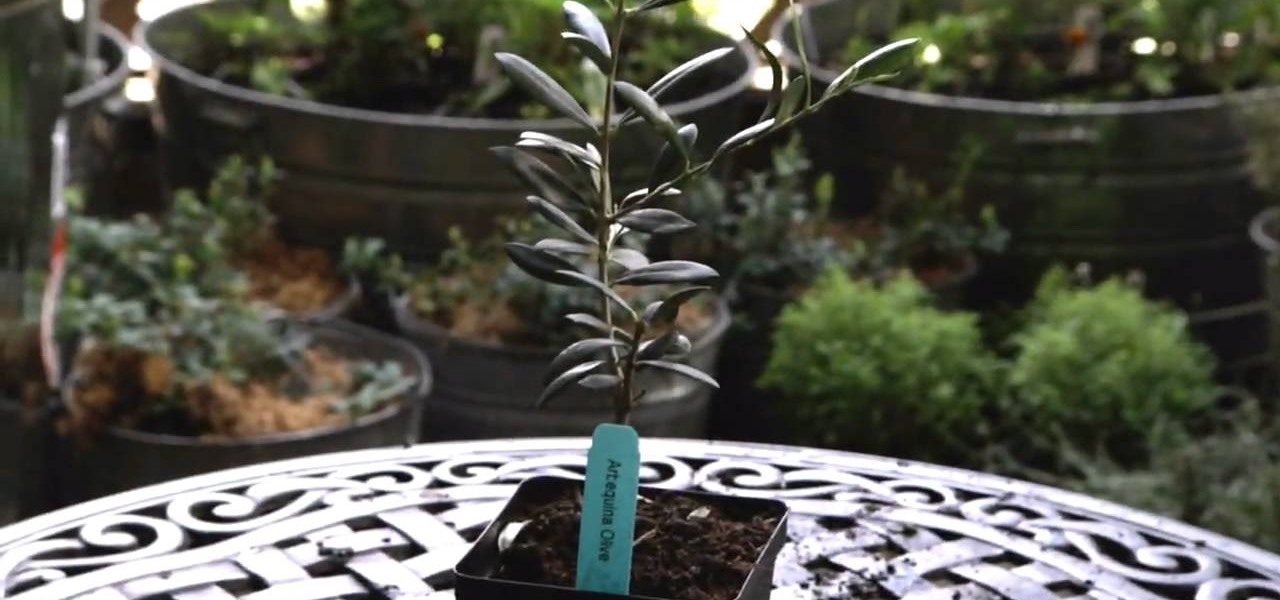
Patti Moreno, the Garden Girl, describes how to grow an olive tree in a patio container garden. She will be able to bring the trees indoors for the fall and winter. If the sapling comes in a 4-inch pot, plant it in a 10-inch container. If your container does not already have drainage holes, use a hammer and nail to poke holes in the container bottom. Put a layer of crushed stone in the bottom of the container for drainage. Fill the container with organic soil and a trowel full of organic fert...

If necessary, cut kimchi into desirable size (about 2-inch lengths) Cut green onion into 2 to 3-inch length pieces

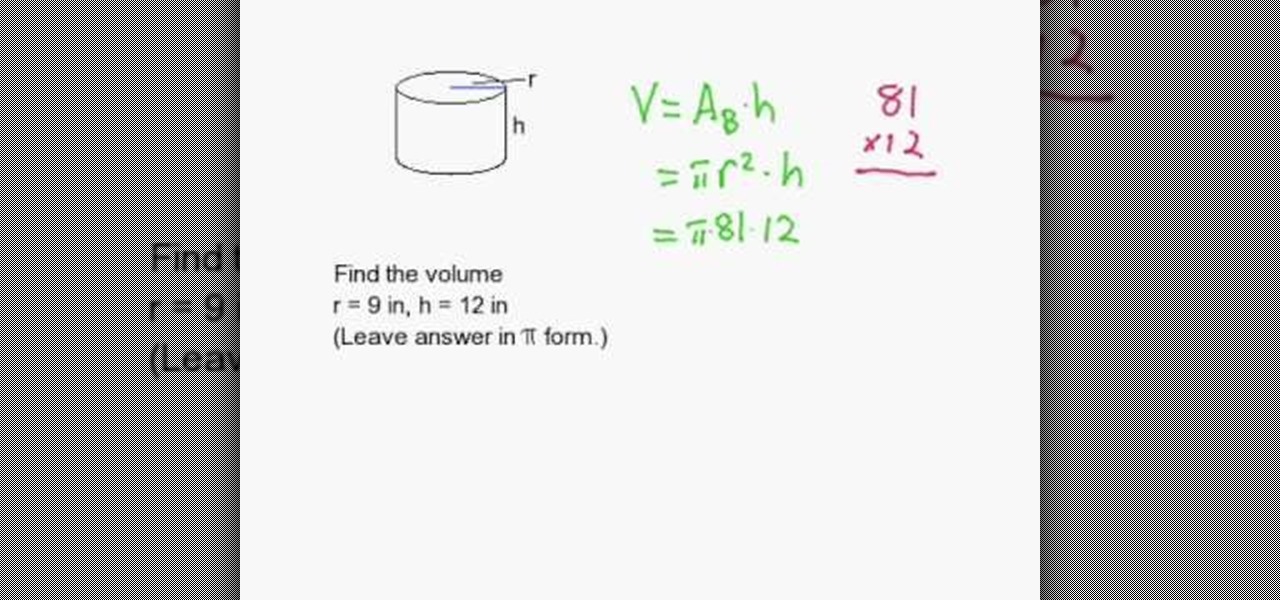
This is an excellent educational video on mathematics. This video teaches you how to find the volume of cylinder with an example. The volume of cylinder is the bottom area multiplied by the height. Here, the height is 12 inches and the radius is 9 inches. The bottom area is Pi r square=piix81 sq inches. volume = piix81x12 = piix972

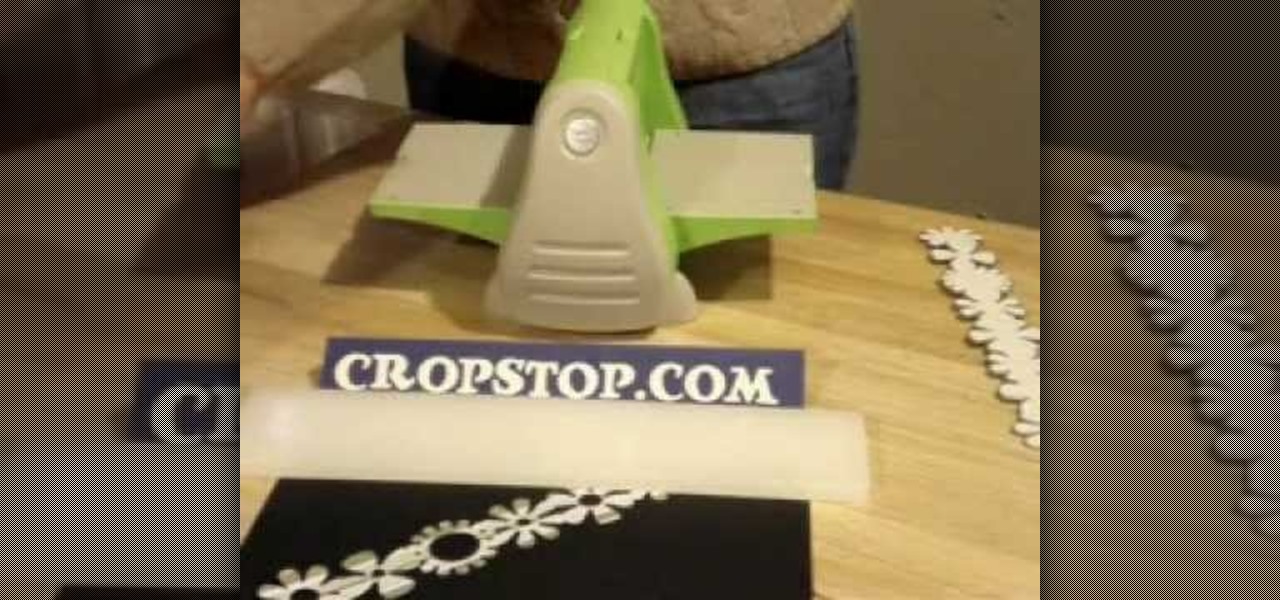
While embossing machines are marketed to be used brand specifically, all those QuicKutz 12 inch border dies and embossers are completely compatible with a Cuttlebug embossing machine. Make the most of your stamping materials without having to purchase to much of everything. Watch this video crafting tutorial and learn how to use QuicKutz 12 inch border dies in a Cuttlebug embossing machine.

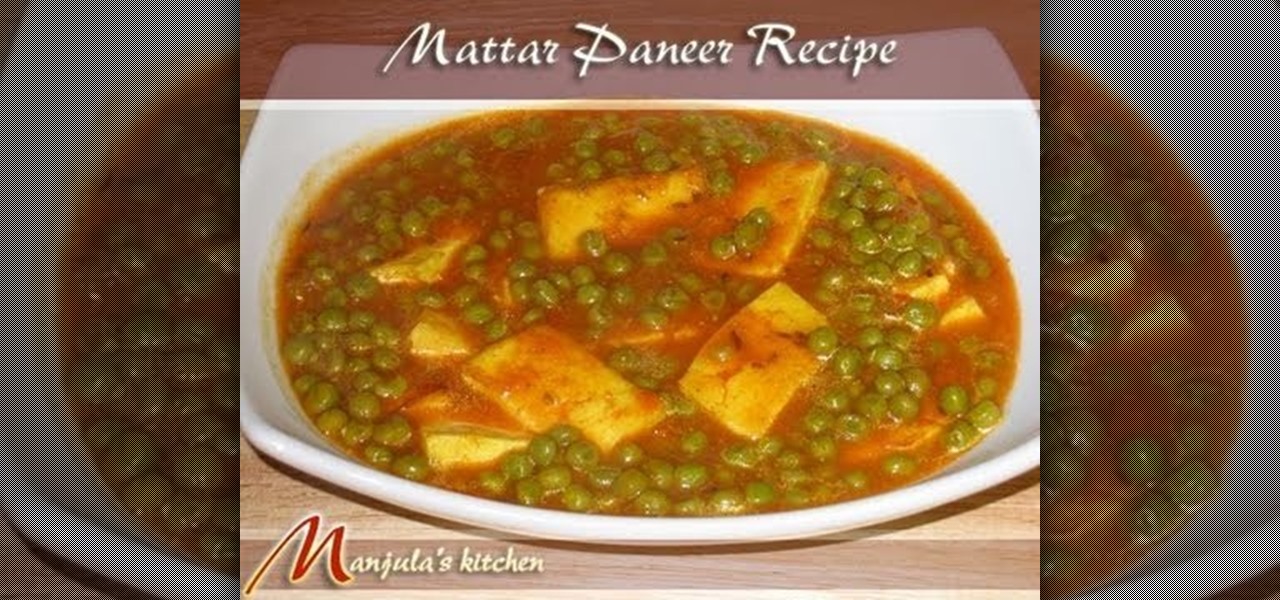
Watch as Manjula prepares mattar paneer, a popular North Indian dish. You will need:

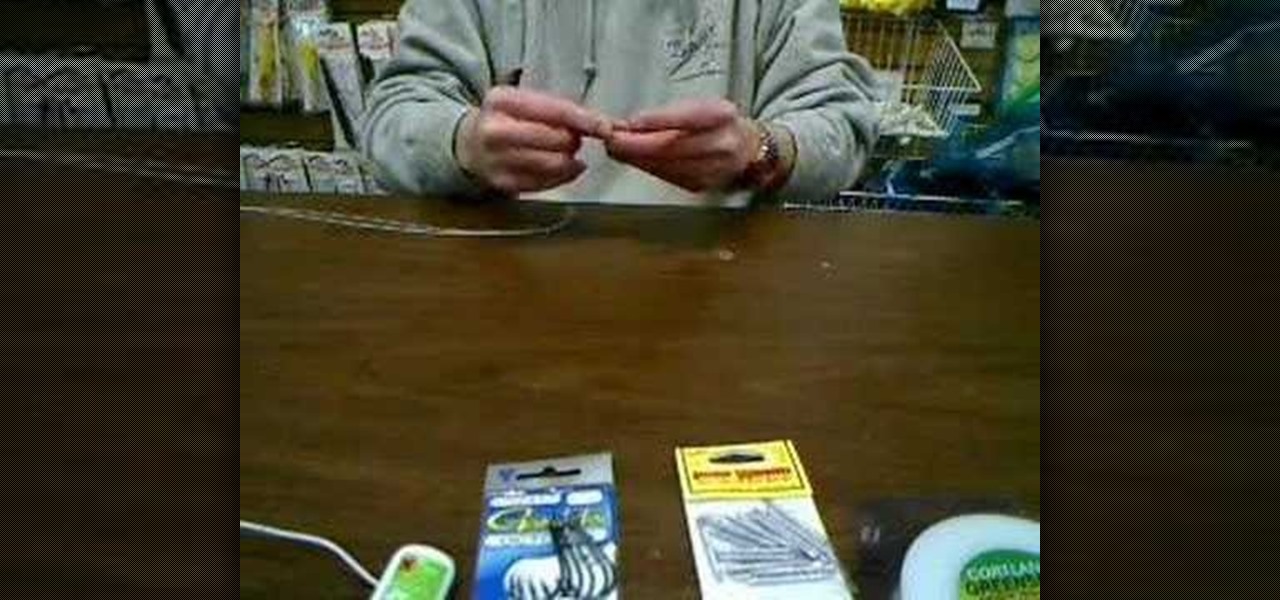
Steve walks us through rigging a 9" Slug-go. You can't deny that he knows what he's talking about. You just can't. See it in this two-part video.

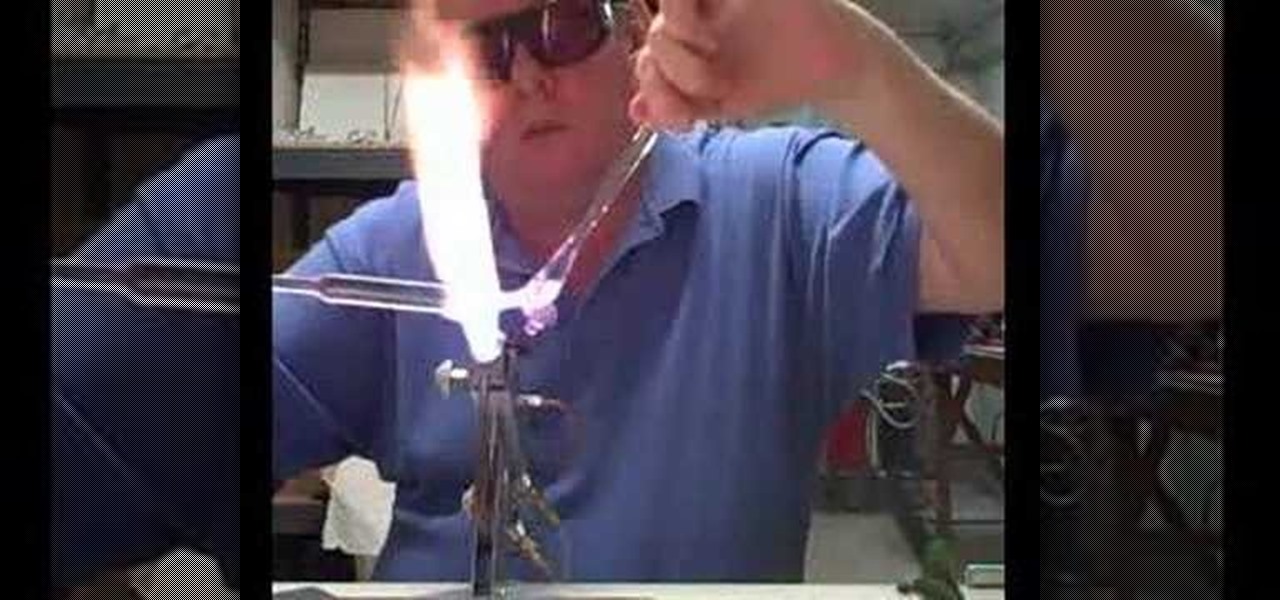
Learn how to make a glass sculpted sea lion in this lampworking tutorial. I used 16 mm rod for this larger piece. It measures about 4 inches long and 1 inch diameter.

John Cannon shows you how to install a one inch bracket lift on an Outlander.

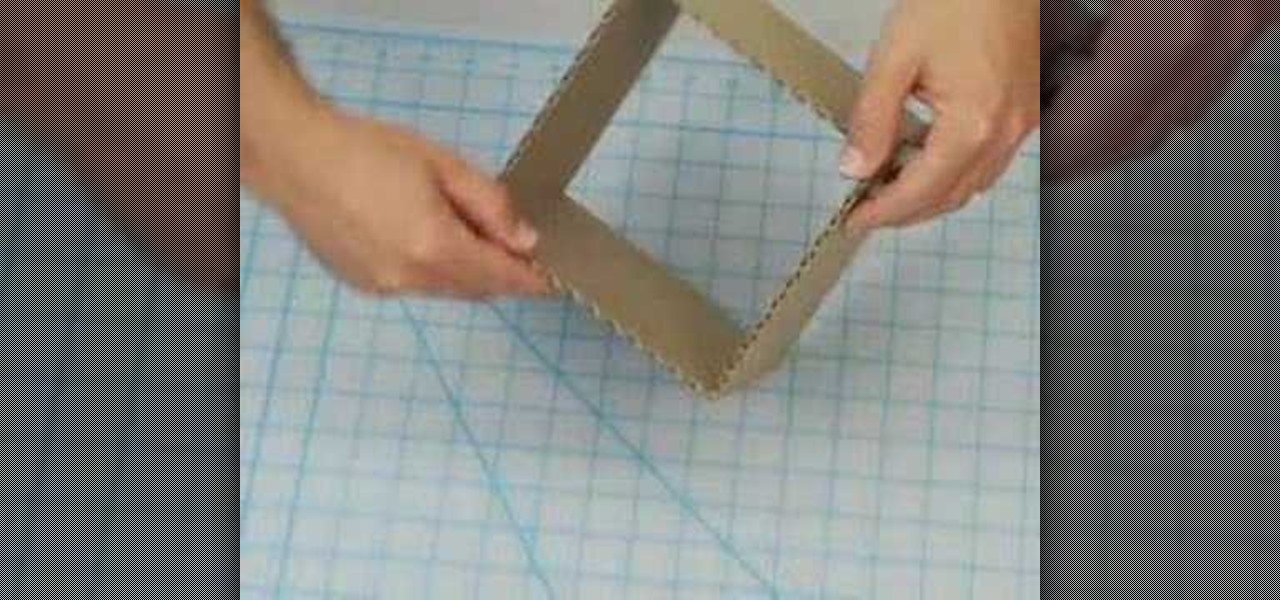
Learn the basic steps to build a 6 inch cube for the Form and Space Foundation class at Otis College of Art and Design. This video is great for any beginning design and art students.

In order to make the Spinner Pinwheel Card with your Cricut, you will need the follow: the Cricut Wild Card cartridge, card stock, ribbon, brads, printed/patterned paper, adhesive, and an ink pad.

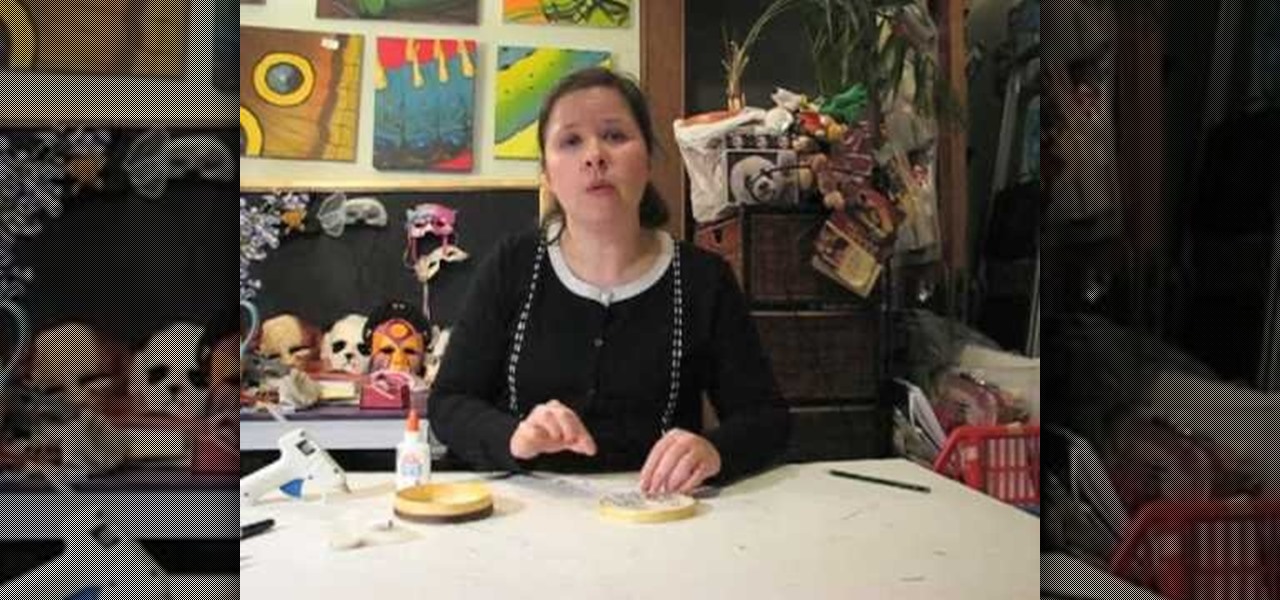
This video shows how to make a cute vintage looking jewelery box. A cardboard cheese box forms the body of the jewelery box. Other items you will need include mod podge, white glue gesso, masking tape, ribbons, a mirror from a compact, some fabric, and some faux pearls and flowers. Begin my removing the labels from the box. Paint the inside and outside of the walls of the box and the lid. Paint the areas of the box that you just primed with gold metalic paint. Now use the box to trace three c...

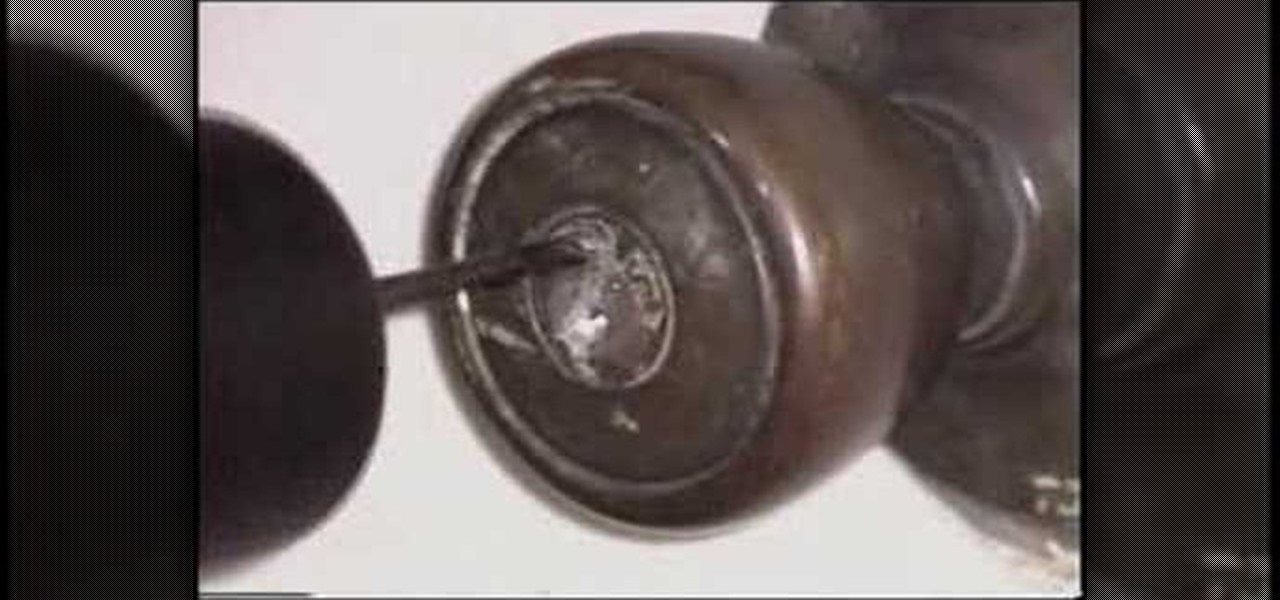
Some locks are easier to drill through than to try and pick, especially if you need to get through them in a hurry! You will need one large power drill and an assortment of drill bits to be able to use this method. First, drill a 1/8 inch pilot hole just above the keyhole. Then follow through with a 1/4 inch or larger drill. After just a minute or so of drilling, you should be able to get through the lock!

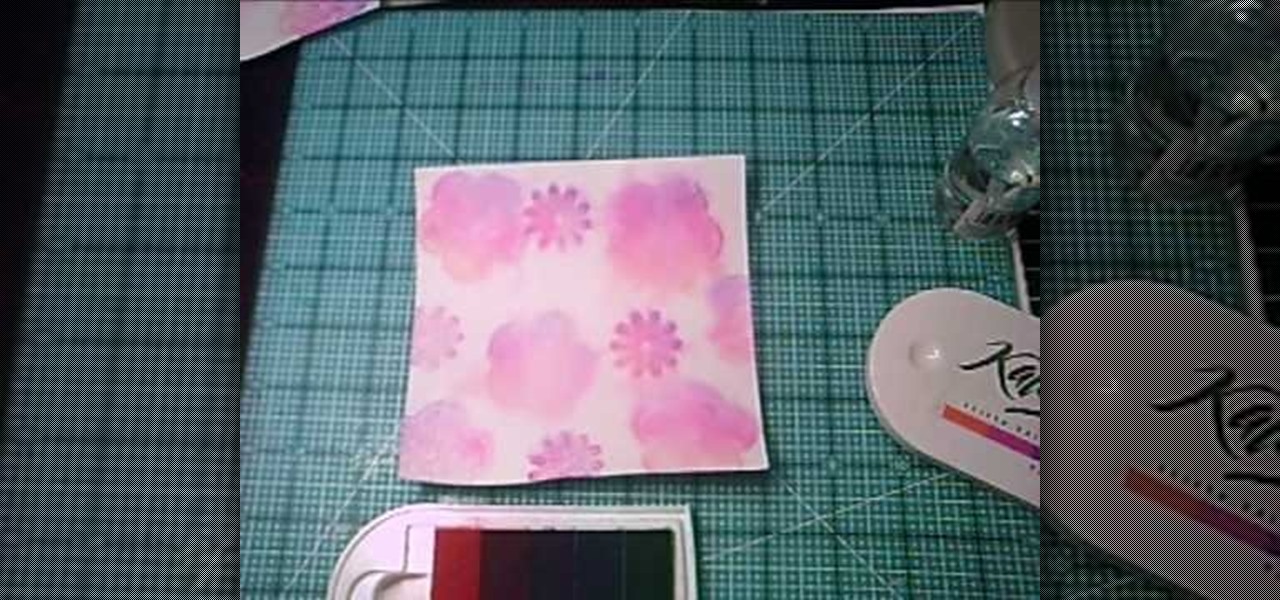
In this tutorial, we learn how to use the rubber stamp technique wet paper watercoloring. This is easy and fast and it will create a water colored background on your cards! First, dip your stamps into the watercolor and then stamp them onto your paper. Either wait for these to dry or dry them with a blow dryer. Once it's dry, go over the image again with the stamps and the watercolor. From here, it will appear more bold and decorative. Then, let this dry and start to decorate with ribbon, gli...

In this tutorial, we learn how to create a simple Christmas card using Cricut. First, you will need to take your card stock and fold it in half to create your basic card, pushing hard on the crease. After this, place a green holiday print on top of the front of the card and adhere it down. Next, cut out a bell shape outline, then cut out a piece of white paper in the same shape. Apply the white paper down first, then place the bell frame over the top of it. Push down a stamp sentiment on the ...

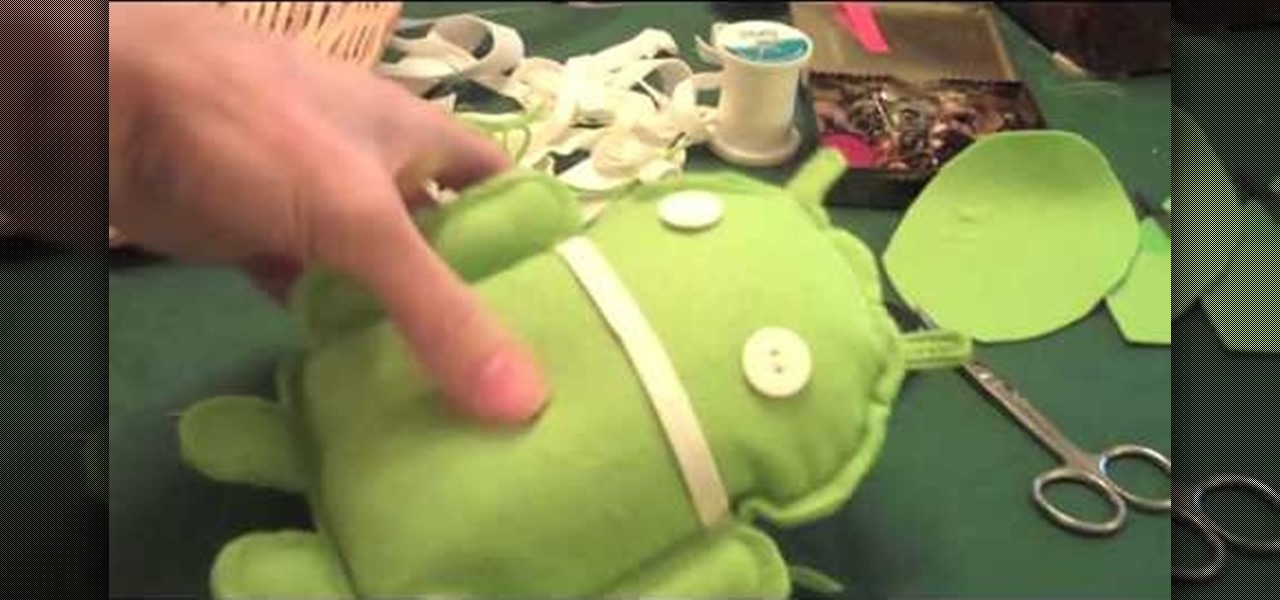
In this tutorial, we learn how to make an Android doll at home. First, print out the Android logo from the internet, making it large enough to make a doll. Now, cut out the print out with scissors cutting out the different sections individually. Next, place the cut outs onto a piece of green felt, then pin it down so it doesn't shift around. Now, cut around the paper so you get the same pattern. After this, cut out all the other parts, making two of the shapes so you have a top and a bottom. ...

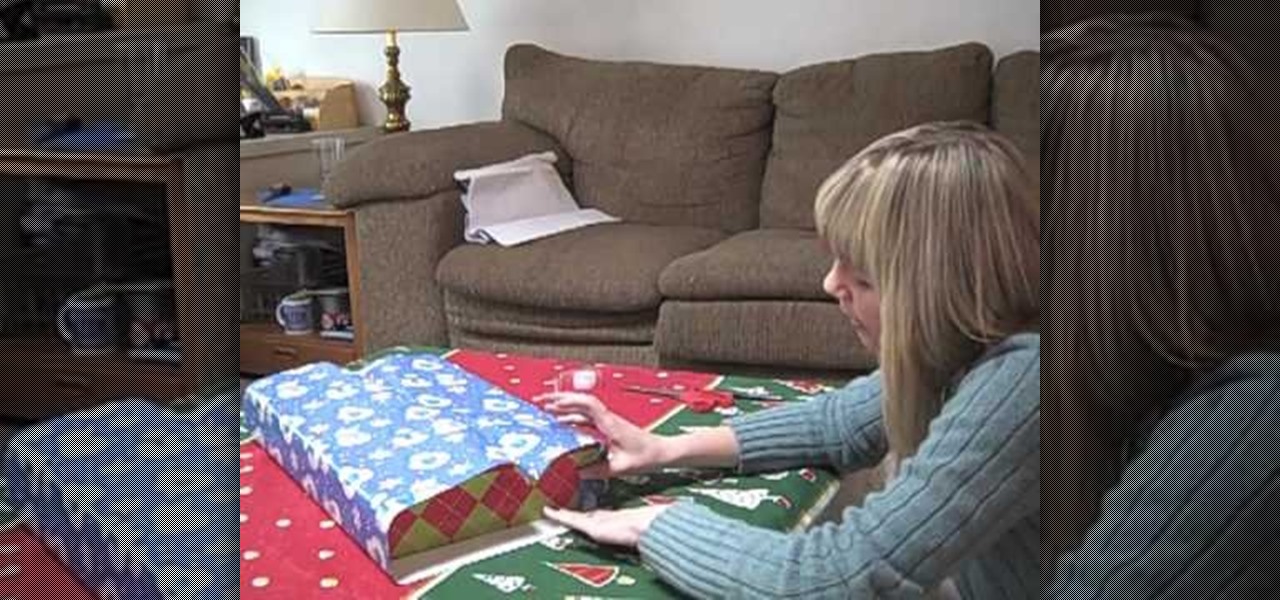
In this video, we learn how to wrap a gift so it comes out perfect every time. Start off by unrolling the wrapping paper out on a flat surface and cutting out a large square. After this, place the box upside down onto the wrapping paper. After this, meet the two ends to the middle of the gift and tape it down. Next, start to crease the edges of the sides down and flip the gift over. After this, push the top of the sides down, then tape it. Push the sides and bottom up and then tape it togethe...

So many gift givers are mislead into believing that it's only the gift that matters, so the gift bag or wrap can be cheaply purchased at the gas station an hour beforehand and then thrown together in a slapdash manner.

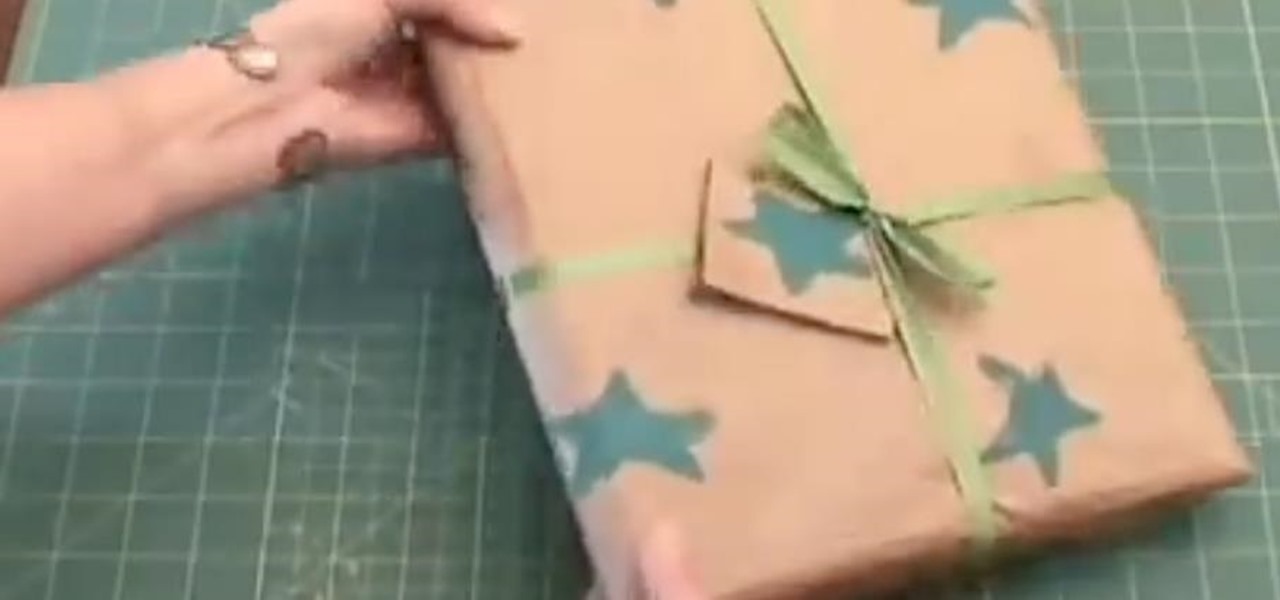
In this video tutorial, viewers learn how to gift wrap using recycled material. The materials need for this project are: a potato, large paper bag, tape, ribbon and paint. Begin by cutting the potato in half and draw a simple shape onto the sliced surface of the potato. Then cut out the negative part of the shape with a knife. Now open the bottom of the paper bag and cut down the side so that it lays flat. Then brush some paint onto the potato stamp and press it down along the paper to form a...

Add some fizzle and sizzle to bath time with a homemade bath bomb. Bath bombs make great holiday or birthday gifts.

This holiday season, become a wrap artist! Learn how to make every Christmas present look festive, no matter what shape or size. Wrapping Christmas gifts can be quite the bore, but when you add a little artfulness, it could be more fun than ripping it off and finding your present.

This film was awarded the Green Ribbon in Itami Film Festival, 1993. Learn how various techniques of animation work and see some amazing examples- including an animated pin up girl! The film is in Japanese dialogue with English subtitles.

Two dog pools, some hardware, and damn, you've got yourself a big yo-yo. Chris Allen, a professional yo-yoist (yes, this exists) is claiming world's biggest yo-yo status with his latest creation. It stands 35 inches across, 18 inches wide, and weighs 5.4 pounds. Watch below as Allen tests it off the roof of parking garage of the National Yo-Yo Museum in Chico, California. Previously, Yo Mama Ain't Got Nothin' on Jensen Kimmitt (AKA The Yo-Yo God)

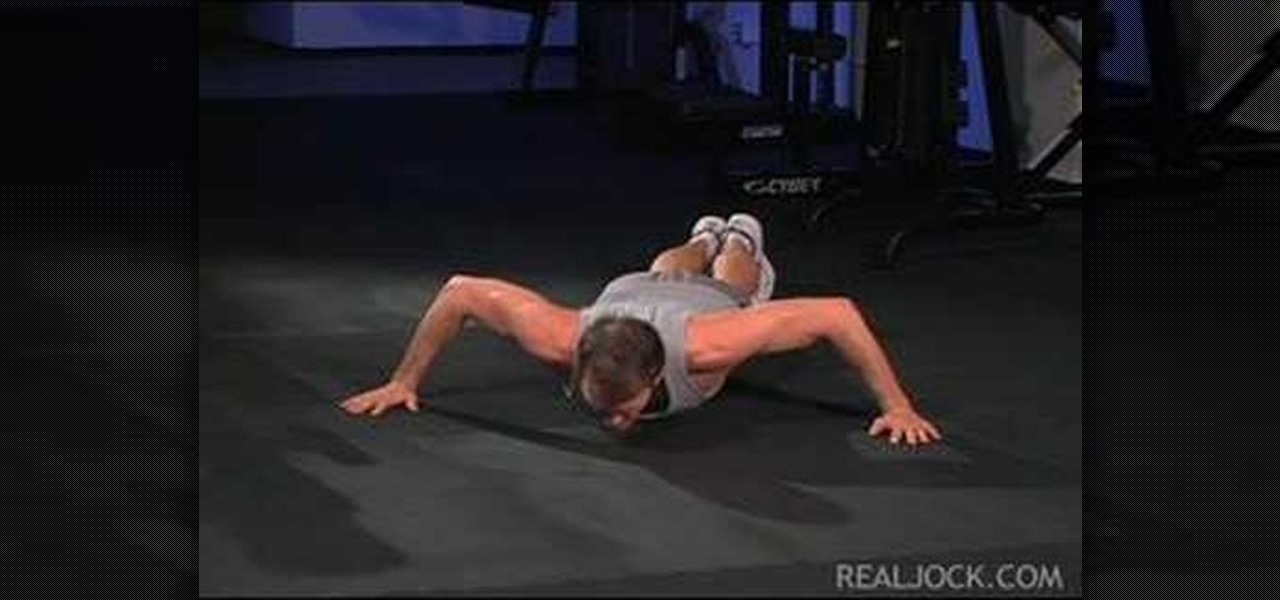
Learn how to do wide push ups. Presented by Real Jock Gay Fitness Health & Life. Benefits

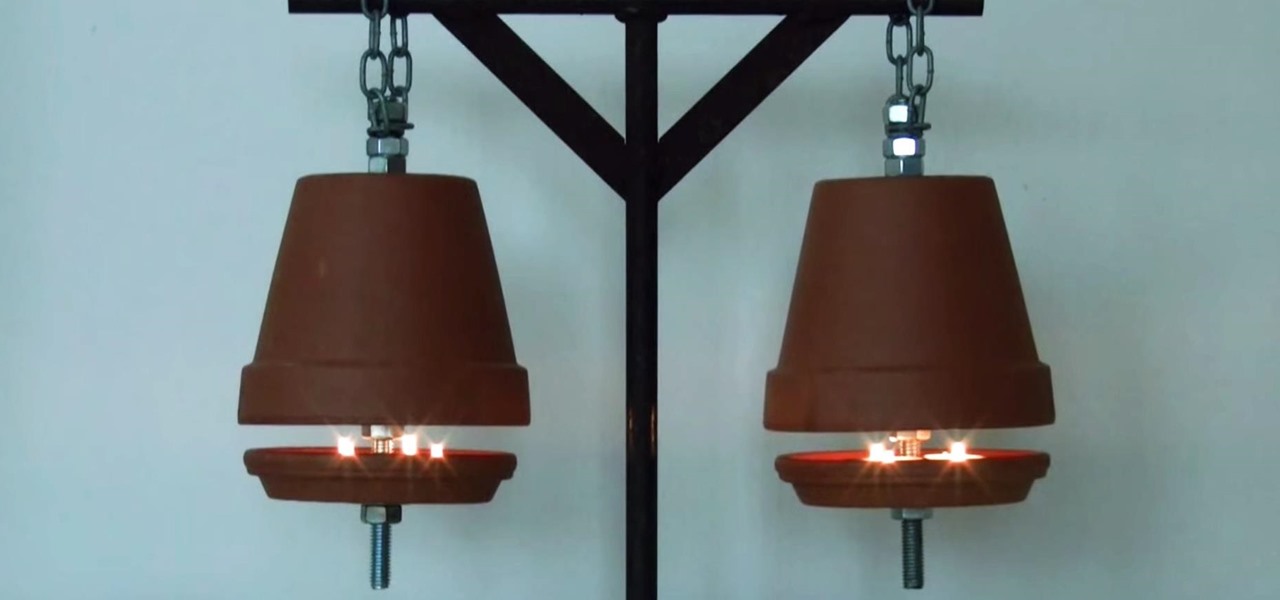
The weather outside might be frightful, but heating bills are downright scary this time of year. Heat is absolutely essential during the winter season, but it's also really expensive. If you aren't blessed with a fireplace or unlimited disposable income, fear not, because you can still heat your home on the cheap using flower pots and tea lights—even if the power goes out.

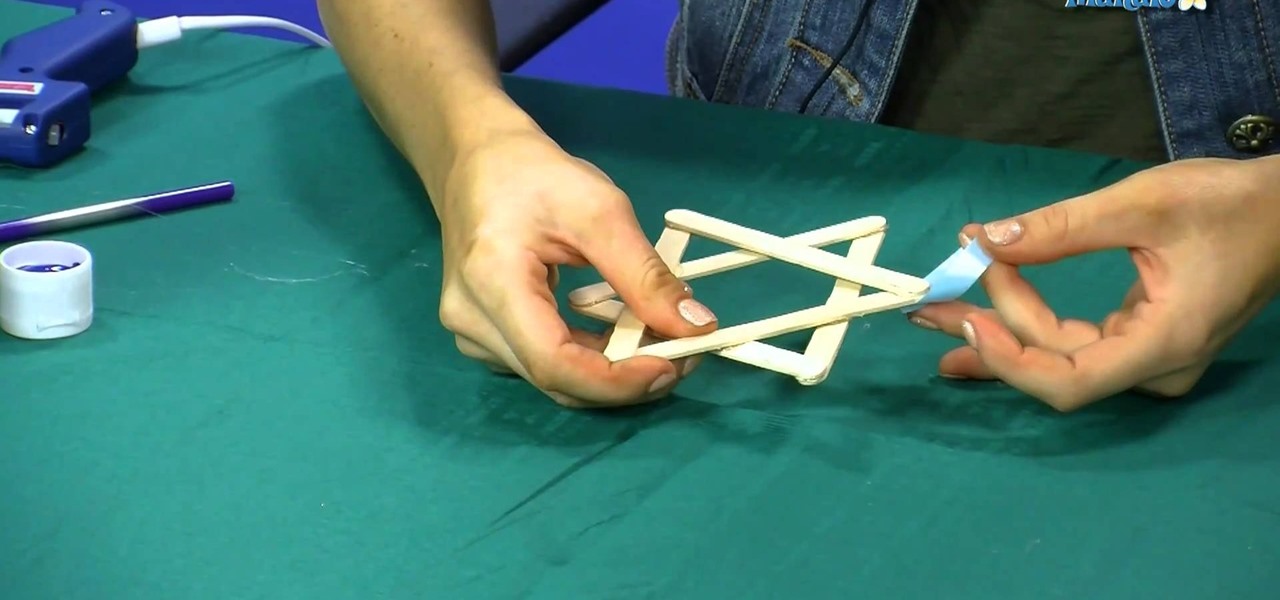
Celebrate your Jewish heritage this holiday season by creating a Star of David with this easy instructional video. Make a Star of David by following along with this easy instructional video. Materials needed to complete this project include blue paint, a paint brush, ribbon, popsicle sticks and a glue gun.


