
News: FarmVille Stats
In the top right corner of your farm you will see a little drop down menu that shows you your stats!


In the top right corner of your farm you will see a little drop down menu that shows you your stats!
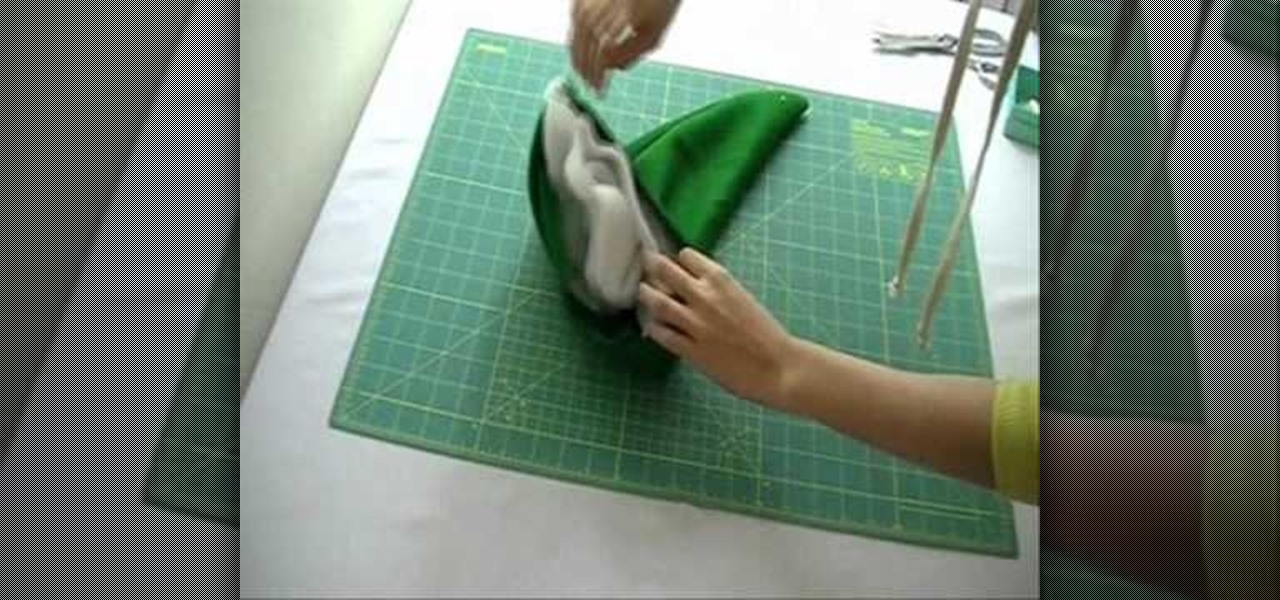
What better way to get into the holiday mood than by wearing a festive Santa or elf hat around your workplace? Send your spirits soaring and get ready for Christmas by making your very on Santa hat.

The video begins with a finished fence being shown as an example of what your final product should look like. The first step is to lay out straight lines with string to create the outline of fence parameter. To set the first post you must dig a five inch hole in the ground which the post is placed in. The post will be set along the string line spaced out about four inches evenly along the parameter. the holes must be filled in with rock or cement to set them securely. You must then nail board...
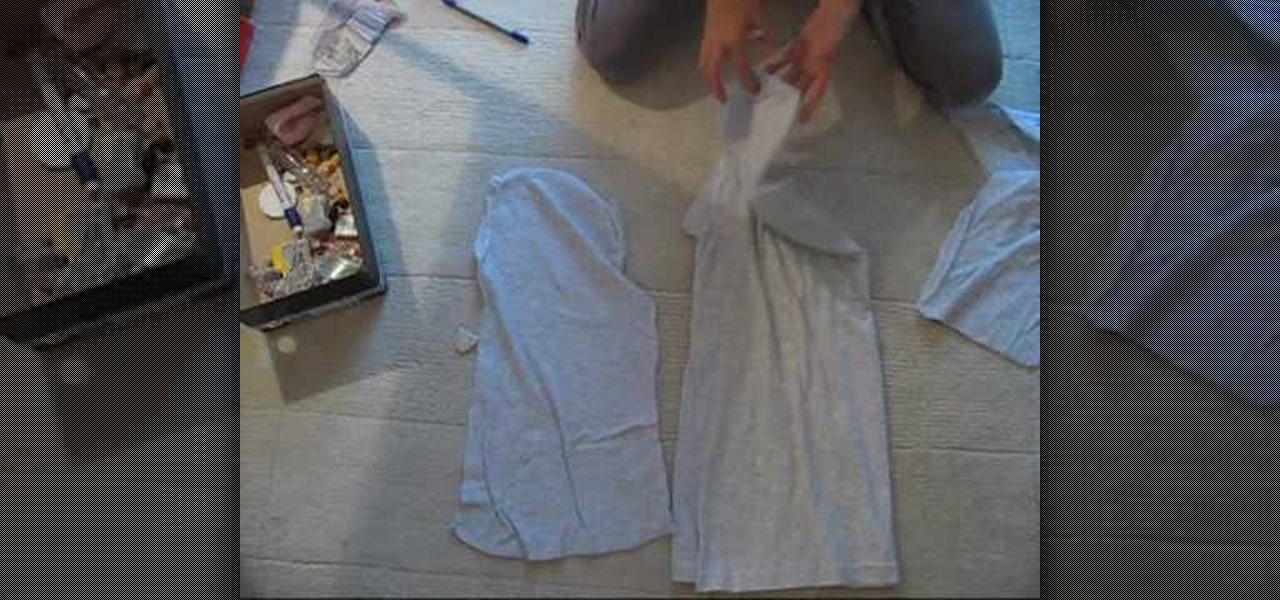
In this tutorial, we learn how to make a hip dress or tunic. First, take an oversized shirt and fold it in half. Next, you will cut the sleeves off and the collar around the neck. From here, you will take the excess pieces of fabric and use those as a guide to cutting out the same shapes from another piece of fabric. Now, turn the shirt inside out and sew it. Measure around the neck, then sew the neck and the sleeves so they are ruched. After this, you will add a ribbon on to wear around your...
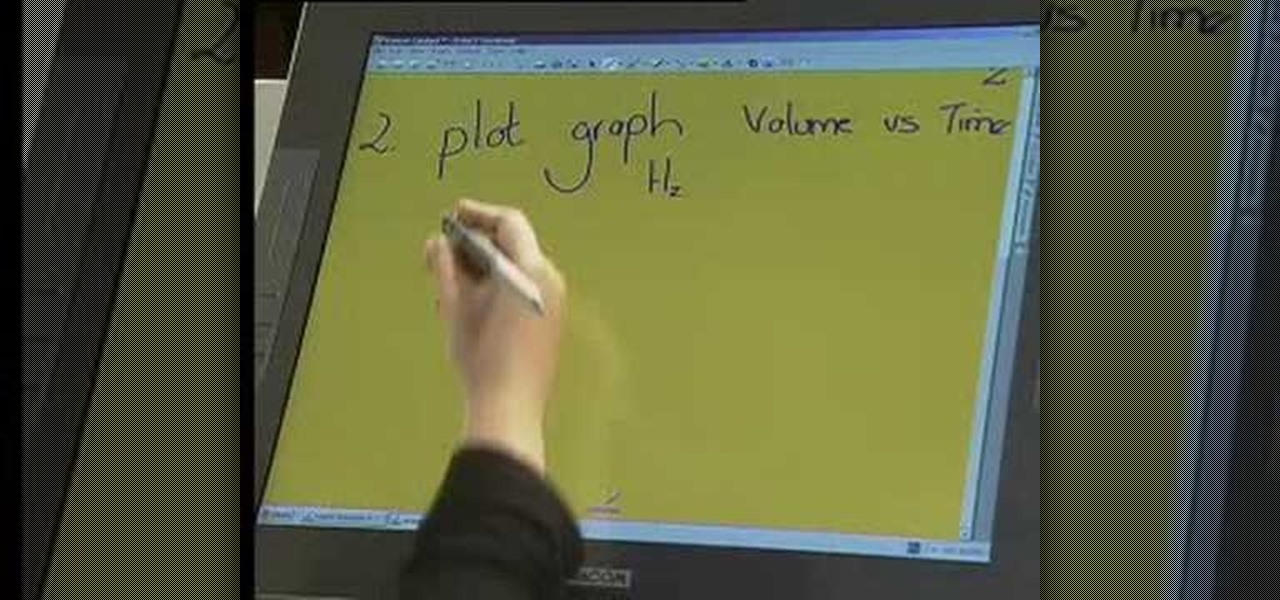
This video tutorial is in the Education category which will show you how to understand chemistry and chemical change. The question here is 10g of Mg ribbon reacts with 0.15 mol decimeter cubed of hydrochloric acid at 25 degree Celsius. What is the balanced equation for this reaction? When magnesium reacts with hydrochloric acid, you will get magnesium chloride and hydrogen. So, the equation will be Mg + 2HCl = MgCl2 + H2. Mg is in group 2 of periodic table and has a valance of 2, whereas Cl i...
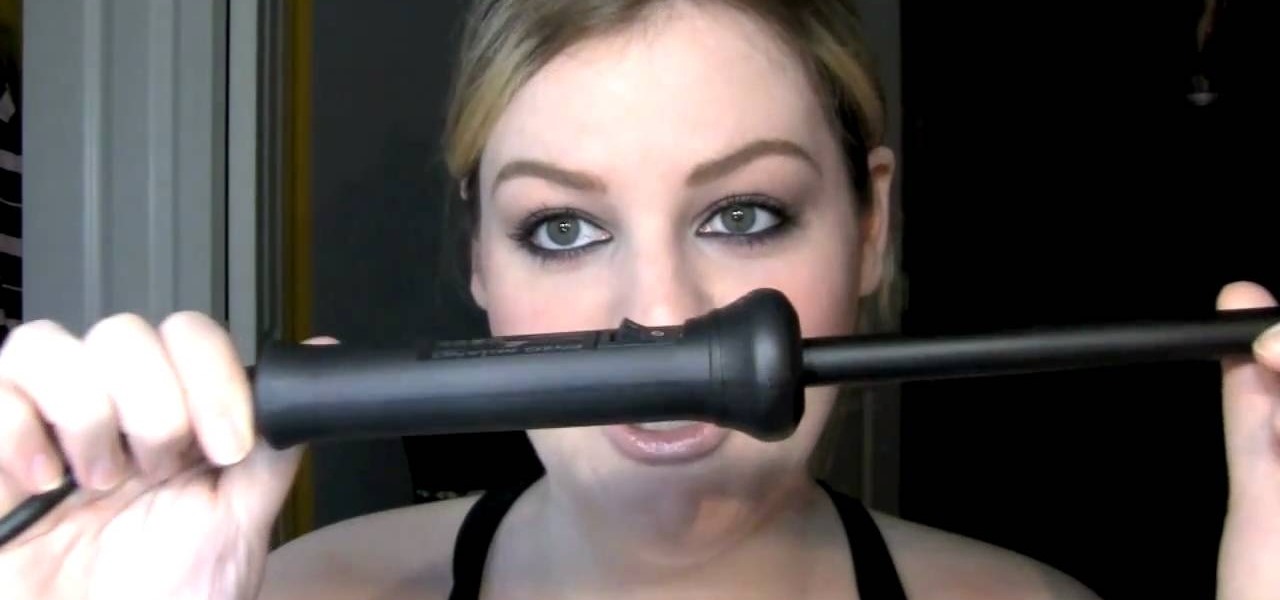
The Enzo Milano curling iron is revolutionary in that it is clipless. If you've curled your hair a few times before then you know that a great deal of curling irons always have a clip attached that holds in the hair, keeping it in place when you curl.
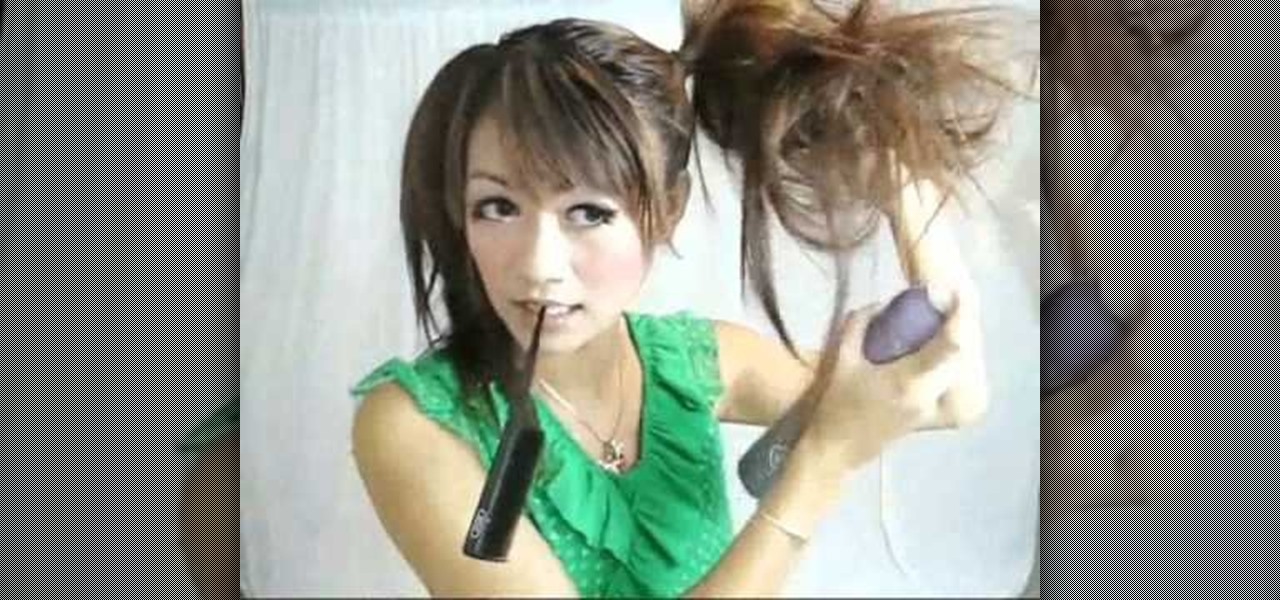
Halloween abounds in spooky costumes and even spookier makeup and accessories. But if you've had enough of ghosts and goblins and want to go for an entirely different look this year then check out this tutorial for creating a teddy bear/mouse look for Halloween.
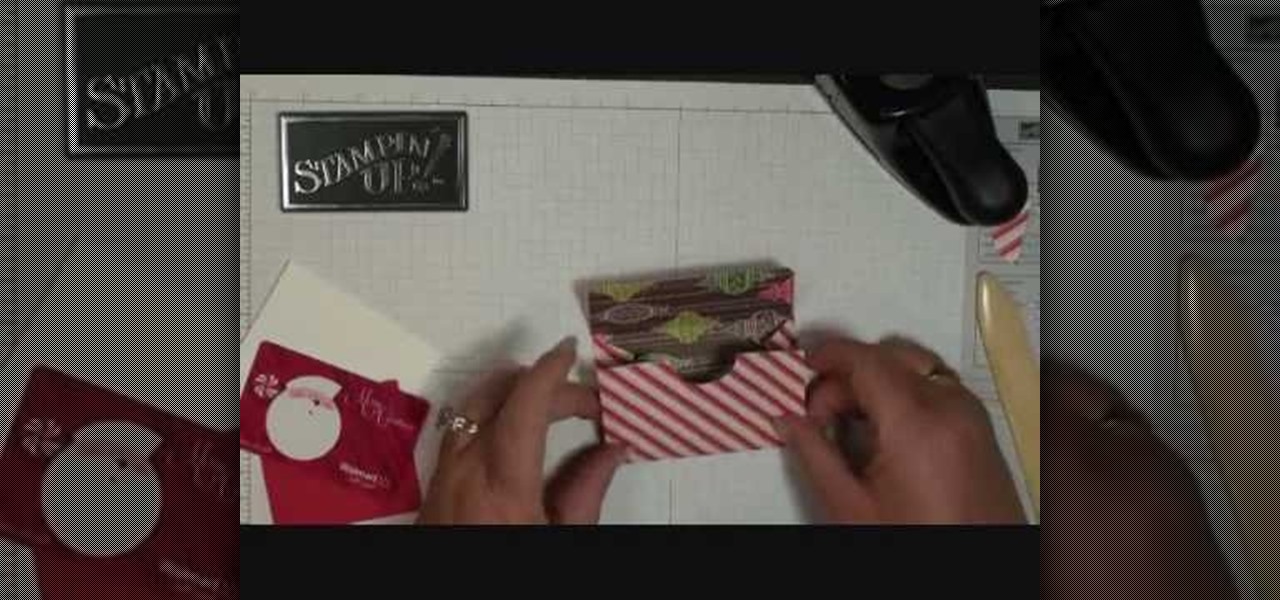
In this tutorial, we learn how to make a mini gift card envelope with Stampin' Up!. First, take a piece of card stock that is red and white. Score this 3/4" on both sides, then turn on the 6" side and score at 1 1/4" and 3 3/4". Once finished, fold this up and cut along the sides that you have scored. Put adhesive on the bottom of the gift card holder to seal up the bottoms so you can place the gift card in. Now, punch a hole in the bottom of the paper so you can see the gift card peak out of...
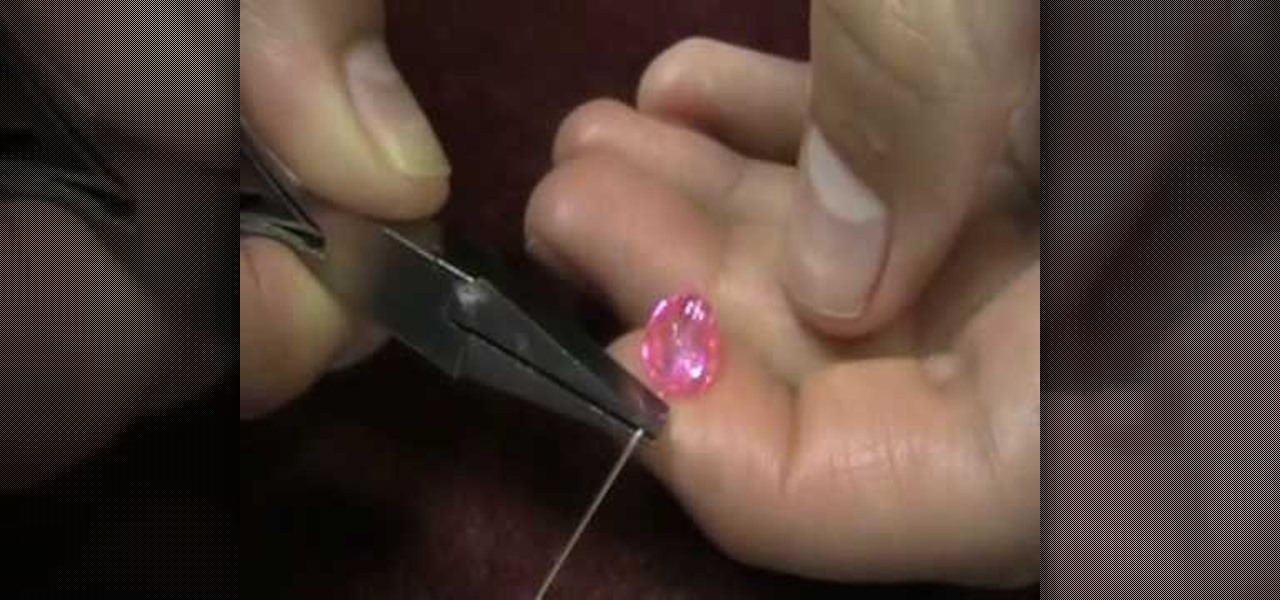
In this video tutorial, viewers learn how to wire wrap a head pin loop. Begin by placing the bead on the head pin, or on a 5 inch piece of wire. Then make a bend on the head pin approximately 1/8 inches above the bead to a 90 degree angle. Now wrap the pin around the jaw of the pliers, pulling it slightly to one side. Holding the bead and wire, rotate the pliers back to form a loop. Finish by wrapping the tail of the wire around the exposed part of the headpin as many times as possible. This ...

In order to make the side step Christmas card, using Cricut, you will need the following: card stock, cutter/trimmer, adhesive, rhinestone, ribbon, and a bone folder.
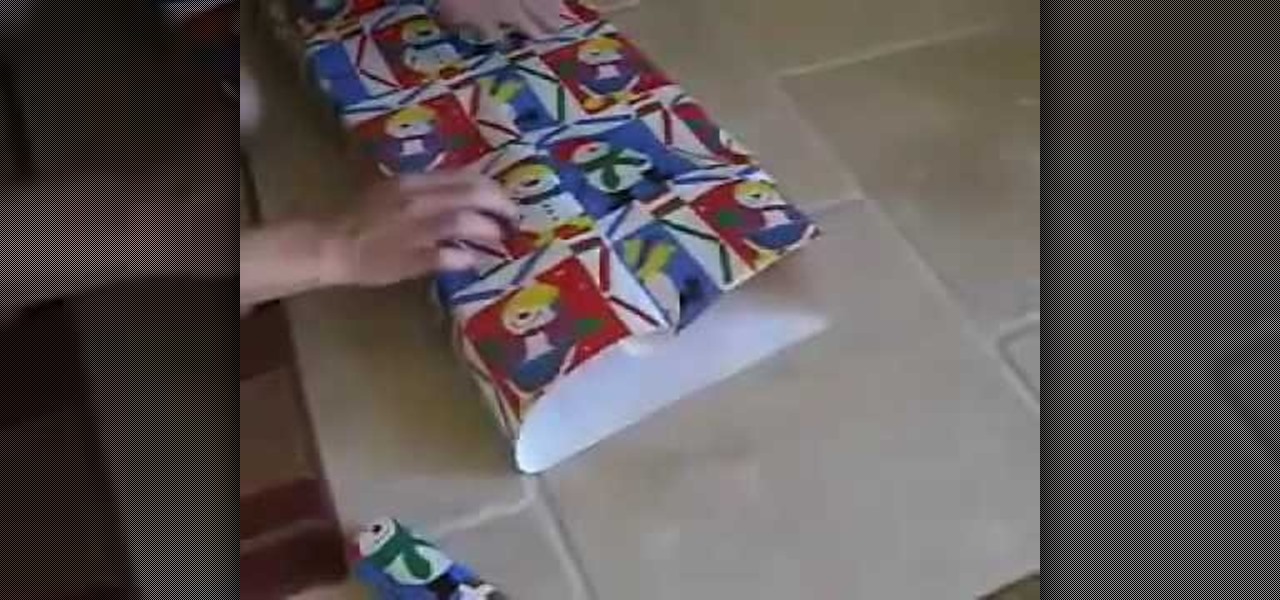
In this video, we learn how to wrap a gift. You will need: scissors, your gift, tape, and wrapping paper. First, place your gift down on the rolled out wrapping paper upside down. Measure out the paper so you have enough, then cut the paper from the roll. Next, you will fold the edges of the paper down, then center the gift on the paper. Bring the sides of the wrapping paper into the middle, then tape it. If you have too much paper on the edges, cut it carefully with the scissors. Now, push d...
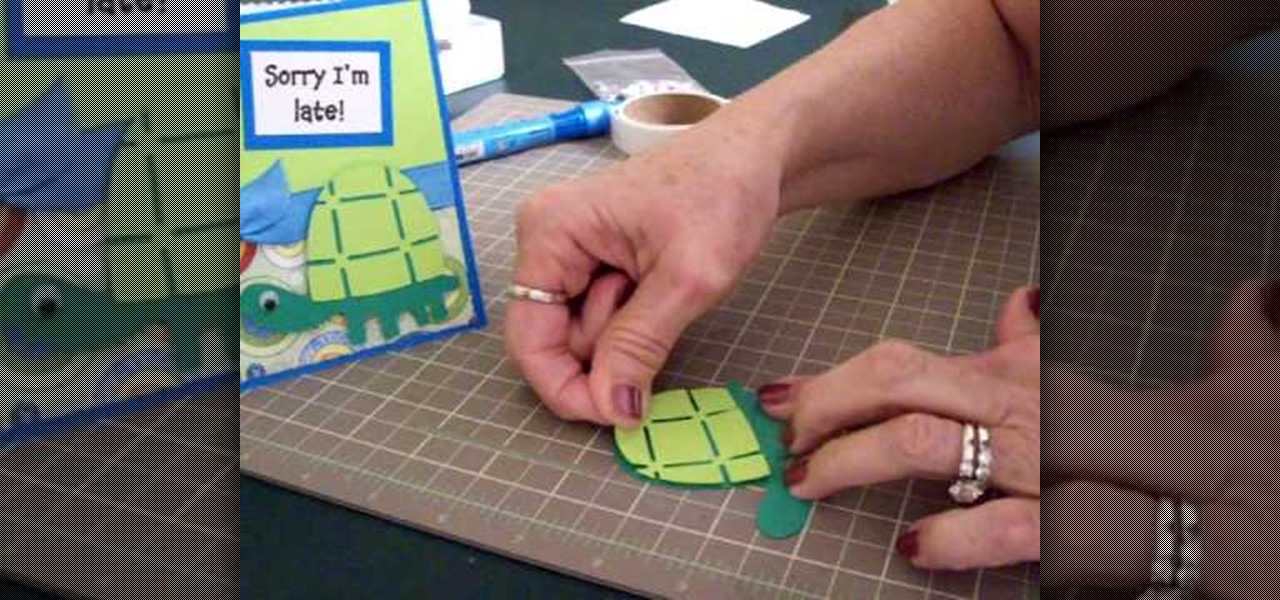
In this tutorial, we learn how to make a Cricut belated birthday card. First, cut the turtle out using the Walk in my Garden cartridge. After you cut this out, add in details to the shell using different colors. After you put the turtle together, place it on a blue card stock that has a pattern over the bottom of it. Next, place a ribbon around the middle of the card. On the top, place a message in a framed piece of card stock that says "Sorry I'm Late!". After you make this, fill out the car...
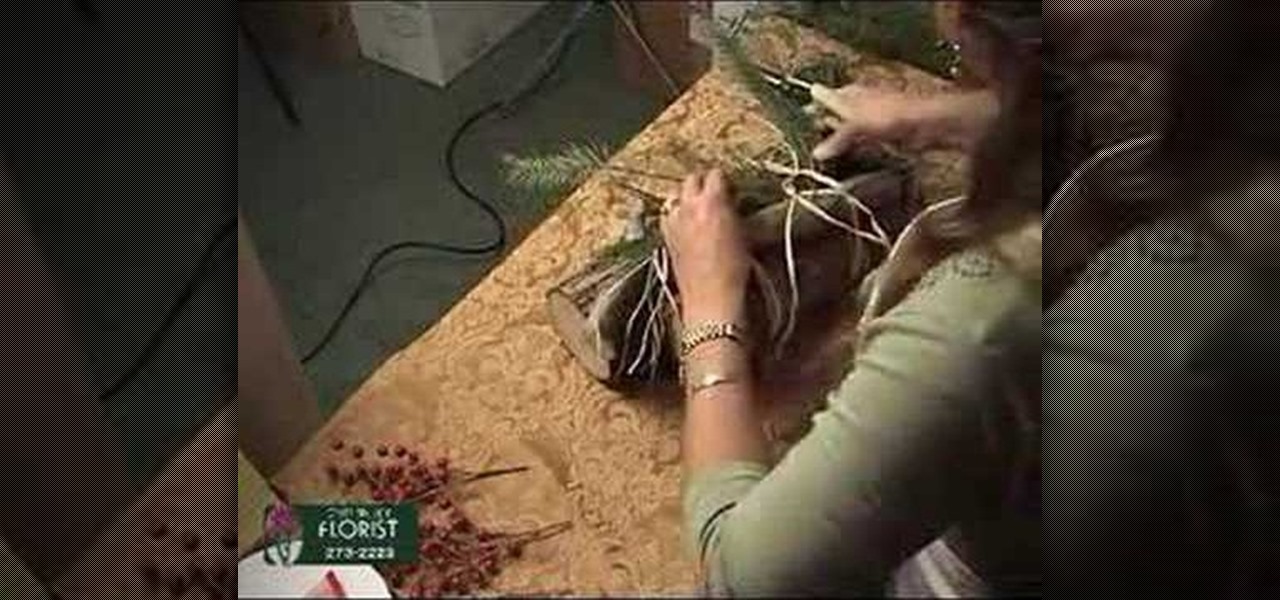
In this tutorial, Ingrid teaches us how to make a yule log for a gift. First, wrap two pieces of wood together with wire thread. Next, take some raffia and tie it onto the top and bottom of the yule log to give it a rustic look. To warm it up, add in some pine needles to the middle, as well as fur, cedar, and whatever else you find. To make it look more festive, take some red shiny ribbon and tie it onto the top of the pieces of wood like a package. This is inexpensive and useful for anyone t...
In this tutorial, we learn how to craft a duct tape wallet. First, tear out a 7 inch piece of duct tape and fold it so there is a sticky side just overlapping it. Next, tear out another piece of tape and fold it just over the sticky side of the other piece of tape. Continue to do this for around 10 pieces of tape, or until you have enough to make a decent sized wallet. When you reach the end, fold the bottom over itself, then cut off the sides and seal with another piece of tape. Then, measur...
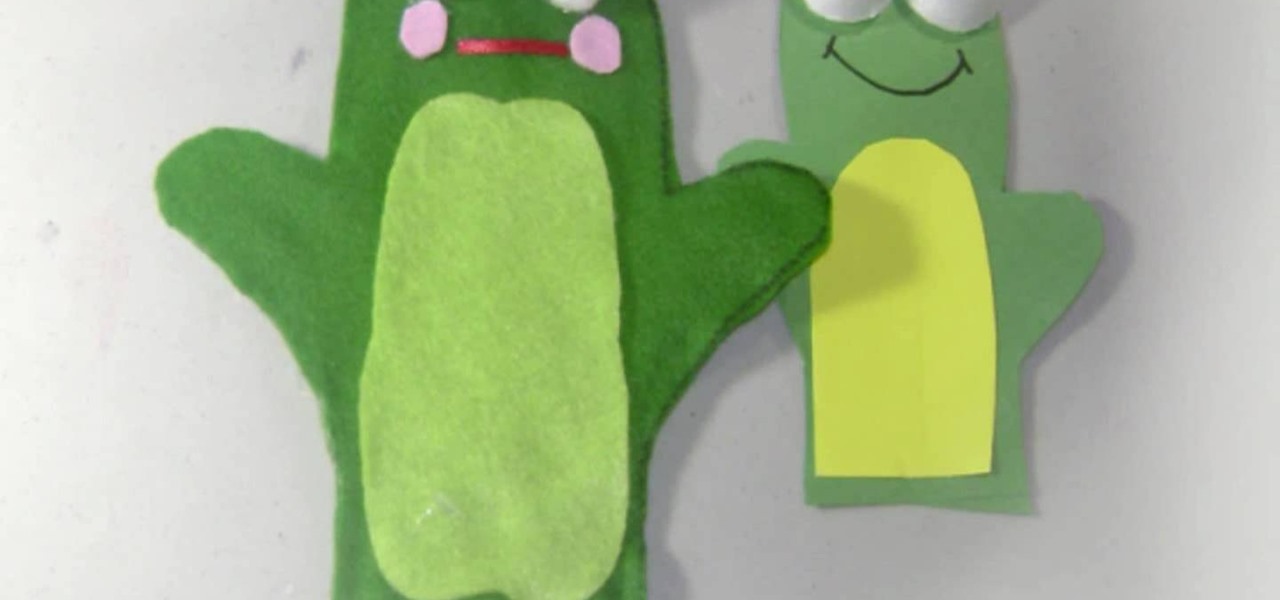
In this Family video tutorial you will learn how to craft felt frog puppets with your kids. The materials you will need for this are felt (pink, dark and light green), a piece of red lace, 2 large white pompoms, 2 small black pompoms, scissors, glue and marker. Take two layers of dark green felt and draw out the outline of half of the left palm. Fold the felts in half and cut out the outline. Stick the two pieces along the edges to make a glove. Next cut a rectangular piece out of the light g...

Margie McCoy teaches us how to make flower corsages in this tutorial. Start by using three of your favorite flowers and take a wire and place it on the top of the flower until it reaches half way through. Then, take your floral take and tire it as tight as possible around the top of the stem until you reach the bottom, stretching as you go. Next, combine all the flowers together, and tie them together until you have the type of arrangement you want for the corsage. Now, add this on a ribbon s...
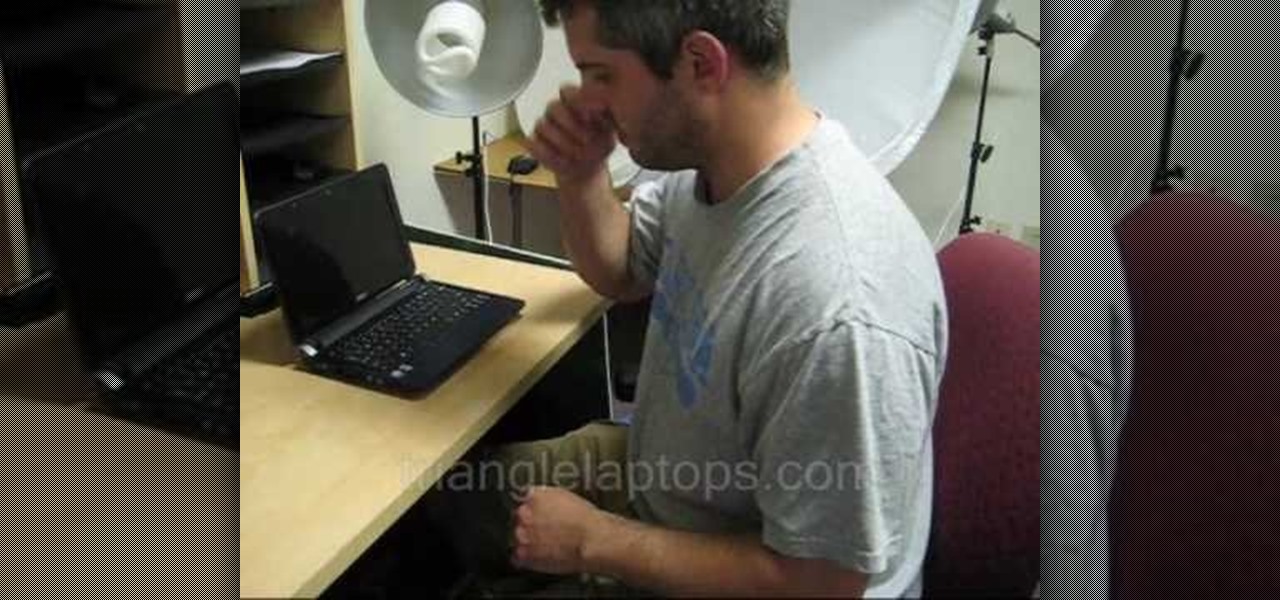
In this Computers & Programming video tutorial you will learn how to replace a keyboard for Acer Aspire One 10.1 netbook. Disconnect the netbook from the power supply and remove the battery. You can use a small flat screw driver or a razor blade for replacing the keyboard. You don't have to remove any screws. You need to unlatch three tabs; one located above the f8 key and two on either side of the keyboard. With the razor blade unlatch the tab above f8, and then the two side tabs as shown in...
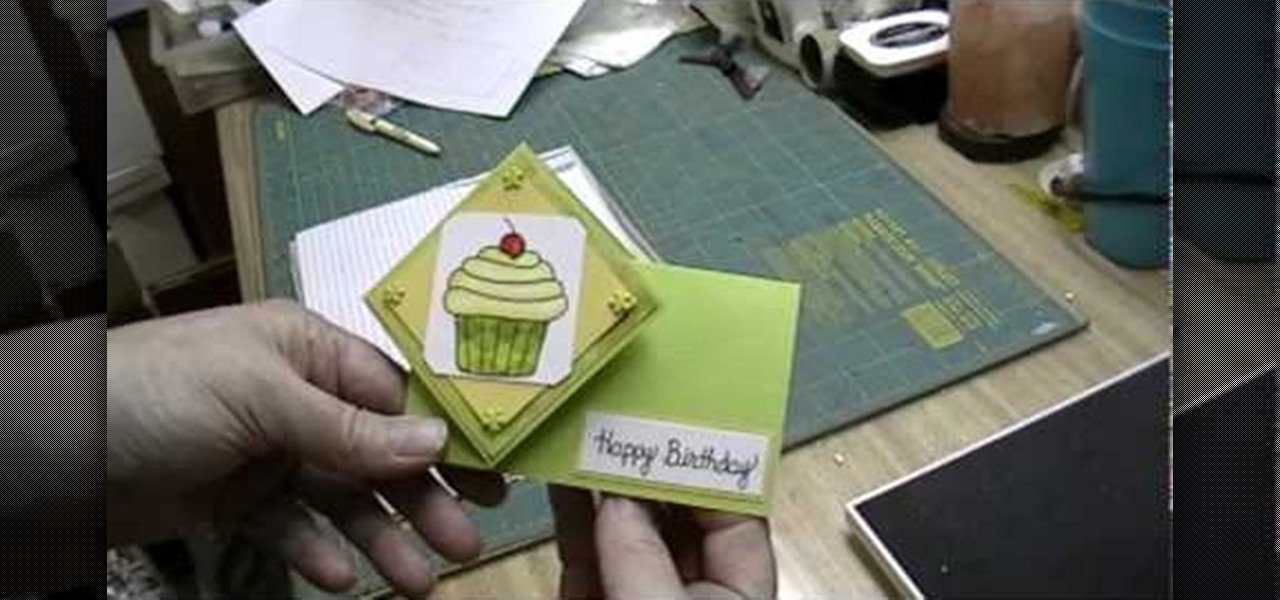
In this video, we learn how to make a twist turn style card. The card will open with a neat pop out image on the front of the card! First, get an 8 1/2 x 5 1/2 piece of card stock and then score it 2 and 3/4 inches from the left edge and 4 inches over from the left edge. Then, turn the card the other way and find the center, then score from the right end to the very first score line. Then flip the card over and score the rest of the center line up to the first line. Now, make a score line fro...
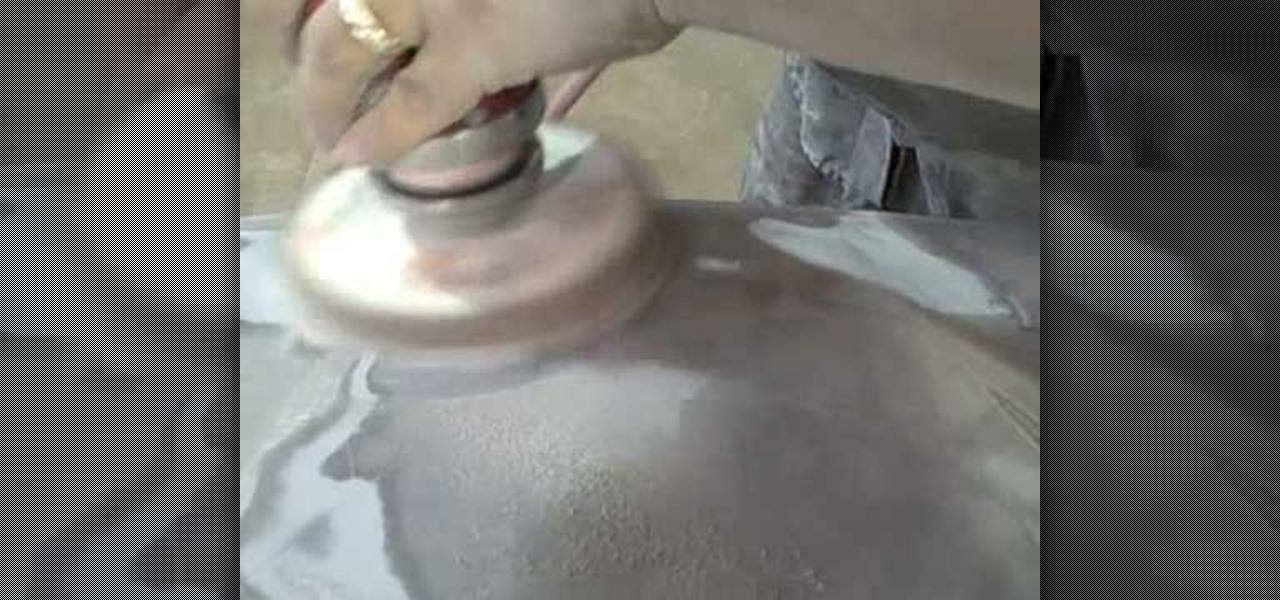
In this Autos, Motorcycles & Planes video tutorial you will learn how to feather edge paint to prepare a damaged car for primer. Feather edging is the process of feathering or layering each layer of coating in order to prevent a rough edge. Use a 6 inch DA and 150 - 220 grit sandpaper to feather edge the paint edge. Apply the sandpaper all along the edge of the paint till the edges are smooth. Feel it with your hand to ensure that all the edges are smooth. Feather each layer of paint at least...
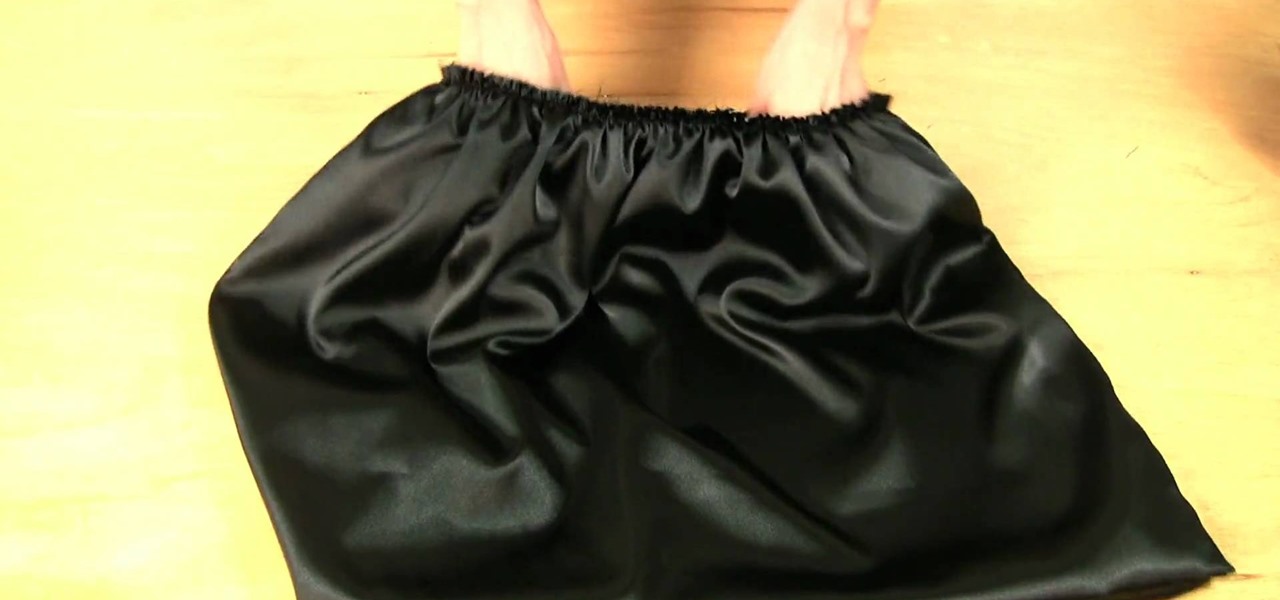
High waists and poofy balloon skirts are both two of the hottest fashion trends this season, seen on stars like Lauren Conrad and Jessica Simpson (yes, of the famous "Mom jean" snafu).

The 3-inch wacky rigged senko is a good type of bait, but like most it has a specialized technique that you need to use to get the most out of it. This video features a former bass guide explaining how to properly use one of these lures to catch big bass. Get out to the lake and catch some big ones! But, as our host says, throw back the big ones so that they can breed and keep our lakes and rivers populated.
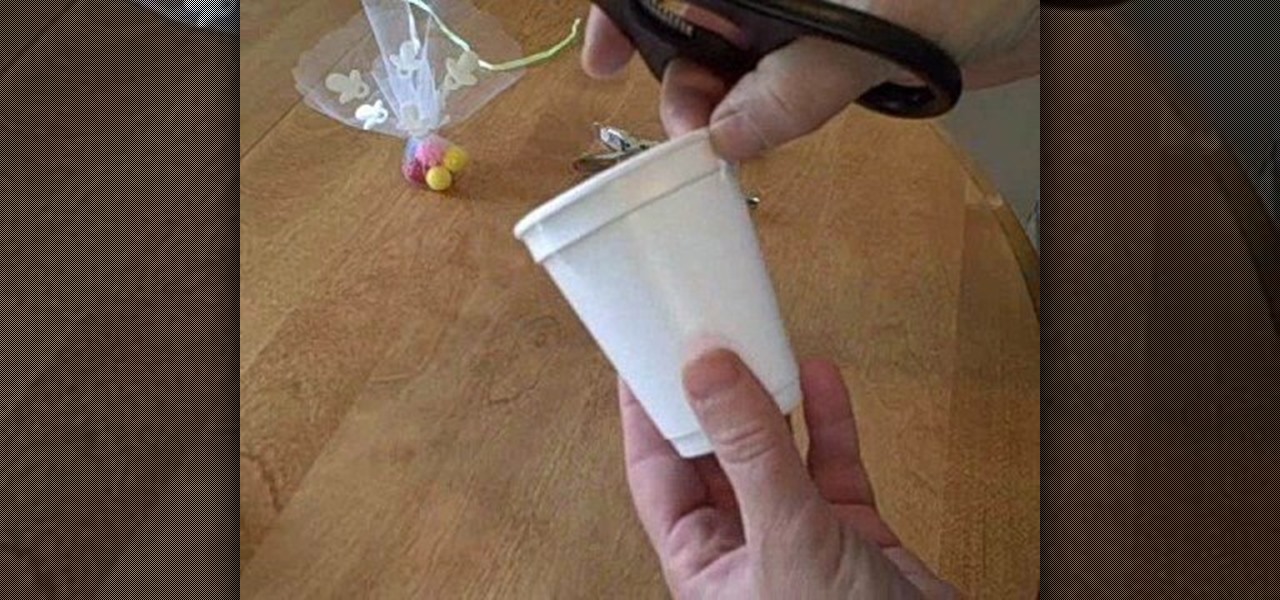
At stores, imitation plastic or cloth baby booties (to be used to contain party favors or small gifts) can be quite costly, and a backbreaking expense considering all the other more necessary expenditures you're considering when planning a baby shower, including finger food, cake, party favors, and decorations.

If you use Microsoft Excel on a regular basis, odds are you work with numbers. Put those numbers to work. Statistical analysis allows you to find patterns, trends and probabilities within your data. In this MS Excel tutorial from everyone's favorite Excel guru, YouTube's ExcelsFun, the very first installment in his "Excel Statistics" series of free video lessons, you'll learn how to get started doing statistical analysis in Microsoft Excel 2007.
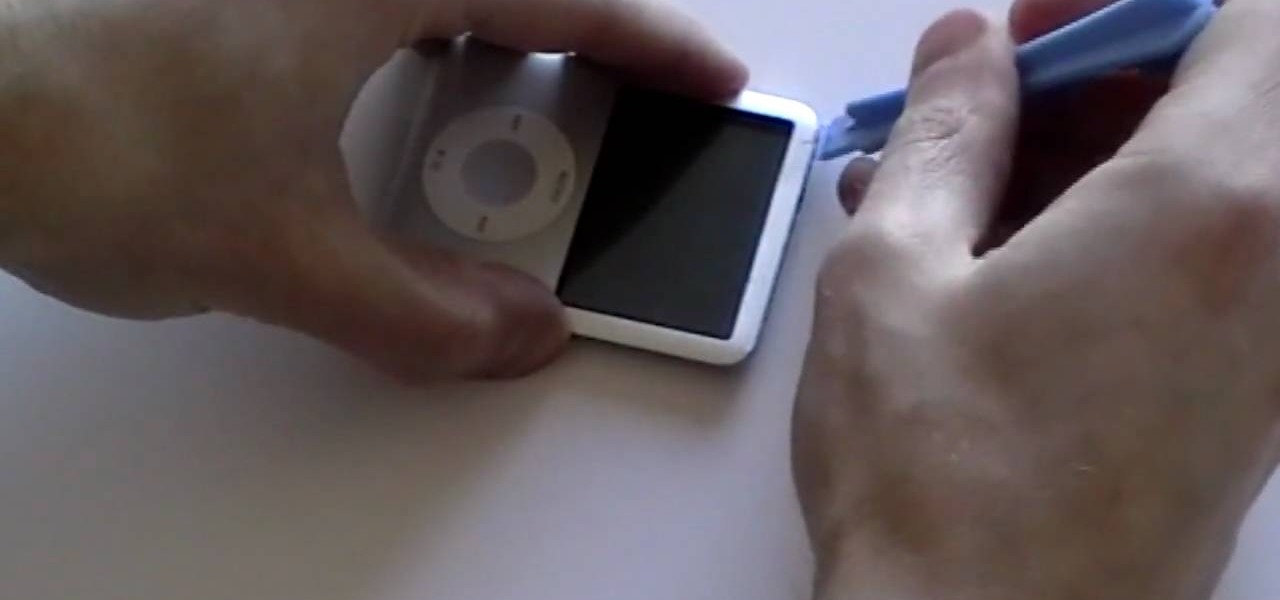
In this how-to video, you will learn now to dismantle an iPod Nano 3rd Generation. First, run a plastic tool on both sides of the device. Once this is done, remove the back cover with your fingers. Next, unscrew the six screws on the circuit board. Store them in a place where they will not be lost. Next, remove the click wheel ribbon cable from the jaw connector. Lift the jaw connector with the tool and use a pair of tweezers to gently remove the cable from the jaw. Next, remove the small met...

GardenGirltv shows viewers how to plant strawberries as a ground cover! With a strawberry patch or field you will have to always continually plant strawberries! The plants will last a few years and every year you should add new plants to your areas for each year. First, you need to get a bundle of strawberry plants you need to rake the area you are planting them in. Make sure you put each plant 18 inches apart. First, you should take your strawberry plant dig a trench, lay it flat and cover i...
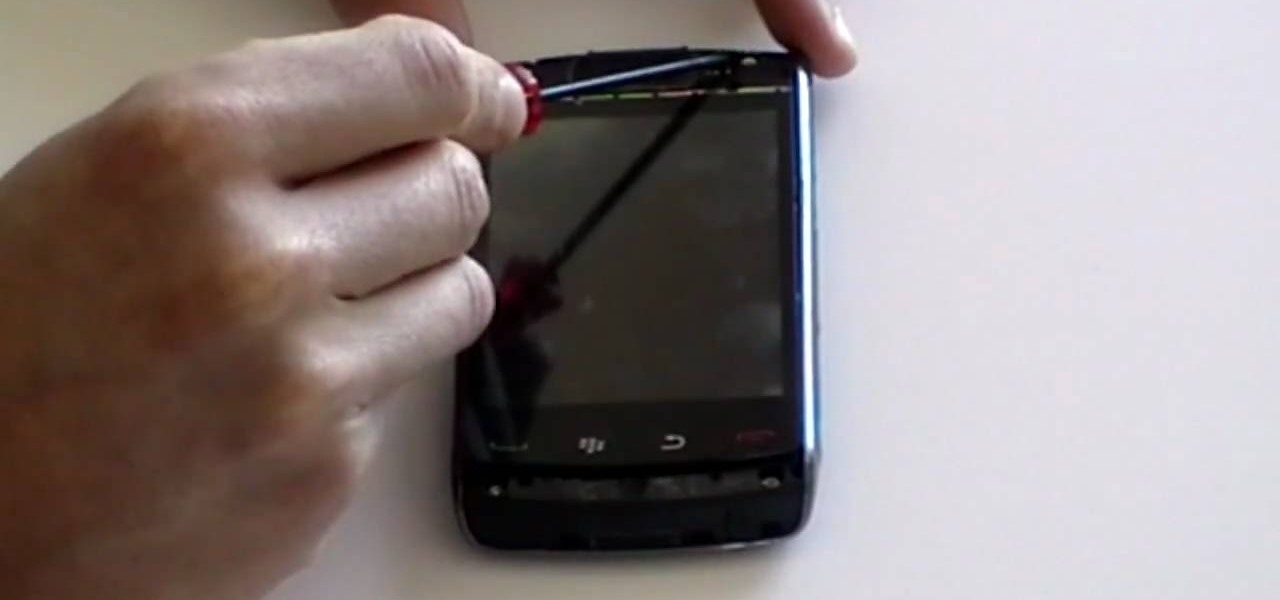
Repairs Universe demonstrates how to take apart the BlackBerry Storm 2 to replace the LCD. First, flip the phone over and take out the battery, SIM card and memory card. Then, use a safe pry tool to pry off the top and bottom covers which are held on by adhesive and clips. Next, use a T-6 screwdriver, remove the size screws on the front of the device. Flip the phone over and remove two more screws. Use the pry tool to release the clips and remove the outer casing. Flip the phone over and usin...
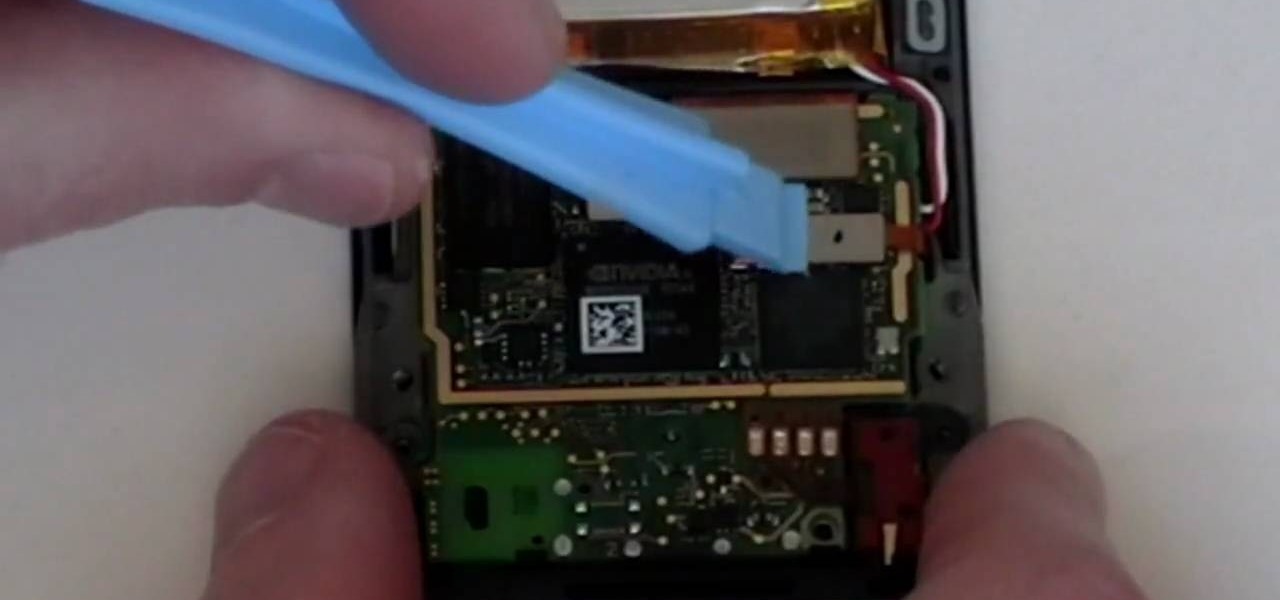
Repairs Universe demonstrates how to replace the battery on a Microsoft Zune HD. First, use a tri-ring screwdriver to remove the four screws on the back of the Zune. Then, remove the back cover. Next, remove the bottom cover by using your fingers to gently push it off. Then, use a T-5 screwdriver to remove the four screws on the back of the Zune. Release three ribbon cables from their pop connections with a safe pry tool. Use the pry tool to also release the battery from the Zune. Lift the mo...
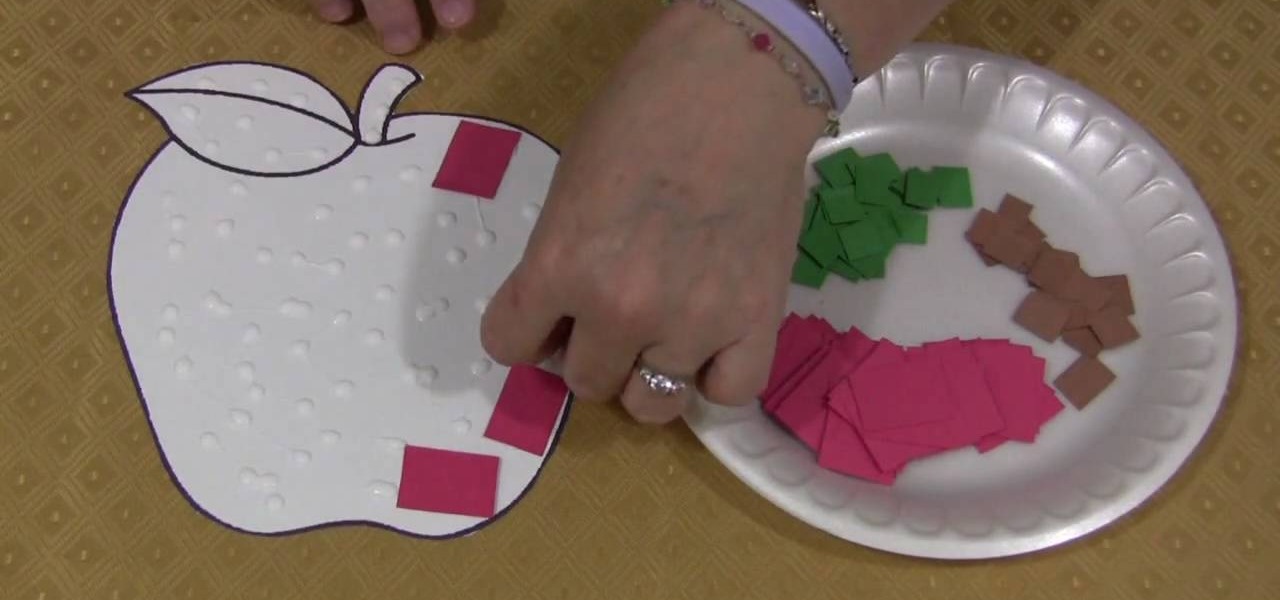
Shelley Lovett of Childcareland shows us how to make a mosaic apple using colored construction paper. This is a fun to do project, which enhances a child's motor skills. The basic outline of the apple is available on the website. It can be printed out and then cut out. Shelley has used red, green and brown colored construction paper, the traditional colors for apple. But she also stresses that we should let children use whatever colors they prefer. It will make the project so much more fun. S...

This video shows that it is possible to plant 100 tulip bulbs in less than 50 minutes, and it is easier and less expensive than you think.
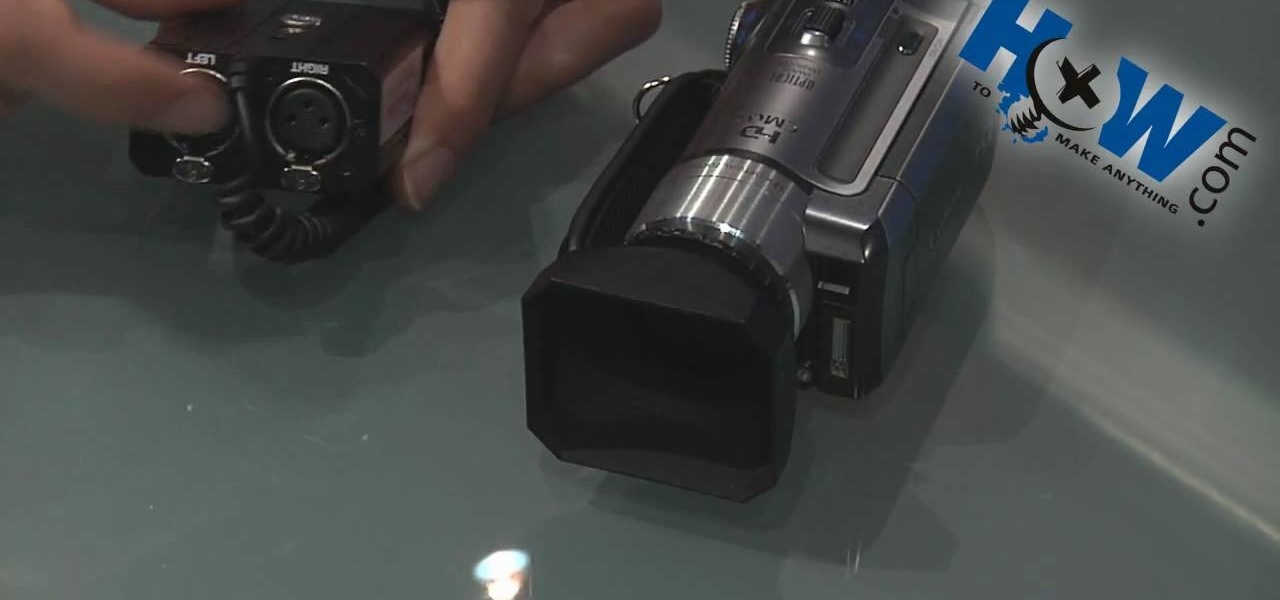
How to Make Anything demonstrates how to use a three prong XLR mic with your camcorder. The XLR plug on the mic is not going to fit into the 1/8 inch plug on your camcorder so you will need an adapter. You can find an XLR to 1/8 inch adapter for about 10 dollars. Try to get an adapter with as short of a cord as possible to reduce noise and radio interference. You can also get an XLR box which is an interface which goes between your camera and the microphone. The XLR box will be about 180 doll...
This is a delicious and very simple salmon with mango recipe that couldn't be easier to prepare. Not only does it taste great, it looks even better.

This Software video tutorial will show you how to use Windows Live Movie Maker to edit videos. Starting with the store board; here you can drag videos and photos or click to browse them. Click and it will open up a window with all your photos and video. On the left side is the preview window. As you scroll your cursor through the images, they will appear in this window. On top are a row of tabs. Each of the tabs is called the ribbon allowing you to select various tools. Here you can add or de...

In this video the instructor shows how to change views in Microsoft word 2007 and navigate around the documents. In Microsoft word 2007 in the ribbon there is a view tab to the extreme right. Open the tab. Now in that bar the default layout selected is the Print Layout which is 'What you see is what you get' layout. Next to it the full screen reading option and clicking on it, the documents opens up as a two page book with all the other tool bars hidden. The next is web layout which is ideal ...

This video is part of the HelpVids.com series of technology videos. The video describes the process of adding headers and footers in Microsoft Word 2007. The easiest way to edit headers and footers is to double click in the header or foot section of the document. Once you double click it will allow you to edit the text that appears in the header and/or footer. You can also go to the Insert Ribbon and then click Header. This will display many preset styles that will apply to your header. Choos...
This is another HelpVids.com technology video. This video will teach us how to sort table contents in Microsoft Word 2007. The video starts out with a Word 2007 document with a sample table. When you click on the table, you will see the Table Tools tab appear above the ribbon. Click the Table Tools button, then click Layout and finally the Sort Button. The sort dialog box allows you to choose which column to sort by, which direction you would like to sort, and any secondary sorting you would ...

In this video the instructor shows how to create charts and graphs in Microsoft Word. First, open the Word document and select an area to insert the charts. Now go to the Insert tab in the ribbon and select the Chart icon. The Insert Chart window opens up with various chart templates. There are various categories of charts like Line, Pie, Bar in the left hand side. In the right hand side you can see the sample charts available and you can select any of them that you want. Now it transfers you...
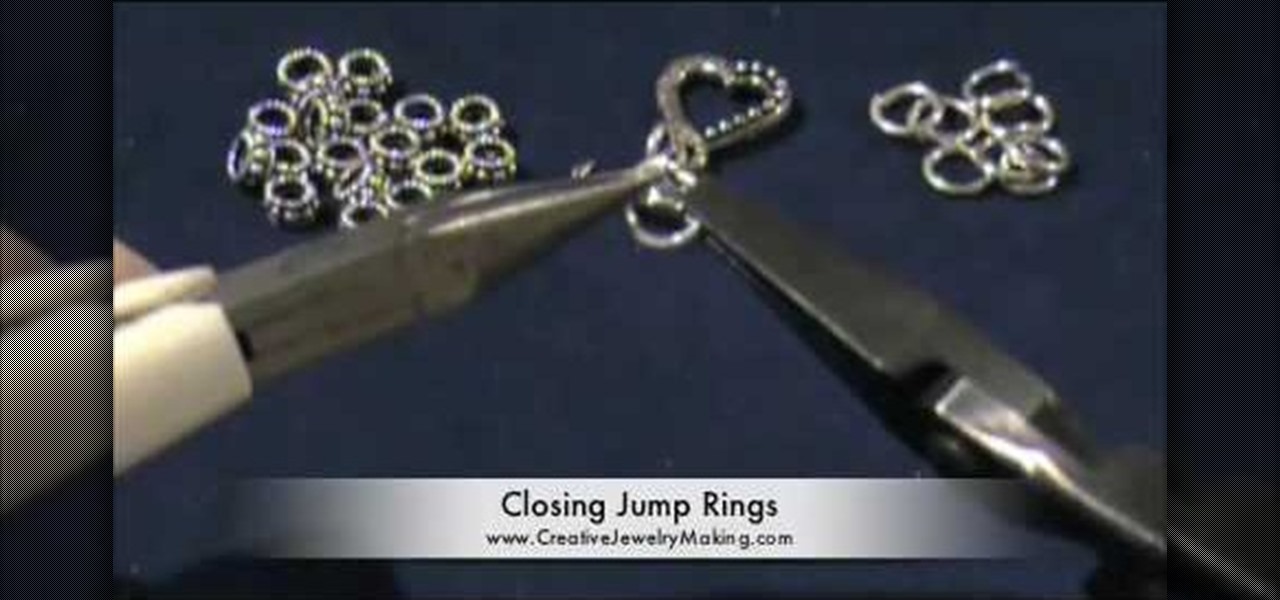
Creative Jewelry Making teaches the at home crafter how to make their own Bali bead and silver charm bracelet. This is not a video for jewelry making pros; it would be simple enough for a novice and can be completed in about half an hour. These are the tools you will need to complete the project: six Bali beads per inch of bracelet you will be making, six jump rings per inch, a Bali style toggle with a large hole for latching, and two pairs of flat nose pliers (make sure to use jewelry pliers...
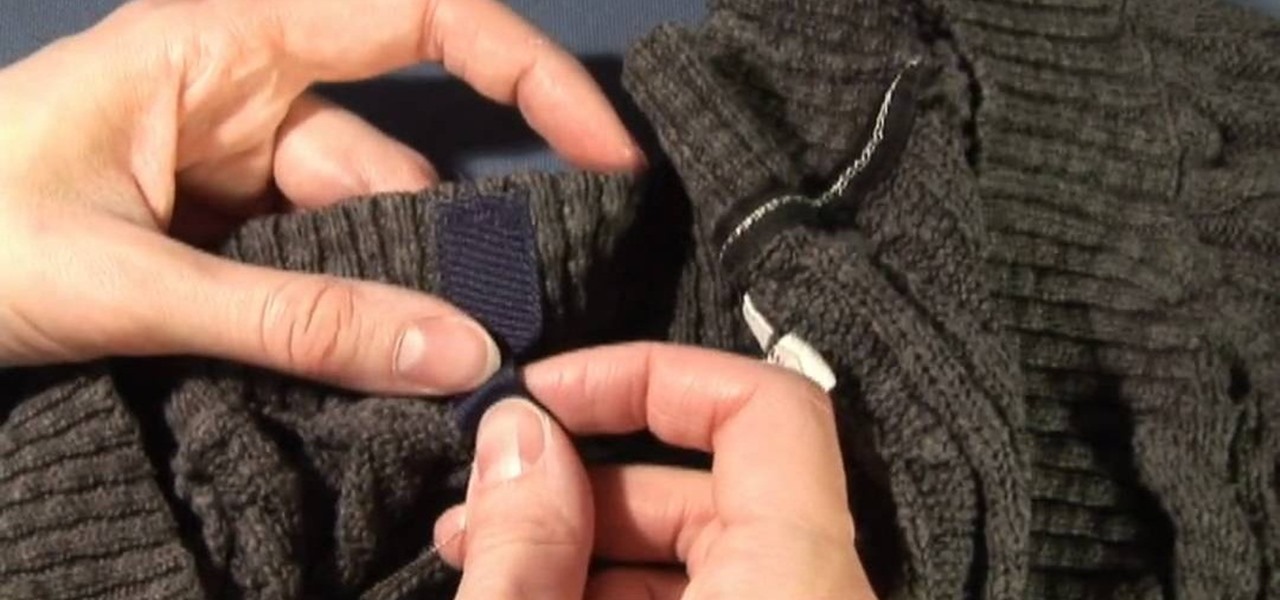
Nothing ruins a cute outfit quicker than a visible bra strap or a slipping tank top. This quick video from CyberSeams offers tips on how to keep those annoying straps in place. You will need ribbon or twill tape, Fray Check, snaps, a sewing needle and thread. You are instructed how to create a holder, inside a specific top, which snaps your bra or tank top into place. For example, in this video, you create a holder inside a sweater so that you can wear a coordinating tank top but not have it ...

This video from TyingItAllTogether, brings us yet another tutorial explaining how to create a unique type of knot, called the "guitar bar". This knot is so named for it's similarities to the neck and fret board of a guitar. To make this knot, you'll need several feet of rope. For every inch in length of the guitar bar, you will need an extra foot of rope. So 12 inches = 12 extra feet of rope to spare, to make this creation.

Boil the malagkit. Place sugar, anise seeds and coconut milk in a saucepan; let boil until thick.