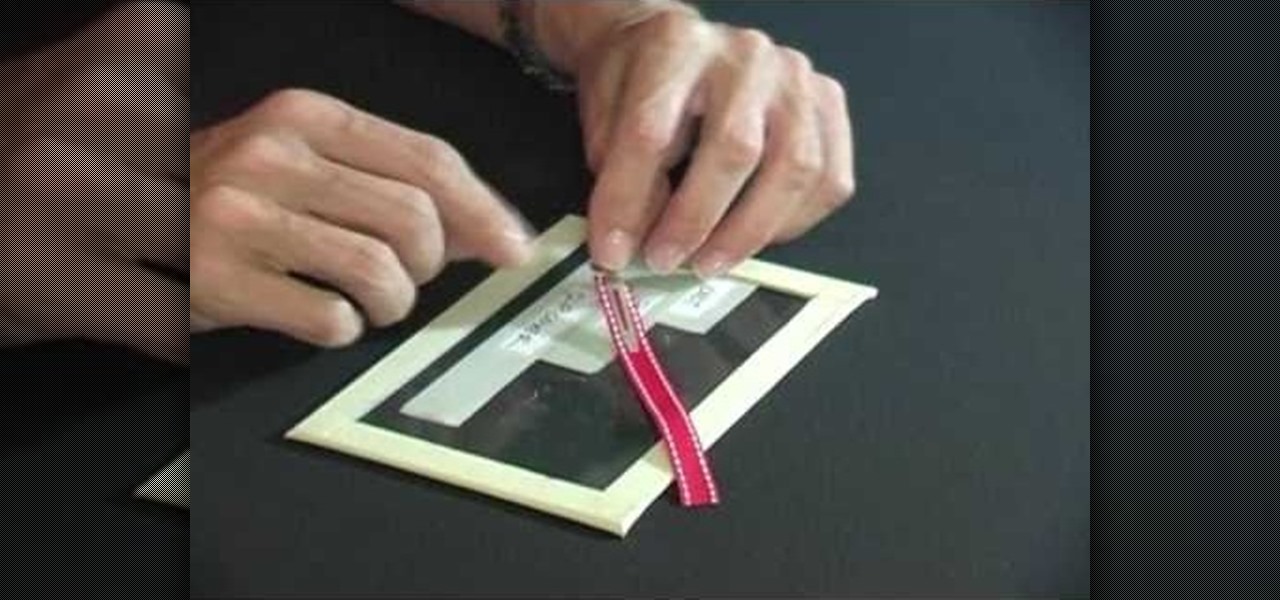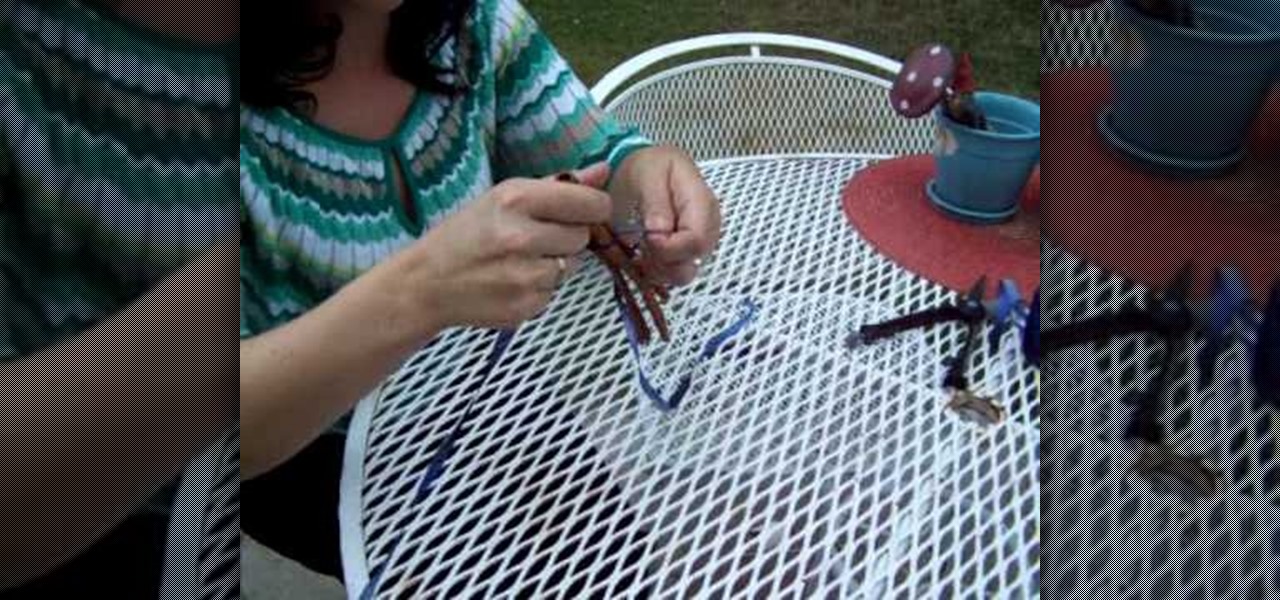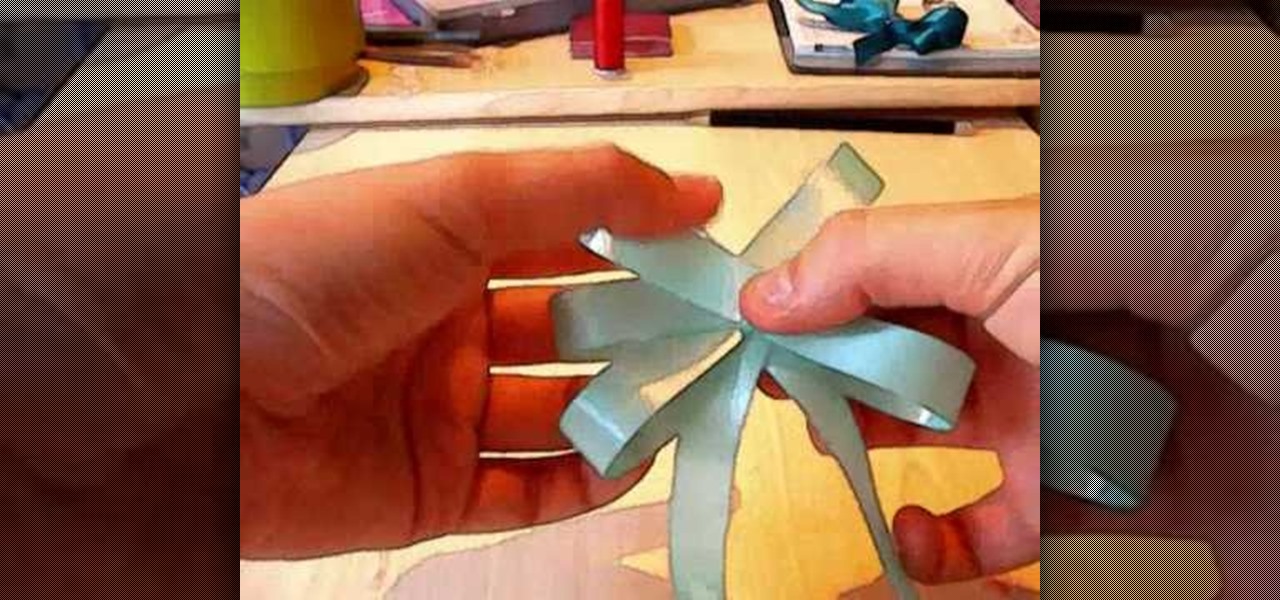
First of all you have to place your thumb or attach a pin on the ribbon such that there is a space of two to three inches left outside. Bend the ribbon back to the center to create your first loop. Now you have to pass the ribbon back underneath the bow. Then you have to again return to the center to create a complete second loop. Now continue passing the ribbon over and under the bow. Now return to the center and then repeat this step to create six loops in total. After this you have to turn...
Add instant elegance to your look by pulling your hair into a classic updo. You Will Need:
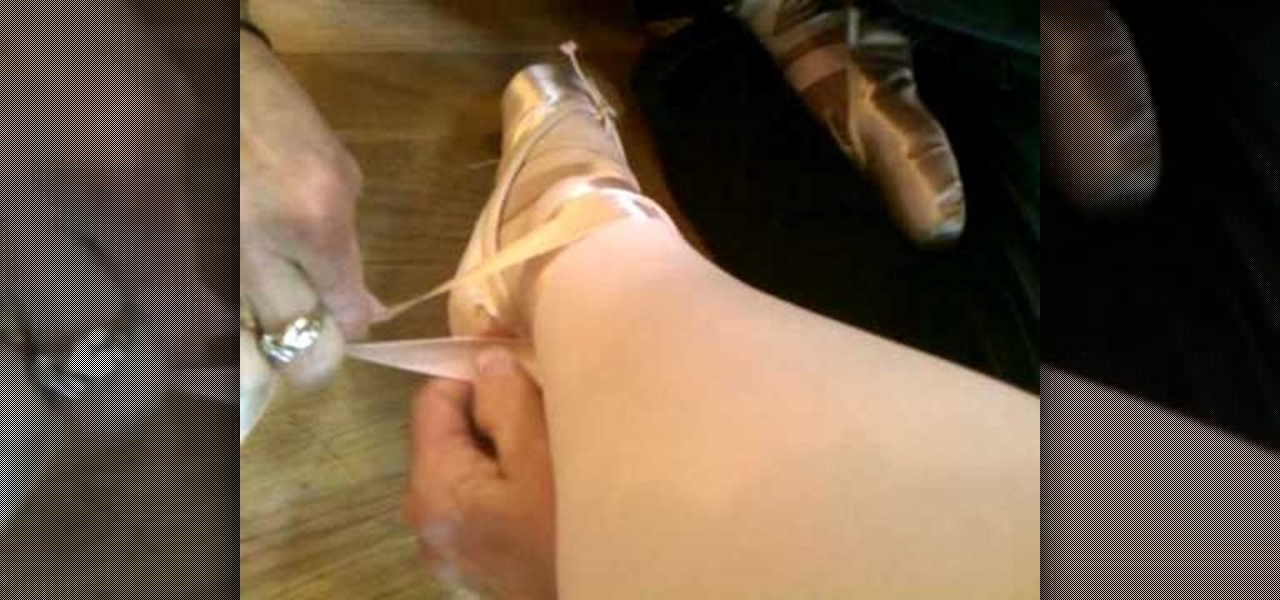
This video gives a demonstration of how to tie pointe shoes for ballet. The shoes are already on the dancers foot. First, take the wide ribbons and cross them over the top of the foot smoothly. Bring them up behind the ankle, right at the ankle bones. Cross them again at the ankles and then cross them again in the front, keeping the ribbons smooth. Bring the ribbons to the inside side of the foot and tie them. You can tie them in a bow or a knot. In the demonstration the ribbons are tied with...
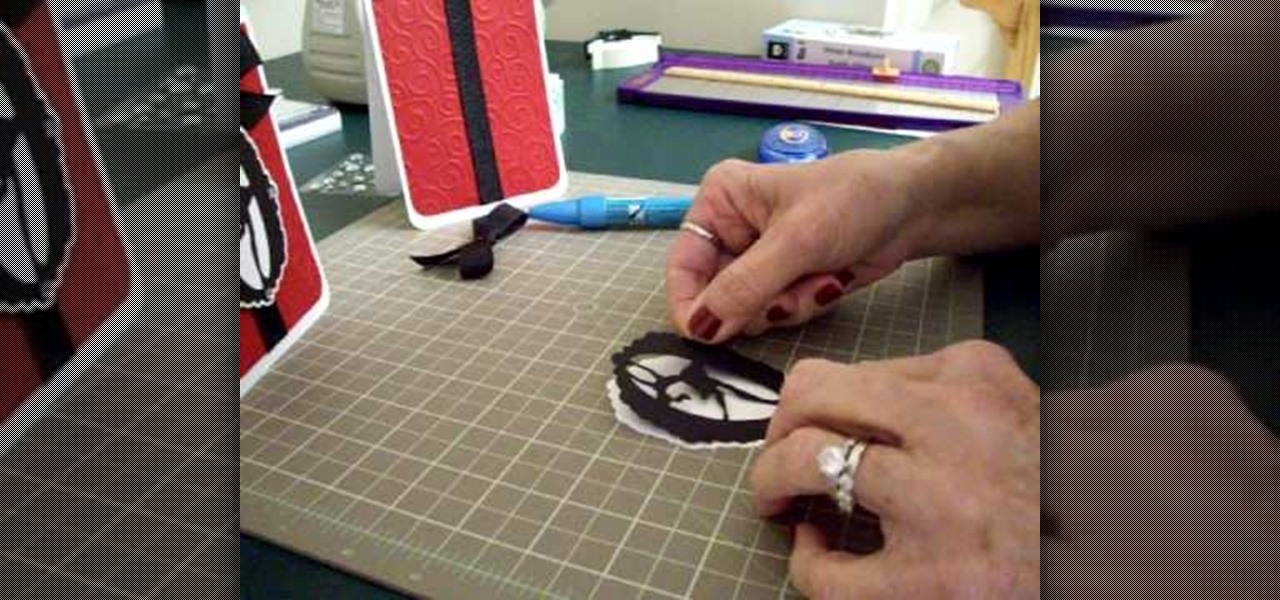
Make a simple, elegant card using Winter Woodland. Go to page 50 of manual. Cut tag and skater at 3 inches. Use 8 1/2 x 11 cardstock and cut vertically to 4 1/4 inch. Fold from top to bottom. Round corners of cardstock and red matte. Make red matte 4x5. Run red matte through cutter bug using swirls folder. Insert between two plates and run through. Place black grosgrain ribbon down the center. Stick to front of card. Glue skater to background. Place square crystals around skater. Create and p...
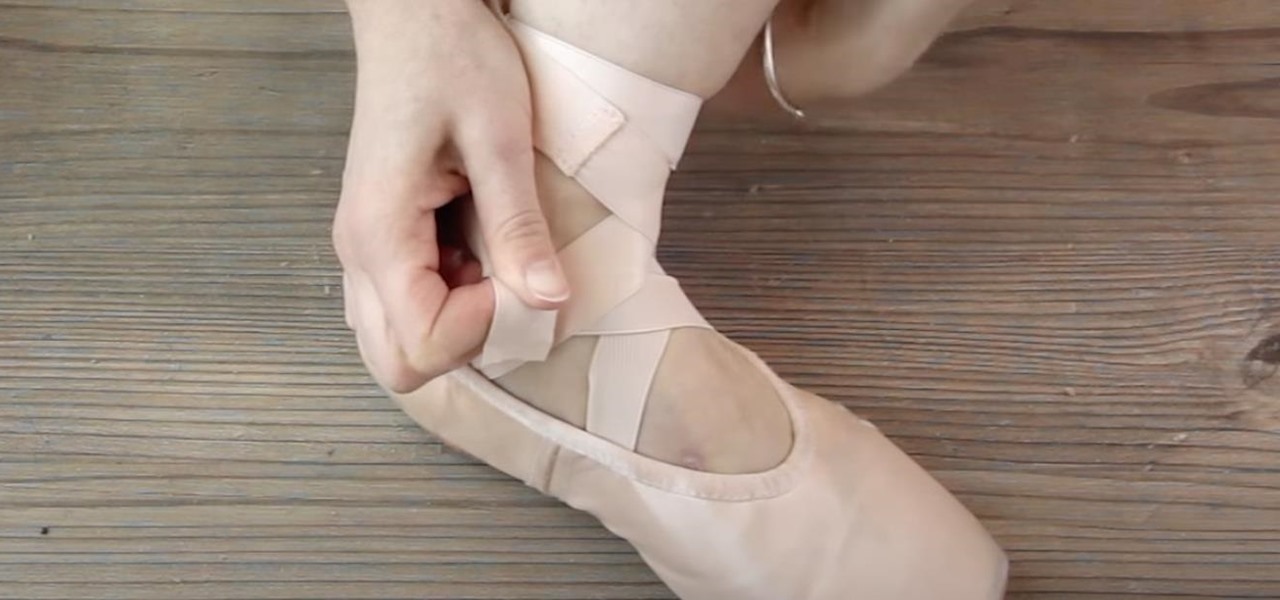
In these video tutorials, viewers learn how to tie the ribbon on ballet shoes. Make sure that the elastic and ribbon are adequately secured on the shoe. Begin by flexing your foot. Take the inside ribbon and loop it across the top of your foot. The outer side ribbon will go over the inner ribbon. Pull the ribbons tight enough so there is no gaping or sagging. Then, wrap the ribbons around the ankle and tie them together. Now, tuck the tie under the flat part of the ribbon. These videos will b...
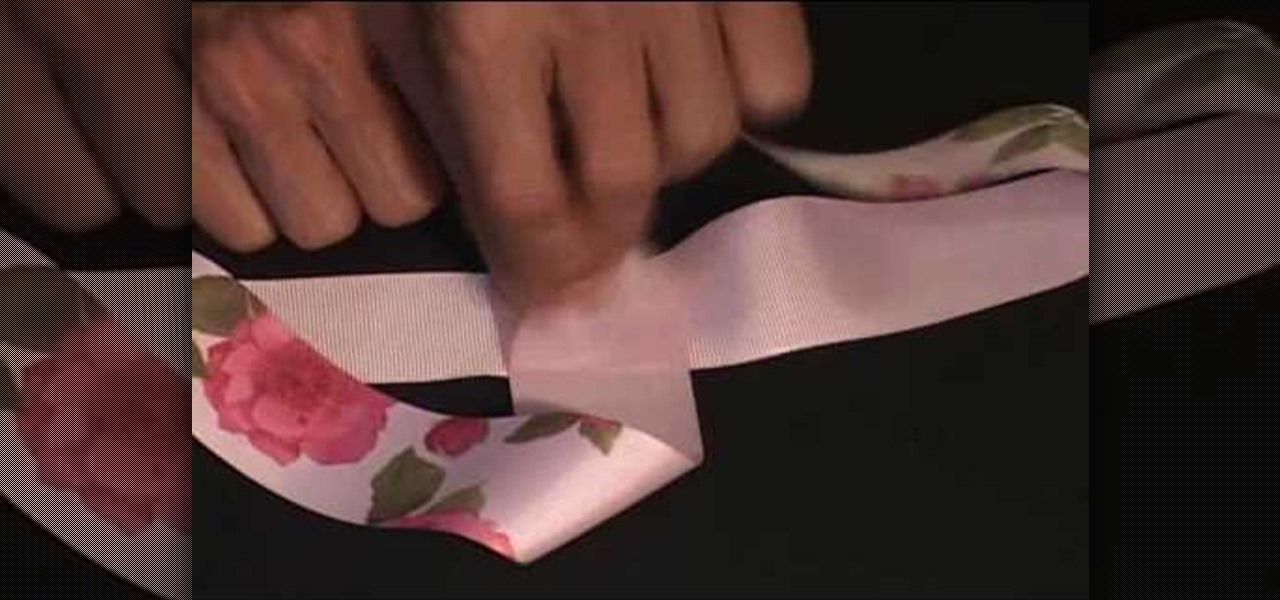
get a long piece of ribbon, put the ends together and make a crease at wear the ribbon folds, that'll be your center point. Now get one end of the ribbon, and without it flipping over, bring the end to the center of the ribbon and lay it perpendicular to the direction of the ribbon. Also bring the other end of the ribbon to the center of the ribbon but from the other direction. Hold the ribbon together using a gator clip. Obtain a piece of string or plastic strip, tie the folded ribbon tightl...

Got a bunch of ribbon scraps lying around from old crafting projects and present wrapping? Instead of letting them sit there and collect dust for ages, why not put them to good use?

Master the art—and it is an art—of hanging garlands and tinsel on your Christmas tree. You will need garlands and tinsel, craft wire, ribbon and a step ladder. Tip: Follow the six-six rule: Don't hang more than six strands per branch, and leave about six inches of space between tinsel decorated branches.

Get ready to learn a cool trick where a ribbon is cut in half and then magically fused back together! You will need some ribbon, an envelope, and some scissors. Sometimes we use materials that require adult supervision... like scissors, so make sure you have friends and family around whenever you do magic tricks. 1. Preparation: Cut the ends off of both sides of the envelope.

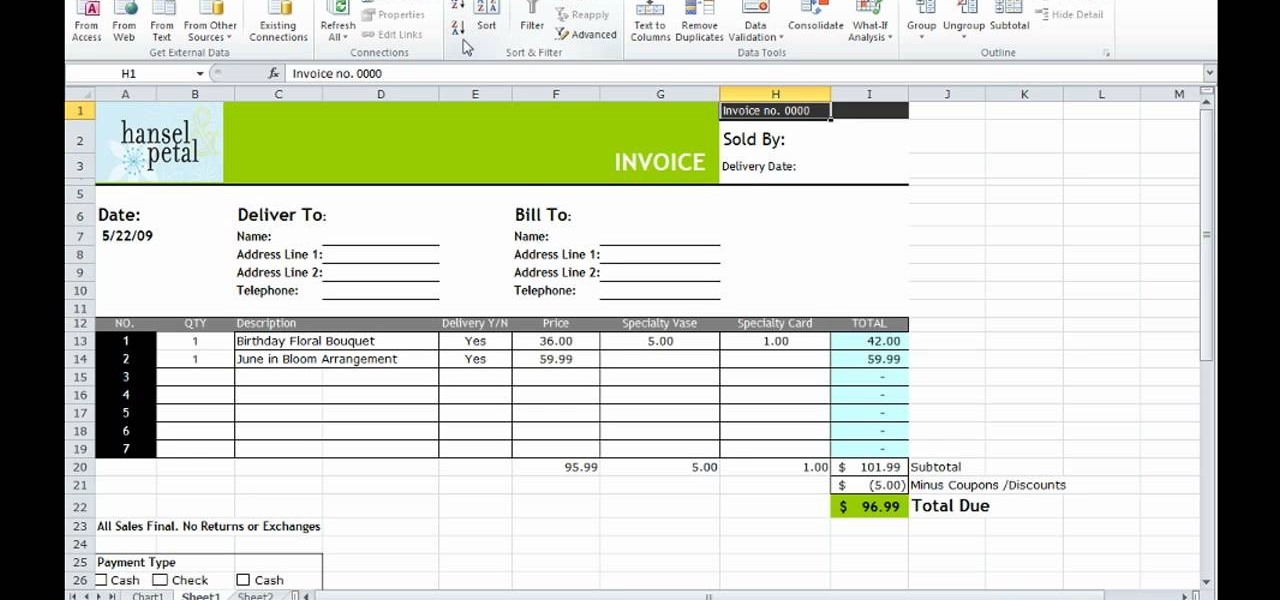
This how-to video is about how to use the Ribbon and Backstage view in Microsoft Office Excel 2010.

In this tutorial, we learn how to make a cheap wedding cake topper. You will need: Styrofoam, cling wrap, ribbon, and flowers. First, cover the Styrofoam with cling wrap. Next, clip an inch off the stem of your flower, and then press the flowers into the Styrofoam ball. Make sure the flowers are close enough together, to where you don't see the ball on the bottom at all. Once you do this, you can place it on top of the cake and decorate the rest of the cake. You can tie ribbons around the cak...

So, basically I was looking around on the internet trying to find out how to make more intricate bows, and found nothing but a whole lot of very confusing instructional posts with no pictures or videos. Here you'll learn how to make cute little bows for your pets, in 6 simple steps! I'm still learning myself, but I'm hoping this could help others!

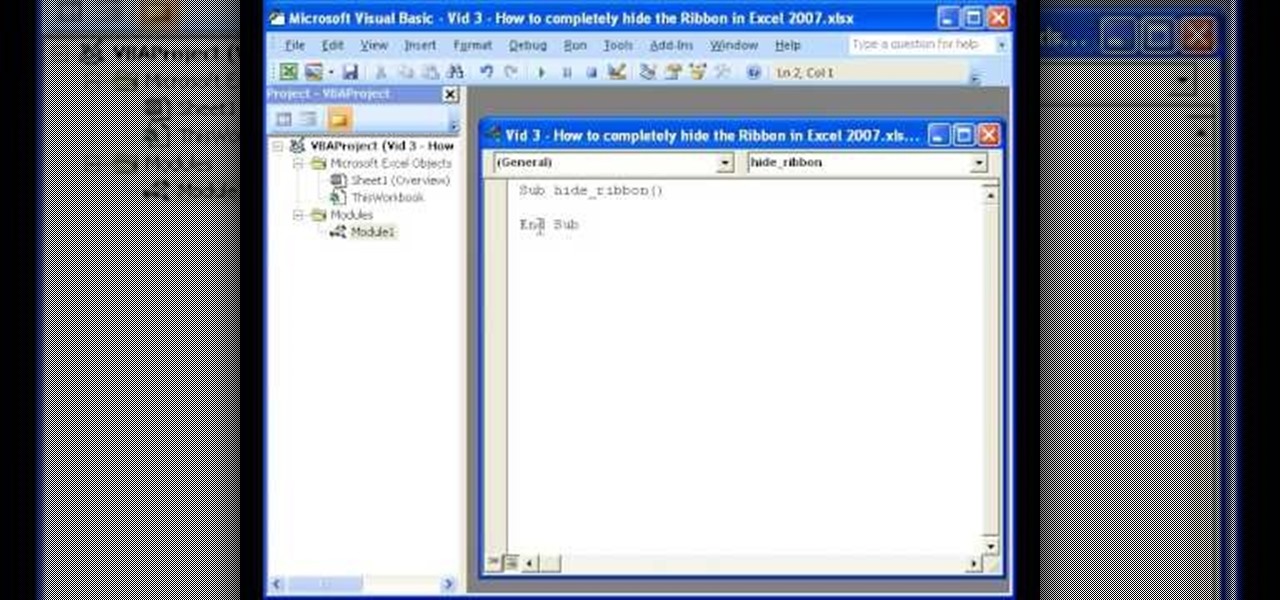
The instructor of this video shows you how to completely hide the ribbon, or the menu, in Excel. If you only want to partially hide the ribbon, you can use the shortcut control + F1. To completely hide the ribbon, though, go to the Visual Basic screen, hit Alt + F11. Then, go to insert, then module, and type in the macro "sub (Your name for macro)" then hit enter, then type in the code "application.executeExcel4macro''show.toolbar(""Ribbon"", false)''". To set up the code to show the ribbon a...

This video tutorial shows how to do the Ribbon Stitch or Japanese Ribbon Stitch and the padded Ribbon Stitch. Learn how to sew these simple embroidery moves by watching this instructional ribbon embroidery video.

This technique shows you how to make a rose or rosebud out of some leftover ribbon. All you need is a length of ribbon and some needle and thread. Add a few bead or crystal embellishments if you want. This will work with any size ribbon.

In this video tutorial, viewers learn how to make a ribbon covered pinch clip. The materials required for this hair clip are 4 1/2" x 3/8" of ribbon, glue gun and an alligator clip. Open the pinch clip and place the ribbon inside it. Align it to the clip so that it is straight. Then apply some hot glue onto the surface of the pinch clip and then fold the ribbon to glue it. Alight the ribbon to the top of the clip and flatten the ribbon. Now apply some more glue on the ribbon and push it into ...

When you need an eye-catching boutonniere for a special occasion, you don't have to spend a fortune at the florist. Make your own!

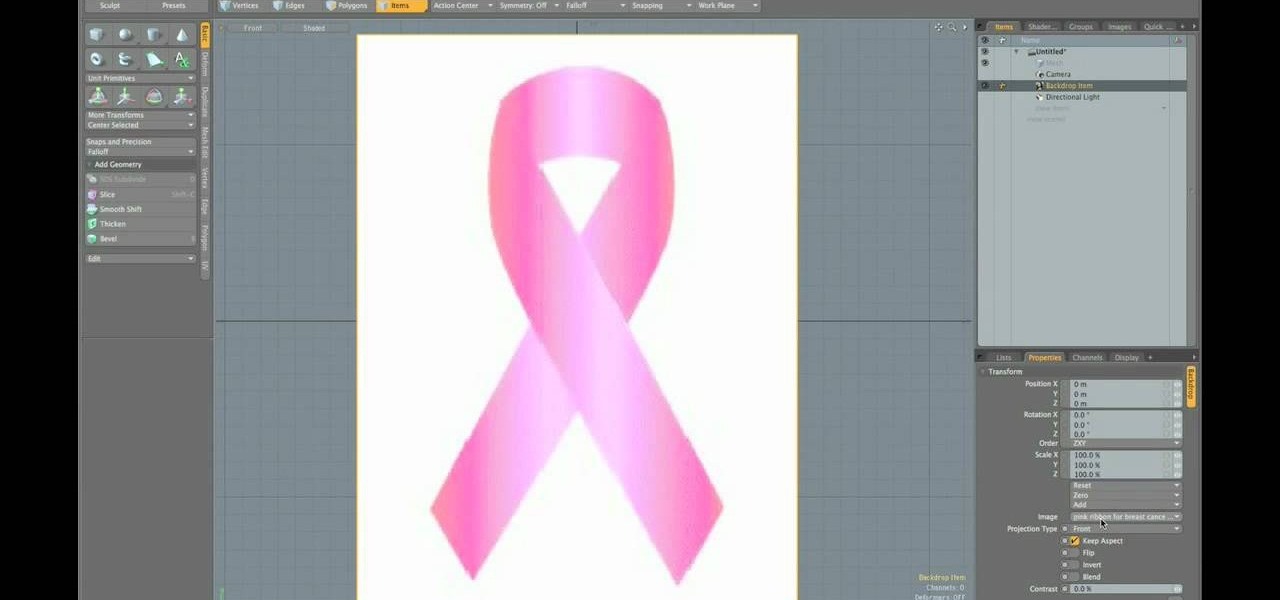
Breast cancer is one of the most deadly and tragic diseases afflicting women today. If you are interested in spreading breast cancer awareness and also in 3D modeling, then this video is a must-watch. It will teach you how to create a 3D model of the pink ribbon synonymous with breast cancer awareness, which you can then use on your website or in any other digital locale you wish.

Butternutsage offers her technique for tying a perfect bow in a ribbon for use with cards or gift wrapping. You will need a length of ribbon four times the area you're going to cover. First, make a loop and pinch it with your fingers. You should "pucker" the ribbon as you pinch it, to achieve a smooth knot. Take the other end of the ribbon around your loop, as if you're tying your shoes. Push the tail end of the ribbon through your ribbon to create another loop, just like tying shoes. Pull on...

Judy, of A-BnC Parties and More, Inc., shows you how easy it is to make a decorative bow from #9 ribbon. All you need is the ribbon, a sharp scissors, some curling ribbon or a twist tie, and the know-how. Use these bows to decorate your wedding, placing them on chairs, canopies, etc., or as an accent to gift baskets.

In order to make trendy hair bows for your hair, you will need the following: ribbon, scissors, a hot glue gun, and hair clips or bobby pins.

This video shows how to style your hair based on the Final Fantasy video game character Yuna. First you will need to spray your hair with a root gel spray, which is a spray that gives your hair texture. Then blow-dry your hair upside down.

The days of asking mom to wrap your presents are over! In this tutorial, learn how to tie a perfect bow for your present out of ribbon.

Ribbons are really kind of a hot commodity, believe it or not, because they're actually quite trick to make. But knowing how to make some ribbons could make you very valuable and you could implement them into your own designs. Watch this Illustrator video tutorial to work with vector ribbons. Learn how to create a smooth silver ribbon with multiple folds. It is entirely vector and very versatile. This one gets a little complicated, so prep yourself to be frustrated at first glance, but once y...

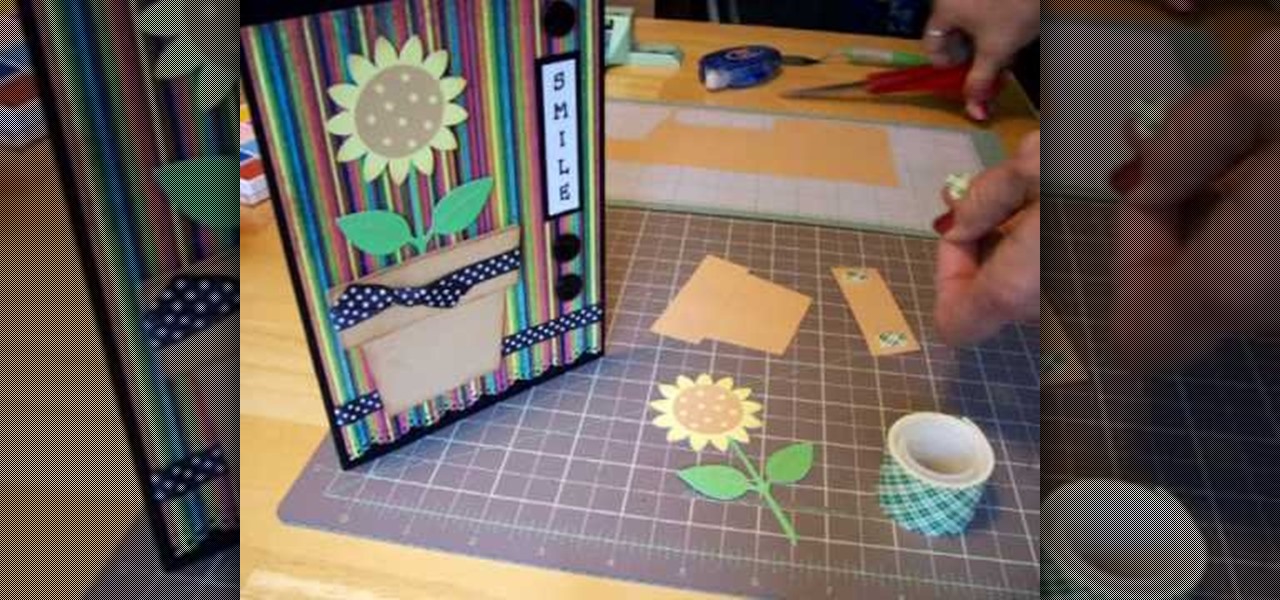
In order to make a Cricut Sunflower card, you will need the following: card stock, Walk in My Garden Cartridge, ribbon, decorative paper, chalk, scissors, 2-sided tape, an ink stamp pad, adhesive, and pop dots.

Corinne from crafts beautiful magazine teaches how to make a photo wallet. Get an A4 colored paper. Fold about an inch on both short edge and one of the remaining 2 longer edges. Bring the top part to the bottom of the longer edge and tuck it inside the fold. Divide into three. Put a ribbon around it and decorate the way You want it. Follow these steps and You'll be able to make Your own photo wallet.

Here's a quick and easy way to make some napkin rings using ribbon. Follow our favorite gal from Pink of Perfection as she shows us how to create some great last minute napkin rings.

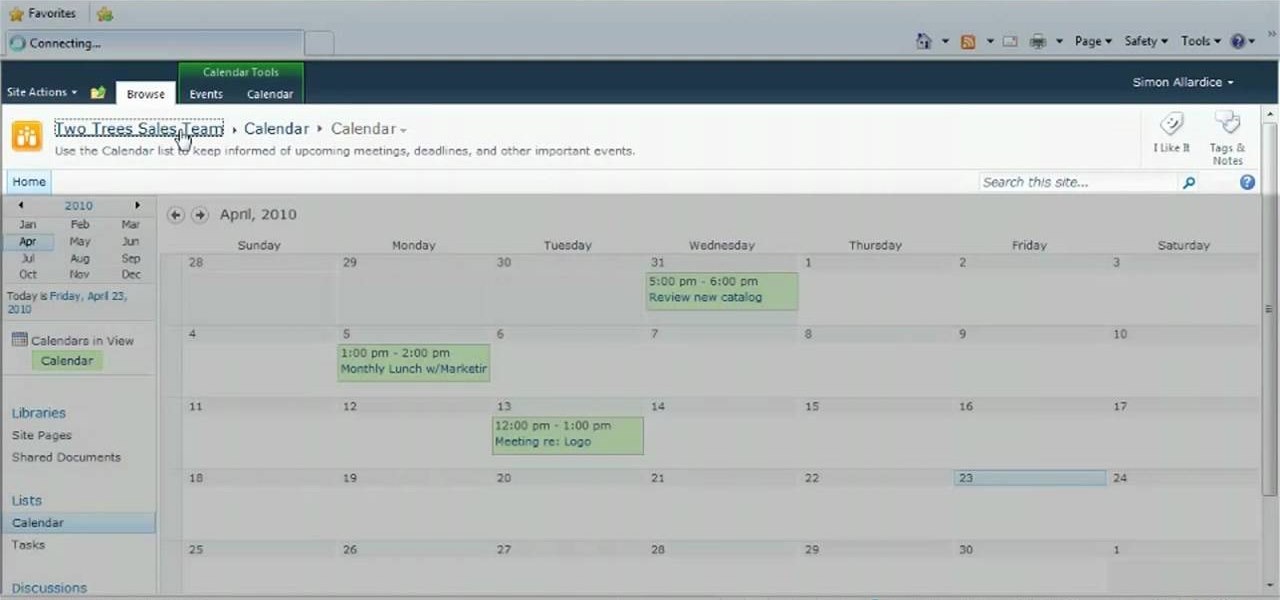
Learn how to use the Microsoft Office 2010 Ribbon interface within SharePoint 2010. Whether you're new to Microsoft's popular content management system (CMS) or a seasoned MS Office professional just looking to better acquaint yourself with the SharePoint 2010 workflow, you're sure to be well served by this video tutorial. For more information, and to get started using the new Ribbon interface in SharePoint yourself, watch this free video guide.

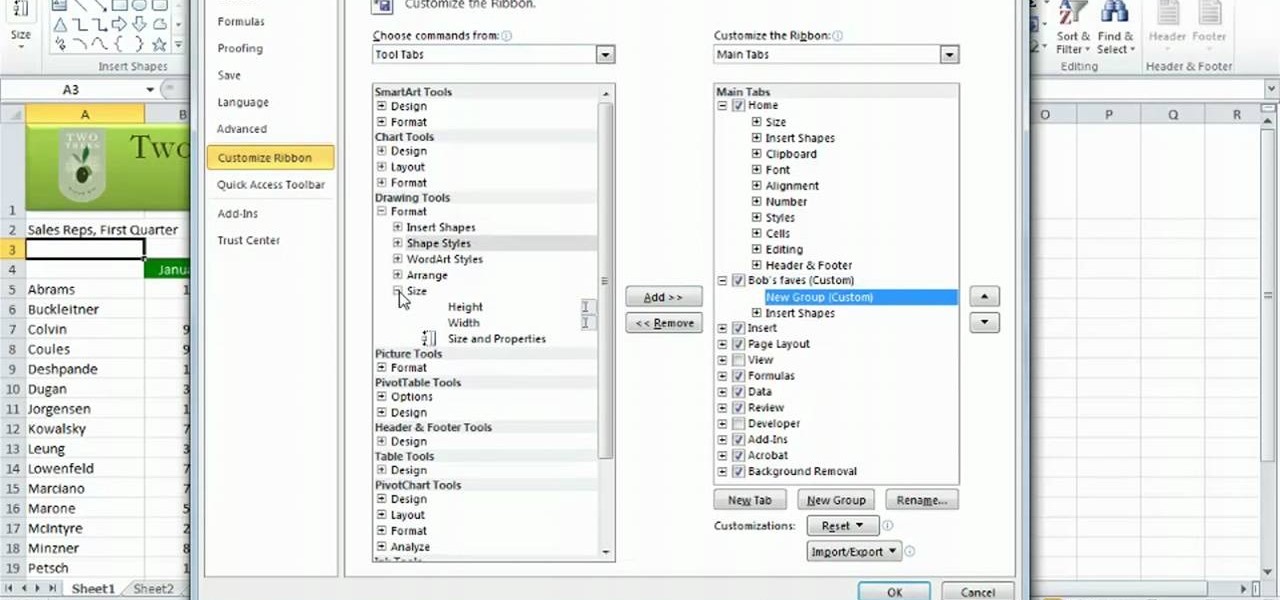
Learn how to customize the Ribbon Bar MS Excel 2010. Whether you're new to Microsoft's popular spreadsheet application or a seasoned business professional just looking to better acquaint yourself with the unique features of Excel 2010, you're sure to be well served by this video tutorial. For more information, and to get started using your own custom Ribbon Bar layout within MS Excel 2010, watch this free video guide.

This is a video tutorial in the Hosting & Entertaining category where you are going to learn how to decorate your Christmas tree with big impact using ribbon. You begin the process by fluffing. Choose two beautiful ribbons. Try different ribbon combinations like metallic and satin or velvet and harlequin. The ribbon must be wired. Make a simple loop and twist the ribbons together. Wrap one loop around one piece of the tree branch. Then make another loop on the ribbons and wrap it around anoth...

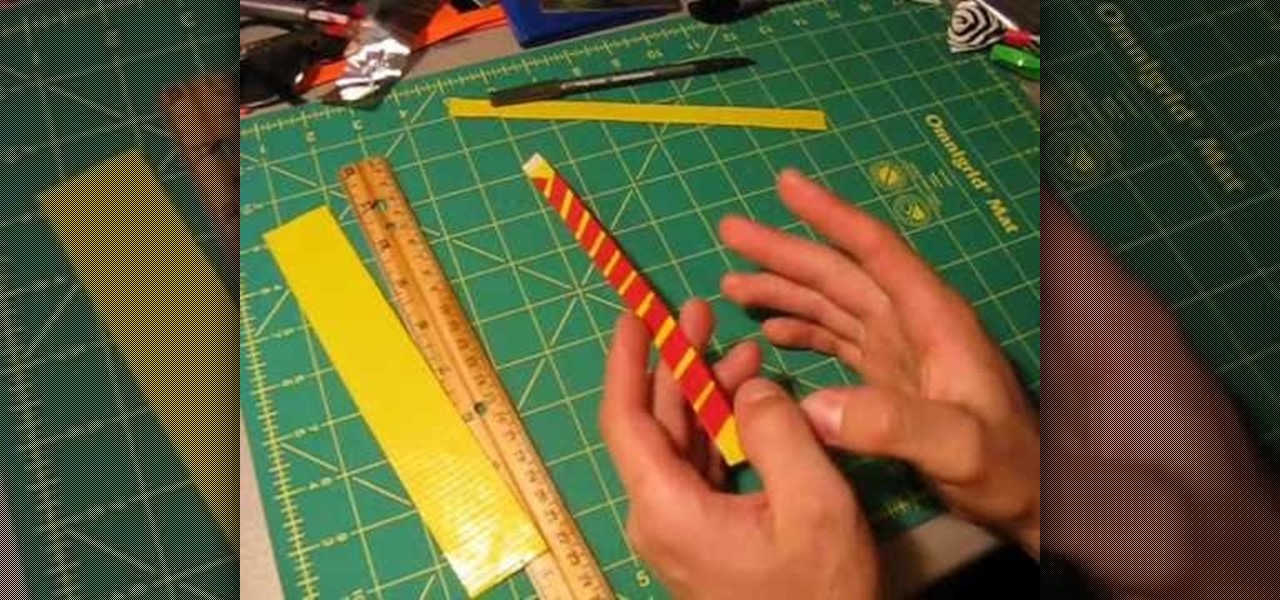
Accessorize with duct tape! This tutorial shows you how to make a bracelet or wristband out of two eight inch strips of yellow duct tape. They end up a little less than half an inch wide and look like charity silicone wristbands.

This Spirituality video clip will show you how to wrap a Wiccan cinnamon stick bundle for protection. You need some cinnamon sticks, scissors and ribbon. Cut a very long piece of ribbon, lay it down on a table, place the cinnamon sticks on the ribbon, tie a basic knot flip it over and tie another knot. With one end of the ribbon, go over and in between the sticks and with the other end, go under and in between the sticks. Now put one more knot in between the sticks. One more time go under or ...

CookiesHugs teaches you how to make an adorable hair bow for girls. For this, you will need a ribbon, scissors, glue gun, a hair clip, and a ruler. Cut 14-15 cm of the ribbon. Put clear nail polish on the ends of the ribbon. Fold the ribbon in half, width wise. Glue one side of the ribbon to the crease in the middle. Do the same on the other side as well. Place glue in the middle and fold the top and the bottom together. Wrap a piece of ribbon in on the outside, in the middle. On the back of ...

Add inches to your appearance without wearing 12-inch platform shoes. You will need: -the right length jacket

Watch this cooking how-to video and learn how to make squash ribbons for an easy, summery fettucine dish or simple salad. Squash ribbons are very simple to make, you can use yellow or green squash for this recipe. Start by taking the ends of the squash, peel off the skin and use the vegetable peeler to make the ribbons for your dish.

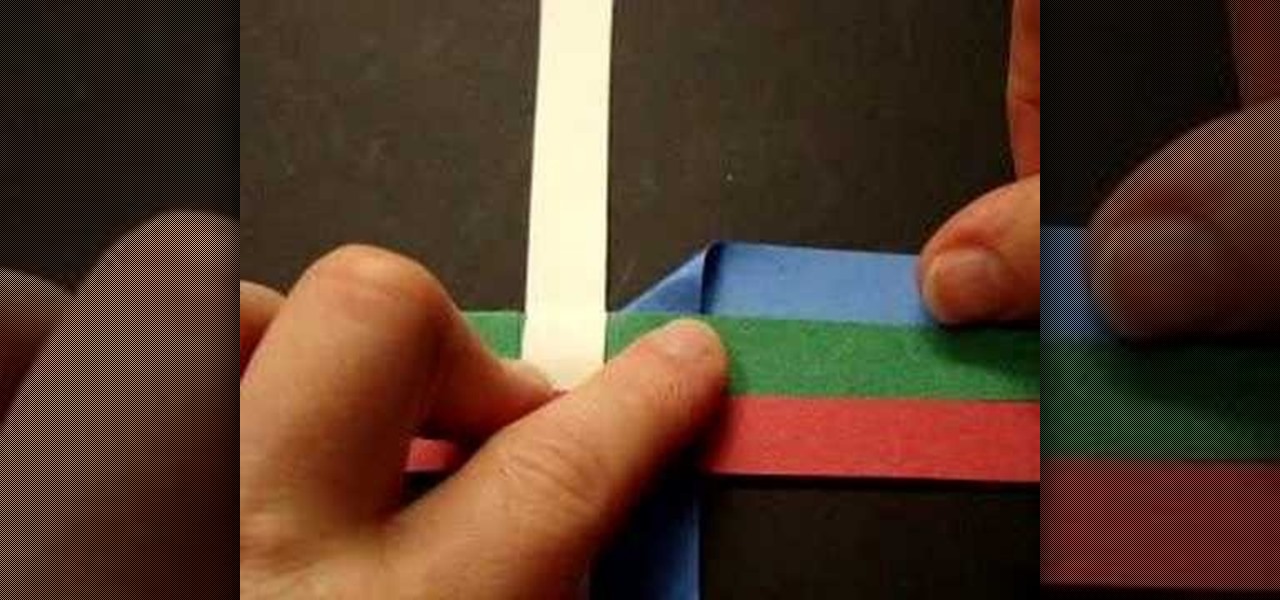
Make a German paper star. You need 4 strips of paper that are 17 inches long and 1/2 and inch wide. Part 1 of 2 - How to Make a German paper star.

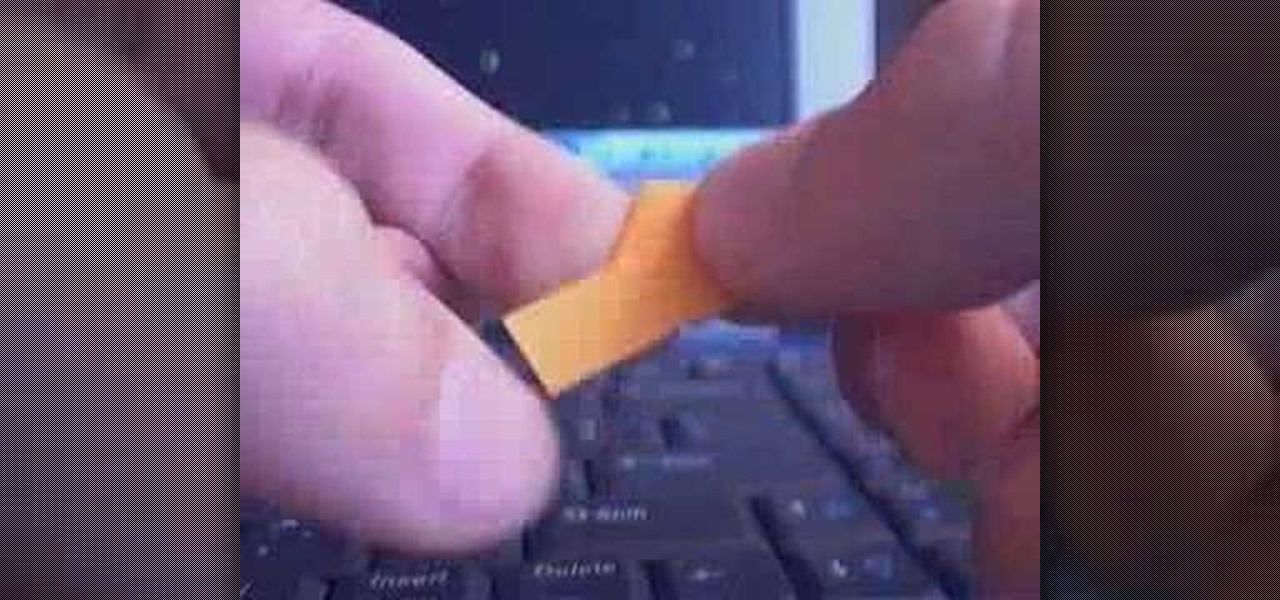
This video will teach you how to make an origami paper star. The paper in the video is 6 inches long by 1/4 inch wide. But any size paper can be used, as long as it fits a similar ratio, and the paper is not too thick.

Release your inner wild thing with a costume based on the classic children's book. You Will Need

In this tutorial, we learn how to make a hair bow with and without a tail. First, take a long and thick ribbon in your choice of color and a thin ribbon in your choice of color. After this, grab a needle and thread and set it aside once it's threaded. Then, take your thick ribbon and fold it into a bow shape. From here, take the needle and sew the ribbon down the middle of the bow. After this, take the smaller ribbon and tie this in the center of the bow. When finished, you will glue this to ...

In order to make a Christmas pedestal/easel card, you will need the following: Cricut Storybook cartridge, ribbon, Beyond Birthdays, glue pen, glitter, and adhesive.


