How To: Adjust white balance in Aperture
Aperture's white balance adjustment helps you improve the quality of colors in your images, correcting for a camera that wasn't properly calibrated for the lighting conditions under which it was used.


Aperture's white balance adjustment helps you improve the quality of colors in your images, correcting for a camera that wasn't properly calibrated for the lighting conditions under which it was used.
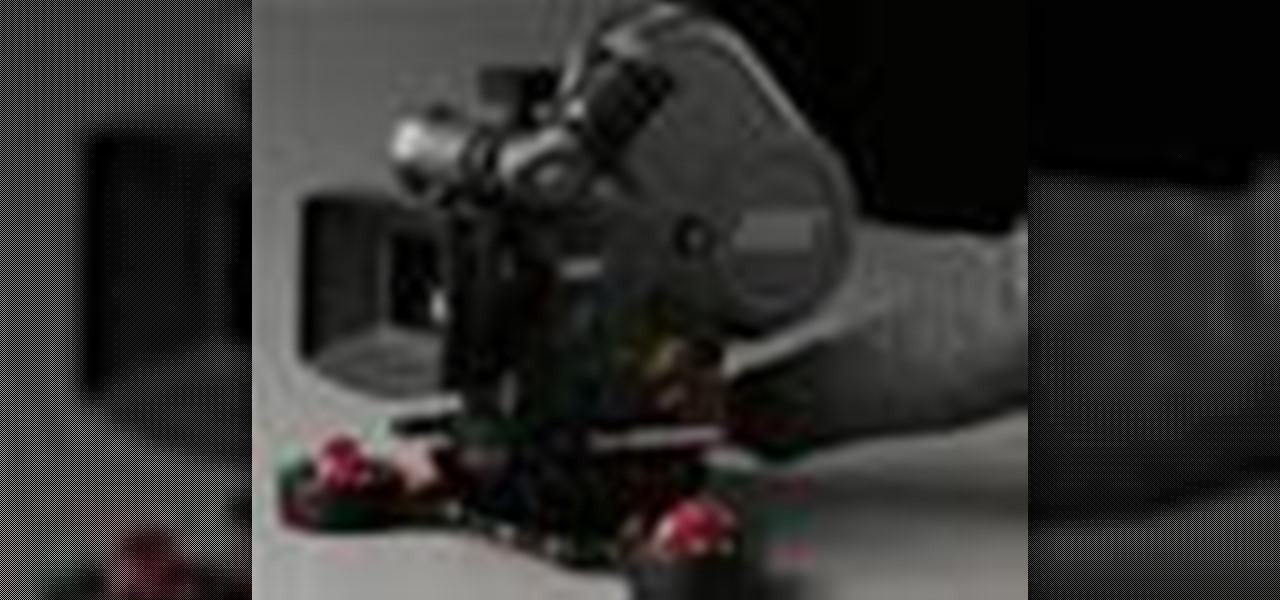
Watch this professional cinematography video to learn how to pan and lock to enhance and maximize the performance of the P+S Technik SKATER Mini dolly. This allows you to either lock the wheels for fixed camera angles, or execute basic panning shots. View final footage of the Skater used on professional film sets.
Watch this professional cinematography video to learn how to use the Steadybag to enhance and maximize the performance of the P+S Technik SKATER Mini dolly. The Steadybag allows you to work with angled shots. Just place the bracket into the frame of the skater and then place the camera on top of it. View final footage of the Skater used on professional film sets.

Depth of Field (DoF) is easy to understand, but it is often extremely poorly explained. It's all about selective focus. For consumers with conveniently small camcorders, you only have two options: get your subject away from the background and then (1) zoom in or (2) get the subject close to the camera. No 35mm lens adapters, no secret techniques, no complex math: That's it!
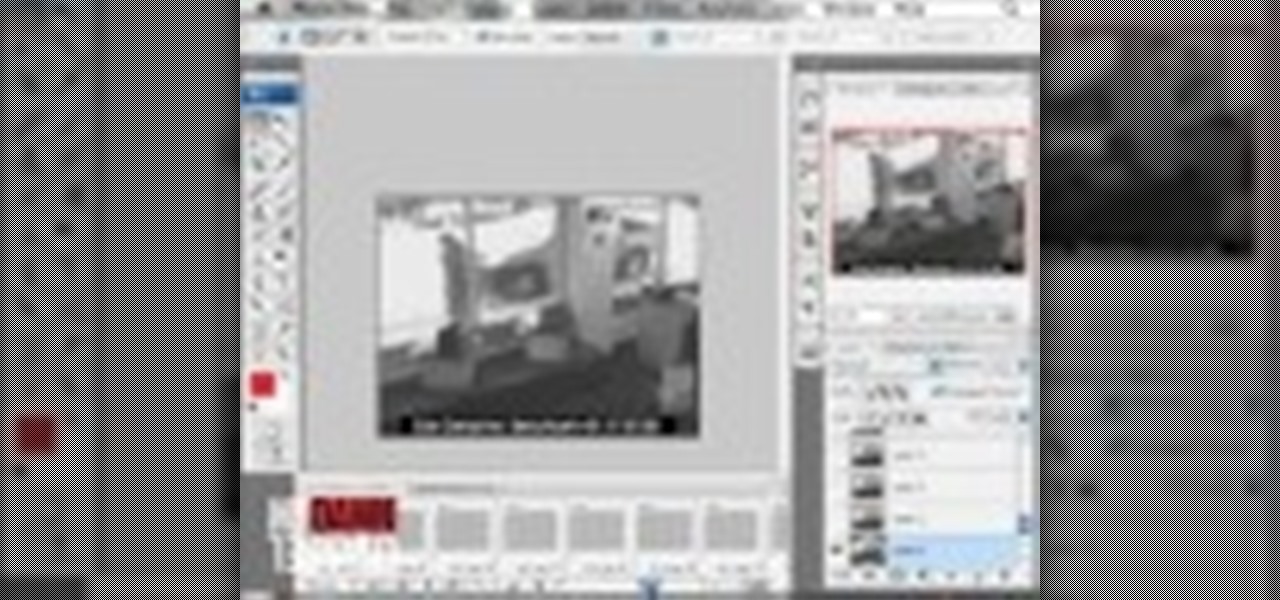
Donnie Hoyle shows us how to edit video frames in Photoshop. So if you suck at Photoshop check out this tutorial and learn how to edit video frames like a pro. This is extra helpful if you need to remove yourself from incriminating video camera evidence.
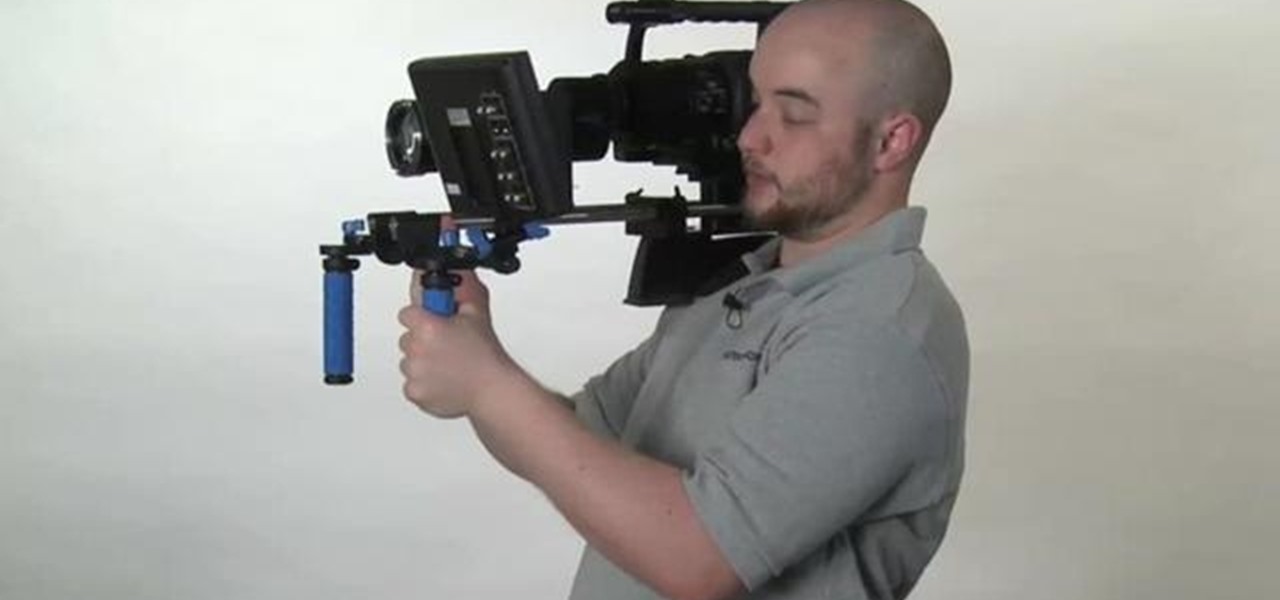
Watch this cinematography tutorial on how to use the microShouldermount, which can be attached onto a tripod or used in its typical configuration as a shoulder mount. You can attach a monitor along the grip rod. Learn the essentials of the Redrock mounting systems for professional digital video cameras. Interesting tutorial for professional cameramen & digital filmmakers.
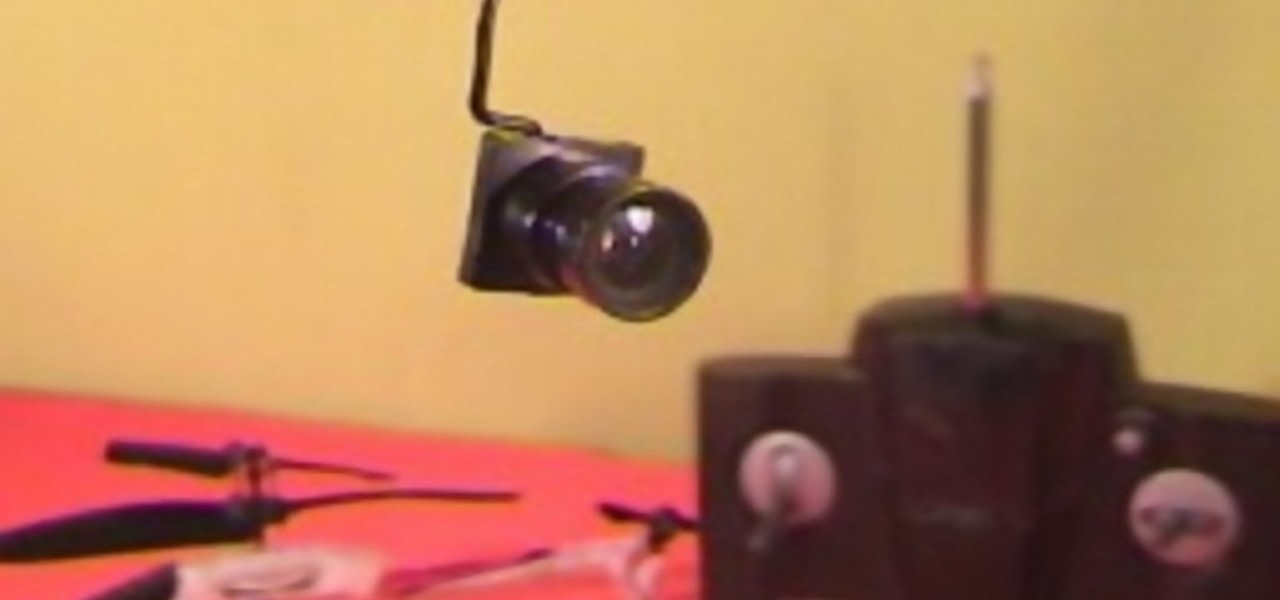
Turn an inexpensive RC (remote controlled) helicopter into a flying spycam! Grab their cash and GO! Or just spy on your sister's sleepover party.

Ted from Red Digital, and Michael from PlasterCITY, shows how to take a 4k source file, edit in real time, and make dailies in Final Cut Pro.
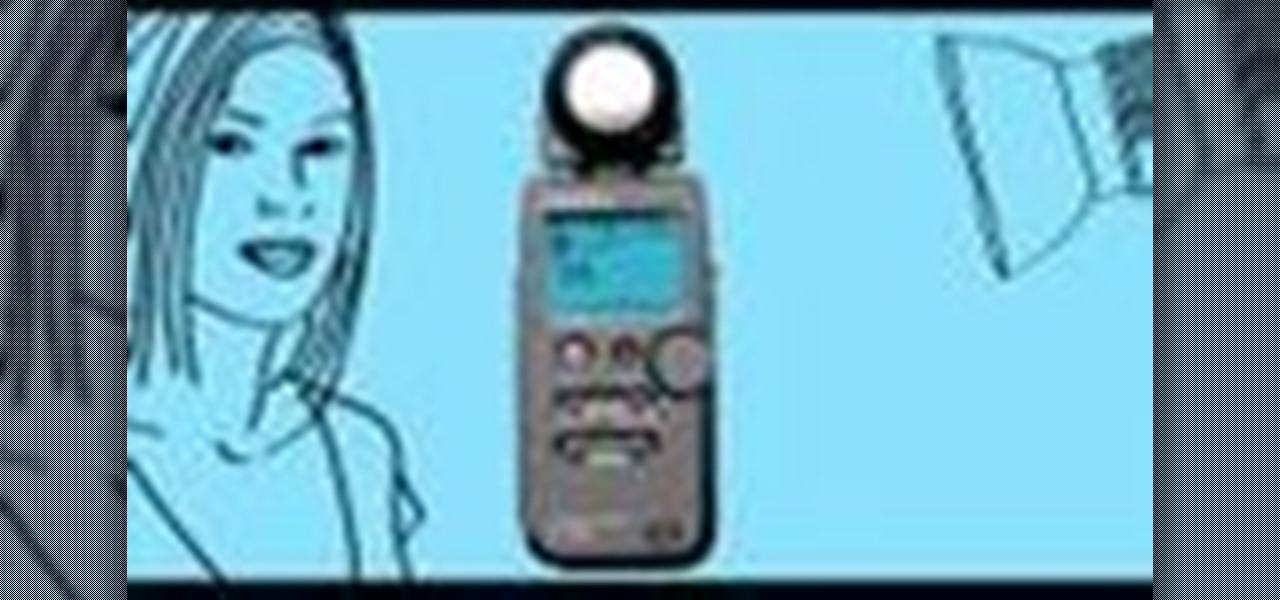
Mark Wallace explains how to use a light meter, how it works (incident and reflective meters), and what type to purchase. Use this for still or motion cameras.
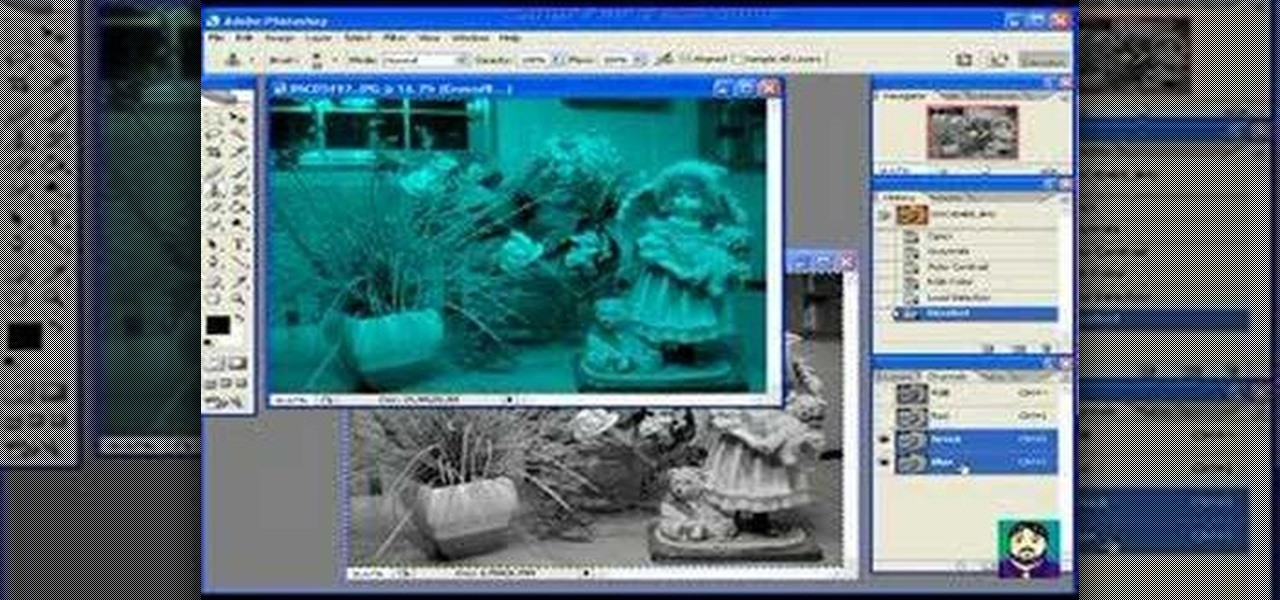
Learn how to create a 3D anaglyph image (the kind of 3D image you see with 3D glasses) using Adobe Photoshop and a digital camera.
In this week's episode of Backyard FX, Erik visits the Indy Kung Fu Masters of West Haven Brook to learn some awesome tips for movie fight scenes. They talk about the counting, sound effects, pull backs and camera movement necessary for orchestrating a great fight scene.
Steve Nelson from Indy Mogul shows you how to create cool falling or jumping from a building effect. Use a combination of camera angeles, green screen, and editing to create this cool action effect for your films.
In this tutorial, we learn how to simulate teleportation w/ film effects & camera tricks. First, take a shot of your actors moving and doing something active. Then, take a shot of the frame without the actors. After this, go frame by frame masking the actors out of each of the frames. Use radio blur to make them leave the shot, then add in evaporation. From here, you can play the clips of the background on the scene so it looks like the have been sent somewhere else. Smooth out the background...
Ever wonder how people make those wonderful and awe-inspiring time-lapse films? Well, this video shows you the bare basics of creating a time-lapsed movie. First, you'll need to set your digital camera on a tripod and set it to take stills at your desired intervals. Then, you'll need to import all of these photographs into Aperture or iPhoto on your Mac computer. Then it comes times to turning those pics into a time-lapse film. Watch and see how!

In this tutorial, we learn how to use R1C1 speedlight when shooting photos. First you will want to place the attachment ring and adapter ring to the camera. After this, grab the remote flashes and the built-in flash panel. After you have installed all of these things on your camera, you will be ready to start taking pictures. Find the object you want to take pictures of, then start to use the wireless flash system to take quick picture that look great. As you click the remote, the flash will ...
This video will show you some methods to create a fake Loch Ness monster photo. You will need a camera or a camera phone for this project. One method of faking a sea monster picture involves creating a clay model of a head and a neck of a sea monster and holding it underwater. The outline of your hand holding the clay will serve as the body of the monster. Another method which can be used to fake a sea monster can be done using a clothes hanger and holding it underwater. The hook of the hange...
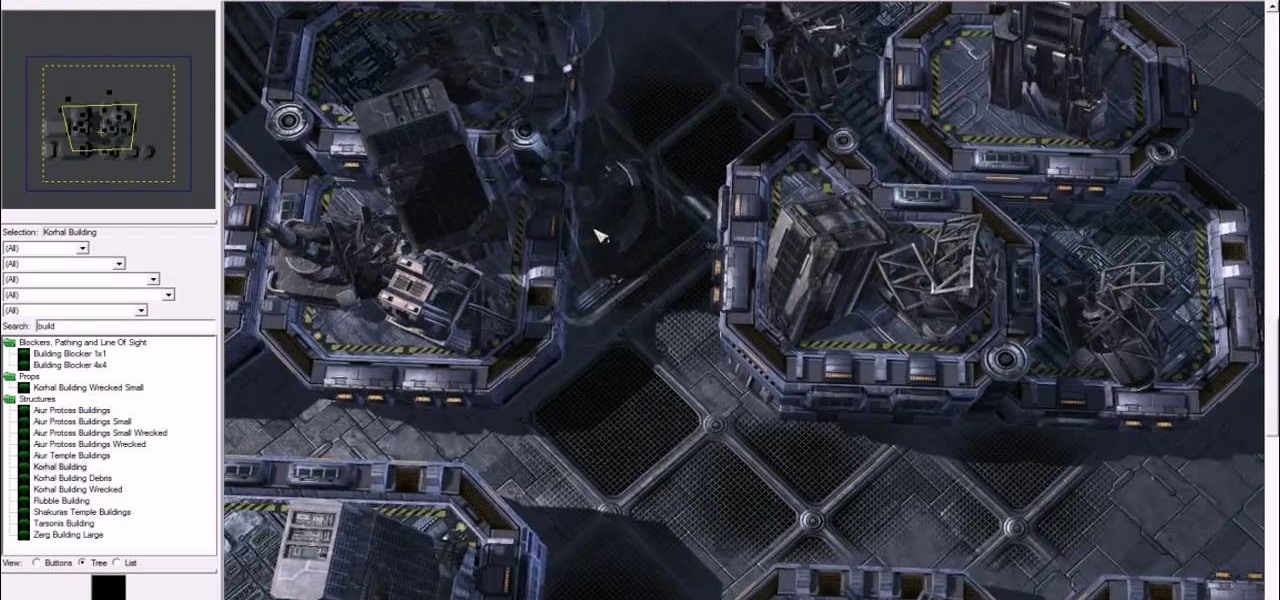
StarCraft 2 is here, and that means the StarCraft 2 Editor is also here. If you've never played around with the Editor, it's about time you tried. This video series will show you the ins and outs of creating an in-game cinematic. Watch as terrain is designed, along with lighting, cameras, scripting units, visibility and triggers to apply the cameras.
It doesn't matter how great a photographer if you don't have the right tools. Even Annie Liebvitz would get only average shots with a lower grade digital camera because it's very limited in terms of settings that you can control.

James Barry teaches us how to take better indoor portraits. When you are taking these, you want to make sure you have the lighting that is directly onto the subject and the subject's face can be seen. You will have to work with the light and often you will have to add in several lights to get the facial features to all show. Work with your camera to see what it sees and how the light looks through the camera. It will take several minutes to get the portrait to come out correctly. Place the li...

In this video tutorial, viewers learn how to photograph with a tilt shift lens. Shooting in a position of height will exaggerate the field, Make sure to lock down the exposure of the camera before tilting. A tilt shift lens allows users to choose where the focal point lies and are able to blur out the image. To maximize the depth of a field, users need to simply turn the lens to change the focal point. This video will benefit those viewers who are interested in photography and have a tilt shi...
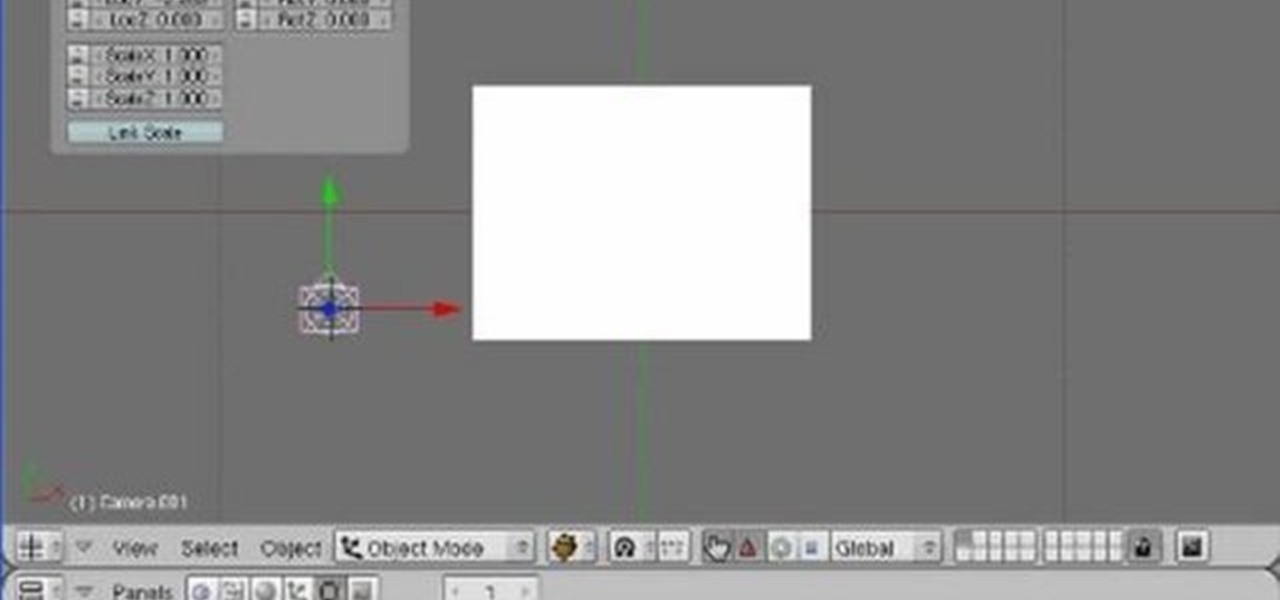
Blender is really cool in that you can mix your modes of editing between projections of that video in 3D space, 2D-based compositing, and 2D-based mixing in the VSE, all at the same time. An über-cool idea is to use your video to texture something - a plane, or a sphere commonly, and then film that texture using the camera (orthographic or lens-based) to get all sort of very cool distortion effects. Whether you're new to the Blender Foundation's popular 3D modeling program or a seasoned graph...
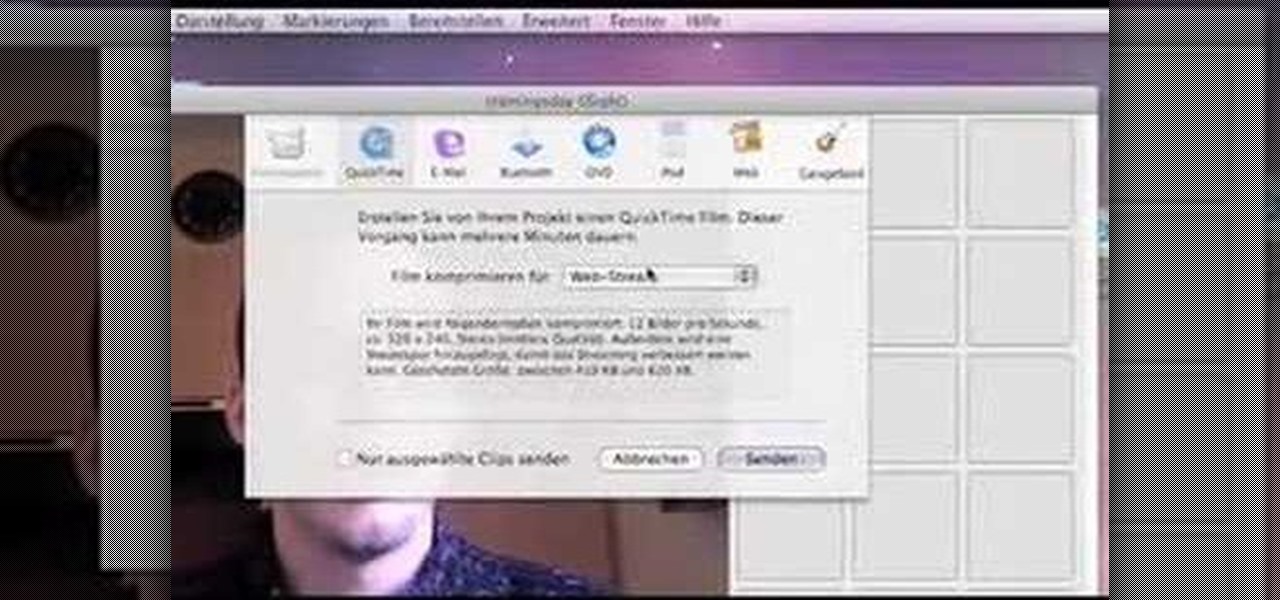
Start up iMovie. When the screen pops up you should choose new project. Give you project a name and then start iMovie. Switch to the integrated camera option found at the bottom of the screen. Press record and you can start talking for as long as you want. Record what you want, then when you want to finish, press the "esc" button on your keyboard. You can then choose the clip that you just recorded, drag it to the bottom of the screen go to file, choose export, then web-stream, then click sav...
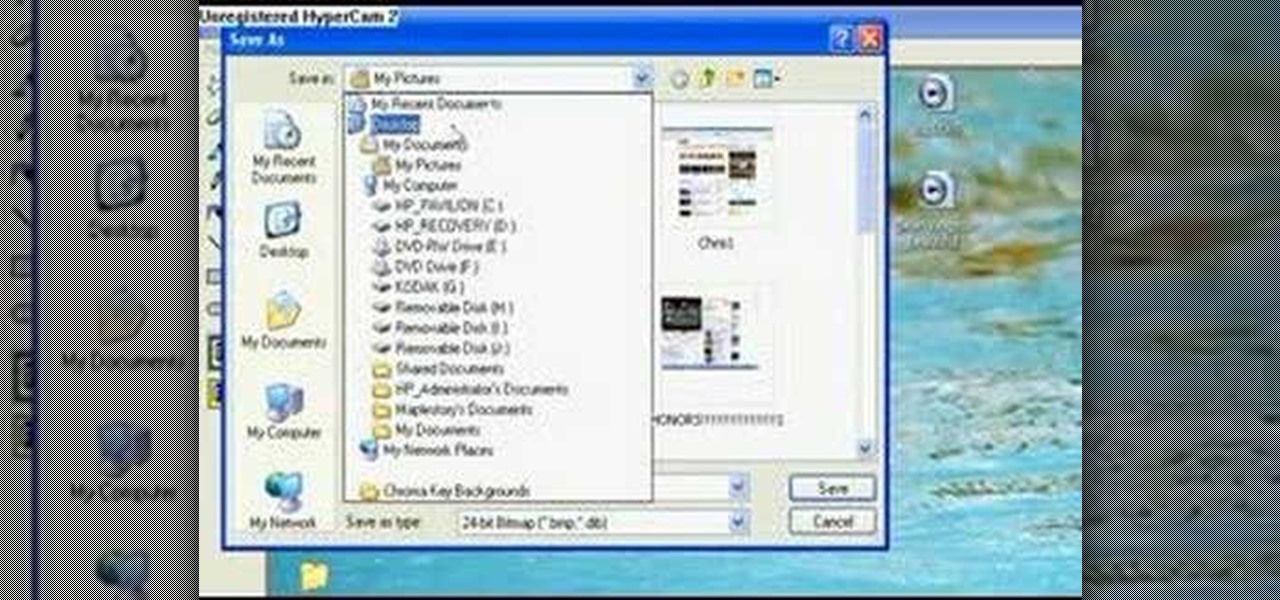
You don't need a camera to take a screen shot of your computer. In fact, a camera would probably give you an extremely blurry picture! There is a special button on your keyboard called Prnt Scrn. All you need to do is press that button. The screen shot of your desktop is then stored onto your clipboard. To get it off the clipboard, you need to paste it in paint. Open it up, go to edit and click paste. Then go to file and click save as to save your file. Choose where you want it to be saved, n...
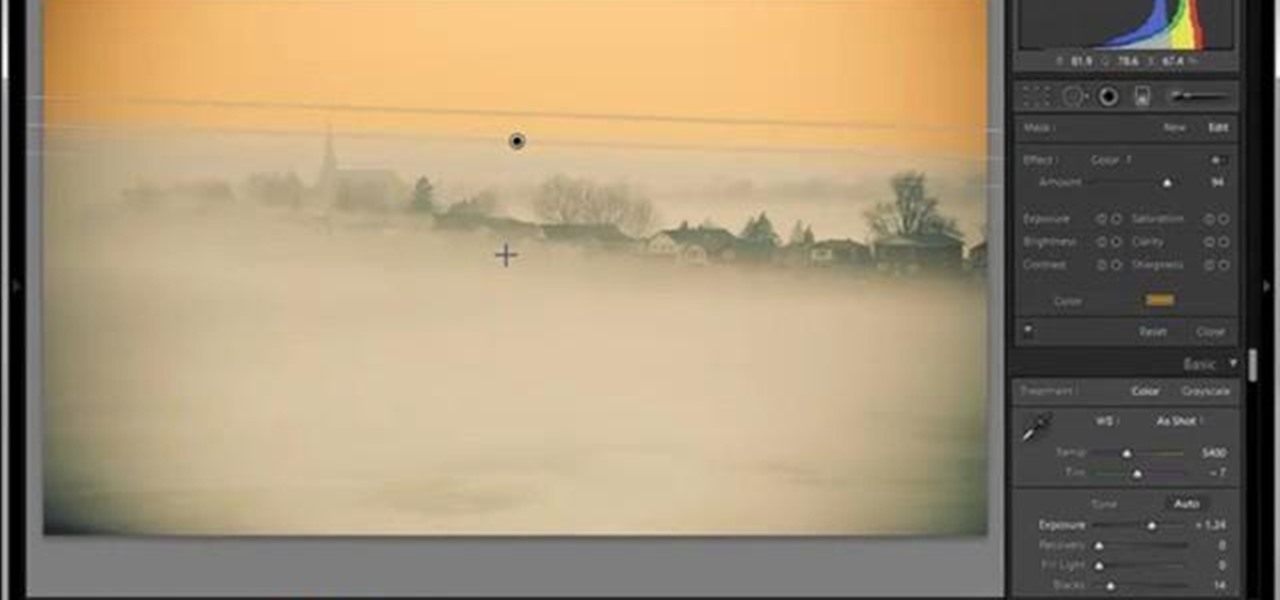
In this tutorial, Yanik Chauvin teaches us how to create an old-style looking photo starting from a grayish, underexposed one, using the software "Lightroom". He starts by creating a virtual copy of it, and then he adds a Camera Calibration preset named Camera Landscape and increases the exposure. After that, he crops the image removing the blank parts of the photo, and adjusts Contrast, Blacks and Clarity to strength the image borders.
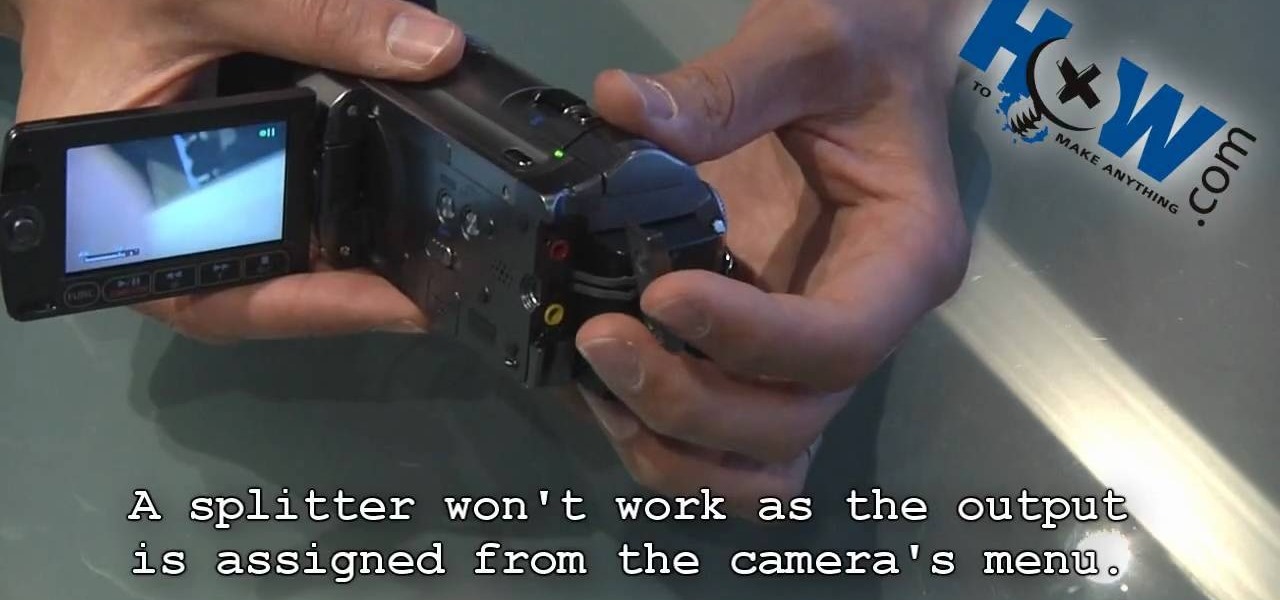
In this video from lunawebs we learn how to use an external monitor with a camcorder. The best way is to use an HDTV and use your HDMI output on the TV. The sound can also come through the monitor if you have a headphone port on the monitor. If you want to go outdoors, it will be more of a challenge. If you do not have an HDMI out on your camera, there is a component you can use. Composite AV outs are cheaper when it comes to monitors and camcorders. If you have a composite monitor, assign th...
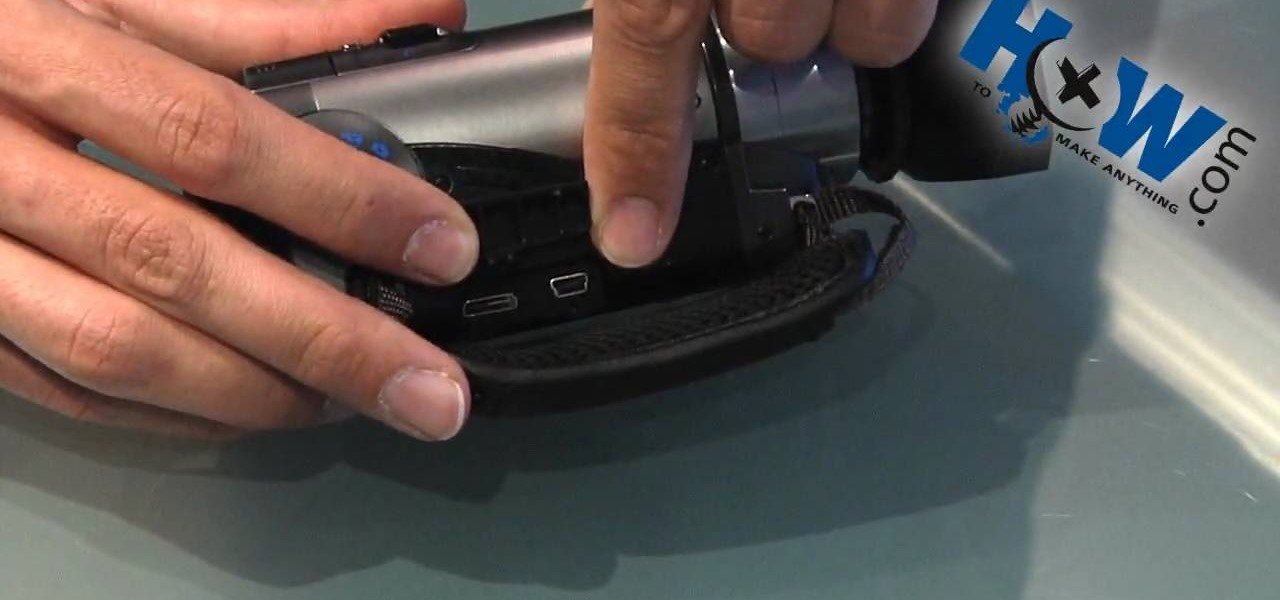
In this video from lunawebs they show you how to transfer video from your camera to your computer as quickly as possible. If you're using a camera with a mini DV tape there's not much you can do to speed it up. If you're on a memory card it can be done. Take your memory card and plug it directly into your computer if it has a slot. If it doesn't, you can buy a USB card reader and plug in your memory card into that, and then plug into your USB port. There's no time loss here and a USB reader i...
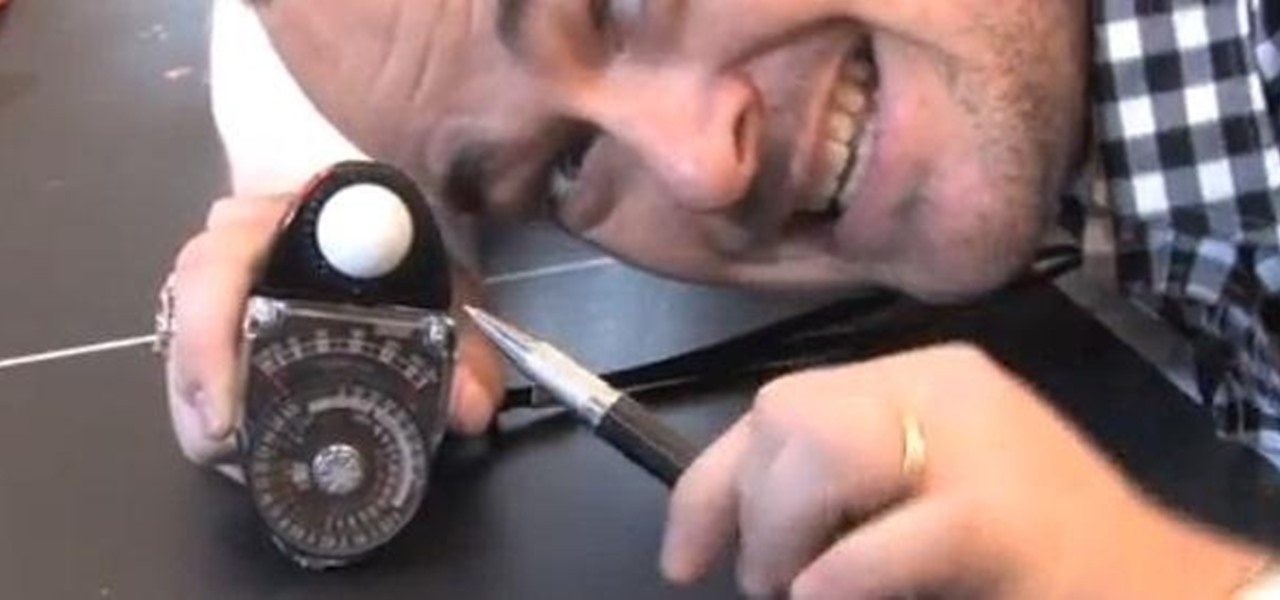
Know a little bit about film lighting, but can't quite grasp the concept of using light meters to measure light for proper exposure? You can't rely on your video camera to accurately capture what you see, so you need light meters to properly and accurately capture what you have created on set.
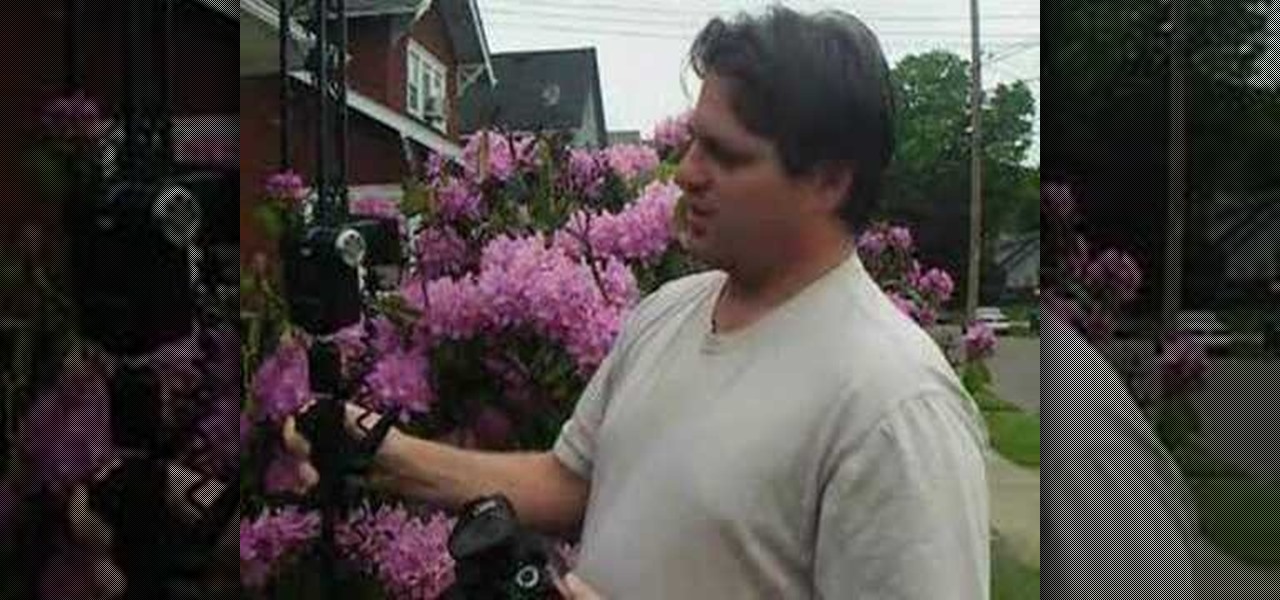
This video instructs the watcher on how to use the flash of a Vivitar to add light to photos taken outside if a little extra light is needed. Turn the camera on AV mode, choose an ISO setting like 100 or 200, then take a reading, either off the sky or an object. Then use the Vivitar to match up to that setting. Then position your camera off to the side to add a directional light to give the photo detail and kick. Follow the directions in this video to learn a new technique to give your outdoo...
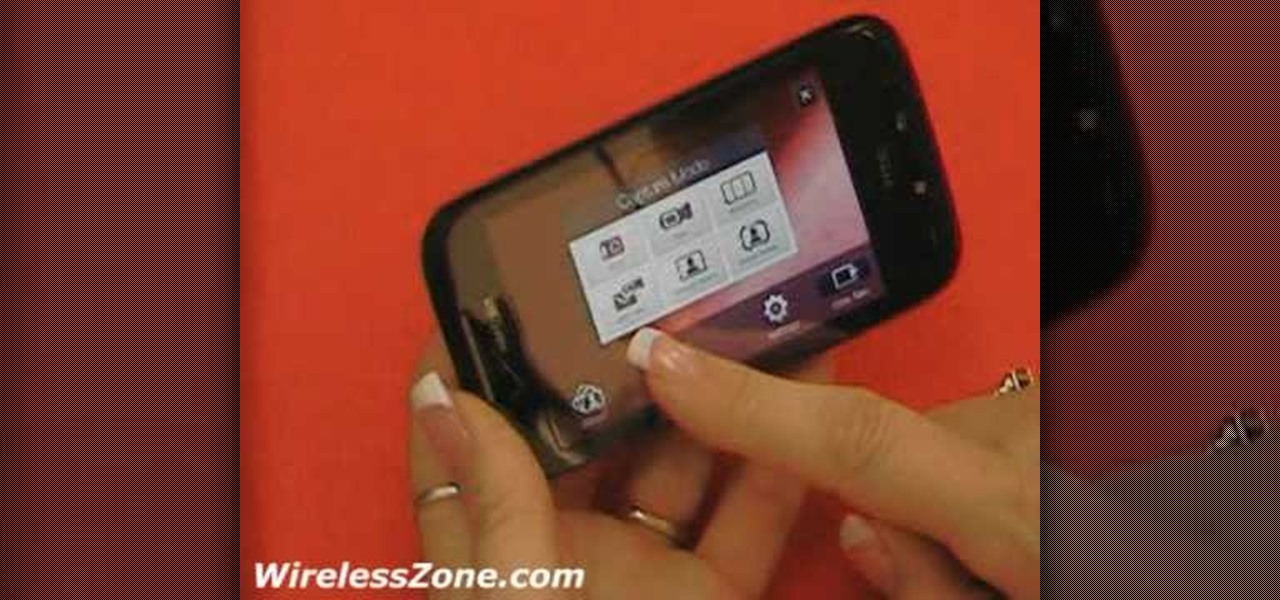
Celluar Chloe from cellular zone shows us the features of HTC Touch Pro 2 camera and video. She shows us at first some picture quality and then shows us how to take a picture. The features of black and white, auto and etc, the rather settings that one can change when taking a picture. The video quality is poor and one cannot see the phone screen clearly. She shows us how to access each of the features she mentions but does not explain in detailed instructions.

This clip was filmed as part of a One to One training day with Mike Browne. Focus the camera on a bunch of window panes. There is a row of window panes which cuts across the bottom left hand side corner. There's actually nothing right or wrong with it, only thing that matters is whether or not it works for you. Mike Browne believes that because it is strong and dominant you should crop the image so that it will no longer be visible. You can always remove that in a computer later, thanks to di...

Picture this: the infrared sensor on your TV is not working and you are blaming it on your remote control batteries. Well, to make sure exactly what is going on, try testing TV remote to be sure. To the naked eye, you might not be able to see the infrared light, so you could think it's dead, but try filming with your camera phone or digital camera, which could pick up the IR signal.

Adam from Chemical Reaction wants to show you a little movie magic. This video tutorial will show you how to create, shoot and edit a time freeze effect for your homemade film. Stopping time is no joke, but doing it with a little camera skills and a little editing skills makes it easy. You just need to know when to freeze the frame and then layer it with another.

You can take high dynamic range photos with a regular point and shoot digital camera. You may need to take up to three versions of the same photograph and make a high definition composite photograph. Even a small digital camera can take three photographs at the same time using an auto bracketing feature. You can also do this by hand if you have a steady hand or a tripod. Edit the individual photographs on the computer using Adobe Photoshop or a another digital photo editing program.

This cinematography tutorial video provides the basics of working with a photographic light meter as well as how to read the meter. A light and flash meter is nothing expensive. All you need is something that will measure the light and your flash. Most light meters are relatively the same. Metering is a relatively simple process. Just key in the ISO, key in the shuttle speed, push the button, and it gives you the f-stop to use on your professional photo camera.
In this episode, we dive into the expensive, or, at the least, tedious realm of camera stabilization equipment. This ranges from the all-powerful, all-knowing fluid tripod head, to the much used and often abused dolly. We don't own and operate an actual Steadicam or a jib or a crane, but hey, we'll mention them, too.
Three point lighting can be used to achieve professional studio results. For this, you will need: a key light, a fill light, and a backlight.
In order to access blocked videos and websites, you will need to set up a proxy service in the U.S., if you are trying to use Hulu. Go to a list site.
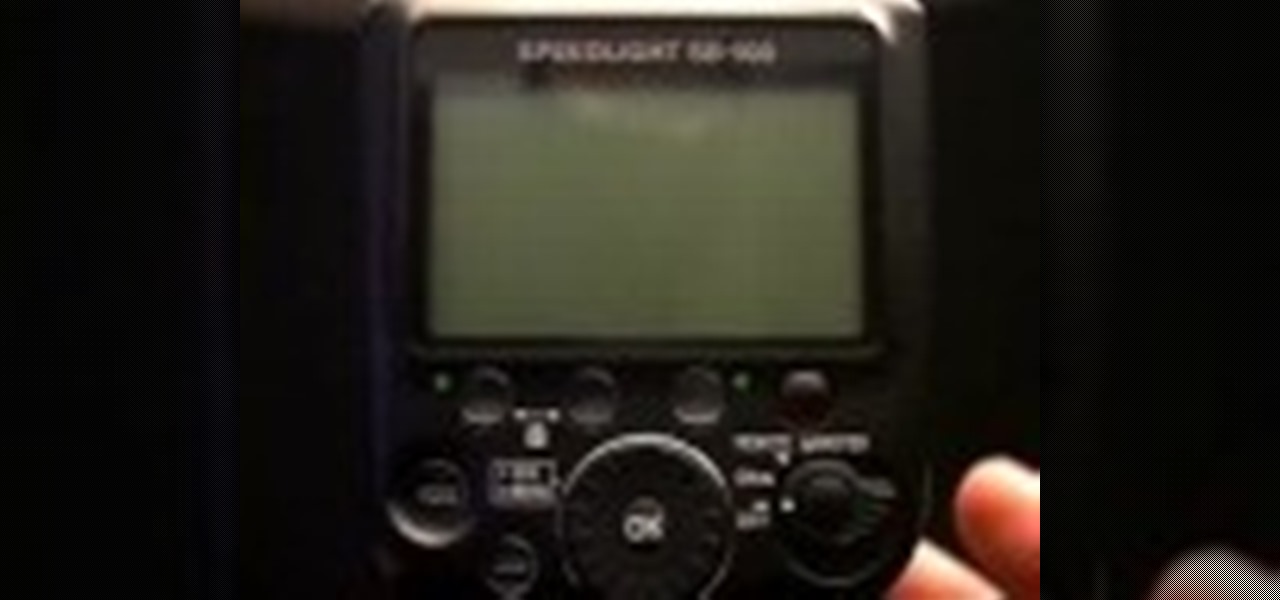
Now that you've got your Nikon SB-900 professional-grade speedlight, make sure that you get the most out of it with this free photographer's guide, which will walk you through the flash unit's basic features and functionalities.
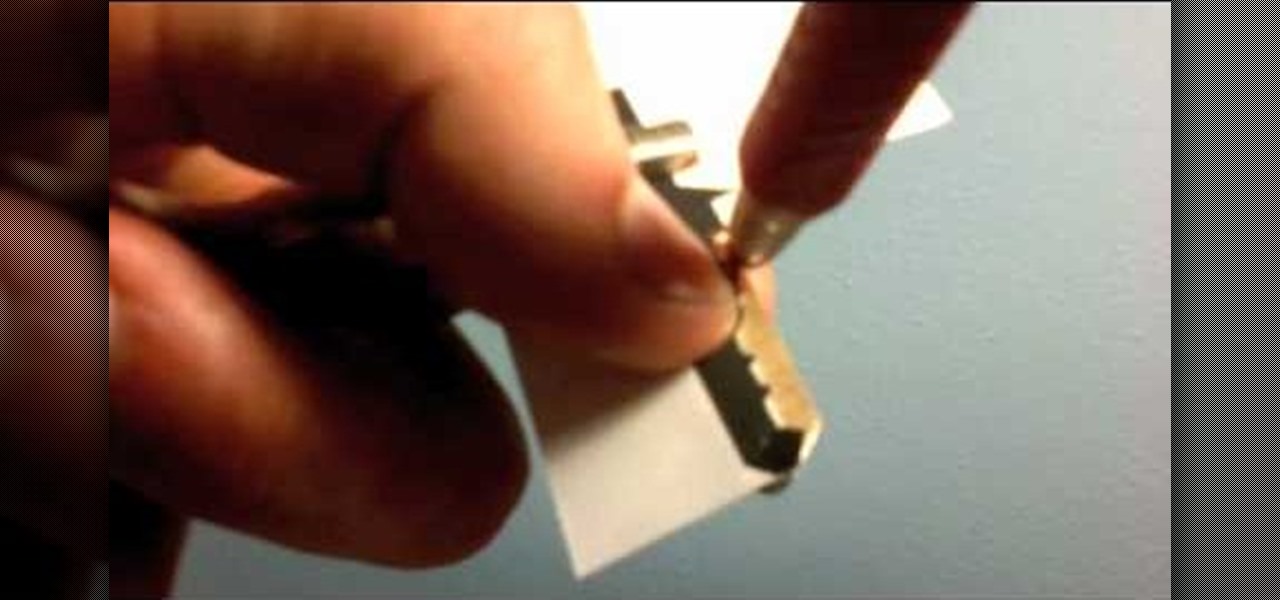
In this ten-step video tutorial, you'll learn how to quickly copy keys using a camera, printer and Dremel tool. With this ten-step process you'll learn the necessary steps to copy almost any key... even if you only have access to it for a brief period of time.

This software tutorial shows you how you can blend three differently exposed images using Photomatix, and then demonstrate how to use some basic Photoshop techniques to touch-up the resulting image. [Note: the Flash overlay in this video doesn't sync completely with the audio; pausing for a second and then resuming it fixes the problem.]