
How To: Tether in Aperture
The tether command allows you to tether your camera to your Mac and capture images directly into Aperture. It's fast, easy to set up, and gives studio photographers immediate full-screen feedback while they shoot.


The tether command allows you to tether your camera to your Mac and capture images directly into Aperture. It's fast, easy to set up, and gives studio photographers immediate full-screen feedback while they shoot.
Aperture provides two sophisticated sharpening tools, edge sharpen and sharpen. Both help you improve the fine details in your images. Most images from digital cameras need a little sharpening, especially RAW files.
Aperture's metadata inspector is a one-stop location for editing the metadata associated with your images. Some of this metadata is automatically stored within the image files of your digital camera, and aperture automatically reads it when you import your photos. You can add other metadata, such as keywords, yourself.

The easiest way to make a movie is with magic iMovie. Magic iMovie imports clips from your video camera, inserts a title and transitions, and sets the music, so you can create a movie with the click of a button.
Adding narration or voiceover to your movie is an excellent way to enhance your story. You can use the built-in microphone on your Mac, the built-in microphone from a connected iSight camera, or an external microphone connected to your Mac.
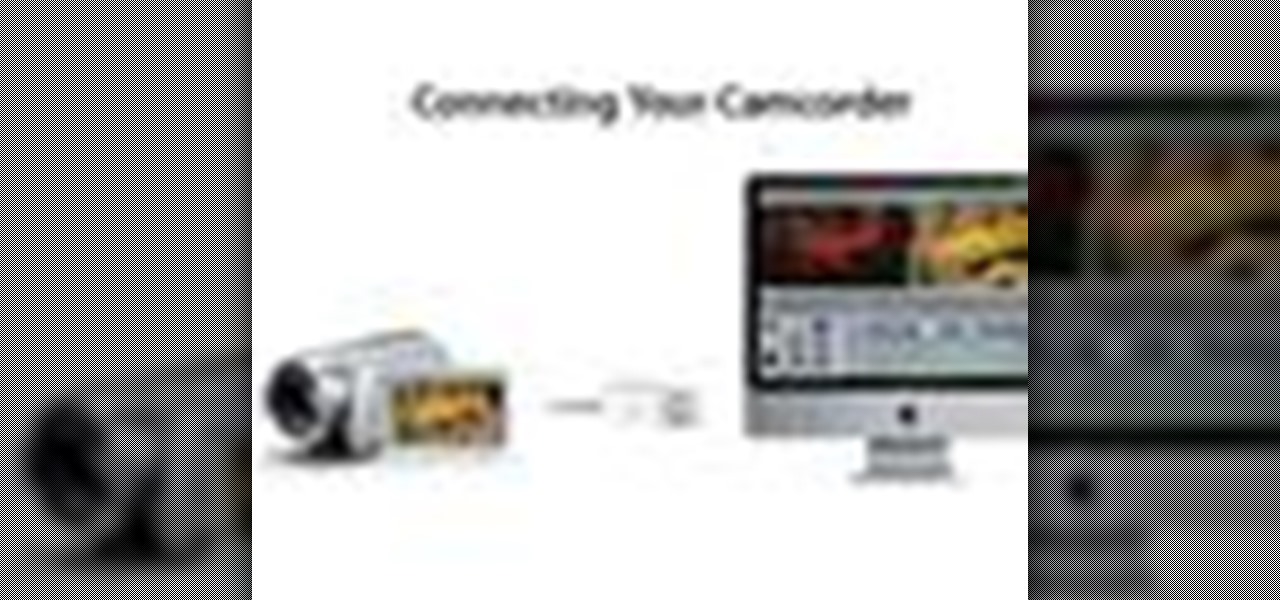
Many video camera companies are beginning to manufacture tapeless camcorders, which record footage as files on hard disks, solid state drives, or optical disks. It's easy to transfer file-based footage to your Mac using Final Cut Express. Just connect your camcorder to the USB port.
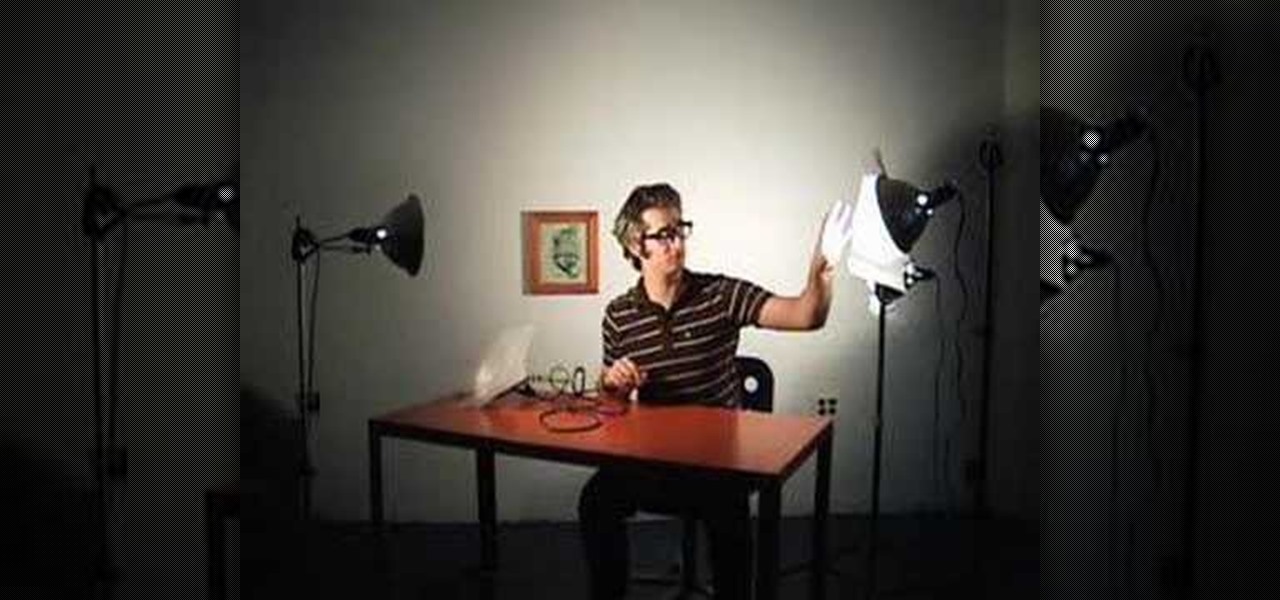
You've got a camera, you've got some shooting know-how, and your audio is sounding sweet. Now, what about lighting? This video shows you three options for lighting your film.
See how to make a low budget web show, like Pop17, seem like a grand thing. This is low budget basics including lighting, microphone and an HDV camera. You should also edit it in Final Cut Pro, because that's what Pop17 does.
Does your production need the smooth graceful movement of a dolly, but lack the $1,800 it would cost to buy one? Welcome the DIY Dolly! Watch this episode, as Erik and Jared show you how to build your very own dolly.
In this episode of BFX, Erik shows you how to create a gross and realistic gash that you can stitch up. It looks so good you can even stitch it up on camera! Plus Gary eats a sandwich and an homage to the Simpsons! What else could you want?
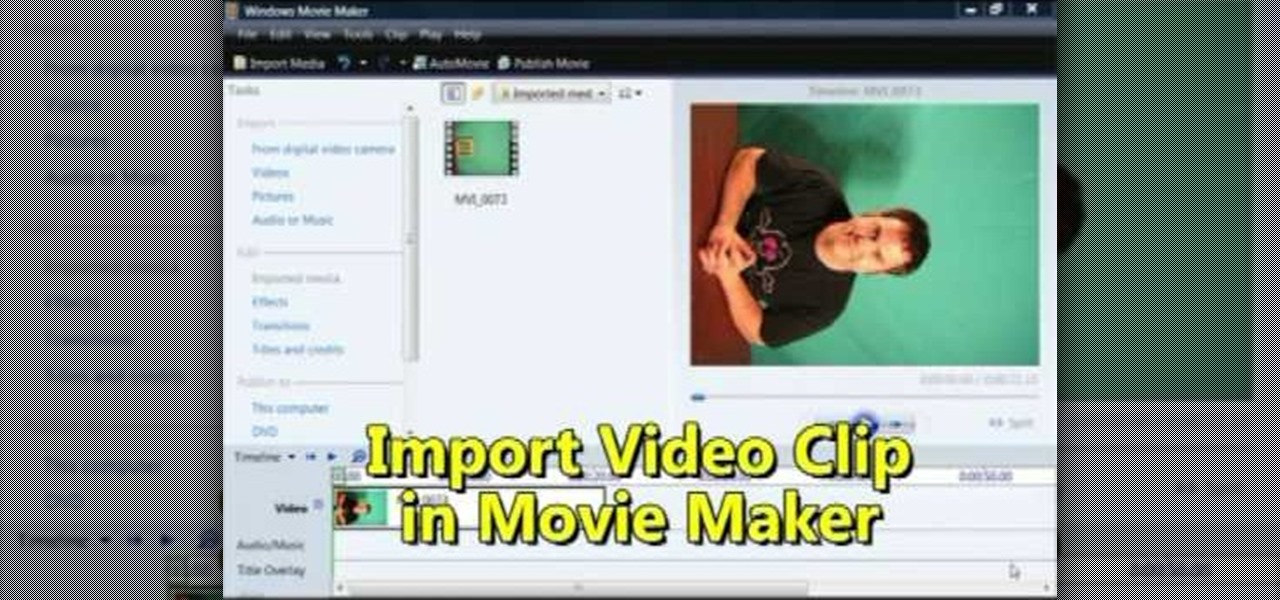
If you shot a video sideways with your digital camera, you may need to rotate it in order to get your video to appear right side up. Here's how to rotate that video using Windows Movie Maker

The Red Cine Application is essential to learn if you plan on shooting with the RED ONE camera. This tutorial goes over project settings.
Have you ever found your video images over-exposed? Or under-exposed?
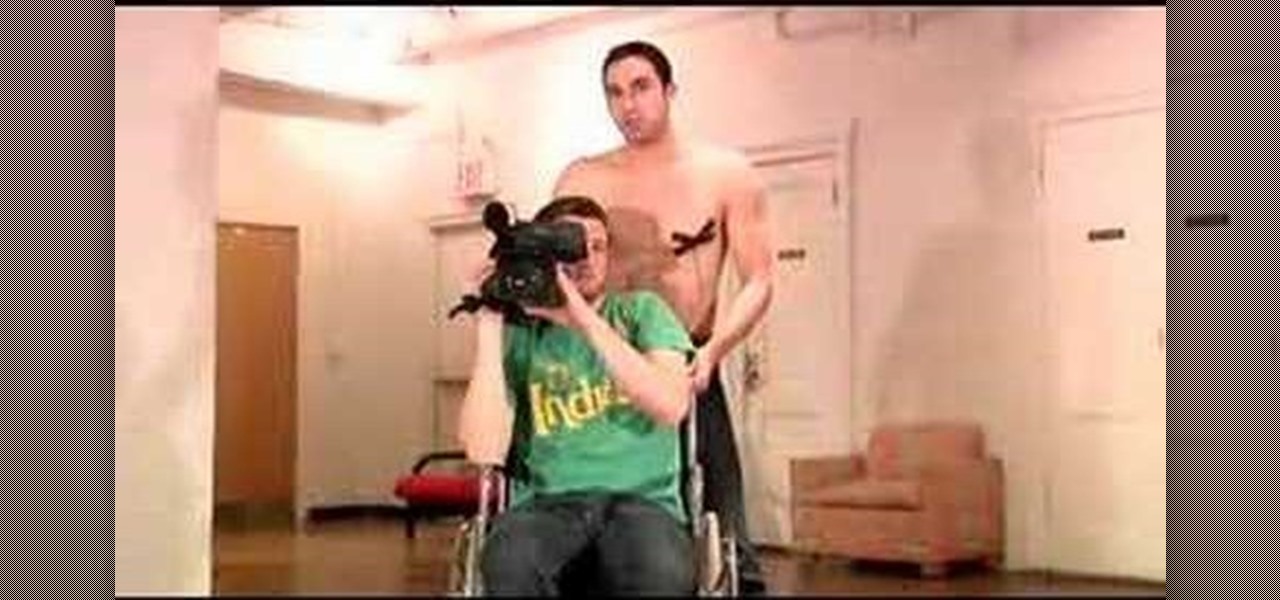
The dolly zoom shot is also known as the Vertigo Effect in filming. It's that dizzying, slightly unstable camera effect you see in shows like "Glee" and sometimes "The Office." It creates audience confusion, thus forcing them to keep watching in interest.

This video demonstrates how to capture a video of your screen without using any cameras. The video walks you through downloading and installing the right program and running the program to make your video.
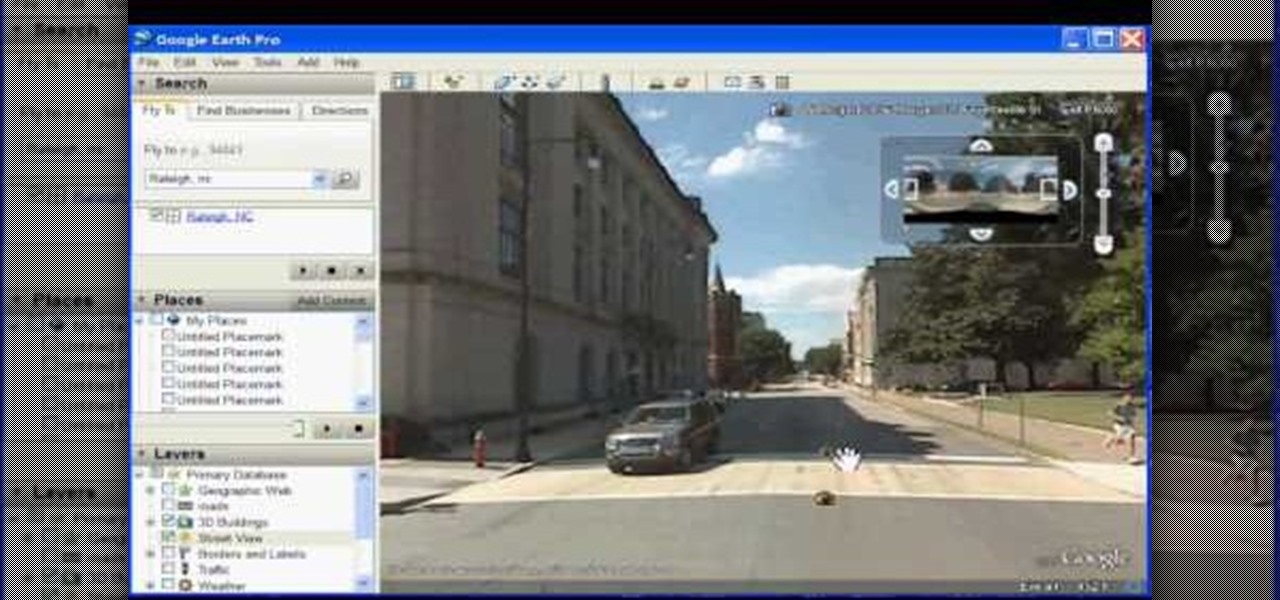
In this how to video, you will learn how to use Google Earth. First, download the program. Type in a city and state in the form. In the lower left, check street view to turn it on. Click the magnifying glass to zoom in. Some cities have 3d buildings. When you get really close, you will see cameras indicating street view images. If you get even closer, you will see spheres of the actual street view images. Click on it and the photo to get into the photo. In the upper right, you see controls to...
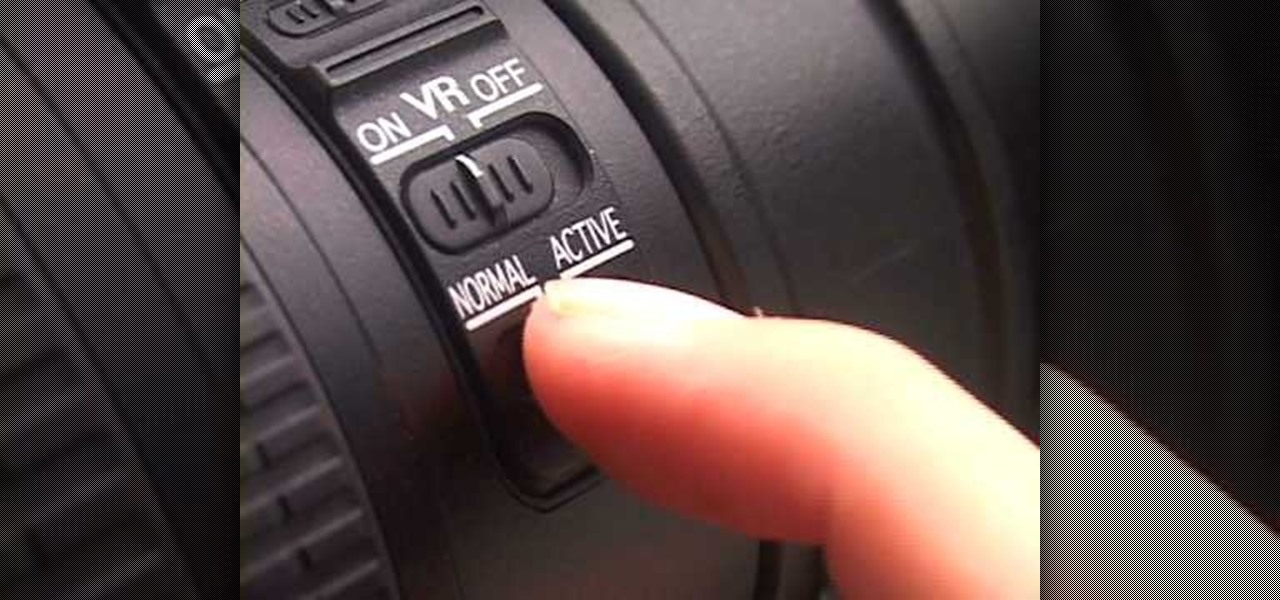
In this video tutorial, viewers learn how to use Vibration Reduction (VR). Vibration Reduction is the name if an image stabilizer engine that helps estimating unwanted blurriness when using slow shutter speeds or panning shots. VR has two modes: Normal and Active. Normal mode is designed for hand holding or panning shots where it estimates camera shakes when holding at a slow shutter speed. Active mode is designed for using on rapid moving surfaces. This video is very descriptive and gives gr...
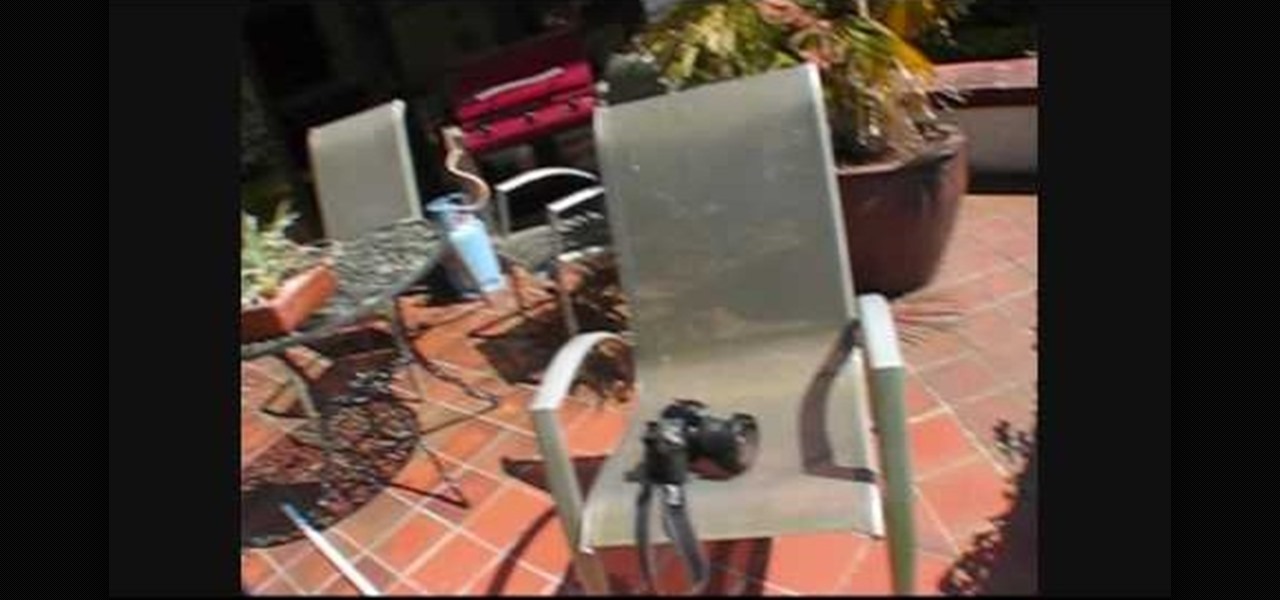
In this video from Dom Bower Photography, he demonstrates how to make it look like a person is levitating in a photo. He sets the timer on the camera and takes the picture of himself. It takes a few tries to get a picture where he is airborne when the picture is taken. The trick is to try to pose while jumping so that it doesn't look like you're jumping. It might take a few tries, but if you use some of the tricks shown in this video, you'll be able to take a picture that makes it look like a...
This video shows you how to photograph lightning in the daytime. Set the ISO to 100.The aperture set at f32 and set for half of a second. Meter should be showing averaged. Photograph in the manual mode so that the setting won't change between photographs. Manually focus lens to infinity so you won't have to wait for the focus to lock on. A remote shutter to just hit the button. Be safe and keep camera safe when taking lightning photographs. Don’t get under trees. When lightning starts strikin...
This video discusses the lenses available for the Cannon 7D camera. The video starts by describing the difference between still and video lenses. The presenter then goes on to recommend his three favorite lenses. First, the Tokina 11-16 is the wide angle lens recommended in the video. The Tamron SP AF17-50mm is a stabilized lens that works great for video and stills. Finally, the presenter recommends the Sigma APO 50-150mm to round out the lens collection. These lenses will cover all distance...
You don't need a ten-figure budget to make a great movie! With nothing more than iMovie, a camera, and your imagination you can make a stop motion animation. With stop motion, you can bring anything to life. This is a really fun project for aspiring directors of all ages.
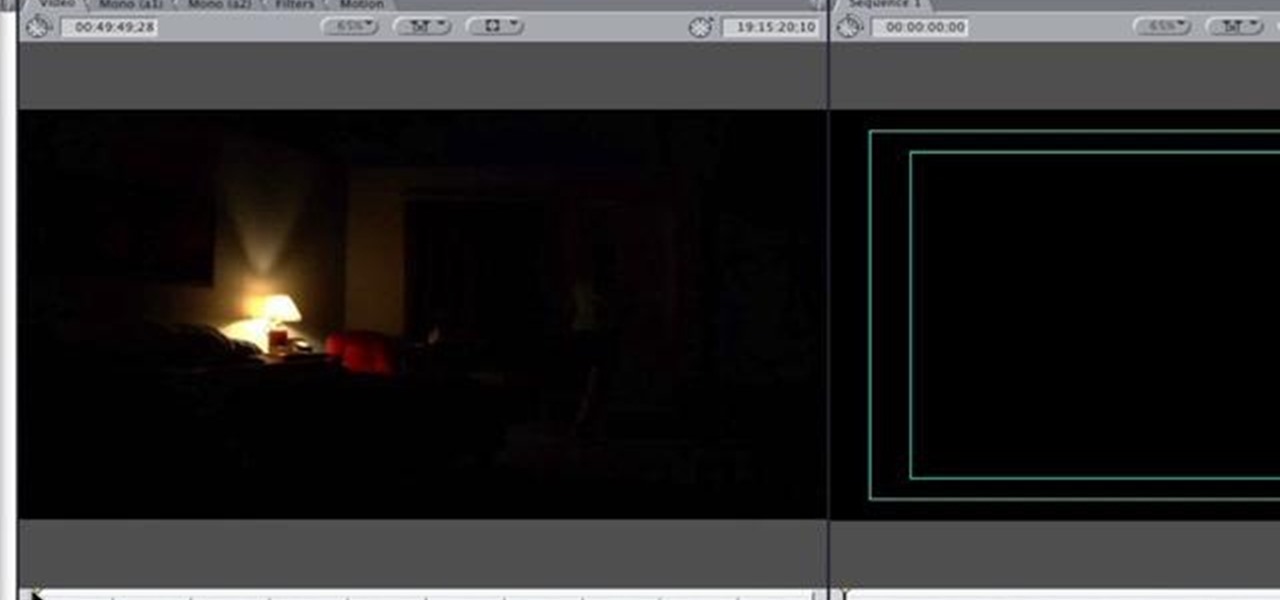
So you've filmed your scene using multiple cameras, and now it's time to sync them up into a coherent whole. This tutorial shows you how to take advantage of the multi clip edit feature in Final Cut Pro when you're in post production.

This is a lens you can make yourself easily. You will need a drill, a needle, a body cap, tape, aluminum foil, a ruler or measuring tape and a pencil or piece of chalk to mark where the hole should go.
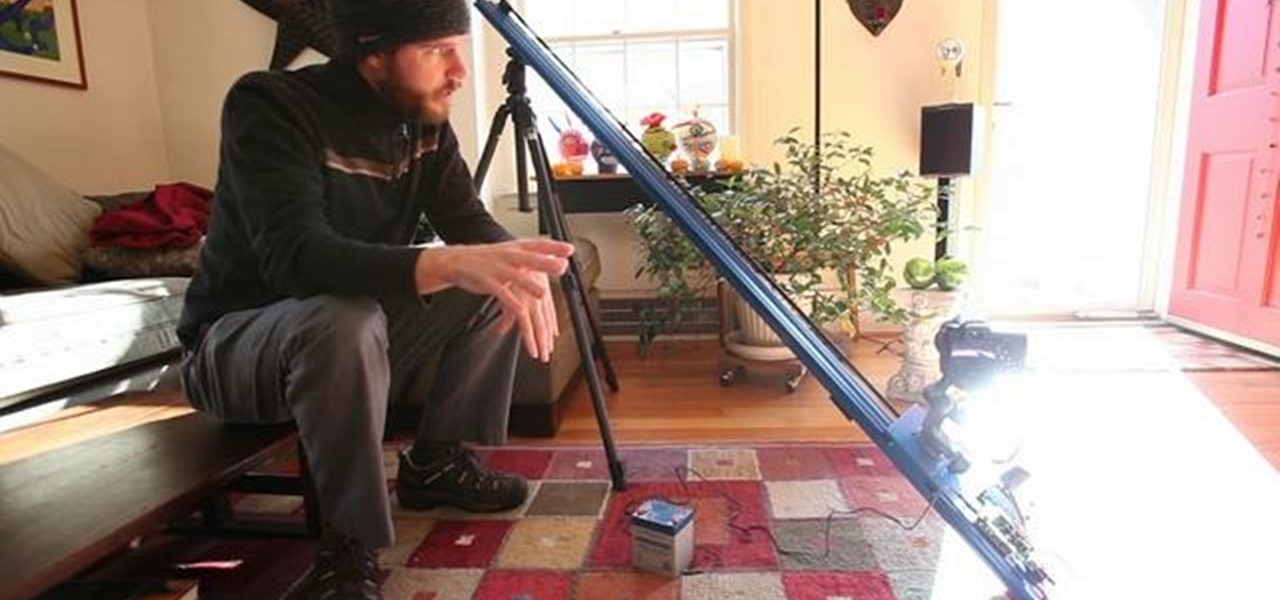
Time lapse is a dynamic filming technique, and can be even more interesting if the camera is moving while it films. You can achieve this effect by using the Dynamic Perception Stage Zero Dolly, MX2 DollyShield and Pentax K7, and this tutorial shows you how.
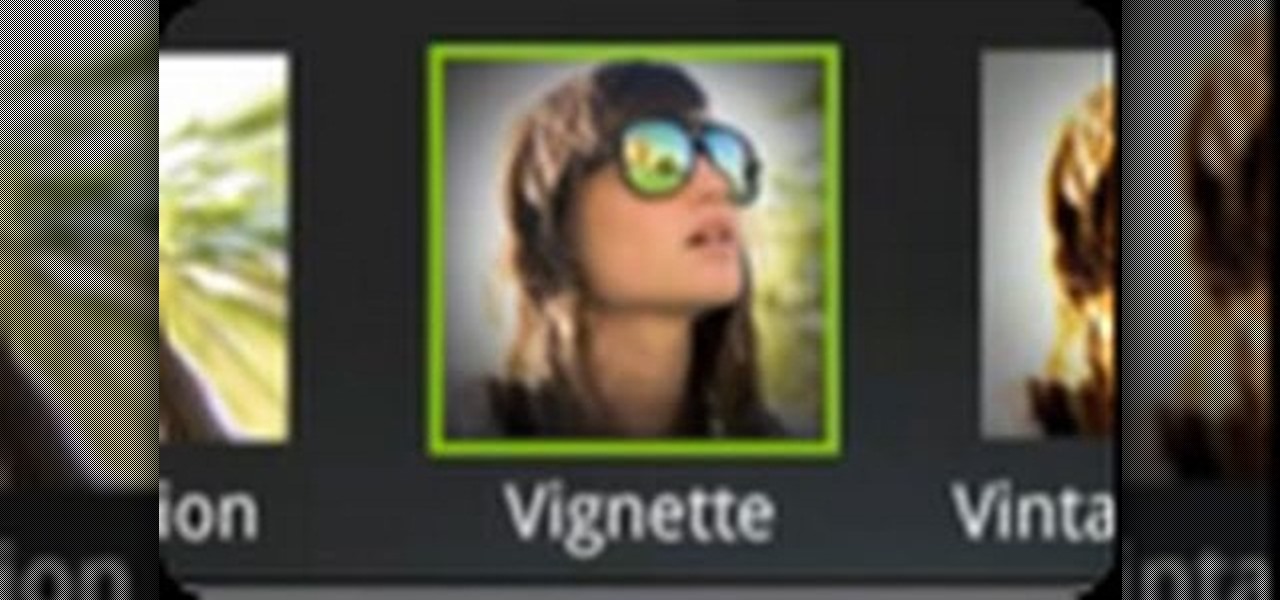
Spice up your digital photos with filters and effects. See how with this quick, official guide from HTC.

A long exposure setting can create some interesting effects, especially when you're photographing a moving light source at night. This tutorial shows you how to set up your camera and maximize your surroundings so you can take the absolute best and most dramatic photographs possible.
If you're about to shoot your first wedding, don't be unprepared. A wedding is a very important and special time for those soon-to-be mates, and you don't want to be responsible for ruining that precious memory. So, know you're stuff before jumping into wedding photography. This video gives a lot of advice for newbie wedding photographers who want to start shooting pictures and videos using a DSLR (digital SLR camera). This is a crash course with tons of information.
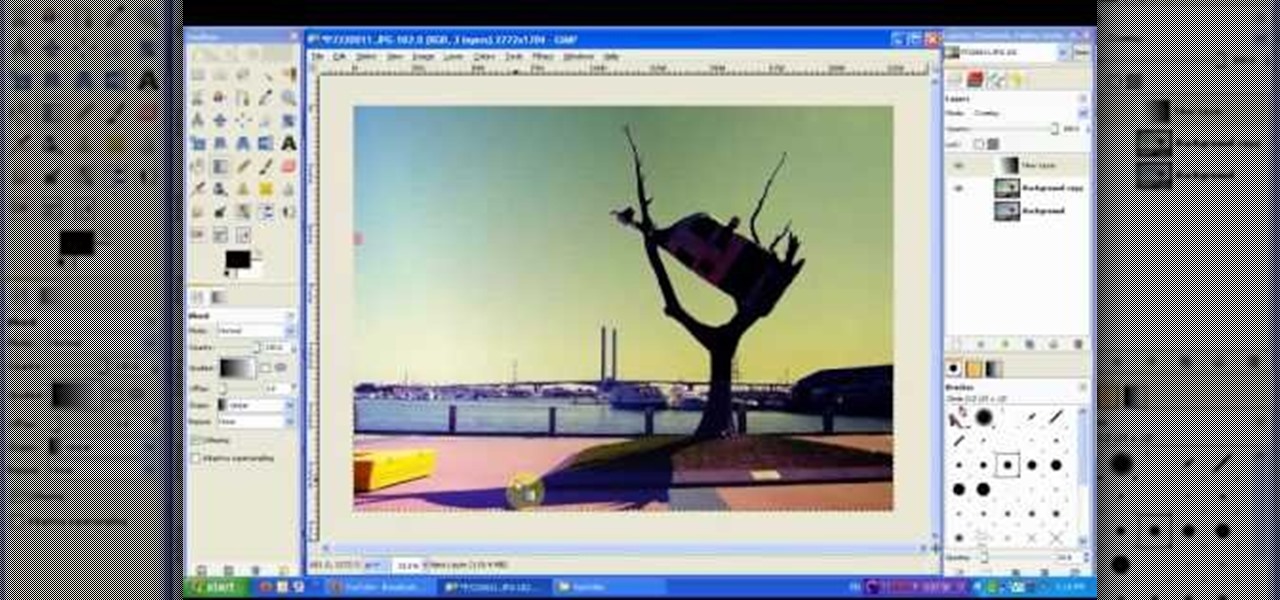
The lomograph technique in photography involves letting light bleed into the shot. Fortunately, you don't need expensive camera equipment to get this same effect. You can use the free GIMP software to create a lomo effect on any digital image which includes a lot of sky.
When it comes to filmmaking, especially cinematography, indie filmmakers need to acquire a DIY sensibility in order to get their films made, because film equipment is nowhere near cheap. But DIY is.

See how to scan and read QR codes with your iPhone's camera. Whether you're the proud owner of an Apple iPhone 4G or perhaps just considering picking one up, you're sure to benefit from this free video tutorial. For more information, including a detailed overview, watch this iPhone user's guide.
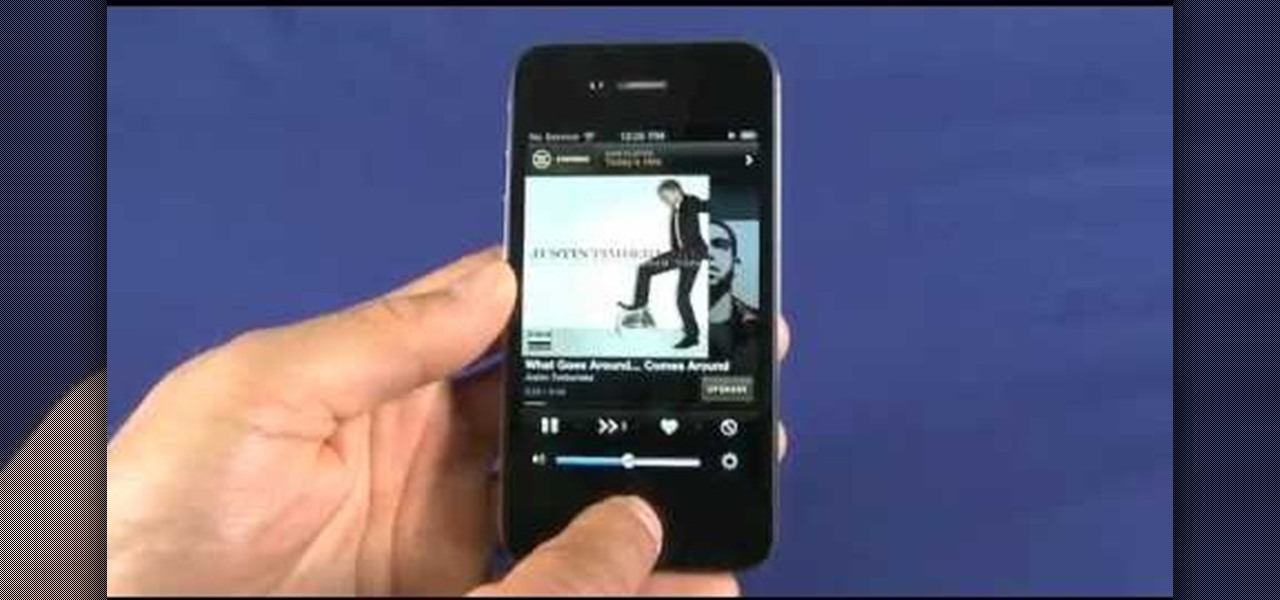
See how to take, edit and share pictures with an iPhone 4G. Whether you're the proud owner of an Apple iPhone 4G or perhaps just considering picking one up, you're sure to benefit from this free video tutorial. For more information, including a detailed overview, watch this iPhone user's guide.
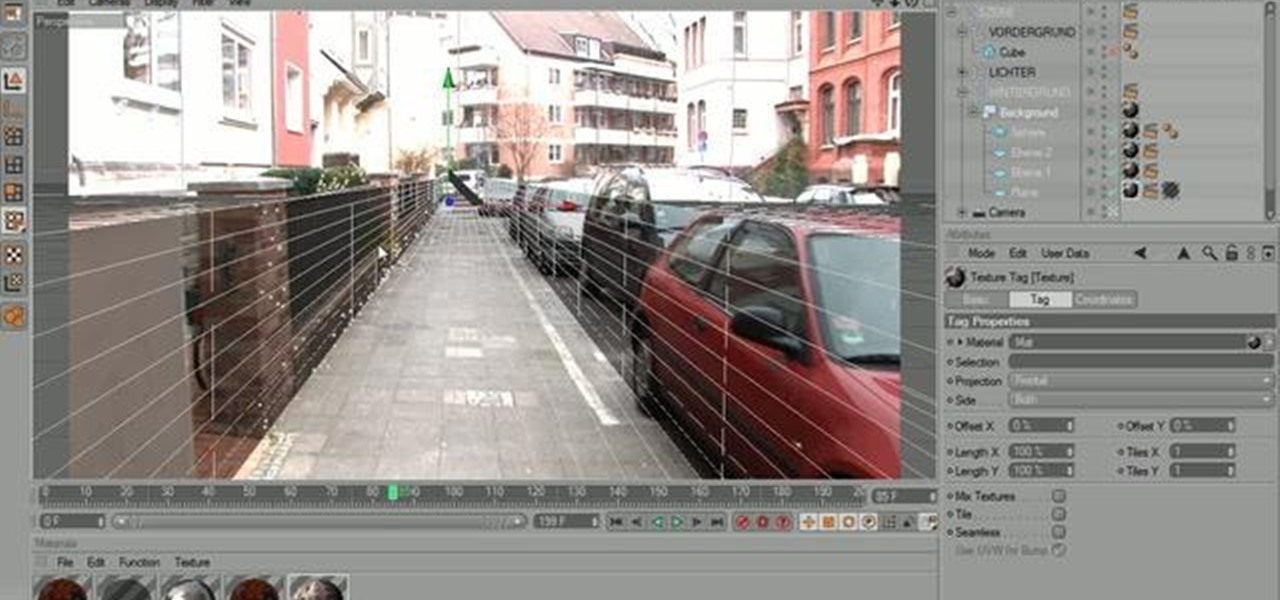
In this clip, you'll learn how to use the Xplode C4D plugin with real-life camera footage. Whether you're new to Adobe's popular motion graphics and compositing software or a seasoned video professional just looking to better acquaint yourself with the program and its various features and filters, you're sure to be well served by this video tutorial. For more information, including detailed, step-by-step instructions, watch this free video guide.
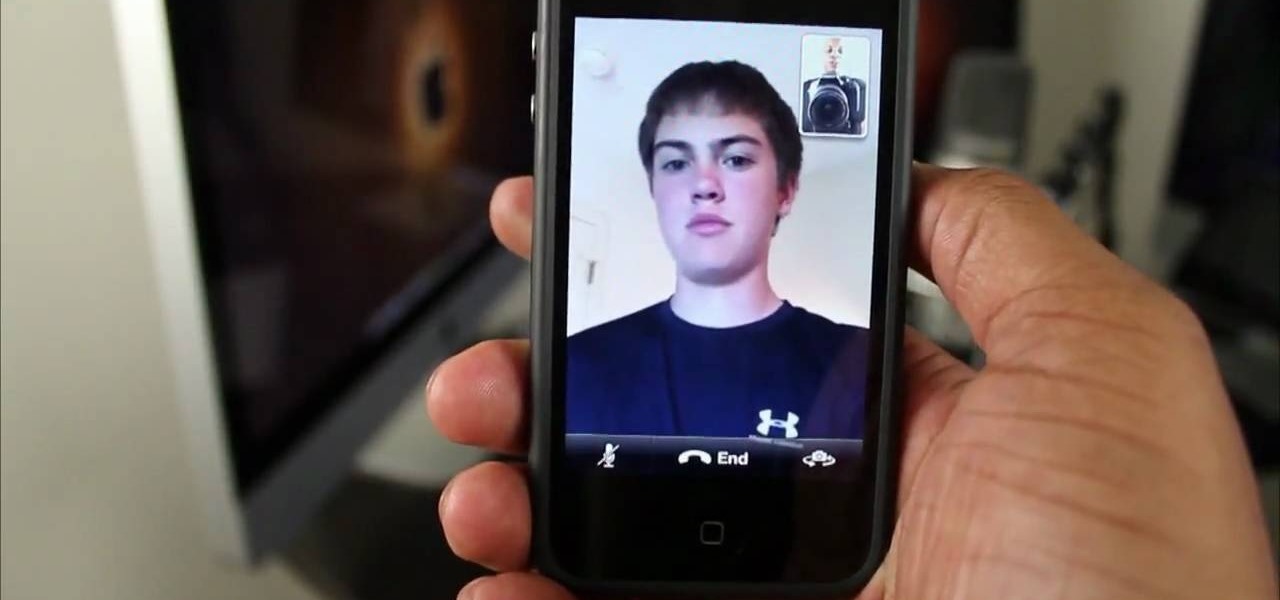
On of the best features available on the new Apple iPhone 4G HD is Facetime. For 3G users who are unsure if an upgrade is worth it, it is often the Facetime capability that pushes them over the edge.
When it comes to filming a great movie, having a great creative vision is just as important as more practical aspects of cinema, like how to employ film editing programs for the perfect widescreen shot or a camera jamb arm for stunning overhead shots.
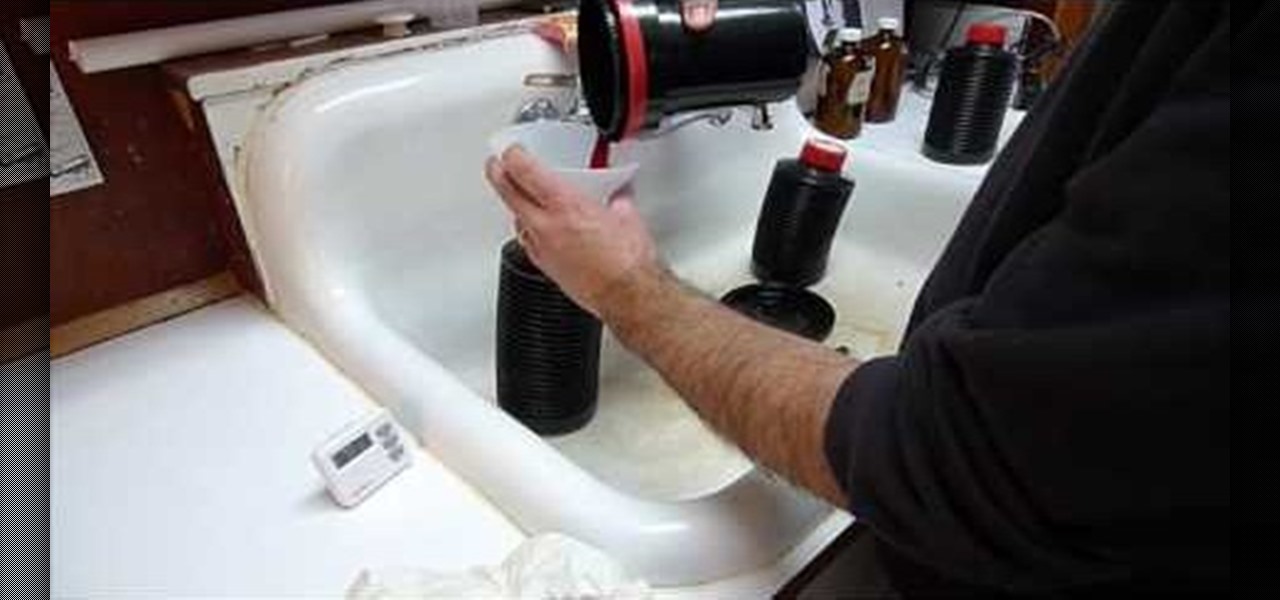
With photo labs around the world closing in the wake of the digital camera revolution, knowing how to develop your own film at home is more important than ever. This video teaches you how to develop one type of film, C41, at home using a kit. Even when there are no more photo labs left, you will still be able to make beautiful still prints from film at home after watching this video.
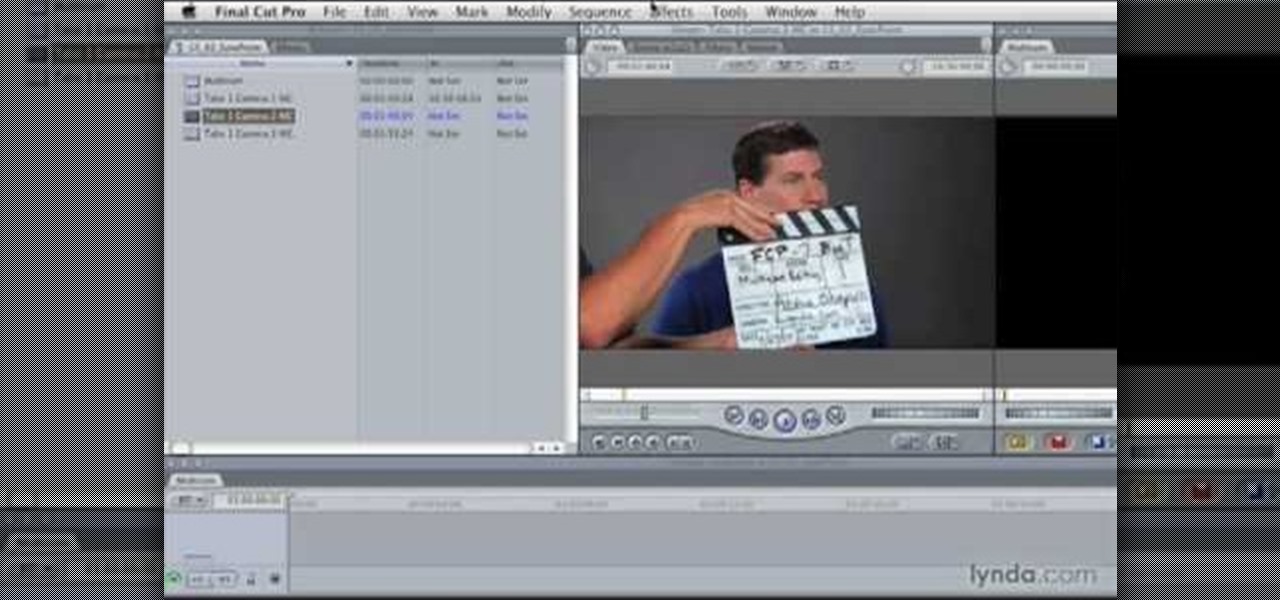
Looking for an easy way to work with footage from a two-camera setup within Final Cut Pro? Whether you're new to Apple's Final Cut Pro non-linear video editor or just want to learn how to take advantage of Final Cut Pro 7's new features, you're sure to benefit from this free video tutorial from the folks at Lynda. Specifically, this software tutorial provides a complete overview of how to sync multi-cam footage.
More augmented reality fun (Rock Paper Scissors Tee, Video Game Drone) and another peak into our sci-fi future.

In this video, learn how to process slow motion film from the Canon EOS 7D using Sony Vegas and After Effects. (This information is helpful for other cameras as well.) Create slow motion video from high speed film with help from this video.

Interested in vintage cameras, projectors & film? In this video, get a demonstration of how to transfer 88mm film using the Tobin TVT-8 telecine machine.
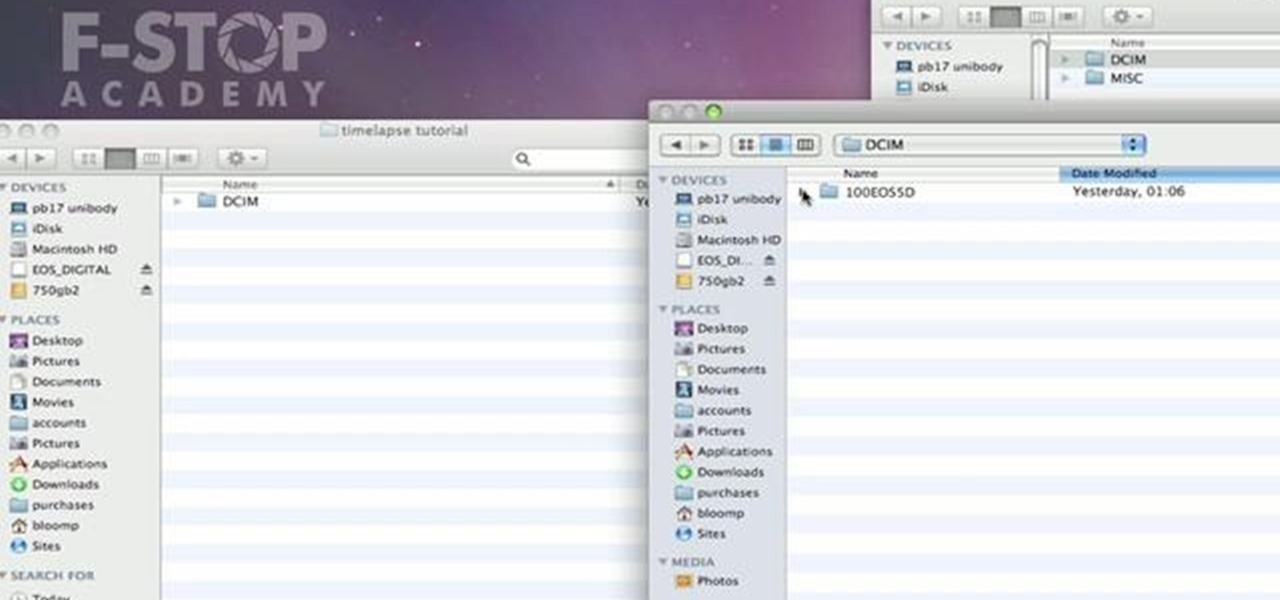
Time lapse photography is a great tool for documentary filmmaking or just making a fun record of a construction project in your home. This video explains how to turn a series of still photos taken with your DSLR camera and turn them into an HD time lapse sequence. It's a bit technical for beginners, but the process isn't as complicated as it looks.