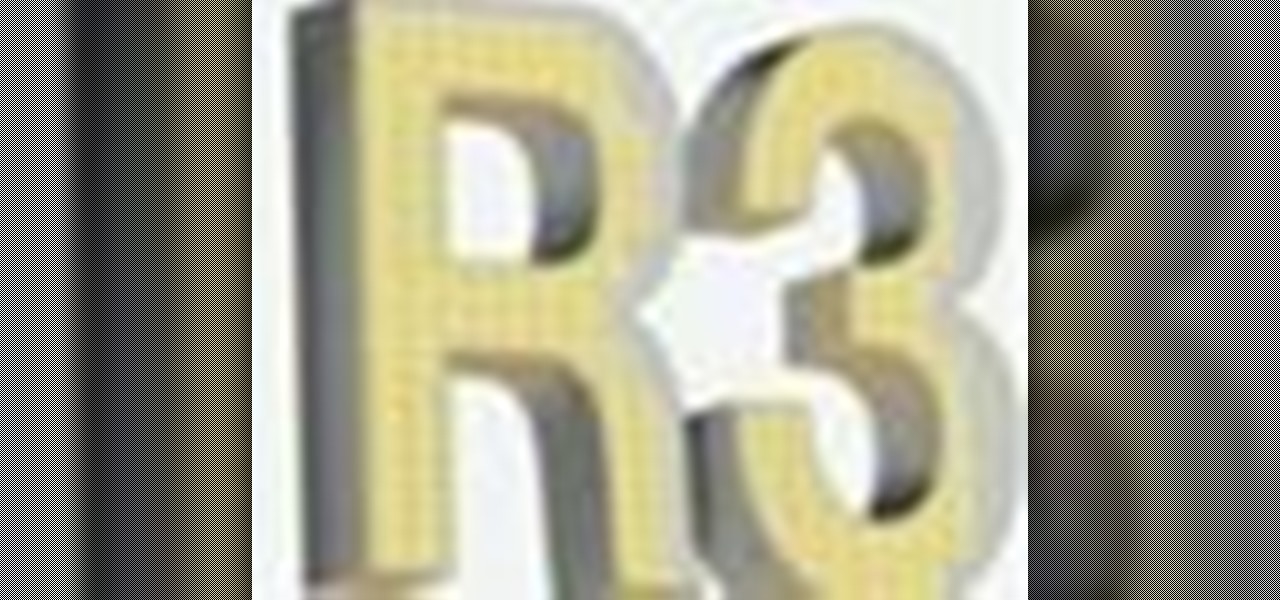
Open Xara 3D. Hit show or hide cursor. Type the name JRR Tolkien. Open Animation Options. Set to swing 2. 4 frames per cycle. 1 frame per second. No pause. Angle 0. Select the second "R" and change the animation. Flip the "R" around so it is a mirror image. Go from frame one to frame two. Select the "J". Move the line spacing down to the middle. This yields the JRR Tolkien logo in Xara 3d. You can also flip around the logo using the view menu.
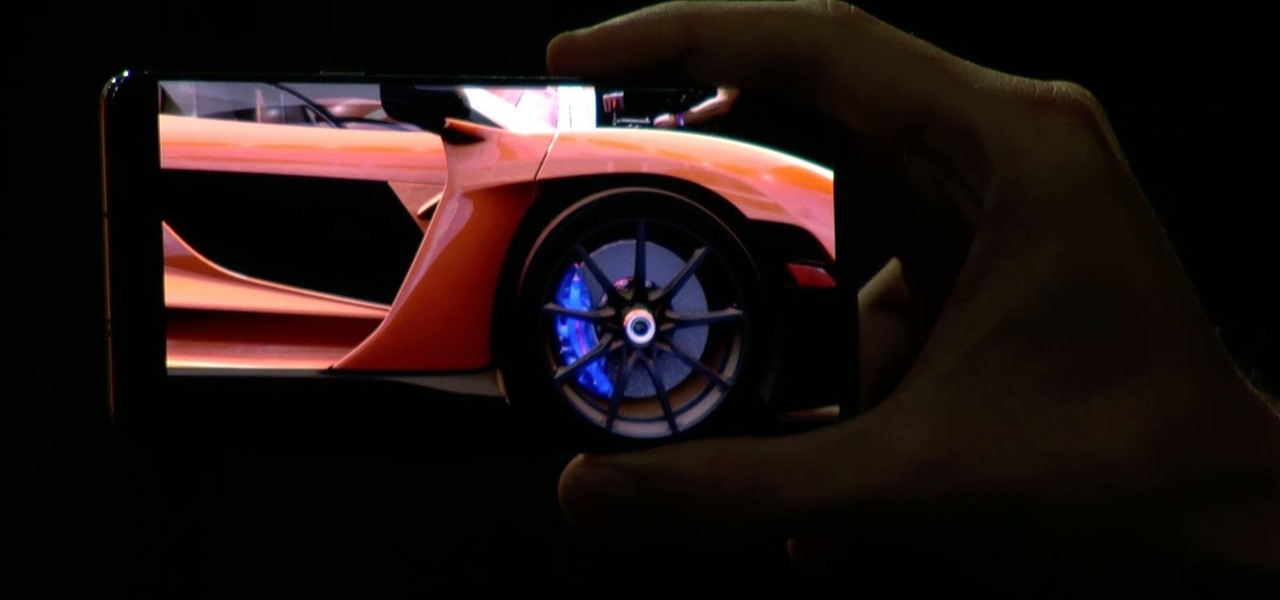
Higher-fidelity 3D content and next-generation AR experiences take more computing power than most modern AR headsets and mobile devices can handle. But Nvidia is introducing a new cloud-based solution to address that need that will stream AR content to modern devices.
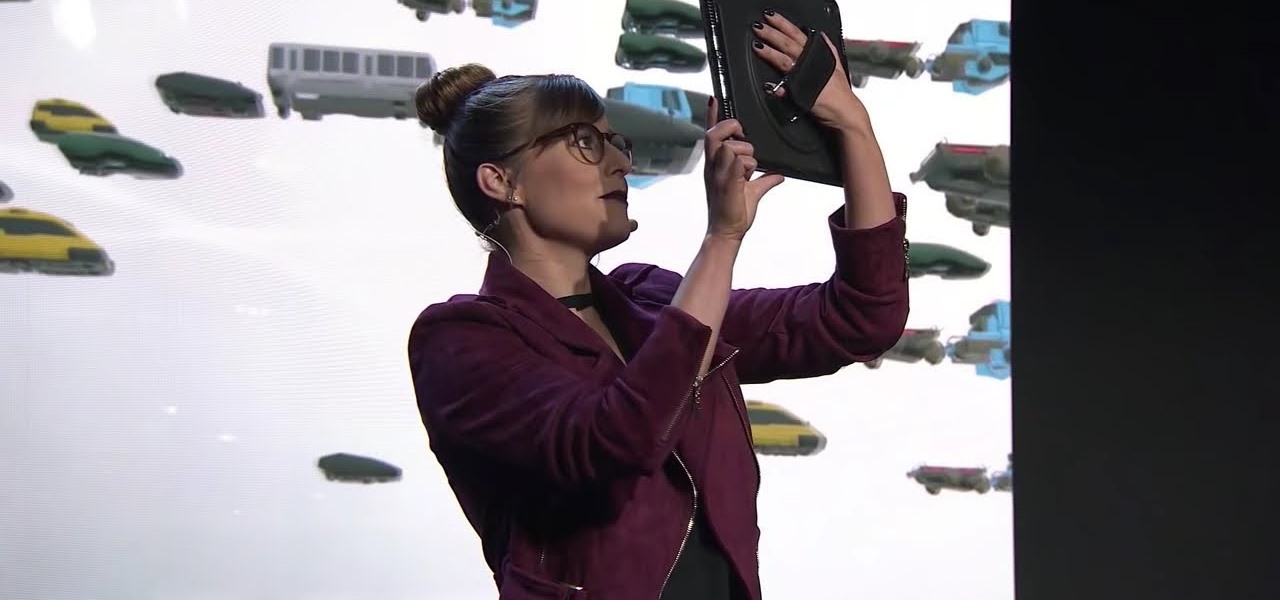
Fresh off of shipping version 2019.1 in April, Unity has already dropped the beta of 2019.2, and it has a bunch of new AR Foundation toys to test.
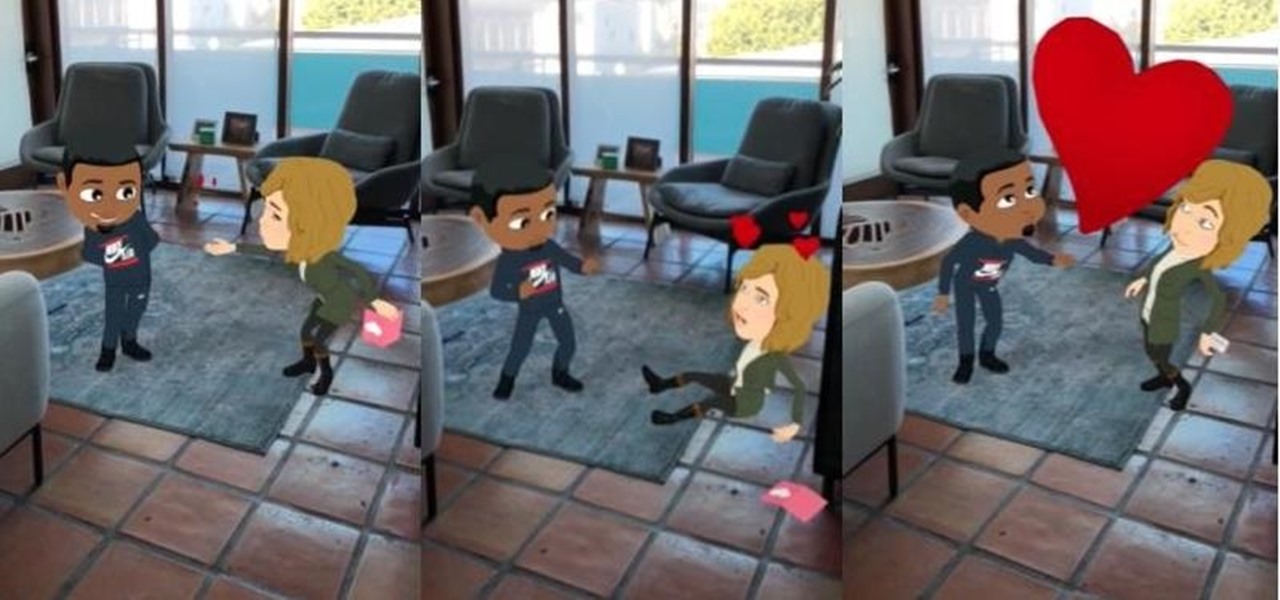
Because it takes two to tango, your dancing Bitmoji World Lens on Snapchat is getting a dance partner.

Unsurprisingly, Google wants to be the caretaker for augmented reality on the web, and its latest move in this endeavor is a 3D model viewer prototype called Article that's designed to work across all web browsers.
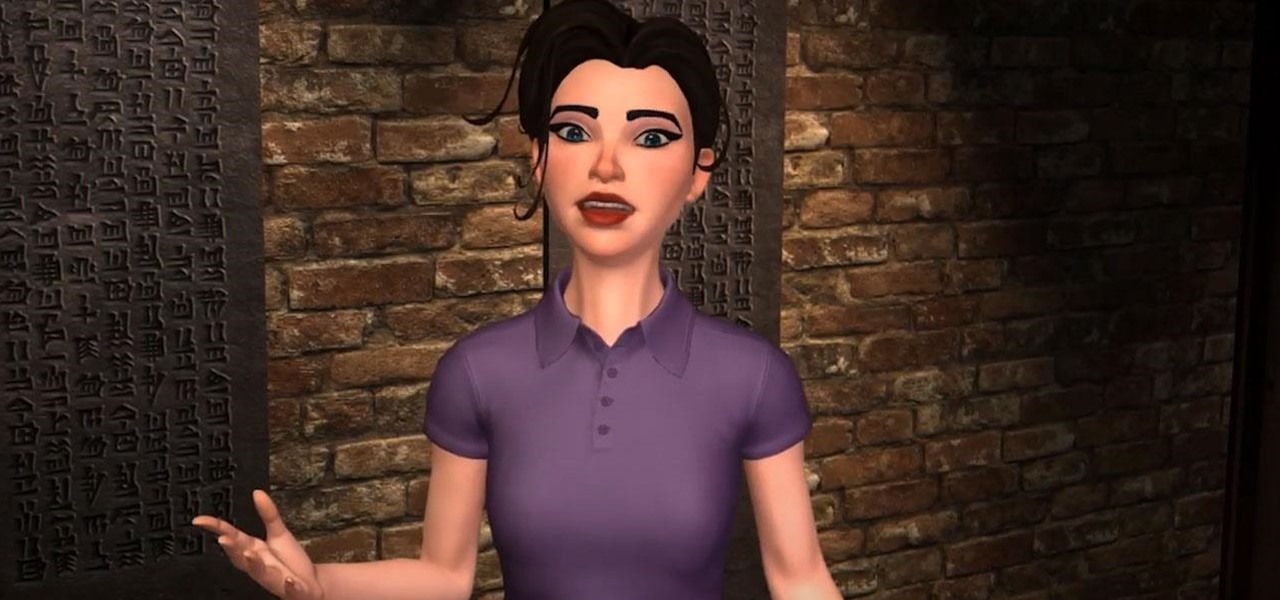
Amazon Web Services (AWS) opened its re:INVENT developers expo with a bang by launching Amazon Sumerian, a new tool that could become the dominant platform for building cross-platform augmented and virtual reality applications.

Just like in the Spy Kids 3D movie, US soldiers may soon upgrade their mission planning from 2D to 3D. Welcome to the wonderful world of augmented reality, US Army.

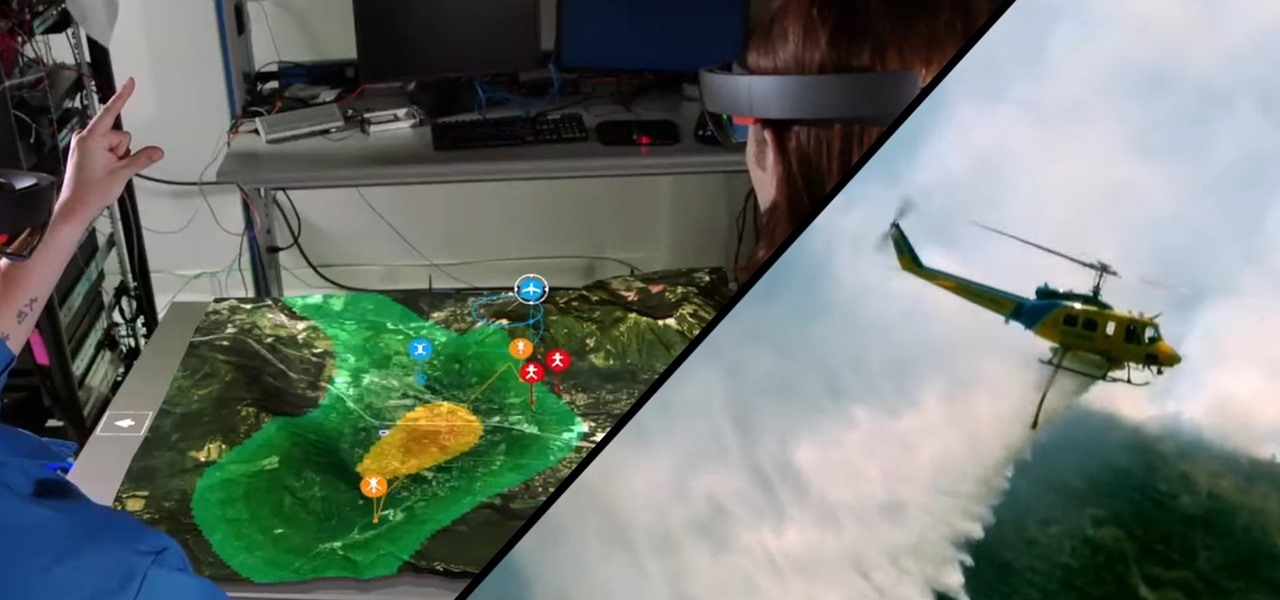
Fighting fires has always been a dangerous and noble venture, even with the proliferation of aerial firefighting. But things are looking to get a lot safer for firefighters with the help of the Boeing and mixed reality.

I had the chance to play around with an iPhone 6s this past weekend, and I have to say, I found the new 3D Touch feature to be pretty intriguing. It's still only partially implemented, but when it does work, it works quite well—you simply press a bit harder on certain elements like image thumbnails, then instead of opening in a full-fledged view, you'll see a pop-up preview that fades away as soon as you let go of the screen.

The new iPhone 6S and 6S Plus models have a really cool feature called 3D Touch that lets you perform app-specific Quick Actions from the home screen for apps that support it. The only downside is that this awesome new feature is not available on older iOS devices.

In order to create 3D lettered signs in lights, you will need to first create an object. Open Illustrator. Type your letters on the page. Adjust the font to the style you would like. Click on "effect". Then, click on "3D". This will allow you to rotate the image for the angle that you will want to see it at.

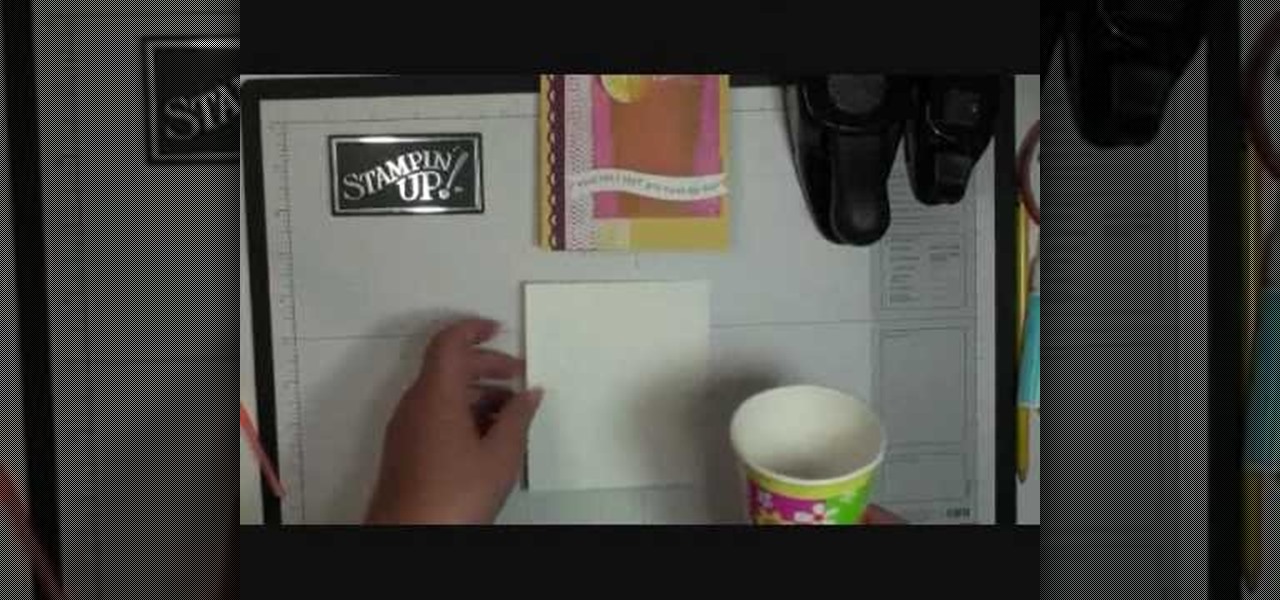
Dawn Griffith creates a cute card with a 3D lemonade glass embellishment from start to finish. Create a template by making a rough sketch of an 8 ounce paper cup onto a piece of white cardstock and cut it out. Take the template and either trace it onto a piece of vellum cardstock and cut it out, or use Dotto adhesive to attach the template directly to the vellum and then cut around the shape. Score each side at about 1/4", fold on the score lines and trim the overlap at the top. Apply sticky ...

Pixel Perfect is the "perfect" show to help you with your Photoshop skills. Be amazed and learn as master digital artist Bert Monroy takes a stylus and a digital pad and treats it as Monet and Picasso do with oil and canvas. Learn the tips and tricks you need to whip those digital pictures into shape with Adobe Photoshop and Illustrator. In this episode, Ben shows you how to create rotating planets and moons in Photoshop.

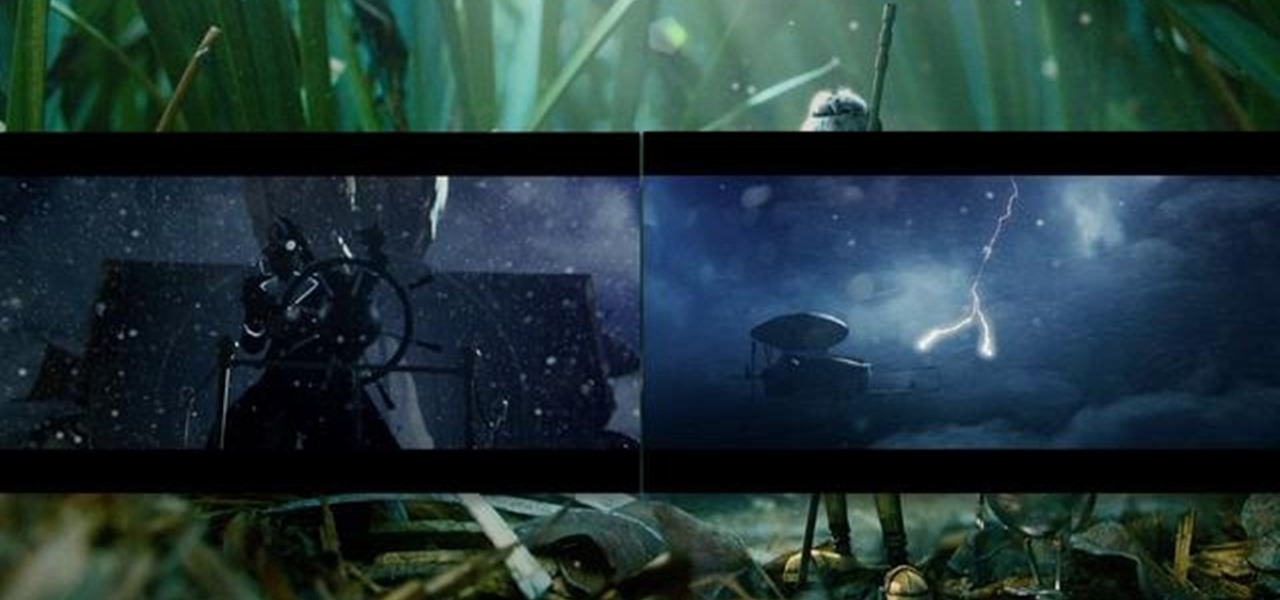
The Trapcode suite is a set of plug-ins for After Effects that allow video artists to create a variety of effects for inclusion in video and film productions. This particular guide demonstrates the power of Trapcode Particular and Trapcode 3D Stroke. Specifically, Wes Ball from OddBall Animation reveals how Trapcode was used in the creation of 'Eye of the Storm' - a music video by Lovett which can be seen here.

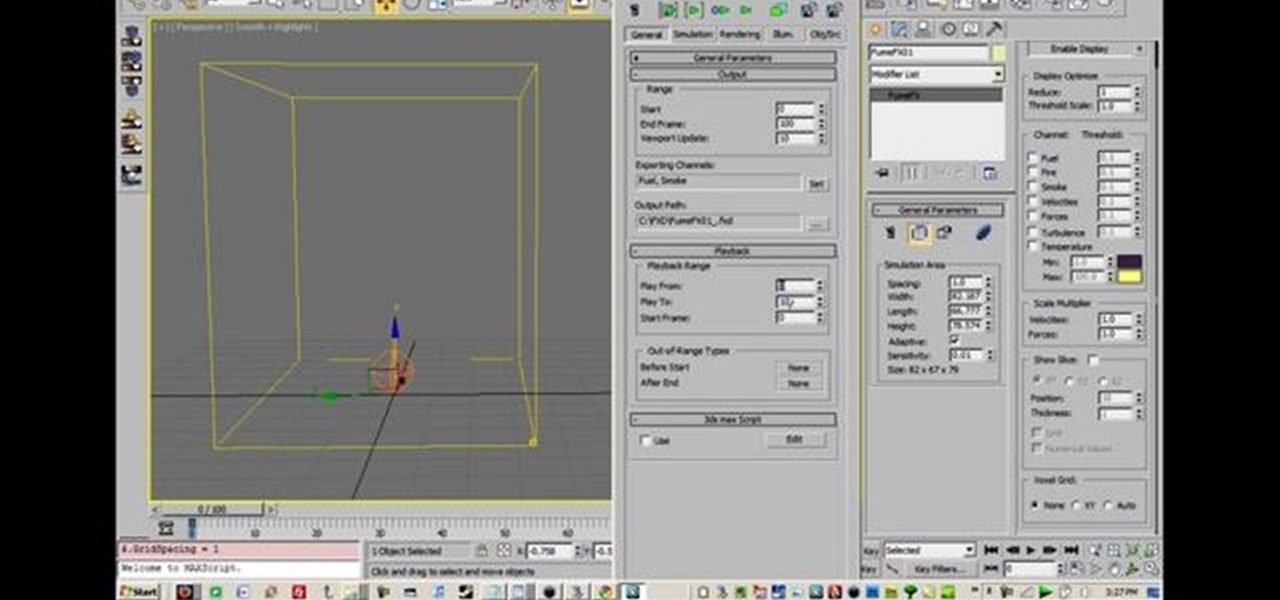
This tutorial will work for most any 3D rendering program, such as Houdini, 3ds Studio Max or Maya. Learn how you can replicate the dynamic look of fire, smoke and explosions. Create digital fire and other fume effects with your computer.

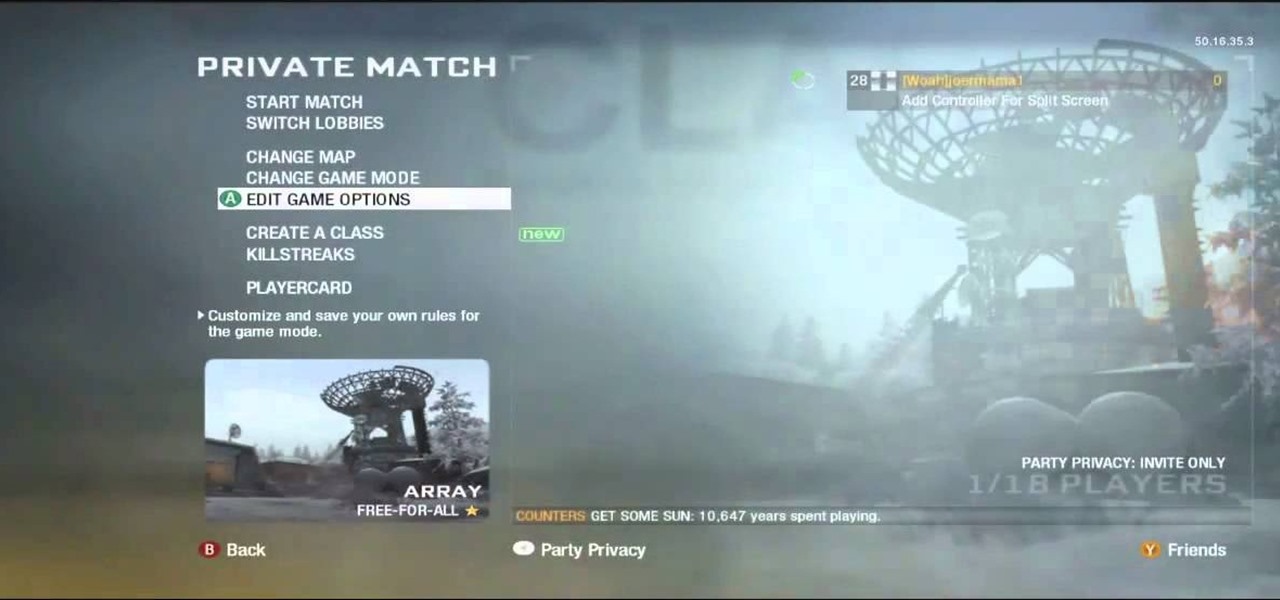
There aren't a lot of games with 3D maps where you can't break out of the levels in some way, and Black Ops is not different. This video will teach you a barrier breaker that you can use to get out of every multiplayer map in the game. Only use this in private matches unless you want it to go away!

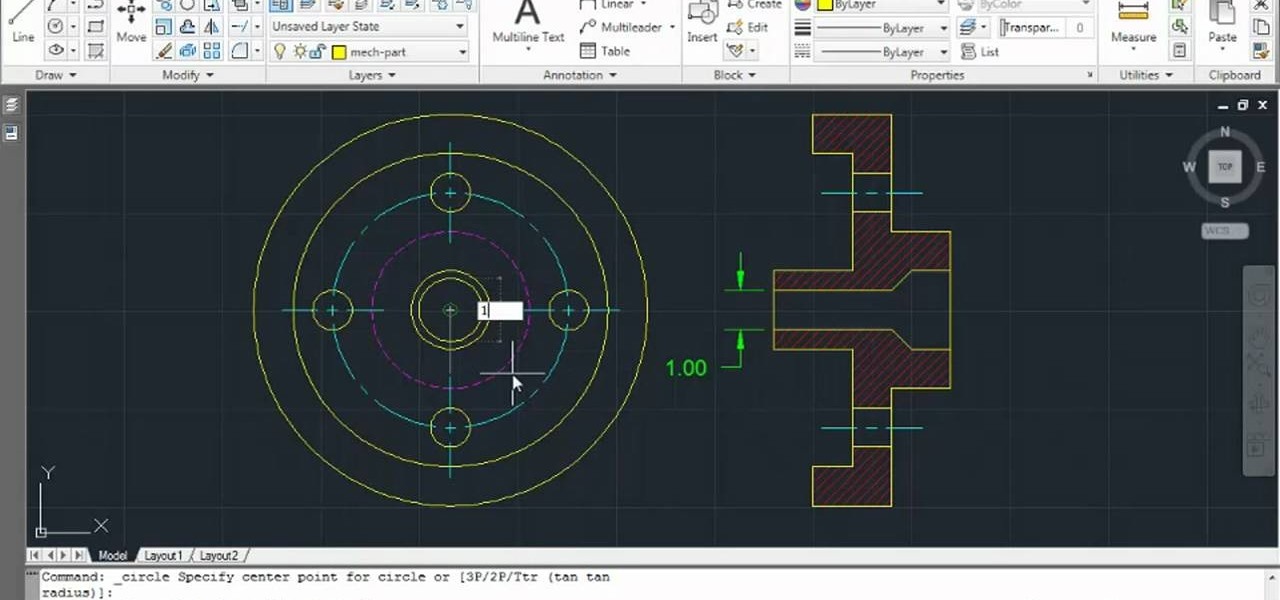
Learn how to use the ever-useful Quick Properties tool in AutoCad 2011. This clip will teach you everything you'll need to know. Whether you're new to Autodesk's popular 3D drafting application or a seasoned professional just looking to better acquaint yourself with the newest iteration of the program, you're sure to be well served by this video tutorial. For more information, including step-by-step instructions, watch this free video guide.

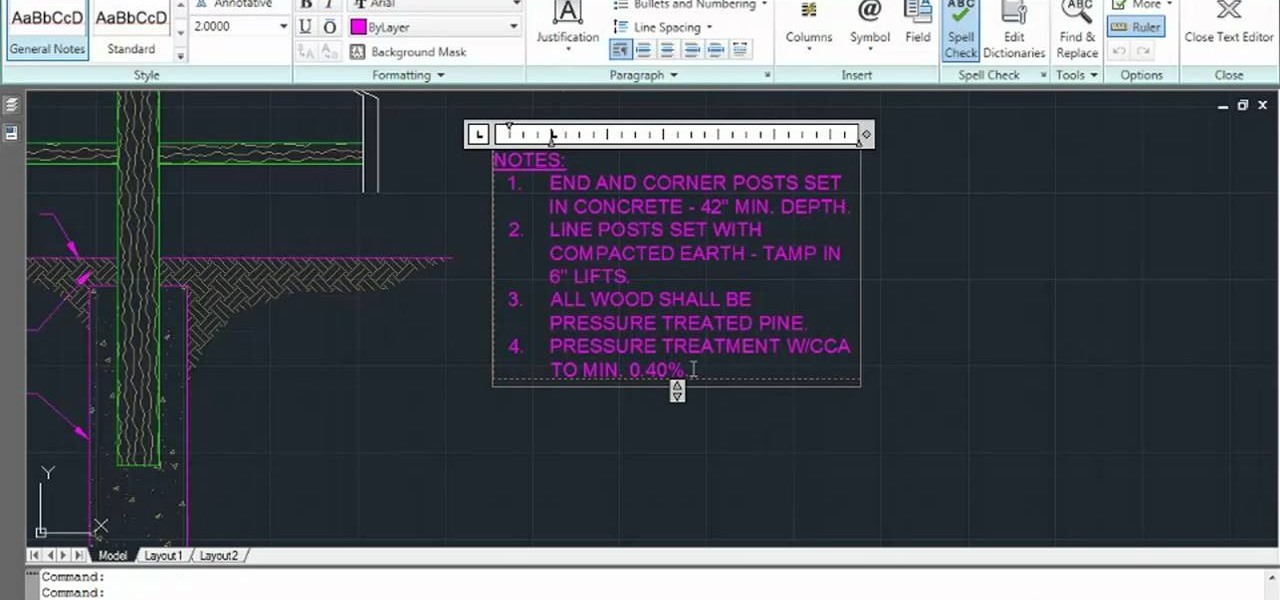
Want to create a bulleted or numbered list in AutoCAD 2011? This clip will teach you everything you'll need to know. Whether you're new to Autodesk's popular 3D drafting application or a seasoned professional just looking to better acquaint yourself with the newest iteration of the program, you're sure to be well served by this video tutorial. For more information, including step-by-step instructions, watch this free video guide.

Learn how to set the current layer by selecting elements within an AutoCAD 2011 project. This clip will teach you everything you'll need to know. Whether you're new to Autodesk's popular 3D drafting application or a seasoned professional just looking to better acquaint yourself with the newest iteration of the program, you're sure to be well served by this video tutorial. For more information, including step-by-step instructions, watch this free video guide.

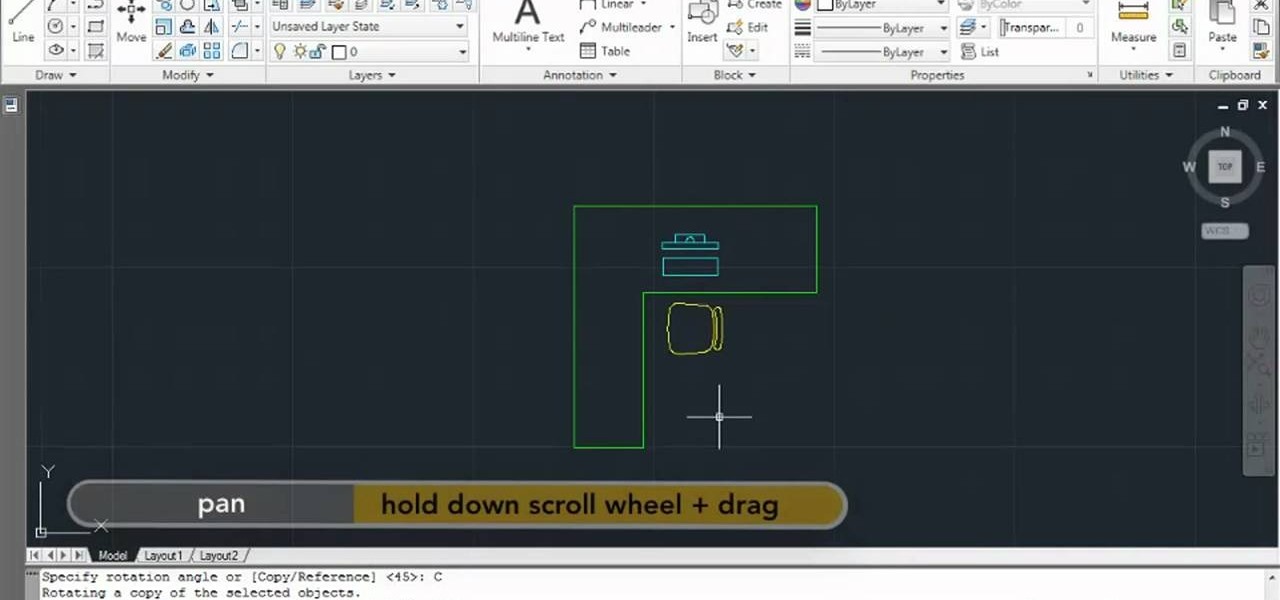
Need to know how to rotate geometry in AutoCAD 2011? This clip will teach you everything you'll need to know. Whether you're new to Autodesk's popular 3D drafting application or a seasoned professional just looking to better acquaint yourself with the newest iteration of the program, you're sure to be well served by this video tutorial. For more information, including step-by-step instructions, watch this free video guide.

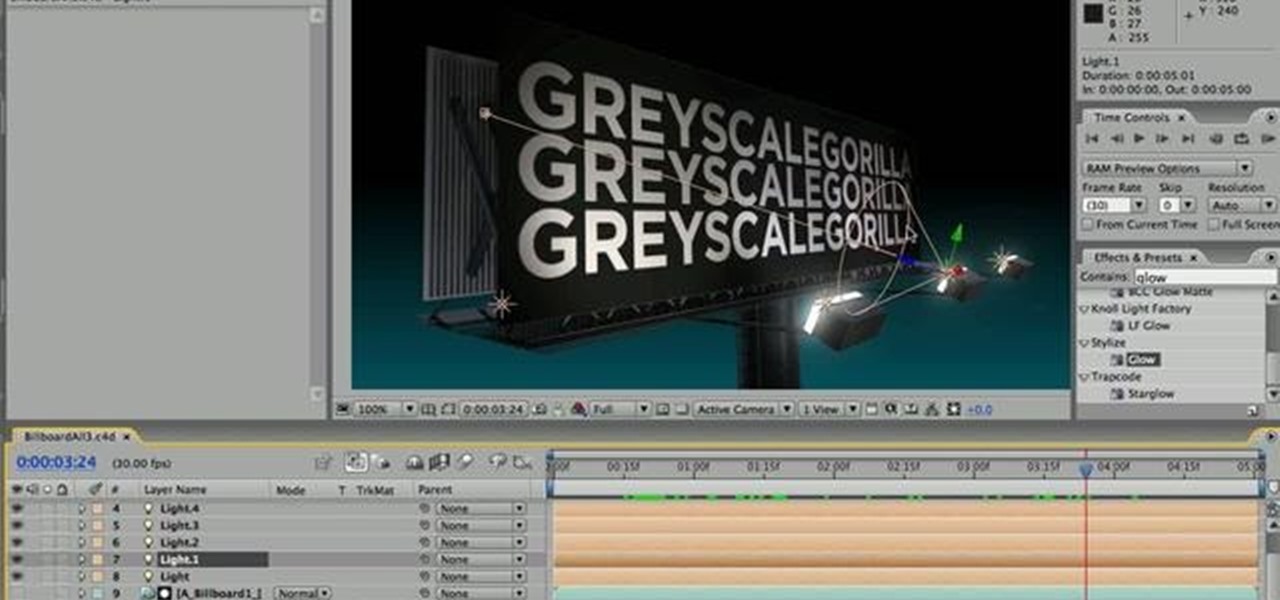
See how to prepare your renders in Cinema 4D for export into After Effects. This tutorial also delves into the process of importing your render into After Effects and adding materials to your 3D scene. For more (and better) information, including step-by-step instructions, and to get started transfering your own work from Cinema 4D to After Effects, watch this free video software lesson.

Create a vector three-dimensional box icon in Adobe Illustrator CS4. Whether you're new to Adobe's popular vector graphics editor program or a seasoned graphic arts professional looking to better acquaint yourself with the new features and functions of this particular iteration of the application, you're sure to benefit from this free software tutorial. For more information, watch this designer's guide.

Regular hexagons are so blah, so amp up the tried and true geometric shape (and kindergarten building blocks toy) by adding a whole new dimension!

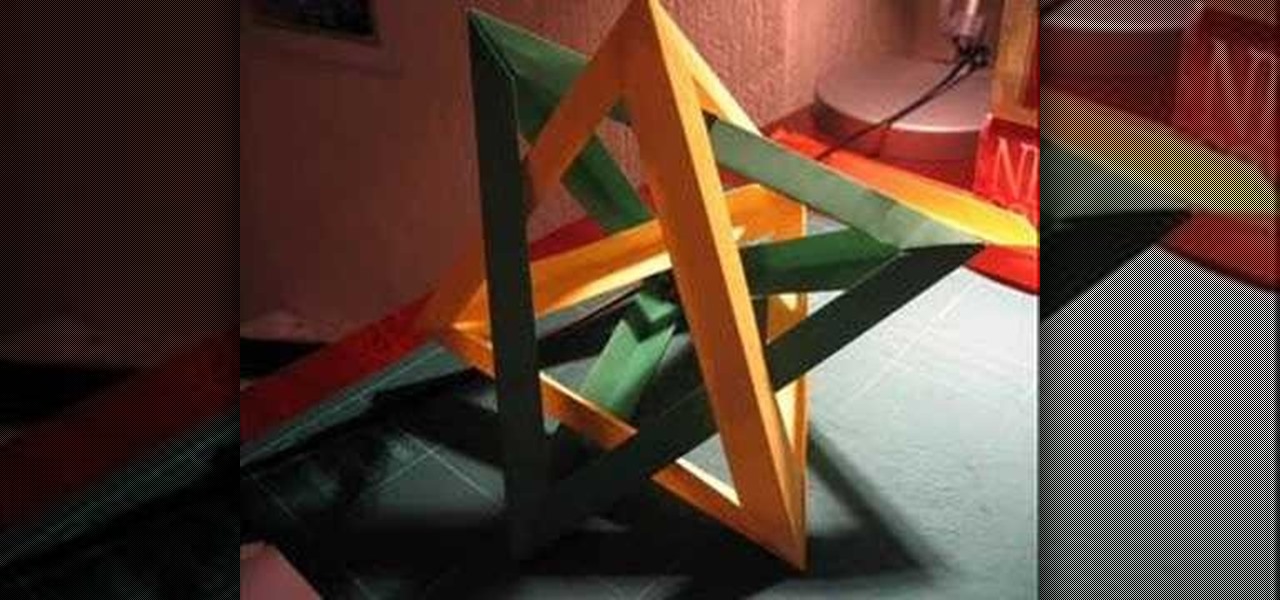
Feeling ambitious? With this guide, you'll learn how to make a 3D star with five intersecting tetrahedra using origami, the traditional Japanese folk art of paper folding. For more information, including a step-by-step overview of the folding process, as well as to get started making your own paper awe-inspiring paper stars, watch this free origami lesson.

This Photoshop tutorial goes over the basics of using vanishing point. Learn how to setup a perspective grid and clone in 3D space, also place graphics in a perspective correct environment.

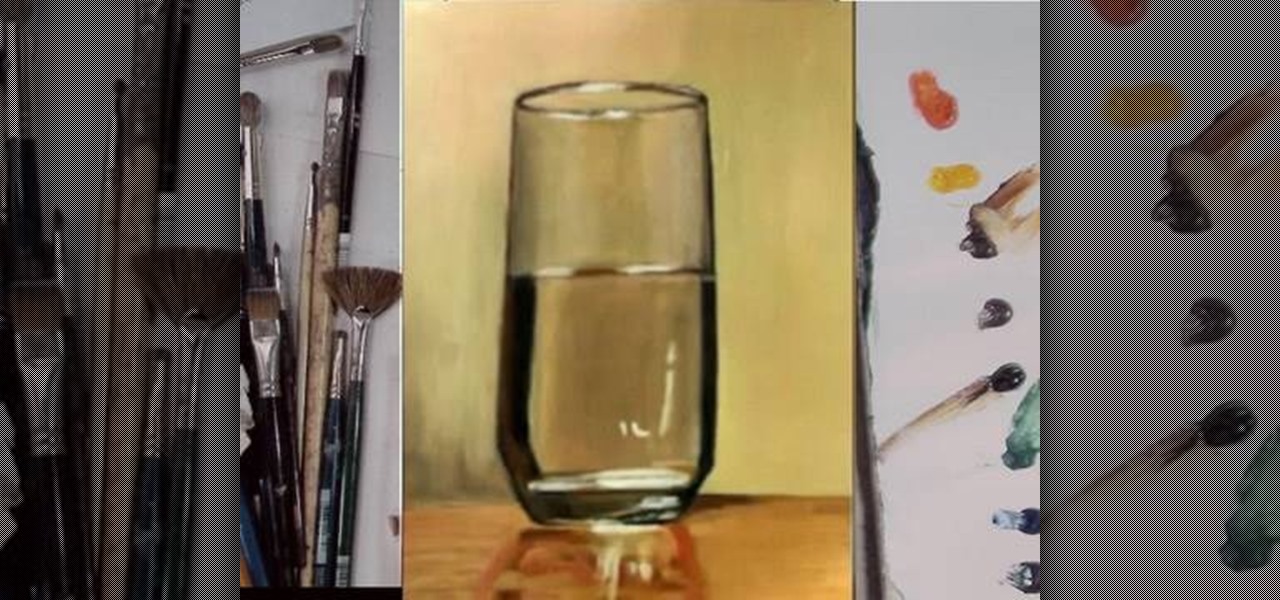
Watch this fine art video tutorial to learn how to Draw a glass of water with illustration markers, colored pencils & oil paint.

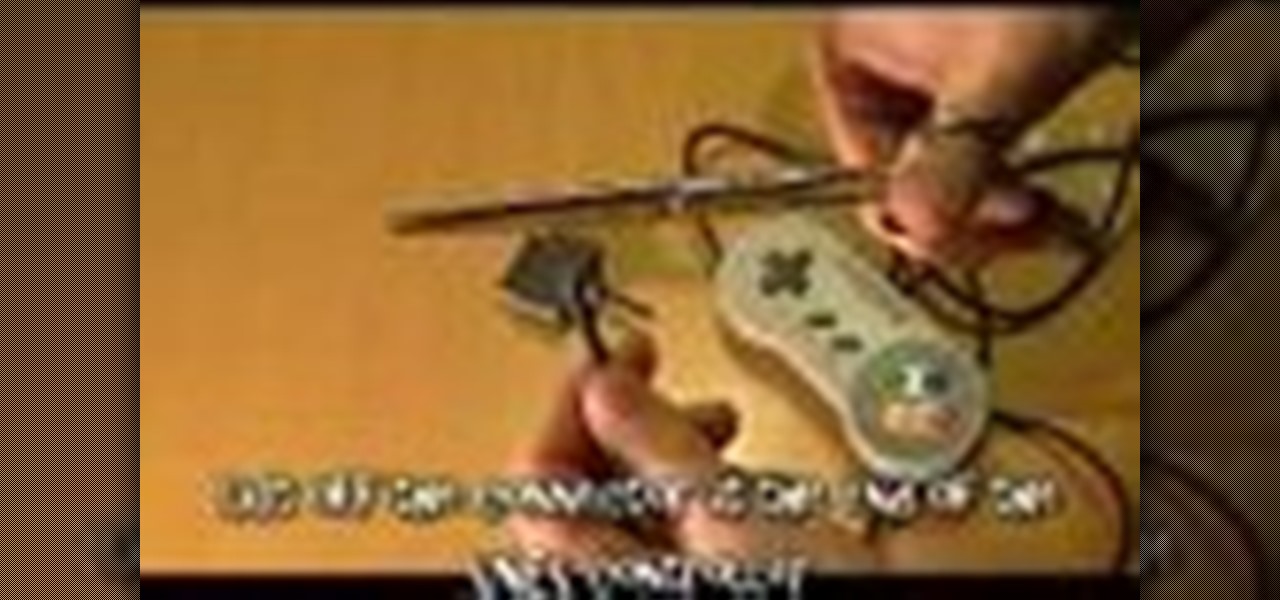
In this "super" video tutorial, you'll learn how to convert a Super Nintendo controller to PC controller. Now, dig deep into your garage and pull out those old SNES pads (or controllers) and get ready for some "super" modding!

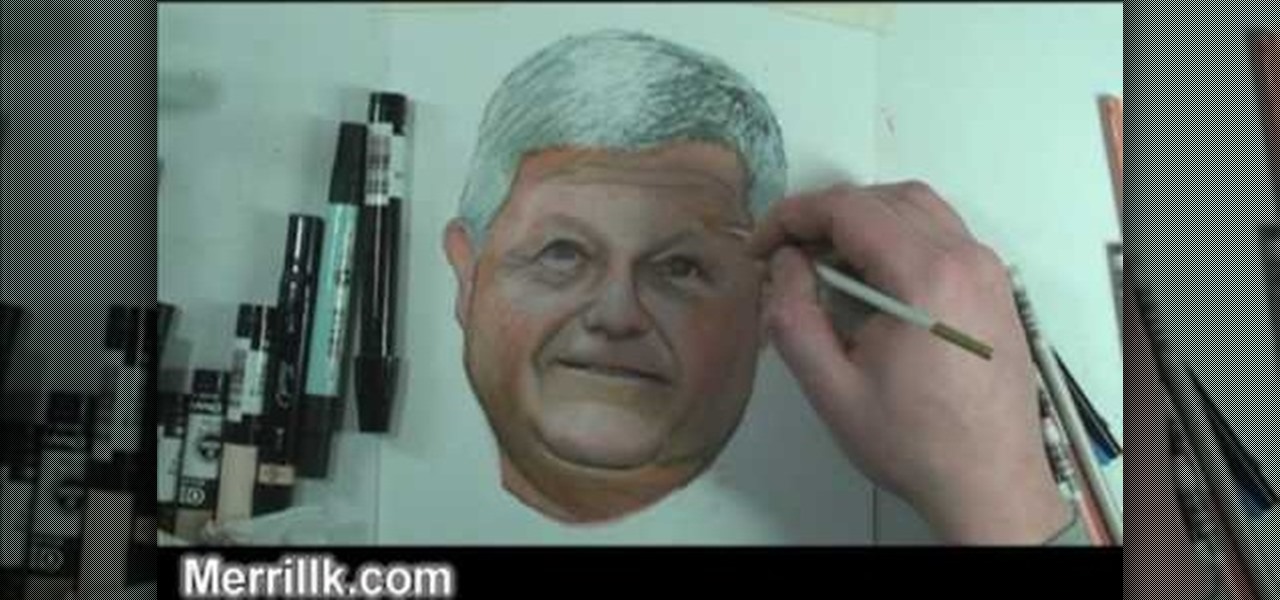
Watch this fine art video tutorial to learn how to blend colored pencils with a paintbrush. "Today, I am going to demonstrate a new artistic technique. I am going to merge the best qualities of two artistic mediums; oil painting and color pencil. What you are now watching is a time lapse of me building up layers of illustration marker and color pencil over a pencil drawing.

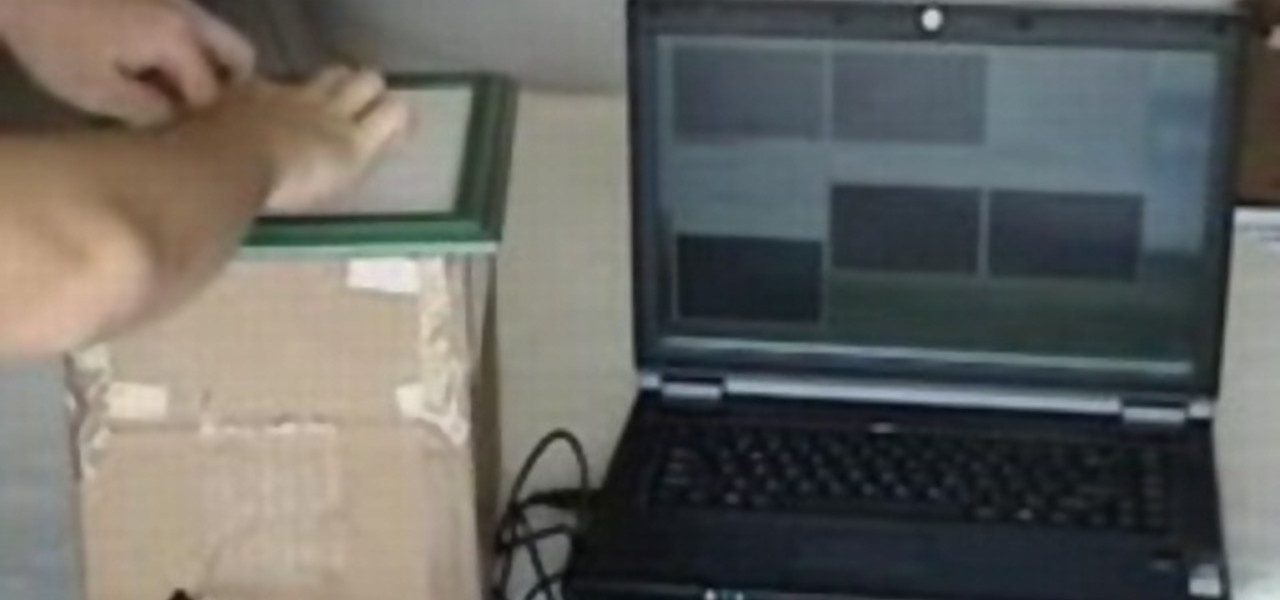
Check out this video tutorial on how to make a cheap multi-touch pad like in the MacBook Air. Yes, that's right... you can make your very own multitouch, finger-sensitive touch pad for your computer. This is definitely the cheap way to go to make a Multitouch Mini (MTmini), with a maximum of fifty bucks down the drain. This multitouch touchpad (or trackpad) is easy!

Interested in using After Effects to create an intro for your next video project? Learn how with this video guide, which will teach you how to create and position title text within 3D space in AE CS5.

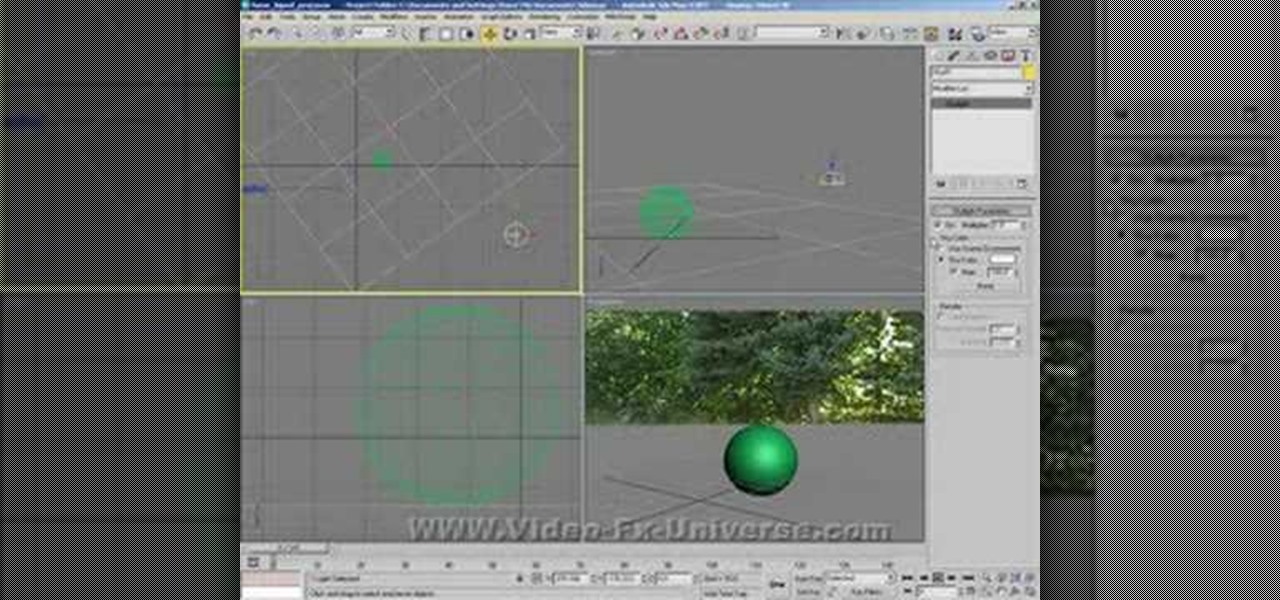
In this tutorial, we learn how to create a 3D shadow matte in 3ds Max. If you have a scene where you need a realistic looking background, you can trick doing this by using 3ds Max. First, go up to the rendering and go to environment. Add an environment map and then click on bitmap and find the image that you want to use. From here, make sure your map is highlighted, then right click and show the background. If you render this out, you will have a picture of the background you want. After this...

In this tutorial, we learn how to draw a sphere in 3D. First, draw a circle and a square around it with a light pencil. From here, you will use the side of the pencil to shade in the sides of the circle. Then, draw a half circle next to the circle to make it look like it's shadow. Shade that in and then add in more dark markings to the circle, leaving a small white area on the top of it. After this, draw in the outline of the circle and erase any stray lines. This will complete your sphere, e...

In this tutorial, we learn how to create amazing 3D text in GIMP. First, start a new image with the width and height that you want. From here, select the text editor and then type in your text. After this, change the font to what you want and then change the size and color as well. From here, you will duplicate the layer and then go to layer, and then filter. Select the map button and then map the object. Select the text and then show the preview to make sure it's what you want. Change the or...

In this tutorial, we learn how to make 3D nails. You will need: nail glue, nails, glitter, nail polish, tools, and anything else to decorate. To start, paint the nail and then apply small ribbons to them at the top. You can also add in glitter if you would like. Glue the ribbons by using nail glue or super glue. For the rest of the nails, repeat the same process, making all of them look different by adding small pearls, different shapes, and glitter. Let these dry, then you can place them ont...

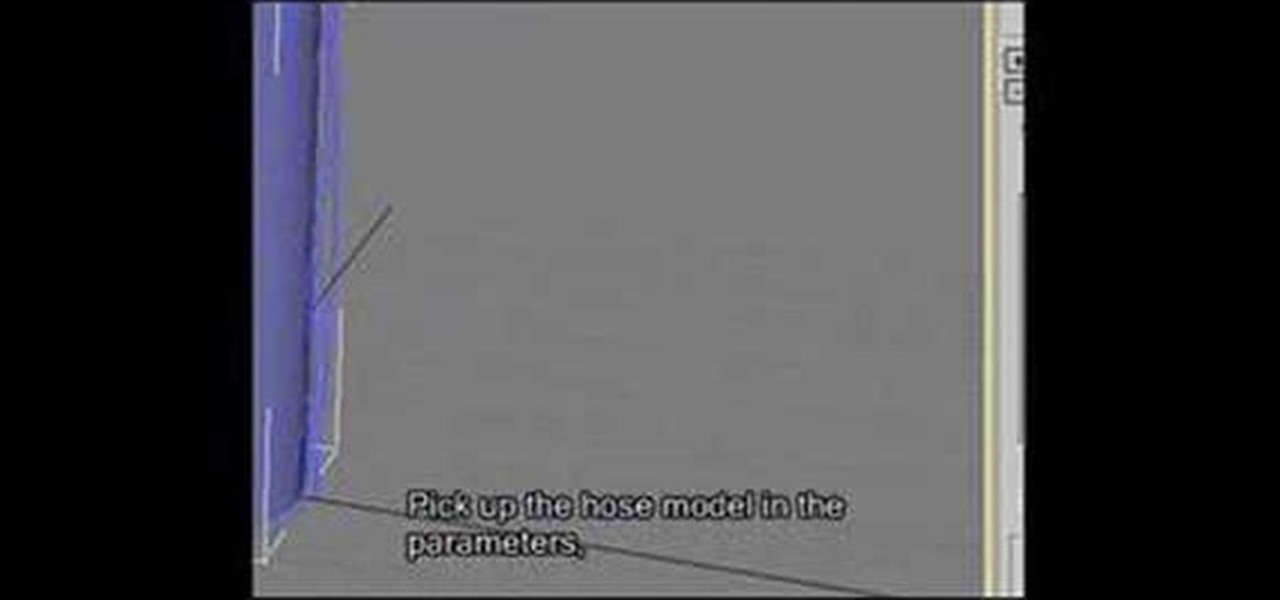
In this video, we learn how to apply normal maps in 3D Studio Max. First, go to the cylinder button and name it. Then, change the radius and height how you would like them. After this, select "extended primitives" from the drop down menu on the top. From here, enter in the diameter and sides for the round hose and then select the diameter of the cylinder. This will create a cylinder but with the look of a hose instead. Use the bottom toolbar to edit the sizes of the map and then save this whe...

Learn how to corner pin a video onto an iPod, mobile phone, TV or monitor with the Mocha 3D tracking tool in Adobe After Effects CS4 or CS5. Whether you're new to Adobe's popular motion graphics and compositing software or a seasoned video professional just looking to better acquaint yourself with the program and its various features and filters, you're sure to be well served by this video tutorial. For more information, including detailed, step-by-step instructions, watch this free video guide.

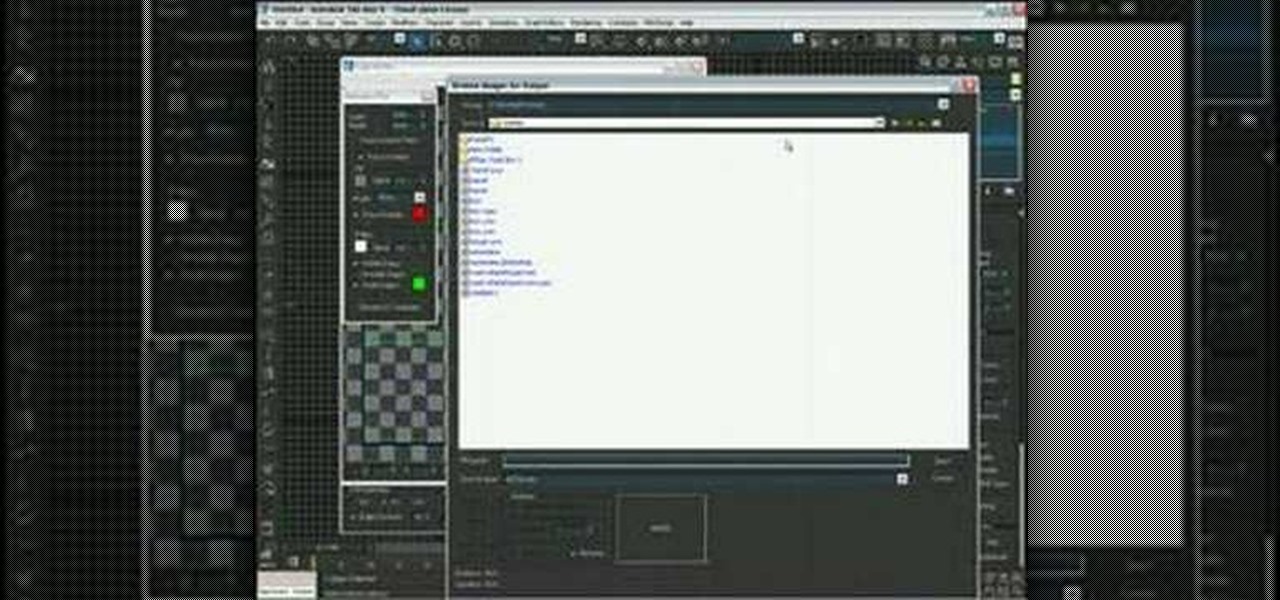
In this video, we learn how to use the UVW unwrap function in 3D Studio Max. First, go to the UV modifier wrap and select all the faces. Once here, edit the parameters and then go to the mapping menu. After this, you will be able to change the object as you would like. After you are finished with this, save your object to your computer in a spot you won't forget it. You can create several different layers and change the colors as you prefer. You can completely customize your experience on thi...

In this tutorial, we learn how to draw a 3D ball and cone. First, draw a circle with two lines coming out the side of it. After this, add in shading to the bottom of the circle and then draw a shadow coming out of the bottom of the circle as well. After this, draw a light that is shining onto the ball. Make sure you are drawing a black crayon to get the best texture out of this. Draw in darker lines on the circle, then draw lines over the top of the ball and through where the light is shining...

In this tutorial, we learn how to do UVmapping with 3D Studio Max. Open up your image in the software, then go to "unwrap UV". Scroll down to edit and you will be able to see the basic scale. Grab the mass and scale it down, then use your element turn on to select the different pieces. The UV mapping will now turn a different color and show you where you have edited it. Continue to do this throughout the entire program. Make sure you have all other programs closed while you are doing this, an...

In this video, we learned how to repair a crashed 3D helicopter. If you have a crashed helicopter that isn't flying or is flying off center, repair it. You will have to have some knowledge of how to repair helicopters, and know which part is broken. Repair the parts that are broken and when you are done you will need to replace all the parts that you previously removed. After you are done with this, you will be able to turn the helicopter back on and test its flying abilities. If the helicopt...


