If you're a fan of Tinkerbell, then this video is for you! We learn how to draw Disney's magical fairy, Tinkerbell. Start off by drawing the outline of her body and wings. Then, draw over this to make a 3D version of her. From here, you will start to draw in the details of the face and the body as well as the clothes. Once finished, you will color in the skin, wings, and clothing. Use shading and lines to make the character appear more realistic. To finish this up, add a colored background an...
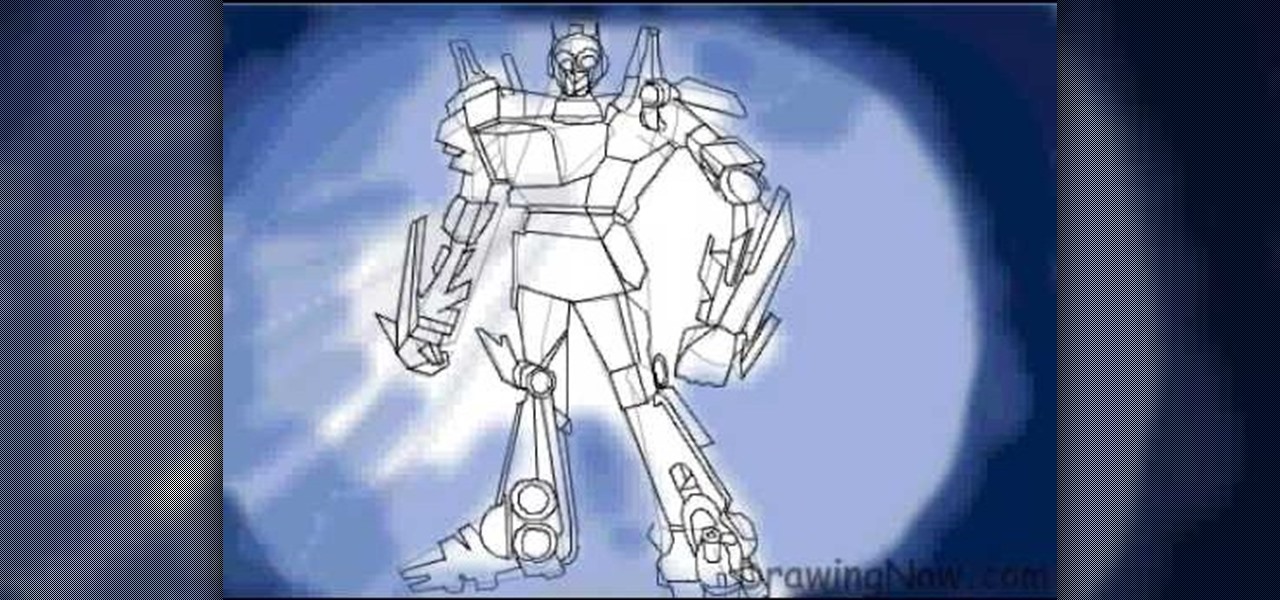
In this tutorial, we learn how to draw Optimus Prime, leader of the Transformers. First, draw the outline of Optimus Prime, use basic lines and circles to show where the joints are going to go. After this, draw the full outline around the character, using a dark line to make it look 3D. Then, draw in the rest of the details for the character, giving him a look like a machine or a bunch of metal. Next, you will start to shade in the different parts and add colors that were used in the movie. W...

In this tutorial, we learn how to draw The Incredibles. Start out by coloring the background orange, yellow, and white. Then, draw the outlines of the bodies for all of the characters in the family. After this, draw in the details, giving them a 3D type of image. Next, you will color in the clothing and add in the fine details for the hair and the face as well. Erase any background lines from the drawing to clean it up, then add in some shading to make it look more realistic. To finish this, ...

In this video tutorial, we learn how to perform an impressive ACAAN card trick using two decks and the Si Stebbins stack method. For more information about the trick and its execution, including detailed, step-by-step instructions, and to get started incorporating this trick into your own routines, watch this free video card magic lesson.
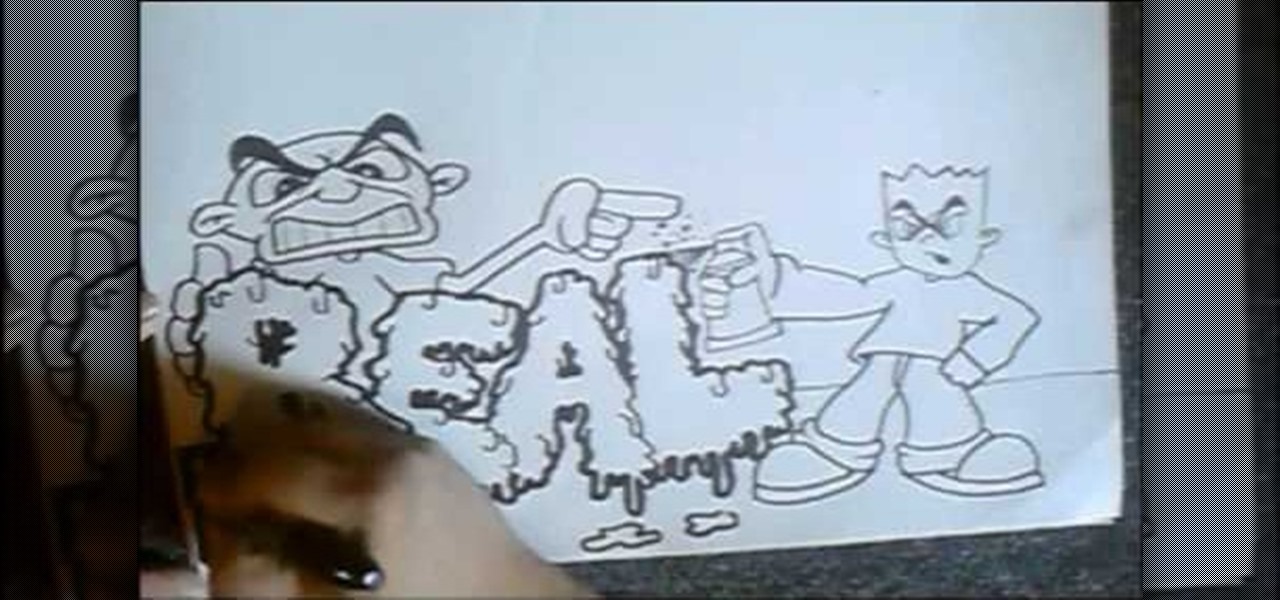
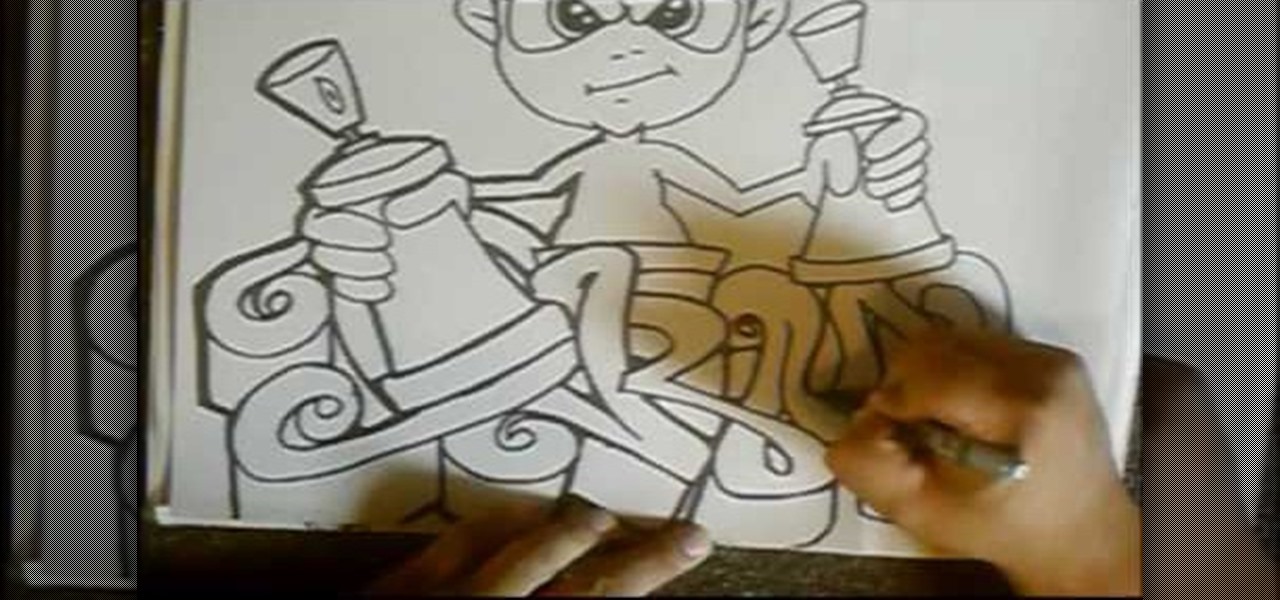
In this tutorial, we learn how to draw graffiti letters. When you are drawing these letters, you will want to use as much imagination as you can. Make sure to add in your own personal flare to give each of the letters a special touch. Now, you will draw the letters making them into a large 3D letter. Add in swirls and lines to the edges of the letters to give them a wet look and then add in shading to the side to make it look darker. Add in more shading and darker outlines, then when you are ...
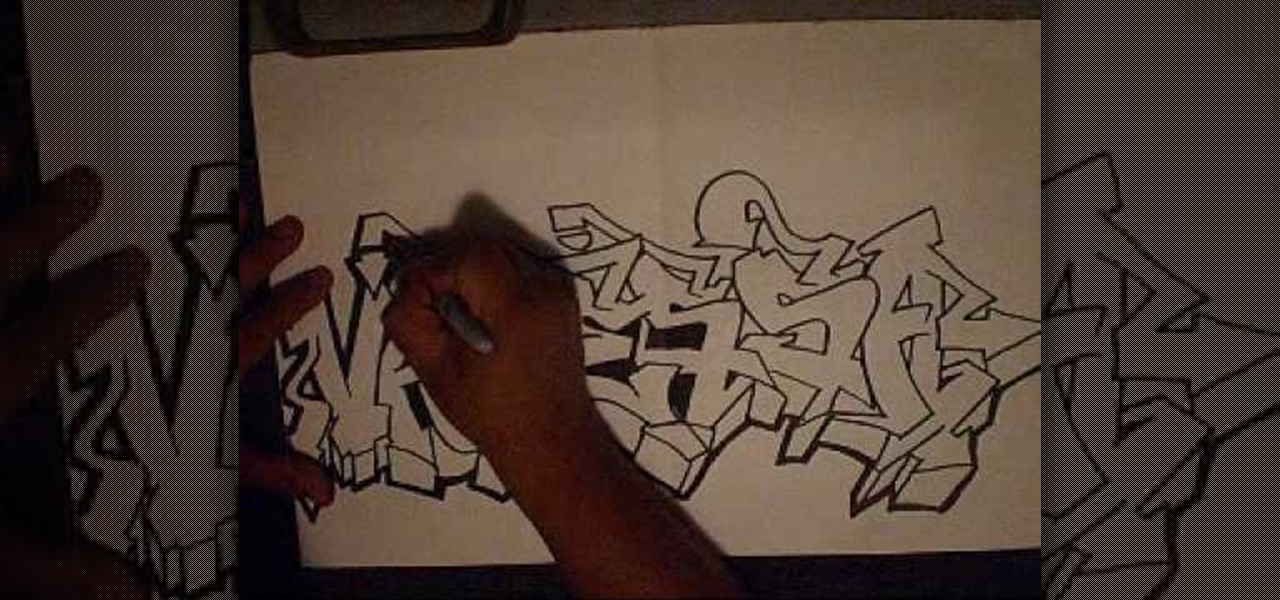
In this video, we learn how to write a name in graffiti letters. Start off by outlining the letters, make sure to draw them thick so they look 3D. Add in different shapes edges to the letters to make them look more like graffiti. Make sure they are all touching and overlapping as well. Then, use the pencil to draw in the areas in between the letters and in the middle of them. Once you do this, you will be able to add in additional lines and shading to each of the individual letters. You can a...

In this tutorial we learn how to draw graffiti. Graffiti can be done in hundreds of different ways, depending on your taste and your abilities. Remember when you draw on graph paper that it will help your letters stay to scale so you have a more even looking word or letter. Also, when you draw your characters you want to draw them with large features and exaggerated clothing, so it gives the gangster loose clothing look. Use a brush pen to create a flared effect and shade in around the letter...

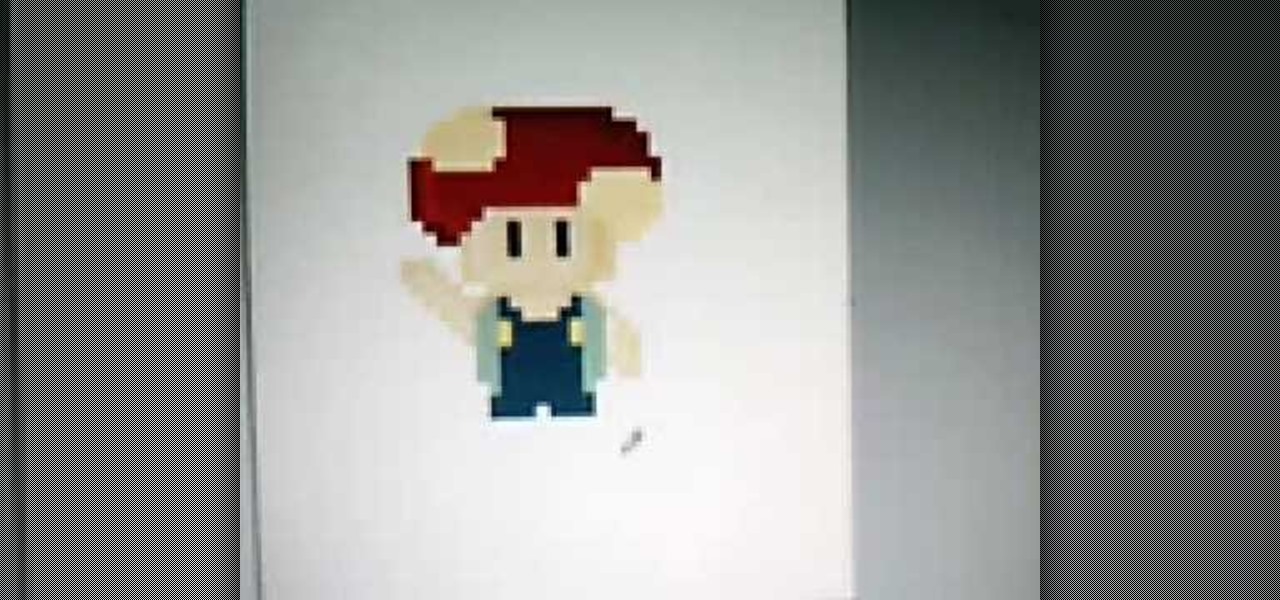
In this video, we learn how to draw Toad. Start out drawing toad with the out line of the body. Make sure to incorporate the mushroom helmet on top of the head. After you have the basic outline finished, draw on the features of the outfit. Include the pants and the scarf around the neck. Also, add on the features of the face and darken up the eyes. Next, draw in half circles on the mushroom helmet and then shade around the character to make it look 3D. Practice drawing this to perfect the cha...

In this tutorial, we learn how to draw Axel. Start out by drawing the head, then add in the facial features including the eyes, nose, ears, and mouth. After this, draw in the spiky hair that goes around Axel's head. Next, draw the neck and shoulders. Continue to draw down the body until you reach the feet. Add in the details of what the character is wearing, using lines on the clothing to make it look more realistic. After this, you will need to draw in shadowing on the drawing to make it loo...

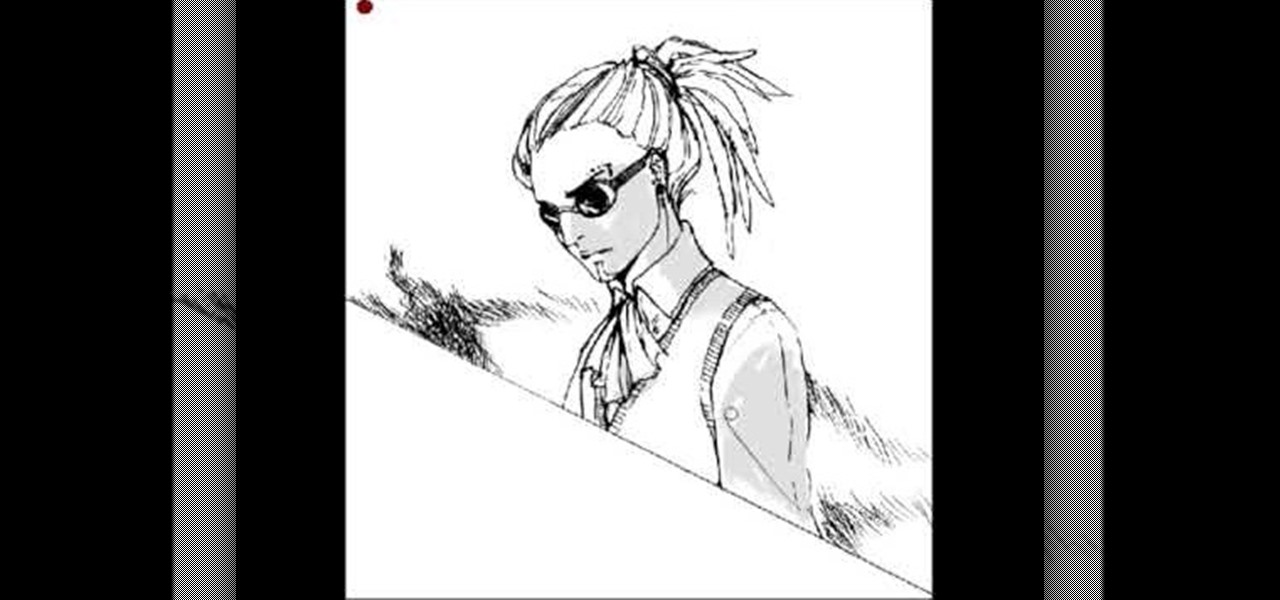
In this video, we learn how to draw shadows in manga. When you are drawing shadows, you want to think in 3D. When you show the lights and shadowing, it's like you are drawing something you see a photo of instead of just a drawing on a piece of paper. Draw the shadows where you want the position of the light to be opposite of. If the shadow is on one side of the face, this would mean that the source of light is coming from the opposite side of the face. Use real pictures to figure out how to s...

In this video, we learn how to draw Maplestory Bigfoot. Start out by drawing the outline of the character, then start to draw on the details. Once you have finished the outline of the entire character, start to use a darker pencil or pen to make it darker. Add in shading on different parts to make it look 3D, then add in lines to make the character look more realistic. Add as many details as you would like, then when you are finished you can color in the picture as you would like. You can rep...

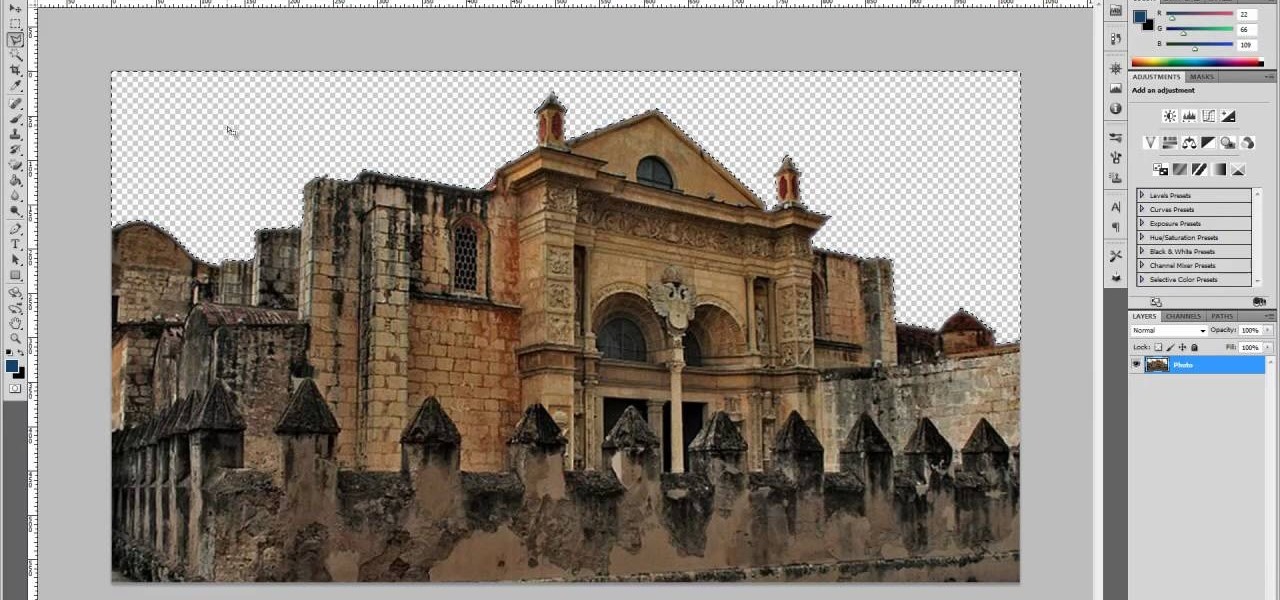
This four-part Adobe After Effects tutorial from Laurence Grayson shows how to take an ordinary photograph of a building (in this case, a cathedral) and turn it into a spooky looking house from hell. The majority of the work done uses the standard toolset in After Effects CS3, CS4, and CS5. Adobe Photoshop is used for the sky replacement section. Create hellish clouds, eery flickering windows, sheet lightning, color correction, 3D motion and depth of field effects for your next Halloween spec...

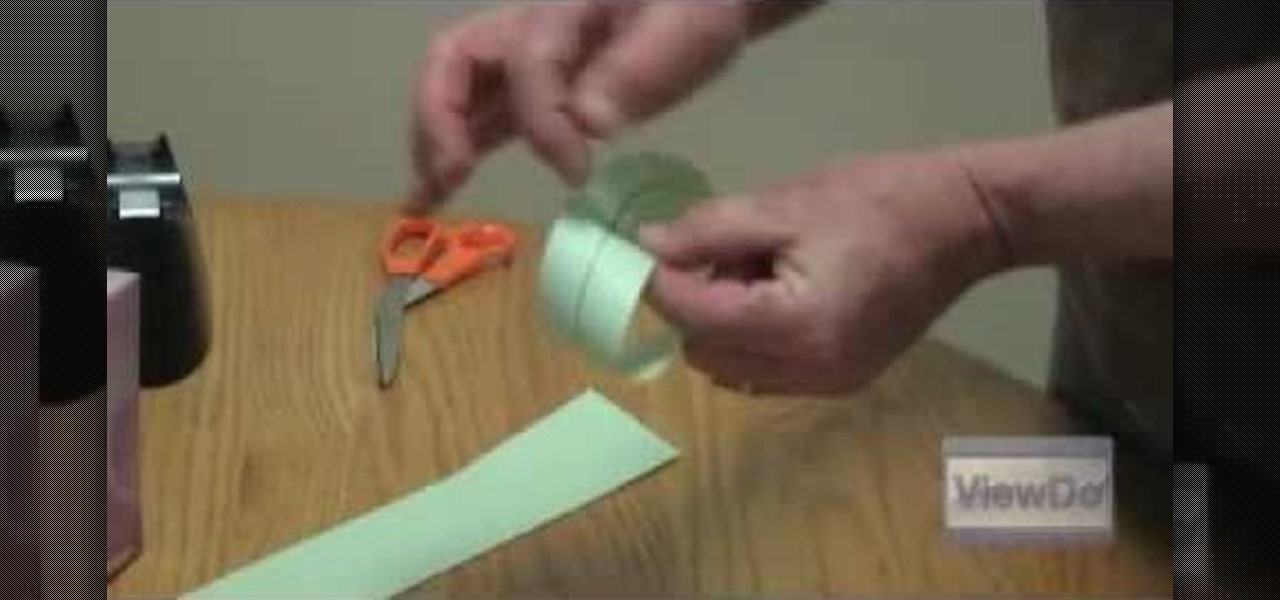
This video will show you how to make a 2 dimensional object in a 3D world. A well-known example of this is a mobius strip, which can be made with a strip of paper, scissors, and some tape. After cutting out a long strip of paper, you should take the strip of paper, give it a half twist and tape it together, making a loop. This loop, or mobius strip, exists in a three dimensional world, where by following the loop, you seem to always arrive at the same point. Furthermore, the loop can by cut d...

Back to school time is officially in full swing, which means new classes, new books, new hotties to crush on and something that all high school kids look forward to (if nothing else): Homecoming. The first real dance of the school year, Homecoming is an informal soiree yet the perfect excuse to dress up and look hot.

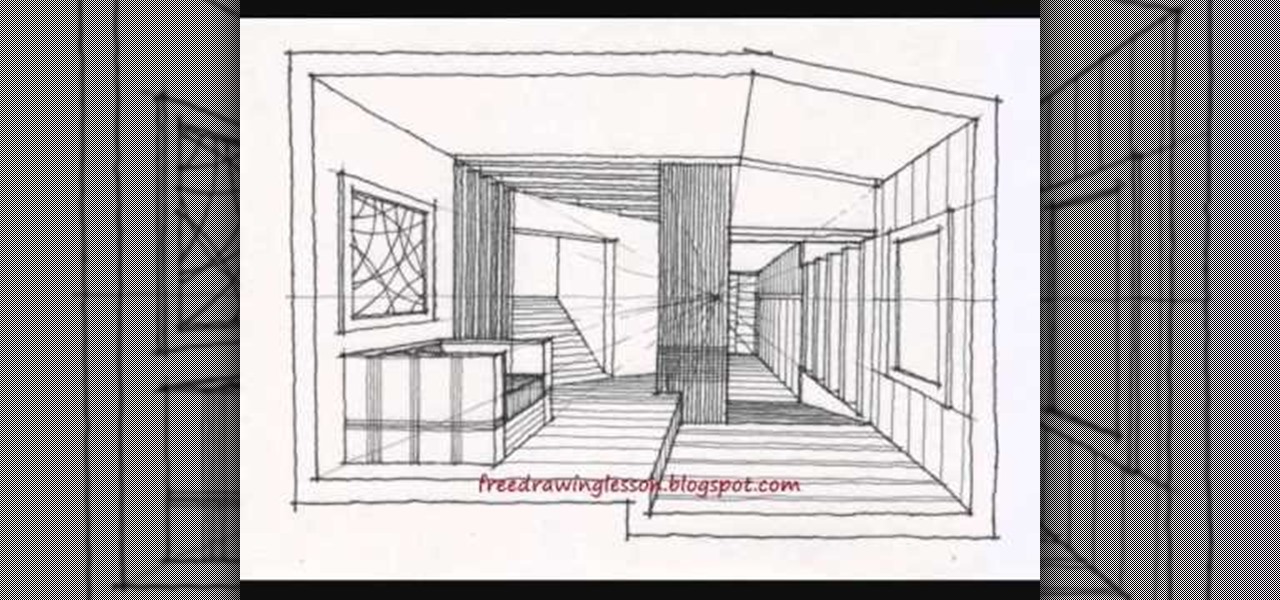
When vanishing point perspective was first discovered in the early Renaissance, artists were astounded by how the draftsman tool was able to transform a flat, 2D space (that until then always looked like a flat, 2D space without perspective) into a believable 3D image. We've been using vanishing point perspective ever since, and architects would die without it.

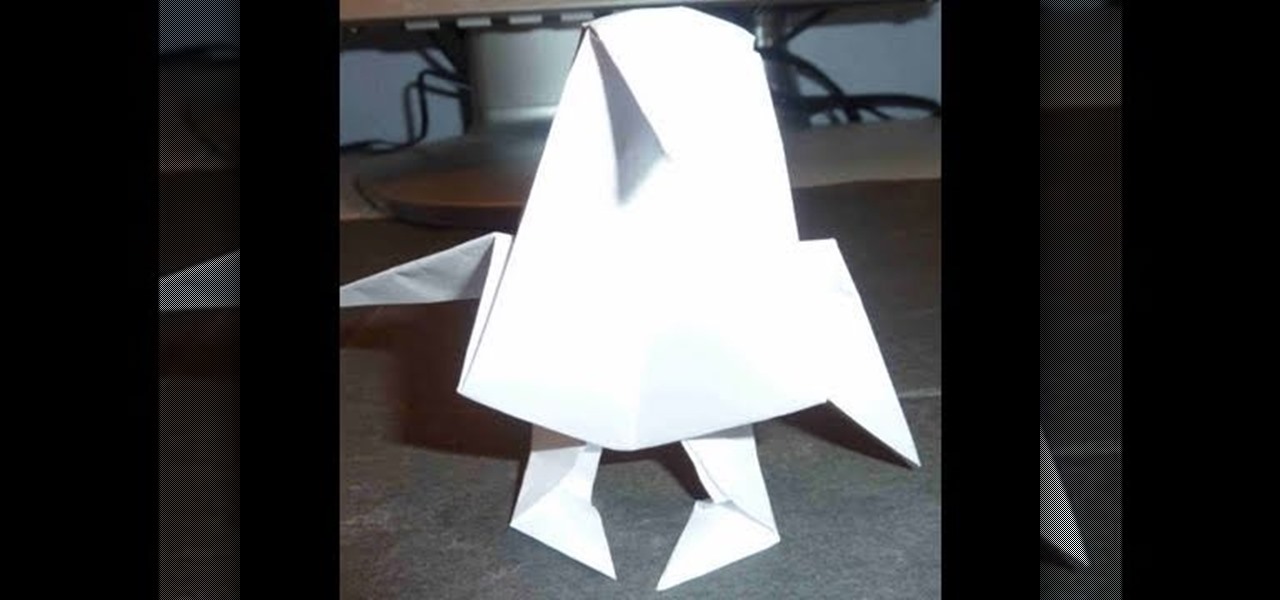
Is it just us, or does this ferocious alien/monster strangely resemble a cute, chubby wubby penguin? Whatever you decide this animal is, all we want to do is tickle its copious belly. Maybe this project would look like the alien it's meant to be if you drew ferocious eyes on it?

Origami is an art form that requires time, patience, and the ability to fold things in order for it to take a 3D shape. This next tutorial is an easy video on how to make an origami box. You can use three magazine papers so that you can actually hold things in it. It's good for holding things in like paper clips, orange peel, and much more. So sit back, pay attention, and enjoy!

Need some help figuring out how to generate proxy objects in RealFlow? Never fear. This guide will show you how it's done. Whether you're new to RealFlow's popular fluids and body modeling software or are just looking to get better acquainted with the application its various features and functions, you're sure to enjoy this free video software tutorial. For more information, and to get started using this trick in your own RealFlow projects, watch this 3D modeler's guide.

In this tutorial, you'll learn how to take text from a Blender .3ds file, import it into Photoshop and saving as .PSD, and then bring it into After Effects for animation. Whether you're new to Adobe's popular motion graphics and compositing software or a seasoned video professional just looking to better acquaint yourself with the program and its various features and filters, you're sure to be well served by this video tutorial. For more information, including detailed, step-by-step instructi...

Paper houses don't make very sturdy shelters for those living inside, but paper jewelry boxes make excellent storage boxes for keepsake jewelry. Using the right method (ie. the one presented in this video) you can create a very sturdy jewelry box out of paper.

See how to spin images using Blender. First, you'll see how to use the UV-Textured plane rig and physically rotate the mesh. Next, you'll see how to use Nodes, and then the Sequencer. This clip discusses Orthographic camera scaling, animation, and considerations about clipping. Whether you're new to the Blender Foundation's popular 3D modeling program or a seasoned graphic artist just interested in better acquainting yourself with the application, you're sure to be well served by this free vi...

See how to do localized image distortion using Blender. The rig is a simple UV-textured plane filmed using an orthographic camera. You then subdivide the plane, add some curve guides, and use proportional editing to alter an image. The above before-after shot shows a nose job (rhinoplasty), teeth filing, raise cheekbones, enlarged eyes, and a lengthened face. Whether you're new to the Blender Foundation's popular 3D modeling program or a seasoned graphic artist just interested in better acqua...

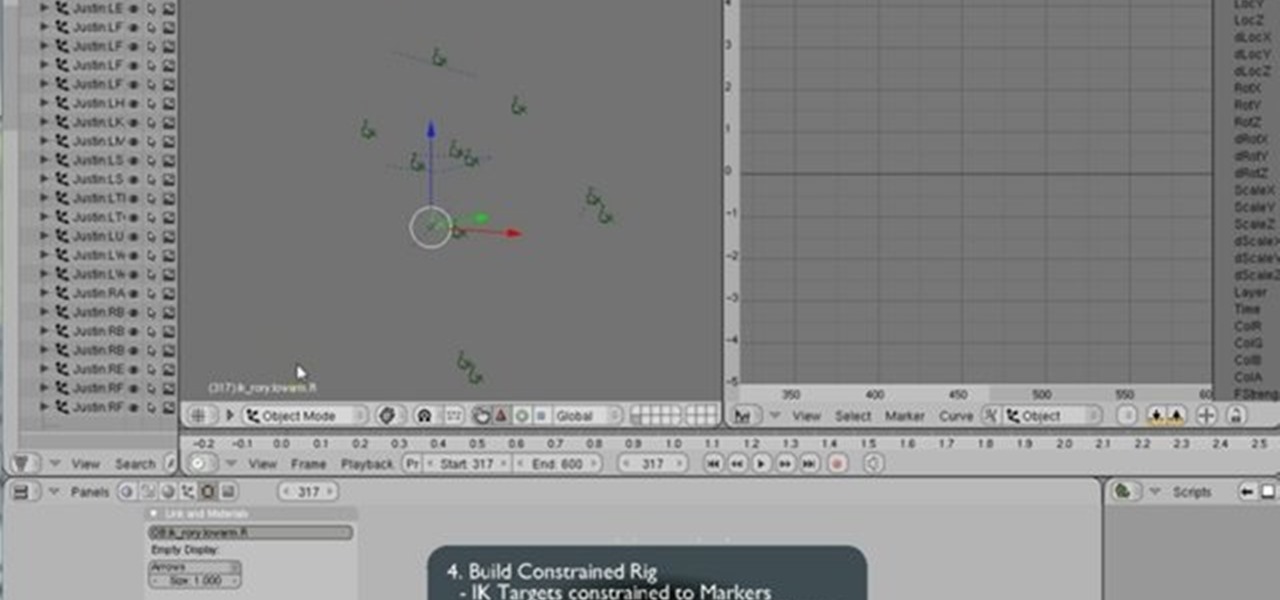
In Blender, you can build up a library of Actions, Poses, and IK Target motion based on real-world motion capture sessions. These session files are freely available and cover hundreds of everyday motion. Use these libraries to study and augment your hand-animation skills, or use directly to animate your character. Whether you're new to the Blender Foundation's popular 3D modeling program or a seasoned graphic artist just interested in better acquainting yourself with the application, you're s...

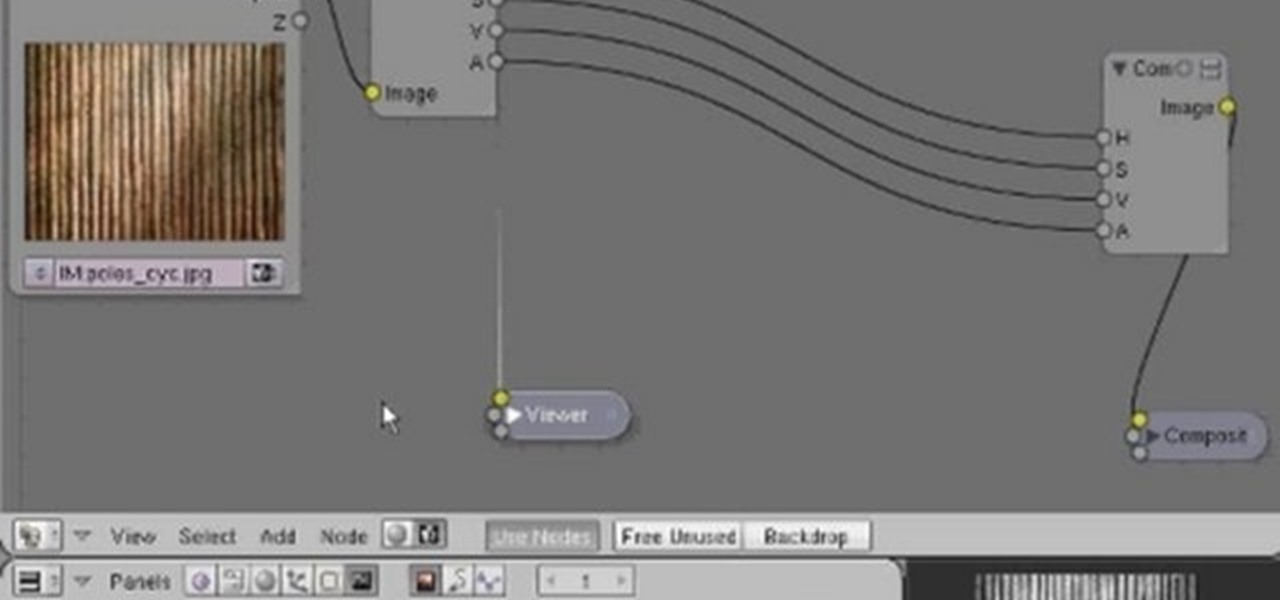
In this clip, you'll see how to construct a pass filter, commonly called a high-gain or band-pass filter. To do this, you'll use the HSV channels to identify what to do, the RGB curve to make an inversion mask, or negative, so that the image is added to itself, thus evening out the contrast and making a very flat image. This image can then be tiled and used as a seamless texture. Whether you're new to the Blender Foundation's popular 3D modeling program or a seasoned graphic artist just inter...

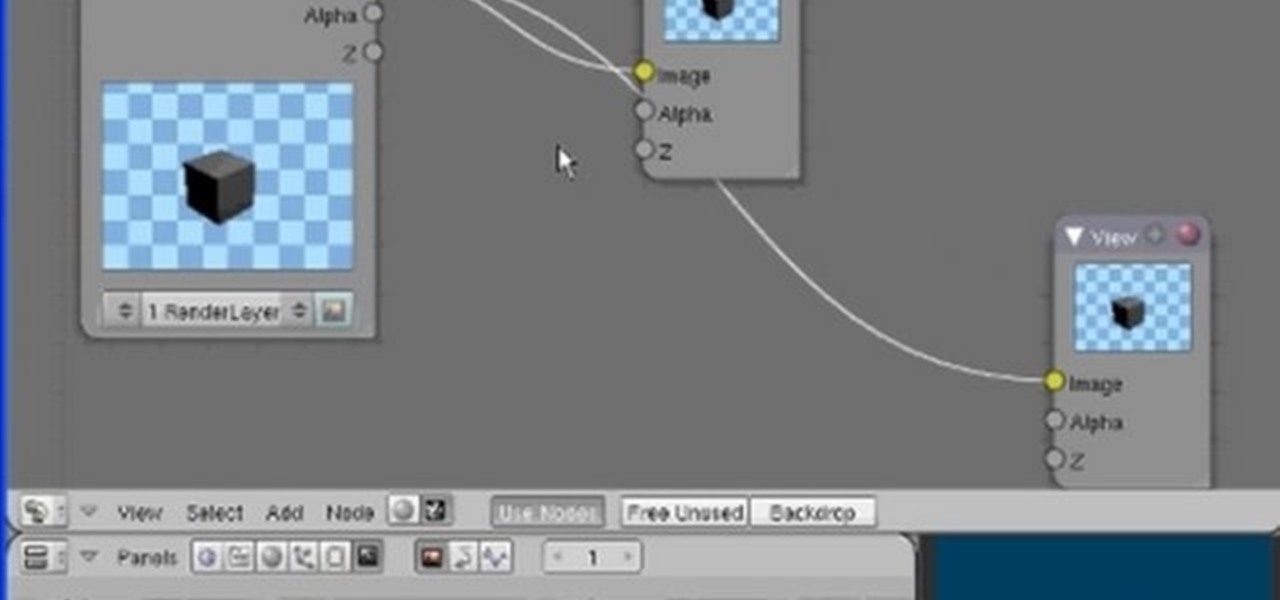
The Node Window is a workspace or desktop for compositing. This clip covers all the mouse and hot keys you use for navigating around and in that workspace and discusses how to add/delete/move nodes, pan/zoom/autozoom the window.

Learn how to create a motion blur effect with Mental Ray in 3ds Max 2010 or 2011. See how to control the camera's shutter speed, the quality of motion blur, and how to decide if a single mesh has motion blur or the entire scene. You'll also take a look at fast motion blur option using Scanline Fast Rasterizer option. Whether you're new to Autodesk's popular modeling software or a seasoned 3D artist just looking to better acquaint yourself with the application, you're sure to be well served by...

See how to use the contour shading feature in Mental Ray to create basic inking or schematic rendering and how you can mix it with standard shaders, ambient occlusion or ink&paint shader to achieve better results. Whether you're new to Autodesk's popular modeling software or a seasoned 3D artist just looking to better acquaint yourself with the application, you're sure to be well served by this video tutorial. For more information, and to get started using Mental Ray countour shading in your ...

This tips tutorial takes a look on how you can use Reactor's dynamic features to simulate a scene with rigid and soft body meshes. See how to configure it and how to use the constraint to animate it. Whether you're new to Autodesk's popular modeling software or a seasoned 3D artist just looking to better acquaint yourself with the application, you're sure to be well served by this video tutorial. For more information, watch this Max user's guide.

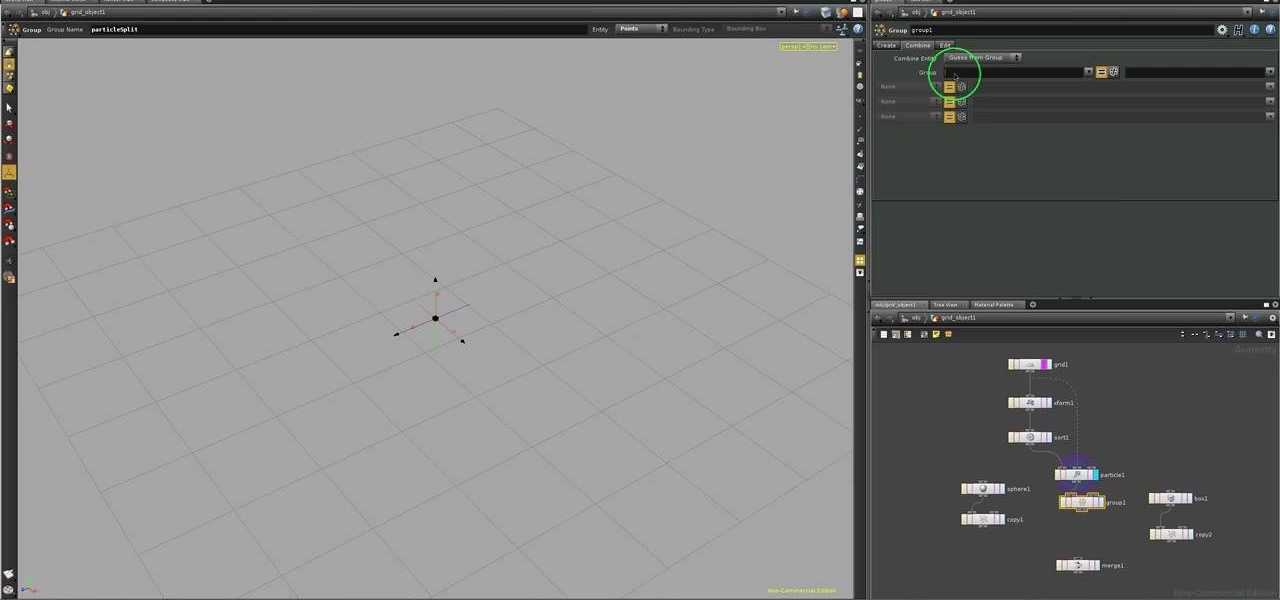
Need some help figuring out how to work with particles in Houdini 10? This clip will show you how it's done. Whether you're new to Side Effects Software's popular 3D production program or a seasoned graphic artist just interested in better acquainting yourself with the application, you're sure to be well served by this free video tutorial. For more information, including detailed instructions, take a look.

In this Autodesk 3ds Max video tutorial, you'll learn about a cool plugin that can create cloth-like animations. 3ds Max does have a built-in cloth simulation, but it's rather complicated to work with. The alternative to using the built-in feature is using the plug-in SimCloth 3, a free modifier. It works very easily and creates a smooth flowing cloth effect. This video is specifically working with a cloth cape on a superhero (if you could call it that). But this cloth-like effect could be ap...

Feeling ambitious? With this guide, you'll learn how to make 3D buckyballs with origami, the traditional art of Japanese paper folding. For more information, including a step-by-step overview of the folding process, as well as to get started making your own colorful paper gift boxes, watch this free origami lesson.

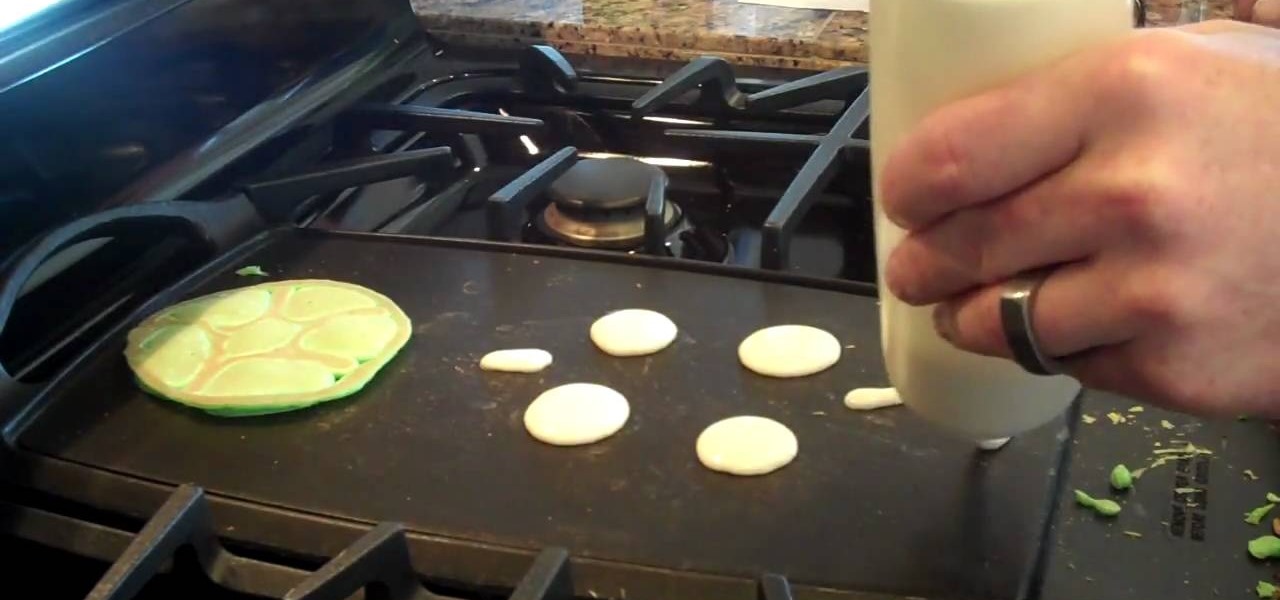
This video will show you the ins and outs to cooking turtles. No! We're not talking about turtle soup here— these are breakfast turtle flapjacks. These turtle pancakes are perfect for starting off the day right— with a happy and fun breakfast meal. Great for children.

There are so many fun things you can do with Photoshop. The possibilities and ways to manipulate seemingly ordinary images are endless. In this particular tutorial, you will learn how to take a 2D photo or image and turn it into a 3D one in Photoshop. You will be shown how to find a texture you like and then cut and alter it into a completely new picture.

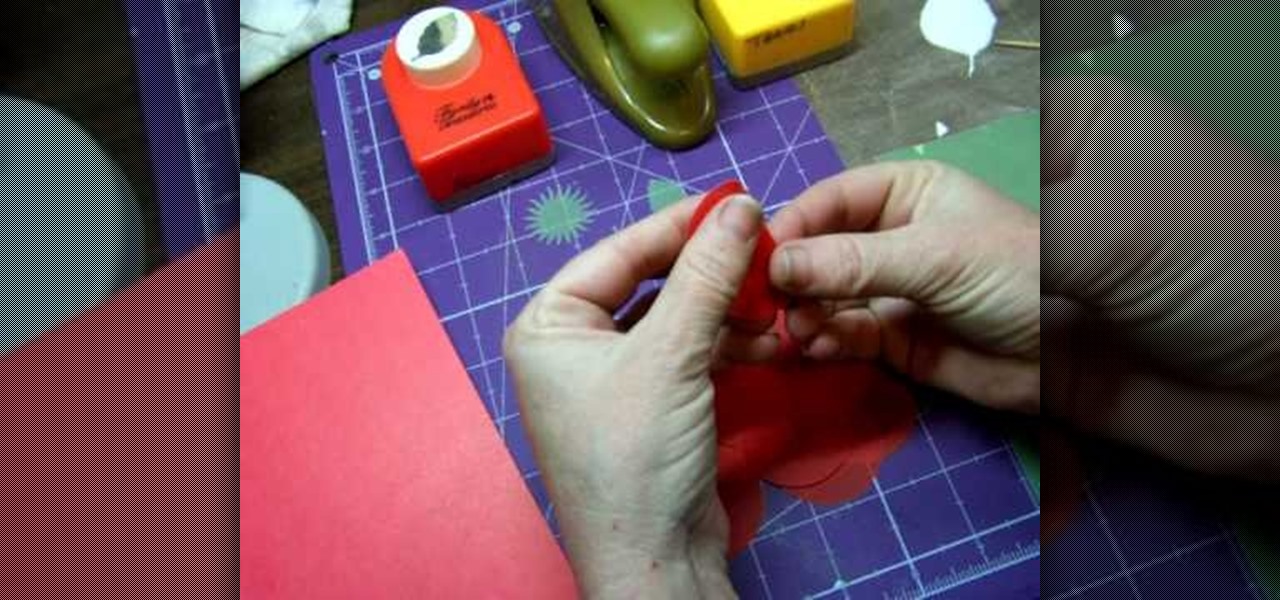
Stampin' UP! punches make just as fun designs as their line of stamps. In this tutorial, learn how to fashion basic flowers out of punches. These flowers make great additions to your scrapbooking or greeting card crafts.

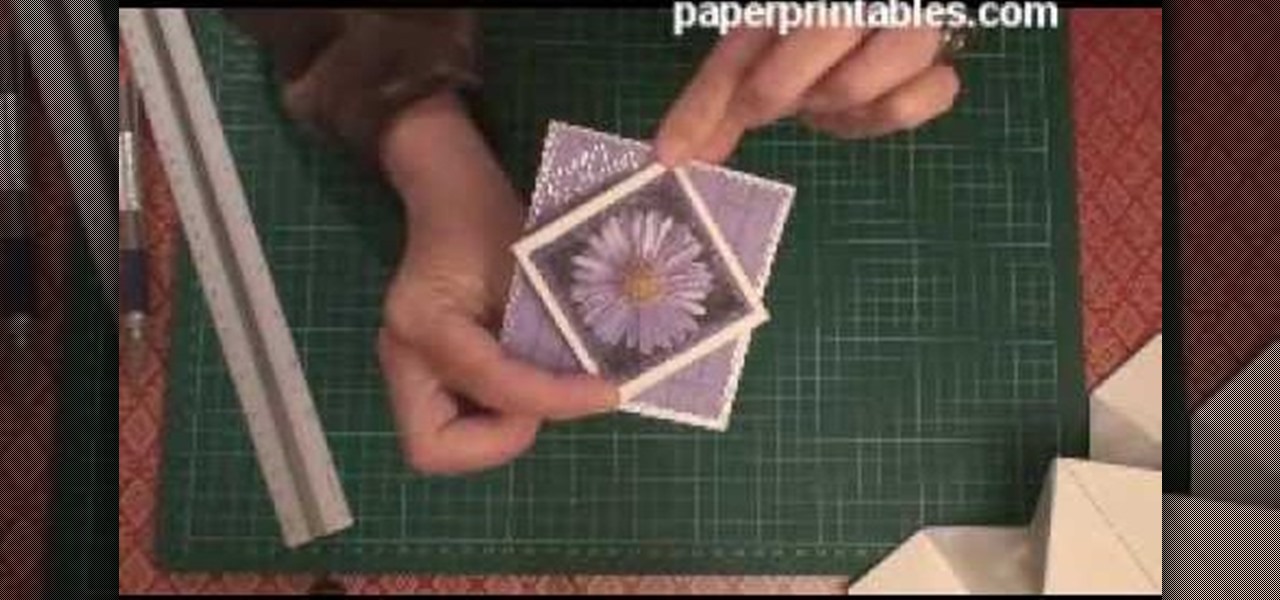
You only need one single sheet of paper for this card fold, so grab it an watch this tutorial to learn how to make a diamond pop-up cracker card. Don't know what a cracker card is? Watch thee video and find out what this 3D homemade card is all about. You only need a single strip of card stock (10cm x 29.7cm). So quick, so simple — so make one! This is a great little crd that's easy to send through the post office.

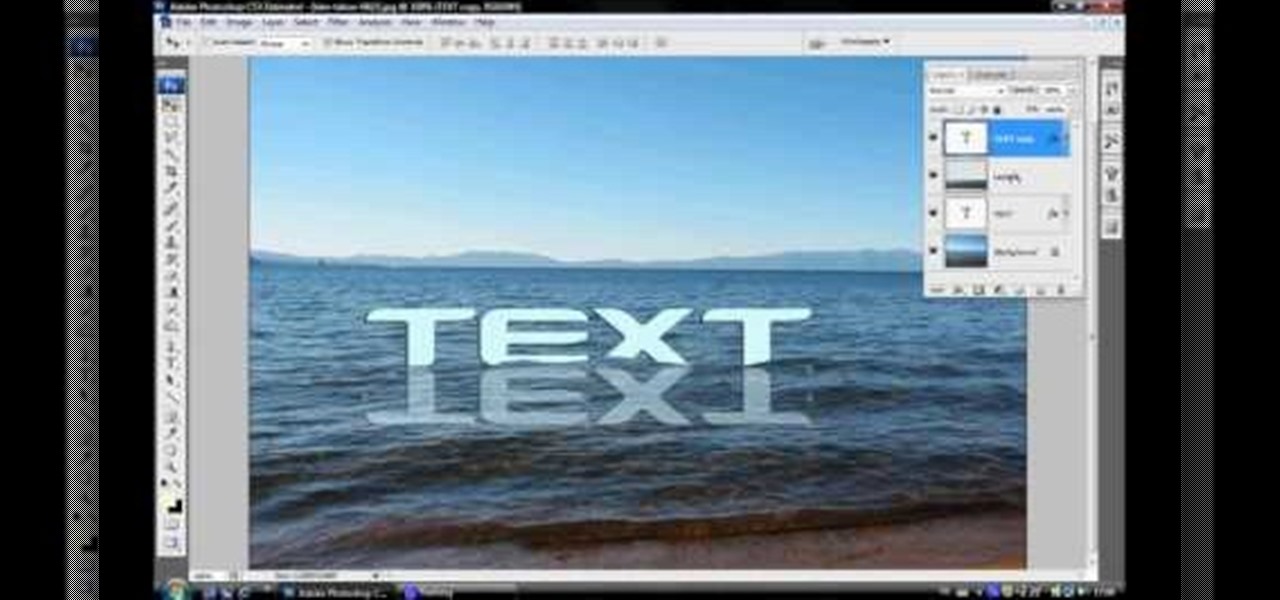
In this video tutorial, viewers learn how to make floating text on water. Begin by importing the water image into the program. Begin by selecting the polygonal lasso tool in the toolbox and select the top of the water. Once you have made the selection, right-click on it and select Layer via Copy. Then select the text tool and type in your text. Create a contour to make the 3D and give the text a light color. Then place Layer 1 over the ext layer and use the selection tool to place it behind t...

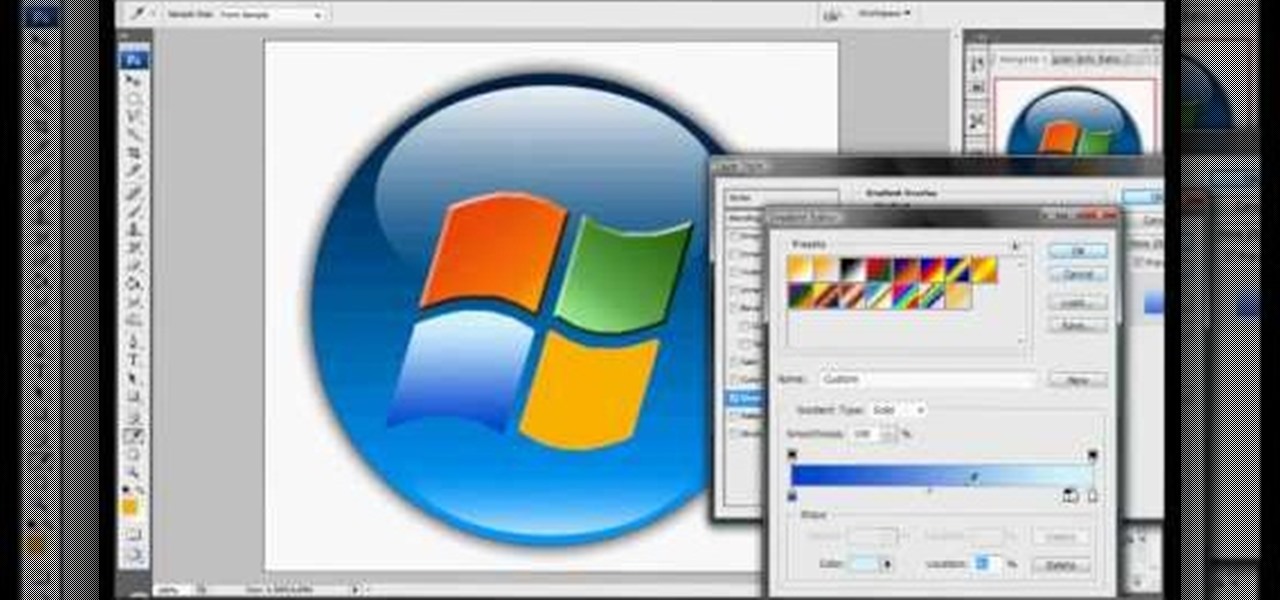
A compelling and quick moving tutorial on making the Windows Vista logo with Adobe Photoshop. The logo can be made quick without going too in depth into some of Photoshop's more advanced features. Starting with a circle a gradient shade is layered over the shape. Two circles are cut out and shaded white to give the circle a 3D feel. Then adding a drop shadow to the entire shape really gives it the logo's appearance. The windows themselves within the logo are cut to shape and copied and moved ...

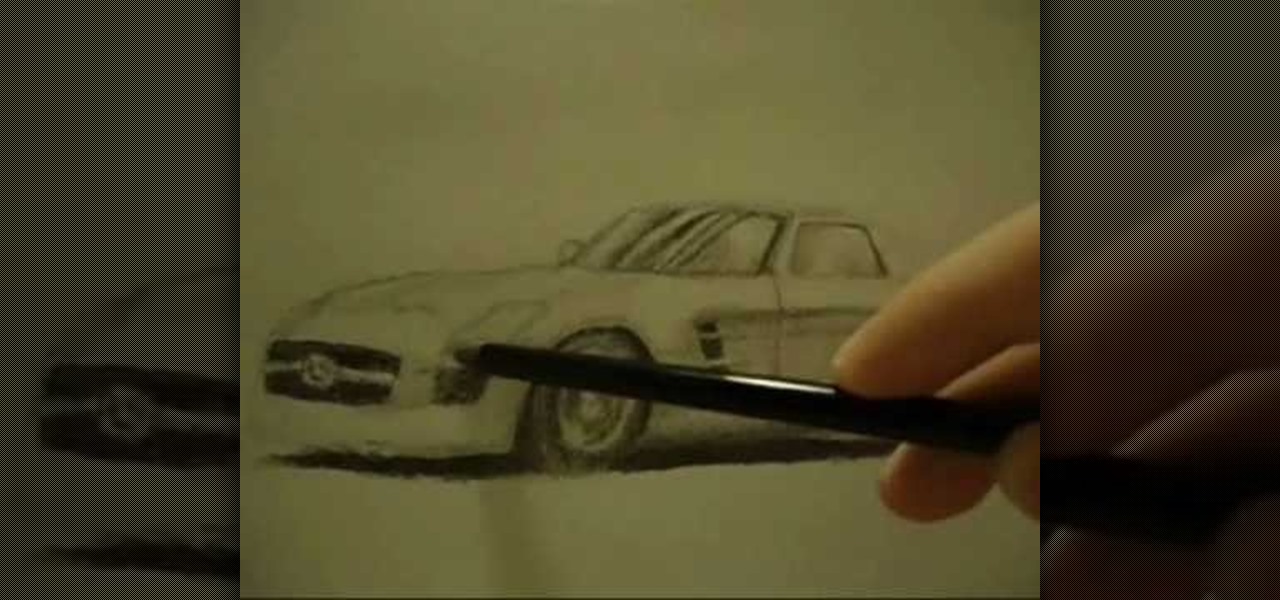
This video illustrate us how to draw a realistic car on paper. Here are the following steps: Step 1: First of all take a sheet of paper and pencil.

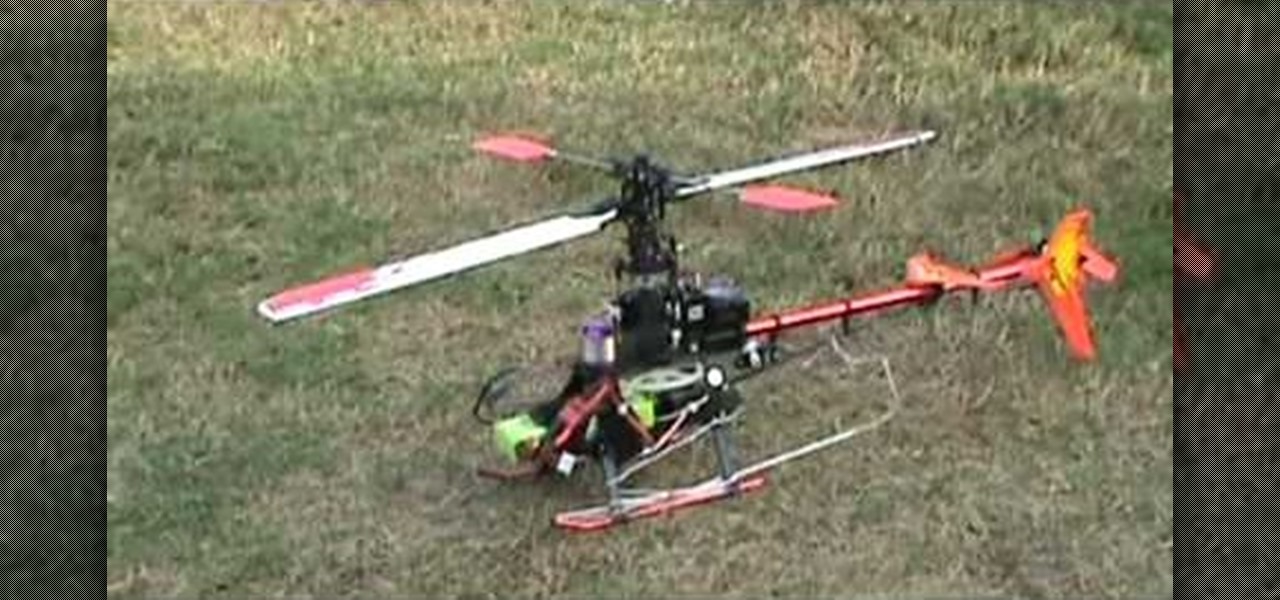
Alishanmao demonstrates on a Honey Bee King 3, how to change the pitch and speed. Using the radio knob in the controller you can change the pitch of the main rotor. Make sure your 3D switch is off, that your throttle is at zero, and after connecting the battery, do not move the battery until you here it beep to confirm it is ready. When pitch is at its minimum you will have less rotation speed and at its maximum you will have a higher rotation speed. The best thing to do is to try and find a ...

Drawing an 8 bit toad seems very easy from the video of Mario brothers, first you draw two short standing lines which are the eyes and are black in color using freehand draw option. Then you draw a somewhat oval shape using the same option around the eyes which would look like a face using the color light yellow then you provide darker shades on each side to give the face a 3d effect. Then the cap is drawn after which you draw the rest of the parts the body, dress, hand, shoes etc and finally...


