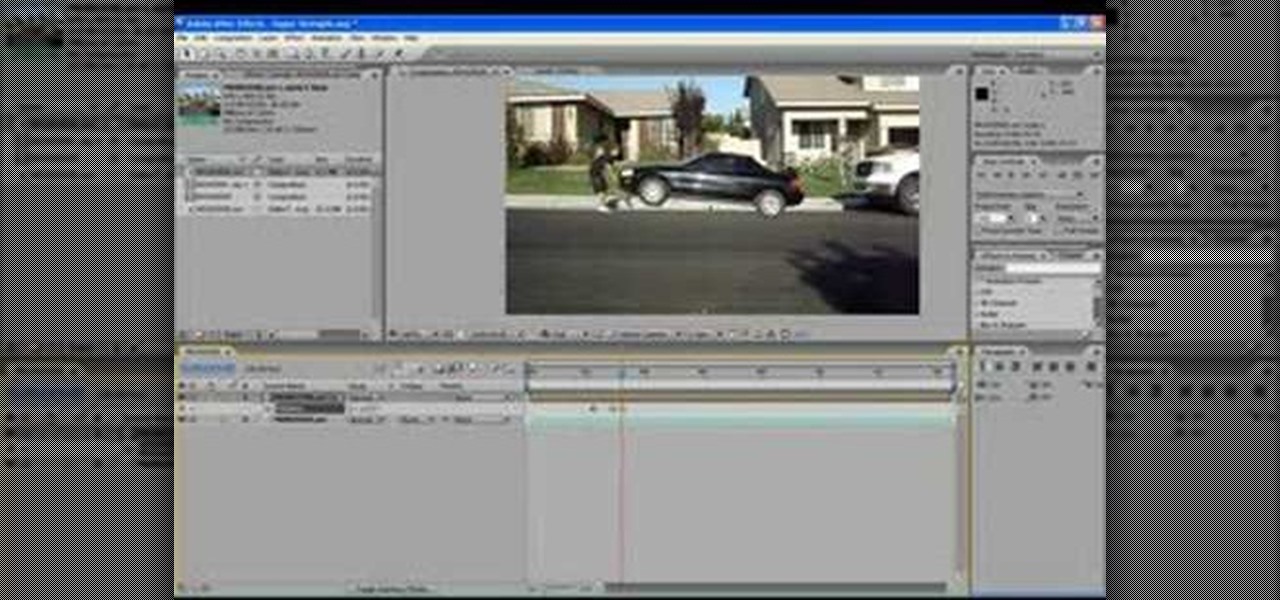
The end result of this tutorial is a video of a person lifting a parked car. The tutorial demonstrates how to create this super strength effect using Adobe After Effects. It is part of a series made by ajones8126 of super hero effects for Copilot.net. First, the narrator, AJ, creates a still from a clip of the parked car using time stretch. Then he trims a clip of himself "lifting" the absent car. He masks out the car, and pre-composes it into the other clip. The car is then carefully rotated...

DrawingNowVideos teaches you how to draw SpongeBob Squarepants. You start off with a squiggly line and you want to create a rectangle and then create a 3D box out of that. That will be the head. Add circles and ovals on the side to make it look more like a sponge. Add eyes, eyelashes, nose, cheek with freckles and an open mouth with two teeth up front and the tongue. Then draw the body and add details such as pants and a tie. Complete the face by adding a few circles around. Also don't forget...
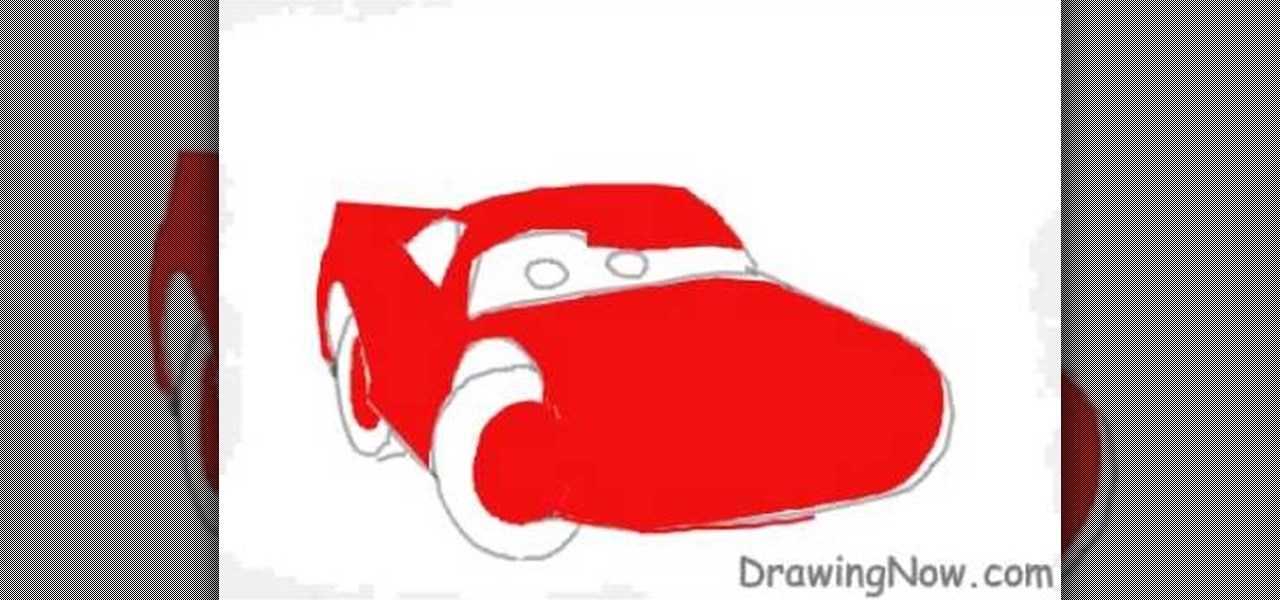
In this video tutorial, viewers will learn how to draw the character Lightning McQueen from the Disney movie Cars. Begin by drawing a 3D rectangle. Make it rounded. Add the wheels and windshield. Draw the mouth on the bumper and the eyes on the windshield. Draw the spoiler and add the details of the car. Then erase the guidelines. Then start adding the colors. Add a darker shade of red for shading. Finish by adding the details on the car. This video will benefit those viewers who enjoy drawin...
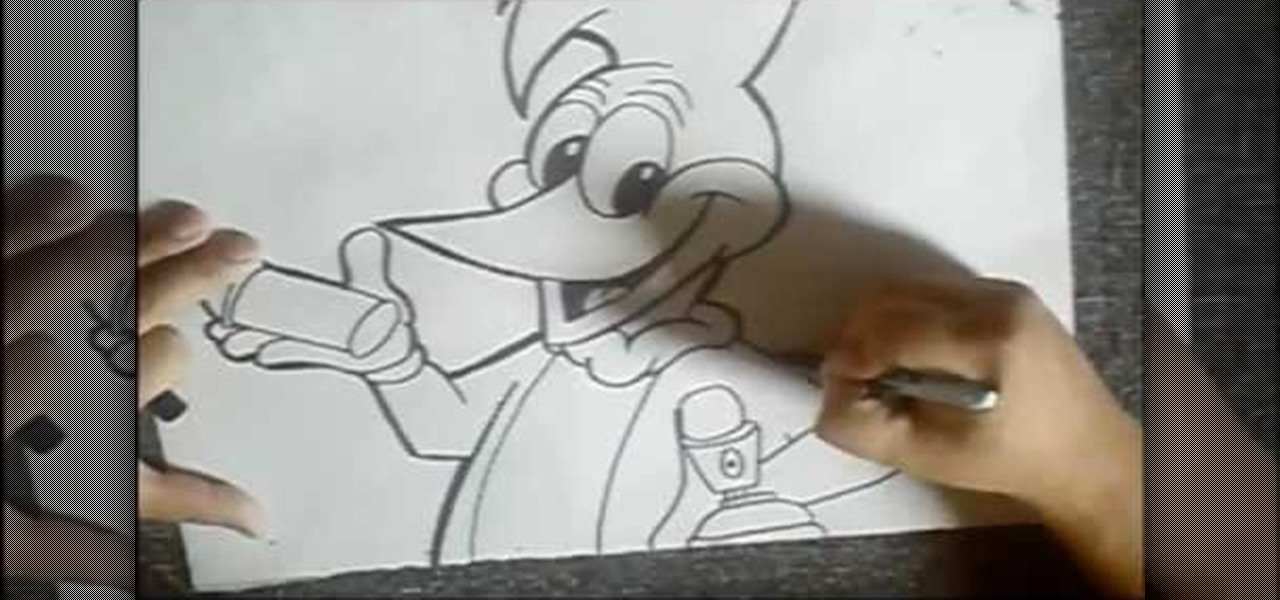
This video shows how to draw the famous cartoon character and is accompanied by funky music, rather than commentary. After all, you can actually see what the artist is doing, so narrative is pretty much unnecessary. You basically start by drawing the eye and then the beak and cheeky smile. From there you complete the picture and shade in to bring the whole thing to 3d life. Because the whole thing is speeded up, you can see how it's done quite clearly but without having to spend a large amoun...
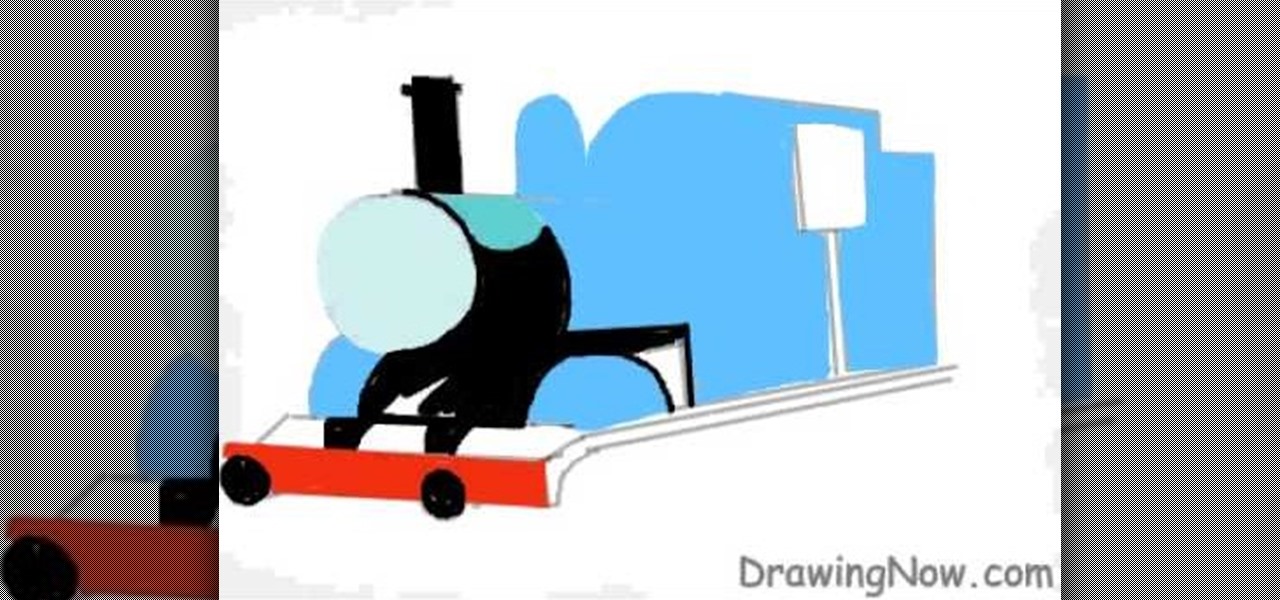
Watch this video to learn how to draw Thomas the Train. 1) First start out with a circle, followed with a rectangle attached, to make a cyclinder

FK describes how to make a Yoshimoto cube. First, print out the template. Then, trim the paper with scissors along the perimeter and glue the edges into a 3D pyramid. Repeat these steps until you have 48 cubes. Fix 3 pyramids together 16 times. Arrange pyramids in groups. Repeat 2 times and color 8 of the pyramids. Place adhesive on the joints of the cubes. Arrange the pyramid groups into a cube. Now, you can perform neat tricks with the cube, like changing the cube from white to colored with...

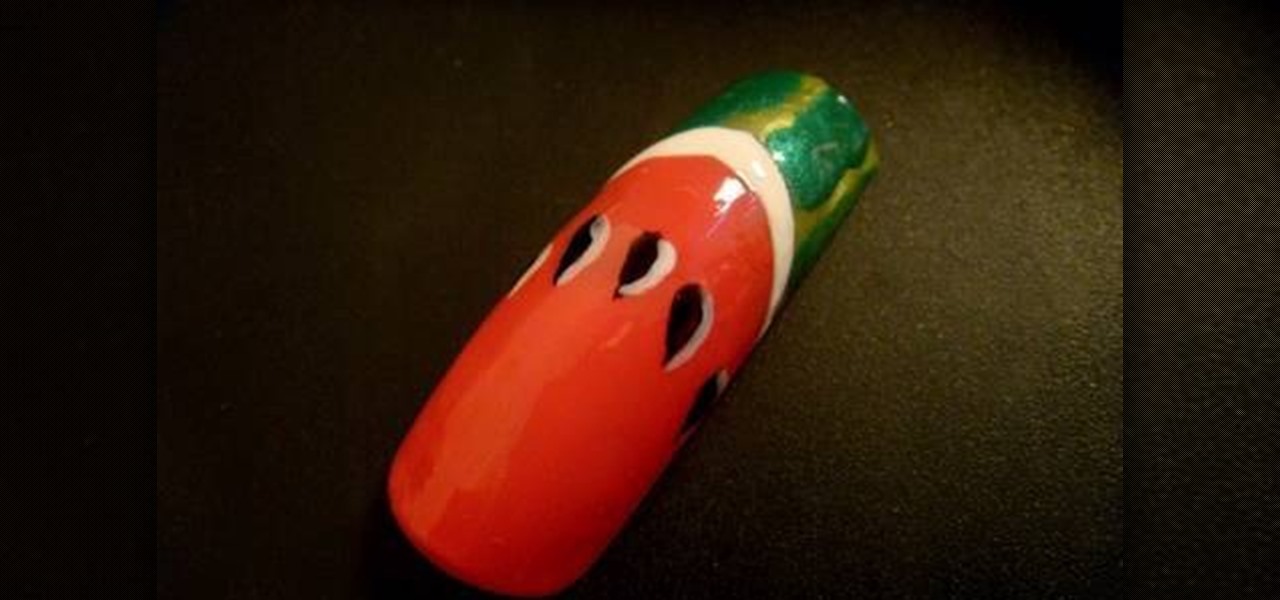
BeautifulYou TV presents how a watermelon nail art design is painted. The nail painting starts off with a white line drawn between the base and the tip of the fingernail. Pink is used to cover the base and light green for the section from the white line moving towards the fingernail tip. Streaks of dark green nail polish are then painted on the light green section to give the look of a watermelon. To decorate the watermelon with seeds, draw black tear-shaped designs on the pink section and cr...

Are you interested painting in 3D mode? Let's try the human mouth first. First, get the basic shade of the lips with a single color. Then, fade out the top side of the upper lip part and give it a less sharp edge. Then paint the depth area above the lips. Edge out the top lip and add more shades on the bottom one. Then add those small vertical lines with low opacity. Add a gradient map over it and another pink layer(color burn).The lips are ready and it will help you in your painting skills.

QueenofBlendingMUA teaches us how to paint our nails purple black and add rhinestones. For the rhinestone nail you only need to add black nail polish two times and then add rhinestones individually. For the diagonal silver nail you use the Art Deco 3D silver to draw a diagonal line from the top on your nail. You then color it in using a silver nail polish called Chrome. You then use the black Art Deco to create a diagonal line on the clean line, in the opposite direction. For the purple tip n...

Cardcrazy09 teaches you how to make a thank you card using Cricut. You will need the Walk in my garden cartridge for this. The card itself is a Martha Stewart piece of double sided cardboard. You will need different types of punches to create the white decorative part and the text card. That will be printed with black text. The flowers and the pot are created using Cricut. The pot is placed on top of the flowers and each of them are individually stuck onto the card. Also make sure to add a so...

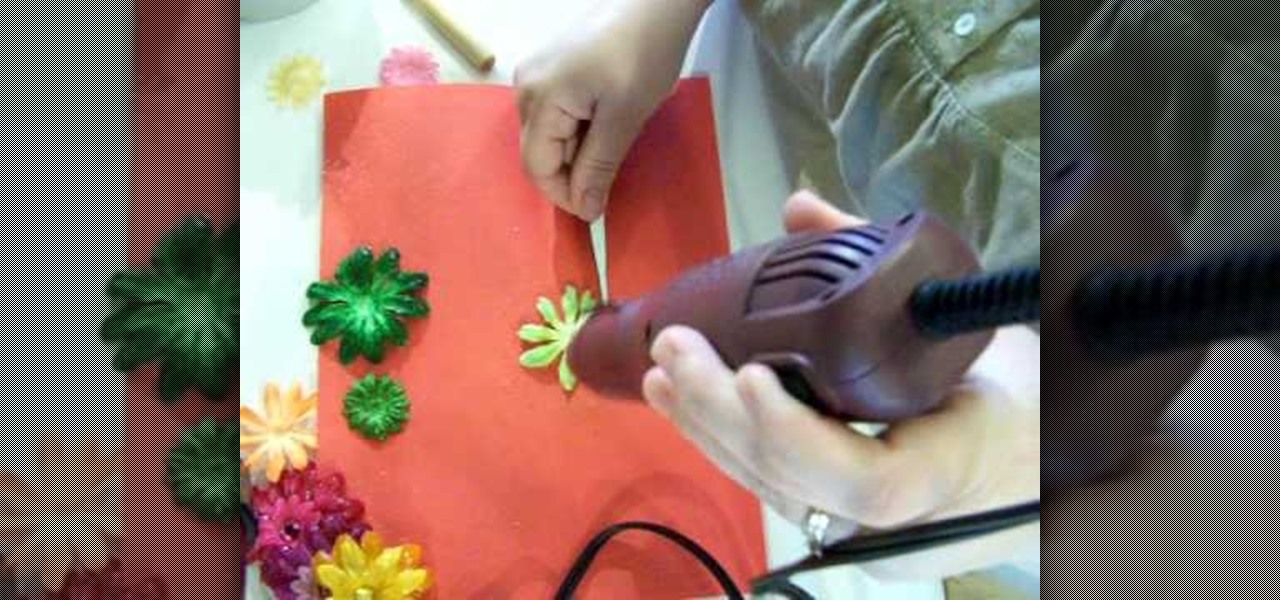
Looking for a great scrapbook style for Spingtime? Bonnie shows us how to use prima flowers in scrapbooking. First she chooses her flowers, then she paints and glitters them and finally attaches them to her pages. The flowers add a pretty, 3D effect to an otherwise flat scrapbook.

In this video 2D Illustrator Michael Weisner of Hawk vs. Pigeon Productions keeps it old school and shows you how to draw a Labrador Retriever. Sick of all this 3D media going around, want to some classical training, with simply using a pencil, no fancy computers. This video shows you step by step everything you have to know and do to achieve a realistic and fun drawing of a lovable golden Labrador Retriever. Feel lucky to be guided by such talent maybe a thing or two will rub off. Remember t...

The video creator teaches us how to make a three dimensional snowflake. He plays some rather Christmas-y music in the background and goes right into explaining the process. He briefly explains what he will do but as the video continues, he focuses on showing rather than explaining. This is difficult to follow for those not used to arts and crafts. He fluently and rapidly makes the snowflake and lets the music do all the talking. There is again, no explanation as to how to make the snowflake, ...

While we have nothing against real flowers, we do find it depressing how after a week or two they begin wilting and looking like death itself. So keep your flowers fresh and everlasting by making faux ones!

Are you a scrap booking nut? Why not add some flare to your page with a three-dimensional looking photo collage? 3D photos are the best way to jazz up a page and take it from boring to popping! In this step-by-step tutorial, learn how to make your photographs from Fourth of July a three dimensional fireworks experience using a Fiskars' Fingertip Craft Knife, as well as a self healing matt, a 5x7" background photo, a 4x6" focal point photo, and some Ranger's Pop It! Shapes. Before beginning yo...

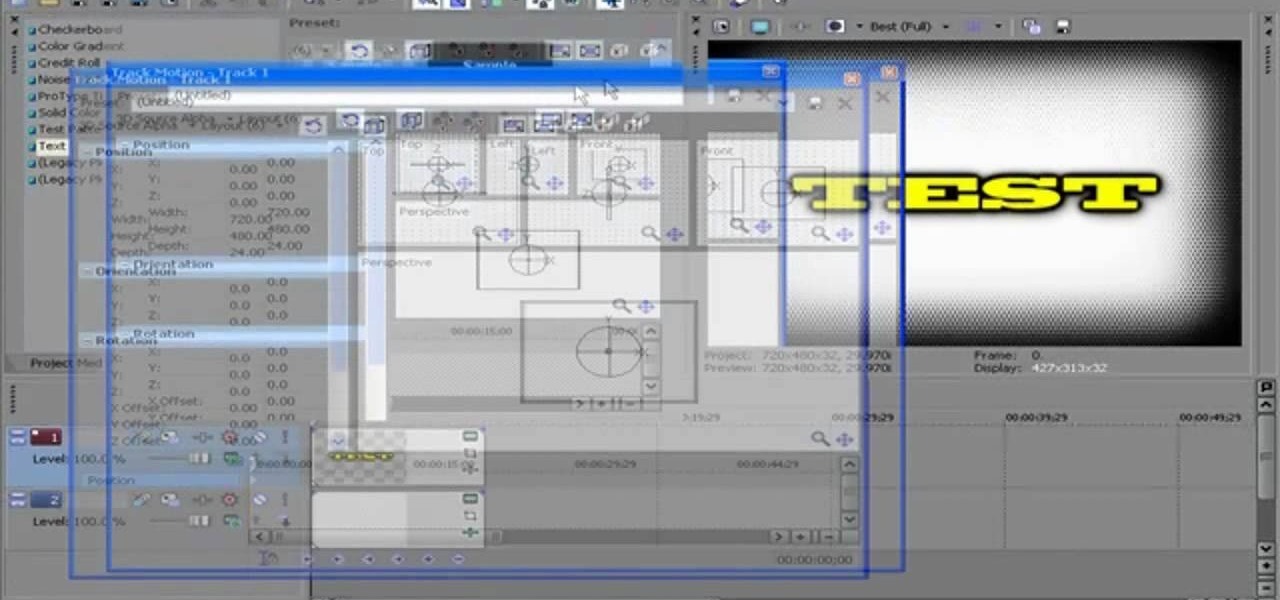
If you own Sony Vegas, a good editing technique to learn is tracking motion. Track motion is the ability to rotate, scale, and skew an object in 3D perspective. This is great for making intros, titles, animated pictures in your homemade videos and much, much more. See how to track motion in Sony Vegas Pro 9. These are the basics.

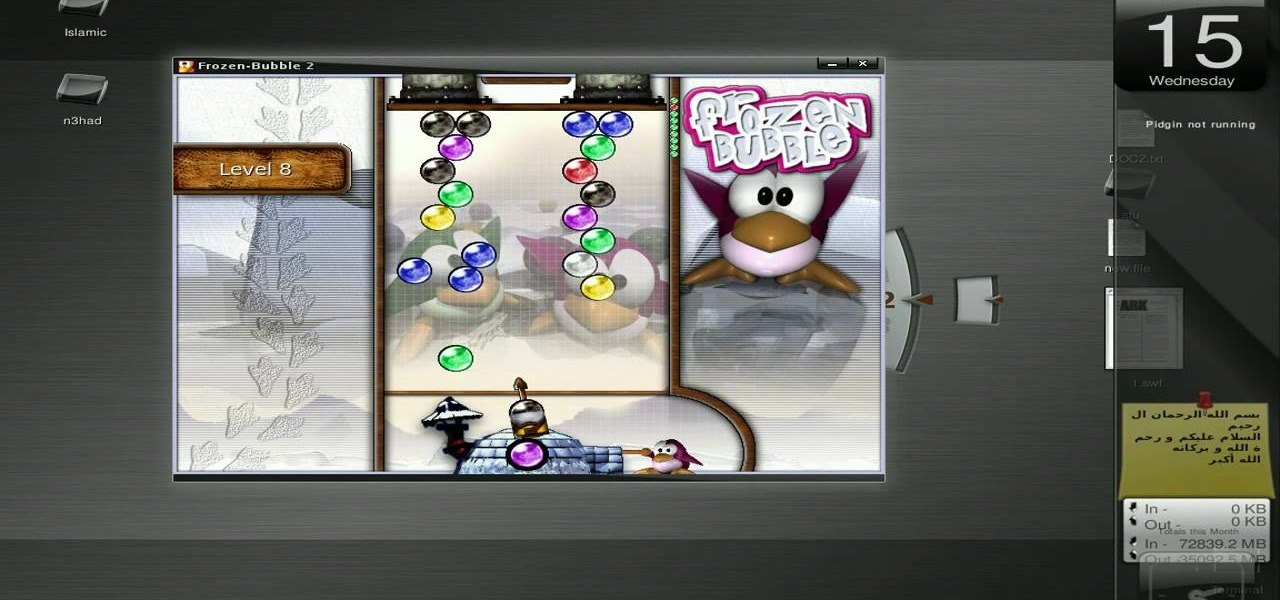
New to Ubuntu Linux? This computer operating system could be a bit tricky for beginners, but fret not, help is here. Check out this video tutorial on how to install Frozen Bubble 2 on Ubuntu Linux.

Hak5 isn't your ordinary tech show. It's hacking in the old-school sense, covering everything from network security, open source and forensics, to DIY modding and the homebrew scene. Damn the warranties, it's time to Trust your Technolust. In this episode, see how to boot Windows from a USB flash key.

It slices! It dices! See for yourself the amazing powers of Axis Slice in modo! This 3D software tutorial shows you how to use the axis slice tool in modo 102 and higher. The modo Axis Slice tool is a way to subdivide the polygon surfaces of a model. Choose the number of slices and then move them around along the model surface as needed.

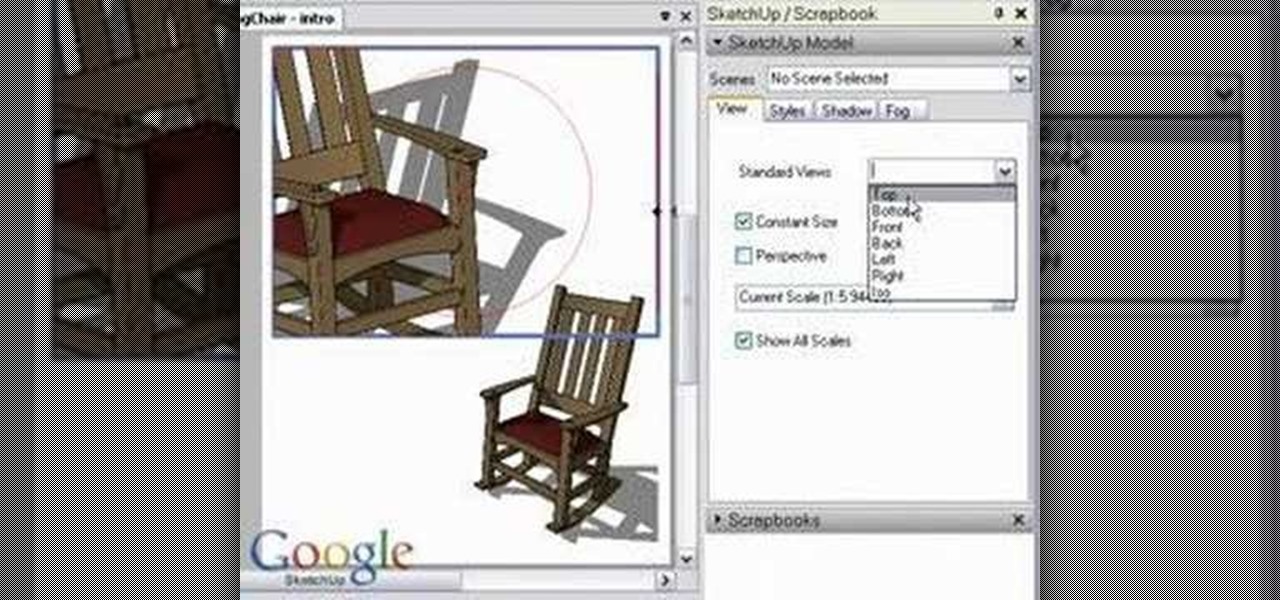
Working closely with SketchUp models is key to LayOut and the primary feature that makes LayOut so unique. Take a look at this instructional video and learn how to place a SketchUp model in LayOut. To place the model, go to file and simply click insert. Find your model and then open it. The great thing about viewing a model in LayOut, is that it is presented in 3D form and you can build complex documents with infinite views of your model all with just one SketchUp model.

This tutorial shows you how to use the Puppet Tool in Adobe After Effects CS3. The Puppet Tool can be used when compositing in 2D or 3D space to manipulate and animate layers. If you are new to After Effects or have never used the Puppet tool, this tutorial will get you started.

Watch this video tutorial to see how to make a ghillie suit, cheap and easy. But wait, what's a ghillie suit? A ghillie suit, or yowie suit, is a type of camouflage clothing designed to resemble heavy foliage. It's 3D camouflage, primarily used by military snipers and hunters, or to hide from terrorists. These camo ghillie suits include burlap and natural vegetation. Pull tall grass out, break down trees, hide yourself. Grab the burlap for less time consuming ghillie suit construction.

Dr. Diana Wehrell-Grabowski provides a brief overview of Buckminister "Bucky" Fuller's accomplishments in this video tutorial.

Check out this video tutorial on how to model your very own Apple iPod in Maxon's Cinema 4D. Why go out and buy one when you can make your own animated version?

See how to use viewports in Autodesk Maya 8.5. If your 3D modeling skills are in need of a little refreshing, then watch this five-part video to see how to effectively use a viewport in Maya for your character animation.

If you've started bending your 3D animated character around in Autodesk Maya 8.5 and came across a broken bone sticking out that needs to pivot, then you've got a huge weighting issue. Check out this three-part video tutorial on how to correctly weight objects down in Maya. So, learn how to fix weighting problems by watching this how-to video.

Say you want to bring two objects together so they automatically flow from one piece to the next in Autodesk Maya 8.5, well, then you're going to have to bridge them. Check out this video tutorial on how to do just that. Combine them, then bridge them. It's that simple. So, for easy 3D modeling, watch this Maya wizardry. You'll also see how to average vertices. One day, you'll make a very fine animated character, you'll see.

If you're in a 3D modeling class, then you might want to check out this Autodesk Maya 8.5 two-part video tutorial. These videos cover how to do a duplicate mirror merge. So, if you want to build an animated character in Maya, just watch for these tips on a dup mirror merge.

Check out this two-part Autodesk Maya 8.5 video tutorial on creating set driven keys. If you're and animator and your having trouble with your organic or unorganic animation, maybe this is your problem; it's a very powerful tool in 3D modeling in Maya. When ever you come into an object that you are constantly rotating, maybe you should put a set driven key on it, no?

The bouncing ball animation is a classic beginning point for animating in every 3D software package. This tutorial shows you how to do it in Maya. Part two will concentrate on keyframes. Part three will turn the bouncing ball into a character set. Part four will cover using the Trax editor when animating.

Make your eyes shine! Watch this video to learn how to use gold and red eye shadows to make your eyes sparking

This four part tutorial is Lesson 11 in the Zbrush series from Jason Welsh. It explains almost everything you need to know to texture a 3D creature in Zbrush. Part one teaches you how to produce a color map, part two goes over 32 bit normal maps and Displacement maps, part three covers 16 bit displacement and normal maps, and the last section covers spectral maps.

This three-part tutorial goes over how easy it is to incorporate and apply shaders within your 3D project in CINEMA 4D (release 9). The first part goes over material properties, the second goes over using Deepshade, and the last goes over manipulating default lighting to get a quick preview of the specular attributes of your textures.

Here is a simple way to make an extruded shape emit from Trapcode Particular. Particular is a particle plug-in for After Effects and this two video tutorial will show you how to create and then use 3D stars with Particular. It's a simple example, but the creative possibilities are great.

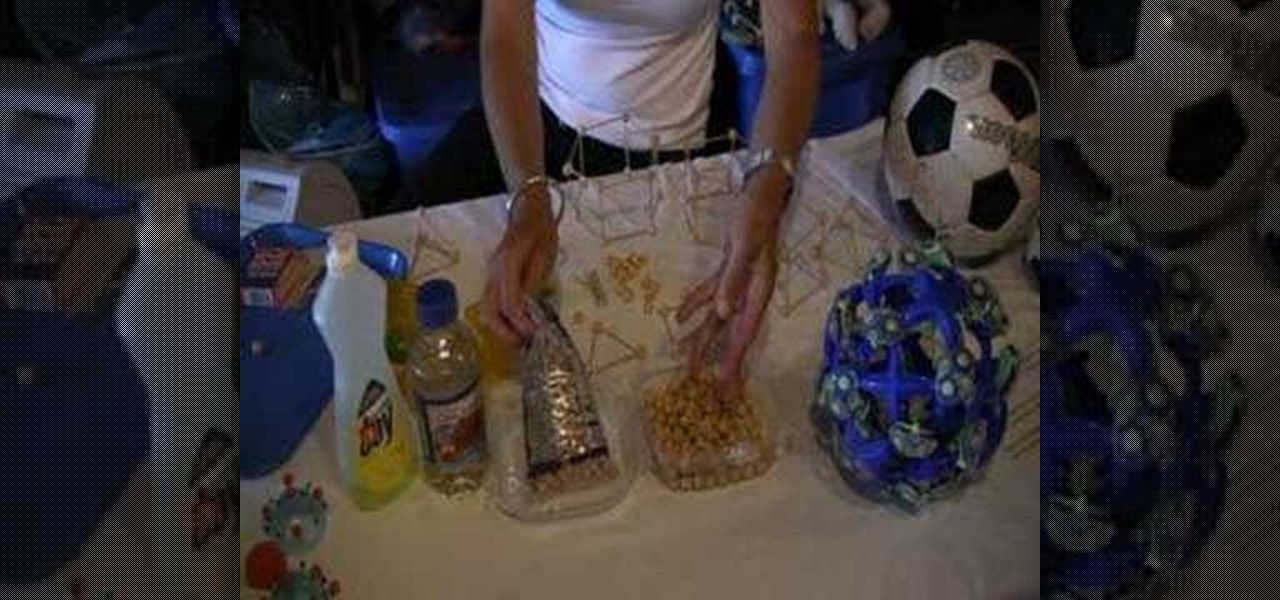
In this how-to video series, learn how to draw 3D objects from 3D drawing expert Craig Browder. Craig will teach and demonstrate all the steps and techniques you need to know to learn how to draw 3D drawings.

Who could forget the spectacular conclusion to the "Back to the Future" trilogy? The scene where Marty and Doc Brown use a train to push the DeLorean to 88 miles an hour so Marty can return to the 1980s has become iconic. With this tutorial, you can recreate the scene in miniature using fairly inexpensive props.

Behold, the quickest way to make a paper sword out of a single sheet of printer paper. In just under two minutes create this simple weapon. Once you've mastered the basics in this video, add your own twist to this fast, fun design.

Take a look at this instructional video and learn how to build your own miniature computer numerical control (CNC) machine. A CNC machine acts as a controller that reads G Code instructions for machine tools such as drills and printers. To perform this task, you'll need some geared motors you can find in old analog camcorders with optical zoom.

This video origami tutorial shows how to make a substitute for origami paper in case you ever run out or can't buy any. You can use construction paper, printer paper, magazine paper, and etc. Have Fun!

This tutorial video will demonstrate the process of how to make a wallet out of a piece of paper. This paper wallet is extremely useful because it's recyclable and easy to make if you've lost your other wallet.


