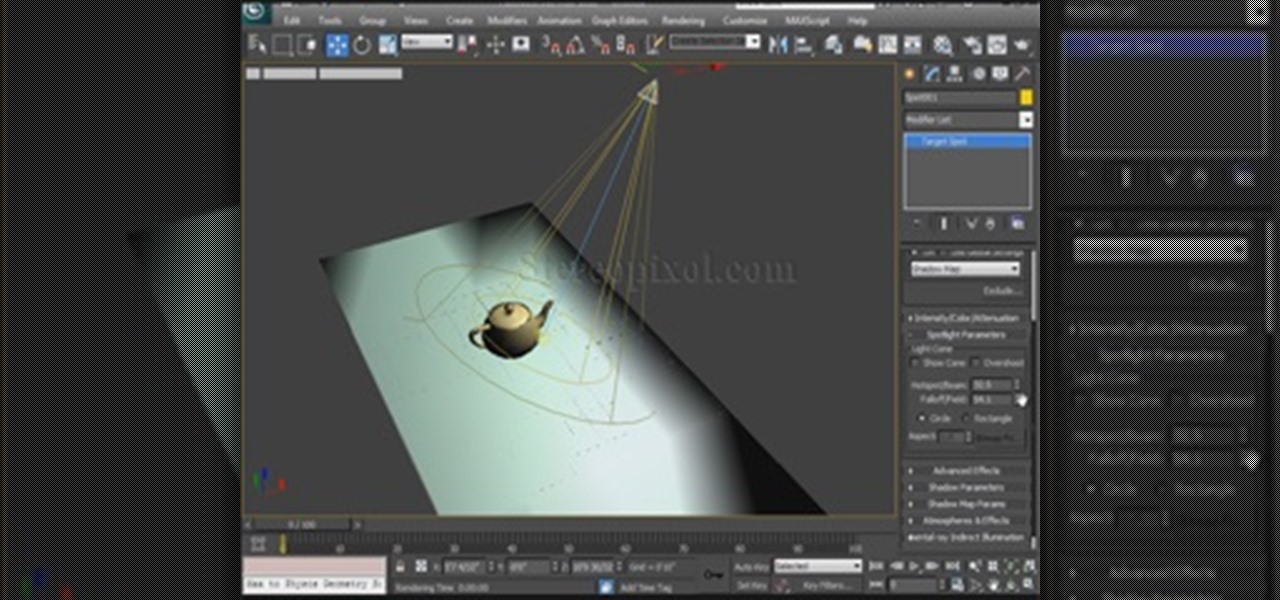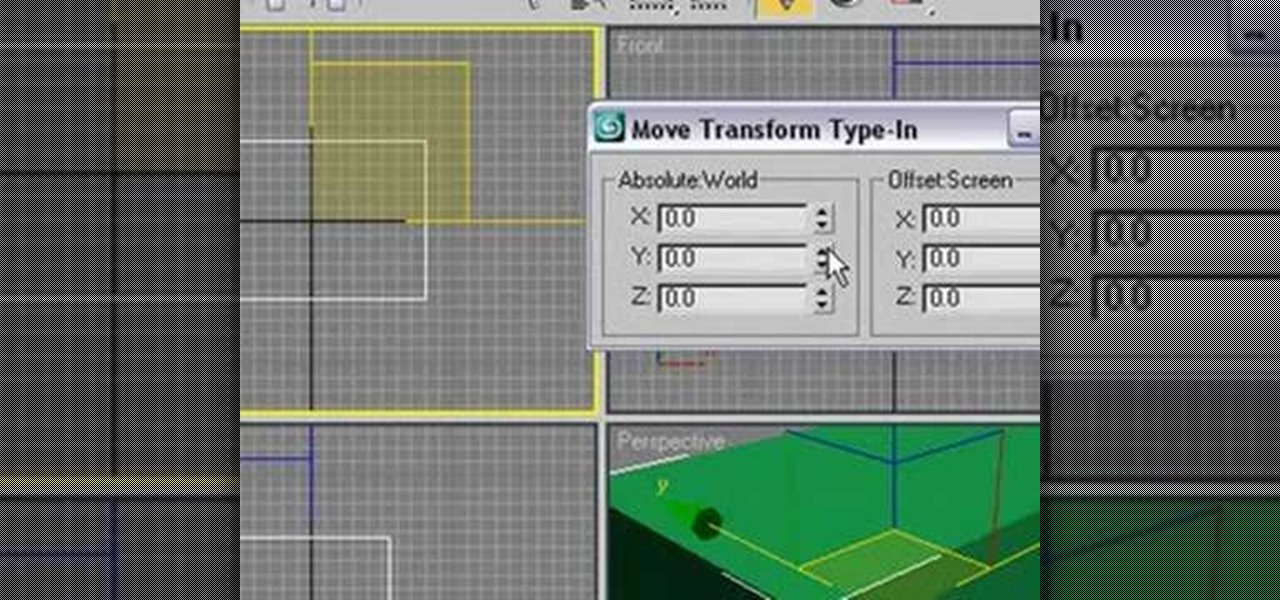
This 4th Chapter of Lights in Autodesk 3Ds max is fully concentrated on spot light. We will learn about the various spot light parameter of 3ds max like, Hotspot/Beam and falloff, then how to use overshoot or its limitations, how we can make the spotlight rectangular than circuler and many more. Hope you will enjoy.

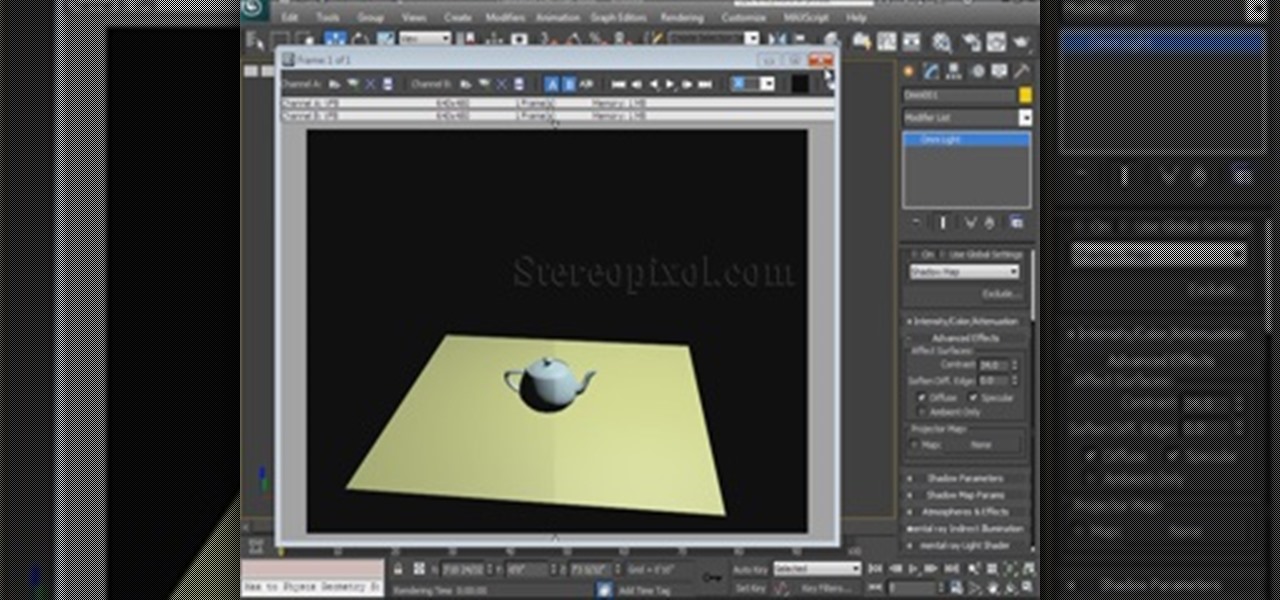
Welcome to the 5th Chapter of the Lighting series in 3Ds Max. In this tutorial, you are going to learn about the Advance effect roll out in almost every lights in 3ds max. In the tutorial we have covered different option like contrast, soften edge, projector map etc. Hope you will enjoy this.

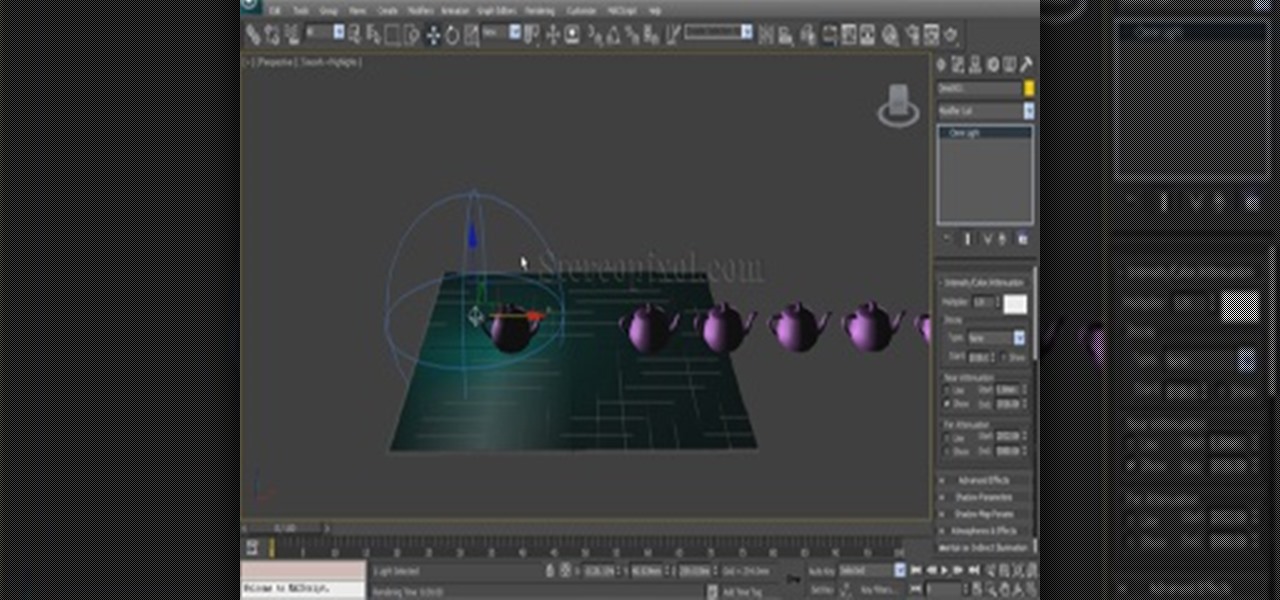
Hello and welcome to the 3rd Chapter of the Lights in 3Ds Max. In this chapter we are going to discuss about the attenuation of the lights. There are two kind of attenuation are out there in 3Ds Max , Near and Far , we will learn about the theory behind the attenuation and learn how to use them. Hope you will enjoy.

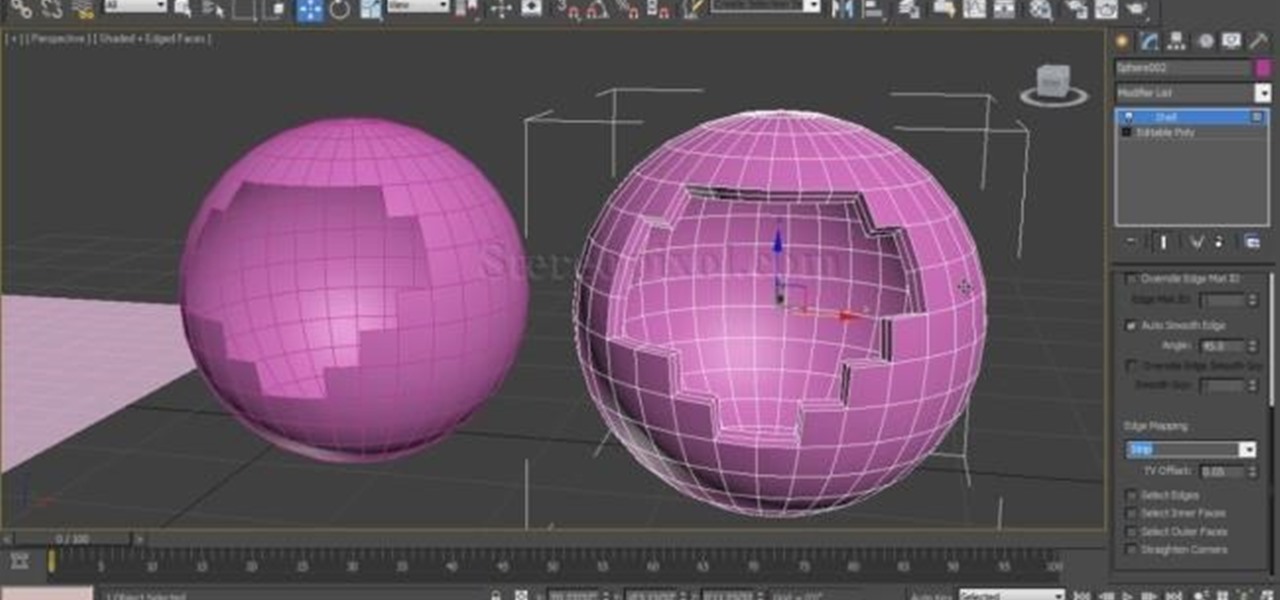
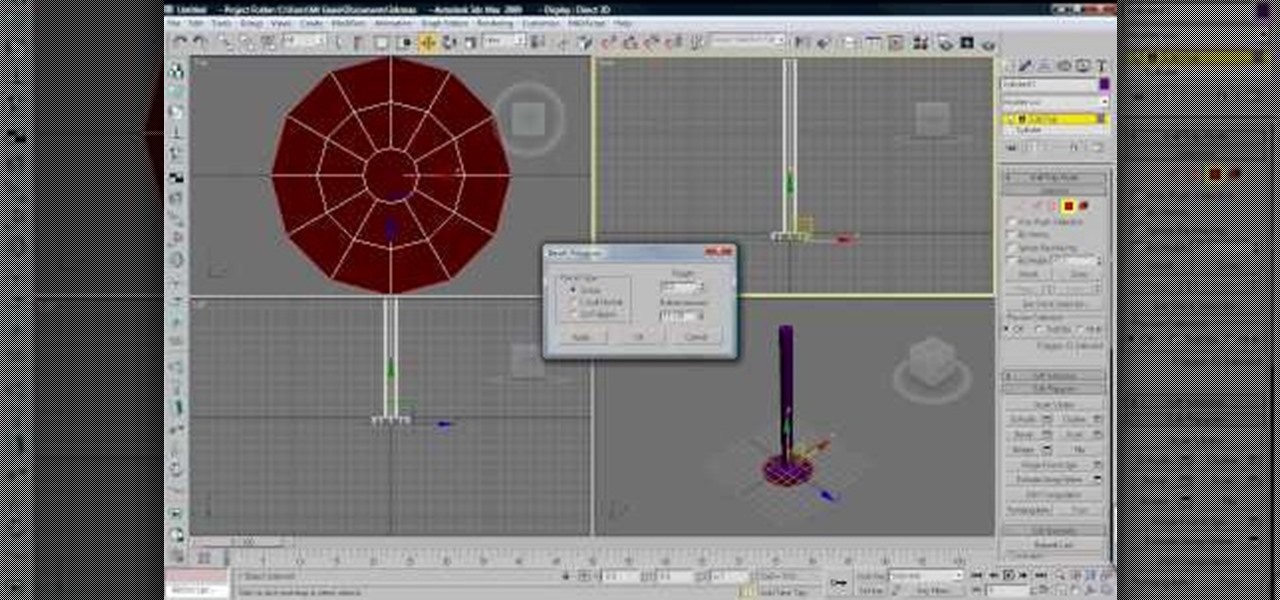
Shell modifier is very useful to give a thickness in your model you make in Autodesk 3Ds Max. but the use of the modifier not only limit to giving thickness . you can make design around those thickness also. Go through the video to know more in details.

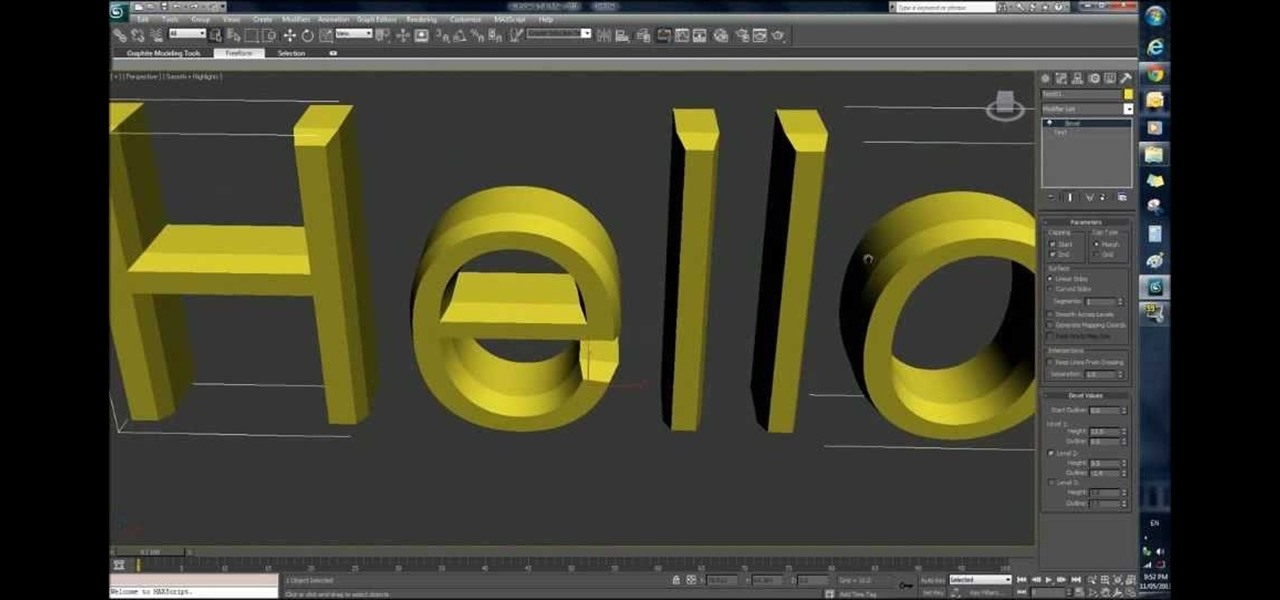
Video: . Do you have a problem in figure how to create an amazing title? Here is the tutorial for you. By using 3Ds Max software, the video illustrates you step by step how to make a cool title for an intro of a video and how to render it obviously!

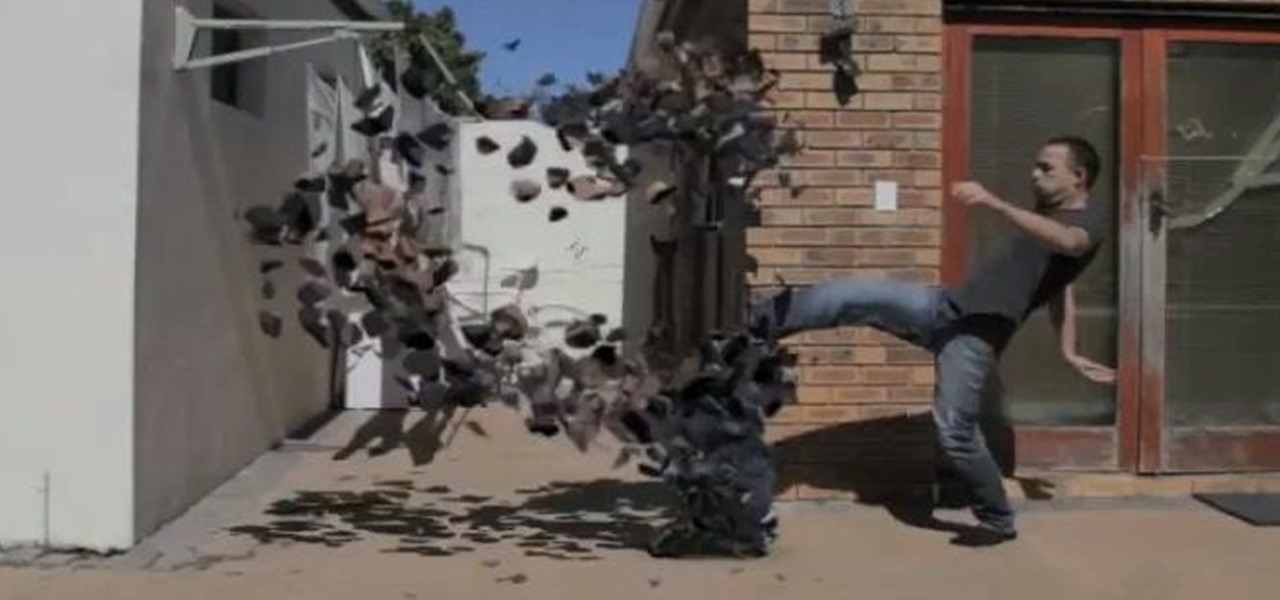
Ever wanted to freeze someone, then smash them into a million pieces? Here is your chance! If you've got Adobe After Effects and Autodesk 3ds Max, it's pretty easy. Check out the tutorial video below to see how it's done.

Hey all, in this video tutorial I explain 3ds Max Network Rendering, and queuing multiple scenes for rendering.

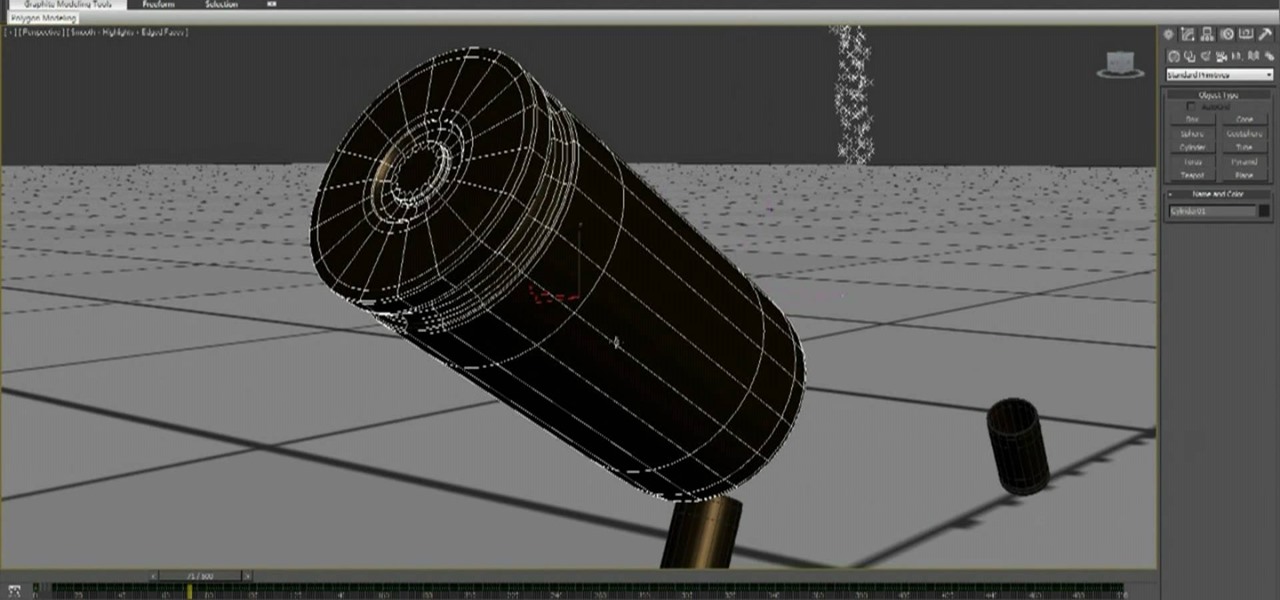
When people fire weapons in movies, there is often a shot of the shell-casings leaving the gun and flying through the air. Sometimes we get to follow them all the way to the ground, leaving us with a sense of loss at the firing of the weapon. This video will show you how to model and animate some shell casings falling to the ground and smoke trailing them in 3D Studio MAX and Photoshop, utilizing Reactor physics, particle flow, space warps, and all sorts of other fun 3DS MAX tools.

Destroying crowds of little people has been a favorite passtime of dictators since time immemorial, but also a colossal waste of manpower. Now you can get some of the same thrill without all the needless death using 3D Studio MAX. This video will show you how to model, animate, and duplicate with particle flow a series of small robots. Then it will show you how to use a collision object (here a meteor) to destroy them all in fiery glory.

Working with particle flow in 3DS MAX allows you to create all sorts of awesome effects, including swarms of small characters or, in this case, realistic liquids. Specifically, this video series will show you how to use pflow to create a liquid splatter effect, which can be used to make rain, explosions, and all sorts of other things. Watch this video and hone your skills.

There are a lot of videos out there about creating models and animating them using 3D Studio MAX. What isn't often discussed is the next step in creating a movie out of your models, adding sound and syncing your animations to the sound. This eight-part video series will show you how to do just that, animate objects and other properties with a sound file. This is very good stuff that you will need to know if you ever want to make a whole 3D movie yourself.

Cloth is an essential part of almost any 3D modeling project involving people. This video will show you how to properly use the cloth modifier in 3D Studio MAX to create the waving, tarnished American flag shown in the thumbnail. This tutorial does NOT feature Reactor, the in-program physics engine included with 3DS MAX, only the actual 3D Studio MAX cloth modifier.

Making a spaceship use its afterburner and escape from the Earth's gravitational pull is tough. Modeling and animating a 3D simulation of the same thing is also hard, although quite as much so. This video series will teach you how to create a 3D model of a flying rocket with an afterburner effect using 3D Studio MAX. At the end you will have a cool little video clip and vastly improved modeling skills.

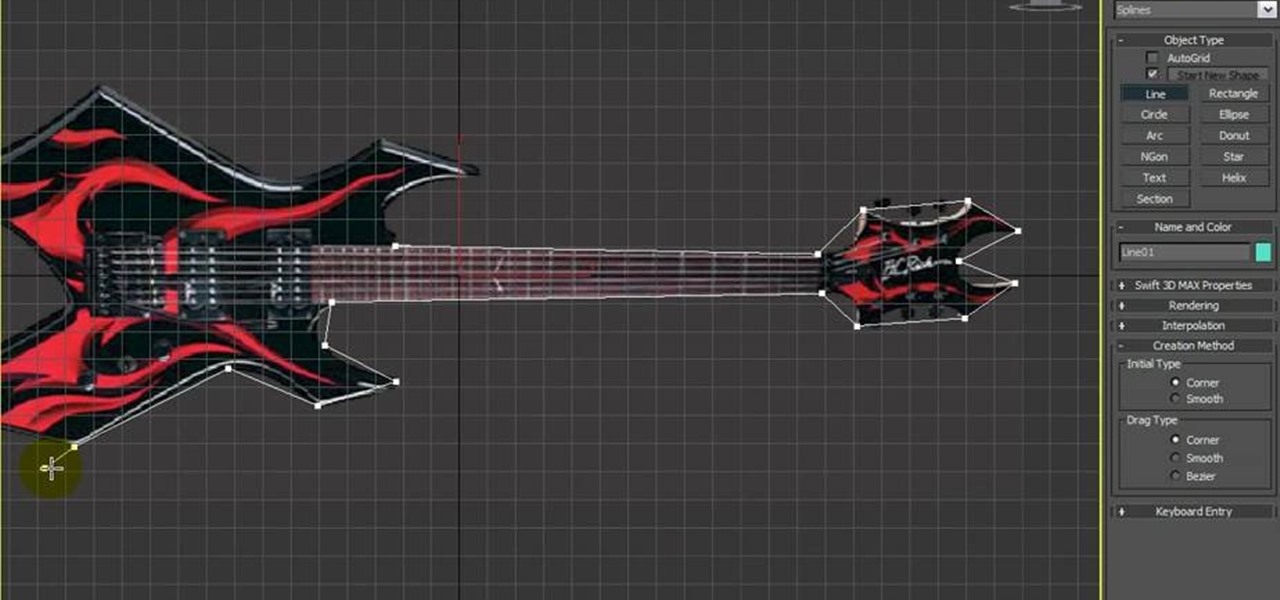
For beginners, learning the intricacies of modeling 3D art can seem insurmountable. This video for 3D beginners is here to help you through it. Its four parts are a detailed and slow walkthrough for making low poly BC Rich guitar with splines using 3D Studio Max, a popular 3D modeling program.

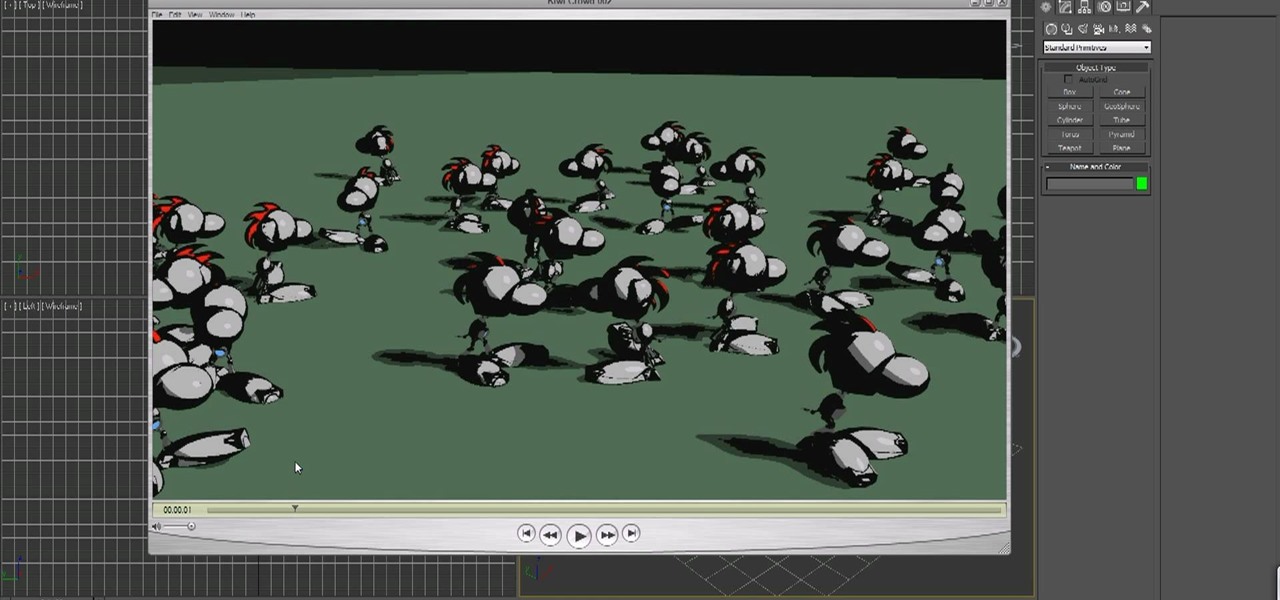
Do you work with 3D graphics? Have you ever wanted to have one character that you've modeled destroy hordes of tiny other characters you've made? Well want no more. This video series will show you how to model and animate a small army of little models that will walk around and have basic interactions with each other. Really cool and really educational.

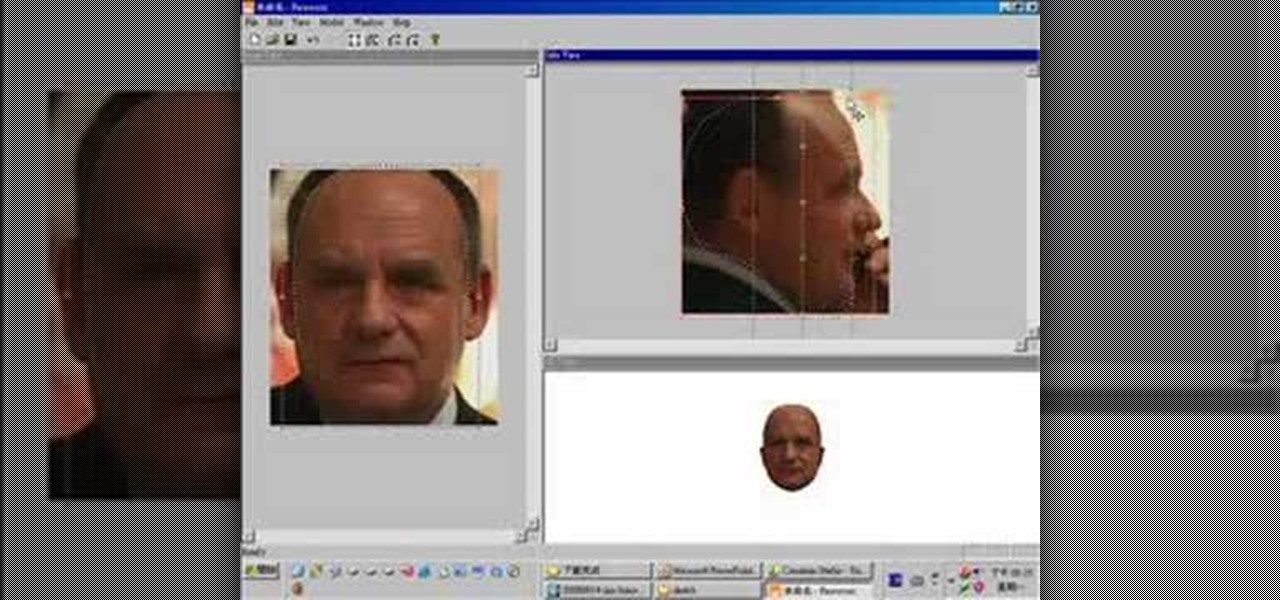
If you want to create really good 3D models on your computer, you need to be able to use more than just 3DS MAX or whatever other modeling program you have. It takes a whole family of specialized programs to handle the diverse tasks involved in creating really good models. This video will teach you how to create a male human head model using a combination of Faceworx, Mudbox, 3DS MAX with plugins, and Sony Vegas. By using all of these different programs, you can play to their individual stren...

If you want to make an omelette, you're going to have to break a few eggs. Or shoot them! This video will walk you through the process this artist took for creating 3D movie of a bullet passing through an egg, destroying it. This is very good educational exercise for 3D artists, even if you prefer you eggs over-hard to scattered-all-over-by-a-bullet.

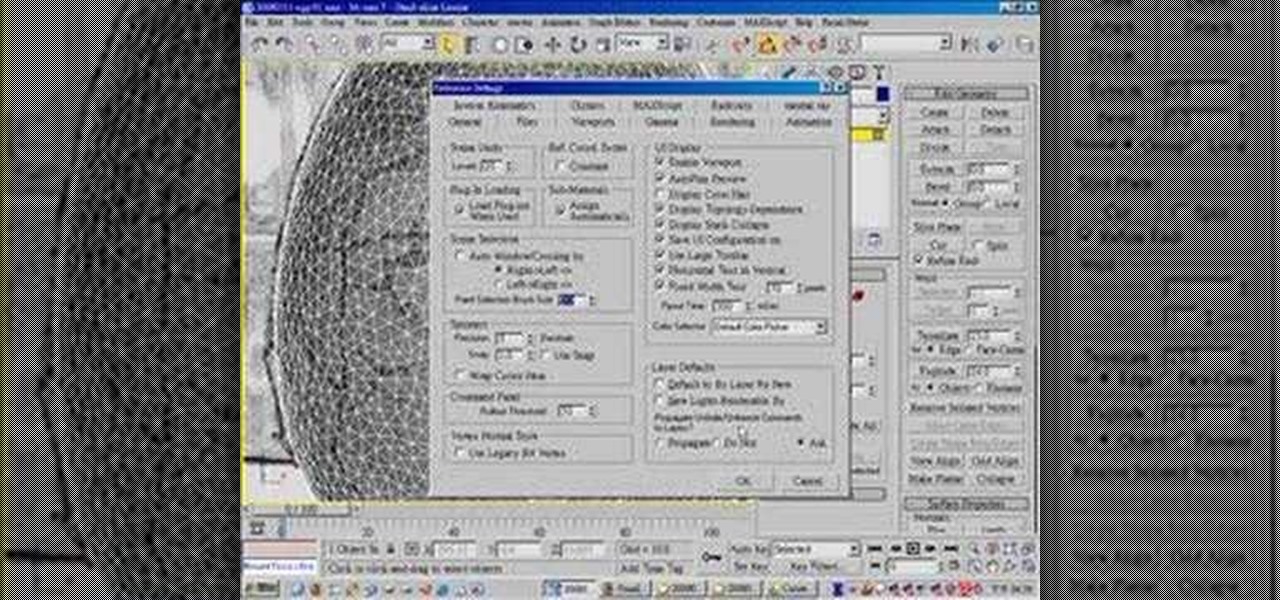
For 3D artists new to 3DS Max, learning your way around this massive piece of software can take a long time. It need not do. This video will teach you how to use some of the many hotkeys in the program to navigate it like a pro, easily accessing all of the most popular tools and allowing you to save a lot of time modeling. Now that you know what buttons to press to access functions, watch some of our other 3DS Max tutorials for more advanced functions.

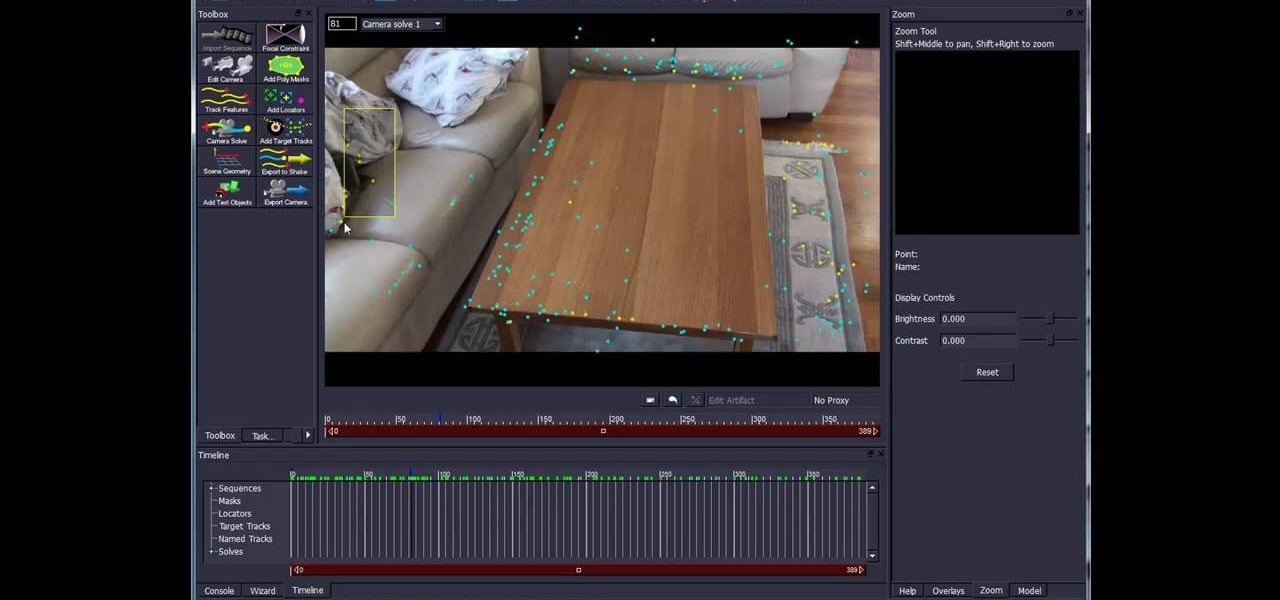
Creating movie-quality 3D images takes more than just 3DS Max. It takes a village of graphics programs to really make it look professional. This nine-part video tutorial will teach you how to create a hole in a coffee table using a combination of 3DS Max, After Effects, and the matchmoving software Boujou. This is high-level stuff, but the instructions are great and this video should have you compositing 3D images in no time!

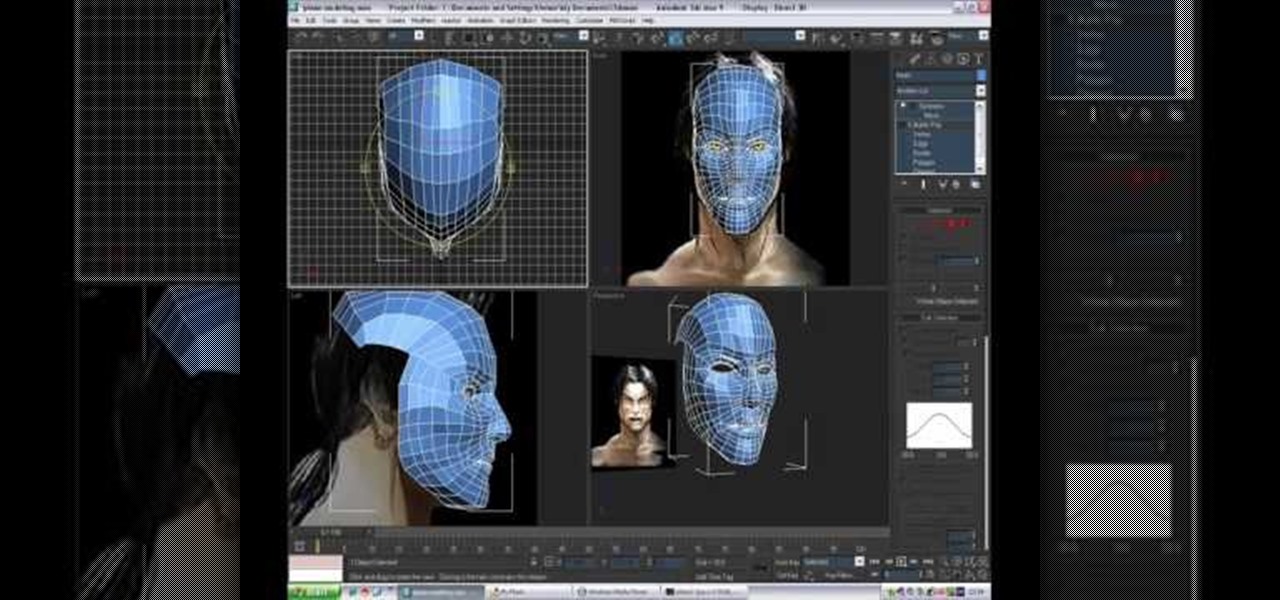
So you're mastered the basics of modeling 3D characters in 3D Studio MAX. Good for you. Where to now? This video perhaps? It will teach you how to use plane modeling to create a model of a human head. This technique requires some skill and experience at using 3ds Max, but if you've got that and need to move on to the next level, watch this video.

If you want to demonstrate your 3D model on a turntable or create some other sort of short animation with your models without having to use more specialized software, you can render an AVI video inside 3D Studio MAX. This video will show you how to do this quickly and easily, assuming that you already know how to animate your character. Now, let the world see your beautiful 3D work!

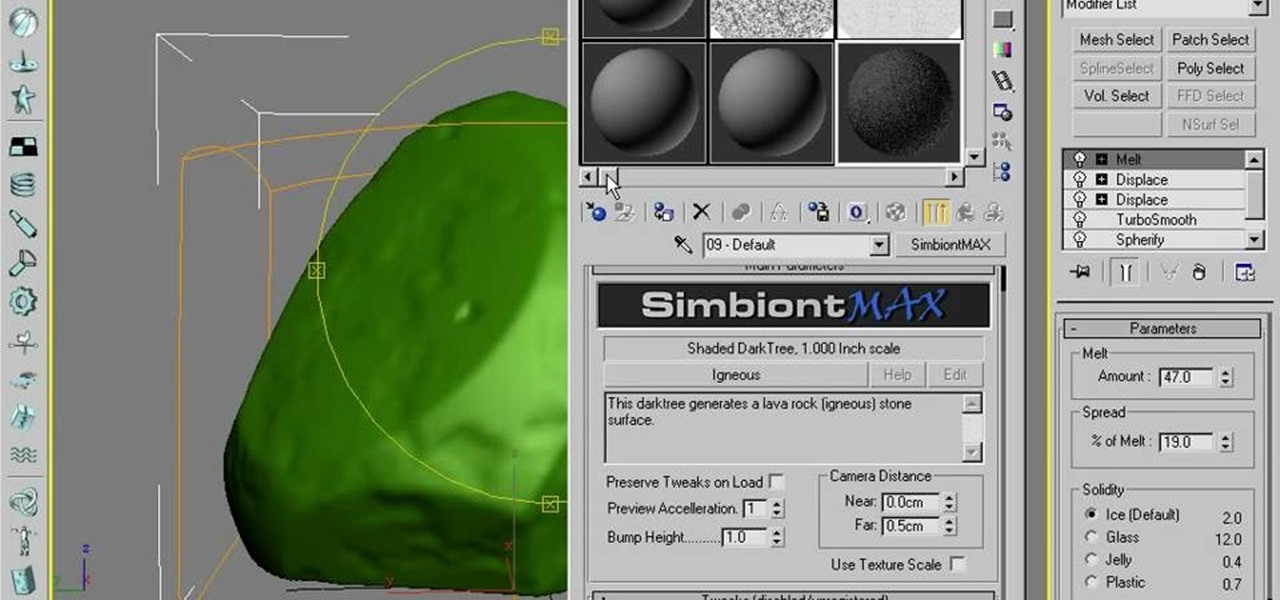
The noble rock may not seem like the most fun thing to create a 3D model of. They are a useful example though because their basic shape and lack of movement make them manageable for beginners to work with while their many facets and textures present fun areas to work with. This video will teach you how to use procedural modeling and texturing to Create a 3D model of a rock using 3D Studio MAX 9. The end result looks positively stony, and the lessons you learn here will help you with all your ...

If you want to model a character in 3DS Max and don't want them to be nude, you are probably going to have to work with 3D cloth. This three-part video will teach you how to create cloth in 3DS Max (without using Reactor), attach it to your character, and make it animate properly with the character. It makes use of the Garment Maker mod for for 3DS Max, and should have your characters clothed realistically in no time.

This software tutorial series teaches you how to box model in 3DS Max. Specifically, you will learn the basics of box modeling in 3D Studio Max, then box model a jet and animate it for PaperVision3D.

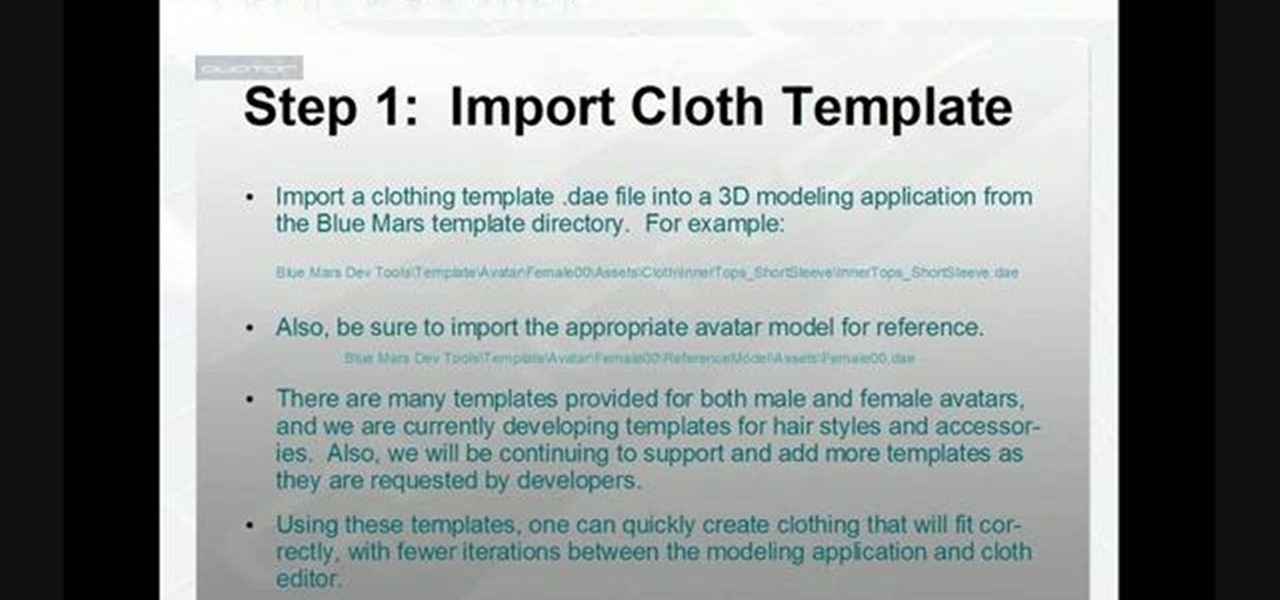
Create and animate your own piece of clothing! This tutorial series shows you how to properly create and texture a single item of clothing. Once it's created, you can then attach it to an object and animate it realiistically for your Audodesk project.

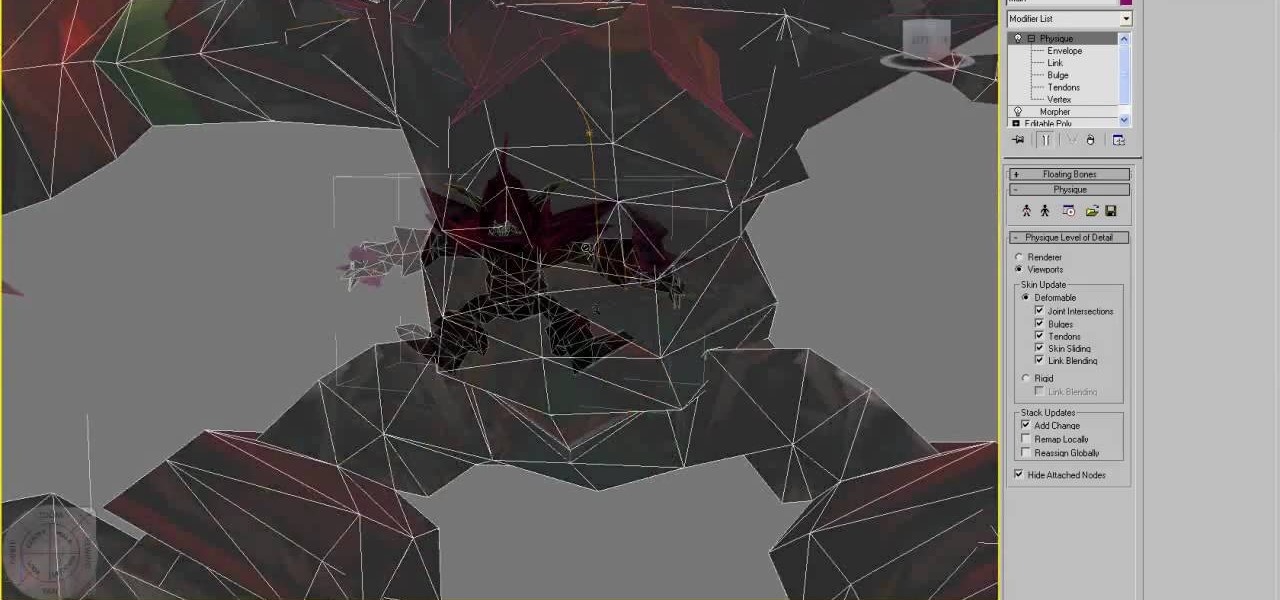
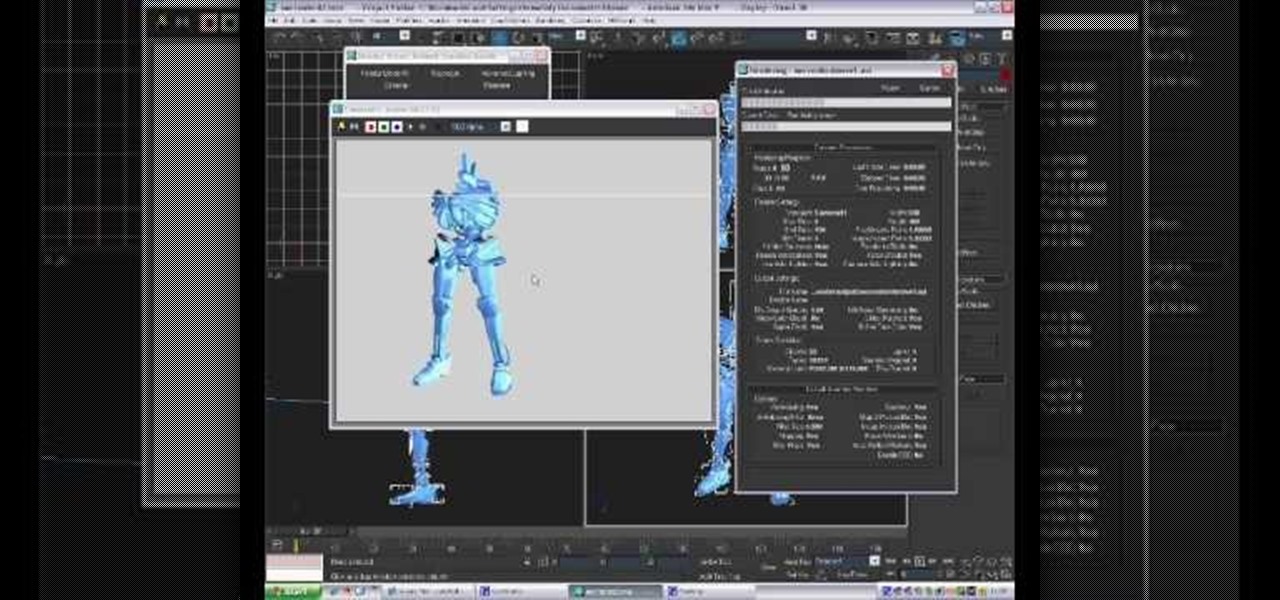
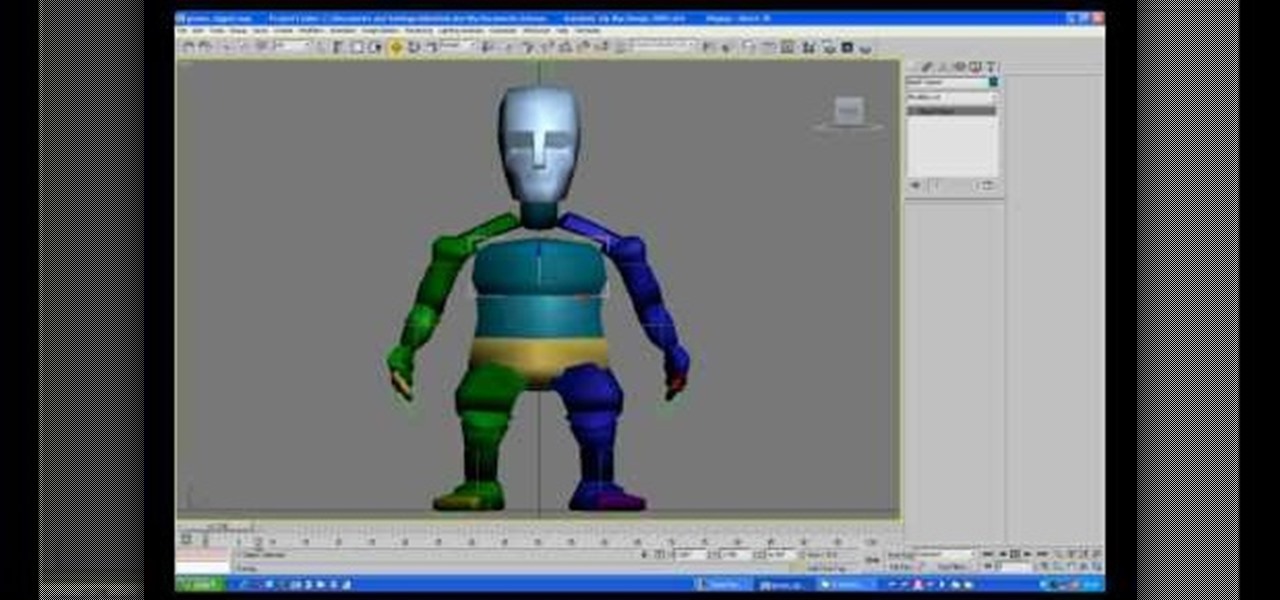
Rigging low poly character models with vertices and physique is one of the most important parts of animating a character in 3DS MAX. This four-part video series will show you how to vertex rig a World of Warcraft low-poly character model, allowing you to use them in your hybrid machinima projects.

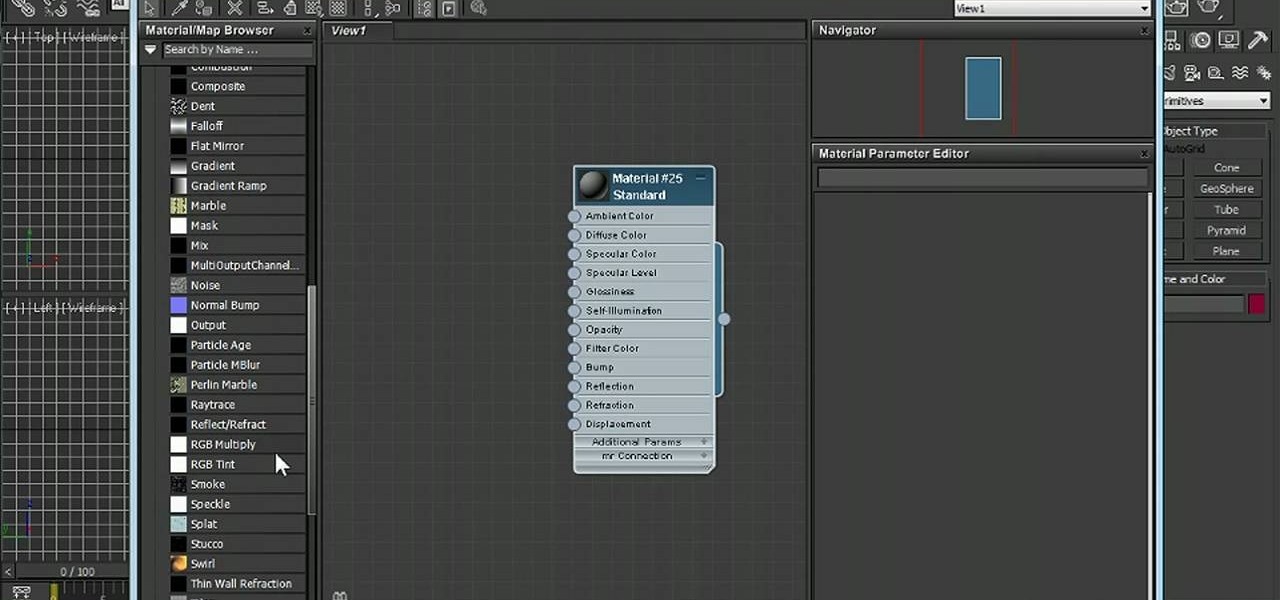
Learn how to take use the Slate material editor in 3ds Max 2011. Whether you're new to Autodesk's popular modeling software or a seasoned 3D artist just looking to better acquaint yourself with the 3ds Max 2011 workflow, you're sure to be well served by this video tutorial. For more information, and to get started using the Slate tool in your own 3ds Max 2011 projects, watch this free video guide.

If you want to make a hybrid machinima movie using WoW characters, you are probably going to have to import them into 3DS MAX at some point. Unfortunately, you cannot just do this straight away. This video will teach you how to use a program called Milkshape 3D to prepare a character for importing and then import them into 3DS MAX, where they are ready for animating!

Alpha channels are powerful tools for creating low-space 3D images, but 3DS Max cannot work with them properly. This is a major problem if you are working with World of Warcraft characters since they are largely constructed of alphas. This video will teach you how to work with alpha channel textures in 3DS Max and Photoshop in tandem. This will improve the look of your characters immensely, especially their hair.

RayFire is a really powerful (and expensive) plugin for 3DS MAX that is designed to facilitate destroying, shooting, and otherwise causing harm to your 3D models. No, it won't destroy the files, just the images, which is very important for video games or film work. This two-part procedural video follow one artist as he creates a demolition video using Rayfire inside 3DS MAX.

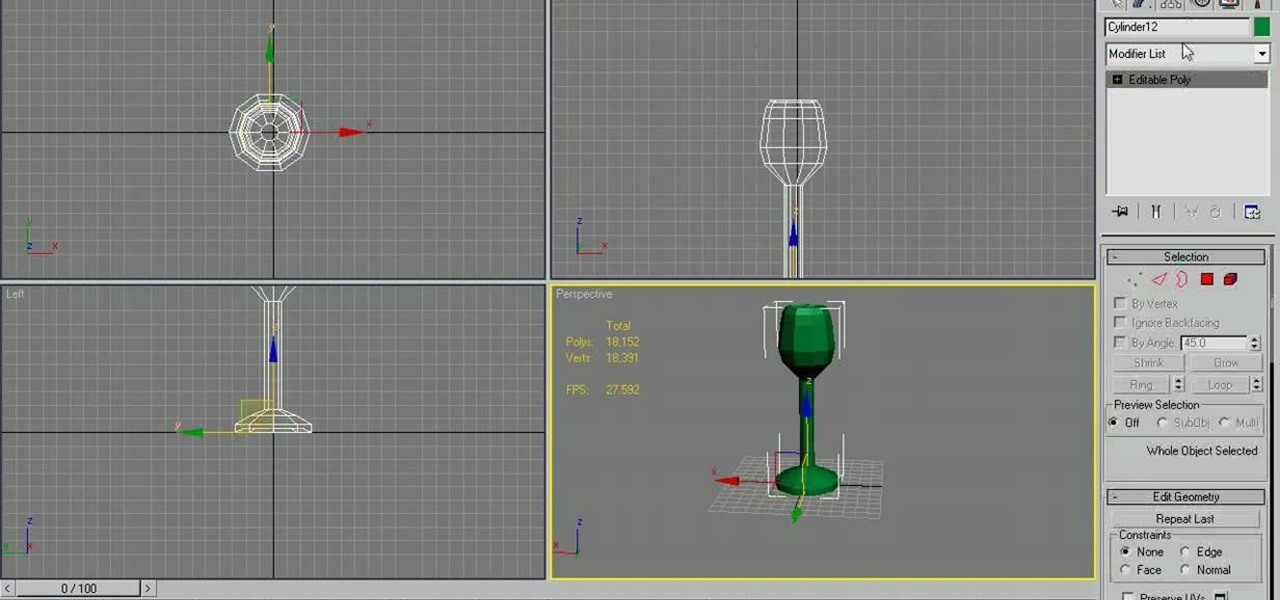
In the need of a animated wine glass for your next animation masterpiece? If you have Autodesk 3ds Max, it can be done. As long as you follow the techniques used in this video tutorial on modeling a long-stemmed wine glass in 3ds Max. It's actually a simple design, just enough to get you going on a more detailed, custom design.

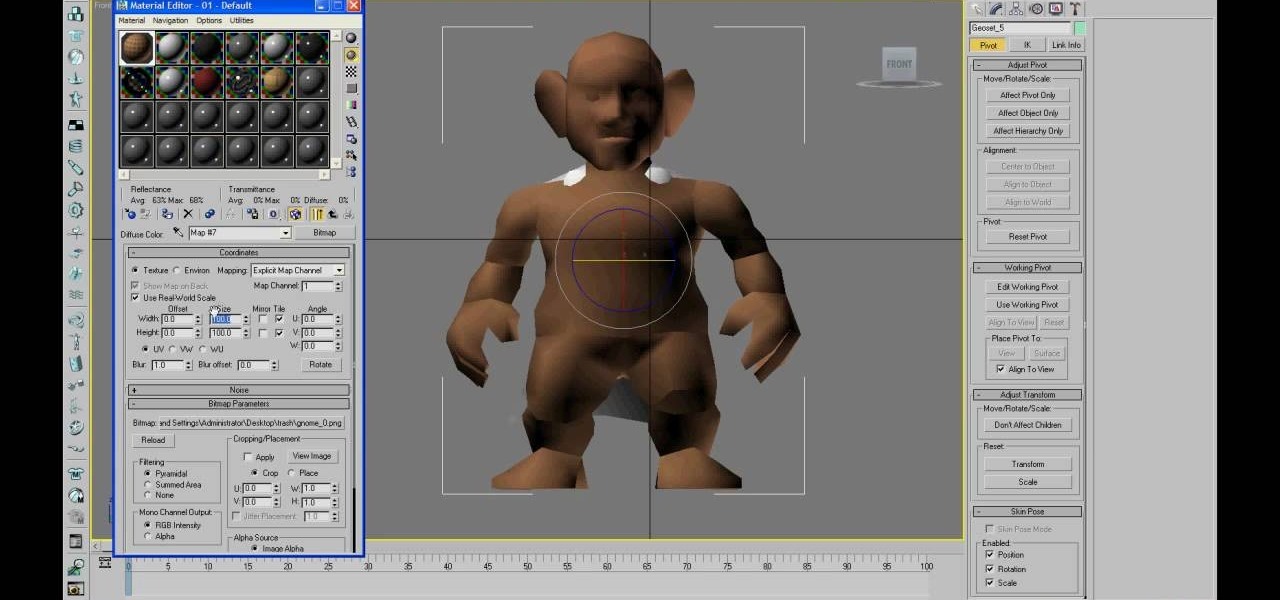
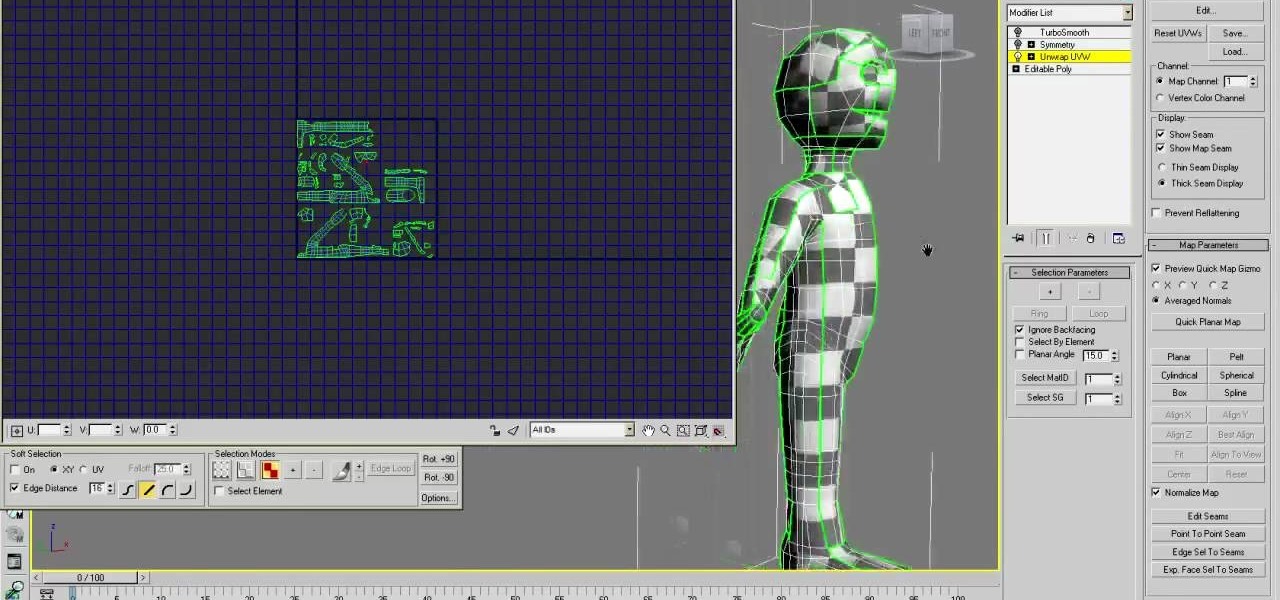
Using a UVW unwrap modifier, this tutorial shows you a few Autodesk technqiues to unwrap a 3-D model and then apply your own texture to it. It also outlines a couple pitfalls animators sometimes experience, and how to avoid them in your own work.

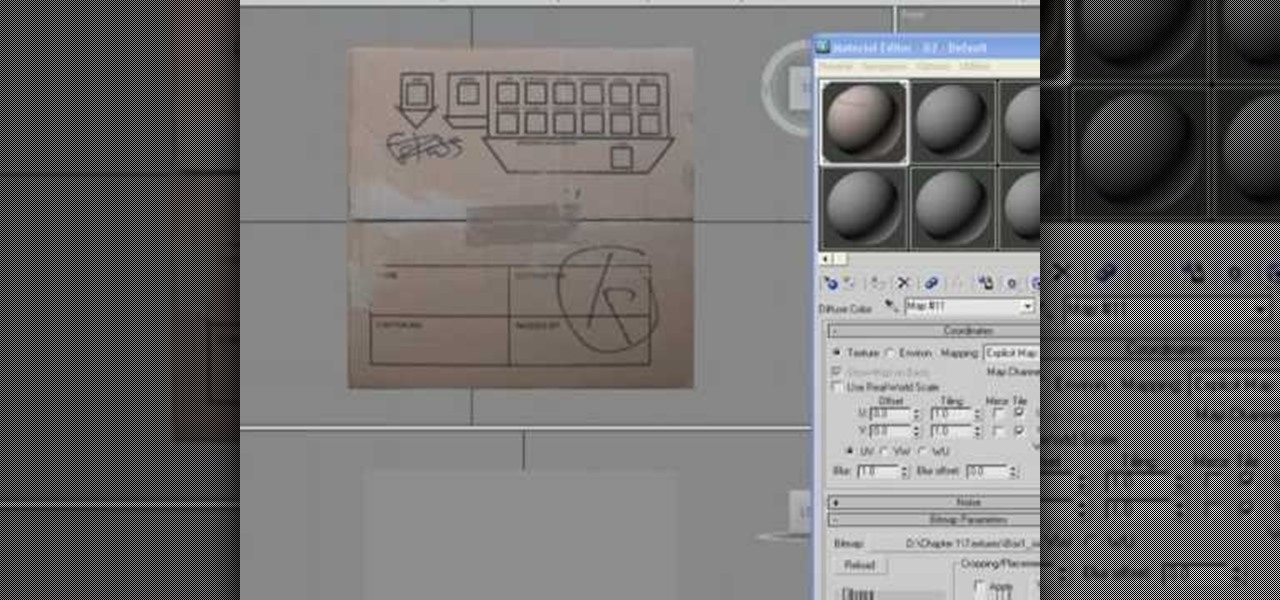
This very simple tutorial is ideal for a beginner to Autodesk 3ds Max. Start your project by creating a simple cardboard box. Then apply texture mapping, add graphics to the face, and then set the animation so your box behaves like a real one would!

Using motion capture is one of the easiest and most effective ways to animate the motions of a bipedal character who is proportional to a normal human. When the character is not in proportion, like the World of Warcraft low-poly models in this video, it gets a little more complicated. This video will teach you how to use motion capture in 3DS MAX to animate a goblin WoW character, making them almost ready to use in your hybrid machinima videos.

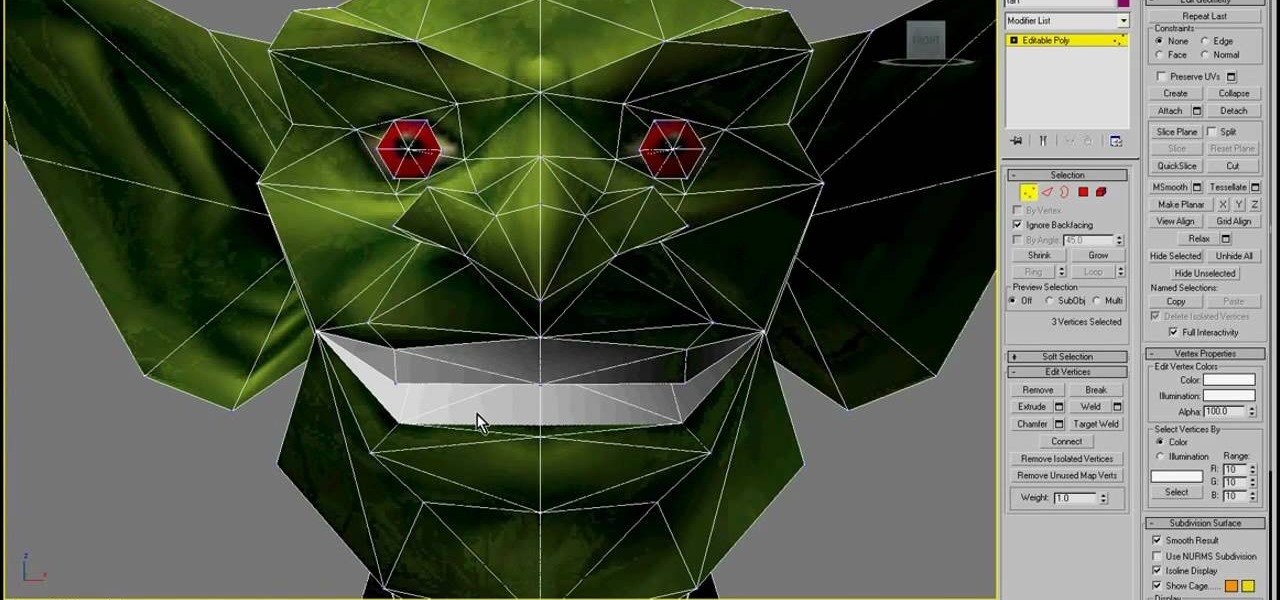
The silent film era ended long before anyone had conceived of something like machinima, so your machinima movie had better have some talking! This movie will teach you how to use morph target in 3DS MAX to give your imported World of Warcraft characters facial expressions and animate their mouths to make them appear to be talking. You'll also learn how to make your model sneer, smile, and perform other facial actions.

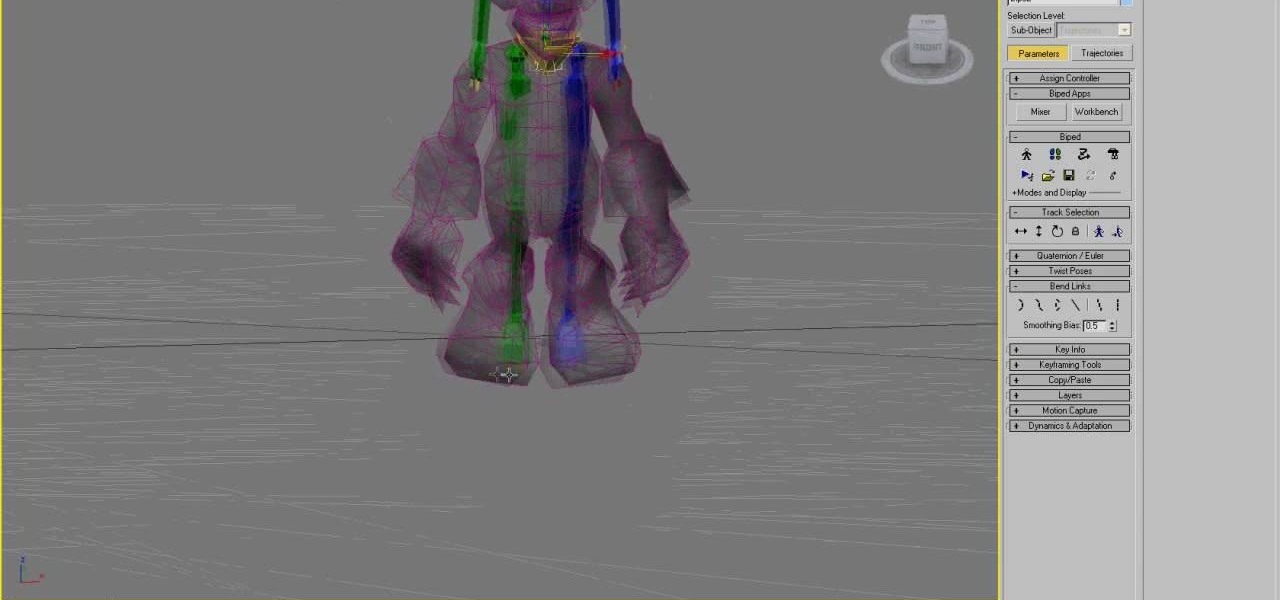
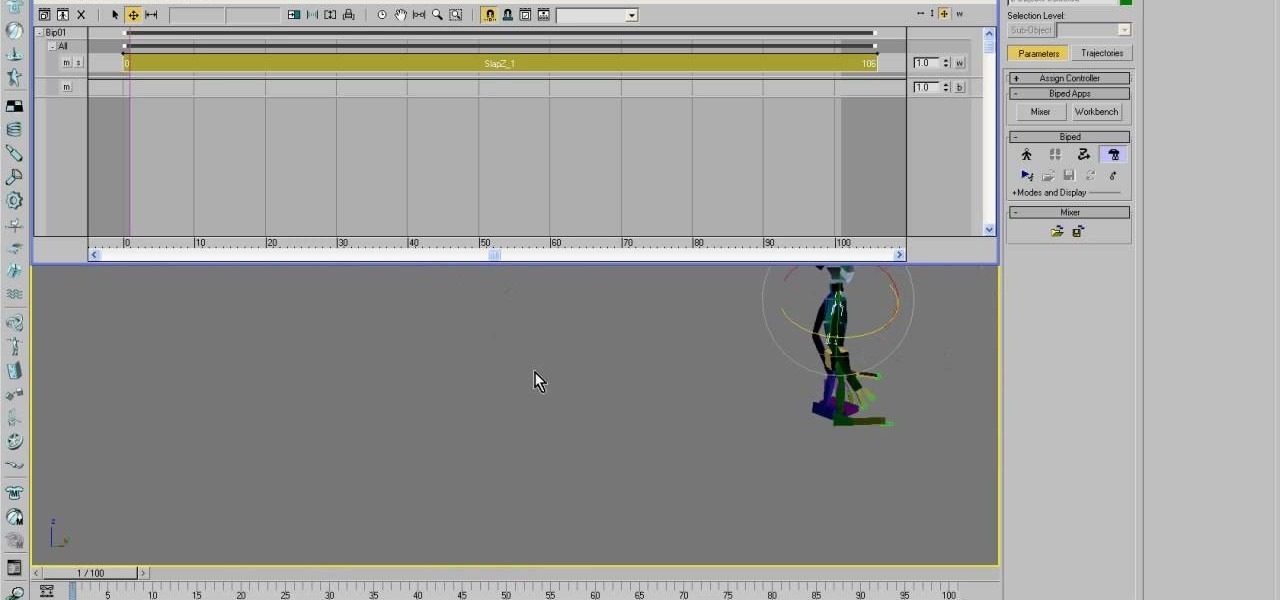
Causing World of Warcraft characters to do what you want them to do in your machinima film can be a major challenge. Motion capture is one useful tool that you can use to solve the problem. This video will teach you the basics of using the Biped plugin for 3DS Max to animate WoW characters with motion capture data. Give your models the realistic stride that they've deserved all along.

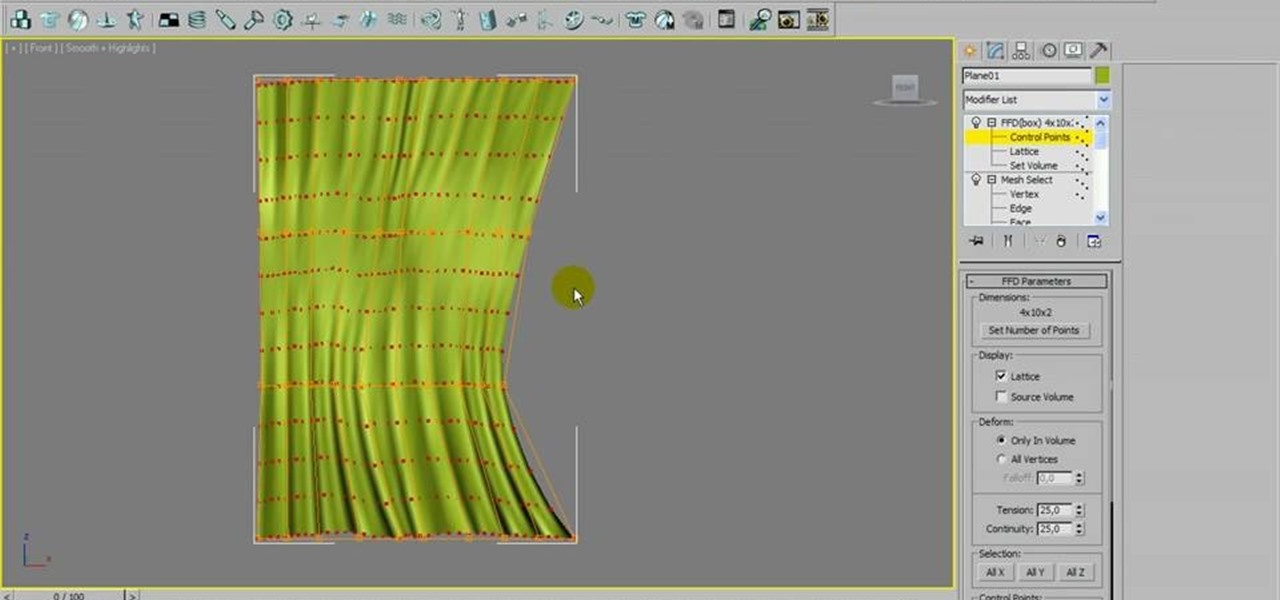
This video tutorial is meant to help you model your own curtains in Autodesk 3ds Max. If you need some window curtains, this is the best way to model them. You'll learn how to do it using several modifiers and layer techniques. You can download the finished curtain from VisualKnights, which you can fully edit to your needs. This tutorial can also work with older versions of 3ds Max (previously called 3d Studio Max).

Want to share a screenshot of a 3D Studio Max project with your art director? With the built-in Grab Viewport tool, it's easy. Whether you're new to Autodesk's popular modeling software or a seasoned 3D artist just looking to better acquaint yourself with the application, you're sure to be well served by this video tutorial. For more information, take a look!

Surface tools are a powerful part of 3D Studio Max, allowing the creation of more realistic textures for organic and natural forms. This video demonstrates how to use them as a part of the process of modeling a human leg. The legs may not be as important as the face models, but they are still essential to creating a good-looking figure and are a good tool for practicing the use of surface tools.
