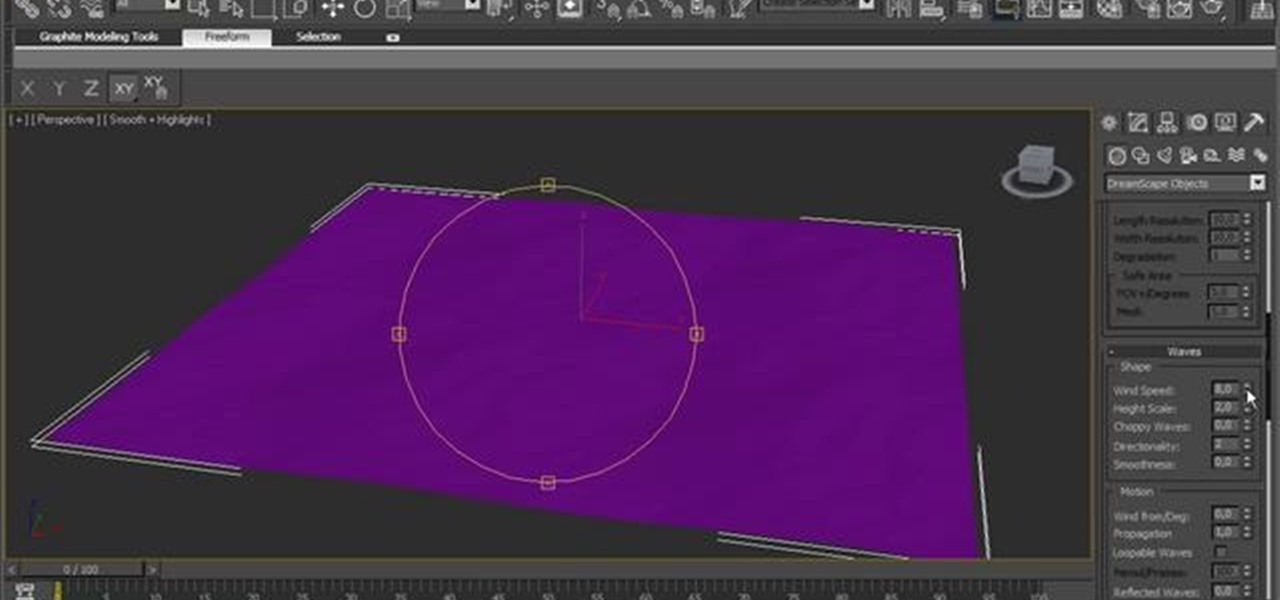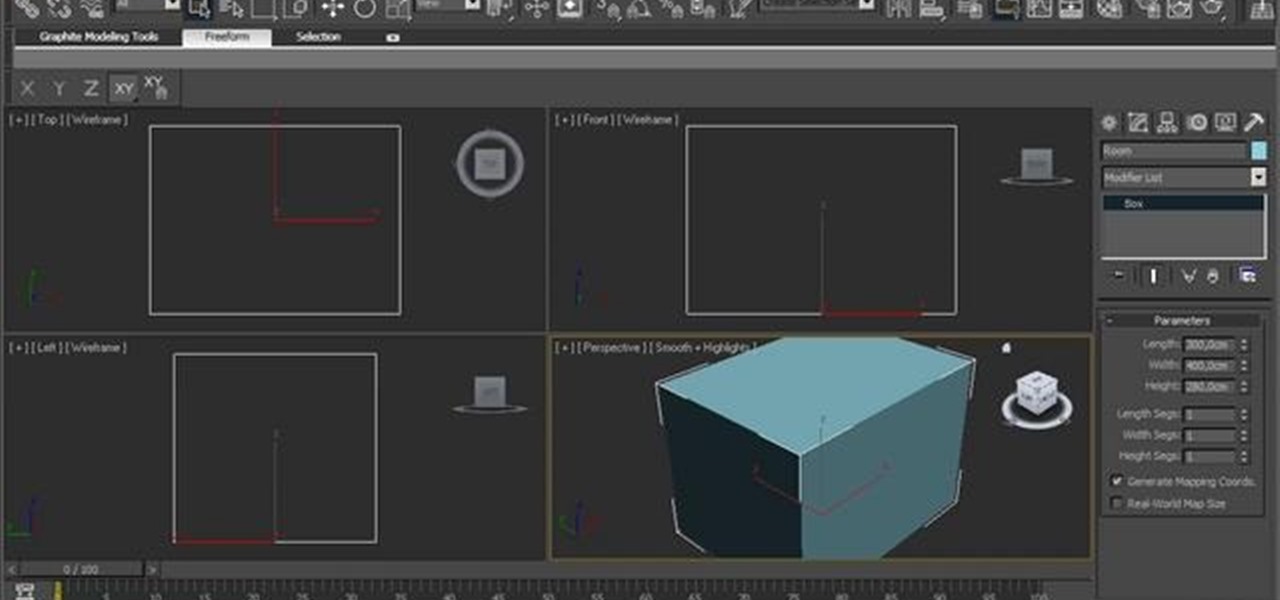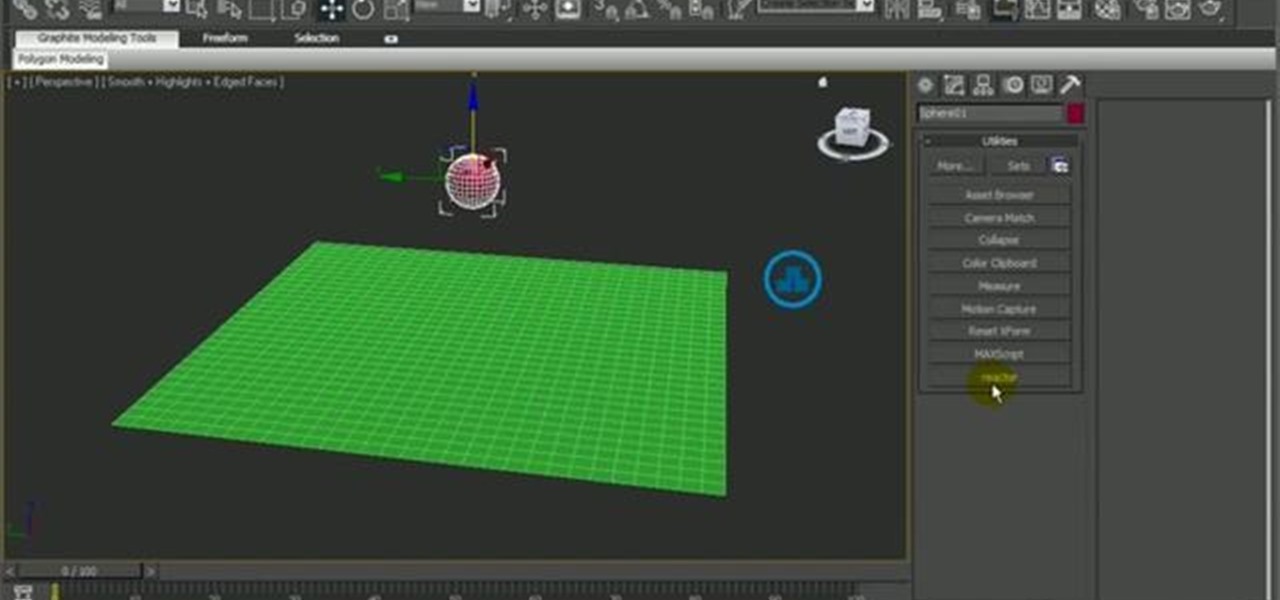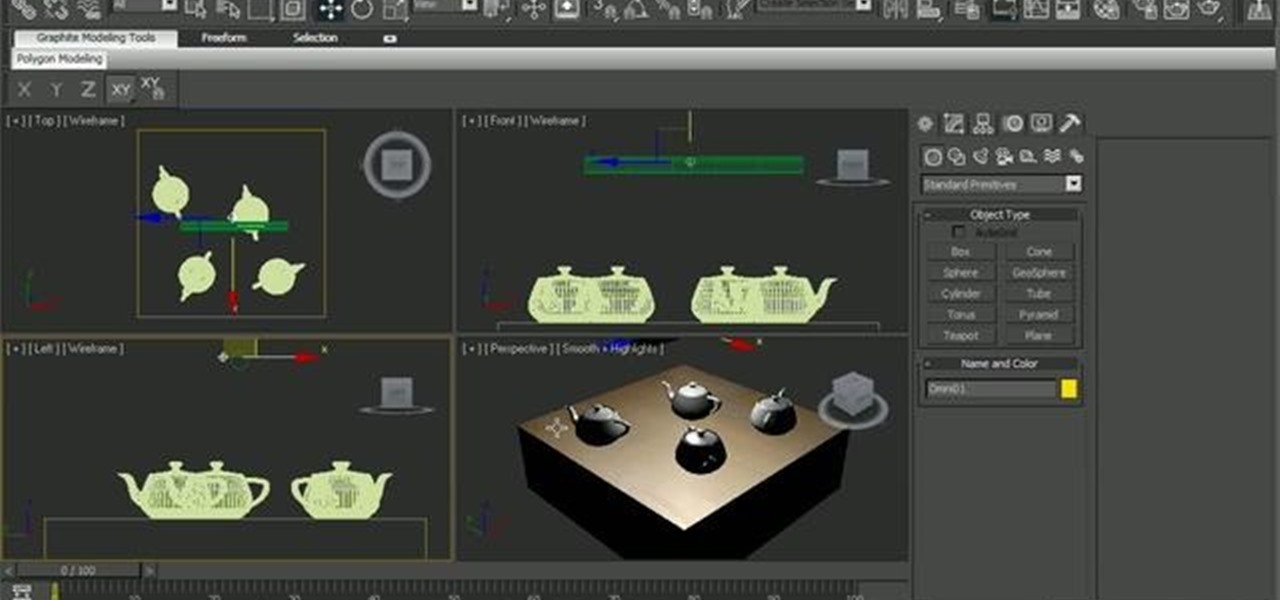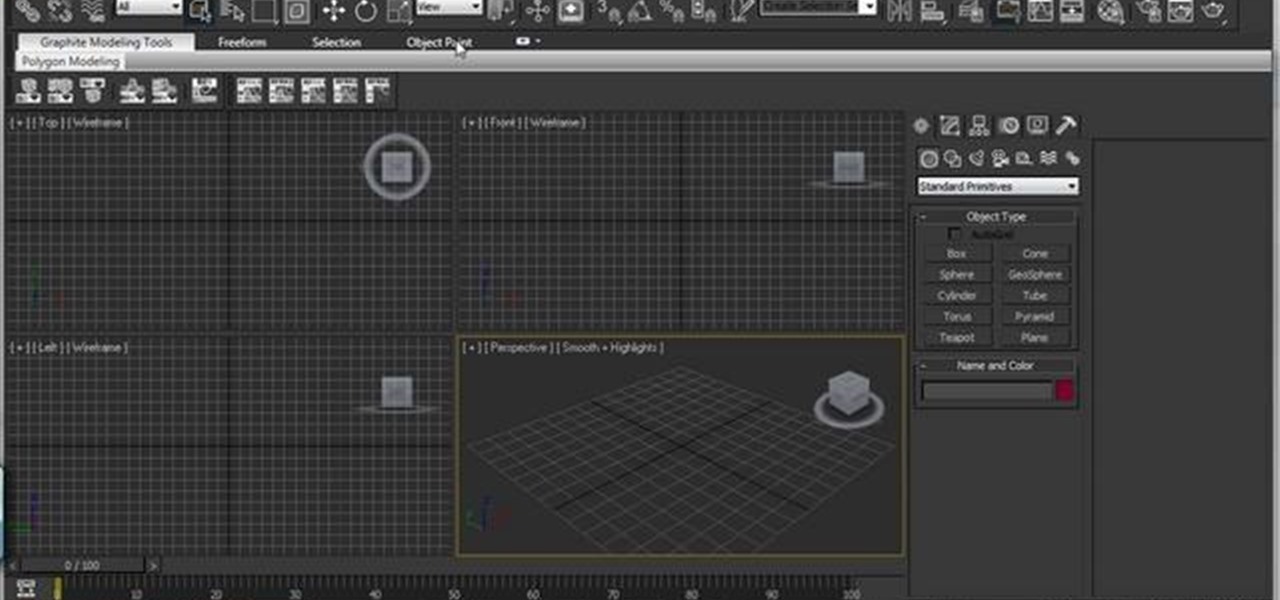
See how to use Dreamscape to generate foam, how to export it as a bitmap sequence and how to control every single parameter to change its look. See how to use 3ds Max 2010's built-in grouping features to work on multiple meshes the same way you might work on a single object. Whether you're new to Autodesk's popular modeling software or a seasoned 3D artist just looking to better acquaint yourself with the application, you're sure to be well served by this video tutorial. For more information,...

See how to work with multi-sub materials in Autodesk 3ds Max 2010. Whether you're new to Autodesk's popular modeling software or a seasoned 3D artist just looking to better acquaint yourself with the application, you're sure to be well served by this video tutorial. For more information, and to get started taking advantage of the 3ds Max Assembly and Group tools yourself, take a look! Work with multi-sub materials in Autodesk 3ds Max 2010.

This tutorial walks you through how to set up a procedural night sky with twinkling stars in Autodesk 3ds Max. You will be creating a opacity material with noise maps, and using an phase animated noise behind this to illuminate the stars. To edit the star size and brightness, you should play with the noise size and high/low settings on the individual noise map. Whether you're new to the Blender Foundation's popular open-source 3D computer graphics application or are a seasoned digital artist ...

Learn how to use FumeFX in 3D Studio Max to generate realistic fire and smoke effects. Whether you're new to Autodesk's popular modeling software or a seasoned 3D artist just looking to better acquaint yourself with the application, you're sure to be well served by this video tutorial. For more information, and to get started using FumeFX in your own Max projects, take a look! Simulate fire and smoke effects with FumeFX in 3ds Max.

This quick tutorial offers an overview of the 3D Studio Max Symmetry Modifier tool, a highly efficient means of modeling symmetrical objects. Whether you're new to Autodesk's popular modeling software or a seasoned 3D artist just looking to better acquaint yourself with the application, you're sure to be well served by this video tutorial. For more information, and to get started using the Symmetry Modifier in your own Max projects, take a look! Use the Symmetry Modifier tool in 3ds Max 2010.

See how to simulate the interaction between a boat (a mesh) and water (a plane), creating the waves, ripples and particle splashes. Whether you're new to Autodesk's popular modeling software or a seasoned 3D artist just looking to better acquaint yourself with the application, you're sure to be well served by this video tutorial. For more information, and to get started using this effect in your own Max projects, take a look! Create realistic boat-water interactions in 3ds Max.

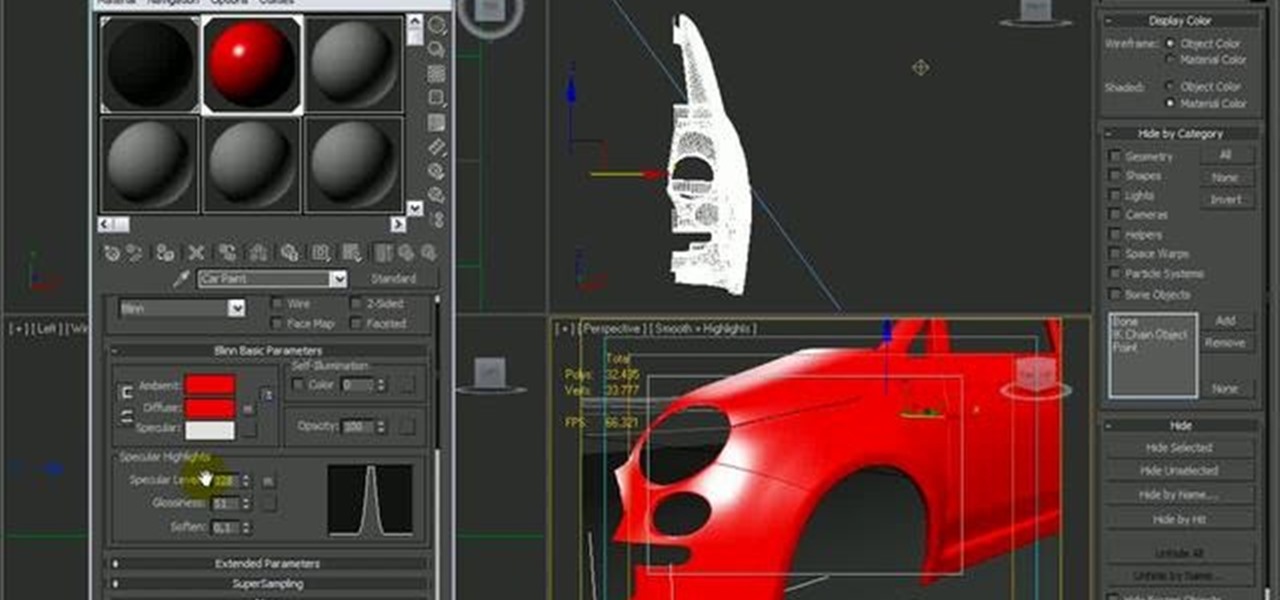
This tutorial will walk you through how to create a car paint shader from scratch utilizing materials inside of 3D Studio Max. Whether you're new to Autodesk's popular modeling software or a seasoned 3D artist just looking to better acquaint yourself with the application, you're sure to be well served by this video tutorial. For more information, and to get started creating your own car shaders, take a look! Create a car paint shader in 3ds Max 2010.

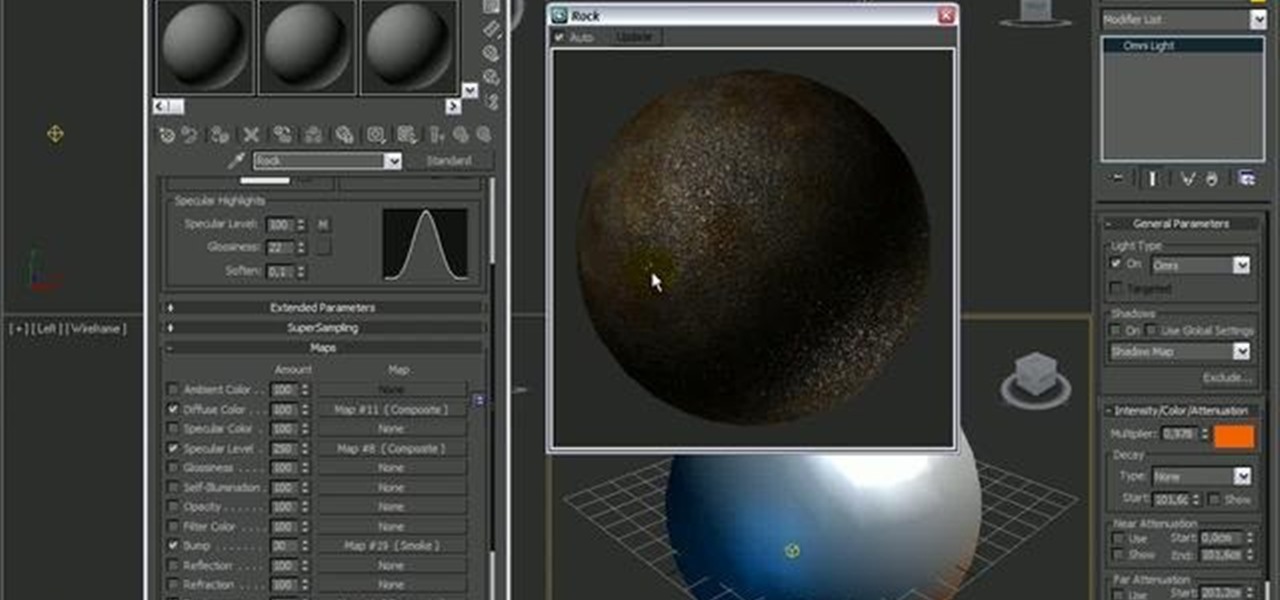
In this 3D Studio Max tutorial, you'll see how to use procedurals to create a rock texture. Specifically, the guide addresses displacement tuning in Mental Ray, specularity properties and using stacked procedurals to create cracks, rust, and bumpy structures over the surface. Whether you're new to Autodesk's popular modeling software or a seasoned 3D artist just looking to better acquaint yourself with the application, you're sure to be well served by this video tutorial. For more information...

Hierarchy is one of the object association types in 3ds Max. It is based on a parent-child relationship, which can be created by linking objects. Learn how to create hierarchies by linking a child and parent object together within 3DS Max. Learn how object linking takes place and how to create 3D object relationships. This tutorial shows how to create the relationship by linking objects in 3ds Max. Link 3D objects in 3ds Max.

The Displace modifier in 3ds Max acts as a force field to push and reshape an object’s geometry. You can apply its variable force directly from the modifier gizmo, or from a bitmapped image. The 3D Studio Max displace modifier works on Shapes, Meshes, Polys, Patches, NURBS. Displace is often used to make terrains or to add finer texture to 3D models with out having to model in extra texture. It can also be used in a very controlled way to manipulate geometries. With the use of procedural text...

This 3D software tutorial shows you how to use images to affect models in 3D Studio Max. Using the displacement modifier in 3ds Max we are able to use either image data or procedural texture maps to drive geometry in a design model. Modeling with images is a great way to model quickly and with details hard to get using other methods. See how in this 3ds Max tutorial. Model with images in 3ds Max.

See how to create a realistic depth of field effect with Mental Ray in 3ds Max 2010. Learn how to add it to a scene, working with its parameters, and how to control it to achieve desired results. Whether you're new to Autodesk's popular modeling software or a seasoned 3D artist just looking to better acquaint yourself with the application, you're sure to be well served by this video tutorial. For more information, and to get started using this useful effect in your own Max projects, take a lo...

Want to create a replica of your 3D object? This basic tutorial covers the duplicating of objects into copies and instances in 3ds Max. You will learn the difference between making a reference, a copy and an instance. For detailed information, including step-by-step instructions, and to get started duplicating objects in your own 3ds Max projects, take a look. Clone objects in 3ds Max.

One of the object association types in 3ds Max is groups. In this video tutorial we will learn how to create the relationship in 3DS Max. The author compares groups to dating, where each individual has higher commitment yet they still retain their own identity. Whether you're new to Autodesk's popular modeling software or a seasoned 3D artist just looking to better acquaint yourself with the application, you're sure to be well served by this video tutorial. For more information, take a look! ...

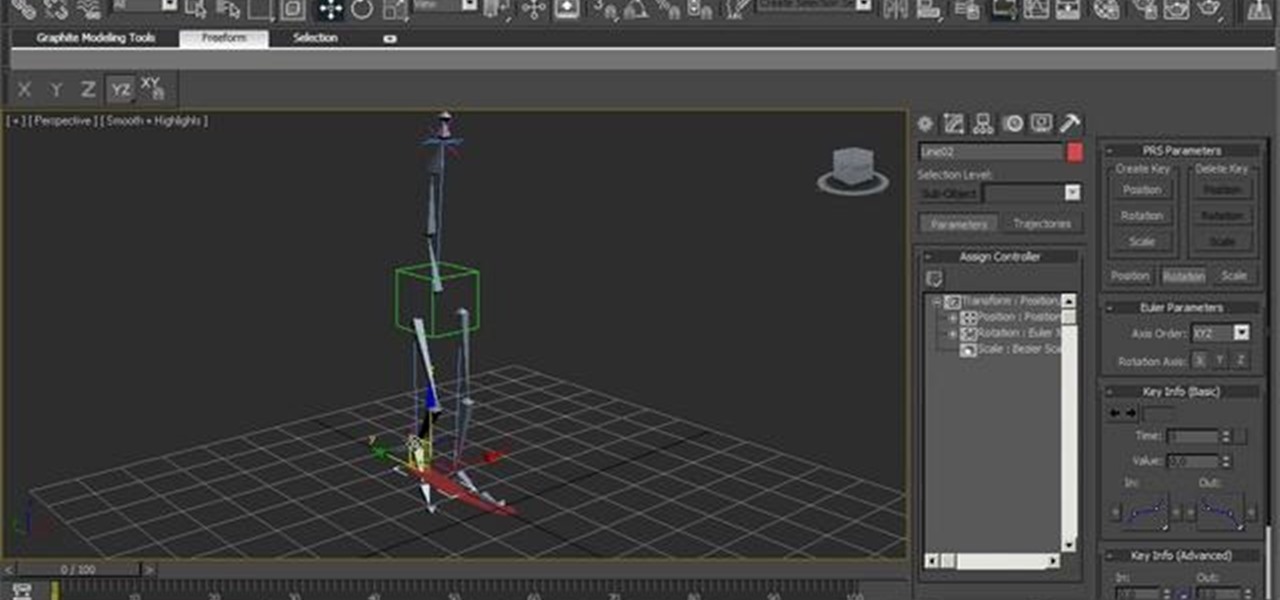
See how to create a simple character rig within 3D Studio Max 2010. Whether you're new to Autodesk's popular modeling software or a seasoned 3D artist just looking to better acquaint yourself with the application, you're sure to be well served by this video tutorial. For more information, take a look! Create a basic character rig in 3ds Max 2010.

This clips presents a look at the standard volume light, one of the oldest 3ds max features. See how to add it on the scene, how to tune its volume parameters, attenuate it and create complex final looks like the addition of dust in the air. Whether you're new to Autodesk's popular modeling software or a seasoned 3D artist just looking to better acquaint yourself with the application, you're sure to be well served by this video tutorial. For more information, and to get started using volumetr...

In this 3ds Max tip tutorial, you'll learn how to work with the program's various modeling tools, taking a look at features like spline shape modeling, the lathe modifier and connect compound object to create a simple cup of tea. You'll use spline and lathe to create the cup body, then use loft to create the handle and last step will be connecting these two parts to create the final cup of tea. Whether you're new to Autodesk's popular modeling software or a seasoned 3D artist just looking to ...

This tutorial discusses how to create a comet or an asteroid using different techniques within 3ds Max 2010 or 2011. You'll start by modeling the base object, making a not-so-complex mesh, and then you''ll work on particles. Whether you're new to Autodesk's popular modeling software or a seasoned 3D artist just looking to better acquaint yourself with the application, you're sure to be well served by this video tutorial. For more information, and to get started creating your own 3D space rock...

Object association in 3ds Max allows you to define certain relationships between two or more objects. Selection sets is one of the object association types. In this video tutorial you will learn how to Whether you're new to Autodesk's popular modeling software or a seasoned 3D artist just looking to better acquaint yourself with the application, you're sure to be well served by this video tutorial. For more information, take a look! Create selection sets in 3ds Max.

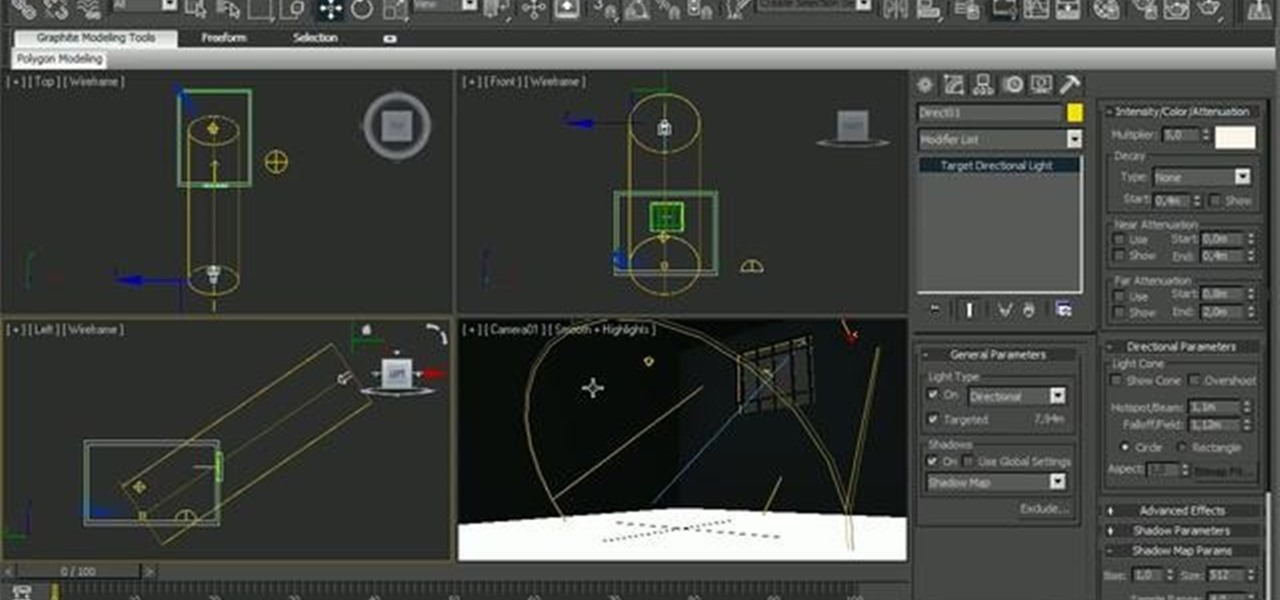
In this clip, you'll see how to create custom shaped light sources using simple meshes and adding an Arch&Design shader to it to render the scene with Mental Ray. Whether you're new to Autodesk's popular modeling software or a seasoned 3D artist just looking to better acquaint yourself with the application, you're sure to be well served by this video tutorial. For more information, and to get started using shape lights in your own Max projects, take a look!

This 3ds Max software tutorial shows you how to build a spline tower. Using modifiers such as Cross Section, Skin, Shell and Spline IK we build a spline based system that uses reference geometry to build parametric relationships in 3D Studio Max. The video is best viewed full screen and you should already be familiar with 3ds Max to really follow along. Build a spline tower in 3ds Max.

This 3D software tutorial shows you how to use the relax modifier in 3ds Max. Learn how to implement mesh relaxation with the relax modifier when modeling in 3D Studio Max. Using mesh relaxation is a fast way to turn cubed or planar surfaces into curved shapes in 3ds Max. Implement mesh relaxation in 3ds Max.

This is a 3ds Max tutorial that David Fano has tuned into a video from a PDF written by Theo Calvin and Omer Barr. Using wire parameters and expression controllers in 3D Studio Max we will make a panel that opens and closes based on the distance of a point. Learn how to model in 3ds Max with wire parameters and expression controllers. It will help if you are already familiar with the 3ds Max interface for this tutorial. Create an expression driven panel in 3ds Max.

In this 3D software tutorial you will learn how to use wire parameters to create a scalable circular patterned object in 3ds Max. Using the wire parameters in 3D Studio Max you can create a scaling circular pattern based on the distance of the circle to a point object. This is a great way to model things with repetitive parts in 3ds Max. Learn how to create a circular panel with circular openings and attach it to a rectangle in 3ds Max. Create a circular pattern with 3ds Max wire parameters.

This 3ds Max tutorial covers how to use a look at constraint. This could be done more rigorously with expressions but to quickly test an effect the look at constraint is a great technique. See how to use the animation constraint look at constraint when modeling in 3D Studio Max with this software tutorial. Use a look at constraint in 3ds Max.

In this 3D software tutorial you will learn how to use the volume selection modifier in 3ds Max. The volume selection modifier is great for affecting regions of a polygon. This 3D Studio Max modeling tutorial covers how to use proxy objects to keep an active selection set. Use the volume selection modifier in 3ds Max.

This clip presents a general overview of the Composite tool available in 3ds Max 2011. Whether you're new to Autodesk's popular 3D modeling program or a seasoned graphic artist just interested in better acquainting yourself with the application, you're sure to be well served by this free video tutorial. For more information, including detailed instructions, take a look. Use the Composite (Toxik) feature in 3ds Max 2011.

This 3D software tutorial shows you how to use the mirror modifier (same as the mirror tool) in 3ds Max. The mirror modifier allows for procedural mirroring of objects. As a one time operation thesymmetry modifieris better but, that being said, if stacked, the mirror modifier can then be used as almost a procedural radial array. Like most modifiers, Mirror can be applied to sub-objects which again takes advantage of 3ds Max’s procedural and/or parametric modeling capabilities. Watch and learn...

This 3D software tutorial shows you how to work with editable polys in animate mode in 3ds Max. The idea is to use edit poly modifiers to control and have selections active when working in 3D Studio Max. See how to use modifiers like features in 3ds Max, a parametric modeling software. Learn how to use parameters to store design intent and avoid having to remodel geometry in Max. The tutorial is best viewed full screen. Use edit poly modifiers to animate in 3ds Max.

3ds Max is one of the most widely-used off the shelf 3D animation programs by content creation professionals. In this video tutorial we will take a look at the process of creating a pawn chess piece using a lathed spline. Watch the video, and start creating your own 3D chess set now! Create a pawn piece using 3ds Max.

This 3D software tutorial shows you how to use the cross section modifier in 3ds Max. The cross section modifier tool works on splines and is most often used when modeling with curves in 3D Studio Max. he CrossSection modifier creates a “skin” across multiple splines. It works by connecting the vertices of 3D splines to form a skin. The resulting object is another spline object that can be used with the Surface modifier to create a patch surface. These two modifiers, when used together, are s...

The PatchDeform modifier in 3ds Max deforms an object based on the contours of a patch object. This modifier works similarly to the PathDeform modifier, but uses a quad-based patch object instead of a spline shape or NURBS curve path. Patch Deform is a great tool for mapping geometry on a surface or the distribution of component on a surface in 3ds Max. The only catch is that the distribution geometry has to come from a surface originally made as a Patch. The surface cannot come from a set of...

The technique shown in this 3ds Max tutorial is meant to be a design modeling technique. Watch and learn how to model the Beijing Olympic Stadium in 3D Studio Max.

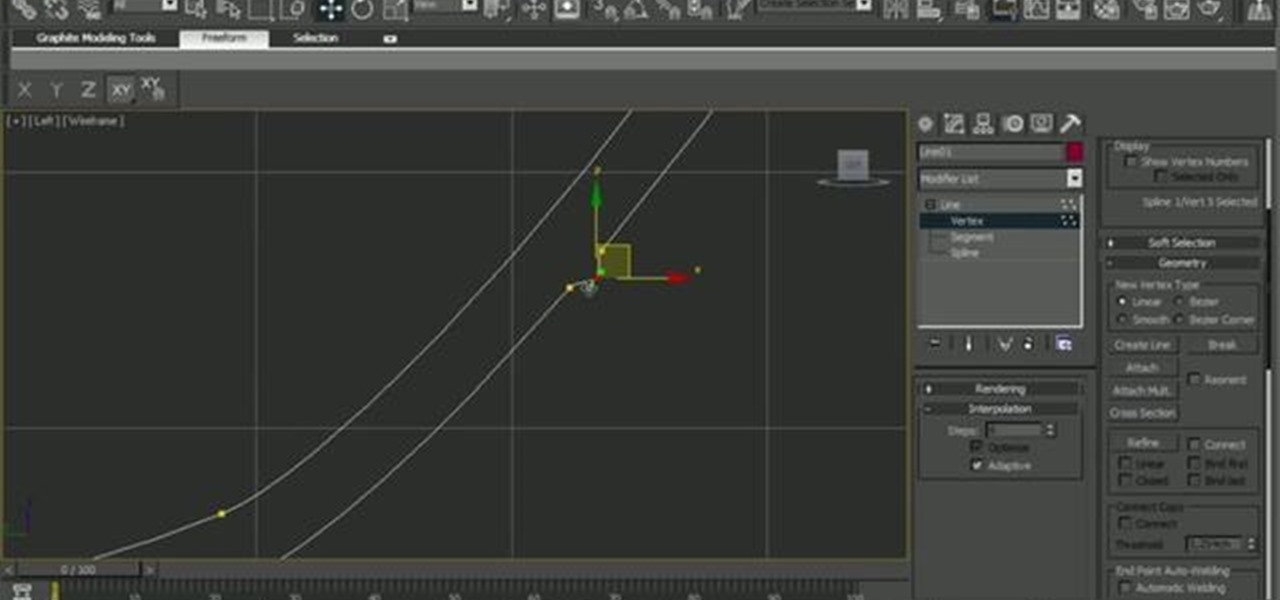
This 3ds Max Video Tutorial goes over the majority of the procedures that can be done at the segment and spline level of an editable spline. All of the example are simplified to show the fundamentals of each command.

The morph modifier in 3ds Max is mostly meant for storing animation procedures like facial animations, but that's not all it can do. In this tutorial you will learn how to use 3D Studio max morph modifiers to store modeling deformations. Using the Morpher modifier to create a bi-directional blend between two conditions. In this case we build a modular panel system in which one can quickly test different patterns in 3ds Max. Use morph modifiers to store deformations in 3ds Max.

In this 3D software tutorial you will learn how to model a chair parametrically in 3ds Max. This tutorial covers making a simple parametric chair with using editable poly modifier and wire parameters in 3D Studio Max. If you are not good at modeling with modifiers in 3ds Max, this is a great tutorial to start learning with. The video is best viewed full screen. Model a parametric chair in 3ds Max.

How does one snap in Autodesk's 3ds Max and how can one move things dimensionally? This 3ds Max video tutorial explains both of these questions as well as angle snaps and axis constraints.

In this video tutorial, we learn how to configure the Ribbon UI within Autodesk 3ds Max 2010. Whether you're new to Autodesk's popular modeling software or a seasoned 3D artist just looking to better acquaint yourself with the 3ds Max 2010 workflow, you're sure to be well served by this video tutorial. For more information, and to get started using the lessons imparted by this free video software tutorial yourself, watch this free video guide. Configure the Ribbon UI in Autodesk 3ds Max 2011.

In this video tutorial, we learn how to use the point cache modifier within Autodesk 3ds Max 2010. Whether you're new to Autodesk's popular modeling software or a seasoned 3D artist just looking to better acquaint yourself with the 3ds Max 2010 workflow, you're sure to be well served by this video tutorial. For more information, and to get started using the lessons imparted by this free video software tutorial yourself, watch this free video guide. Use the point cache modifier in Autodesk 3ds...

This clip presents an overview of how to set up and render a 3D model of a car in 3ds Max 2010. Whether you're new to Autodesk's popular 3D modeling program or a seasoned graphic artist just interested in better acquainting yourself with the application, you're sure to be well served by this free video tutorial. For more information, including detailed instructions, take a look. Light and render a 3D model of a car in Autodesk 3ds Max 2010 - Part 1 of 2.
