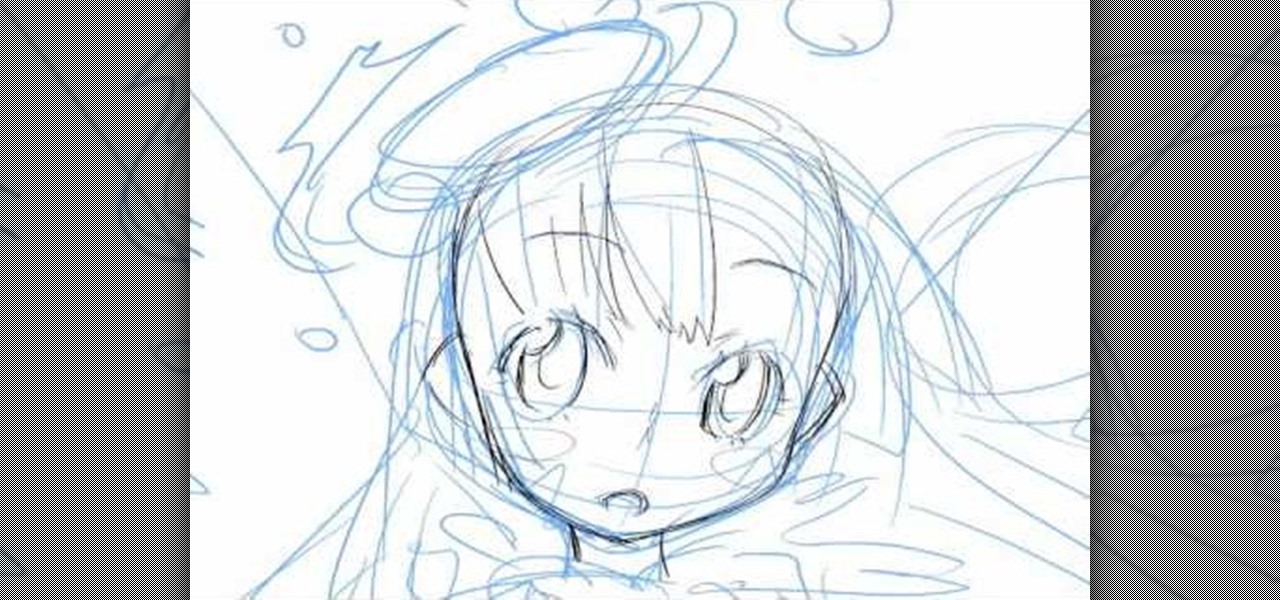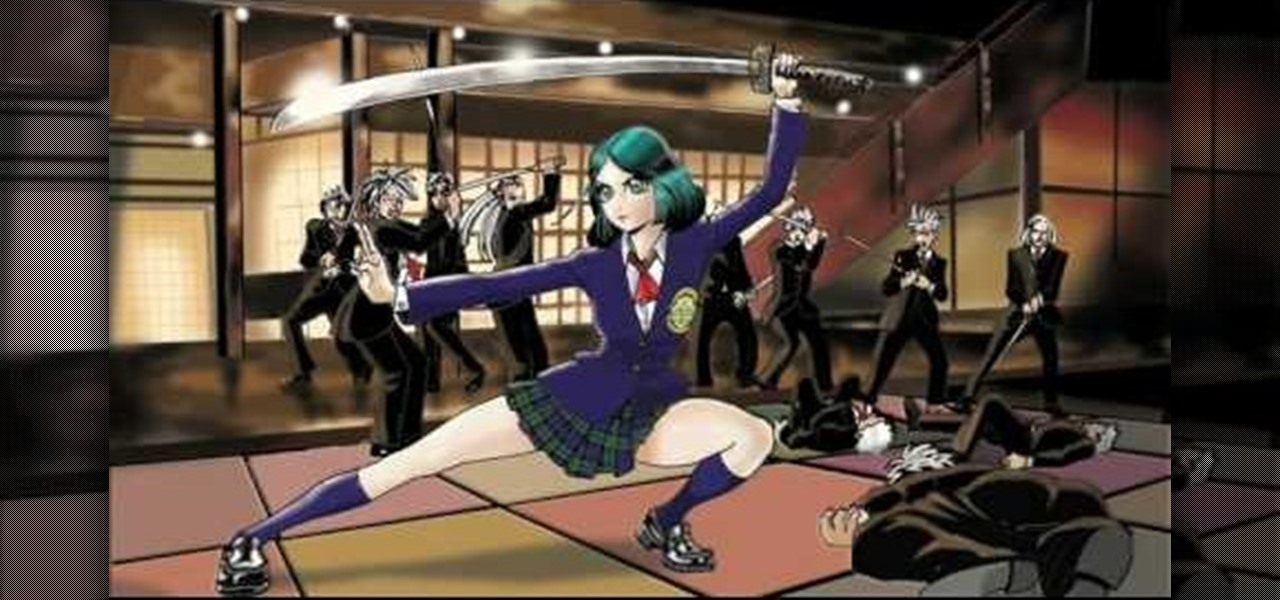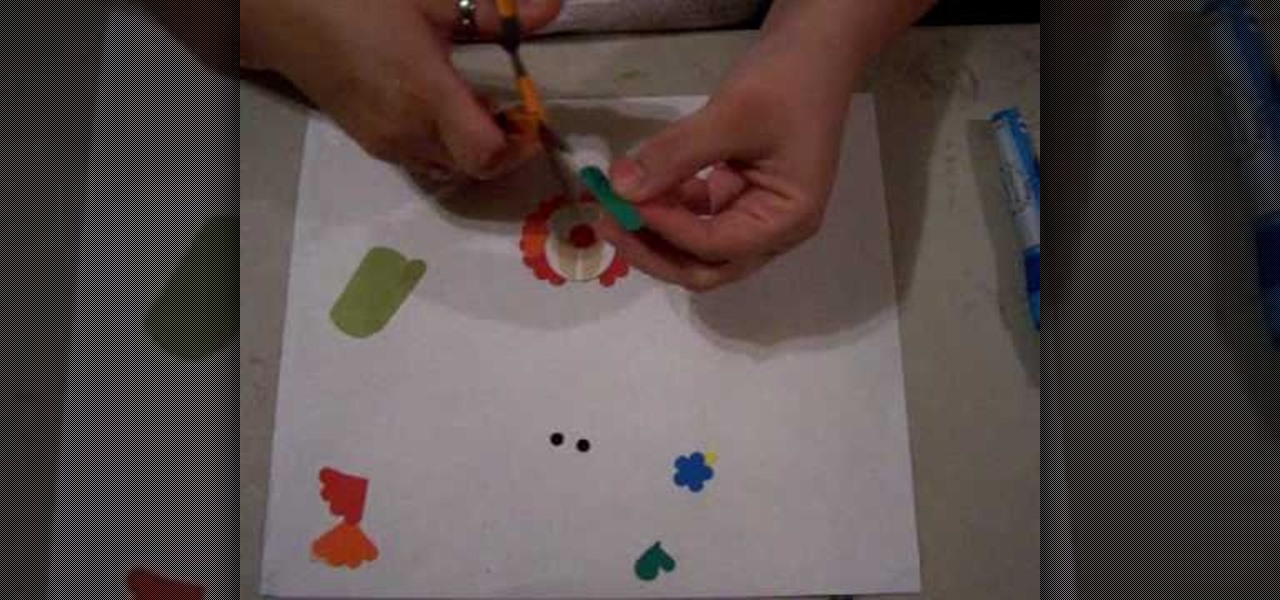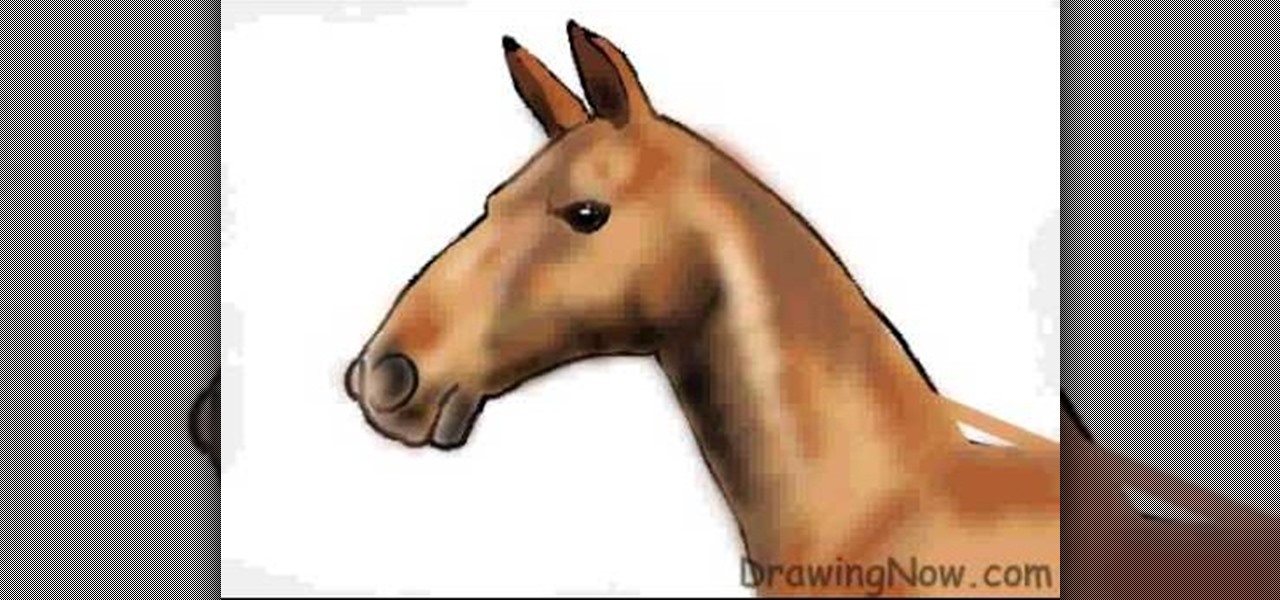
In this tutorial, we learn how to draw the head of a horse. Start out by drawing the outline of the horse's head and the neck. Then, draw in the ears and the details for the nose and the face. Next, color in the horse and then add shading along the sides of the horse and fill in the features with black. Use different colors of brown to show a contrast between the colors on the horse. After this, you will use small lines to create hair on the horse, then add in additional features. Clean up an...

In this tutorial, we learn how to draw The Incredibles. Start out by coloring the background orange, yellow, and white. Then, draw the outlines of the bodies for all of the characters in the family. After this, draw in the details, giving them a 3D type of image. Next, you will color in the clothing and add in the fine details for the hair and the face as well. Erase any background lines from the drawing to clean it up, then add in some shading to make it look more realistic. To finish this, ...

In this tutorial, we learn how to dress in a Visual Kei style. Just be creative with this style, there is no exact way to do it! Use old clothes you have laying around the house and wear those in a funky fashion. Use mostly black and use some military jackets to spice things up. Then, pair these with hats that have belts around them and different types of buttons. Wear short skirts but pair them with striped leggings. Make sure your hair is spiked up and frizzy so it fits the style of this an...

In this video, we learn how to draw Sonic the Hedgehog in his soap shoes. First, draw his muzzle and nose. After this, draw in angry teeth in the mouth and then draw in the eyes and the ears. From here, you will draw in the rest of the spiky hair around the head. After this, draw on the arms and legs, as well as the feet and shoes. The shoes should be larger than the entire body and have lots of details on them. When finished, add in shading around Sonic with the side of the pencil to give hi...
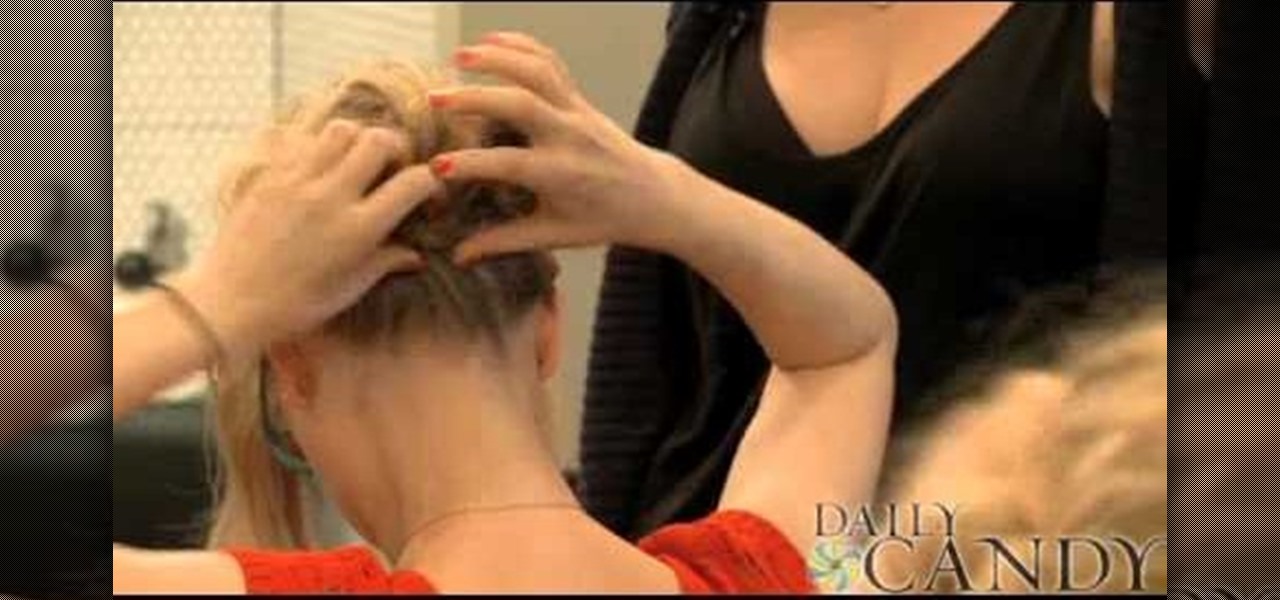
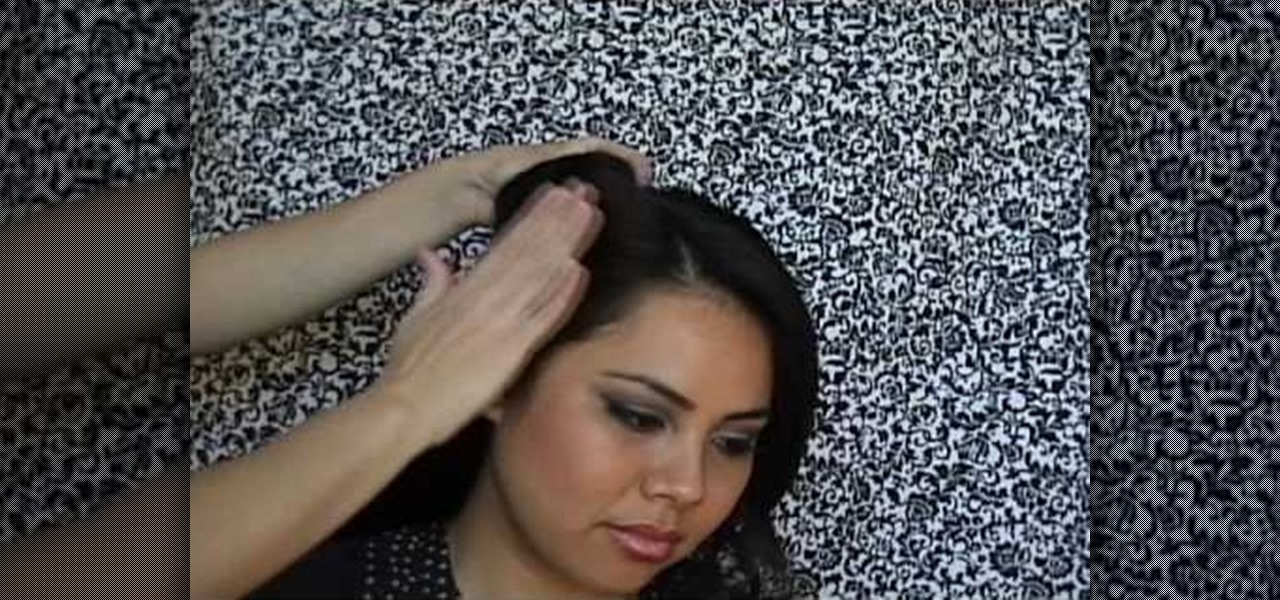
Updos have this reputation for being uptight and conservative, the staple hairstyle of cafeteria ladies, teachers, and professional women everywhere. But with a few tweaks - and loosening of some hair - you can turn uptight into carefree and chic.
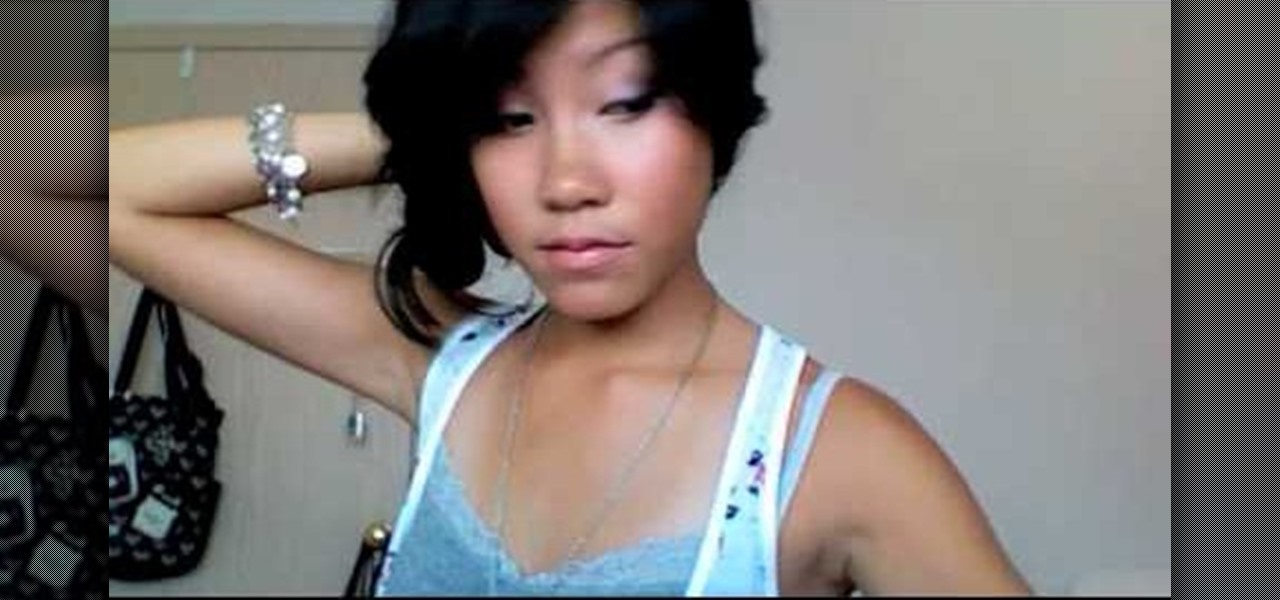
A bun is usually thought of as severe and uptight, but it can be quite sensual and carefree if you style it right. Take a look at this hairstyling video to learn how to create a very easy yet impactful low side bun for school.

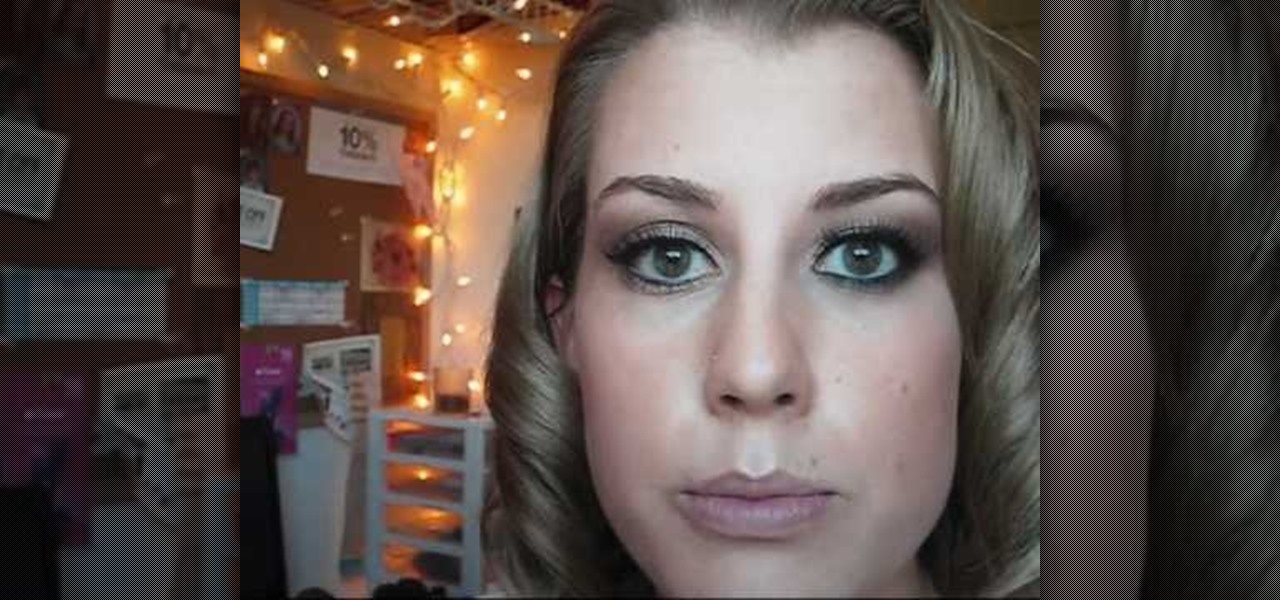
We always knew that Taylor Swift was a bombshell, but it wasn't until her 2010 VMAs performance that we saw just what a retro doll she could be. While Swift usually favors light and bright makeup colors that emphasize, rather than overwhelm, her natural beauty, she went all out for the awards show.

In this tutorial, we learn how to make dogbane cordage. Dogbane is also known as Indian hemp, which is a plant which is used to make cordage. Once you identify the plant outside, you can process it into a raw and finished product. First, you will simply peel the bark off of a branch of the dogbane. After this, you will squeeze along the inside of it and start to peel the layers back. You will then get a bushy type of wood that looks like it's hair. After this, you can tie these together or br...

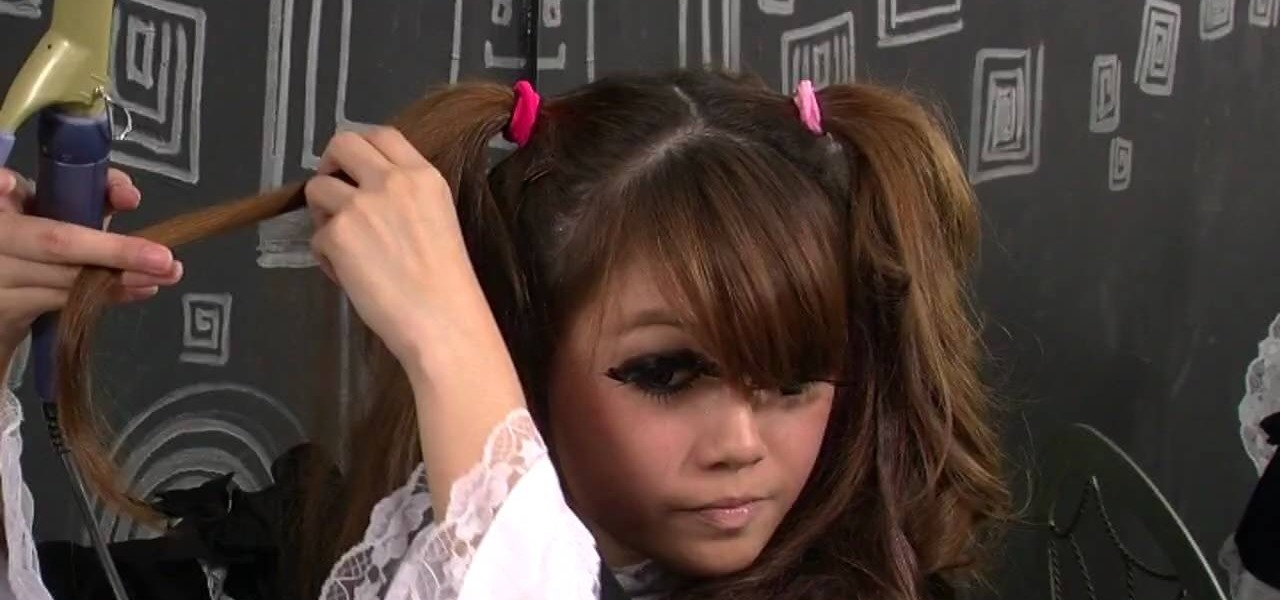
Despite being based on the ultra feminine and severe Victorian style of dressing, Japanese Lolita tends to go a little crazy when it comes to stylization and improvisation of fashion, makeup, and hair. Just take this crazy pouf of a pigtail, for instance.

Emma Watson put it best when she said in a recent "Teen Vogue" interview that there's nothing interesting about looking perfect. And it's true: A few undone hairs here, a stained red lip instead of a perfectly painted on one, and mixing fashion styles when you dress help add interest to your look and show off your personality.

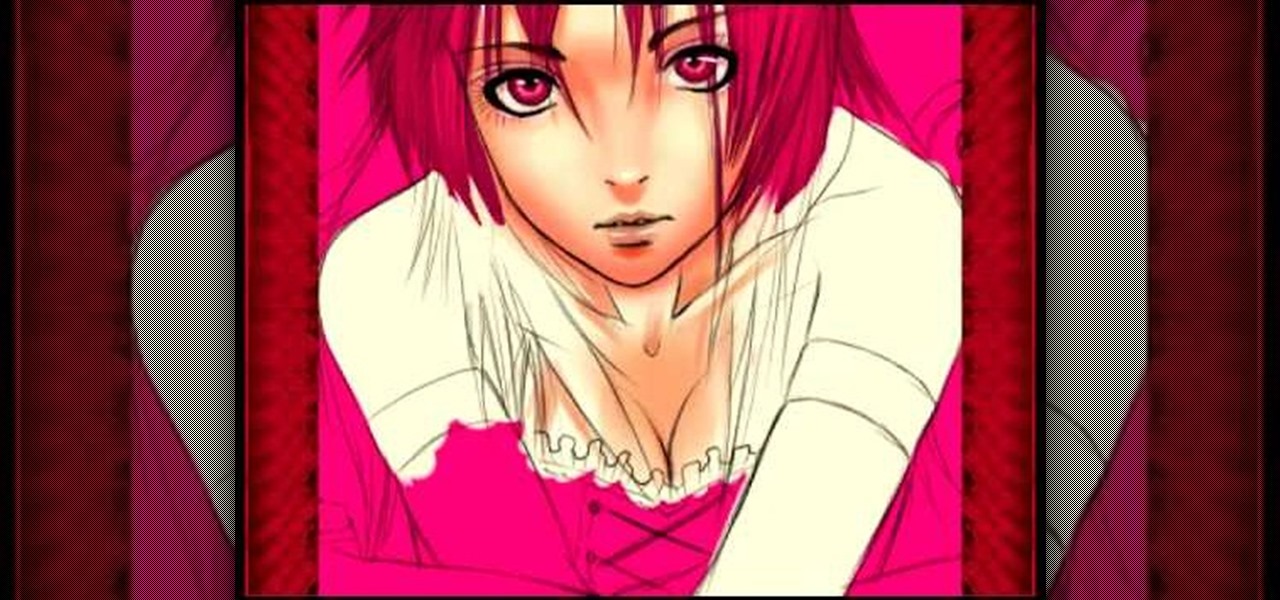
In this video we learn how to color manga. For the girl, start by coloring the entire drawing pink. Then, remove the color from the face and add in shadowing and colors for the lips and eyes. Then, color in the color of the face and the hair as well. Color in the skin color and draw in black lines to show where the contours of the body are at. Color in the shirt pink with black lines to show where it's being laced up at. Darken up any of the features of the face, then save this to finish.

In this tutorial, we learn how to draw wolf paws. First, draw a rectangle on the paper and then draw in curves inside the rectangle that will give you a base for the paw's features. After this, draw two lines coming up from the paw and then draw claws on the bottom of the paw. After this, erase the sides of the rectangles. Start to add in additional lines for the claws on the paws and then add in details for the knuckles. To finish, draw in lines for the hairs and then finish off the paw with...

In this tutorial, we learn how to draw Orochimaru. Start with drawing a circle for the head, then draw lines crossing the circle to use as a measurement of where the features of the face will be. After this, draw in the eyes, nose, nostrils, mouth, and eyebrows. Next, draw in the neck and the shoulders for the body. Once finished with this, draw in the hair surrounding the face, then erase the back lines from the drawing because you won't need them any longer. To finish, add in details to the...

In this tutorial, we learn how to draw Sango and Kilala. Start out by drawing a circle and reference lines for the head, then draw a stick for the body and draw a half circle going off the bottom of the page. Then, draw circles on the upper body to create the hands and draw fingers coming off of those. Now, draw in the neck and the clothing that is on the character. Erase the background lines, then all in the features of the face and the hair around the head. Also make sure to draw on the ear...

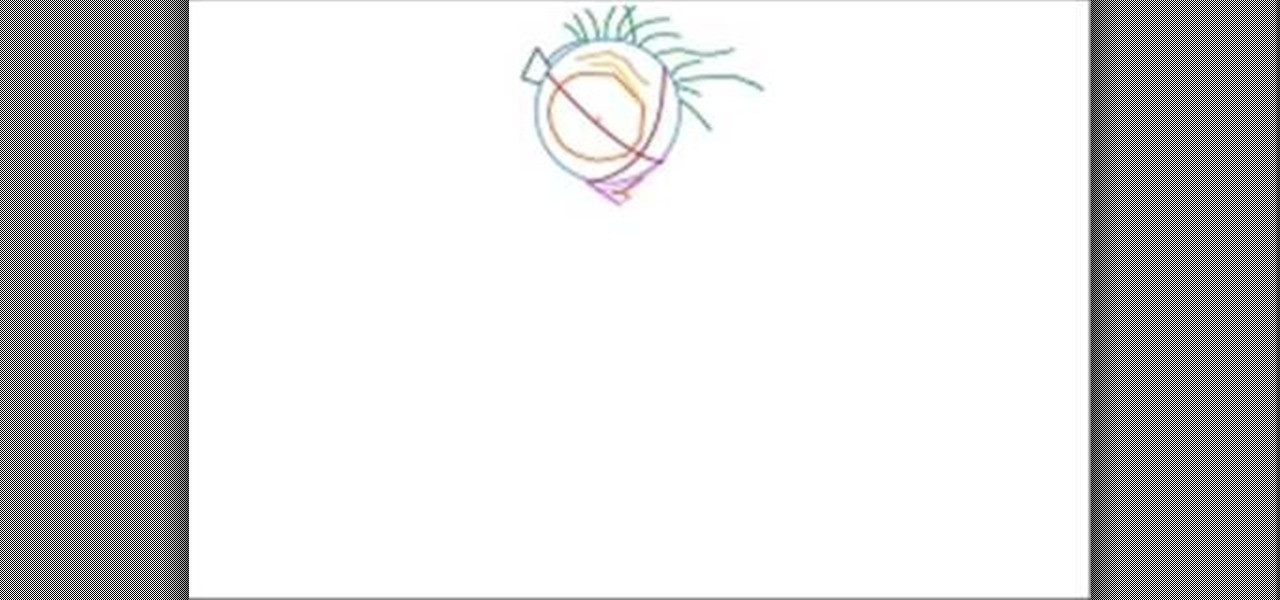
In this video, we learn how to draw Karin. First, start drawing a circle and then add the eye line to help you place the eye. After this, draw in a triangle at the bottom of the circle as a reference to where the chin will go. Then, draw in a line for the body, then circles for the body and shoulders. After this, draw in the neck and then draw the rest of the body. Now, draw in the hair and the details of the face. Once you have finished this, erase the background lines from the face and then...

In this tutorial, we learn how to draw Tenten. To start this character, draw a light circle along with lines in the middle for reference points. Use a bolder line to draw the chin and then the eyes, nose, and mouth. also make sure to draw in slight eyelashes and eyebrows above the eyes. After this, draw a line around the head and erase the background lines. Draw ears on the top and then start to fill in the hair for the bangs on the front of the face. Finish this off with a headbands, then dr...

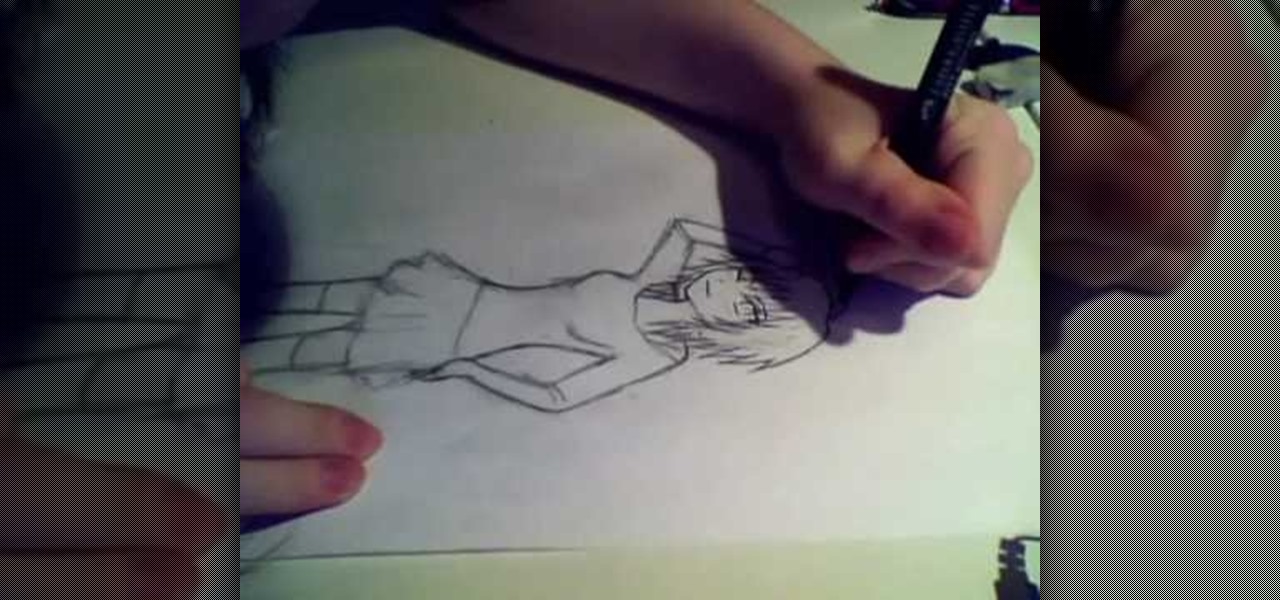
In this tutorial, we learn how to draw a manga girl. Start off by drawing the outline of the body, starting with the head. After this, draw the neck and shoulders, leading down to the rest of the body. Make sure to give the character feminine curves as you are drawing. Then, add in the features of the face and then give her bangs and short spiky hair. Next, draw a long sleeved shirt on her, that has wide shoulders on it. Continue to draw, making sure to add on lines to show contours where the...

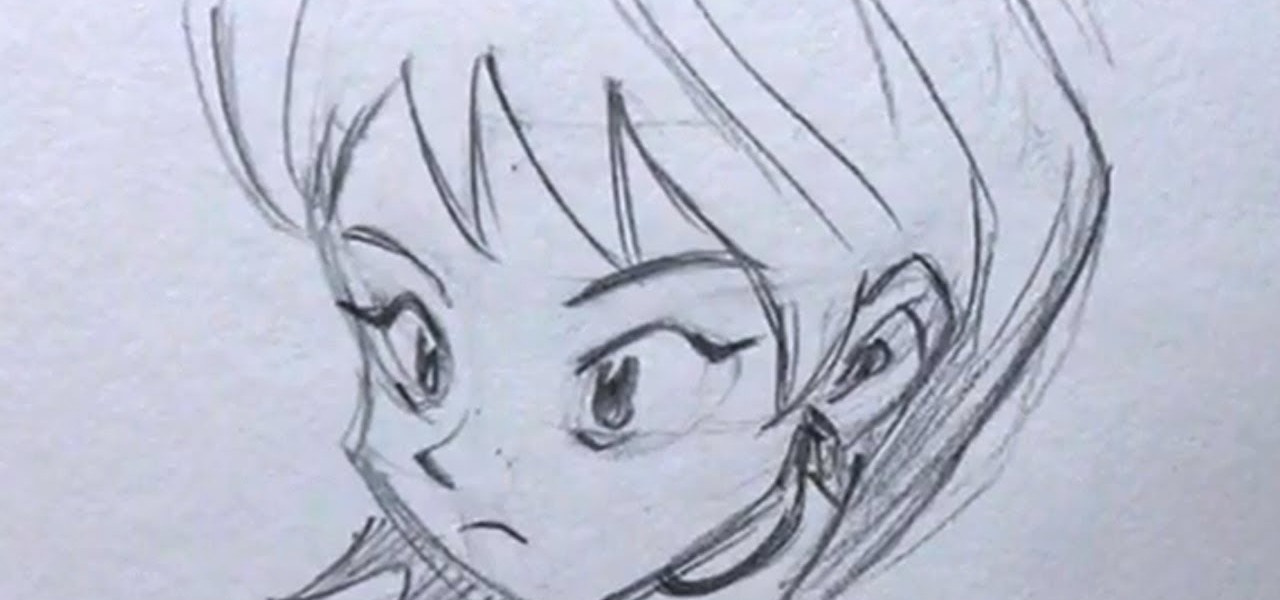
In this tutorial, we learn how to draw manga faces 3/4 view tilted down. You will start with a circle for the head, but you will make the chin go off to the side slightly. Next, you will draw a horizontal and vertical intersecting line off to the side of the face where the chin is. Next, draw in the circles for the eyes, then draw in the brow line. The brow line should be lower than normal. Once you have all the guidelines set up, add in the ear and start to draw in the details of the face. W...

In this tutorial, we learn how to draw Karin 2. Start out with a circle for the head, then draw in your reference line so you can align the different features of the face. After this, draw in circles where the joints of the body would be for the upper body, then draw around this using bold lines. Once you are finished with this, draw in the rest of the arms and create clothing on the body as well. Next, you will need to draw in the features of the eyes as you would like, then add in the detai...

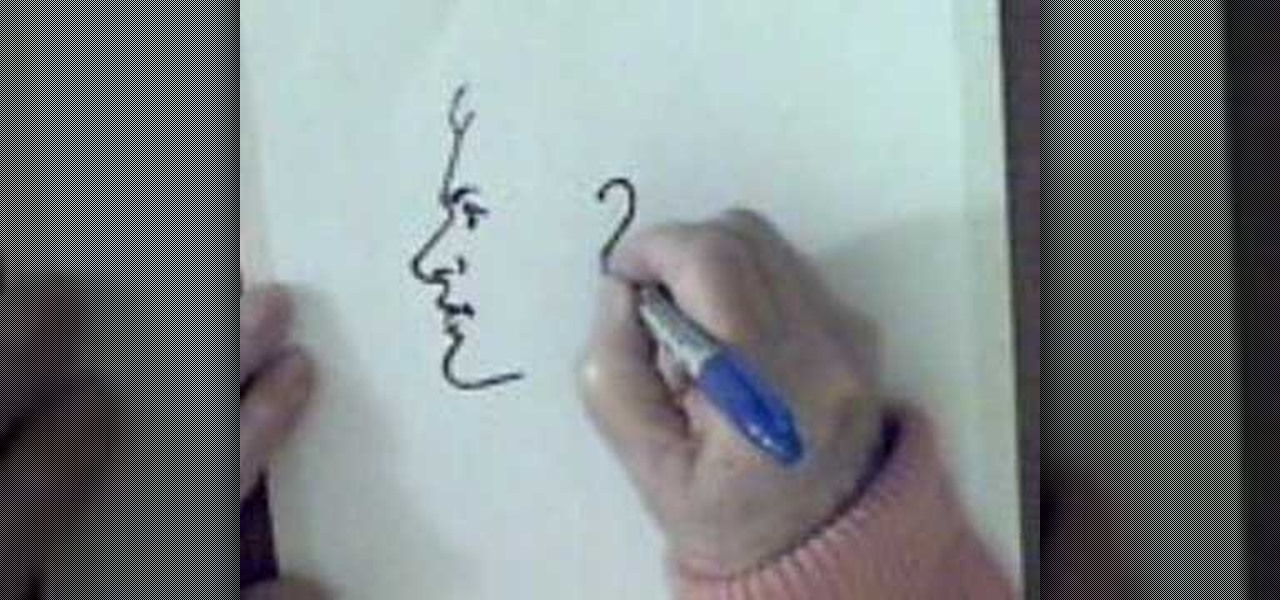
In this video, we learn how to draw a man's face in profile. With a Sharpie marker, first draw the bump to show the forehead of the face, then the bump for the nose. After this, draw the upper lip, then the bottom lip. Draw in a crease around the mouth the make the shape of the lips. After this, draw in the chin to the specifications you would like. After this, draw in the detail of the eye and the eyebrow around the area of the forehead. Next, draw in the nostril of the nose and then a creas...

In this tutorial, we learn how to draw the Black Queen of Chess. First, you will need to draw the outline of the character using a light pencil on paint or another drawing program on your computer. After this, use a dark blue pencil to draw the outline of the body on darker and to make it more detailed. Next, add in the details to the drawing all over the entire body. Make sure to draw on the clothes after you do this. Once finished, you will need to draw on the facial features and the hair, ...

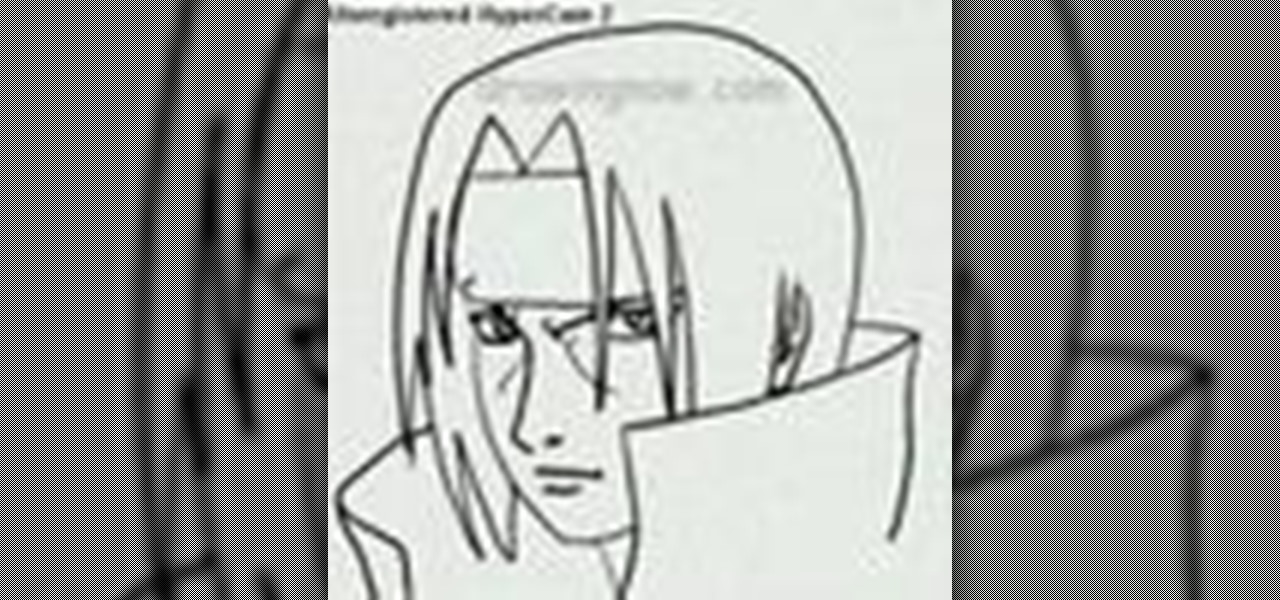
In this tutorial, we learn how to draw Itachi. First, draw your reference lines on the head so you know where to place the features of the face. Draw in the eyes, adjusting them so they are more towards the left of the face than the right. After this, draw in the bridge of the nose and the nose, as well as features of the cheeks. Next, draw in the nostrils and the mouth, as well as eyebrows and creases around the eyes. After this, draw in ears on the side of the head, then start to draw in th...

In this tutorial, we learn how to draw a young woman's face in a profile. Start by drawing the forehead, then drag the pen down until you reach the nose area. After this, draw down to the mouth, accentuating both of the lips. Next, draw the chin on the face, then the jaw line. After you have done this, start with the eye and make sure you add detail as to where the crease of the eye is at. Next, you will draw in the eyebrow and then start to add in the bangs and the rest of the hair. Add in a...

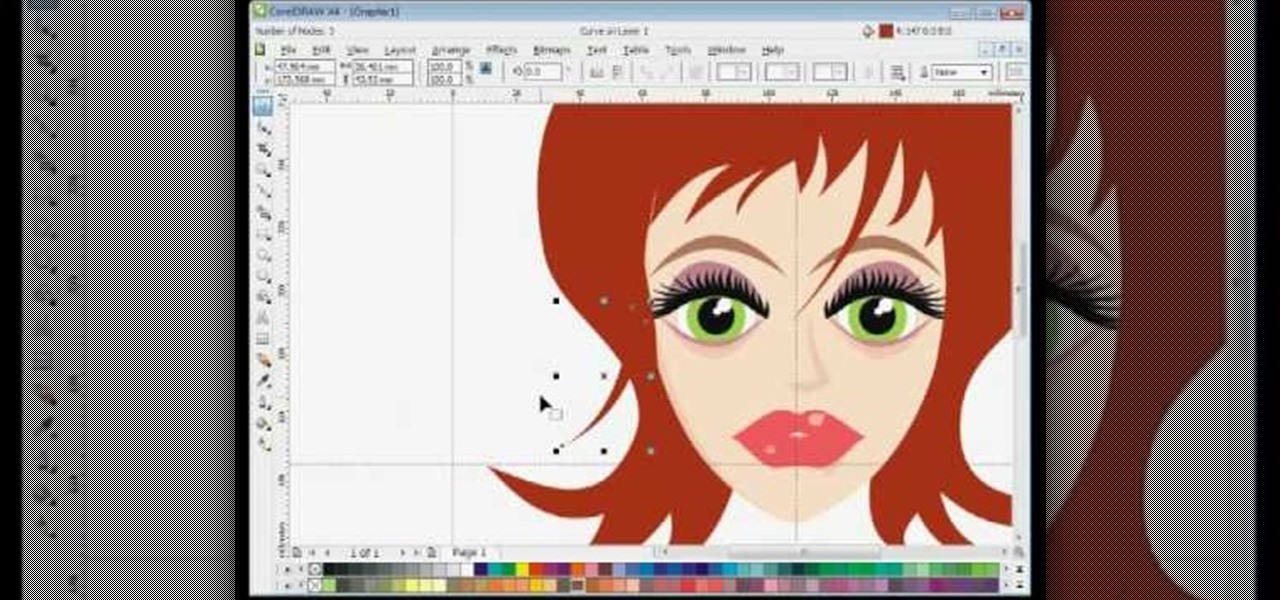
In this tutorial, we learn how to draw a female vector cartoon character in CorelDraw X4. Start out by drawing the head of the character with lines that are curved. Then, add in the pupil and color of the eye. Don't forget to add in the lines underneath and on top of the eye, as well as the creases above them. Copy and paste this to create the other eye, then add in eyelashes and eyebrows. Then, draw in a nose and shape the face. add in additional details to the face, then add in the colors t...

In this tutorial, we learn how to draw Ino Yamanaka. Start off by drawing the head, drawing lines in the center to use as reference points. After this, draw the rest of the body, including the hands, torso, and neck. Now start to draw in all of the details. Draw the eyes evenly apart, then add in frown lines, a mouth, eyebrows, and any other details of the face to make it complete. Next, start to erase the reference lines and draw in the hair of the character. Draw around your basic outline t...

In this tutorial, we learn how to draw Johnny. Start off by drawing Johnny's head, then draw a stick for his body, arms, and legs. Once finished, draw an outline over this body to create the shape. Next, draw in the hair for him and then draw his eyes in. Next, draw in the hands and arms, then a knife in his hand as well. Erase any background lines that you have drawn, then shadow and add more lines to the entire drawing. Once you have done this, add in his eyebrows and any other details to f...

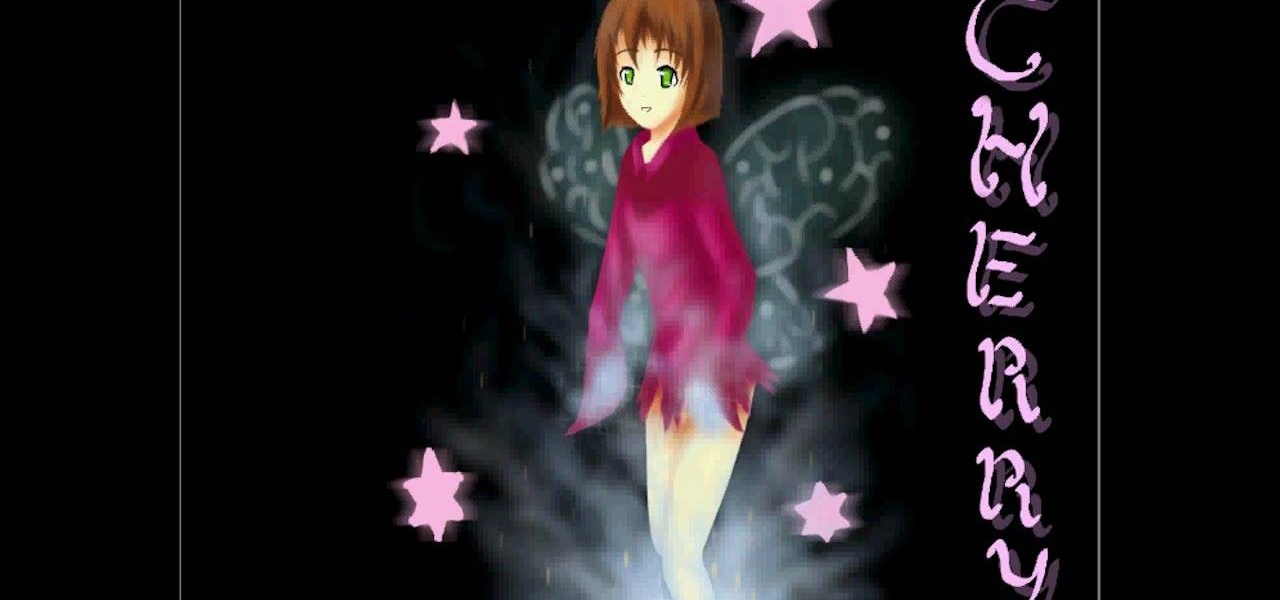
In this video, we learn how to draw a cherry fairy. First, sketch the entire picture before you start to draw in any detail. After this, draw in darker lines where you want the features of the body to go, then start to add in features of the face. Next, add in color to the face and to the outfit of the fairy. Make sure you give her hair and bangs that are surrounding her face as well. Once you have the color completed, create a white light coming from the bottom of the fairy and going up into...

In this tutorial, we learn how to draw Train Heartnet. Start off by drawing a circle for his head, then lines in the head for reference of where the features will go. Next, draw a stick for the body and draw circles where the shoulders and wrists would be. After this, draw in the neck and the upper body. Draw in the clothes after this, adding in as much detail as you would like. Make sure to add in shading and lines to make the clothes look more realistic. Next, you will need to draw in the f...

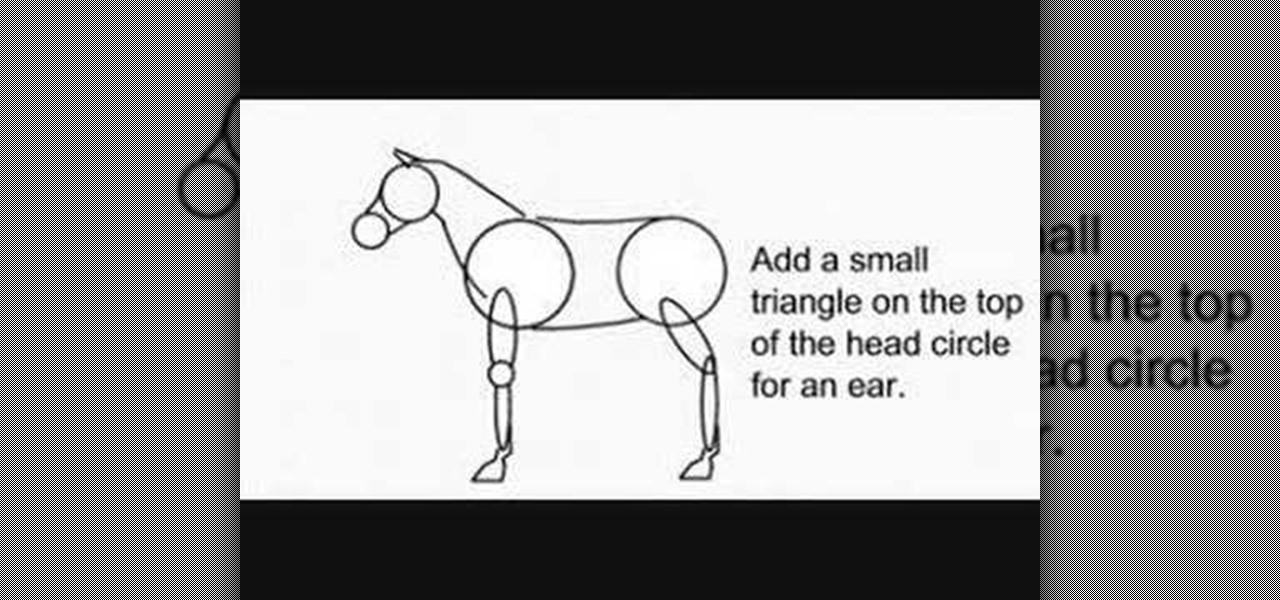
In this video, we learn how to draw a decent horse. First, start with two circles connected by two curved lines. Next, add a sausage for the top of each leg and add a small circle for the front of the knee. Then, add another for the lower part, and add two hoof outlines at the base of each leg. Then, add the back of the hooves. Next, draw two more lines that are far apart at the bottom and narrow at the top for the neck. Then, draw two circles for the top of the head and the muzzle. Join the ...

In this tutorial, we learn how to draw an anime or magna illustration on your computer. To start out, you will open up a new draft and start to create the outline of the anime together. As you continue, you will draw in darker lines that will be the outline and the details of the character as well. Erase any background lines from the drawing that don't fit in, then create new additional lines. When you're done, start to add in the facial features and details, then add in the hair and clothing...

In this tutorial, we learn how to draw Axel. Start out by drawing the head, then add in the facial features including the eyes, nose, ears, and mouth. After this, draw in the spiky hair that goes around Axel's head. Next, draw the neck and shoulders. Continue to draw down the body until you reach the feet. Add in the details of what the character is wearing, using lines on the clothing to make it look more realistic. After this, you will need to draw in shadowing on the drawing to make it loo...

In this tutorial, we learn how to draw Husky. First, you will start by drawing the dorsal fin of the character. After this, draw the rest of the body including the lower and upper body. Also make sure you draw the head. Now, draw the arms crossing, then go over the drawing with a harder pressed pencil. Draw in the details of the face, then start drawing in the details of the fins and the upper body. Once the details are in, draw the hair and add in some scales along the entire body. Once fini...

In this tutorial, we learn how to draw a female anime or manga school girl. Start out by drawing the outline of the character, then drawing in the details along the middle and the body of the character. Use circles inside the body to create a references as to where the body joints would be. Then, draw in clothing on the body and add a sword in the hands of the girl. After this, draw in additional details to the drawing and then focus on the face. Draw in the facial details, then add the hair ...

In this tutorial, we learn how to make a clown punch using Stampin' Up! products. You will need: a red scallop circle, green key punch, orange scallop circle, heart shape, circle, oval, red circle, flower, black eyes, and a yellow small circle. After you have these punched out, make the hat out of the green large and oval shapes, then apply the flower to the top of the hat. Next, glue the circle behind this, then cut up the orange and red scalloped circles to create hair on the sides. Next, a...

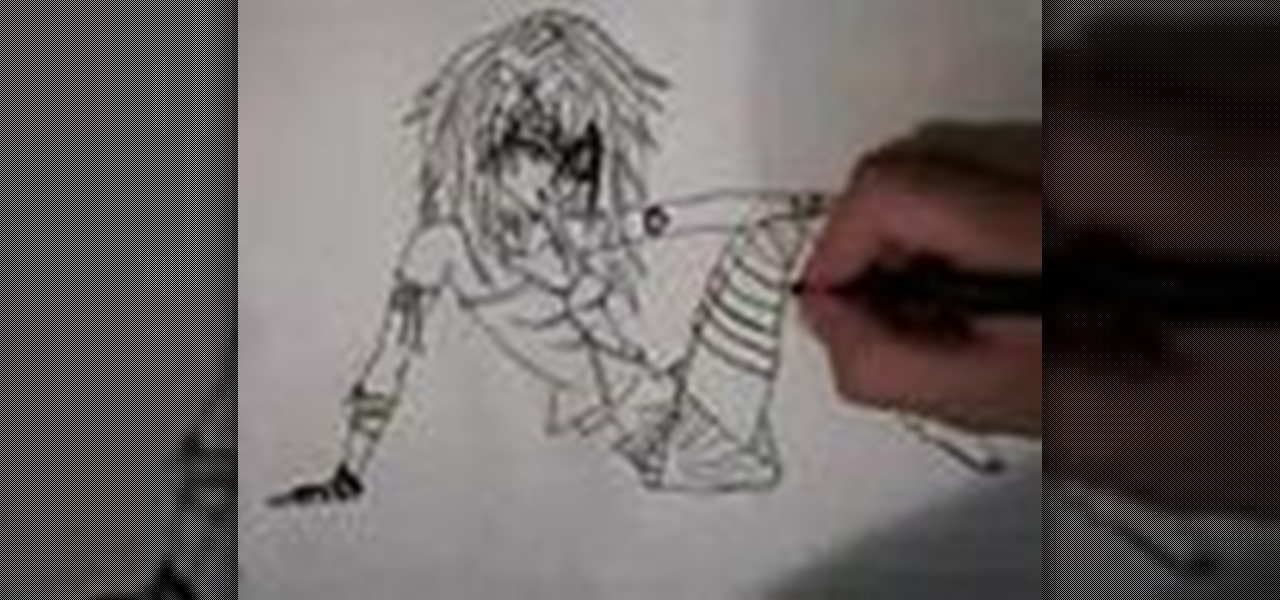
In this tutorial, we learn how to draw a manga cute emo girl. Start out by drawing the outline of the body, then add in the surrounding details. After this, use a darker marker to draw in the outline and the rest of the details inside the character. Make sure to draw in hair and all of the facial features to make her look feminine. Draw down the rest of the body, giving her a woman's shape and cleavage. Also make sure to draw on a pleated skirt and a tank top. Draw on the legs and feet, with ...

In this video, we learn how to draw Gaara. Start off by drawing the head of the character, then creating your reference lines. Next, you will draw the neck and then create circles for where the shoulders are at. Now, draw around these to create the outline for the entire body. Next, draw in the details of the upper body, using lines to show where the pecks are and then draw in the outfit that Gaara is wearing. Next, draw in the chin and the jaw bone, then the ears and all the facial features....

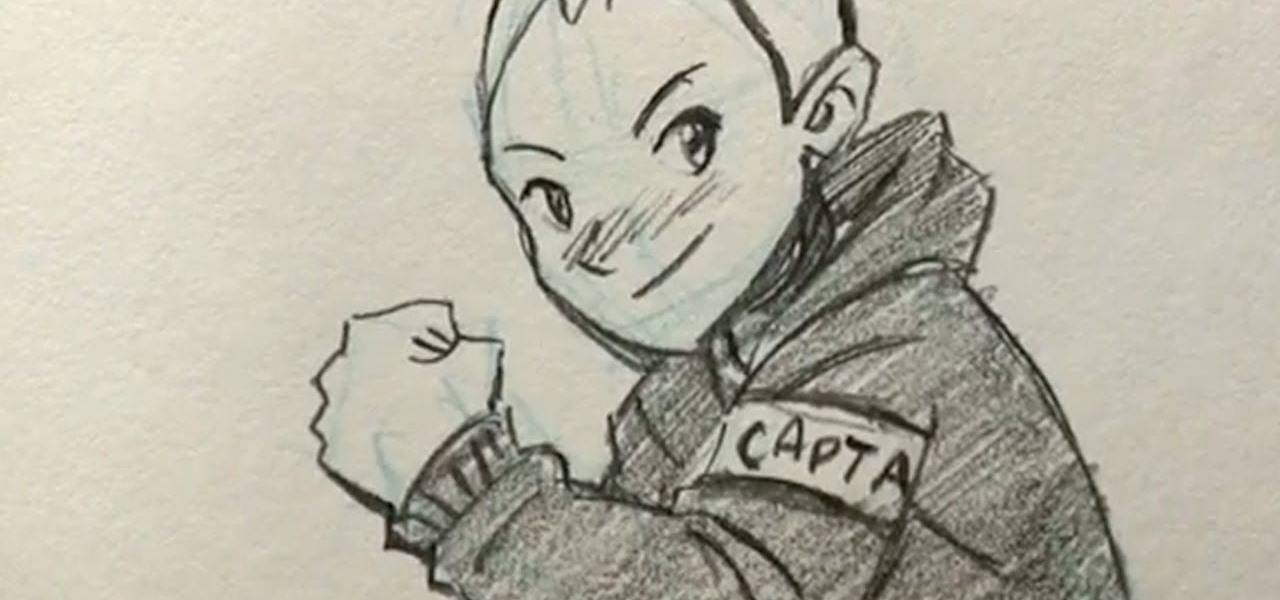
In this tutorial, we learn how to draw a teenage manga boy. Start off with the outline of the boy in a light blue pencil. Next, take a dark pencil and draw over the outline, adding in details and clothing to him. Draw in the features of the face and add in short spiky hair on his head. Then, draw in the details of the clothing, making sure to add in lines to make the folds in the clothes. Next, continue to draw in the rest of the boy, then finish with the feet and pants. When you are done, sh...

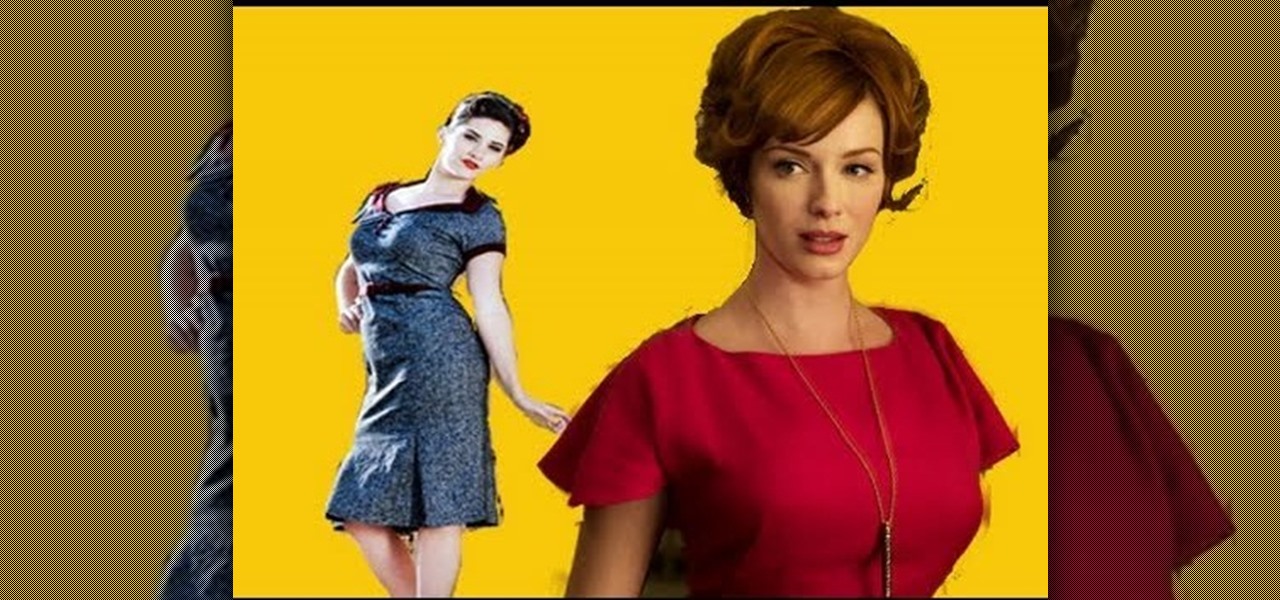
Oh, how we wish we could live in the "Mad Men" era. We'd forgo the lack of women's rights (the women's right's movement was at the time still gaining speed), but we would totally love to raid Joan Holloway's fantastic wardrobe and learn her hair and beauty secrets.

You'll feel a sense of great victory once you've completed a set of victory rolls because they sure are hard to do! But don't let the difficulty level of this retro '40s and '50s hairstyle deter you from creating one of the most romantic looks we've ever laid eyes on.

We're all into modern hairstyles, but sometimes a retro 'do helps take us from blah to positively glamorous in just a few minutes, which, well, we don't mind. Check out this hairstyling video to learn how to create a rockability hairstyle inspired by pin ups and women of the 1950s.


