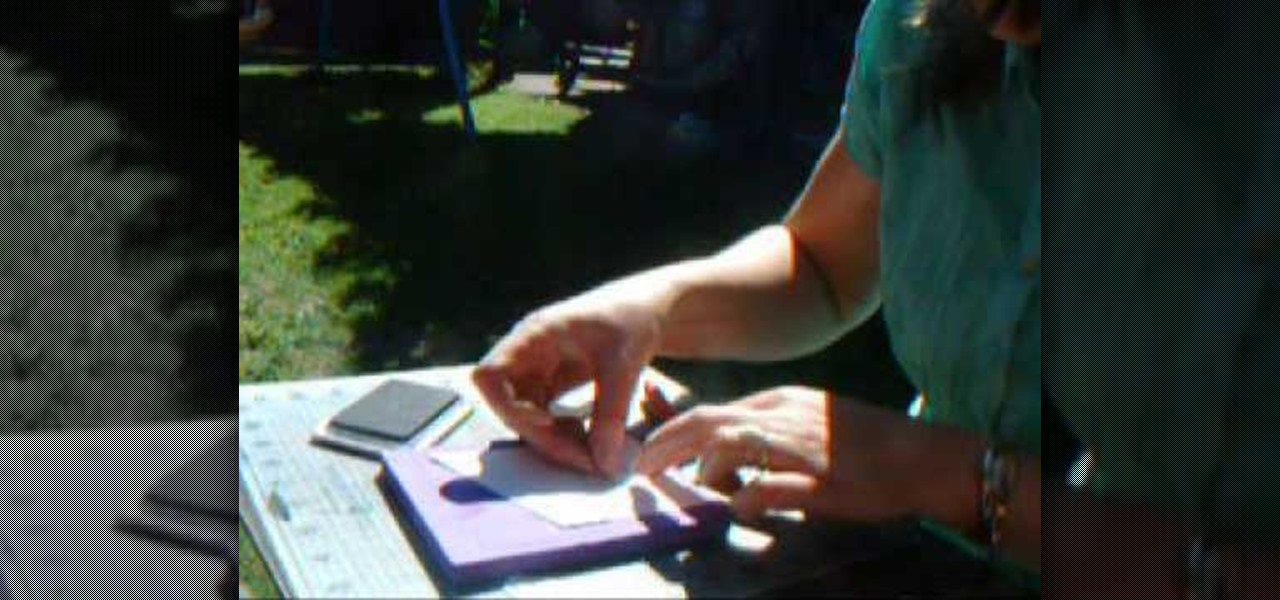
In this tutorial, we learn how to create a crafters tool caddy for your desk. First, you will need to gather a few pieces of chip board coasters and cut them to the specifications you would like your caddy to be. After you have done this, put your caddy together by locking them together using cut lines inside the middle of each of them. Once you have finished this, place additional pieces of chip boards inside to create different sections of the caddy. Once you are finished, place in your mat...

In this video, we learn how to draw Gaara. Start off by drawing the head of the character, then creating your reference lines. Next, you will draw the neck and then create circles for where the shoulders are at. Now, draw around these to create the outline for the entire body. Next, draw in the details of the upper body, using lines to show where the pecks are and then draw in the outfit that Gaara is wearing. Next, draw in the chin and the jaw bone, then the ears and all the facial features....
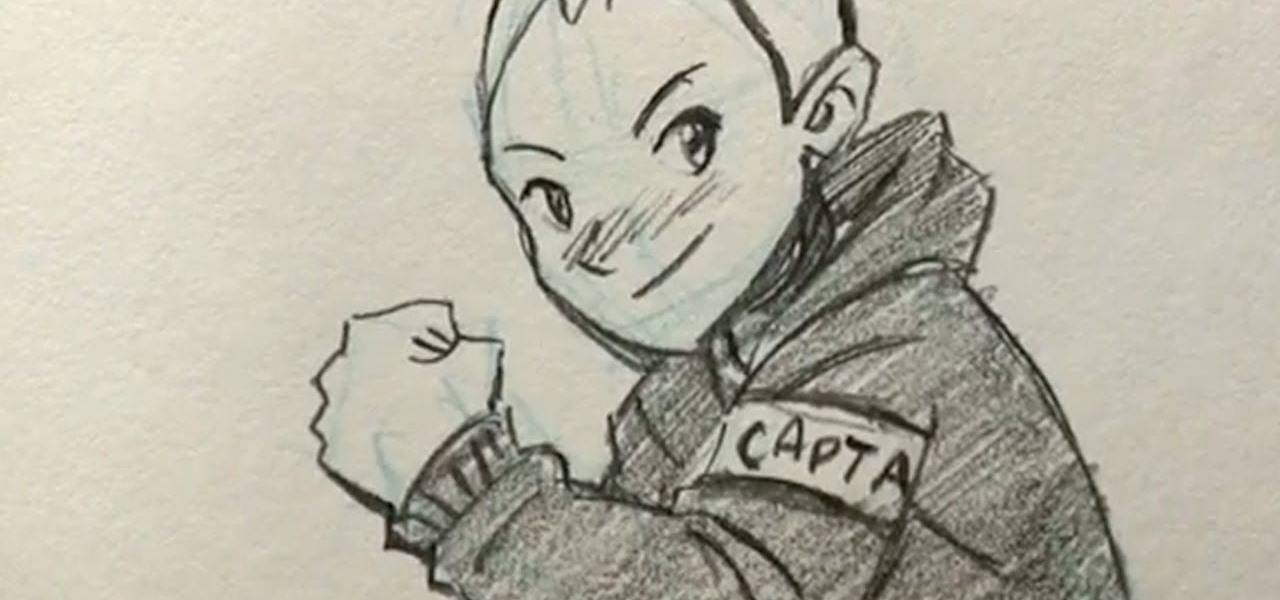
In this tutorial, we learn how to draw a teenage manga boy. Start off with the outline of the boy in a light blue pencil. Next, take a dark pencil and draw over the outline, adding in details and clothing to him. Draw in the features of the face and add in short spiky hair on his head. Then, draw in the details of the clothing, making sure to add in lines to make the folds in the clothes. Next, continue to draw in the rest of the boy, then finish with the feet and pants. When you are done, sh...

This Halloween, forget store-bought prosthetics and expensive makeup artists. If you're looking for that creepy undead look, nasty nails are easily made at home. This video will show you how to make some horrific and ghastly fingernails for your zombie, vampire or other creature costume. The key to these Halloween nails are clear plastic report / presentation covers that you can get from any office supply store.
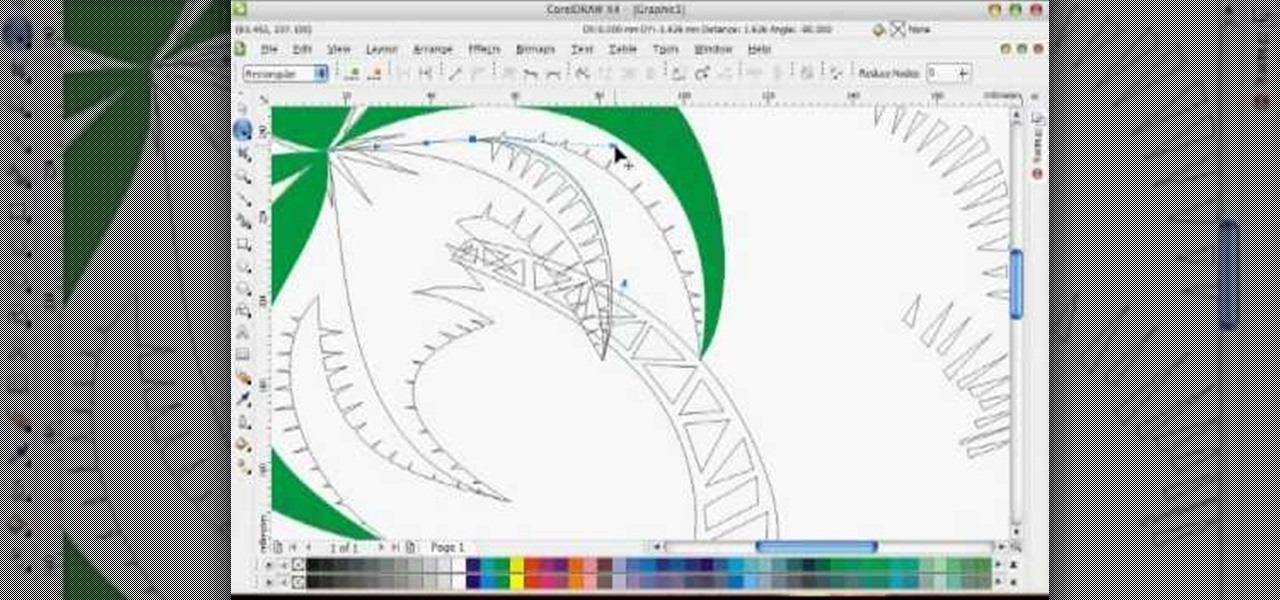
In this tutorial, we learn how to draw a vector art palm tree in CorelDraw X4. Start off in the CorelDraw program and create the base of the tree with a drawing tool in black. After this, draw small triangles inside of the base of the tree and then draw the leaves and branches of the palm tree. Fill this in with small spikes and then erase the middle nodes. From here, use a shaping tool to make the spikes on the palm tree more rounded and lifelike. After you do this, start to color in the ent...

In order to build Google Chrome extensions, you will need to familiar with scripting and codes. These are small programs that add additional functions for programmers. It is a compressed directory. These files must have a particular name: i.e. "manifest" (manifest.json). An extension will have at least one of the following: browser actions, page actions, content scripts, and utility web files.

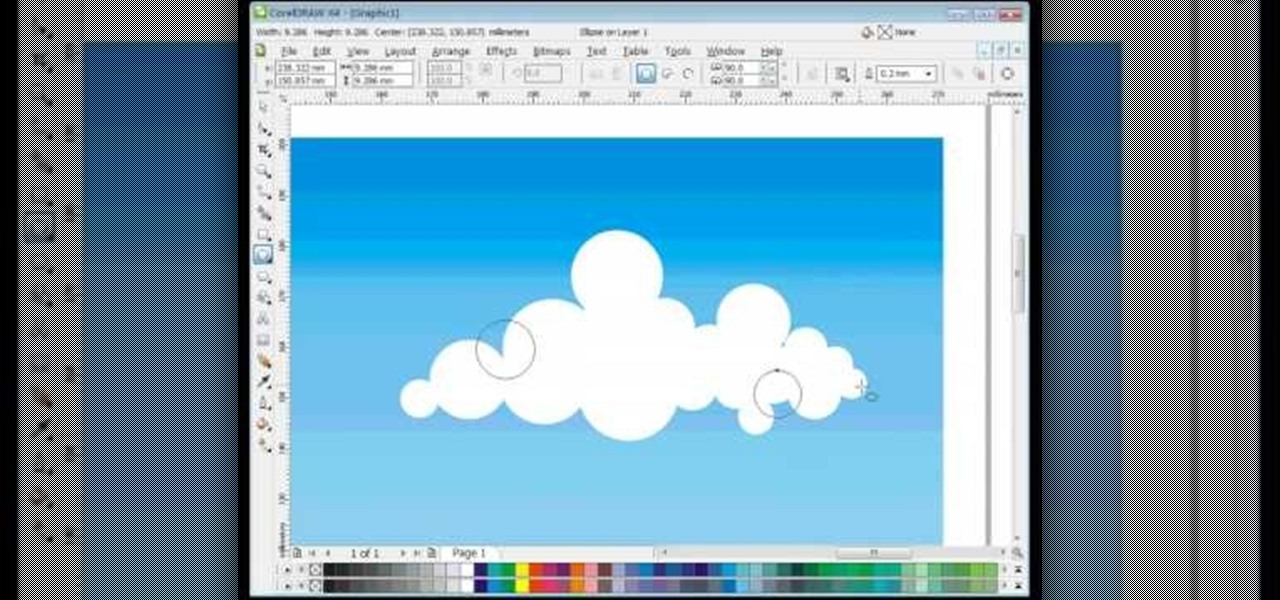
In this video, we learn how to draw vector clouds in CorelDraw X4. First, open the program and make a circle using "ctrl+shift". Make these circles touching and overlapping each other on the top of the page. After this, select all and then weld it. Next, press "ctrl+k" to break the curves apart, then erase the parts inside of the clouds. When this is done, select all, then copy and paste for additional clouds. Trim the bottom to make the clouds sit on a mountain or straight edge, then you are...

In order to perform a perfect six o'clock, you will need to, first, begin by increasing your strength and flexibility. Partner stretches may be beneficial to you, in order to increase your flexibility. This will be of additional benefit to you, if you've pushed yourself as far as you can go alone in individual stretches. When you are adequately limber, begin by stepping forward with one leg. Turn out and engage the front leg, as you transfer your weight to it. When the foot is planted, swing ...

In order to prepare Rustic White Beans with Garlic and Rosemary you will need the following: rosemary, garlic, white beans, yeast flakes, granulated onion, bouillon cubes, smoked paprika, dried parsley, a bay leaf, salt, pepper, sage, garlic, and tomatoes.

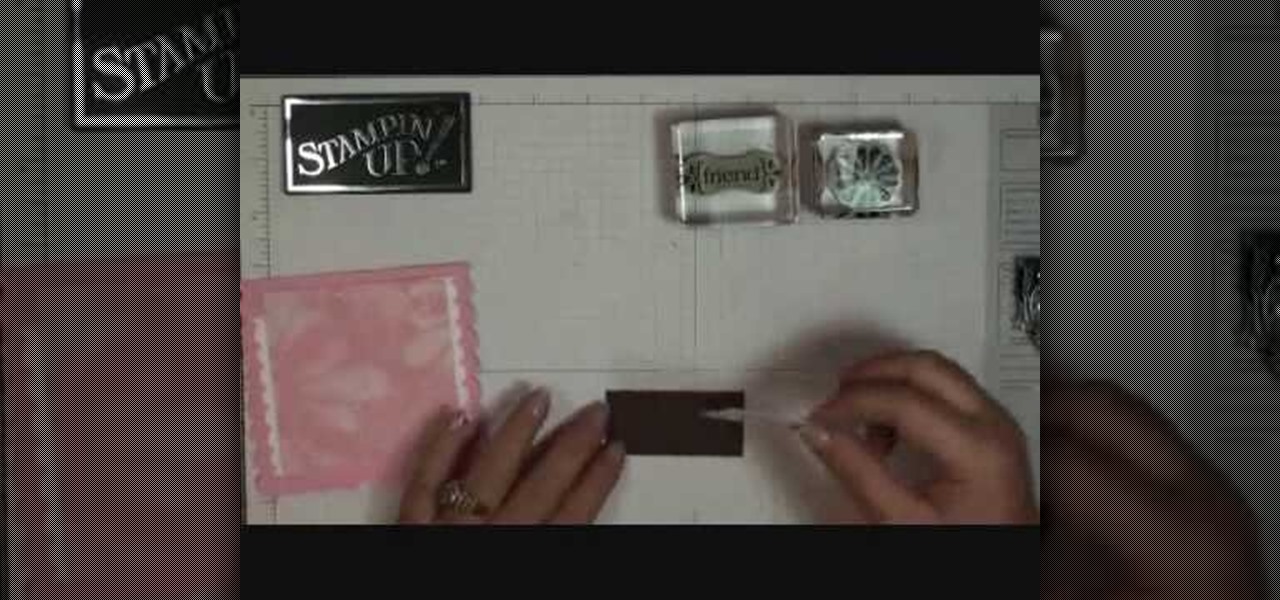
In order to make a scallop square card with Stampin' Up, you will need the following: a big shot, a large scallop square # 115950 Bigz Clear die, stamps, adhesive, design paper, mini glue dots, decorative ornaments, and card stock.

For both the bride and groom and the guests, beach weddings are a little messier to deal with. And when it comes to dressing and getting your hair and makeup ready, there are the additional considerations of practicality (you're going to be trotting on sand, after all) including how to do your hair so the wind won't whip it into a frizz cloud and how to apply makeup so it won't all slide off before the "I Do."

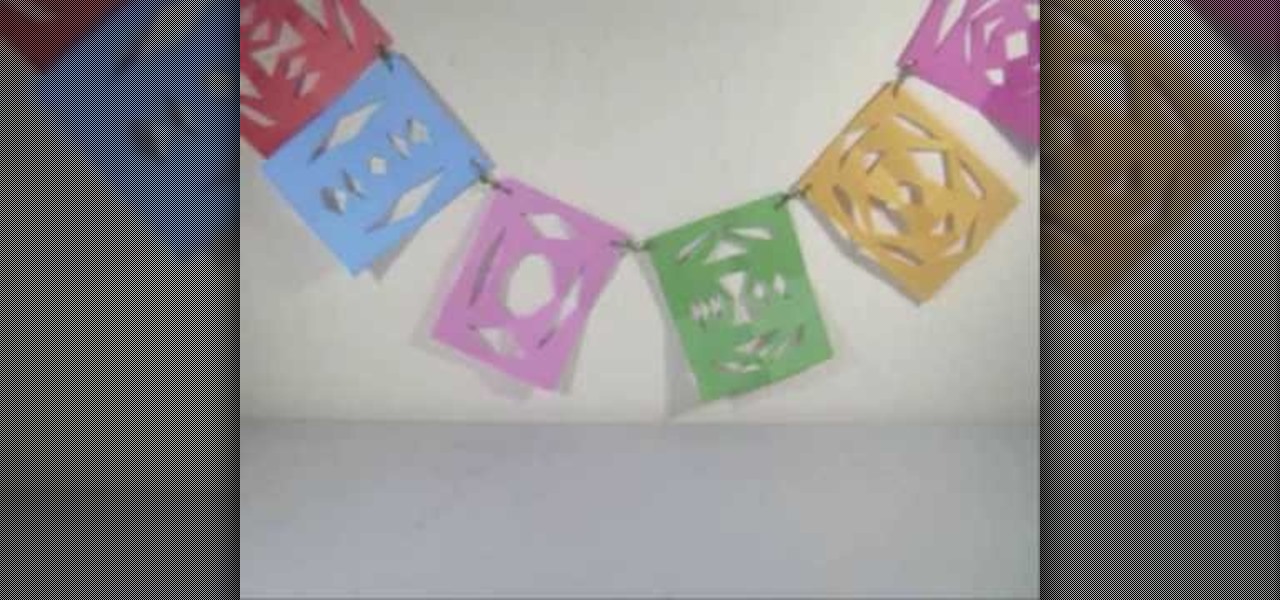
In this video tutorial, viewers learn how to make a colorful paper banner. This task is very easy, fast and simple to do. The materials required for this project are: construction paper, yarn, scissors and a hole puncher. Begin by folding the construction in half. Then fold it in half on again. Now cut pattern on the side edge of the paper and repeat this process for additional paper. Open the paper to reveal the symmetrical cut out pattern. This video will benefit those viewers who are inter...

In this video, we learn how to draw Hamtaro. Start off by drawing the large head, followed by the body and the ears. After this, draw the arms and legs onto the character. Next, outline the drawing in a darker pen, then add in additional details. Draw on the eyes, nose, and pupils. Don't forget to draw on the paws and feel as well as lines to make it look like fur. To finish up this picture, you will need to add colors to the hamster. You can go with the traditional colors, or change them up ...

In this tutorial, we learn how to draw the anime character Tobi. Start off by using light pencil markings to outline the face and the head. After this, use a marker to draw in the eyes and pupils. Next, draw in the eyebrows over the eyes, then make a small mark for the nose. Draw in a line for the mouth, then make one of the eyes a diagonal line, like the character is winking. Start to outline the chin, then draw in the ears and start making the hair. The hair should be spiked and going down ...

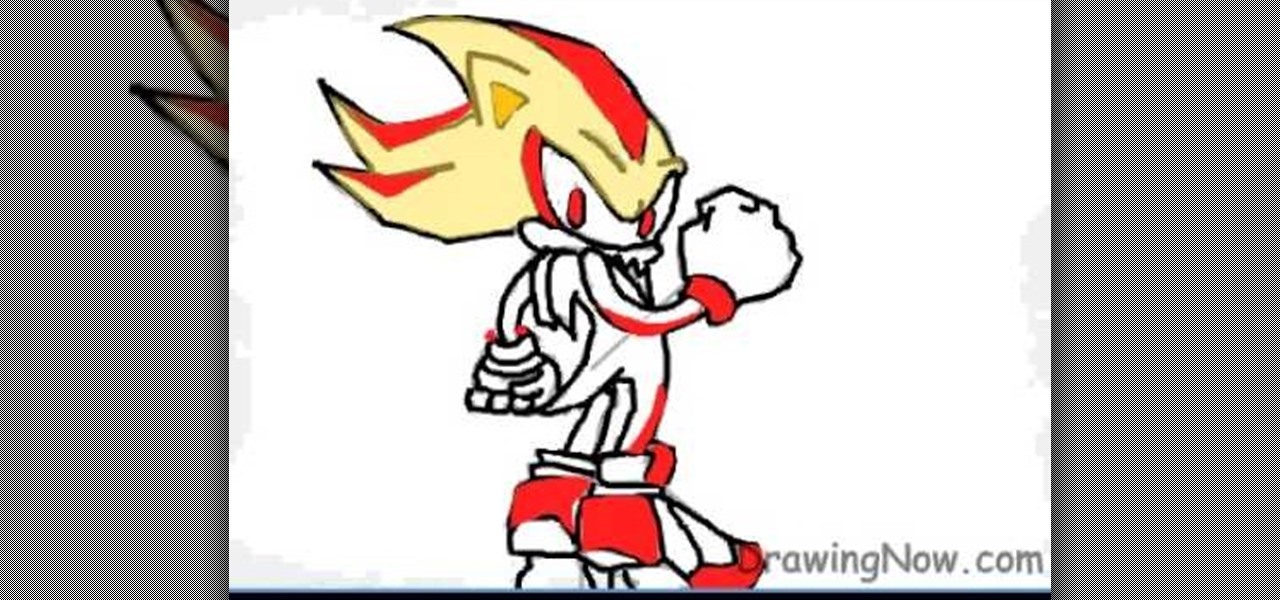
In this tutorial, we learn how to draw Super Shadow from Sonic the Hedgehog. Start off by drawing the spikes for the hair, then draw the ears and the eyes on the face. After this, draw the arms, upper body, lower body, and legs. When you are finished with this, use a dark pen to outline the cartoon character and draw in any additional details. Next, you will add in colors to the character, using reds on the outside of the hair and legs, then orange and tan on the inside. Finish this off with ...

In this video, we learn how to build a canvas frame stretcher. First, you will need to choose lumber that is the size you want your stretcher to be. After you do this, use a hammer and nails to connect all of the pieces of wood together so you have a square shape. You will need to hammer in a lot of nails so the frame stays in place. Use a saw if you need to cut any points down or make it smaller than you have it. When you are done, screw any additional nails into the frame and make sure ever...

Some may think it's impossible, but it could be… tethering your Motorola Droid X to your Mac OS X computer without paying for Verizon's expensive Mobile Hotspot, without rooting the Droid X, and without installing any additional Android applications. It does sound impossible, but for some, it may not be.

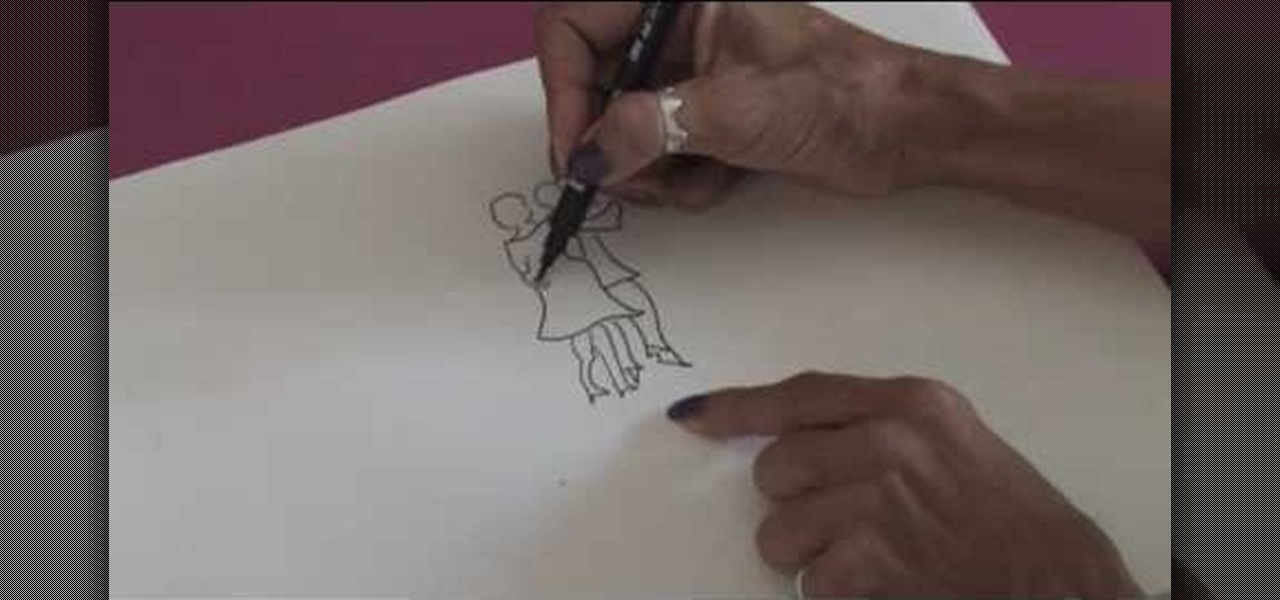
In this video, we learn how to draw people in motion. Start off by drawing a shoulder and an arm. After this, draw the body, then continue down to draw the legs. Next, draw the head on the body and draw the second body dancing with the first one. Draw the clothes on then add details to make it look more realistic. Once you add lines in around the people, it gives the illusion of them moving their feet. Draw in the dance floor, then finished with additional lines around the figured. When done,...

In this tutorial, we learn how to draw a husky puppy. Start off by drawing the head, don't use a straight line at the top, make it look like it has hair. After this, continue and draw teeth and a tongue hanging out of the dog if you want it to look happy. Next, add ears to the top of the head and eyes to the face. Give the dog markings and pupils on the eyes. Then, add the nose on with a button shape at the top. Draw out the collar and chest of the dog, then add on the two front feet, the bel...

When you're downloading a torrent the speeds that you see are determined by the trackers you're using. In this clip, you'll see how to speed up torrent downloads by finding additional trackers for your torrents. It's easy! So easy, that this video tutorial can present a complete, step-by-step overview of the process in about two and a half minutes. For more information, including detailed, step-by-step instructions, watch this video guide.

In this tutorial, we learn how to fill out a Canadian permanent resident application. Before you start, make sure you have all your personal information with you. After this, begin the application by filling out all the different sections. You must answer every question on this application or it will be deemed incomplete. You will be asked your address information, employment information, family information, and many other things. When you finish you application, you may be asked to provide a...

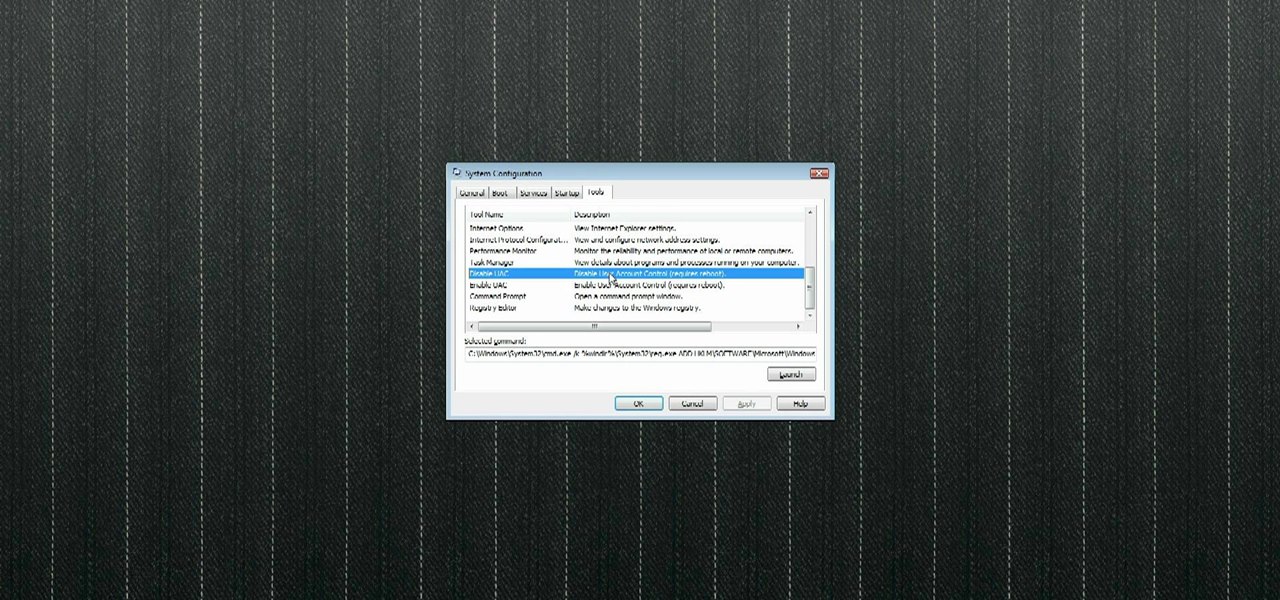
In this video tutorial, viewers learn how to disable the User Account Control in Windows Vista. Begin by clicking on the Start menu and select Control Panel. Then click on User Accounts and Family Safety. Now select "Add or remove user accounts". Then click on "Go to the main User Accounts page" under Additional things you can do. Now click on "Change User Account Control settings" and deselect the box. Finish by clicking OK and restart your computer. This video will benefit those viewers who...

In this tutorial, we learn how to draw a fun bunny doodle. To begin, draw an upside down triangle with two straight lines coming out of the top middle. Next, draw a half circle over the eyes, then draw two large bunny ears on top of the half circle. Then, connect the curls on the end of the ear to the bottom of the head. Now, do an additional line to make the inside of the ear. After this, draw another circle around the bottom of the face, then draw a line with two humps at the bottom of the ...

Creating cool background for videos is just one of the many awesome things that you can do using Adobe After Effects to do your effects editing. This three-part video will teach you how to create animated backgrounds and add additional text with flare. The results look very cool, as will your video after your apply these lessons.

Okay, so adding chocolate to fruit sort of takes away all nutritional value, but who cares when your chocolate-dipped mangoes and pears taste this yummy?

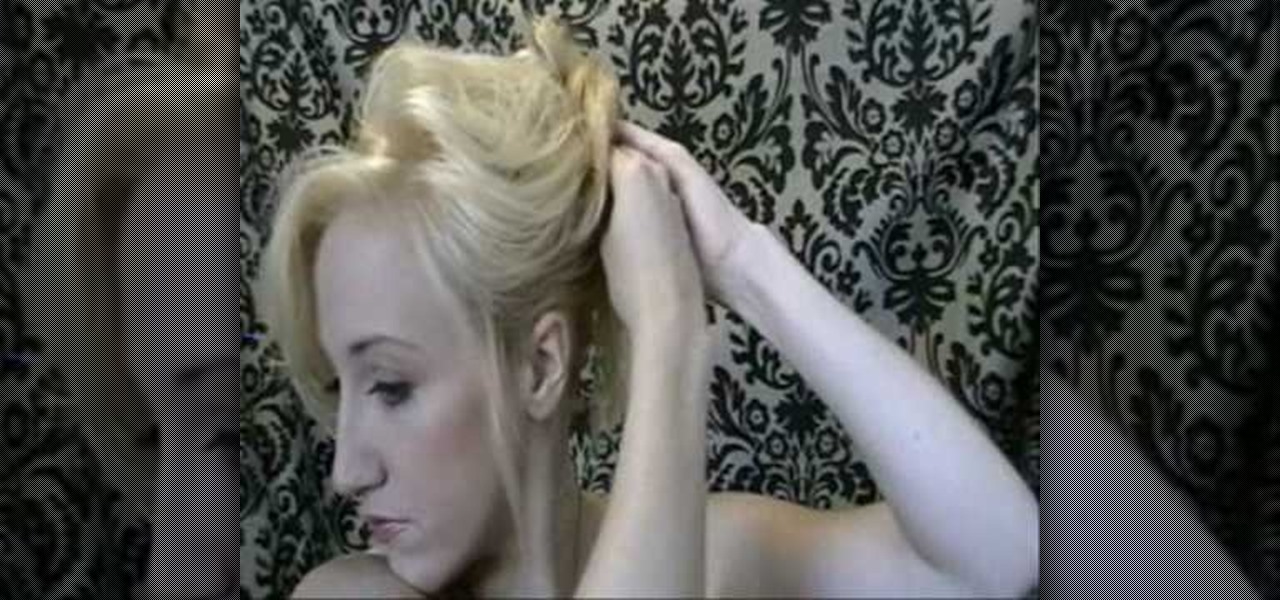
To make the country bump hairstyle as seen on Carrie Underwood, Dean Banowetz, a stylist from American Idol demonstrates for BeautyTV. First, he takes a section of hair from the forehead to the crown and from the center of one eye to the other. Then he sections it from side to side and back combs the hair lightly to create the bump in the front. Additional back combing or a tail comb can be used to increase the volume of the bump as desired. After smoothing the top layer of hair over the bump...

There aren't any words in the silent instructional tutorial video, but if you watch carefully, you'll learn the exact steps necessary to create a phenomenal looking shooting star or comment with nice looking special effects that are achievable in Photoshop. First you'll select a circular region with the selection tool, then you fill it with white. Next you'll use brush settings to create a brush stroke that straight and fades over time to create the comet's tail. Then you'll use Photoshop's l...

In this Software video tutorial you will learn how to sharpen blurry images using Photoshop. Open the image and duplicate the original layer. Then go to filter > other > high pass. In the window that pops up, enter a value of 4 – 6 pixels. Now simply change the blending mode of that layer to overlay by clicking on ‘layers’ and selecting ‘overlay’ from the dropdown menu. You will notice that you have a much clearer picture. Then go to filters > sharpen > ‘unsharp mask’ to add som...

Microsoft has released its latest rendition of the Windows operating system, Windows 7. Windows 7 succeeds Windows Vista and comes with many improvements and useful updates. To install the update one a personal computer running Windows, a backup of the user's personal files and data onto a detachable hard drive is recommended to prevent data loss during the update process. The ISO image of the Windows 7 OS is burned onto a DVD. A partition is optionally created on the user's computer to allow...

In this how-to video, you will learn how to connect a USB hard drive to your Xbox 360. This will be useful if you want storage for additional media and do not have enough space for it. First, turn on your system and then go to disk management and delete the partition. Back up any data before doing this. Next, create a new partition on the drive. Set it to FAT32 and enter a name for the label. Your USB drive will now be used on your Xbox 360. This video shows how easy it is to connect a USB ha...

Learn Languages shows us how to say the days of the week in French, and then ask what day it is. Starting with Monday, the presenter familiarizes us with the French names lundi, mardi, mercredi, jeudi, vendredi, samedi, and dimanche. He also points out that it is important to not capitalize these words. We start slowly, then pick up the pace and say them in sequence more quickly. The presenter follows this up with a short quiz, to make sure we remember the names. We are then presented with a ...

In order to make an accordian- fold style greeting card, you will need a piece of card stock, glue or adhesive, scissors, markers, and stencils/stamps. Cut the cardstock in a diagonal. Fold the card into 3rds, lengthwise. Cut a 5 x 3 ¼” panel at an angle. Use Masking Magic and stamp the excess card stock. Cut out your stamp designs. Color in your designs with Sharpie brand permanent marker pens. Glue the 5 x 3 ¼” cut piece to the card, or you could use 2 sided tape. If you have addition...

In this video tutorial, viewers learn how to announce alerts on a Mac OS X computer. To do this, open the Speech preferences and click on the Text of Speech tab. There, users are able to set up the computer to announce when alerts are displayed and announce when an application required your attention. Users are able to set additional options by clicking on Set Alert Options. Users are able to select a different voice, phrase and delay time. To preview the option, click on Play. This video wil...

This video demonstrates how to make Asian Marinated Chicken with Rice. For this recipe, you will need an Asian marinade/salad dressing, olive oil, soy sauce, rice, frozen chicken breasts, and utensils.

This video shows you how to make Curry Chicken. For this recipe, you will need the following ingredients: boneless chicken breasts, onions, black pepper, two (2) white potatoes, Jamaican curry powder, and garlic powder. In advance, you will want to prepare rice and set aside. For utensils, you will need a skillet and a spoon.

This video illustrates the method of making a eco-friendly earth wallet at home. You will need a paper sheet , glue and a pair of scissors.This can be done as follows -Step 1Take a sheet of paper and fold it so as to create a envelope. Glue it properly to ensure it is bonded properly.Step 2Repeating the above procedure , make two more such paper envelopes - One with a smaller size while the other one a bit bigger.Step 3Stick these envelopes together. Now , using the scissors cut the ends of t...

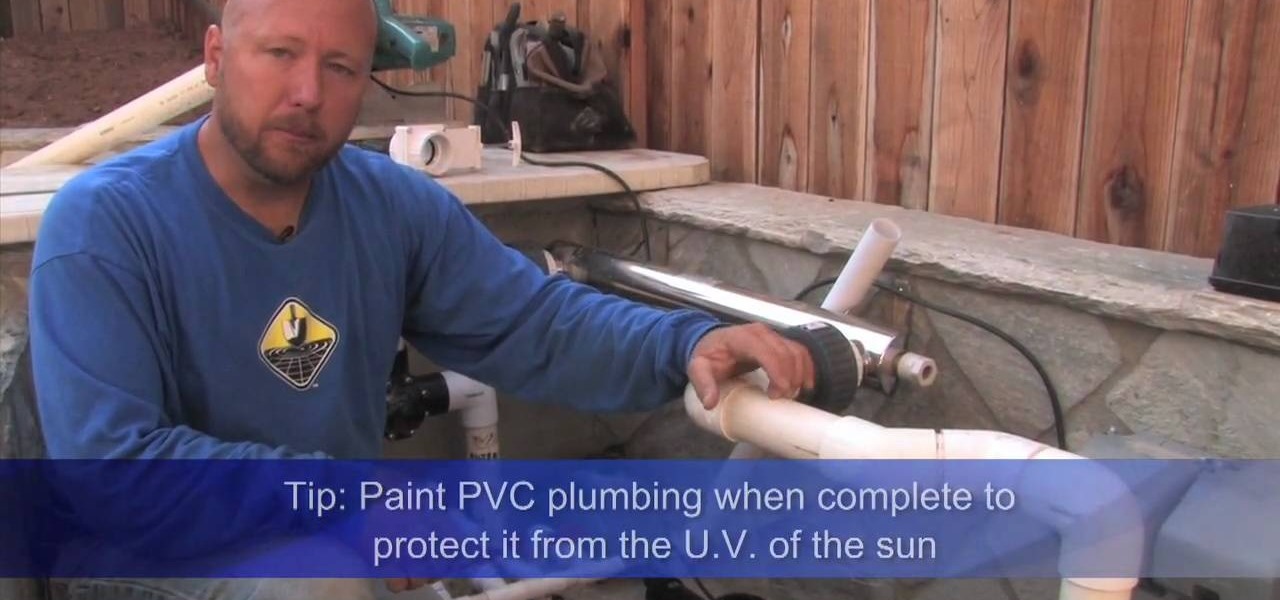
The Pond Digger demonstrates how to set up plumbing for a pond. First, sleeve all pipes coming through the cement foundation to protect the plumbing from elemental stress and provide additional flexibility. Next, use a clear primer and a clear glue to seal areas where you need a clean, finished looking product. Paint the PVC piping to protect it from the sun's UV rays and prevent from becoming brittle. If you need to do cutting, use a chop saw for a quick, clean and efficient cut. Extend the ...

This video shows us how to organize our closet without breaking the bank. As summer comes around and winter is finishing up, it’s time to do some spring-cleaning. Some tips to help get additional space in your closet: Tip 1. Use your luggage to store winter items not used during the summer. Tip 2. Use those old boxes that have just been piling up to store items. Tip 3. Invest in a hanging shoe bag to preserve the shoes you love. Tip 4. Invest in a clear storage rack where your accessories can...

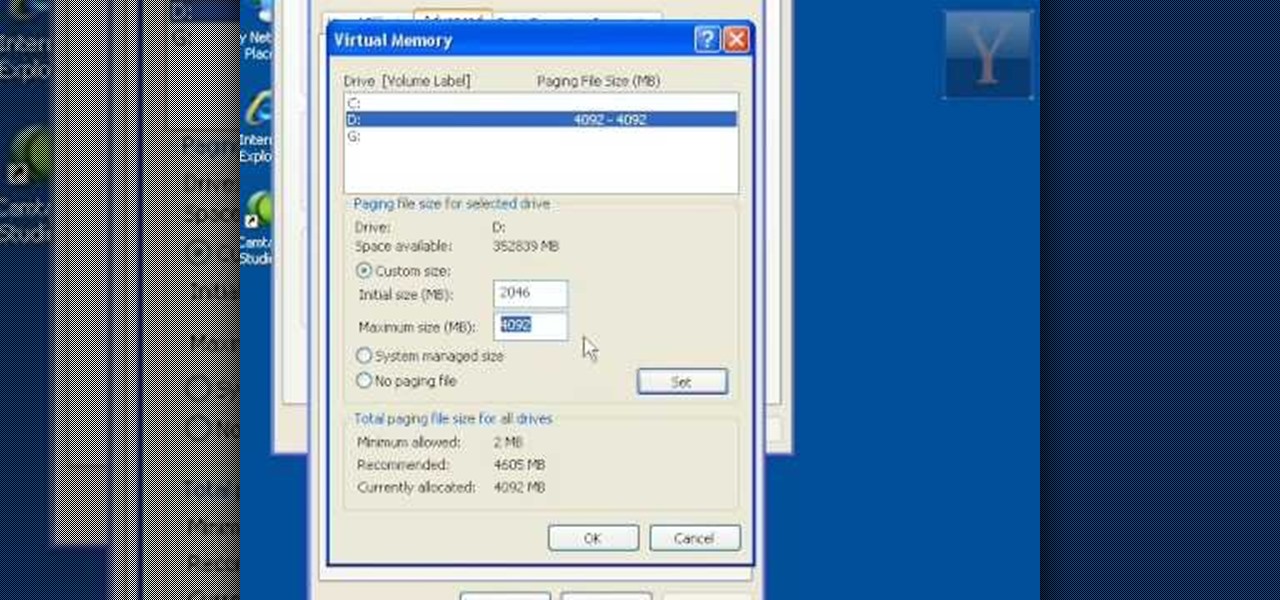
This video demonstrates how to increase your computer's virtual memory in Windows XP. To increase virtual memory in Windows XP: - On your desktop, right click on My Computer then select Properties. - On the System Properties Window, click on the Advanced tab. Under Performance, click Settings. - A new window should appear, click on Advanced tab, look for Virtual Memory then click Change. - The virtual memory window should now appear, select your main hard drive (usually C: ), then you can set...

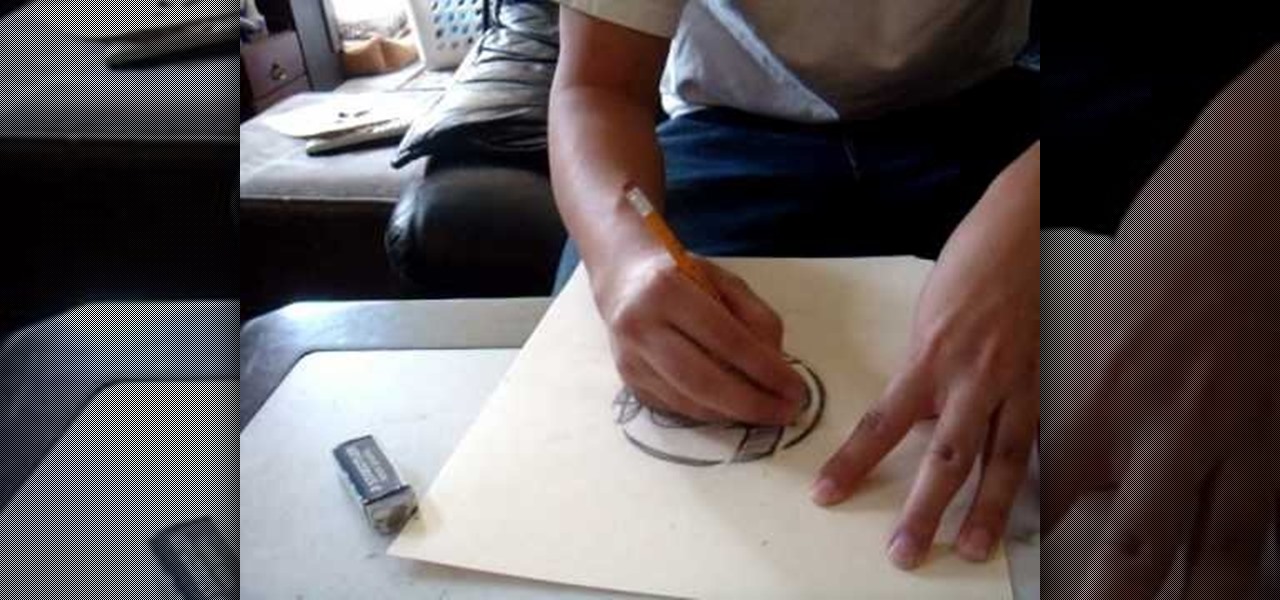
This video gives instructions on how to make a stencil from a manila folder and a number of additional supplies. Supplies required aside from the manila folder include an X-acto knife, a pencil, an eraser, and a cutting board, the cutting board and manila folder are recommended. First step to producing the stencil is to draw an image to serve as the stencil pattern. After making the design, cuts must be placed in the design known as 'Bridges', bridges are links in the design which holds the p...


