Street Fighter IV : Rufus may be portly, but his size obviously doesn't slow him down. Street Fighter IV is a 2008 fighting game produced by Capcom. Street Fighter IV is currently released for PlayStation 3 and Xbox 360, with a Microsoft Windows version in the works as well.
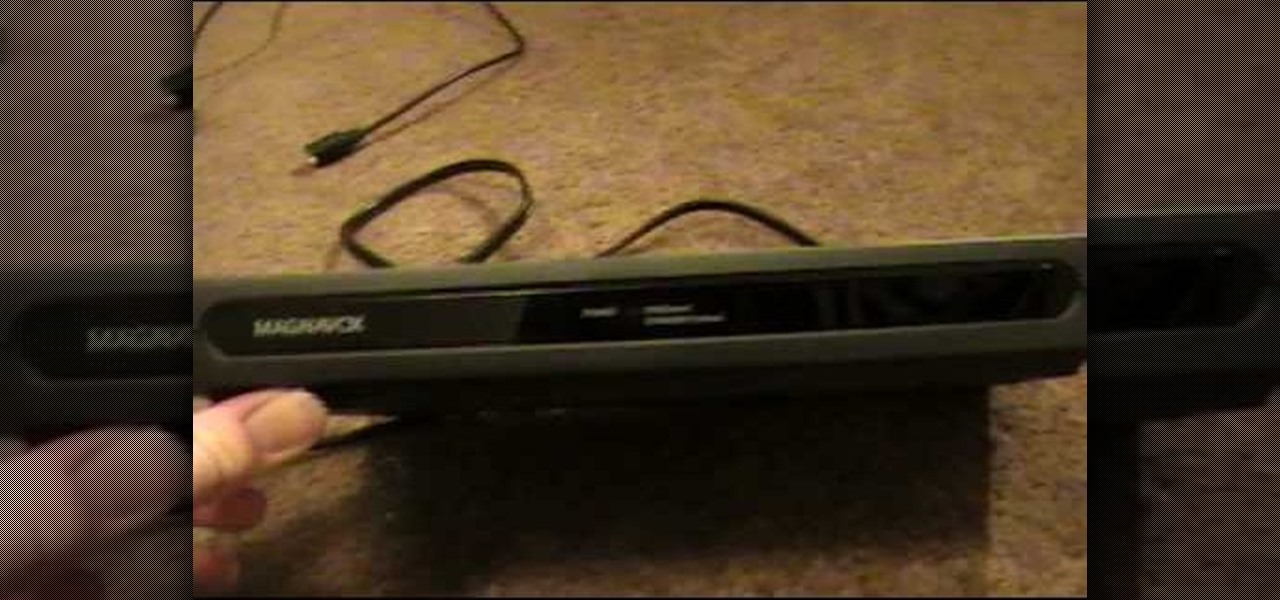
Are you still watching television with an analog signal? If so, your TV may no longer work after February 17th, 2009. There is one easy fix to this problem though. There are many different kinds of convertor boxes out there, and the government is offering forty dollar coupons that you could use to get these digital-to-analog (DTV) converter boxes.

Check out this instructional acoustic guitar video that shows you some basic techniques to play percussive guitar. This is a series explaining some of the basics of percussive playing. These are the chords used in this lesson:

In this tutorial, Mike Lively of Northern Kentucky University gets you started in getting the Adobe Air Content Management System up and going.

Learn how to do squat thrusts. Presented by Real Jock Gay Fitness Health & Life. Benefits

Want to beat level 1-38 of Slice It! for the iPad? Learn how with this gamer's guide, which presents a full, slice-by-slice walkthrough for stage 38 of Com2us's popular iOS puzzle game. For complete details, watch the video!

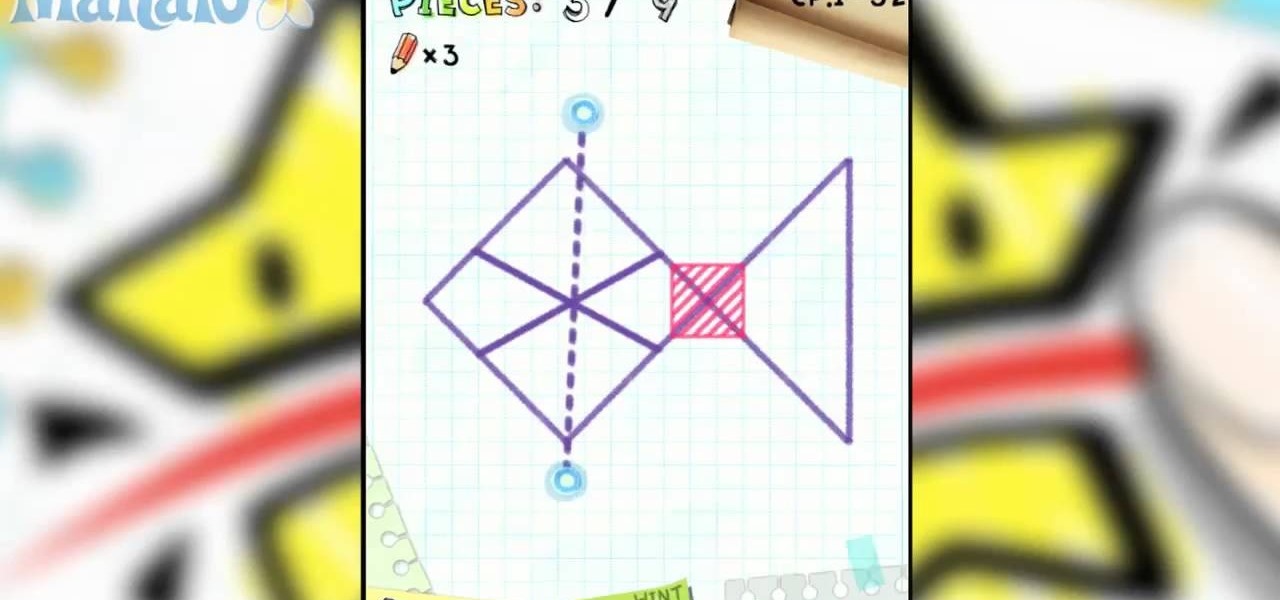
Want to beat level 1-32 of Slice It! for the iPad? Learn how with this gamer's guide, which presents a full, slice-by-slice walkthrough for stage 32 of Com2us's popular iOS puzzle game. For complete details, watch the video!

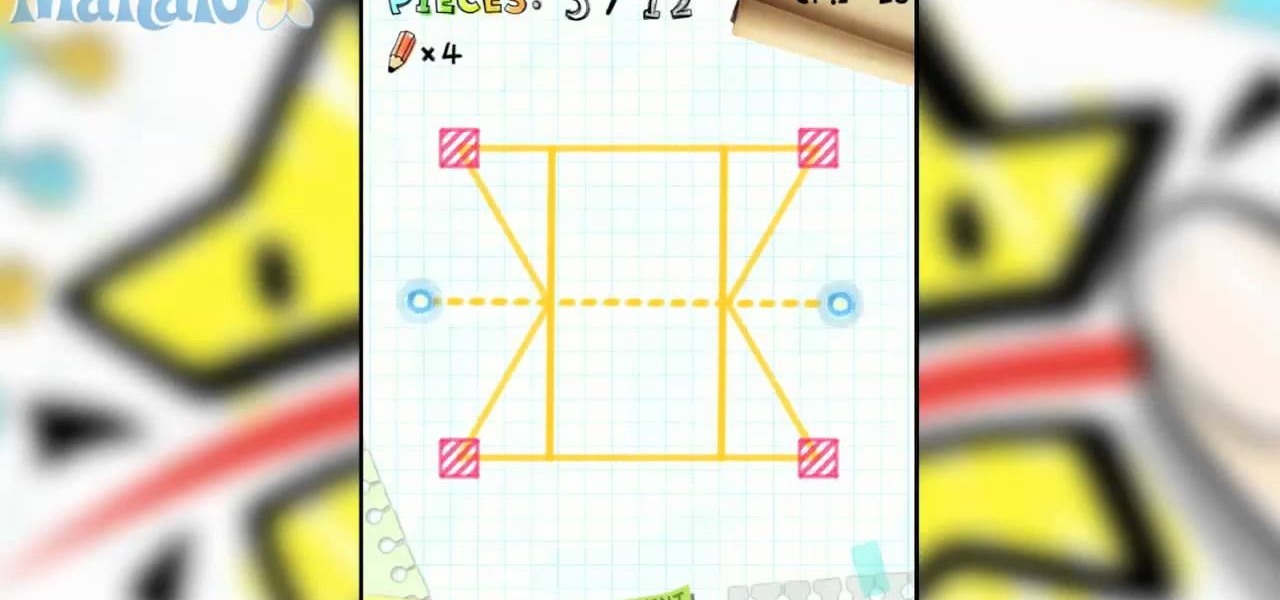
Want to beat level 1-28 of Slice It! for the iPad? Learn how with this gamer's guide, which presents a full, slice-by-slice walkthrough for stage 28 of Com2us's popular iOS puzzle game. For complete details, watch the video!

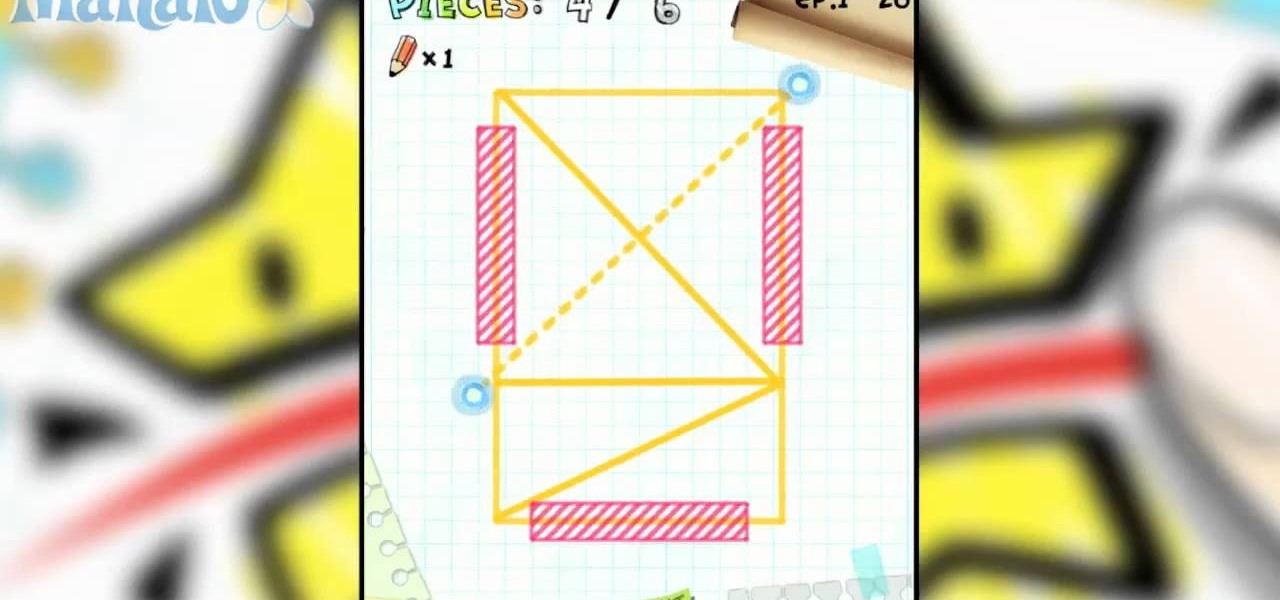
Want to beat level 1-26 of Slice It! for the iPad? Learn how with this gamer's guide, which presents a full, slice-by-slice walkthrough for stage 26 of Com2us's popular iOS puzzle game. For complete details, watch the video!

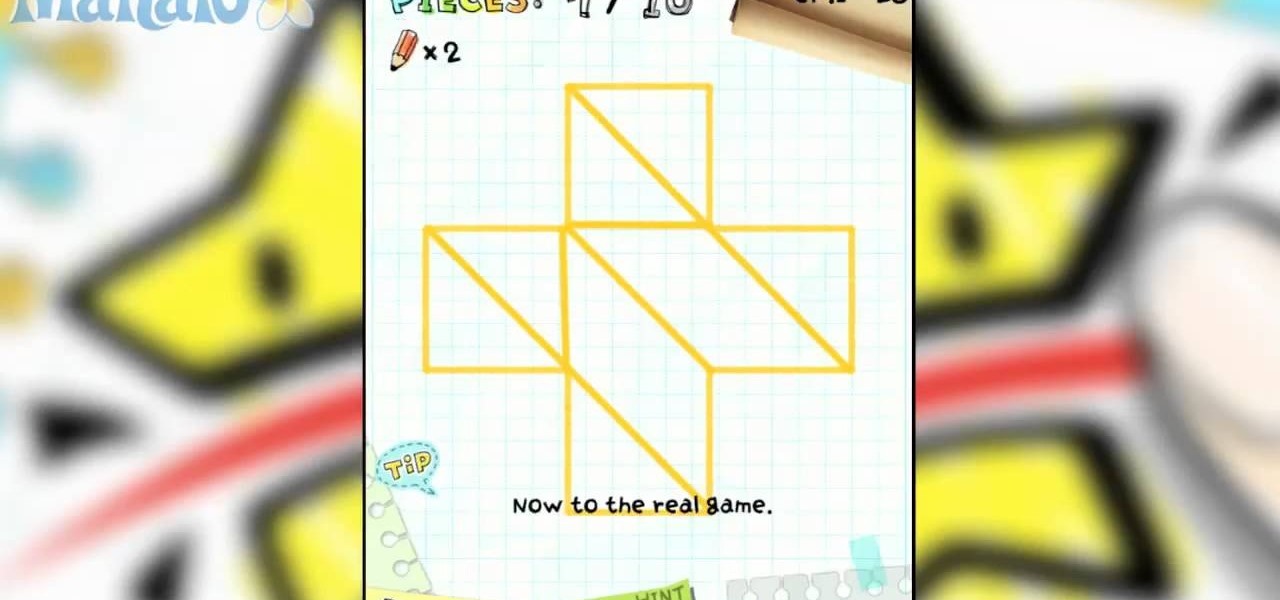
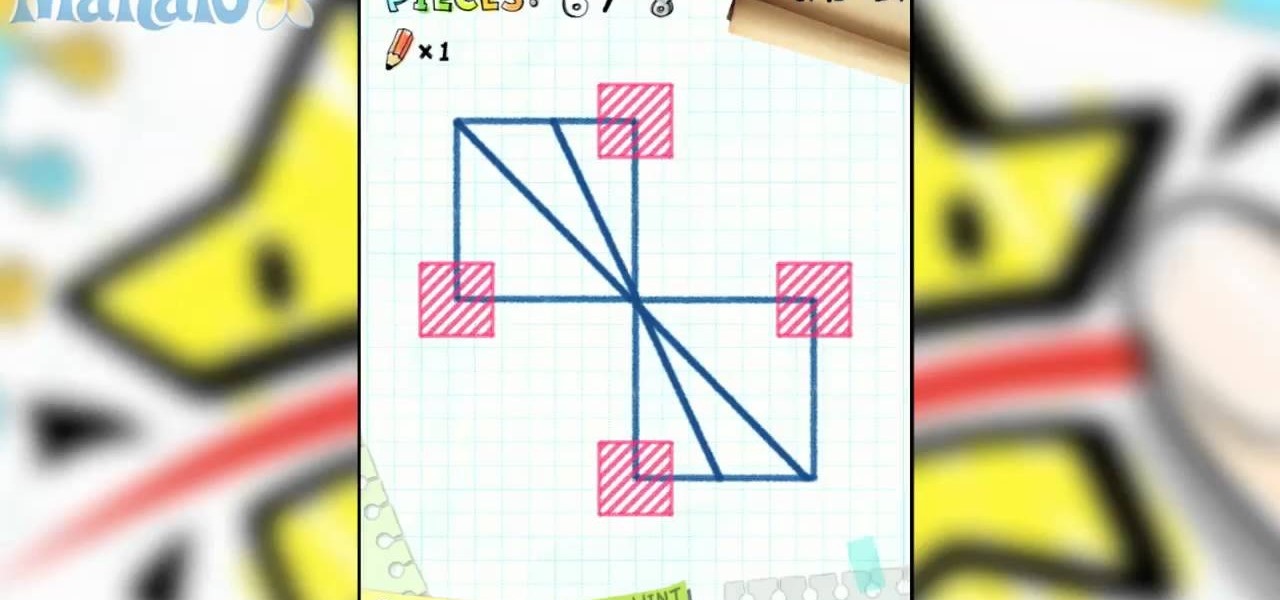
Want to beat level 1-25 of Slice It! for the iPad? Learn how with this gamer's guide, which presents a full, slice-by-slice walkthrough for stage 25 of Com2us's popular iOS puzzle game. For complete details, watch the video!

Want to beat level 1-24 of Slice It! for the iPad? Learn how with this gamer's guide, which presents a full, slice-by-slice walkthrough for level 24 of Com2us's popular iOS puzzle game. For complete details, watch the video!

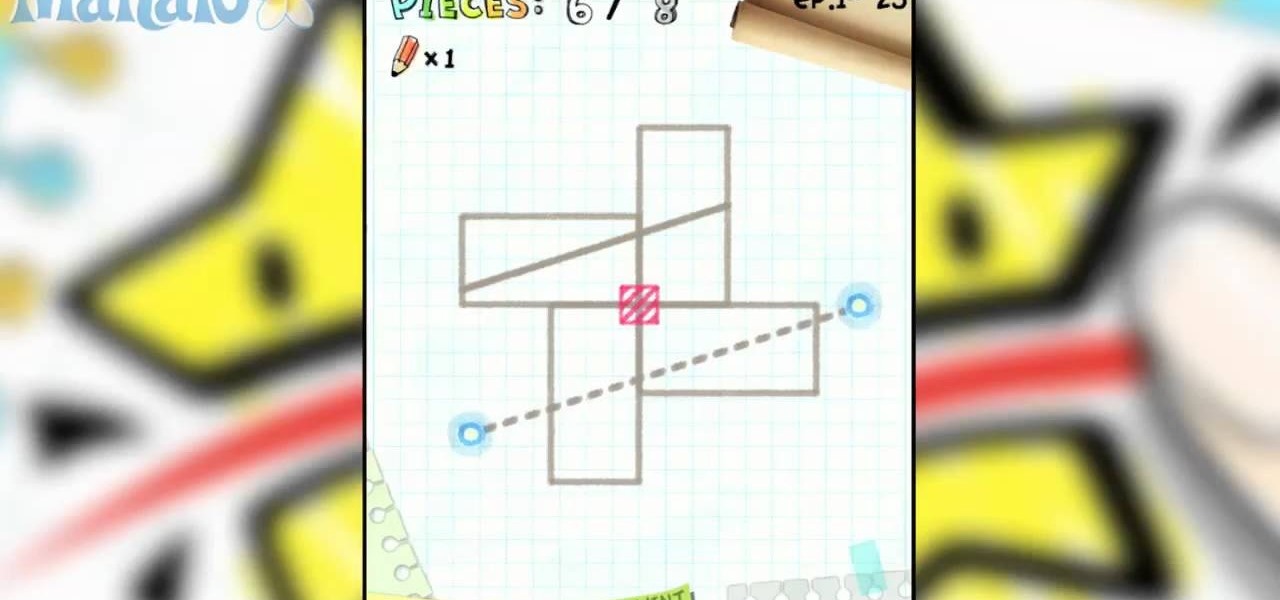
Want to beat level 1-23 of Slice It! for the iPad? Learn how with this gamer's guide, which presents a full, slice-by-slice walkthrough for level 23 of Com2us's popular iOS puzzle game. For complete details, watch the video!

Want to beat level 1-13 of Slice It! for the iPad? Learn how with this gamer's guide, which presents a full, slice-by-slice walkthrough for level 13 of Com2us's popular iOS puzzle game. For complete details, watch the video!

Want to beat level 1-12 of Slice It! for the iPad? Learn how with this gamer's guide, which presents a full, slice-by-slice walkthrough for level 12 of Com2us's popular iOS puzzle game. For complete details, watch the video!

Want to beat stage 1-10 of Slice It! for the iPad? Learn how with this gamer's guide, which presents a full, slice-by-slice walkthrough for level 10 of Com2us's popular iOS puzzle game. For complete details, watch the video!

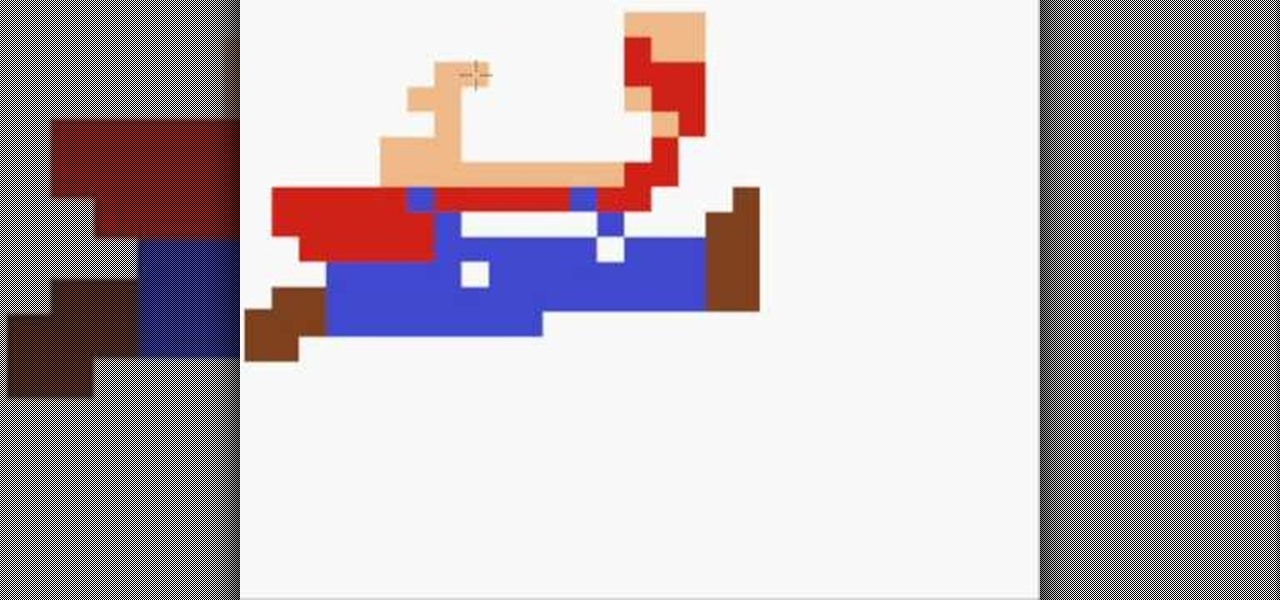
In this video, we learn how to draw an 8-bit Super Mario jumping. To start, you will use a square paint tool on your computer to create rectangles on the blank sheet. Use red, tan, brown, white, and blue to create the character. Use the square too to draw in the shape of Mario, making his legs spread apart to show he is jumping. Use white to create open space and make sure to show the edges of the squares to make the drawing more realistic. When finished, add in any additional details, then y...

This video will show how to use the note tool using the program Photoshop. Using notes makes pulling up previous projects or leaving brief bits of information easy to obtain. Notes in Photoshop can be pulled up by using the keyboard short cut button N button on your keyboard. After opening up an image you can access the note panel by right-clicking and selecting attach note. to pull previous notes up you must right click the image and select the show note option. Using the add note setting wi...

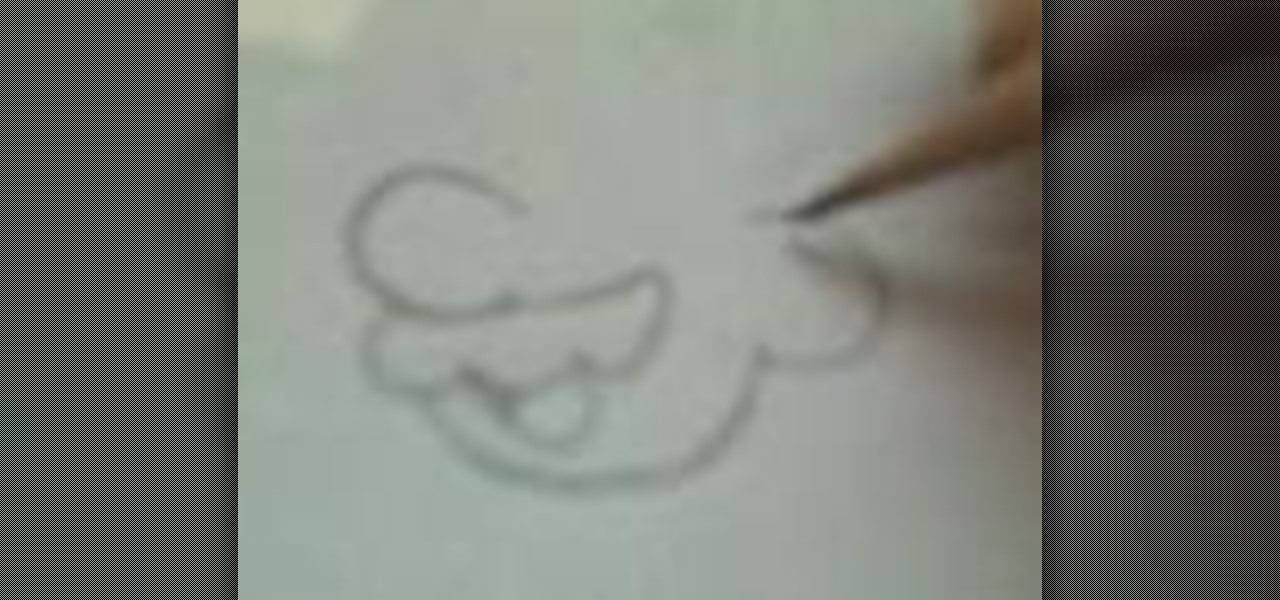
In this tutorial, we learn how to do a simple Mario drawing. First, take your pencil and start to draw the outline of the head. After this, you will draw in the mustache, nose, and mouth on his face. From here, draw in the hat on the top of the head and then draw in the eyes as well. Add in shading and lines to create additional details and depth in the drawing as well. Continue to draw in the body and the overalls that are on the body as well. Finish off with the legs and the shoes and then ...

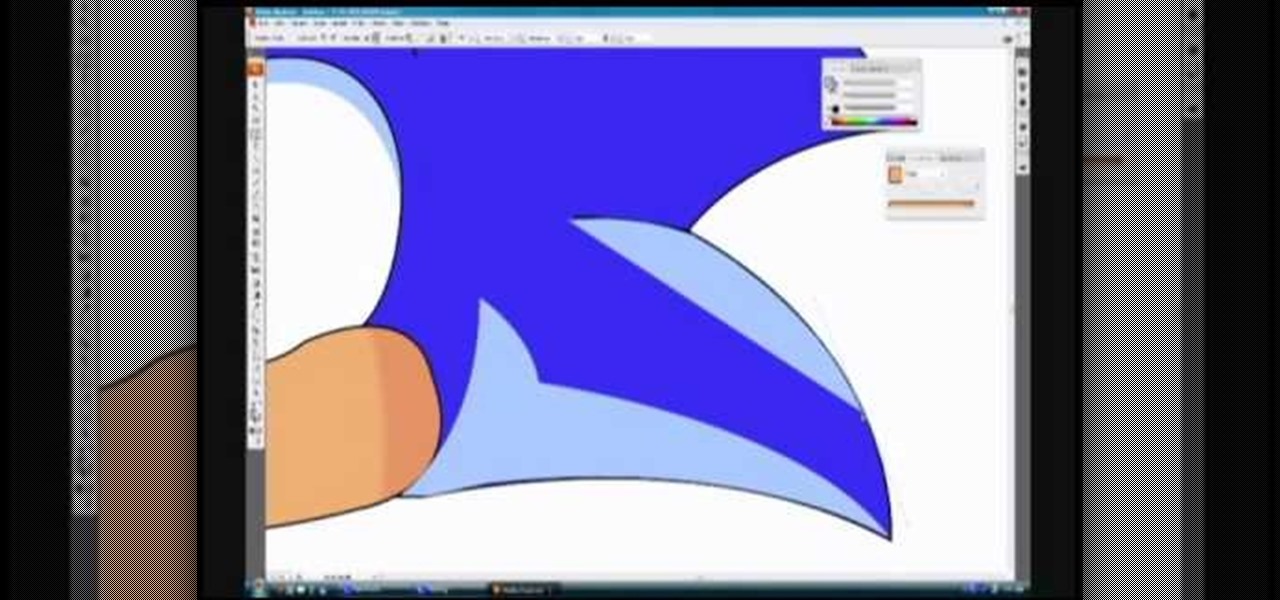
In this video, we learn how to draw Sonic in Adobe Illustrator. First, draw out the muzzle and the nose with a pen. From here, you will draw out the eyes and then make the outline for the ears and the hair. Next, draw in the details around the face. Once you do this, add color to the hair and to the face as you see fit. Then, add in additional lines to show creases and make him look more realistic. After this, add in shading with darker colors on the sides of the face and the hair. When finis...

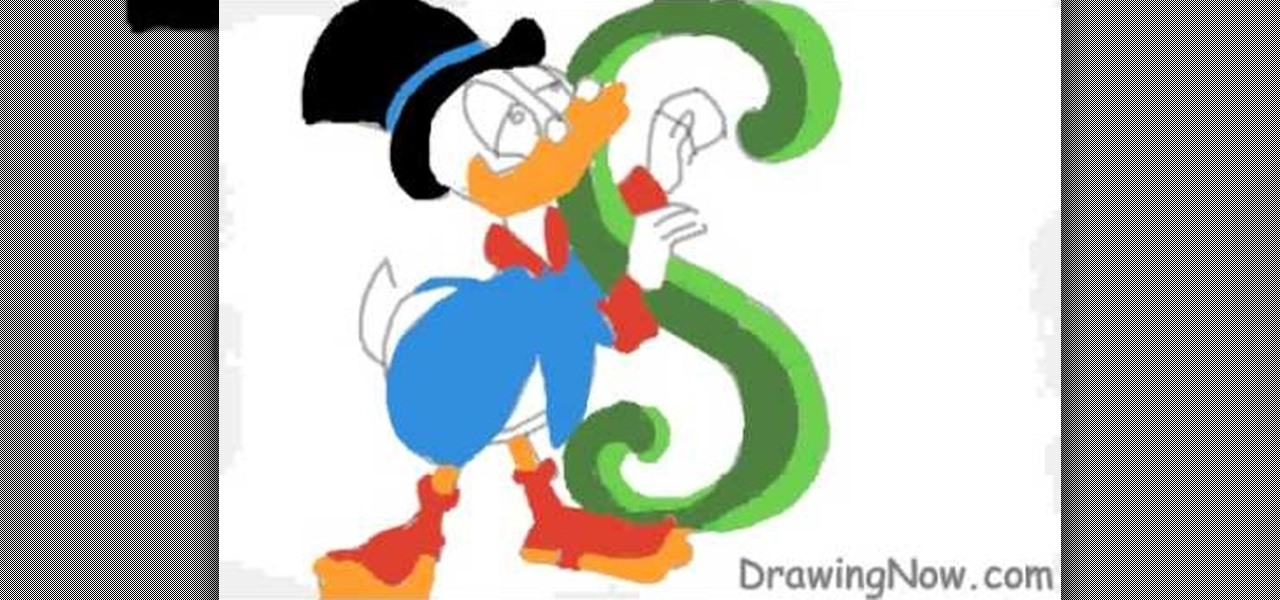
In this tutorial, we learn how to draw Uncle Scrooge McDuck. Start off by drawing the outline of the hat, heat, neck, upper body, instrument, and lower body. After this, draw on the eyes, glasses, and the beak. From here, you will start to add in additional details and erase the outline lines from where they aren't needed. Start to add in lines to create folds on the character and then color him in with the appropriate colors. After this, add in shading to different parts of him and his instr...

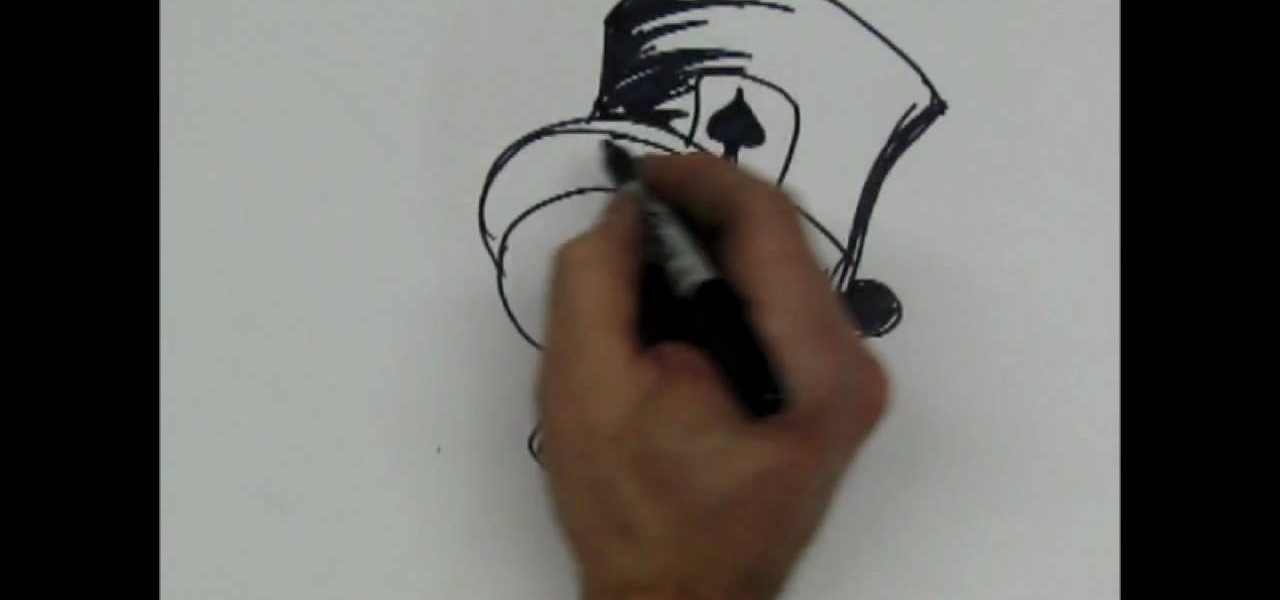
In this tutorial, we learn how to draw a skull with a top hat. First, use a Sharpie marker to draw the nose of the skull and then the eyes. Color these in completely black, since you want be drawing eyeballs in them. After this, draw the skull around it. Draw in the teeth clenched together and then add in lines around the head of the skull to show cracks in the bones. After this, add in additional details around the jaw line and on the head of the skull. When finished, draw on the hat to the ...

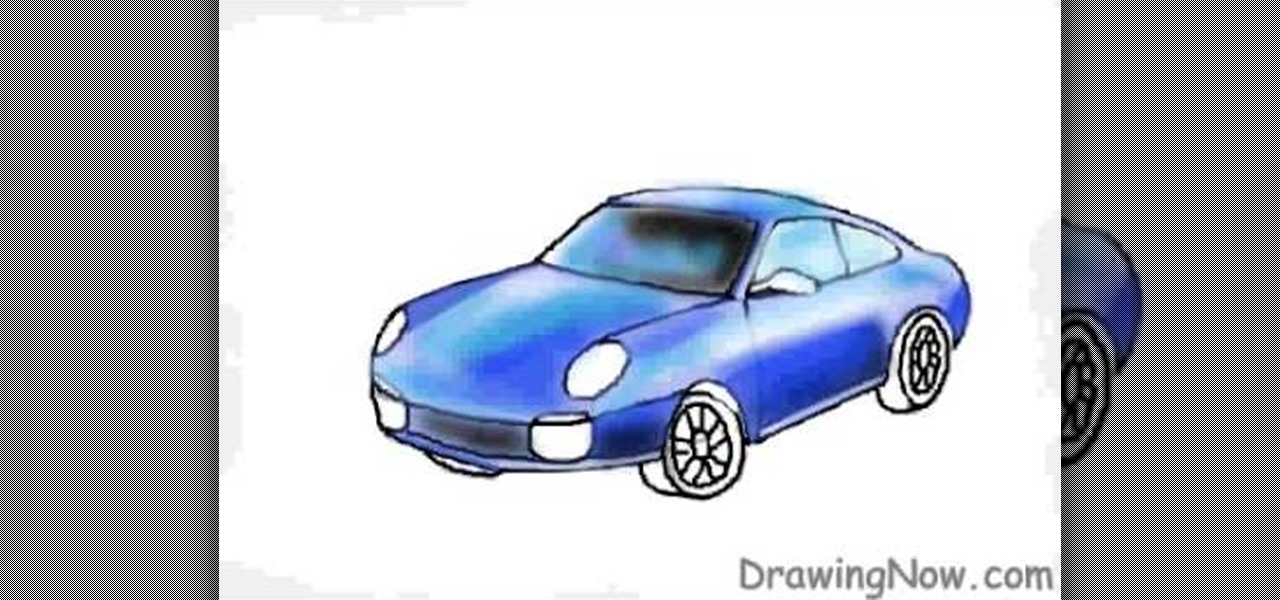
In this video, we learn how to draw a Porsche sports car. Start off by drawing an oval type of shape with lines to make the top of the car. Then, draw in the rest of the outline of the car and add on the wheels and the front of the vehicle as well. From here, you will start to add on the details to the front and sides of the car, as well as on the bottom. Use crosshatching and shading to make it appear realistic. Once the details are on this, use color to add a more in depth look to the car. ...

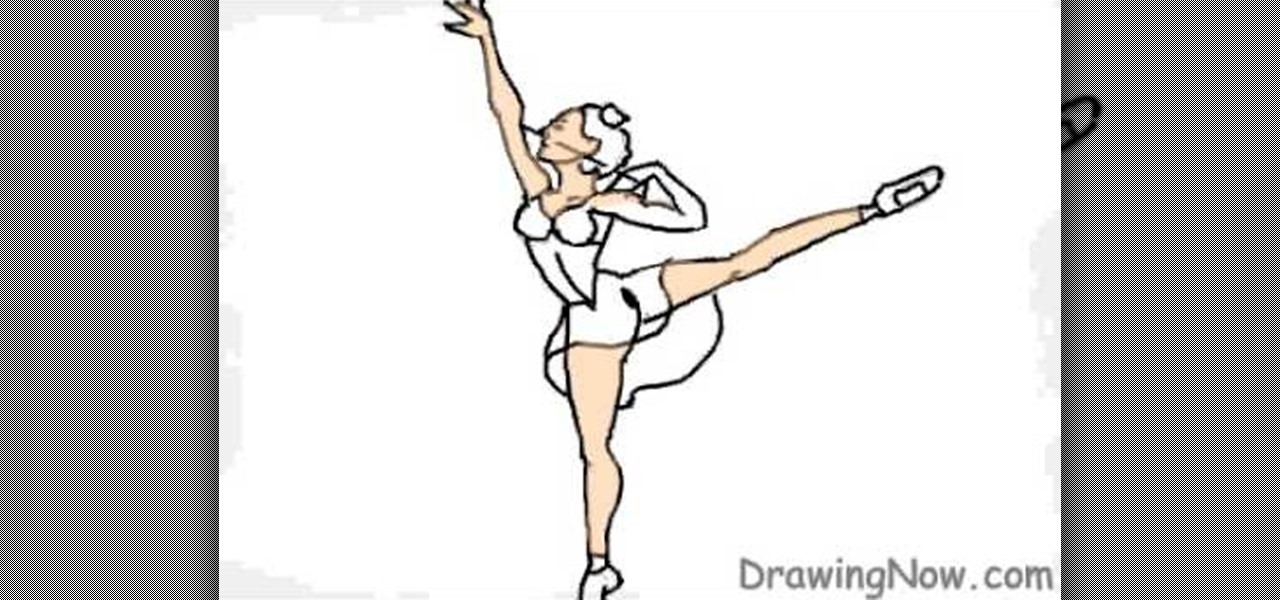
In this tutorial, we learn how to draw a ballerina. Start off by using circles and basic lines to draw the outline of the ballerina's body. Then, use a darker brush to create the body and add in the details of it as well. Draw one leg up in the air, while the ballerina is standing on the other with her arm raised high in the air. Erase any background lines, then start to draw in details of what the ballerina is wearing on her body. Draw in additional details around the figure, then when you a...

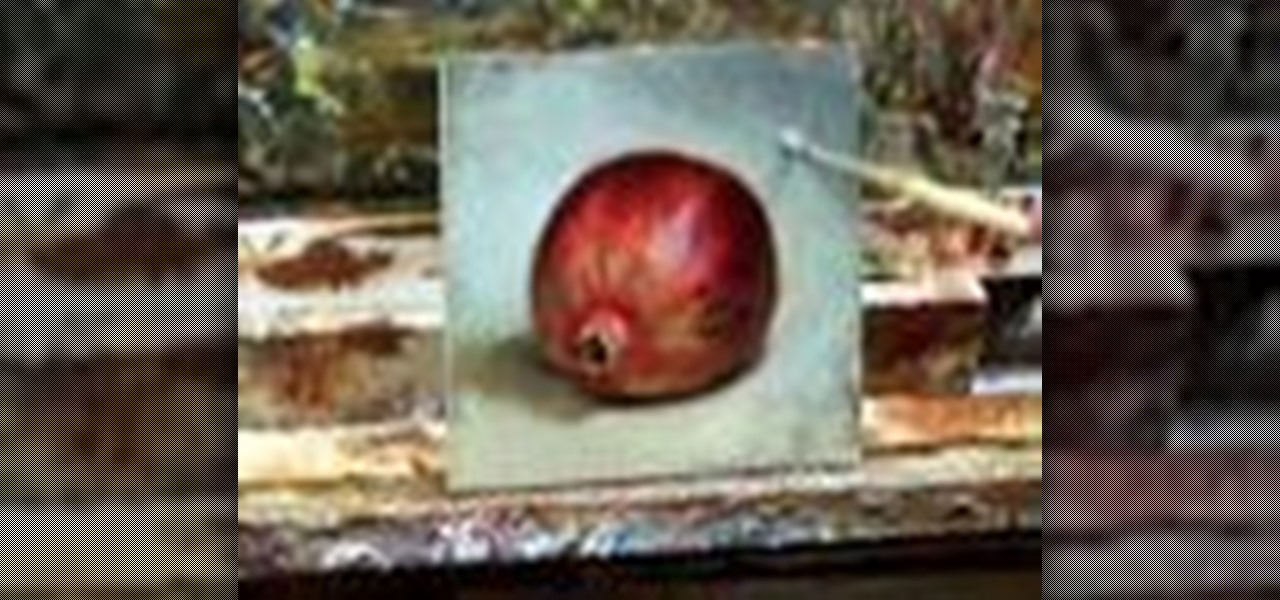
In this tutorial, we learn how to paint a pomegranate. First, paint the circle for the pomegranate. After this, shade the right side with a dark red and the rest with a lighter shade of red. From here, add in a medium red all over the pomegranate and then add another shade over that. From here, start to layer on more additional colors of red to the pomegranate to make it appear more realistic. When finished, paint on the background with whites and grays that are mixed together. Add white to t...

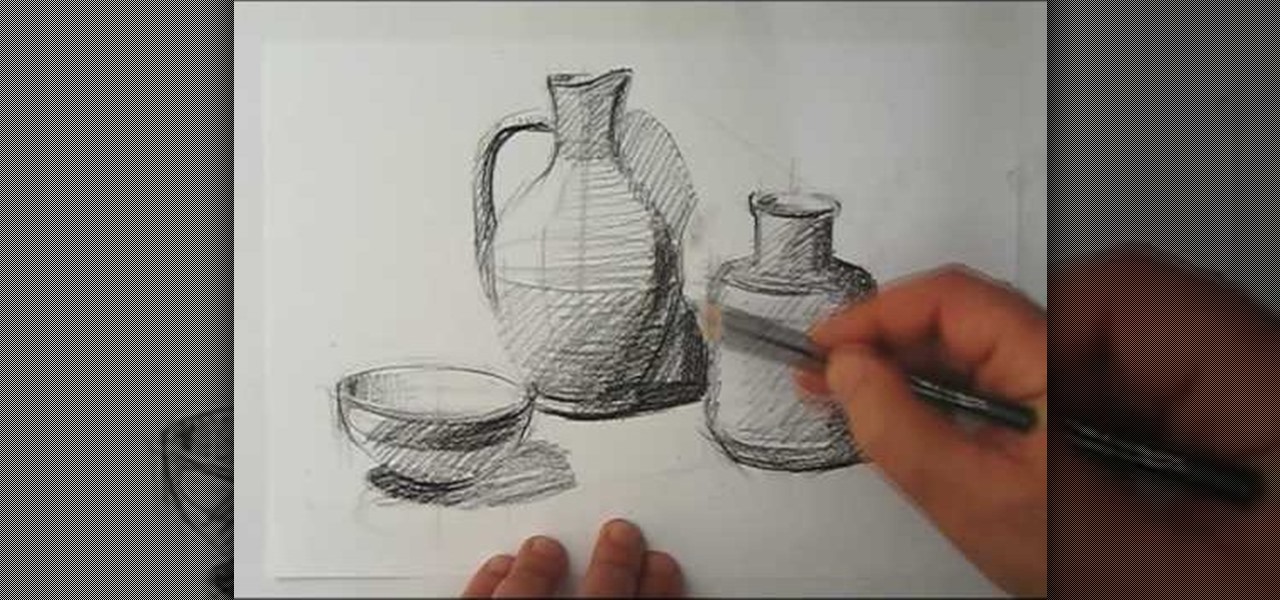
In this tutorial, we learn how to draw a still life. First, you will use the side of the pencil to draw the outline for the still life drawing. After this, continue to draw the outlines for all the objects that are in the model. Start to slowly add in the details, using the light touch of the pencil. As you continue, use the side of your pencil to shade and then use your eraser to blend. Continue to add in additional details as you go, then erase any background lines when needed. Enjoy drawin...

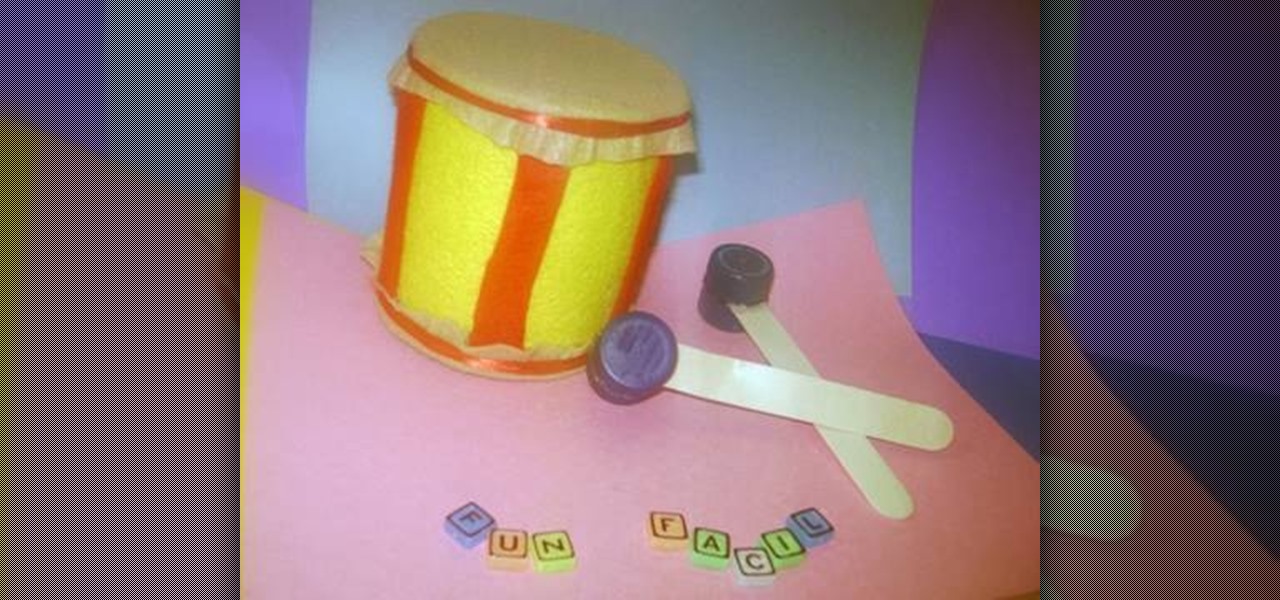
In this tutorial, we learn how to make a toy drum. You will need: felt, recycled tin can, 1 red lace, 4 soda caps, 2 popsicle sticks, glue, and scissors. Cit, cut the felt into a circle and glue it around the tin can. After this, take red felt and cut it into strips, then glue on the side of the tin can so it's striped. When finished, apply glue to the top of the can and then cover with additional pieces of felt. Tie a ribbon around the top and the bottom of the felt on the fan. To make the s...

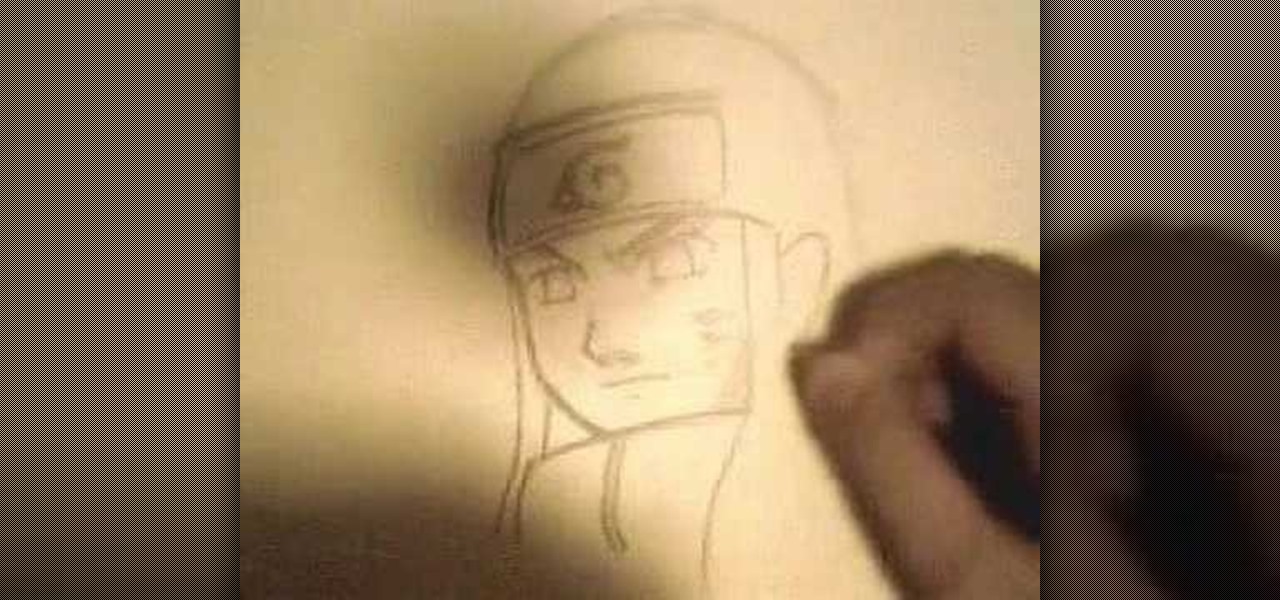
In this video we learn how to draw Neji Shippuuden. First, draw the outline for the head, use lines in the middle of the face to figure out where to place the facial features. After this, use a pencil to draw on the hair around the face and then draw on the headband. From here, add on the details to the hair and then start to add in shading around the face to make it look more realistic. After this, draw in the shoulders on the side and then draw in the rest of the details of the face. Finish...

In this tutorial, we learn how to choose the appropriate color for cake decorating. First, spoon your icing into a bowl and then add in a small amount of food coloring. Start to mix this together, then add in additional icing if you want a darker or a brighter color to your icing. Experiment with different colors if you feel comfortable with using different ones. Take a parchment bag and roll it into a full, then stripe up the bag. Then, fill the parchment with some icing and this will create...

In this video, we learn how to draw Ino from Naruto. Start off by drawing a circle for the head, then drawing lines in the middle to create reference for where the facial features will go. After this, draw in the hair on the top of the head along with the eyes, eyebrows, and creases of the eye. Then, draw the jaw line around the face and erase the lines you used for reference. After this, add in additional lines and hair to make it look more realistic. Use shading around the face to show ligh...

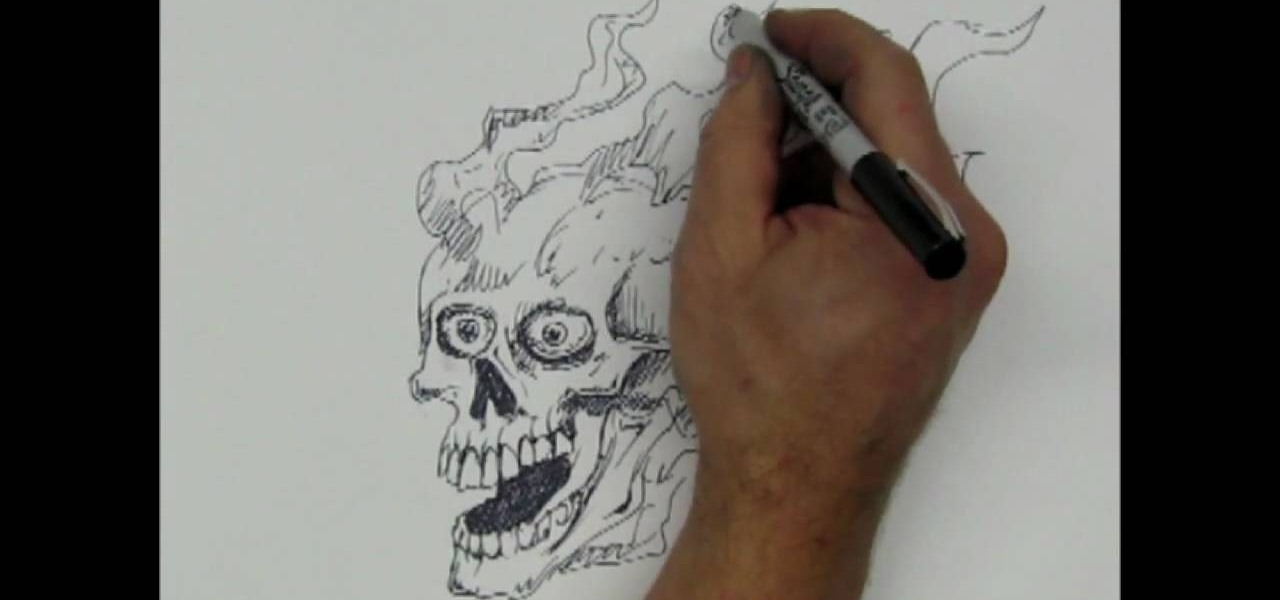
In this tutorial, we learn how to draw a skull with a Sharpie. First you will draw the eyes, make sure to draw lots of little lines around them then cross them to create depth. From here, draw the outline to the head and then the nose and the teeth. Make sure to add lines in around the head to show cracking and marks around the head. Use shading to create darker lines along the head and then add in additional details. Make this unique to you, it doesn't have to look one certain way. When fini...

In this tutorial, we learn how to draw a skull. First, draw the outline for the skull. Remember not to draw the hair on the head, because skulls do not have these! After this, you will draw on the cracks to the top of the head and shade around them. From here, draw in black on the inside of the eye sockets. Then, draw the lines around the eye sockets. From here, draw the area for the nose and then the teeth. Next, you will draw in the jaw line and add in additional shading and lines to finish...

In this tutorial, we learn how to draw manga Neji. Start off by drawing the outline of the character. Don't forget to include the parts where the facial features, limbs, and hair are at. From here, you will use a darker pen to draw in the rest of the character. Next, you will start to draw in the additional lines and shading to make the character look more realistic. Once you do this, you can start adding some color! Use any colors that you would like or use the normal colors that are on Neji...

In this video, we learn how to make a cake American beauty rose. First, place your icing into a plastic bag and then place the tip inside of it. From here, you will twist the surface where you are putting your rose and let the icing roll into a round shape. After this, make additional rows of petals until you have the size of flower that you want to create. When finished, you will have a gorgeous rose on your cake or cupcakes! Add in green icing to make leaves on the side of the flower and yo...

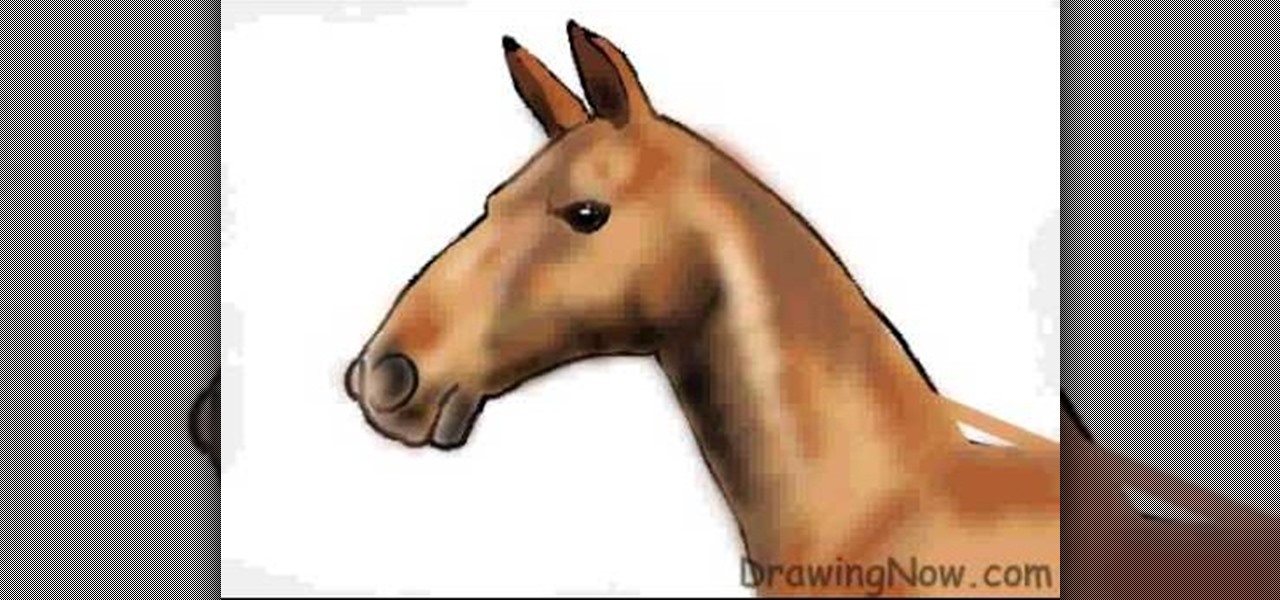
In this tutorial, we learn how to draw the head of a horse. Start out by drawing the outline of the horse's head and the neck. Then, draw in the ears and the details for the nose and the face. Next, color in the horse and then add shading along the sides of the horse and fill in the features with black. Use different colors of brown to show a contrast between the colors on the horse. After this, you will use small lines to create hair on the horse, then add in additional features. Clean up an...

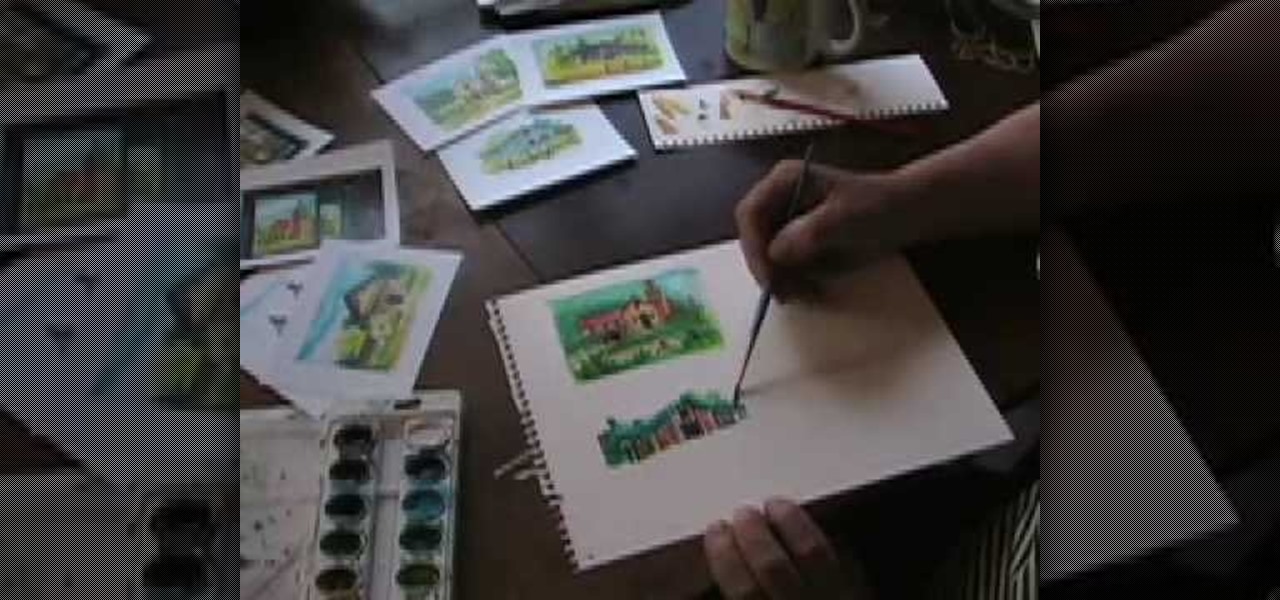
In this video, we learn how to watercolor paint a California barn. To start, you will take a small painted brush and start to paint the outline of the barn. next, you will dip the brush into different colors to create the inside of the barn and the details on the outside of it. Once you're finished painting the barn, start to paint the scenery that is around the barn. Use greens to paint in hills and then paint a fence with animals inside. Continue to add in additional details until you're fi...

In this tutorial, we learn how to draw The Incredibles. Start out by coloring the background orange, yellow, and white. Then, draw the outlines of the bodies for all of the characters in the family. After this, draw in the details, giving them a 3D type of image. Next, you will color in the clothing and add in the fine details for the hair and the face as well. Erase any background lines from the drawing to clean it up, then add in some shading to make it look more realistic. To finish this, ...

In this tutorial, we learn how to add 3D effects and shading to graffiti letters. To start, you will draw a simple letter with a pencil. Then, take one point under the letter in the middle and draw a darker outline. Next, you will draw an outline around the first outline to make it look 3D. Next, you will shade in the area in the middle of the letter and anything that is in between the first letter and the second. After this, you will add in lines and additional detailing to make the letters ...

In this tutorial, we learn how to draw curvy steps using pencil. To start, you will draw a thin horizontal line with a small point on it. After this, you will draw lines out from this, using a ruler to keep them straight. From here, draw your steps on the bottom of the page using the lines to keep them proportioned and in place. Draw them in a triangle wedge shape and then color them in. Shade the bottom and the sides to give them depth and dimension. After this, draw in the area around the s...

In this tutorial, we learn how to draw a human skull. To start, you will use your pencil to draw a light outline of the skull on your paper. After this, you will start to add in more shading and lines throughout the face to make it look like it has depth and contours. From here, you will draw in the teeth and then create the nose and the pits for the eyes. After this, you will start to shade in the sides of the skull darker and then add in any additional details like small cracks on the face....

In this tutorial, we learn how to make fur suit hand paws. First, take your fabric that looks like fur and has a cotton lining. Then, cut out the different pieces you need to create the paw shape. Now, sew the pieces that you cut out onto the fur and then cut it into the shape to fit onto your hand. From here, you will sew this together with a bottom piece, then you can sew the paws together and place it on your hand to wear. Add in any additional details you would like, then wear these where...


