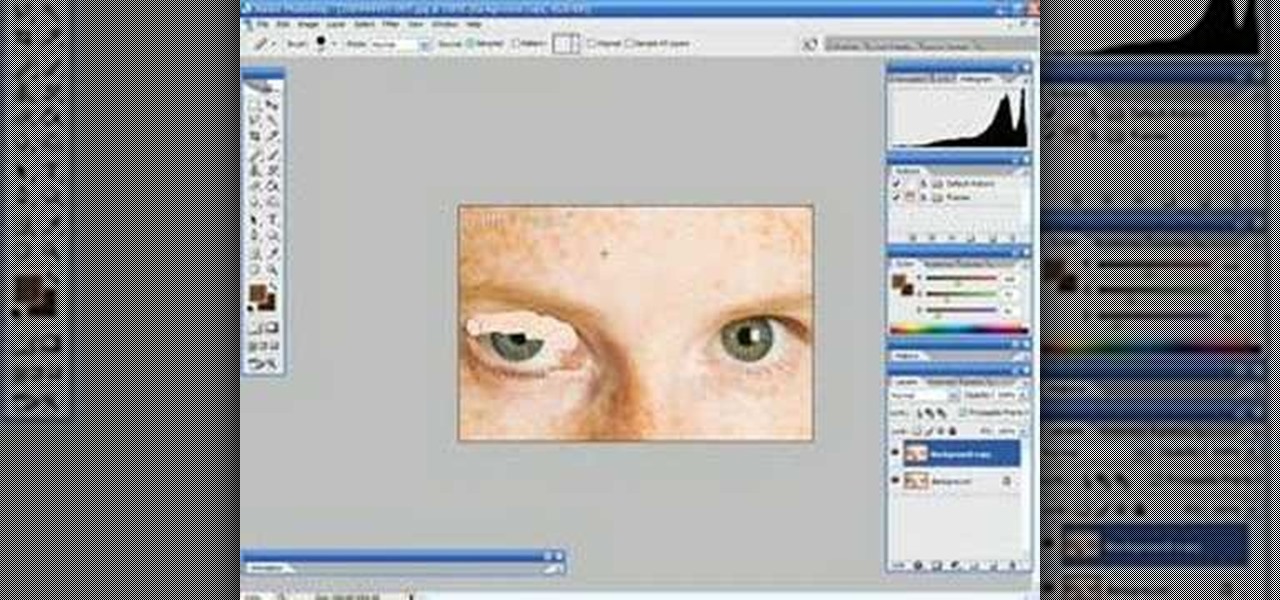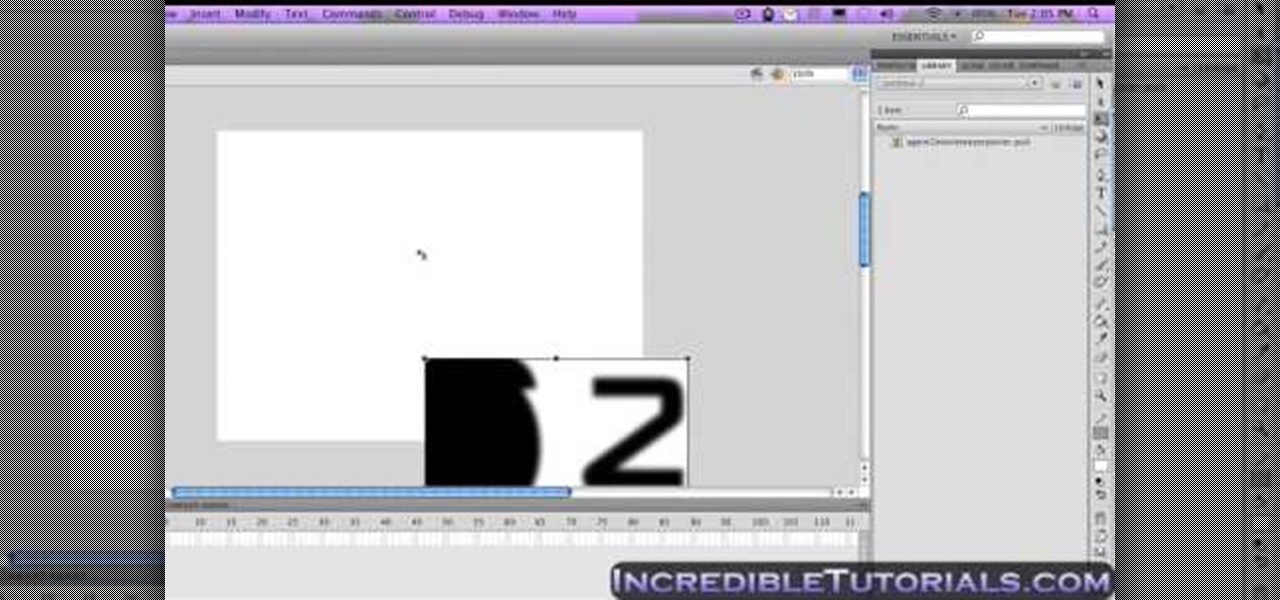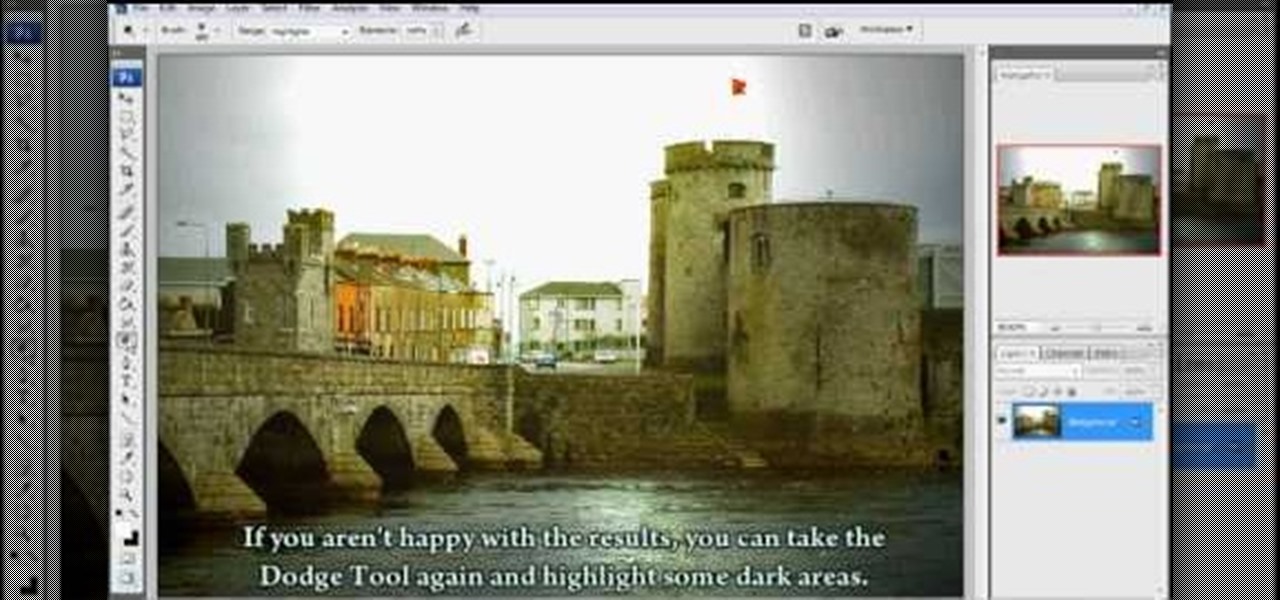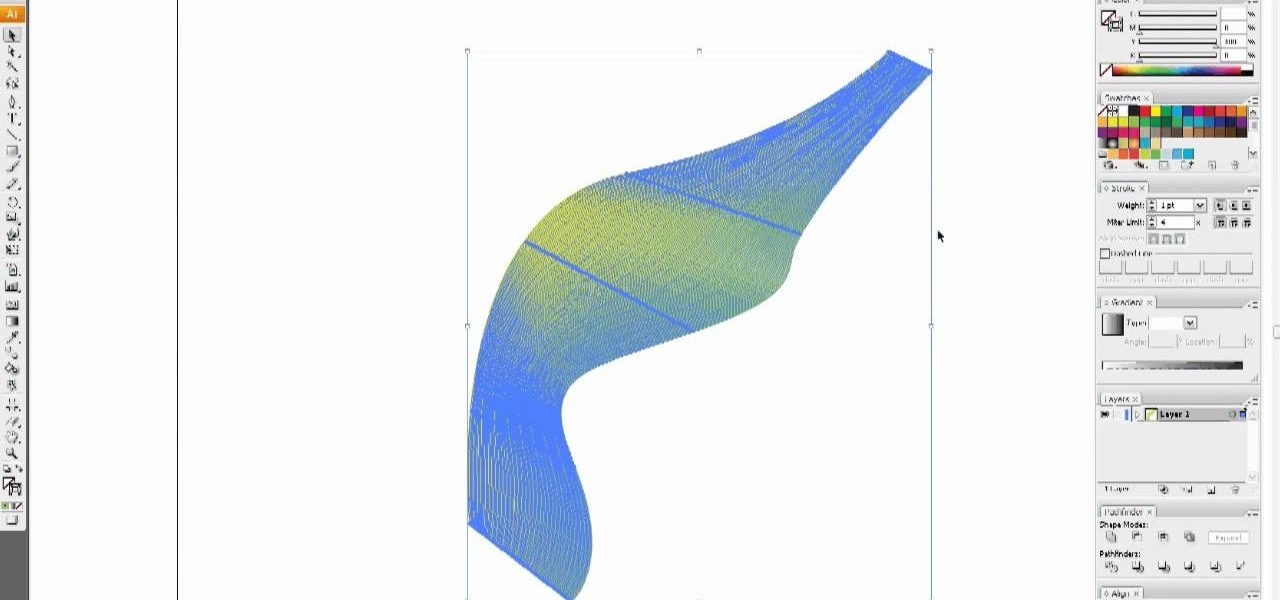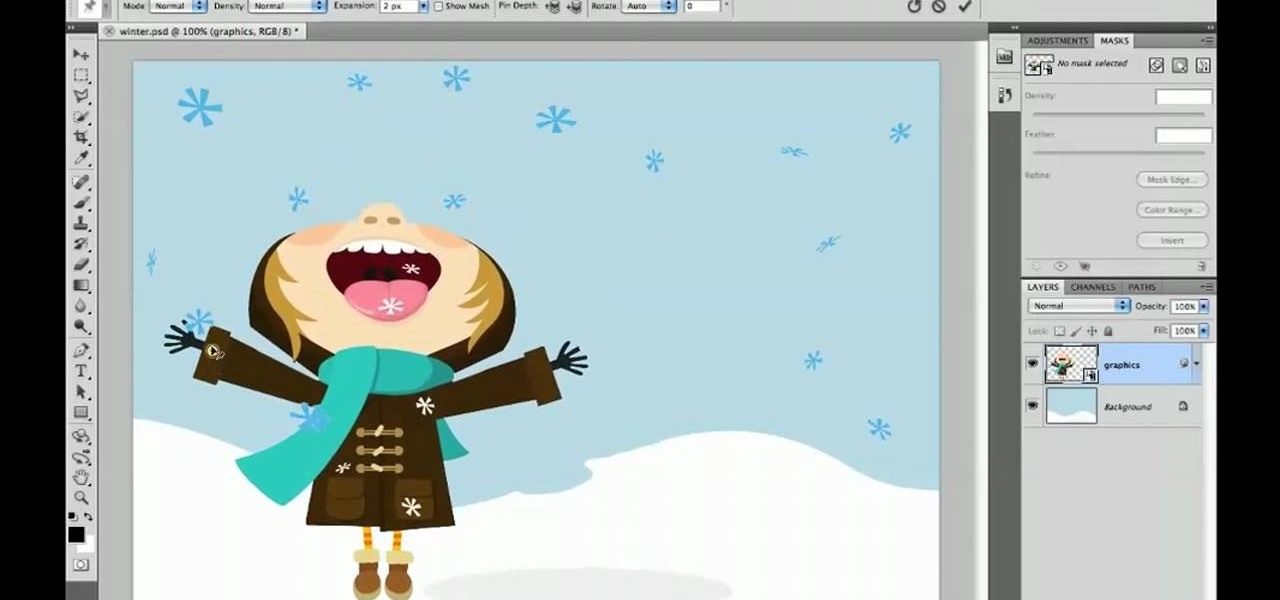
In every new version of Photoshop, there's one new feature that wows the crowd. In Adobe Photoshop CS5, that feature is Puppet Warp. In this video lesson from Lynda, you'll learn how to use the Puppet Warp tool to intelligently deform graphic and photographic objects.
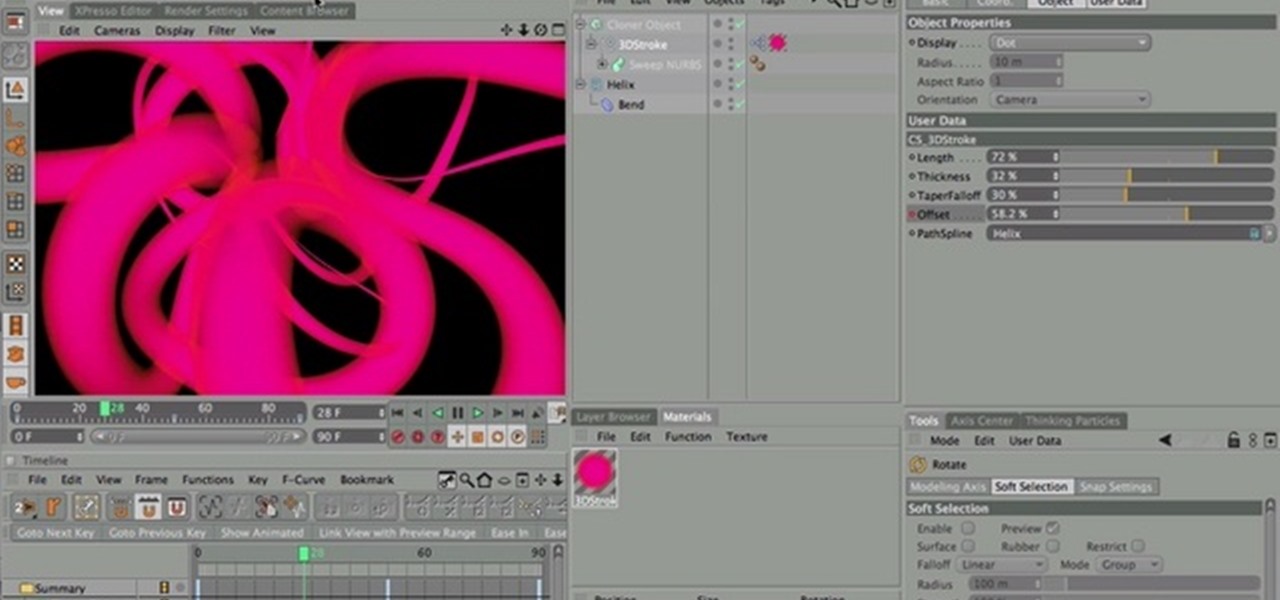
Nick from Greyscale Gorilla does a great walkthrough of the CS Tools bundle for Cinema 4D. He demonstrates installation as well as basic uses for simply accomplishing complicated 3D effects.
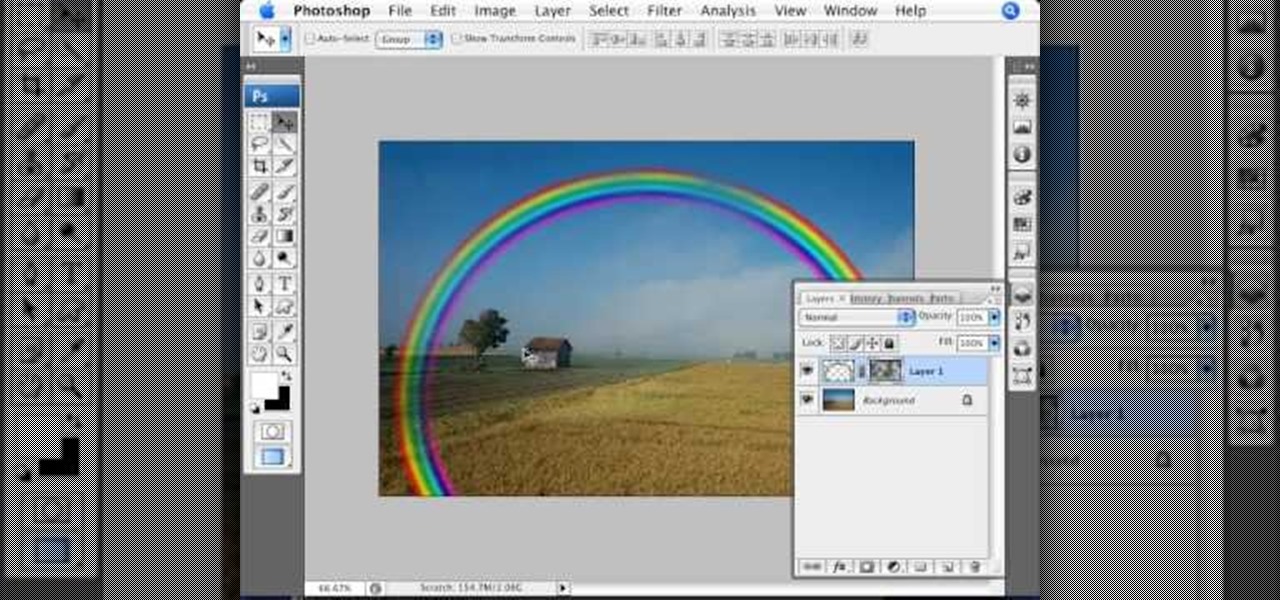
Open the picture you wish to place a rainbow within. A good scene has clouds that are receding into the distance and the light angle coming in from the front of the scene. A rainbow effect appears when by the sun is shining from behind you into the mist-filled air where it is refracted by raindrops.
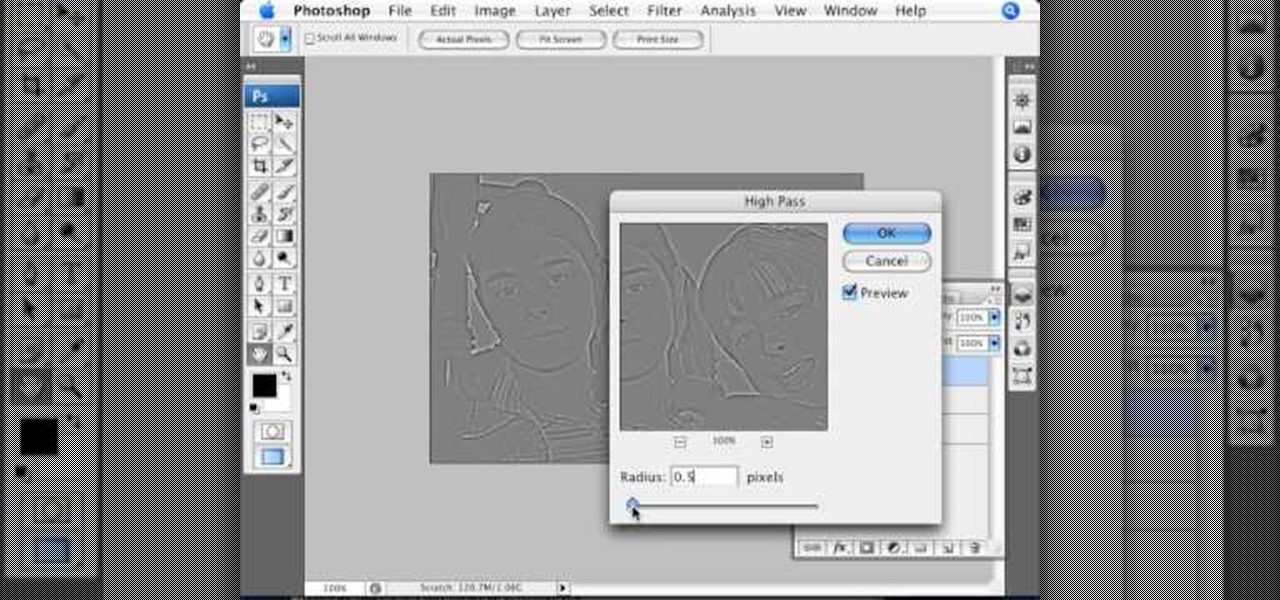
This Photoshop tutorial video teaches you how to make any photo look like it was hand drawn. The image selected should have a relatively simple background, because a too detailed image will not turn out properly. Use the high pass tool and the sketch paper tool and you pretty much have your hand drawn image. Follow this video for extra tips on how to get your image to look like hand drawn perfection.

Acrobat 9 Pro is an essential tool for creating, reviewing and sharing comments with others you work with. In this video you will learn about commenting PDF files and the methods for including others in your review process with Adobe Acrobat and Adobe Reader. Learn how to use comment tools and review cycles in Acrobat 9 Pro as well as how to collaborate via email or Acrobat.com and share pages.
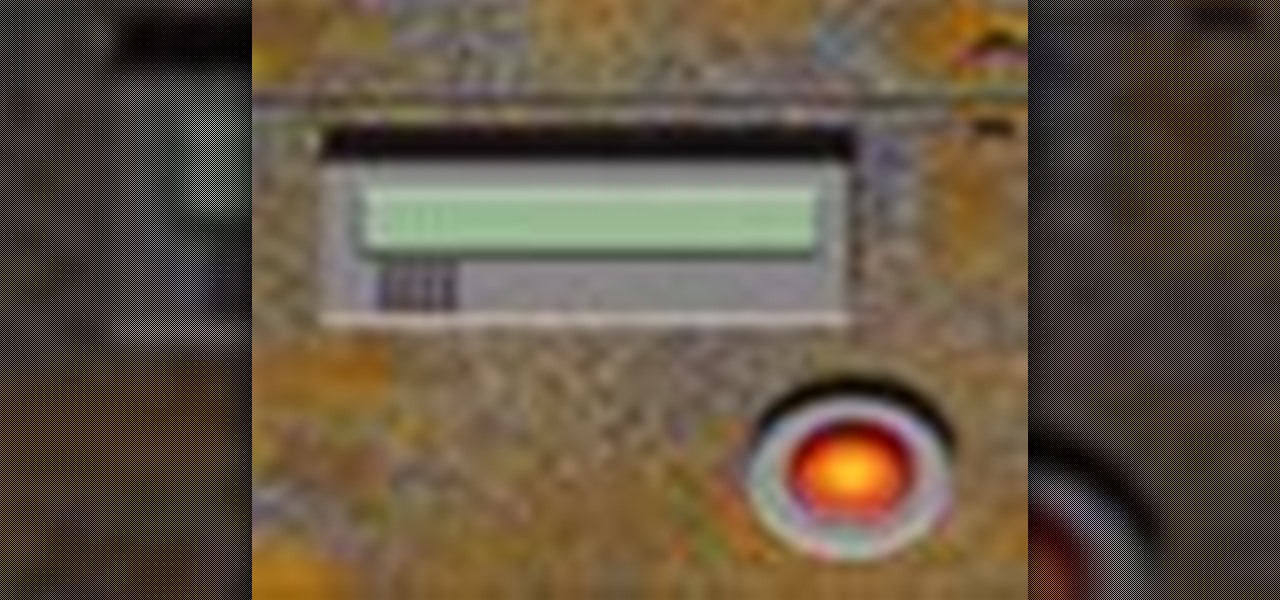
Pixel Perfect is the "perfect" show to help you with your Photoshop skills. Be amazed and learn as master digital artist Bert Monroy takes a stylus and a digital pad and treats it as Monet and Picasso do with oil and canvas. Learn the tips and tricks you need to whip those digital pictures into shape with Adobe Photoshop and Illustrator. In this episode, Ben shows you how to create an old rusty control panel in Photoshop.

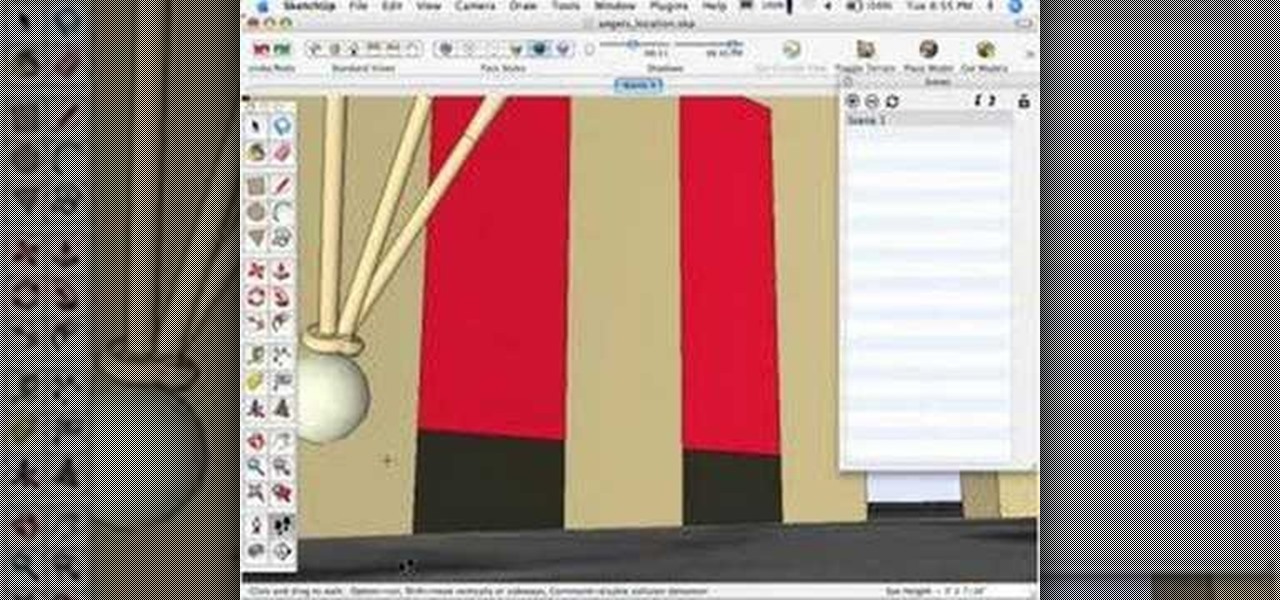
If you've ever wondered how to get more precise views of your model, The Sketchup Show episode #12 is for you. Alex covers the three basic "camera" tools in SketchUp, and explains how you can manually adjust view settings for the height and field of view of your SketchUp camera.

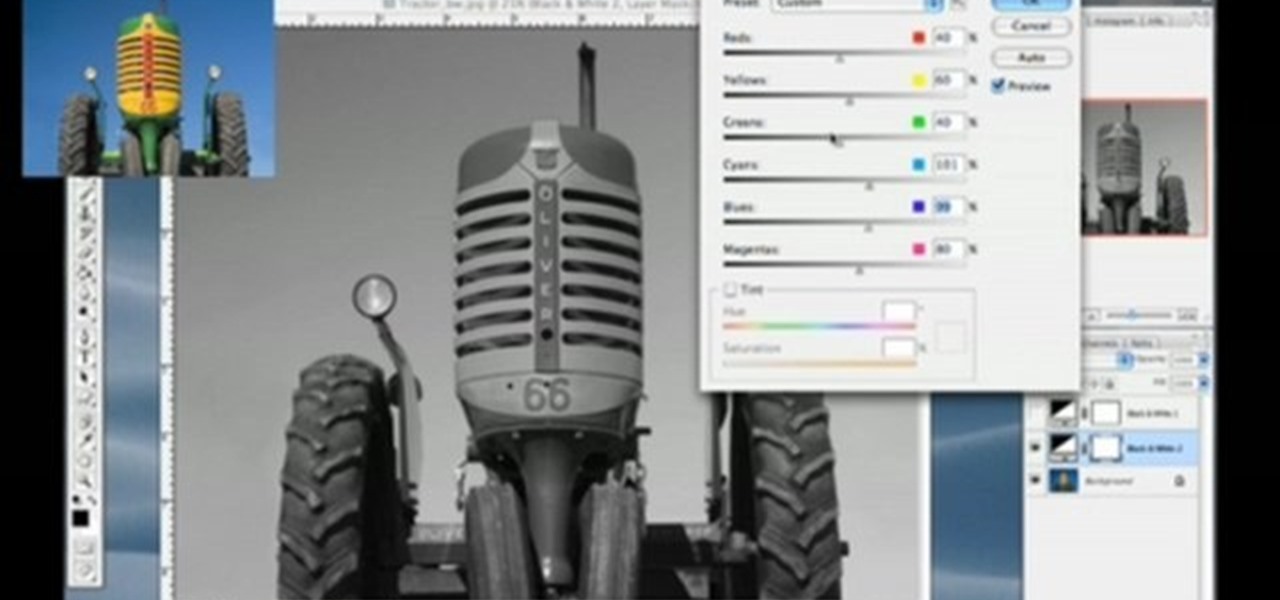
In this tutorial Lindsay Adler will teach you how to do exquisite black and white conversions in Photoshop (cs3 and newer). Using the black and white adjustment layer tool in Photoshop, photographers are given complete control and simplicity for converting images to black and white. Lindsay will introduce you to the power of this Photoshop tool and provide several tips on making conversions.

If you need help with 3D concepts in Illustrator, Bert's going to show you how to wrap an invisible 3-dimensional shape made in the 3D Extrude and Bevel tool with Map Art tool. Curled ribbons for campaign posters are just the beginning with this Illustrator tutorial!

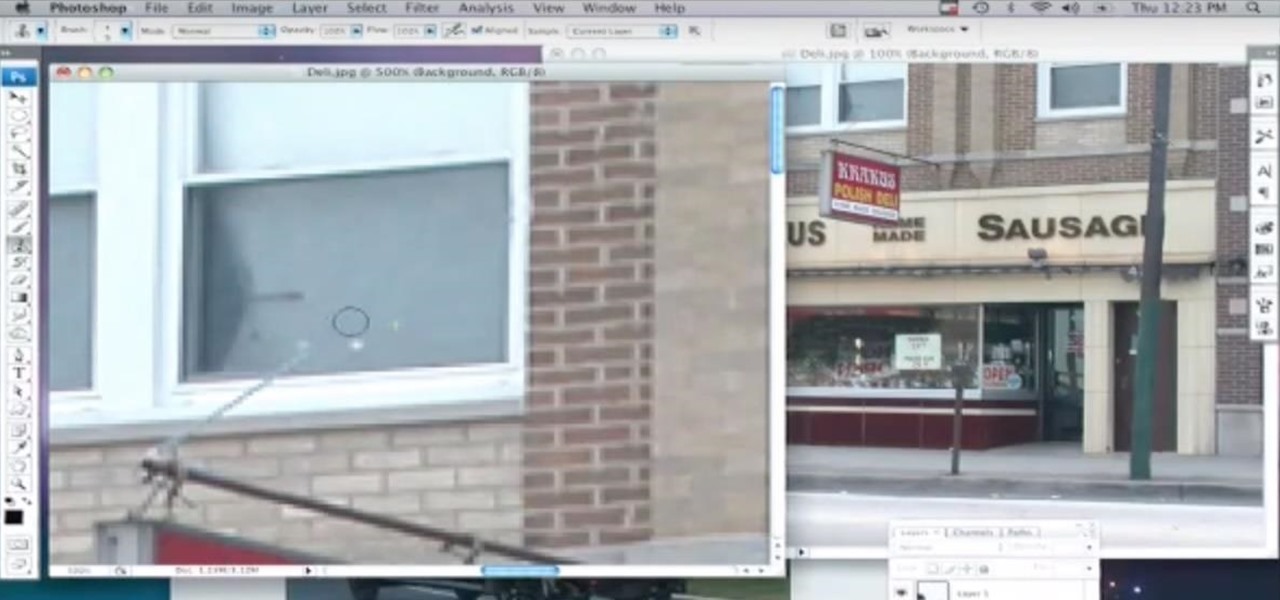
Photoshop wizard Bert Monroy shows you how to use Photoshop's cloning tool to remove people, places and things from your photos. Eliminate modern elements from your streetscapes to make them look old. This Photoshop tutorial shows you how.

This Apple software tutorial shows you how to edit MIDI notes in Logic Pro 8. Learn to edit note velocity and duration using the Piano Roll Editor tools and pencil tool in Logic Pro 8.

When you want to remove red-eye in a photo, simply use the iPhoto red-eye removing tool. iPhoto provides tools to correct other defects, as well.

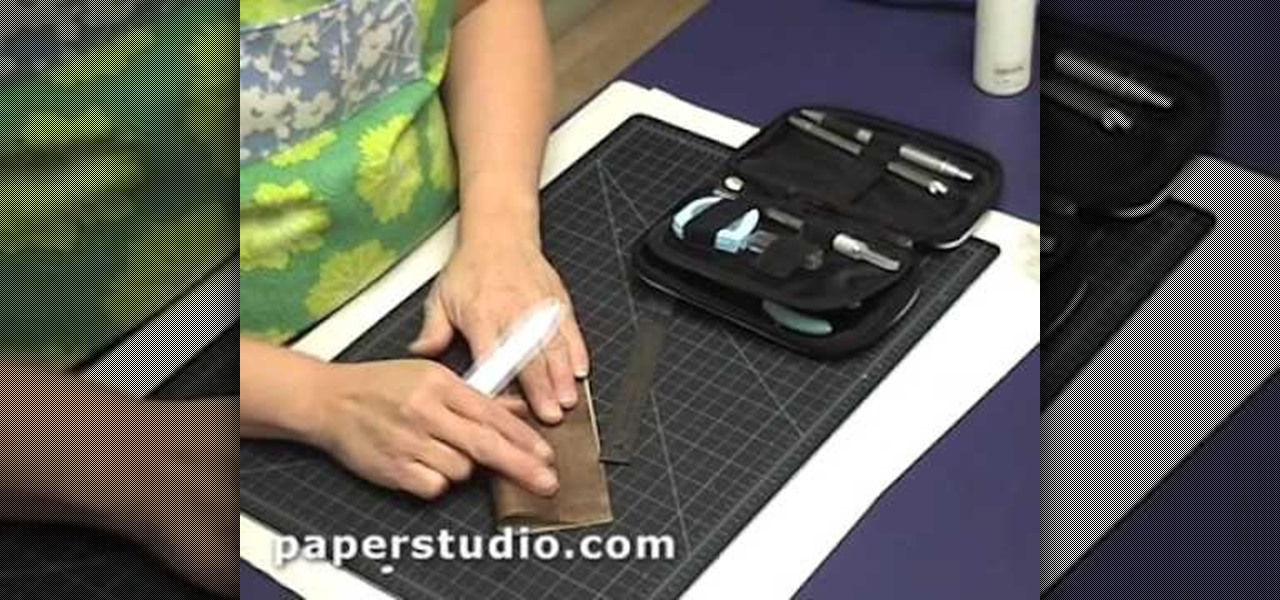
If you are new to book and paper arts, whether scrapbooking, making personalized stationary, or home-made cards, this video is for you! It is an inexpensive hobby and you only need a few tools. This video shows you a few of the necessities and how to use them!

Take a peek at the tools and equipment Patrick Norton and David Randolph have acquired over the years as they walk you through the must have gadgets every geek should have on their workbench.

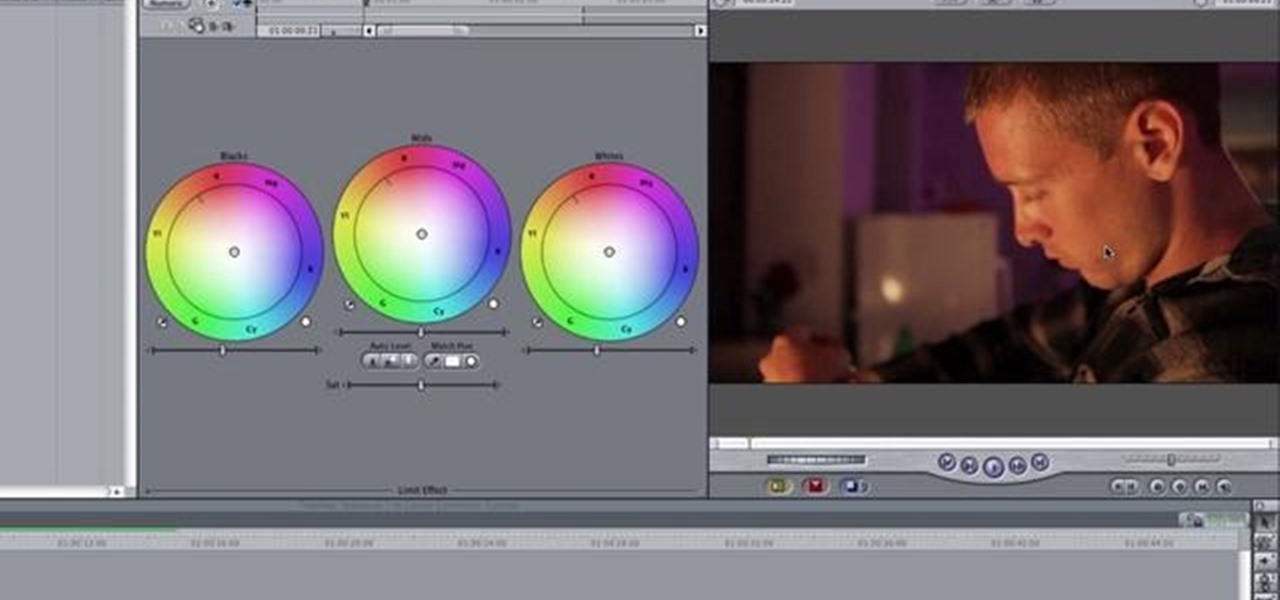
In this three part-software tutorial, you'll learn how to use the 3-way color correction filter to do color grading and correction in Final Cut Pro. Whether you're new to Adobe's popular motion graphics and compositing software or a seasoned video professional just looking to better acquaint yourself with the program and its various features and filters, you're sure to be well served by this video tutorial. For more information, including detailed, step-by-step instructions, watch this free v...

In this video, we learn how to make a cover for a tipi. First, put windows all around the bottom of the tipi. Then, take a tarp and cut out the top of it to make it into a circle shape. Then, cut out a hole from each side and put a rope in it for the top of the tipi. Wrap this around the sticks that you made the tipi with and then cover up the top of it with an additional tarp. This will protect you against water and other natural elements! Enjoy decorating and have fun making your tipi!

In this tutorial, we learn how to draw Demon Realm Pain. To start, you will draw the outline of the character with a pencil. Draw the headband on him first, then draw the eyes, nose, and mouth. After this, draw on the top of the head using a half circle, then draw on the horns on top of the hat. After this, draw on freckles to the character's face and then shade in around the different areas. After this, you will start to draw in additional details around the face and shade in where needed to...

In this tutorial, we learn how to design a winter themed flower centerpiece for home. First, you will use florist foam to place some winter branches from pine trees on the bottom. After this, stick some bare branches standing up on the inside. Then, you will grab some large pinecones and lay these around the side of the arrangement. From here, grab some short stem red roses and then apply these around the branches until everything is covered. This will finish up your arrangement and you can p...

In this video, we learn how to draw a scary werewolf in the moonlight. First, you will draw the outline for the face and the body. Give the werewolf a hunched back to make it appear more human-like. Then, draw the permanent outline over this, including additional details on the body. From here, draw on the facial features and then start to add in lines to show the fur on the outside of the body. Use shading to create a more life-like appearance and then add in some color. When you are finishe...

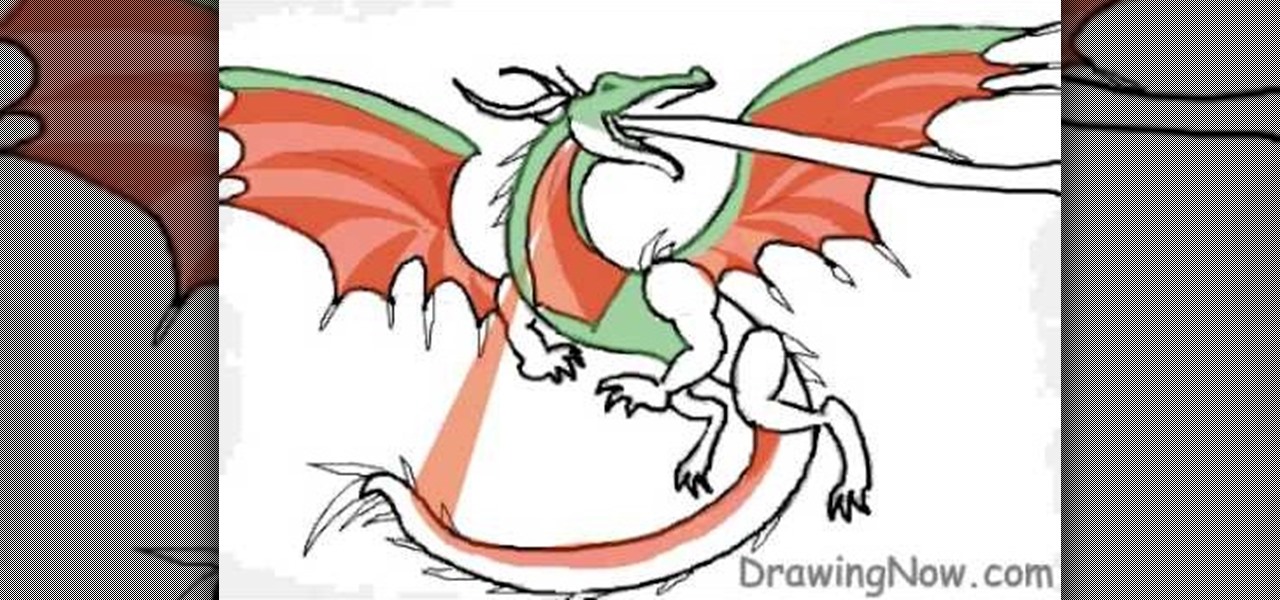
In this tutorial, we learn how to draw a basic dragon. First, draw the basic outline for the dragon, including the tail, wings, head, and body. From here, draw over the outline with the final outline in darker pen. After this, start to add in the details to the face and body. Once finished with that, move onto adding in shading and additional lines to make it look more realistic. Then, add in your colors. Use darker colors where the shading is to create more depth with the character. From her...

The best thing about going Gaga for Halloween is the variety of possibilities. Lady Gaga's wardrobe is vast and colorful: the Meat Dress, her trippy Anime Eyes, the scantily clad Caution Tape look, the Soda Can Hair Rollers, the light up Gothic Crown, the Cigarette Smoking Glasses, and, of course, the classic Hair Bow from Poker Face. It's my personal favorite, and the following illustration is easy to follow. If you don't feel like messing with your own hair and have a wig around the house, ...

In this tutorial, we learn how to bake cookies from scratch. You will need: 2 tbsp butter, 3 c baking mix, 3 tbsp sugar, 2 tbsp cinnamon, 2 tbsp vanilla, and 2 eggs. Mix all of these ingredients together until they are well combined. Spoon the mixture onto a cookie tray, then bake them in the oven until they are golden brown. Once finished, let them cool for a few minutes, then eat them with whatever you would like. If these aren't for your taste, you can add in additional ingredients to the ...

In this tutorial, we learn how to make your very own moon shine. You will first need to take some sugar and mix it with some water. After these are combined, add in yeast to this mixture along with cinnamon and additional water. After this, you will need to pump some CO2 into the mixture and seal it tightly. Now, store this in a warm and dry place for 10 days without disturbing it. When finished, you will strain this mixture out and place into a pot with a pipe coming out of it. Once this is ...

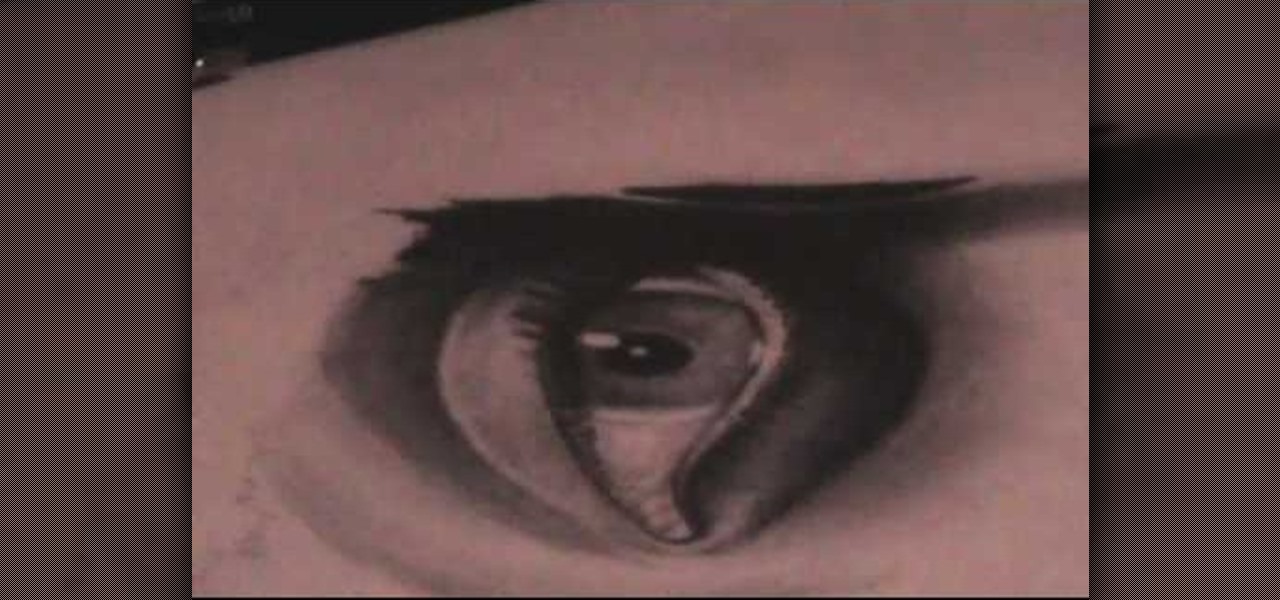
In this video, we learn how to draw a realistic mouth, nose, and eyes. Start out by drawing the outside shape of the eye, then draw in the details inside the eye. After this, shade in the pupil and add a white circle to make the eye look glossy. From here, add in the eyebrows and add darkness and lines to make it look more realistic. For the mouth, you will first draw the outline of the lips, then draw the teeth on the inside followed by additional details. Make the teeth different shapes and...

In this tutorial, we learn how to draw a dragon head. Start out by drawing the outline of the dragon head, giving it a pointed head and a large neck. Then, draw in flames coming from the mouth and large sharp teeth on the inside of the mouth. Draw in eyes, scales, and additional details around the entire area of the dragon. After this, you will be able to add in spikes on the back of the dragon as coming from the head down to the neck. Add in horns to the dragon, then shade in areas and add l...

In this tutorial, we learn how to draw a neighborhood using an imaginary box. First, draw a straight line and then the boxes should go around it. Continue to draw additional boxes around the line, then fill them in with the outline and further details. Draw in the roof, walls, windows, and doors. When you finish with the details, start to shade them in and then add in the street details. Make sure to give the ground some rough edges and also add in lights on the street. Add as many details as...

In this tutorial, we learn how to draw the face of an anime young man. Start out by using a pencil on a white piece of paper, drawing spiky hair at the top of the page. After this, draw in additional lines to create more hair around the face, then draw in the sides and the bottom of the face. Next, draw in the features of the face, including the eyes, nose, ears, and mouth. Then, start to draw the clothing and add shading in on the clothing and the top of the hair. Add in more lines to make i...

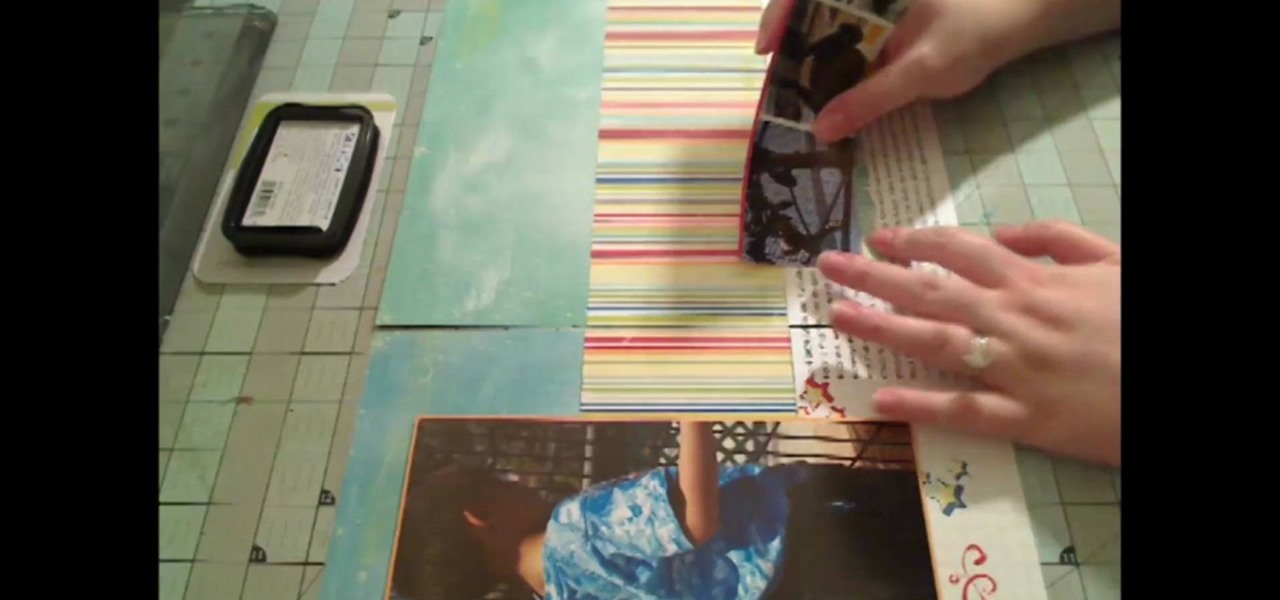
In this tutorial, we learn how to make a 12" by 24" two-page scrapbook layout. First, you will need to gather all of your papers and stickers that you want on your pages. Also, grab your pictures you want to use. Next, figure out where you want to place your photo, then glue it down. After you do this, add on an additional photo in another space of the paper. Place a background underneath the picture first if you want to give it a matted look. Also make sure to place in any stickers that you ...

In this video, we learn how to use Spotify without any ads. First, you will need to download the program from: naspotify. Once you have this installed on your computer, open it up and open up Spotify. Now, when you are on Spotify and you see an ad come up, you just need to press Alt+F9 and the ads will be gone from your page! This is a very easy way to get rid of the ads without having to go to a lot of trouble. This doesn't require any additional downloads, so if you are using a free version...

Does your PC speak YOUR language? It can, at least if you have Windows 7 on your computer. Specifically the Ultimate and Enterprise editions of Windows 7. You can easily change your computer's language in just a few clicks. See how!

ReadyBoost in Windows 7 can give your PC a boost. How? This feature takes advantage of unused space and can quickly free up room and make your computer faster. Watch this Microsoft video for more details.

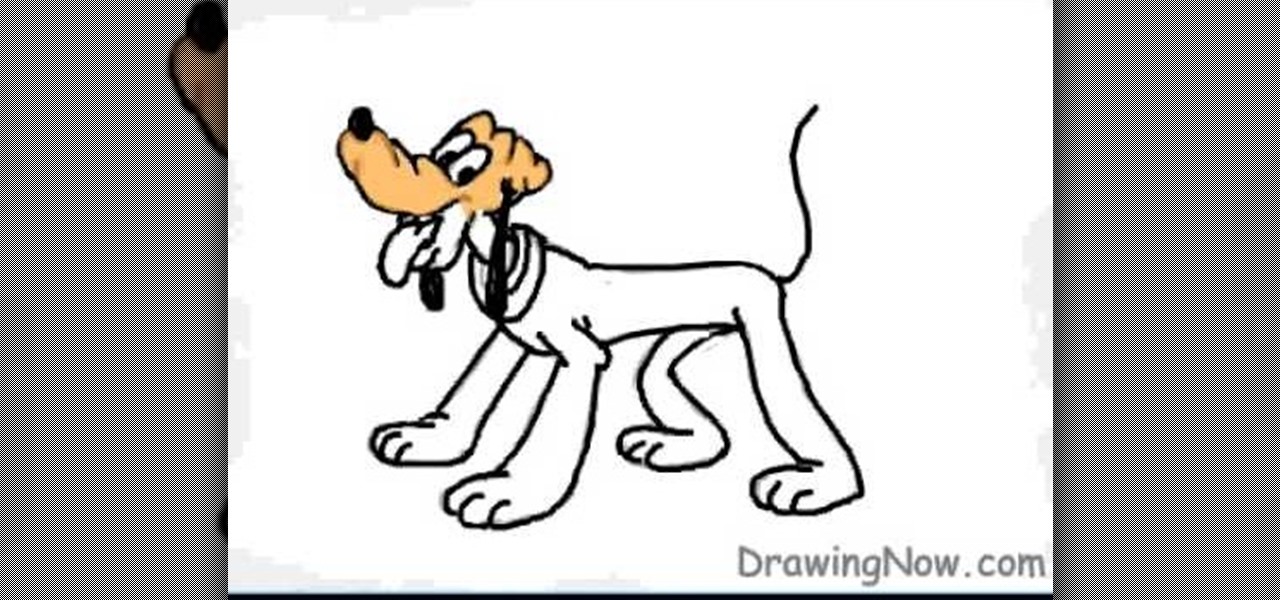
In this tutorial, we learn how to draw Goofy. First, draw the nose and then draw in the face. After this, start to extend the face down with the neck and a collar. After this, draw the back of Pluto and then his four legs like he's walking. Next, draw a darker line over the picture, then draw a tongue hanging out of the mouth and eyes and ears. Make sure to draw the tail, then start to color the picture with Pluto's signature colors. Add in any additional details, then save your picture onto ...

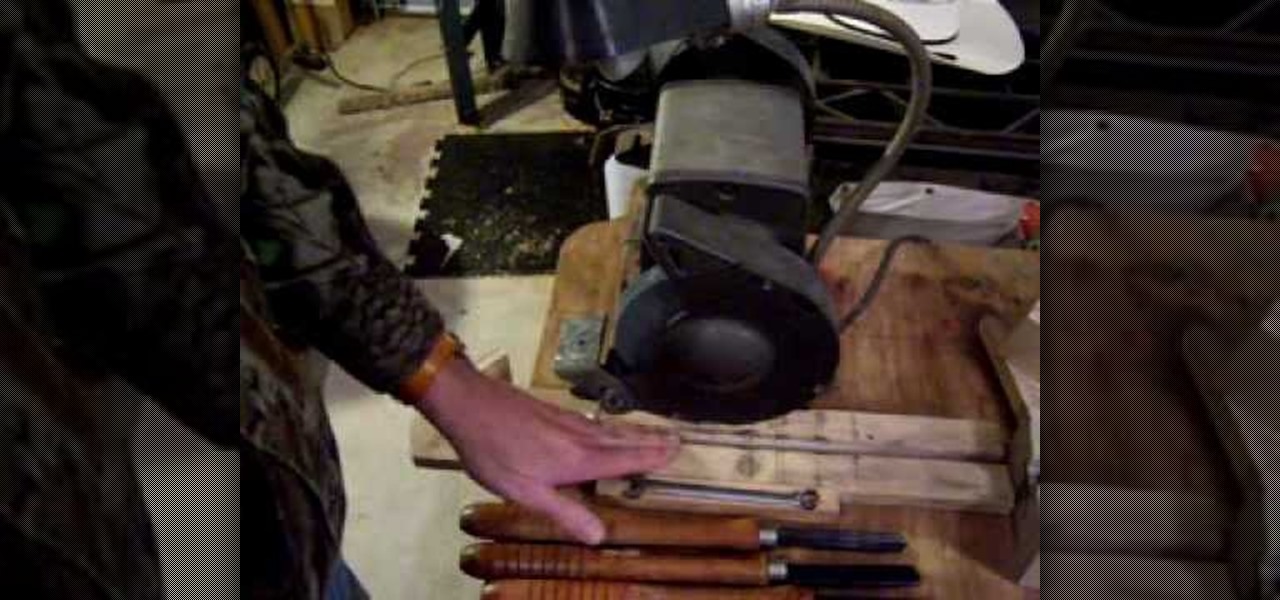
When molding or carving pieces of wood using a lathe, it's important that you have the right tools for the job. This includes having your tools nice and sharp for when you need them. You can actually pay someone to do this, but how about you save some money?

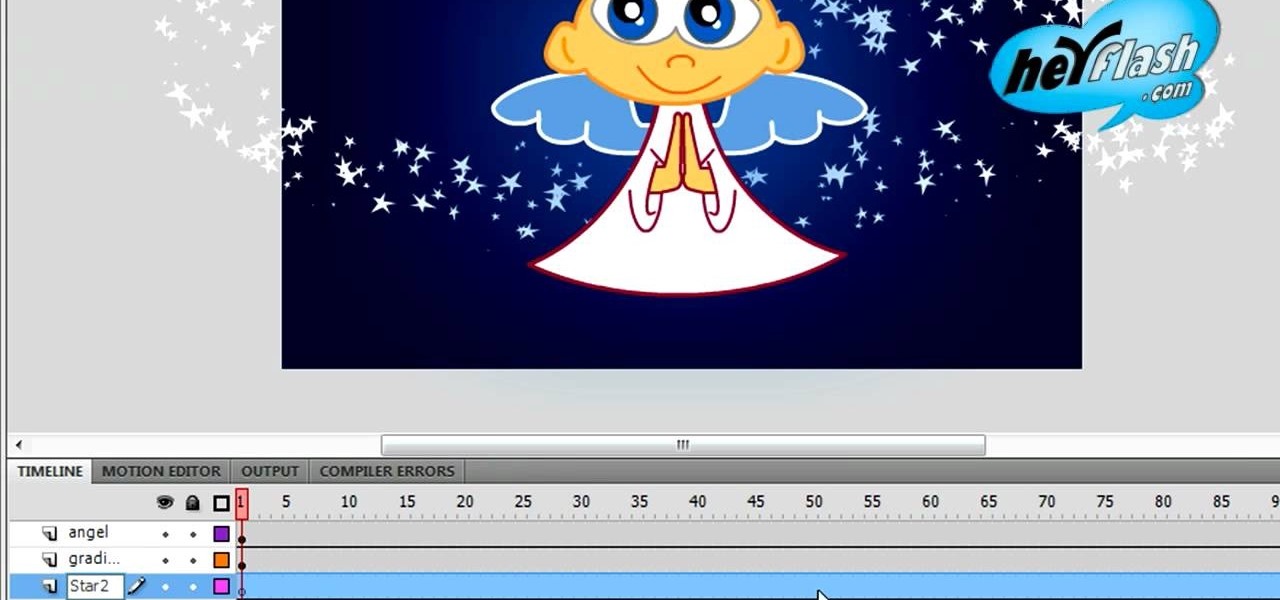
The custom spray brush tool in Flash CS4 is a powerful one indeed. It allows you to spray colors in shapes governed by movie clips, which is very handy for making your paint brush tool match areas that you have to color in frequently. This video will show you how to use the tool effectively to create colored images quickly, adding objects like twinkling stars to your movie with ease. This will make it both more interesting and easier to make!

Learn how to use the Gaussian blur tool to add mood to your digital photos while maintaining sharpness and detail. Meet the Adobe Photoshop pen tool! Whether you're new to Adobe's popular image editing software or simply looking to pick up a few new tips and tricks, you're sure to benefit from this free video tutorial, which presents a complete overview of how to use the Gaussian blur filter when touching up a photo. For more information, and to get started using the Gaussian blur tool yourse...

In this Software video tutorial you will learn how to make a winking animated GIF in Adobe Photoshop. Select a photograph of two eyes and duplicate the layer. Now copy the top eyelashes and paste them on top of the bottom eyelashes. Go to the eye drop tool and select a dark color. Then go to paint brush, choose a brush with size 1 and select darken in the ‘mode’ dropdown menu. Reduce opacity to 50%. Now darken the lower eyelashes as shown in the video. Then go to healing brush tool and se...

This video tutorial will help you to use the bone tool on an imported or Photoshop image while in Flash. If you want to use an image from Photoshop you must first pull the image up in the Photoshop program. Once the photo is pulled up in Photoshop you can save it by going to, file, and save us. Save your file as whatever file extension you would like to use (Photoshop, jpeg, etc). Pull up the Flash program and find file, and import. At this point you can import your Photoshop picture to your ...

In this video tutorial, viewers learn how to make a real flame text in Adobe Photoshop. Begin by opening a flame image in the program and select the text tool. Type in the text and position it over the flame. Now go to Select and click on Load Selection. Once the selection is created, delete the letter. Then select the marquee tool. Right-click above the selection and select Feather. Now create a new sheet and fill it in black. Using the move tool, drag the selection to the new sheet. Go to F...

Clicks are made on "Image",then "Adjustments", followed by "Brightness/Contrast" ; contrast is set to 30 and brightness is set to 60 to add more light to the picture. "Adjustment", "Variations" are clicked in that order and both yellow and red are increased. "Filter", "Render", "Lightening Effects" are chosen in that order and a new window appears; within which the style is set to "Soft Omni". The brightness is decreased ;similar to the way it was increased, and contrast is increased to 60. T...

In this video tutorial, viewers learn how to use the blend tool in Adobe Illustrator. The blend tool will allow users to create objects between two strokes or filled objects. When you double-click on the blend tool, there will be 3 options to select from. Select the spacing and press OK. The three spacing options are: Smooth Color, Specify Steps and Specified Distance. Users are also able to select the amount strokes between the two objects. Now select the points of the two objects and it wil...


