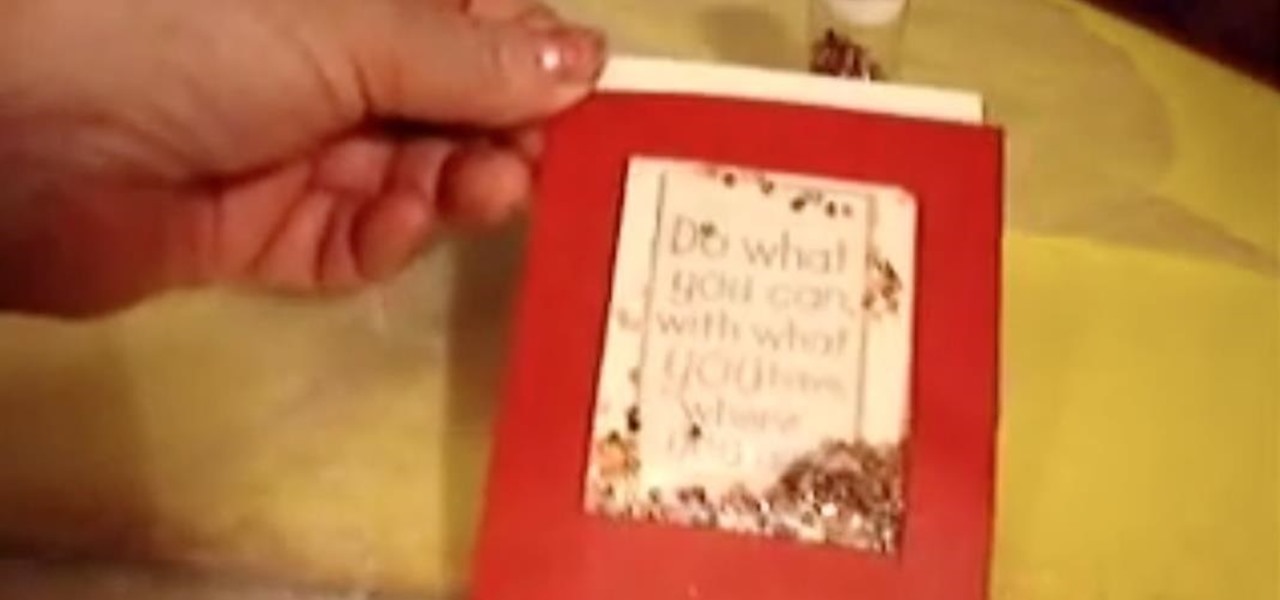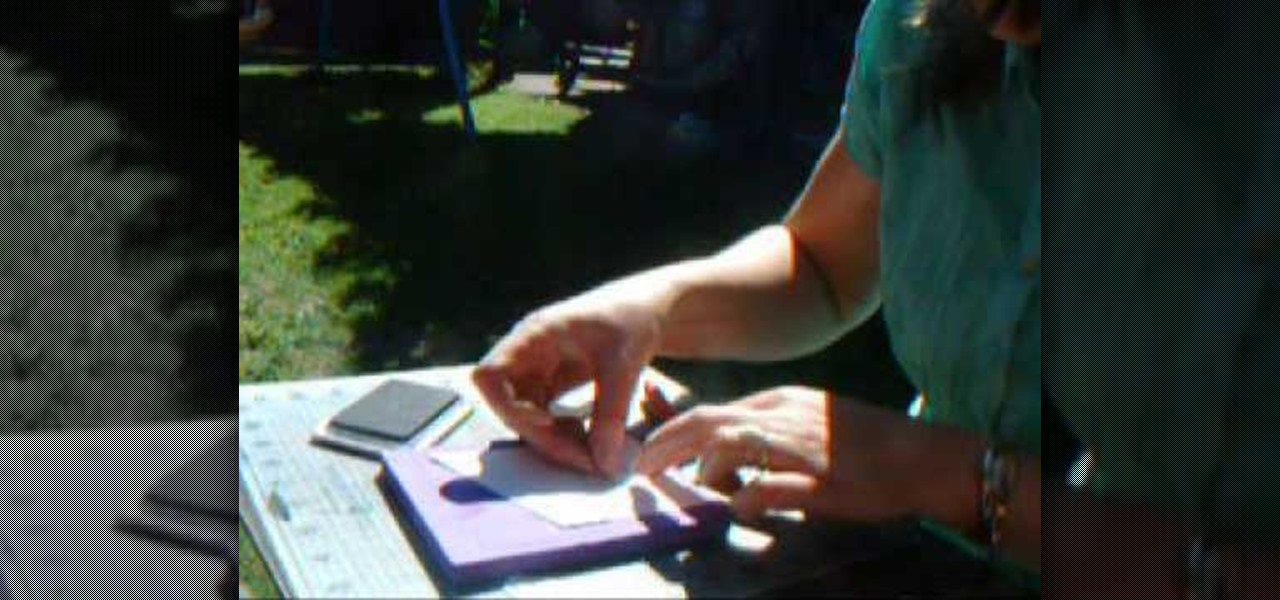
In order to make an accordian- fold style greeting card, you will need a piece of card stock, glue or adhesive, scissors, markers, and stencils/stamps. Cut the cardstock in a diagonal. Fold the card into 3rds, lengthwise. Cut a 5 x 3 ¼” panel at an angle. Use Masking Magic and stamp the excess card stock. Cut out your stamp designs. Color in your designs with Sharpie brand permanent marker pens. Glue the 5 x 3 ¼” cut piece to the card, or you could use 2 sided tape. If you have addition...
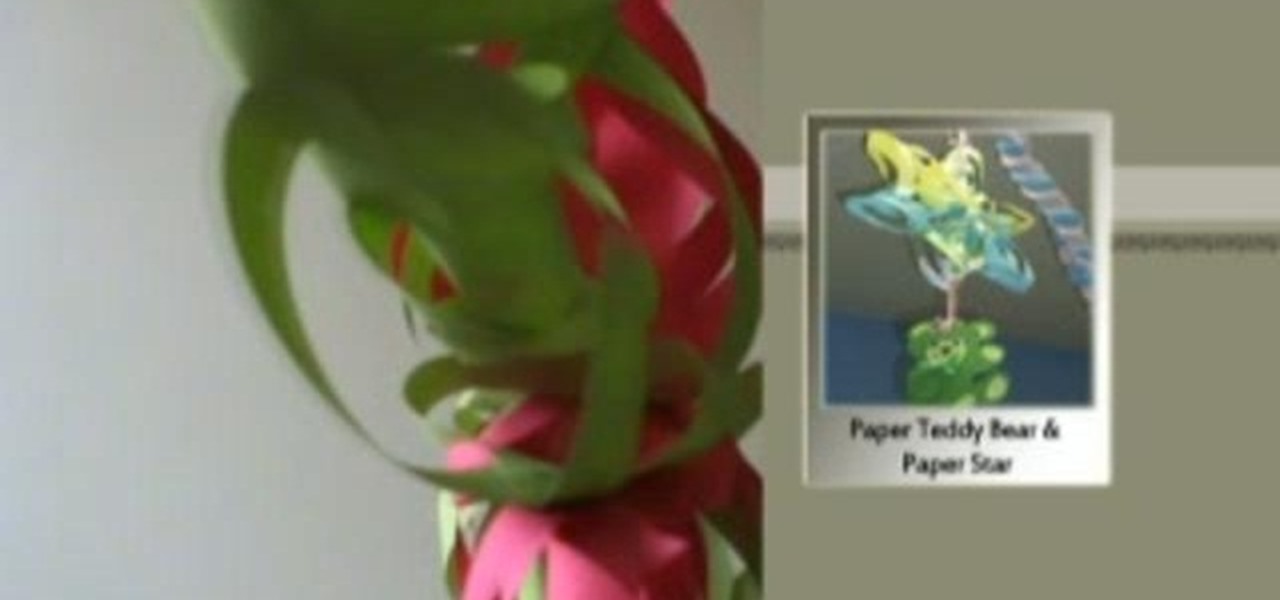
This is a great instructional video on how to make a decorative paper star. The materials you need are color papers, ruler, stapler, scissors, adhesive tape, pencil and cutting pliers. Take a paper and make a square of 20 cm side. Now fold the paper twice and get a triangular shape. Now draw four lines on it. Then cut along the lines with the help of scissors. Take the middle square and staple it. Then go to the back side and staple the ends. Repeat this process and get a star. You can make t...

In this two-part tutorial, learn how to use a stencil on a shirt to create a screen printing effect. Although this does not show you how to do real screenprinting, by using a stencil you will create the look of a screenprinted shirt and be able to transfer your image. Materials you will need include: A blank t-shirt, a high contrast image, acetate, Scotch tape, a sponge, a Sharpie, Exacto knife, some acrylic paint, and glue adhesive. Get your favorite image on a t-shirt you can wear with help...

Tree Climbing Man demonstrates how to lay ceramic tile with drywall spackle. You don't need to rip up your existing floor and put down plywood or a sub floor to lay down a new floor. You can put ceramic tile right over existing linoleum with less work, less heartache and less problems. First, spackle the back of each tile and lay it down. You can also use a stapler and tape to fix problem areas. You don't need to go crazy with the adhesive. Spend your money on quality tile. You can use clay f...

This video shows the method to make a disposable icing tube from freezer paper. The video explains the things needed for doing the task. The basic thing needed for the task is a freezer paper. The freezer paper is cut into three pieces across its length. This gives us a freezer paper which is six by twelve inches long. The freezer paper is then folded into a triangle across one of its sides. The paper is rolled along the triangle so that a tube is formed. The paper is stapled for an adhesive ...
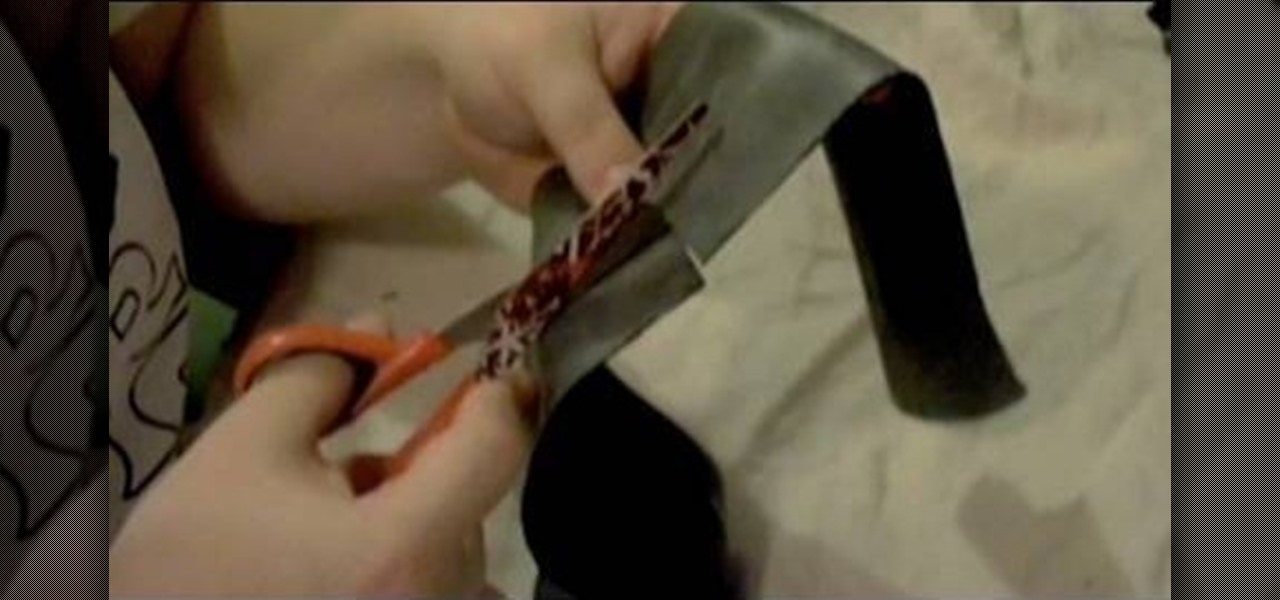
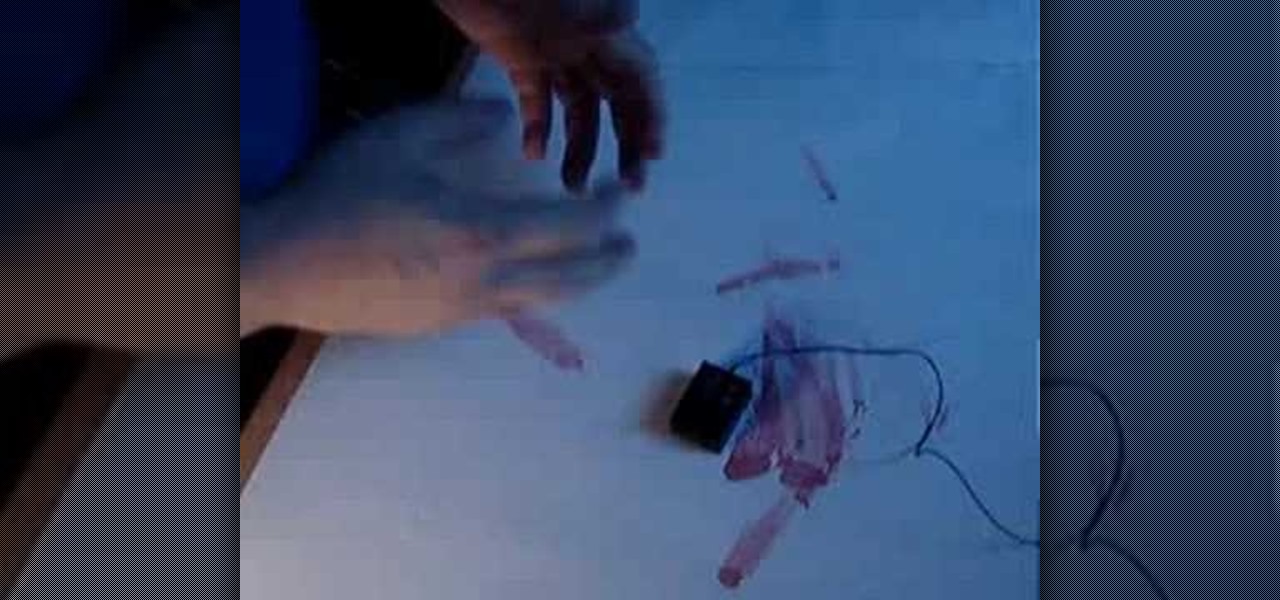
In this video hostess Charlotte instructs us, on how to make "Inner Tube" Bracelets, a rock style associated accessory. Employing either Black Plastic, Leather, or even Tape. Creating these alt accessories requires only scissors and a needle and thread of some type of adhesive to attach the clasp or fastener that will allow you to attach it to your wrist. With a few simple Scissor cuts along the material's length to create a design. Charlotte shows us exactly how it is done with helpful tips ...

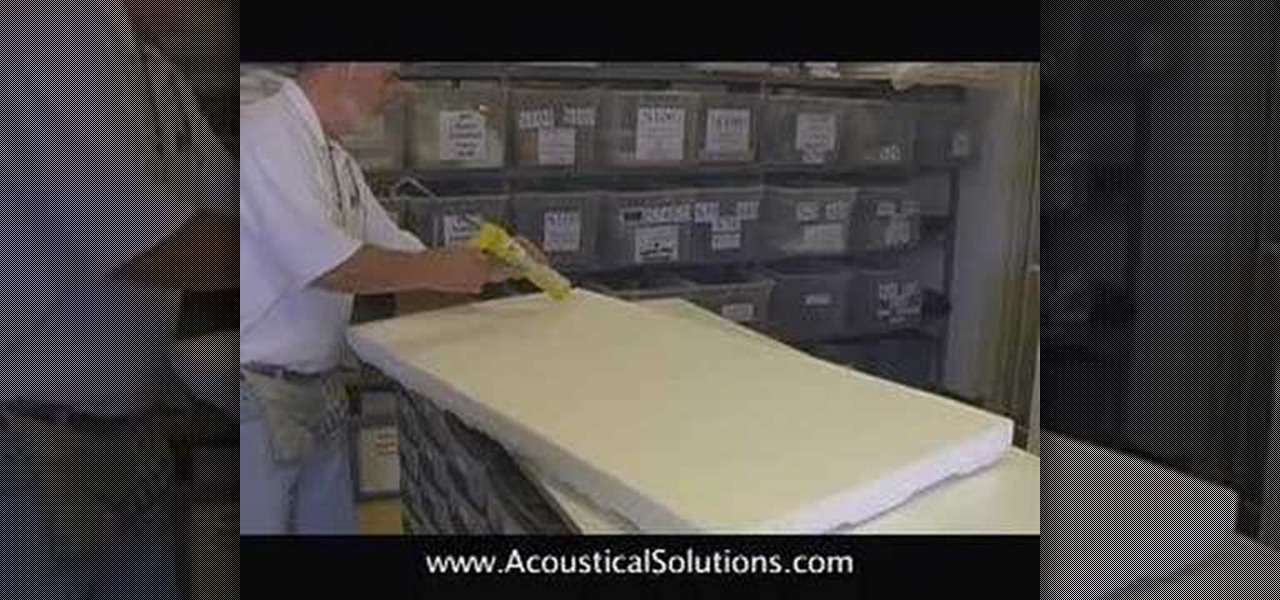
Install acoustical wall panels using adhesive to secure the panel to the wall.
In this tutorial, Lowe's teaches us how to hang wallpaper. Wallpaper can update a room and give it personality. Make sure you prep and measure your wall before you begin to hang. Now, cut out your paper to the appropriate size for your wall, then draw a line on the wall from the corner to a few inches out of the wall. After this, apply a clear adhesive to the wallpaper if it isn't already adhesive. Now, dump them into a water box and fold the water together and let set. After this, apply the ...
In order to make paper cutting art for your home, you will need: paper, pencils, X-acto knife, card stock, scissors, self-healing cutting mat, poster board, adhesive, and a scanner.
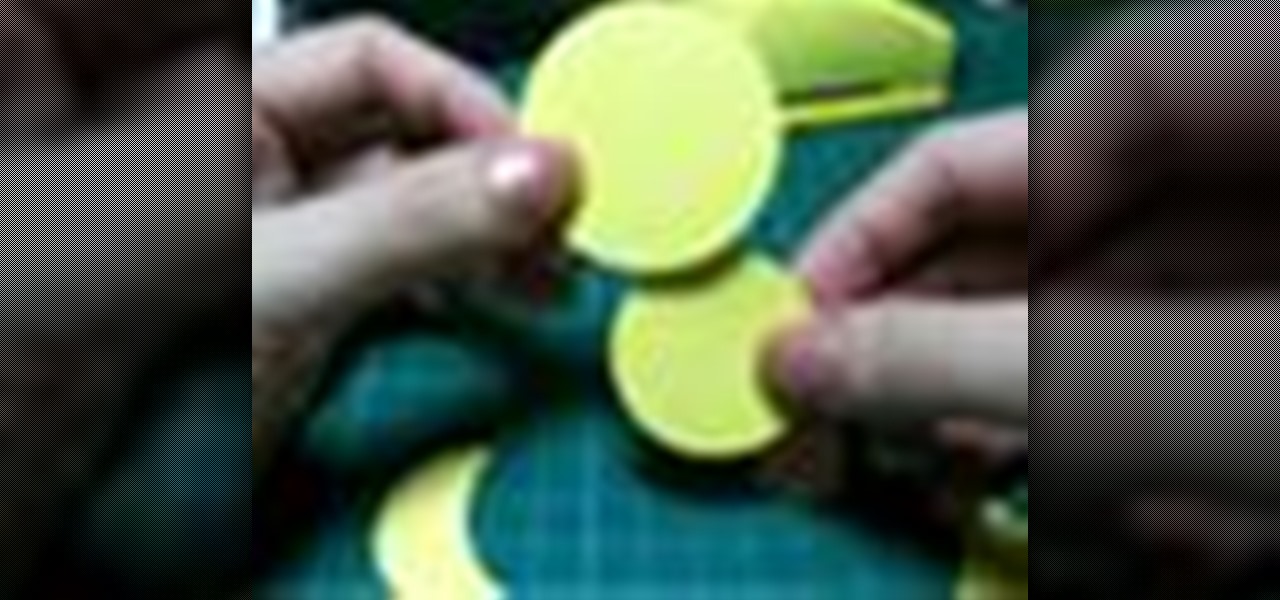
In this how to video, you will learn how to create a little chick with punches. You will need a 1 3/4 circle punch, a 1 1/2 circle punch, a 1 1/2 circle scallop punch, and a small square punch. You will also need a pink and yellow material to cut from. Cut out one piece from the 1 3/4, one from the 1 1/2 circle, and two pieces from the 1 1/2 scallop circle. Take one piece of the scallop and take the 1 3/4 punch and punch the side out. Take the punched piece and place it on to of the other sca...
Decorate a Cardboard Sun Mirror- Acrylic Painting Project- Art and Craft
In order to make hot cocoa holders with Stampin' Up, you'll need the following: a whisper white Stampin' Up envelope, scissors, a paper cutter, cocoa, a jumbo wheel, ink pad, adhesive, stamps, ribbon, pen, stapler, glitter, and card stock.
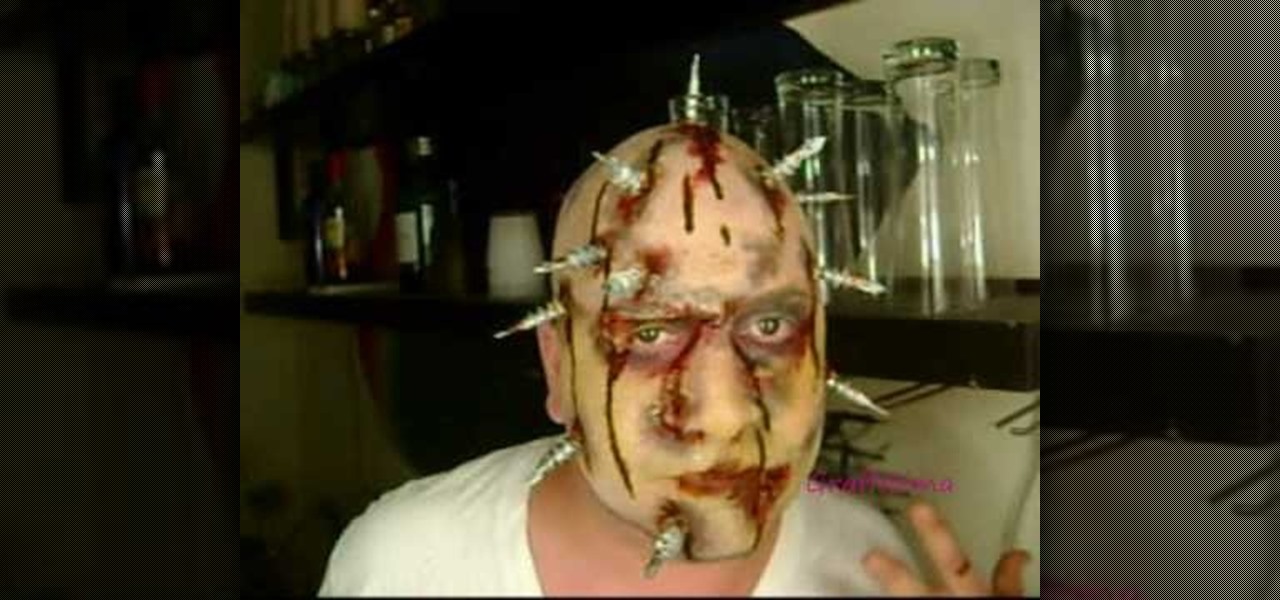
This fantastic Halloween special effect makeup tutorial teaches you how to create a bloody bolt look using mostly MAC products. The artists teaches you how to create texture and create a distressed look with the base and color makeup. He applies the adhesive and attached the scar effects and adds the "bolt props" with the adhesive. He uses a purple and yellow pigments to distress the skin further. He then takes fire red to create the blood. He also shows you how to make realistic blood with s...
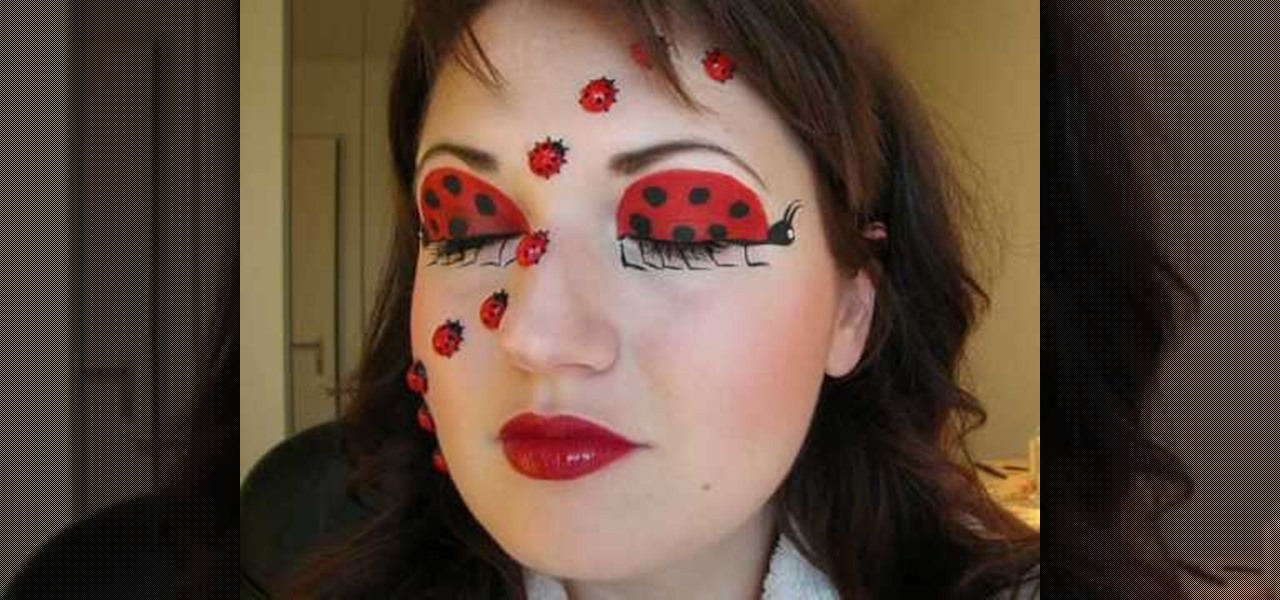
Check out this Halloween makeup tutorial and learn how to create this sweet ladybug look. Be creative this Halloween! This Halloween ladybug makeup look will wow everyone.
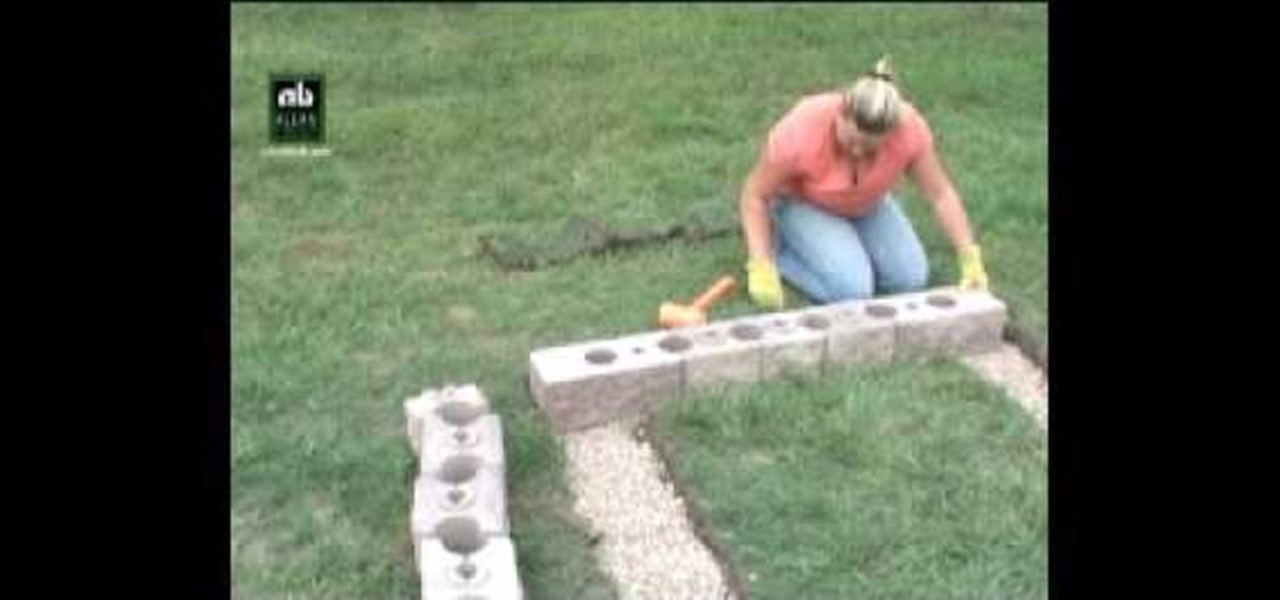
blockvideos shows how to build a cinderblock compost bin for recycling needs. The builder will need 20 corner blocks, 36 AB York blocks, 12 AB Dublin blocks, 17 wall caps, 5 fifty pound bags of crushed rock, and and 2 tubes of masonry adhesive. To begin, find a location to build the compost bin and lay out the first layer of back wall and side wall blocks, lining them up straight. Check the dimensions of the layout. Once confirmed accurate, use a shovel to mark the grass around the blocks. Re...
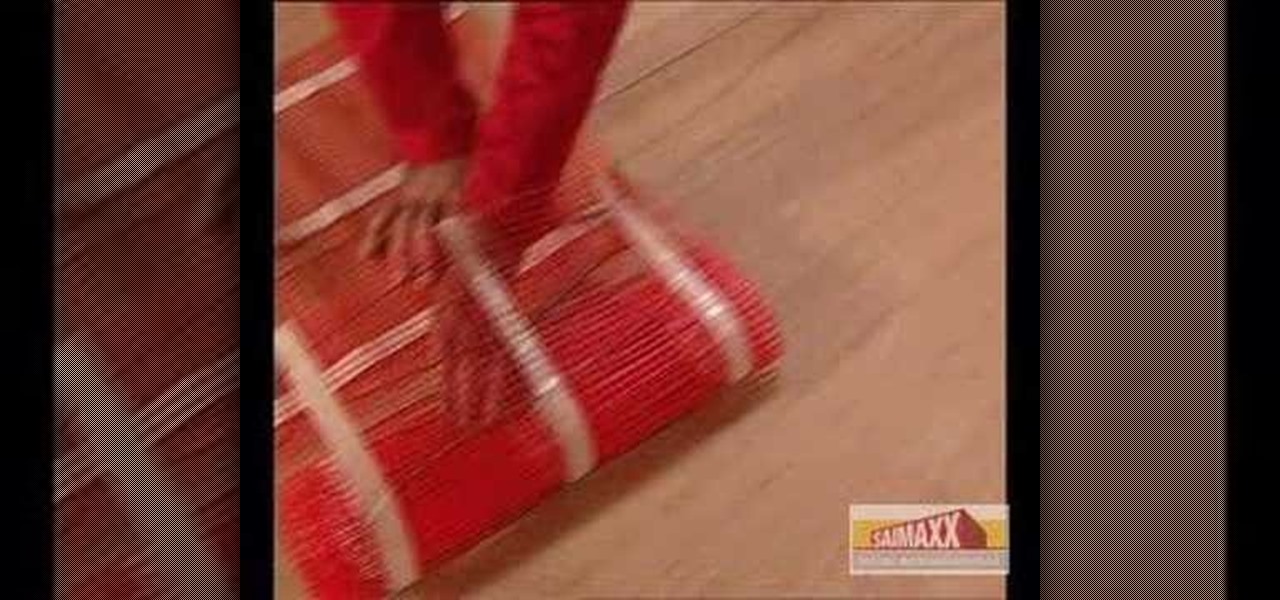
In order to install Warmups Underfloor heating system, you will need the following: a Warmup Thermostat, a Warmup Kit, RCD, a multimeter, a permanent marker, measuring tape, tape, and scissors.
If you call yourself a hobbyist or a kid at heart, you know that remote-controlled vehicles are more than just fun. If you're a serious R/C man, you'll know all about doing everything to your model truck or car, like fixing wheels, vamping the pinion gears, waterproofing, troubleshooting, electronic diagnostics, setting up, programming and finally... racing. As much as you know about these remote-controlled vehicles, it will never be enough, you'll always be looking for more...
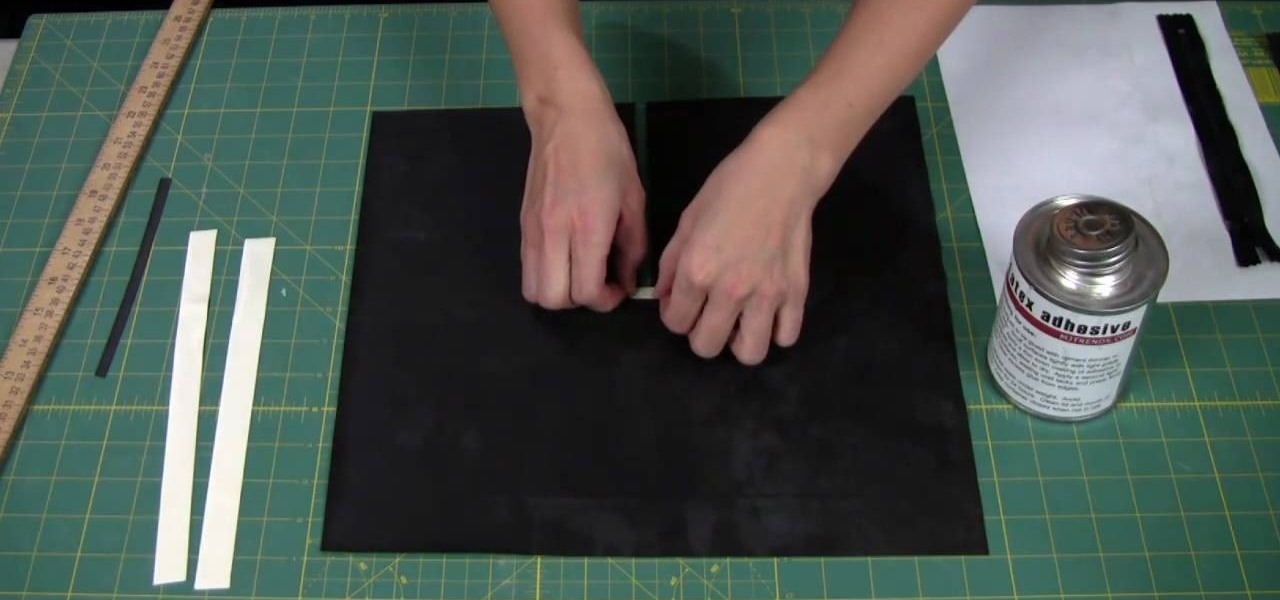
In this video, we learn how to add a zipper to a latex garment. First, apply glue to the zipper, using an ammonia based adhesive in one coat. Next, take a small paint brush from any store and apply a thin layer of adhesive to the zipper. The top will take about 45 minutes to dry, then turn it over and apply another layer of glue to the back. After this, cut two 1/2" strips of latex a little bit longer than the zippers. Also cut a 1/4" wide and 1" long piece of latex as well. Now, apply these ...
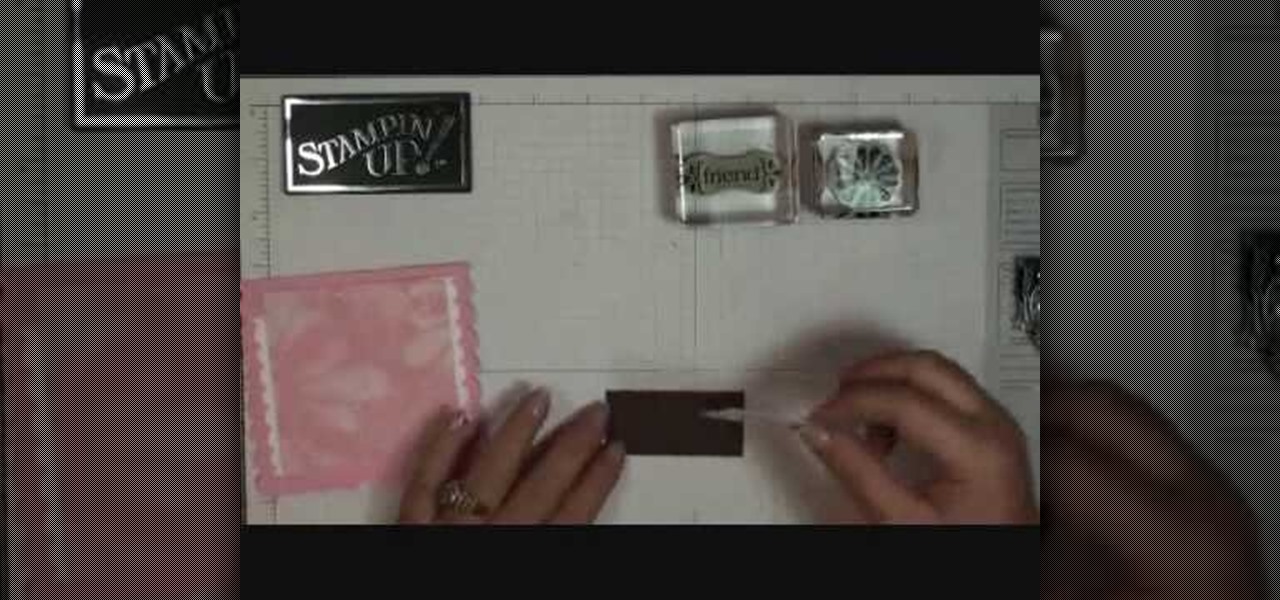
In order to make a scallop square card with Stampin' Up, you will need the following: a big shot, a large scallop square # 115950 Bigz Clear die, stamps, adhesive, design paper, mini glue dots, decorative ornaments, and card stock.
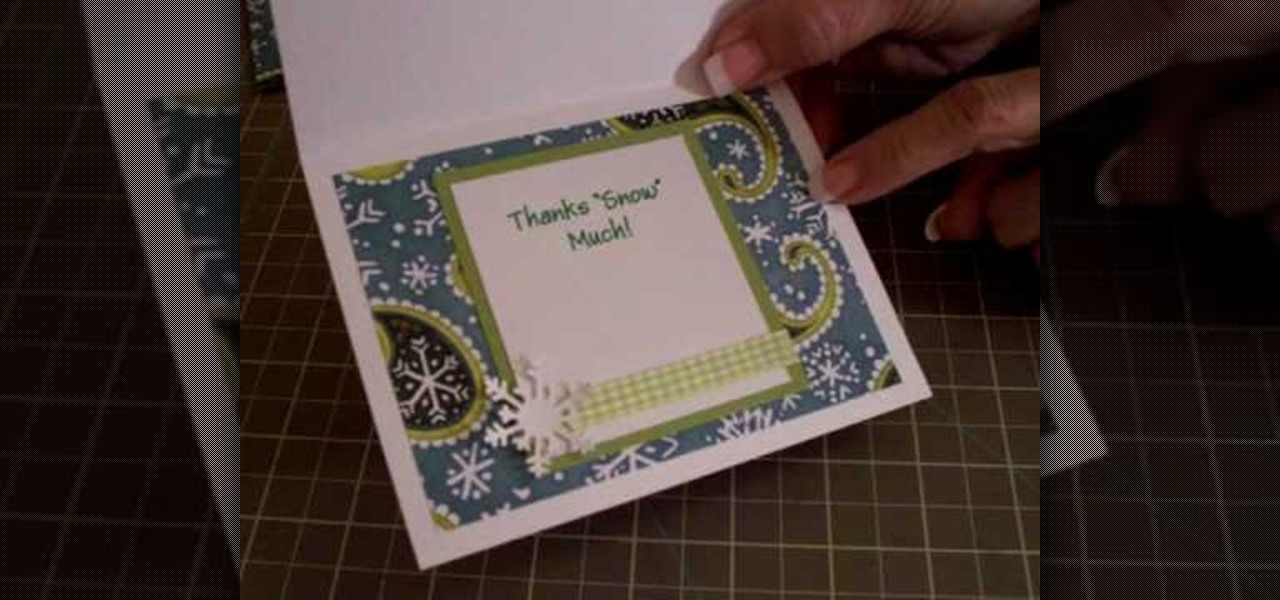
In order to make a thank you card for Christmas gifts, you will need the following: Winter Woodland cartridge, glimmer misty, pop dots, adhesive, gingham ribbon, and pattern paper.
In this tutorial, we learn how to make a paper flower using paper scraps. To make this, you will need: 3 pieces of small pink scrap paper, 1 piece of small green scrap paper, 1/16" brad, adhesive, hole punch, ink, and a sponge. First, you will draw one different size circle on the 3 sheets of pink paper. Next, draw leaves onto the green scrap paper. Now, start tearing the shapes out of the paper leaving no pencil showing. Crumple the paper up several times, then get your ink and put it on you...
In this tutorial, we learn how to make a scrapbook shaker box at home. You will need: square card stock shape, another square card stock shape with a hole in the middle, and a piece of acrylic. First, place the acrylic along the piece of card stock with a hole on it and glue them down together on all four sides. Next, attach a journal entry to the center of the other card stock square. Now, line adhesive to the acrylic piece on three sides and stick the card stock to the adhesive. You can now...
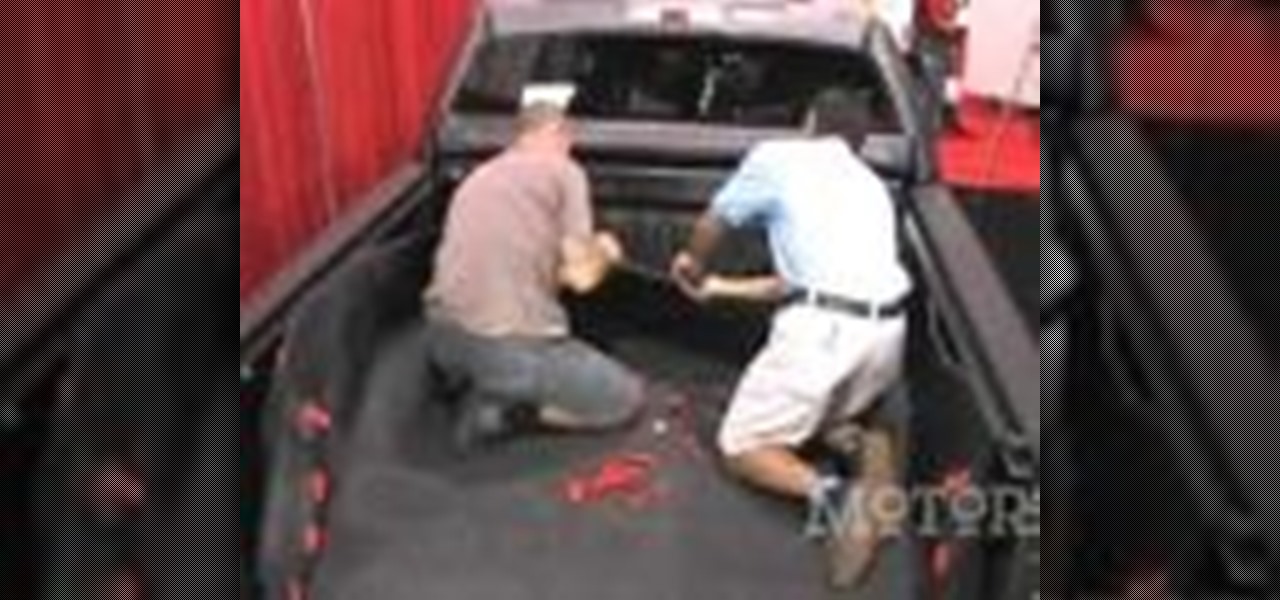
In order to install a BedRug pickup truck bedliner, you will need the following: a BedRug, Rubbing alcohol, and cloth rags.
Bob Harris of decorative concrete institute explains how you can remove your tiled or carpeted flooring for a concrete substitute. He suggests when your removing carpeting that it can be very heavy and advises you to hire someone who can lift and carry it out, or rent a dumpster for easy take away. He states that after the carpet is removed you'll need to remove the adhesive from the floor. You can do this by stripping or grinding, and at other times the use of harsh chemicals may be needed. ...
Terri Sproul shows how to use a really cool technique to make an embellishment for a card. You first need to find a roll of aluminum that is self adhesive. Work on the back of the aluminum, the side with the adhesive. Use a stamp to lay out your design on the back, by stamping the image on the back. Then you must trace the outside of the image. Use alcohol inks to add color to the aluminum. Then she cuts the image out with her scissors. Then she uses a glue dot to place the piece on a card sh...
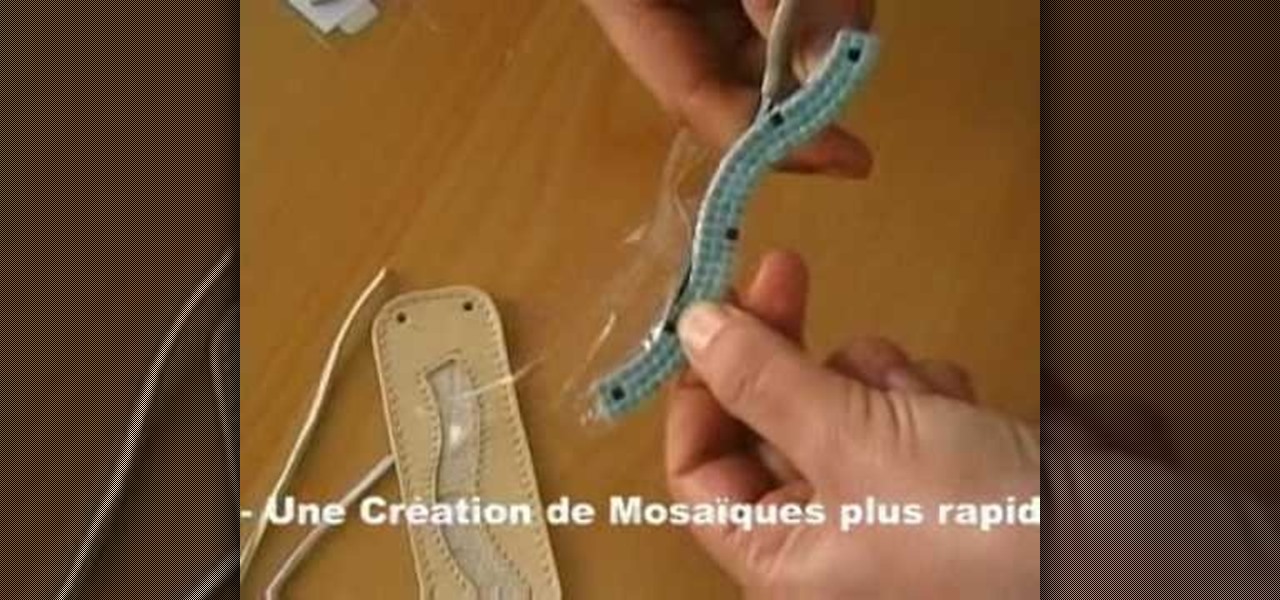
Alea Mosaic shows you how create a beautiful stone-inlaid jewelry bracelet. This video clearly and concisely lays out the steps. First, you affix a pattern underneath clear adhesive foil. Next, you peel the the cover off to expose the adhesive. You then place the stones according to the pattern, and fix a transparent foil on top. Once that is done, trim the plastic from around the stones. Then, you apply glue to the bracelet base, then place the stones inside.
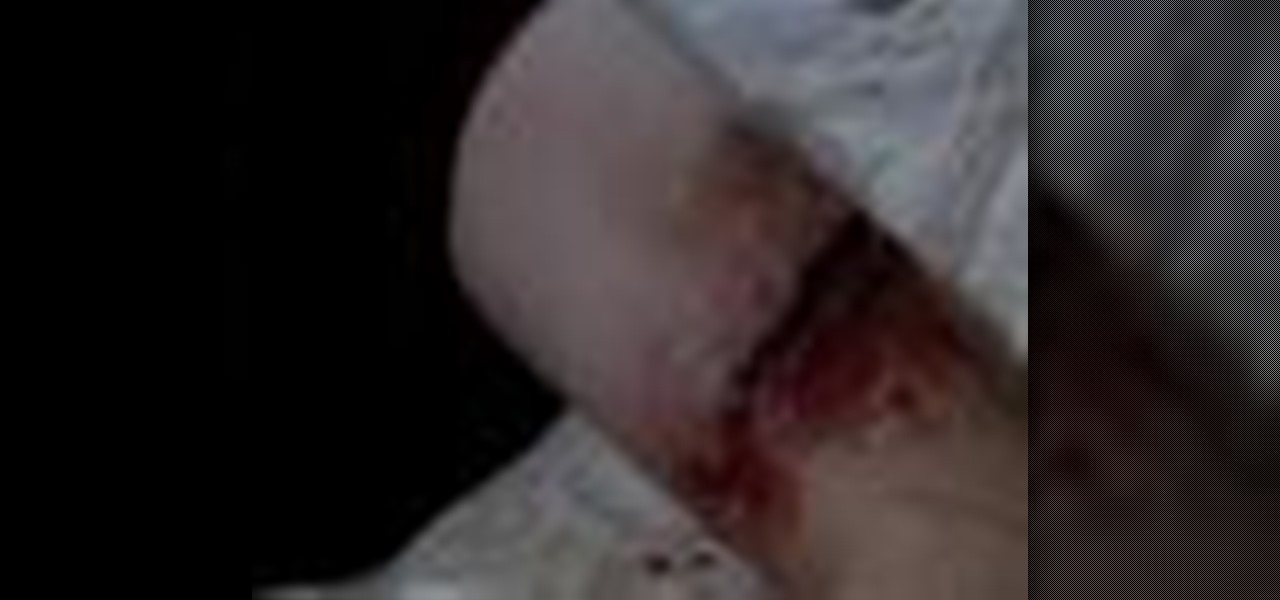
The human body contains nine units of blood—but in matters of a traumatic cut or injury, it's always better to be safe than sorry. If you're unsure whether you're in an emergency situation, get to an emergency room and let them decide.
Here is a short tutorial for those of who wanting to build miniature scenery using a structure of layered foam. The adhesive not mentioned in the video is PL 300 foam. However, you can use any type of adhesive as long as its foam friendly. This two part instructional video provides easy and satisfying method of building miniature landscapes fro train sets, architectural models, and dioramas.
Whether you love or hate wearing high heels, a pair of stilettos can be incredibly painful. You can feel blisters, searing pain, pressure, and stabbing aches long after you kick off those heels, but a really simple trick could help alleviate some of the issues caused by tight-fitting, wobbly shoes. According to Kat Collings of Who What Wear, taping your third and fourth toes (if counting away from the big toe) together with tape will reduce the amount of pain you feel in the ball of your foot...
This cardmaking tutorial is for the very popular style of the shaker card, I have put my own spin on it and made this a double acetate shaker card complete with snowflakes & snow, this demo shows you how easy it is to make and how impressive it is when it is finished. Step 1: Items Used
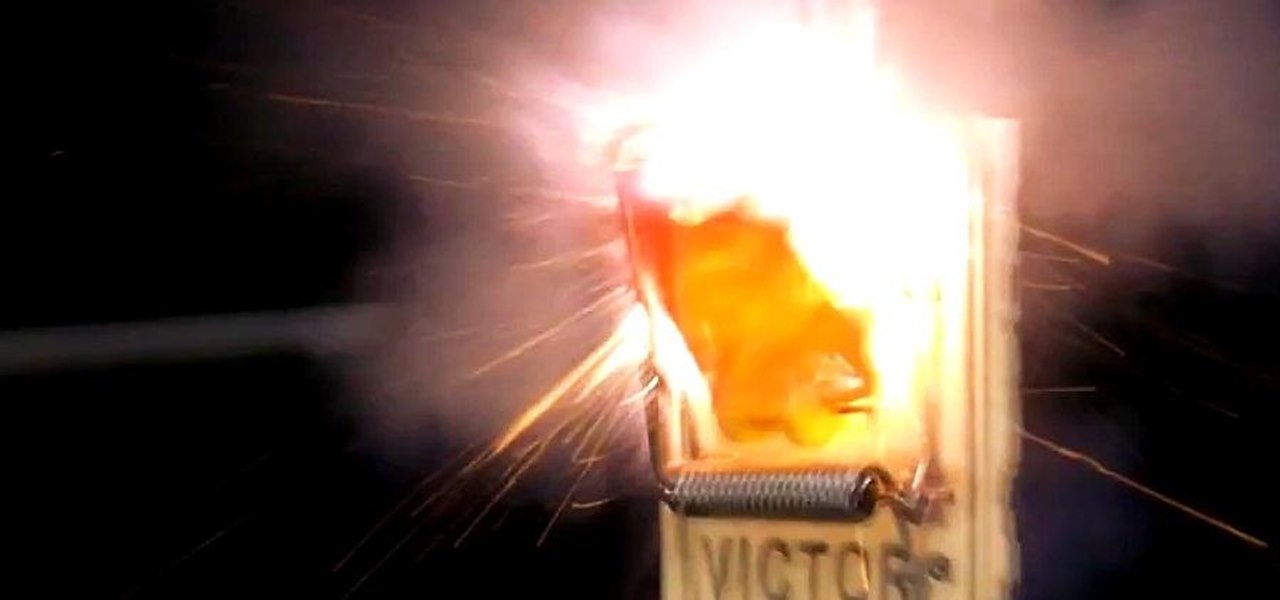
It's a real challenge to create exploding targets that can be set off by low velocity projectiles, yet remain safe to handle without risk of ignition during construction.
False eyelashes can be the most intimidating part of your makeup routine! It can be overwhelming or frustrating at first trying to apply them, but hopefully these steps will ease that anxiety. This beauty video demonstrates how to apply fake eyelashes.
Danny Lipford and Allen Lyle demonstrate how to turn an old door into a desk. First, remove the door hinges. Then, fill the biggest part of the voided hardware holes with wood and seal them with bonding adhesive. Don't leave too much excess bonding adhesive on the door or else you'll have to sand it off once it's dried. You may need at least two coats of bonding adhesive to get the surface level. Cut wood for the sides of the desk and then run them over a router. Sand down the door and the ne...
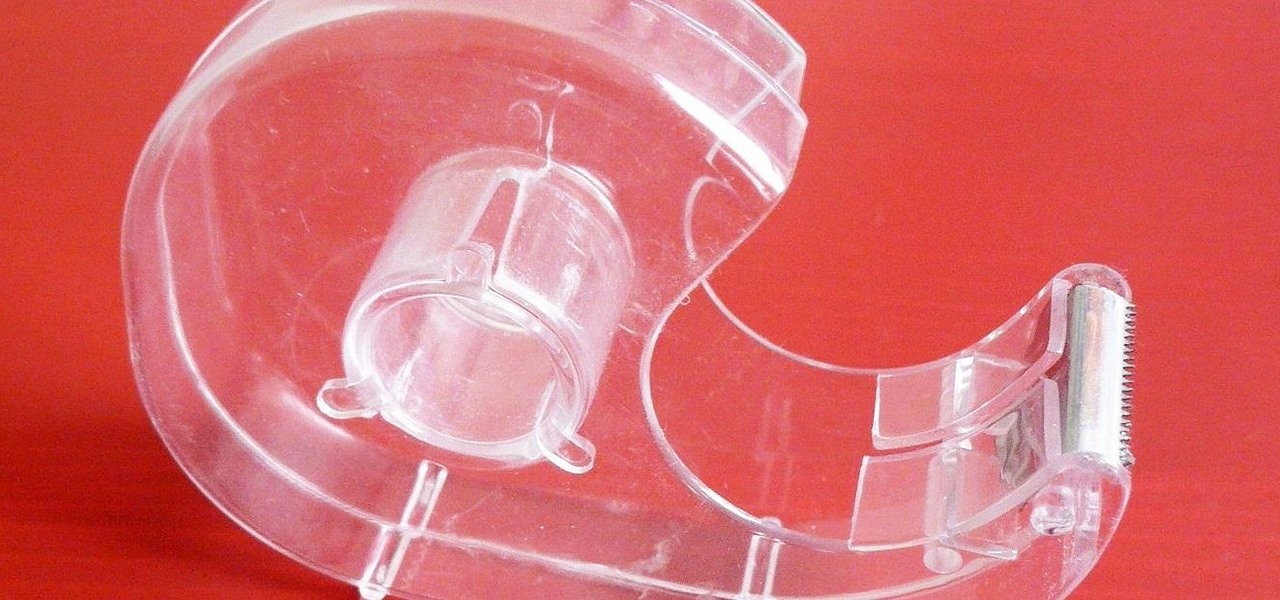
Every year I wait until the last minute to wrap Christmas presents. I always tell myself I'm going to get it done ahead of time, but it never happens. And the worst thing that can happen when you put it off is running out of Scotch tape.
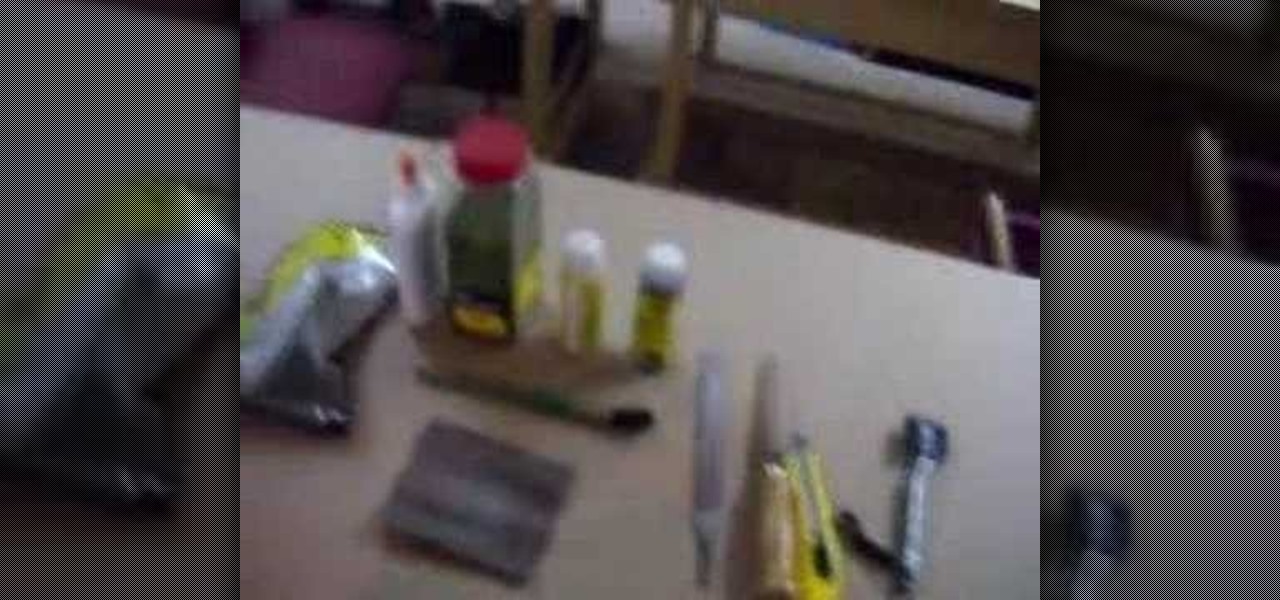
Keep it clean, covered, and coated, and say goodbye to that scar from the get-go. You will need running water and mild soap, self adhesive bandages, antibiotic ointment, petroleum jelly, sunblock, and silicone gel sheets. Warning: See a doctor immediately if your cut is extremely deep, won't stop bleeding, or appears infected.
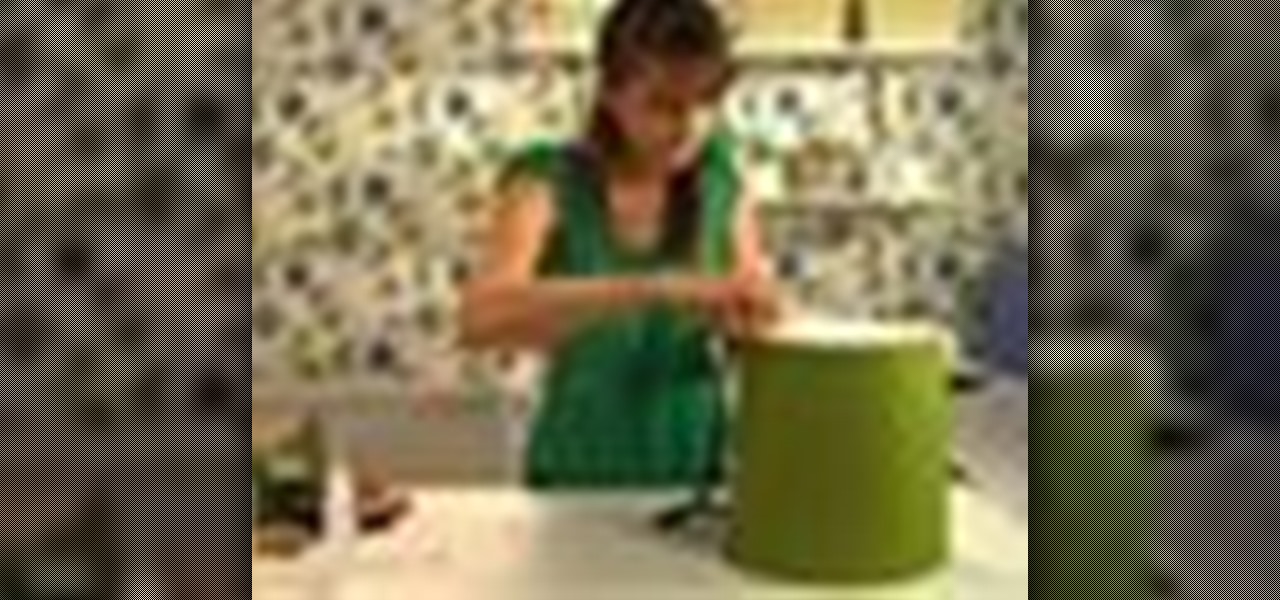
Updating an old lampshade is a great way to brighten up a corner, freshen up a room, and lighten up your life. Learn how to re-cover your lampshade with this tutorial. All you need is fabric, spray adhesive, fabric glue, ribbon or cording to easily cover your lampshade at home.
This tutorial shows you how to make a fun boffer shield out of foam and cardboard. You'll need four pieces of corrugated cardboard cut into 18 inch diameter circles, a craft razor, spray adhesive and paint.
With KipKay, you can learn how to build an underwater camcorder housing and you need 5200 Marine adhesive sealant. You can use industrial primer to color the box grey which would be a nice finishing touch. He says it'll only cost $10, but find out for yourself.
Learn how to use a coffee filter for more than making coffee. Discover the versatility of coffee filters by learning all the things they can do besides straining your java.
Each year, Apple seems to design its devices to be more difficult for owners to repair themselves. So when an iPhone breaks, a trip to the Genius Bar or an Apple Authorized Service Provider is most likely necessary. But if you have an iPhone X that needs a new battery, a leaked video just spilled the beans on how to replace the battery precisely as Apple would.