You will need white glue, a paint brush, a ruler, scissors, medicinal gauze, self-adhesive foil, a utility knife and paper. First, using a paint brush, apply the white glue to the edge of a stack of paper that you would like to bind. Press the stack of paper down with a ruler. Let the glue dry. Unfold the gauze to fit the book and cut enough to cover the spine. Coat the spine with glue and paste the gauze to it, overlapping the sides of the book. Coat the gauze with glue and let it dry. Make ...
Power the clocks at your home with the sun! With a solar cell that costs around $5, you can convert a clock to solar power and avoid buying batteries or running up the electric bill. Instead, connect a rechargable battery to the solar panel with a few wires and some adhesive and soon you'll have enough energy to power your clock for as long as it lasts.
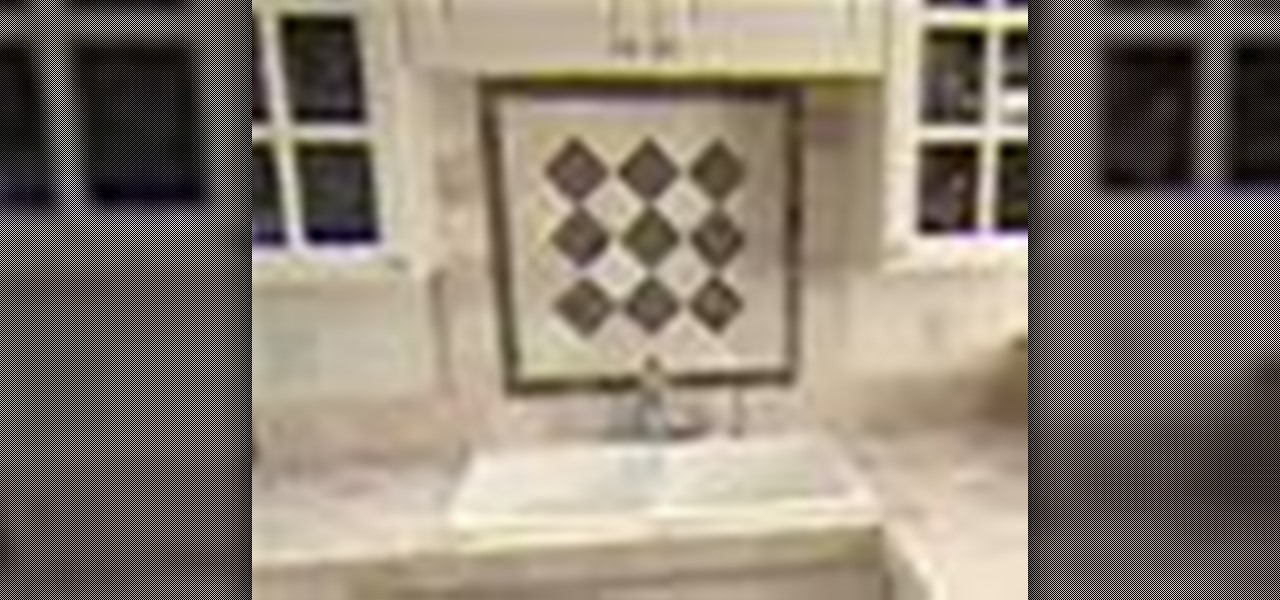
In this video, learn how to tile a kitchen backsplash. This video, hosted by the Home Depot will show you how to prepare and install this new improvement to your kitchen. This clip will walk your through a two-foot high backsplash with glass tile accents. You will also learn how to use mastic adhesive and the proper laying of decorative tile.
Even if you are just starting out, you can still install an easy full lace wig. Just pick up a tube of adhesive cream and put it on the easy way. Ms. Lola will take you step by step through the process for beginners. People are going to wonder how you got such a hot look and you can proudly tell them you did it yourself!
Use this camera modification to secure the Holga back to the camera and to provide a light blocker for the counter window. You will need a small package of velcro with industrial strength adhesive. This photography tutorial provides tips for making your vintage Holga camera easy to use in hectic shooting situations.
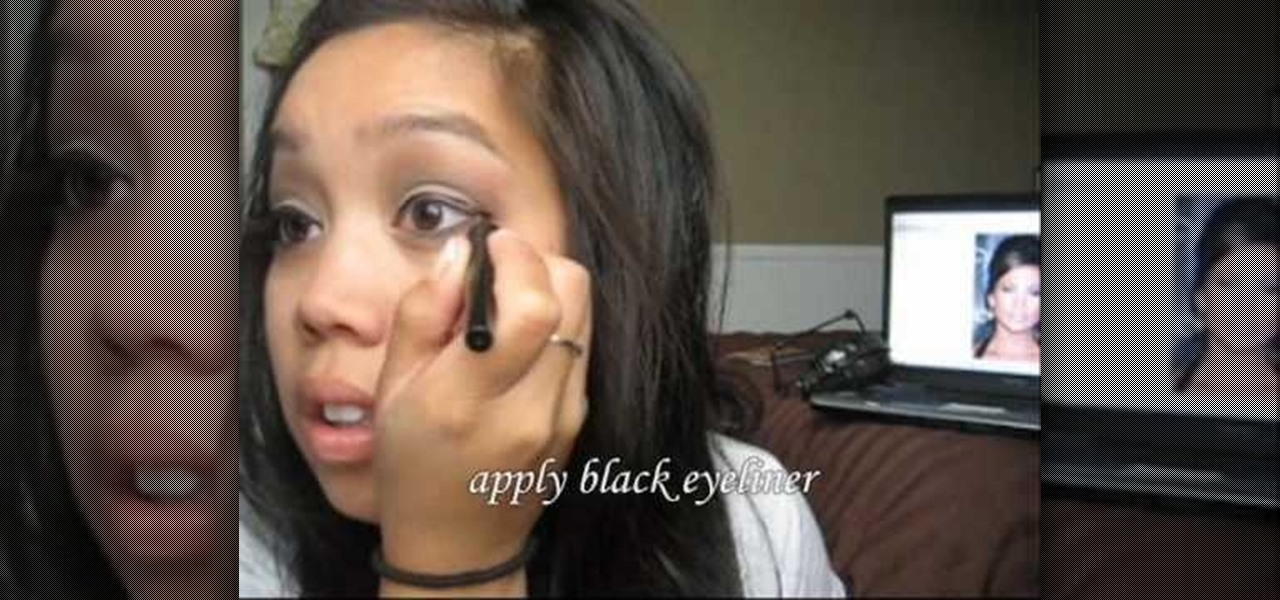
Watch this instructional cosmetics video apply eye shadow for a punk look. You will need

Watch this instructional cosmetics video to apply makeup for a Jennifer Lopez look. Products used in this video are a Leow-Cornell 3/8'' brush, 1/2'' Maxine's mop brushes, MAC 219 brush, Sephora 29 blending brush, Ardelle 134 falsies, DUO lash adhesive, and an eyelash curler. For the eyes use Urban Decay primer potion, MAC "fresh cement" shadestick, Revlon colorstay liquid eyeliner, Revlon colorstay pencil eyeliner, and a MAC "wheat" brow finisher.
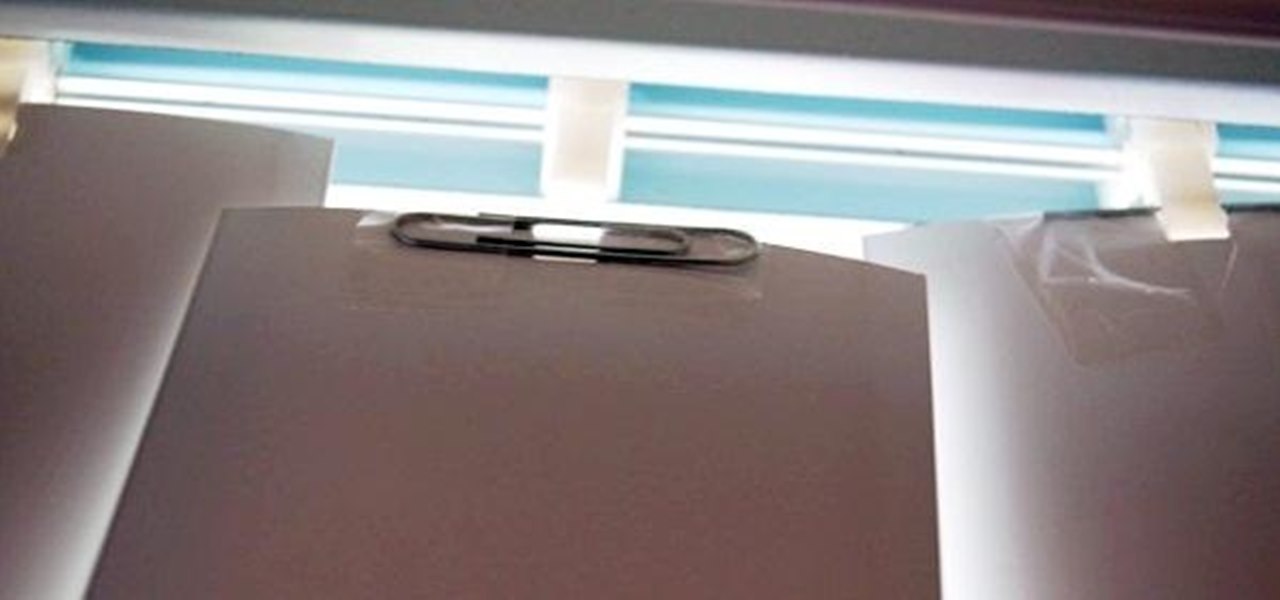
Self-adhesive foam inside the QuicKutz squeeze will allow for a more crisp cut from the embossing and die-cutting molds. Make sure not to accidentally adhere the foam piece to the paper that is being embellished. Watch this video crafting tutorial and learn how to use QuicKutz 2x2 dies in a QuicKutz squeeze embossing and die-cutting machine.
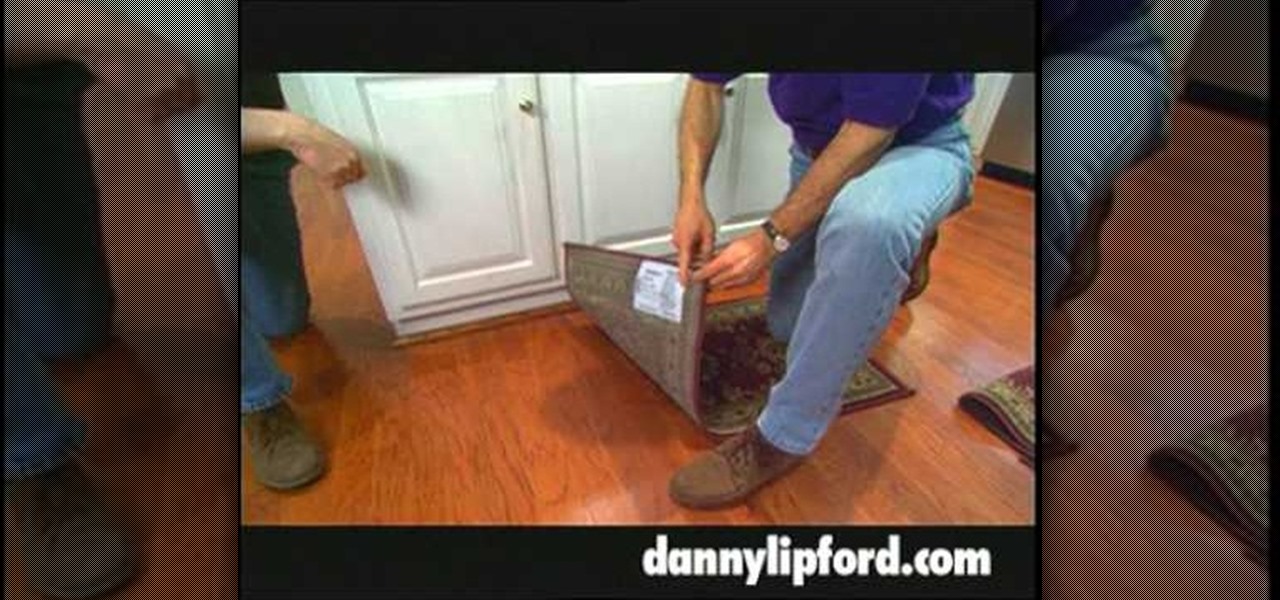
Tired of slipping and tripping on that pesky area rug? You can make any rug in your house non slip with just a tube of silicone adhesive. Watch this how to video and find out how to secure the rugs in your house.
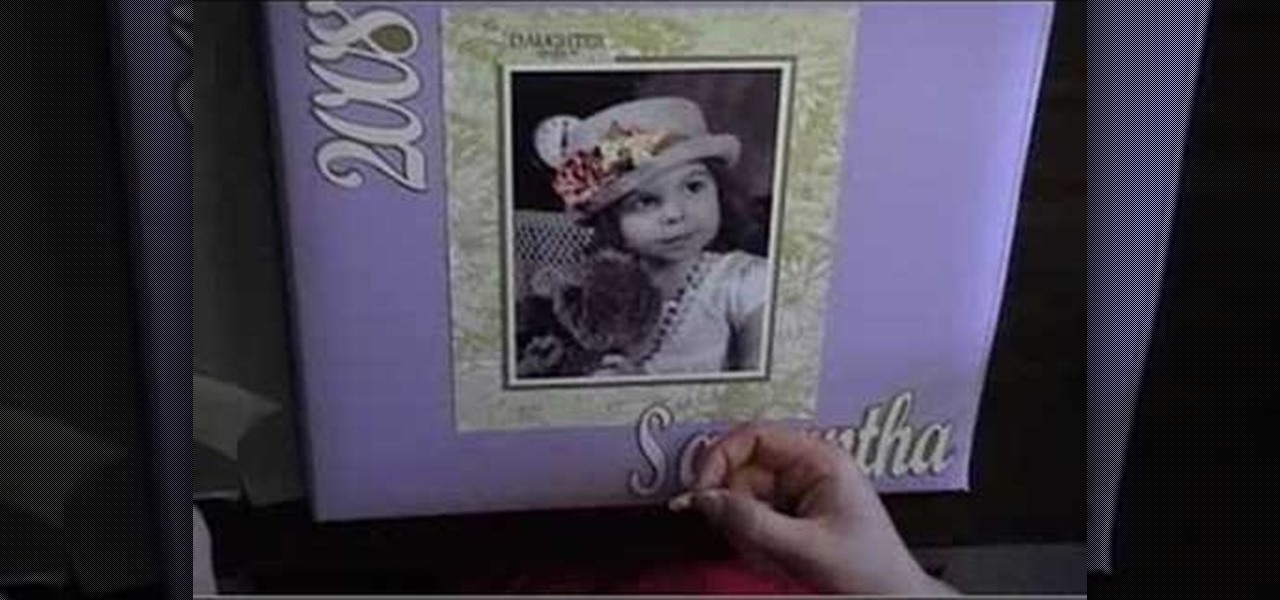
Did you know you can create beautiful covers for your scrapbooks using all kinds of materials? This video tutorial shows how easy it is. Linen scrapbook covers need slightly different materials than regular paper compatible materials. You'll need Tombo (or another double sided adhesive) and liquid glass. Watch this video scrapbooking tutorial and learn how to decorate a linen scrapbook cover.
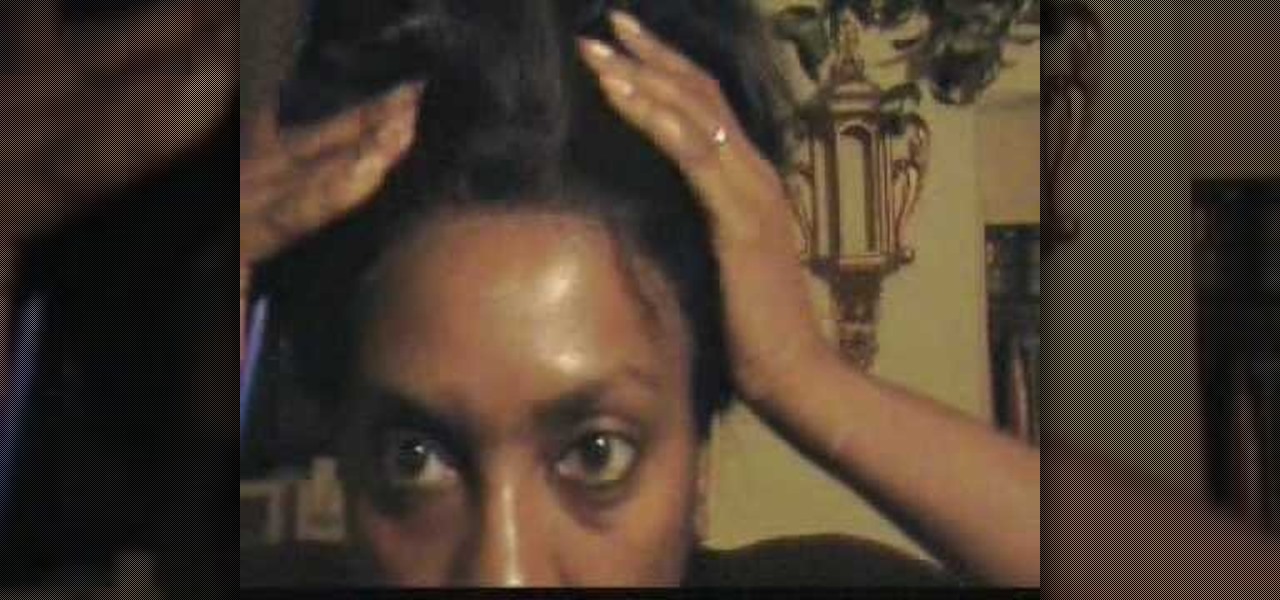
This tutorial video will help you learn how to apply the infamous "Glue-Free Quickweave" Technique. No need for stocking caps, end wraps, wrapping paper. Hair is 100% protected from bonding glue and adhesives.
For a natural alternative to wallpaper or poster glue, consider using wheat paste. This clear, permanent adhesive is used by artists and decorators and is simple to make.
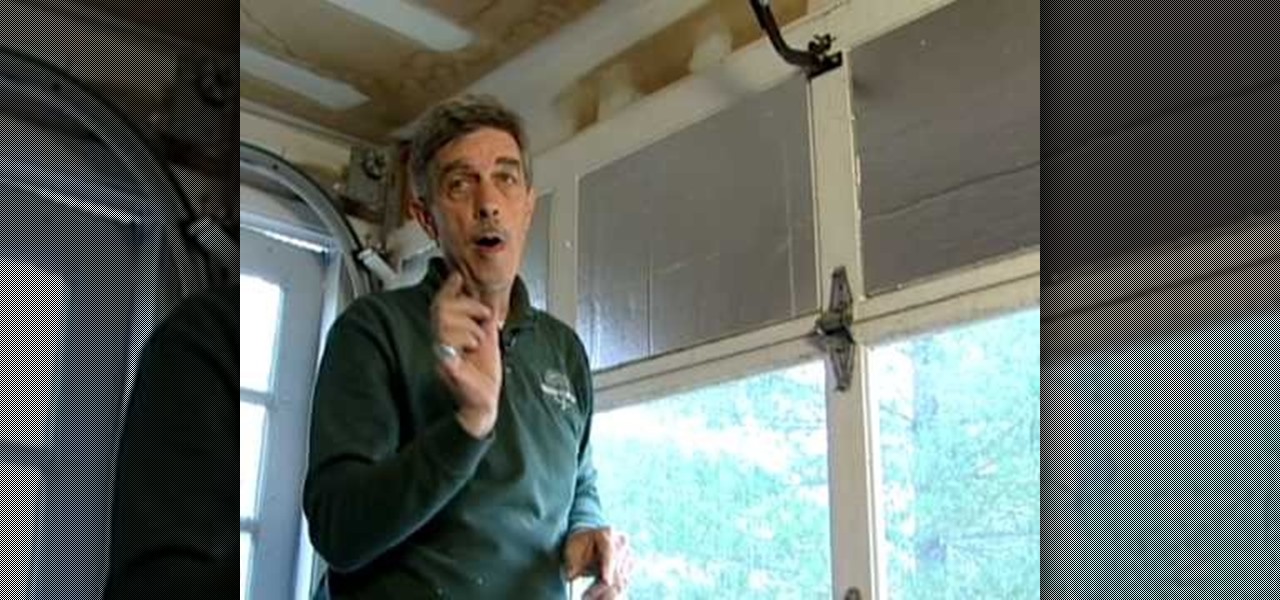
When it comes to winter weather, the garage should not be neglected, especially if you have a room directly above it. Neglecting to properly insulate and seal your garage doors will create a constant rush of cold air inside, making the garage really cold, in turn making the floor upstairs really cold. This will drive up your gas or electric bill in no time during the winter months. But you can fight higher heating costs with some DIY ingenuity, and Dave Mars will show you how!
This video shows you how to dry-mount a painting done on rice paper with silicone release paper. This method is to transfer the silicon adhesive film to the backing material first, then take the release paper off and mount the painting on. Artist, Henry Li gives you everything you need to know to properly mount your beautiful painting on the silicone to transfer as you please.
In order to make the Spinner Pinwheel Card with your Cricut, you will need the follow: the Cricut Wild Card cartridge, card stock, ribbon, brads, printed/patterned paper, adhesive, and an ink pad.
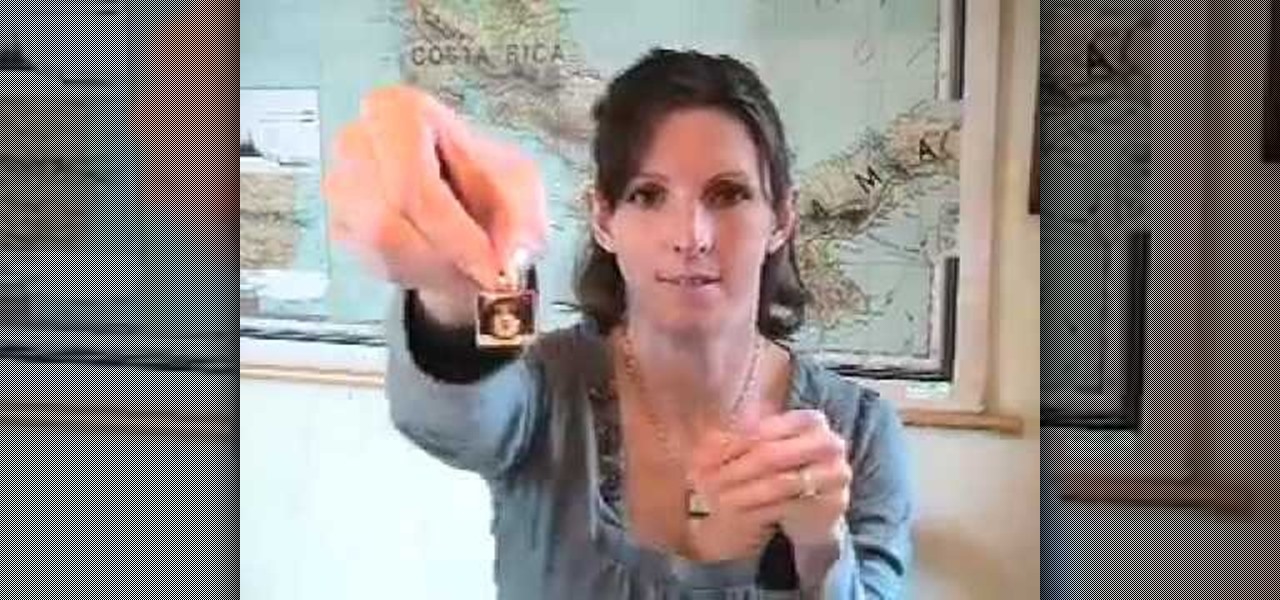
Scrabble charms and pendants are gaining popularity in the world of crafts, because they're easy to make and fun to wear. They make great gifts, can be fully personalized and turn Scrabble into more than just a board game!
This is a video tutorial describing how to build an outdoor couch for your porch. First measure out where you want to put your outdoor couch onto your porch. Then start building the first post. You should use concrete block to build this post. Then build out from the post the back wall of the couch with more concrete blocks. Then build the other post. Then stack the second course onto the first course. Then add the third course to the top of the second course. If you want then you can add a f...
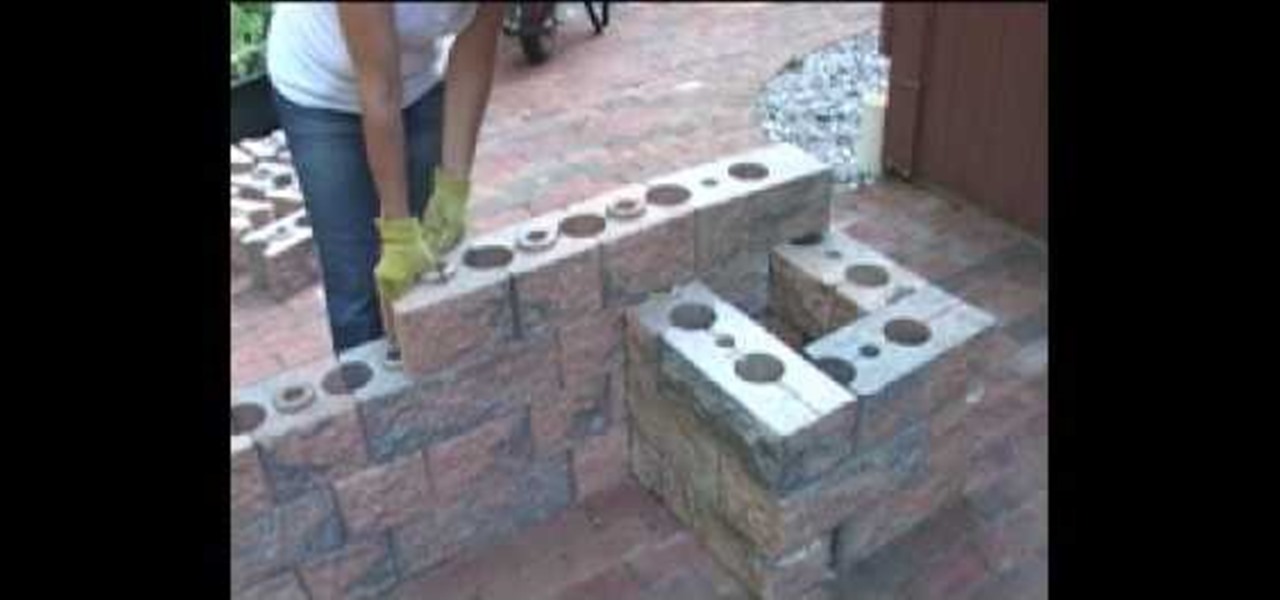
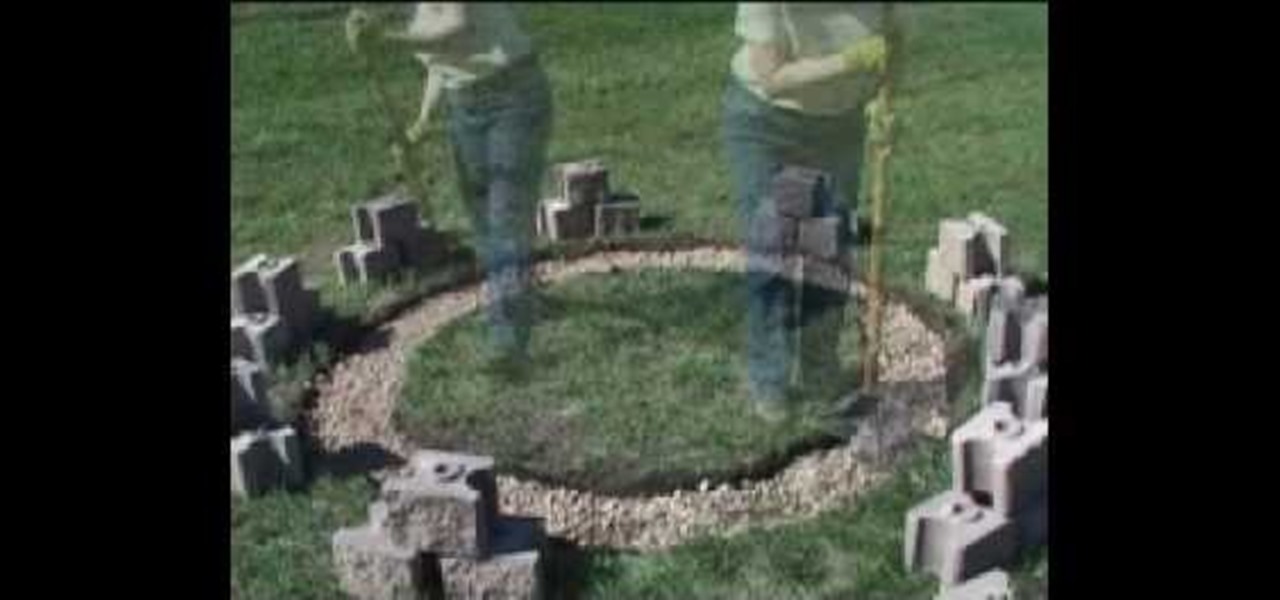
In this how-to video, you will learn how to build a fire pit. This will be useful if you want to enhance your backyard. You will need the required fire pit tools such as 55 york blocks, 25 wall caps, two tubes of masonry adhesive, ten 50 pound bags of crushed rock, 6 50 pound bags of decorative rocks, and one metal fire ring. First determine the layout of the pit. Lay the blocks to the layout and adjust for a tight fit. Use a shovel to mark where the soil and grass will be removed. Remove the...
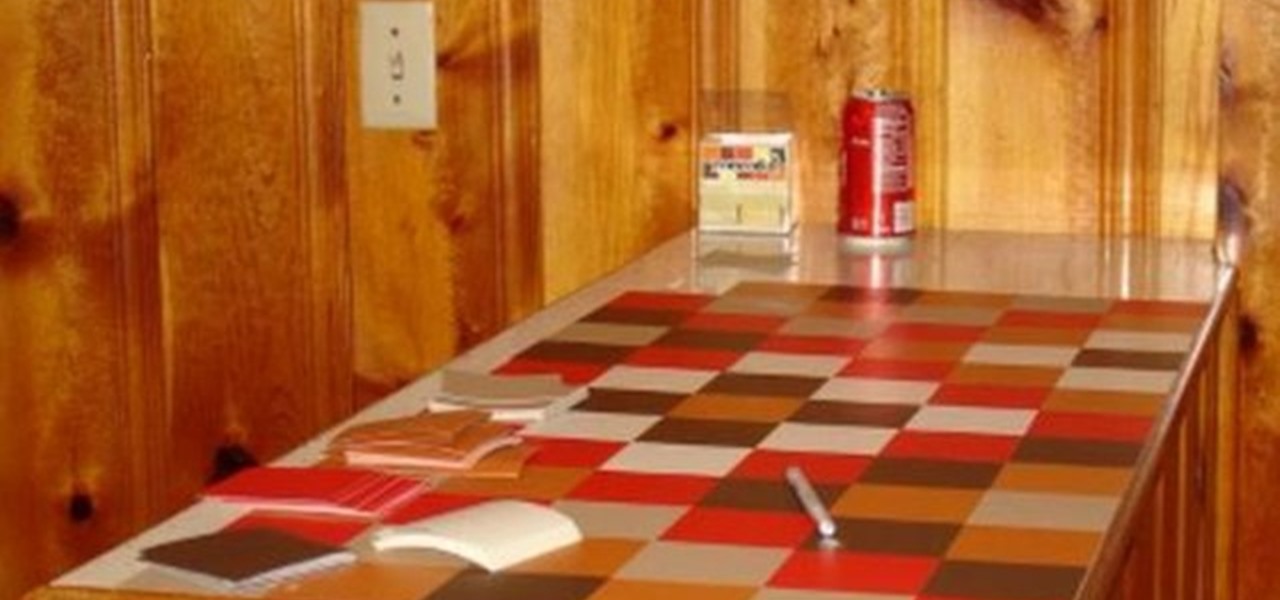
Use a box of self adhesive vinyl tiles to make a mosaic counter top for a wet bar. This is a great way to spice up an old formica counter top without spending a lot of money. Each box of vinyl tiles comes with 225 tiles.
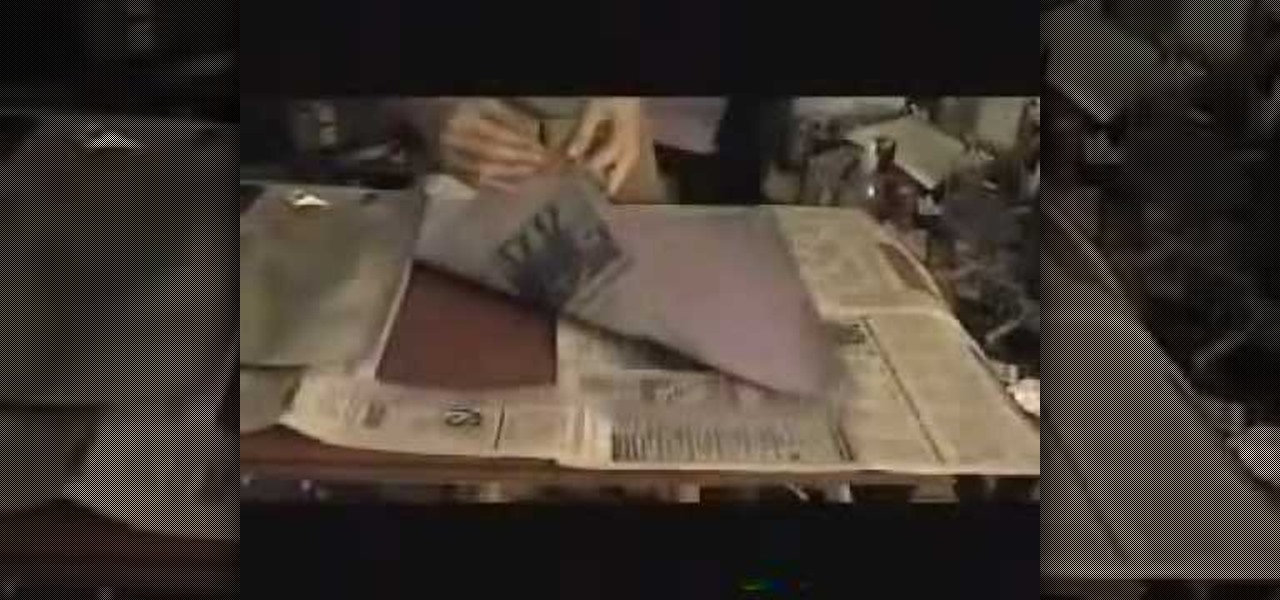
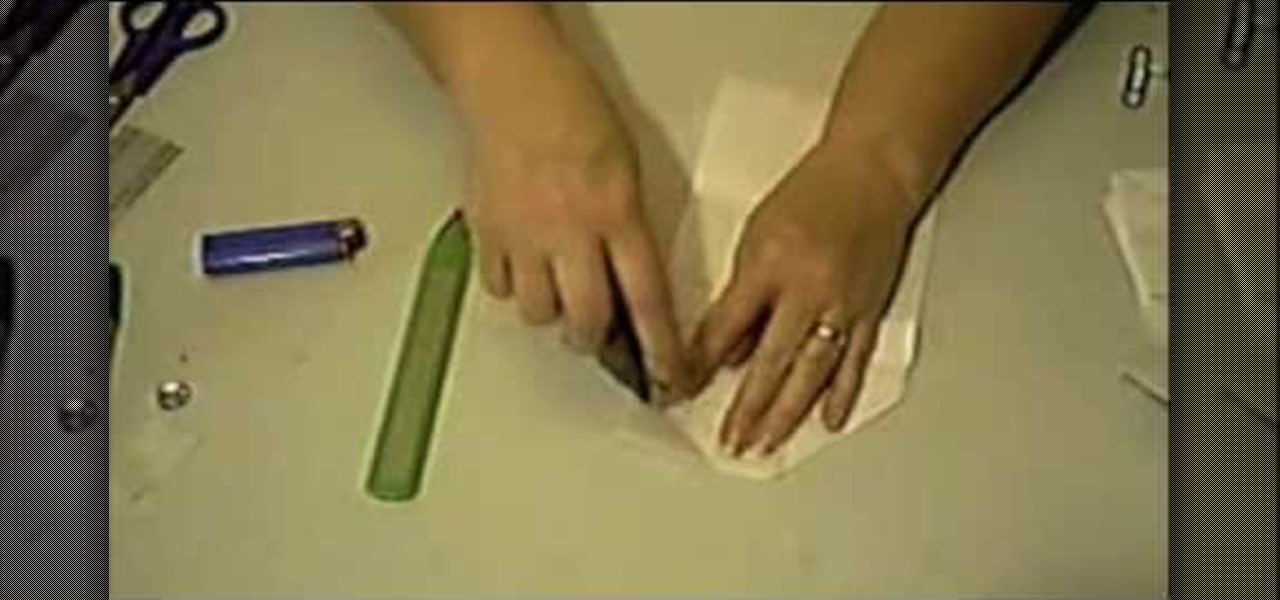
This is a video demonstration on how to make tissue foil for origami. For this project you will need foil, spray adhesive, tissue paper, cutting board, razor, tube and newspaper. Learn how to make tissue foil for origami paper by watching this how-to video.
Non-woven wallpaper is easy to install and it's reusable. Tim Carter of AsktheBuilder.com explains how this cool wallpaper is different because it doesn't expand when the adhesive contacts the paper backing. These new non-woven wallpapers are huge time savers because there is no need to pre-paste a sheet of paper and book it while you work on another piece.
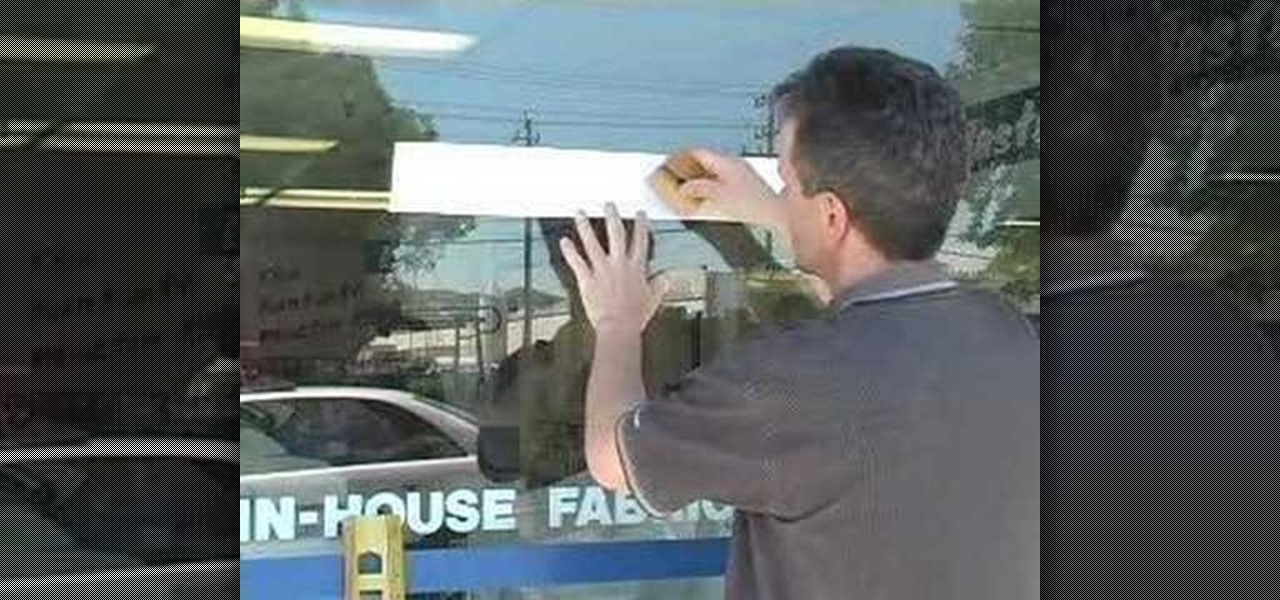
Do you need to install a sign for your business? This video segment will show you how to install self-adhesive vinyl graphics for a professional look.
Learn how to remove label without leaving any residue or adhesive, or tearing your label into pieces.
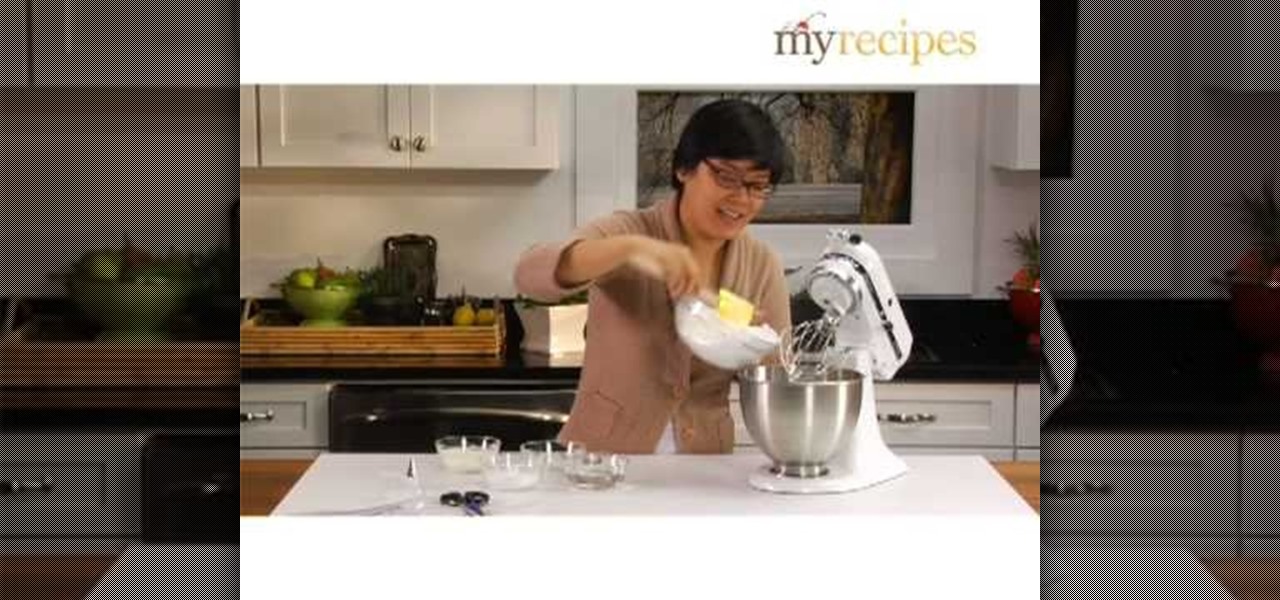
Learn how to make royal icing for decorating cookies and cakes this Christmas. It is a simple recipe, with just 2 ingredients: confectioner sugar and egg whites. You can use royal icing to assemble gingerbread houses. This is a strong, adhesive frosting, perfect for dessert assembly and cake decorating. Be sure to stick around for Chapter Two, to learn how to fill a pastry bag with the royal icing.
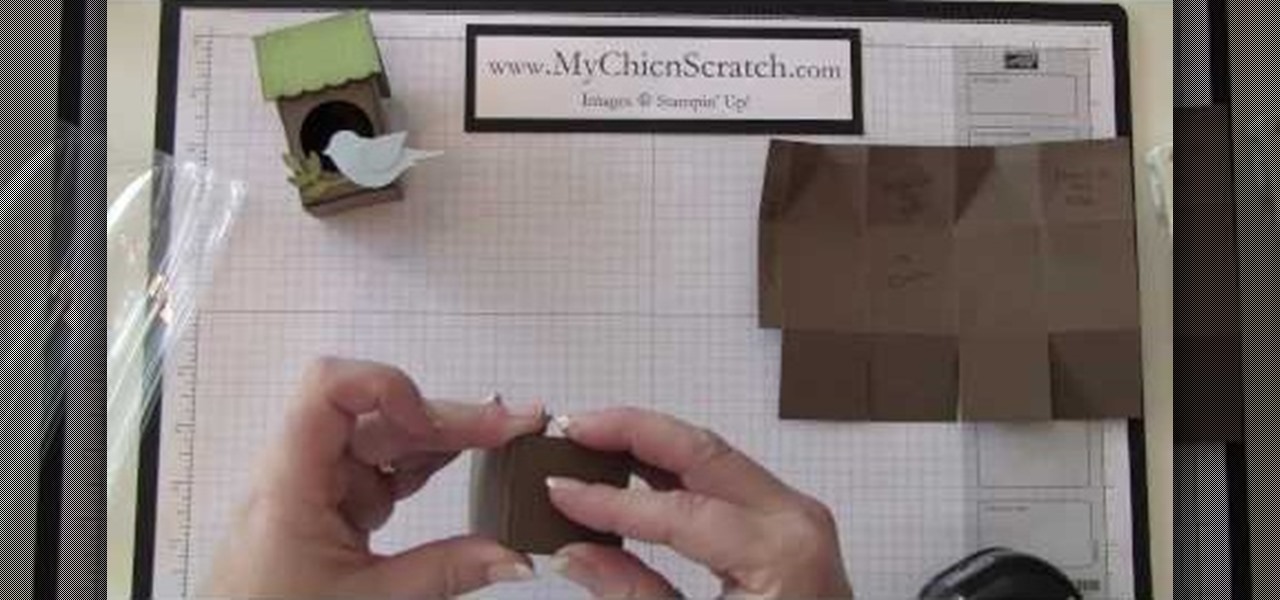
In this how to video, you will learn how to make a mini milk carton bird house. You will need a mini milk carton dye for this. Use the template to fold the paper. There will be score lines to help you with the folding. Once this is done, fold in the paper and take a punch to create a hole in the paper. Punch another hole in the paper. Next, apply adhesive to the two sides. Once this is done, fold the paper up along the lines to create the basic shape of the bird house. Next, take the green pa...
This video demonstrates how to make your own Greeting Cards at home. You will need the following: water color paint in bottles with sponge tip applicators and spray, ruler, adhesive, solid color paper stocks, patterned paper, a rubber stamp, stamp cleaning products, a bone folder, and a trimmer.
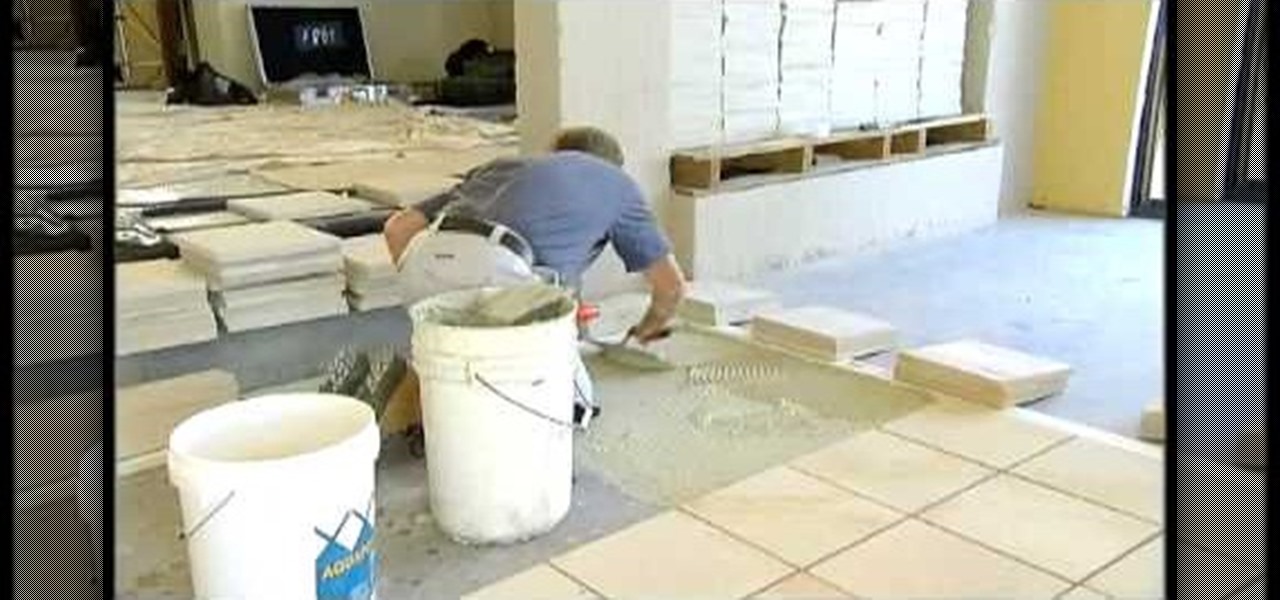
Nuts and Bolts present how to lay a west Australian natural stone. When beginning the laying of any tile or stone, it is very important to make sure the first stone is perfectly straight. So, the first step is to measure from two walls and get the dead center of the room. They use a straight edge to make sure the tile is laid straight. Then, they cover the floor with a light adhesive to ensure the placement of the tile. He uses a saw with a guide to make sure all his cuts are straight. He lay...
This tutorial describes how to make a Hershey Kiss holder. This is a quick and easy project that you can make to use as little gifts in your kids' lunches, for co-workers, party favors, place-holders at holiday meals and more.
Everybody loves the stars. Well, I certainly do. As a child I'd spend hours outside during summer nights marveling at the seemingly endless amount of sparkling dots spanning the sky. Maybe you have children of your own and want to create a sparkle in their eyes, or in your own. This tutorial will provide a basic method of bringing the stars inside—at least, in part.
Most of you probably have a set of blinds at home, the most popular being horizontal or vertical. They're great for keeping the sun out of your eyes and maintaining privacy, but unfortunately, each comes with its own set of problems.
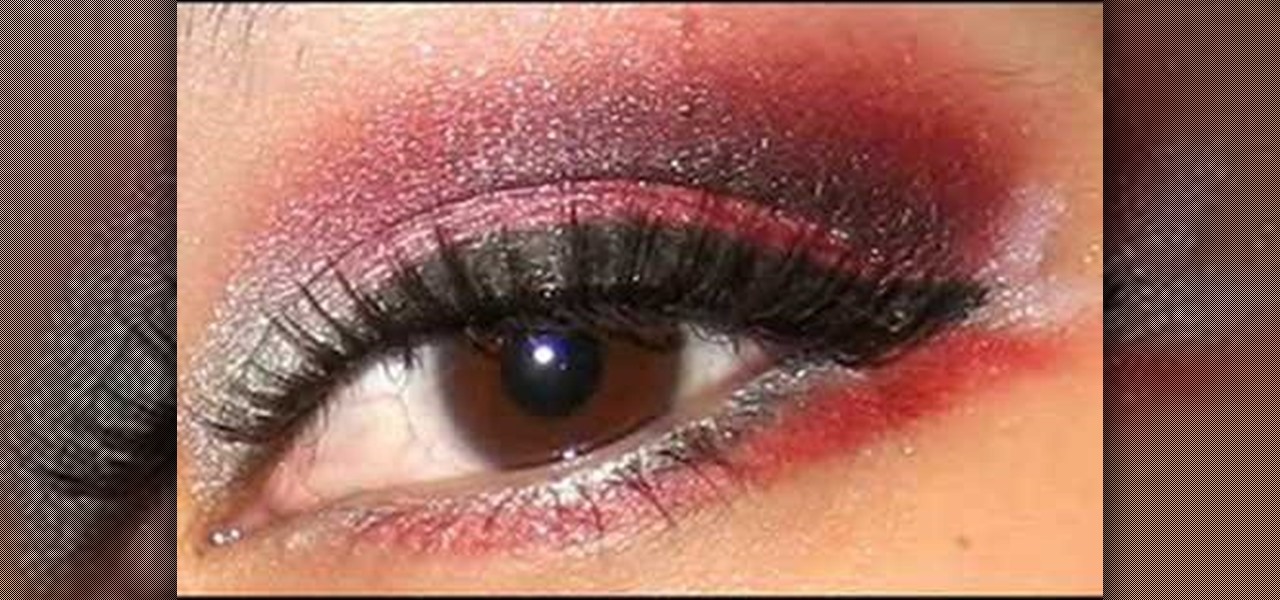
In order to Create a Moulin Rouge makeup look for Halloween, you will need the following: primer, yellow eye shadow, brown eye shadow, a red eye shadow, a light brow bone color, liquid liner, lip liner, a headband, lipstick, jewels, lash adhesive, and false eyelashes (standard and ornate).
In order to make Fabric Paper Rosettes, you will need the following: decorative fabric paper, scissors, glue, and jewel embellishments.
First of all you need a single sheet of paper 12 by 12 inches to make a mini book with four pages and measures 6 by 3 inches. You also need a tool for making creases and a knife to cut the paper. Start by folding the paper in half and then crease the middle line. You must always try to make the crease line as crisp and sharp as possible. Now open it out and then again fold it in the middle in the other side. After this step you have to place the paper with the length facing towards you. Now f...
This video demonstrates how to emboss a button and then use it as an emblishment on a card. Start by covering your stamp with clear VersaMark Ink. Holding your button with pliers, carefully press your button onto the stamp. Next, take your embossing powder and sprinkle it on to the button. Then apply heat to the button. You are now ready to make your card. Ink your bird stamp using chestnut chalk ink. Place it at the bottom of your card stock. Using a blender pen, color in the bird and any ac...
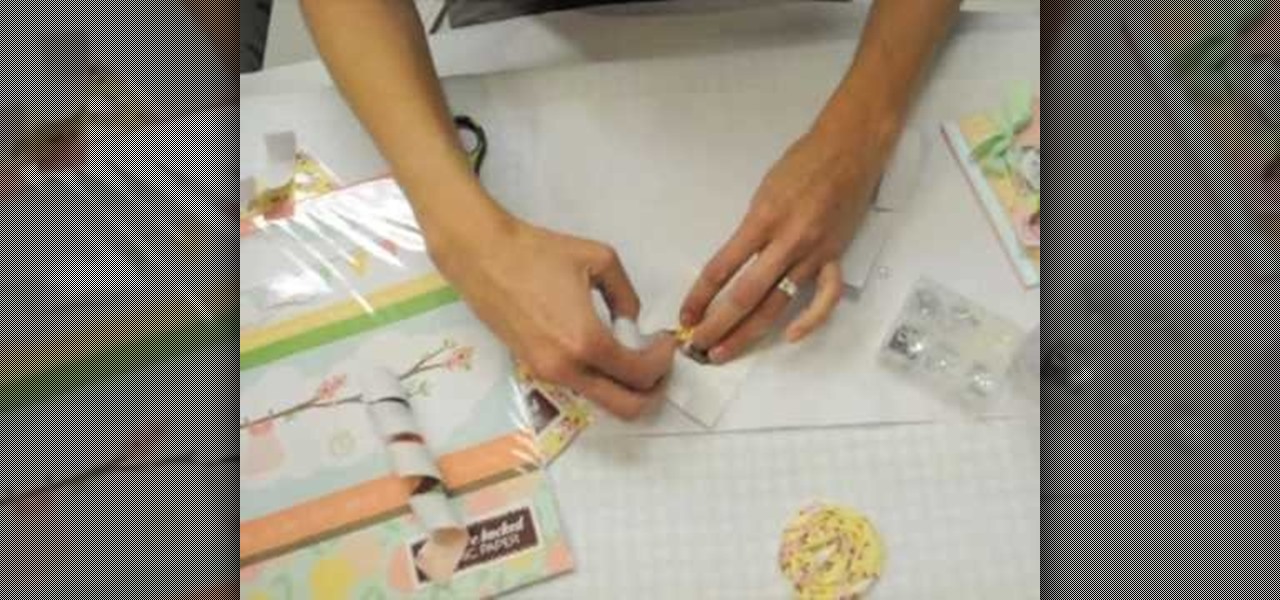
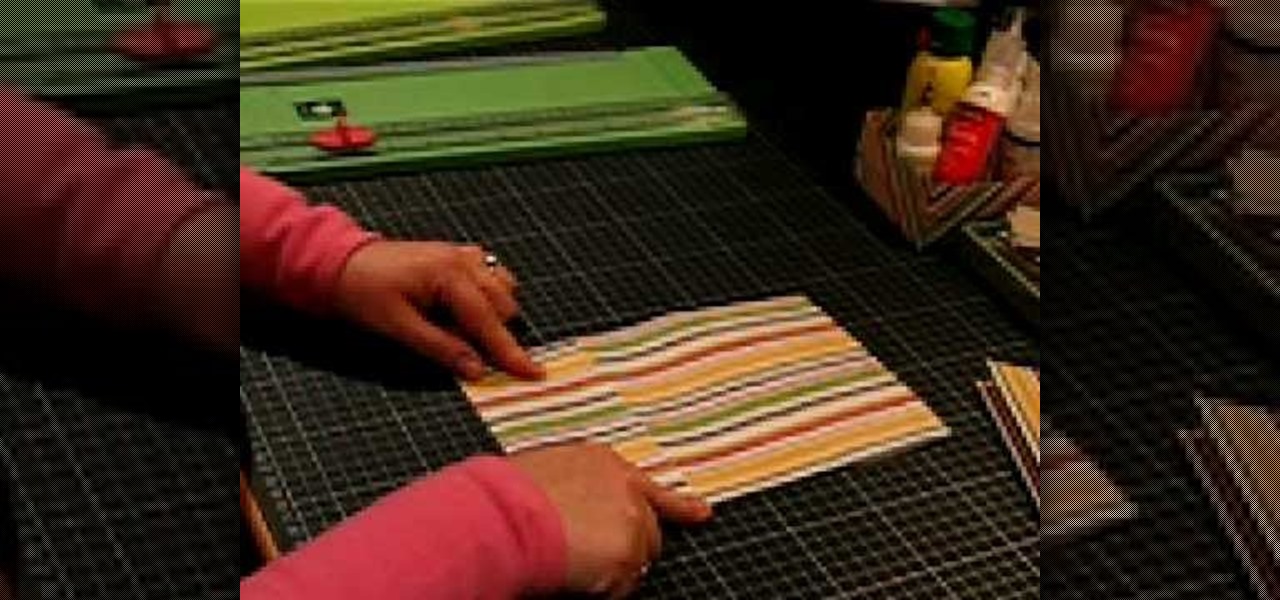
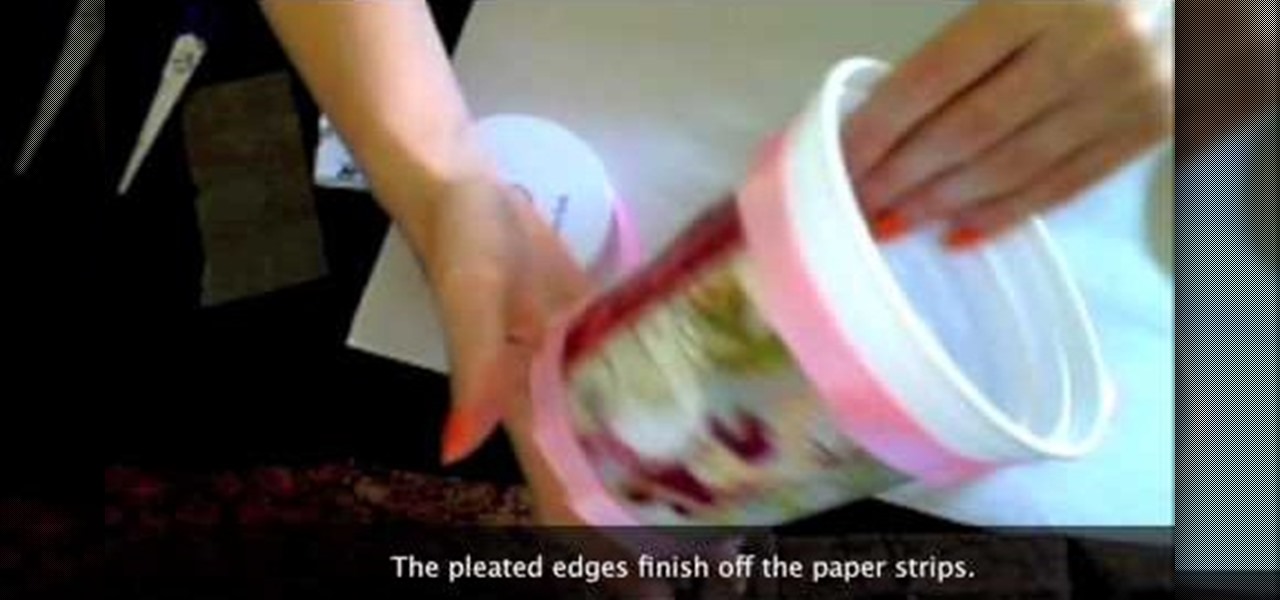
Creativity Prompt demonstrates how to turn a yogurt container into a mini-album. First, measure the lid's diameter. Then, cut a corresponding circle from your patterned paper. Use Mod Podge to adhere the paper circle to the lid and seal it with another layer of adhesive. Next, cut a bunch of different 4 x 1 inch strips of patterned paper. Adhere the paper strips to the yogurt container with Mod Podge. Seal it with another layer of adhesive and set it aside to dry. Measure the bottom of the co...
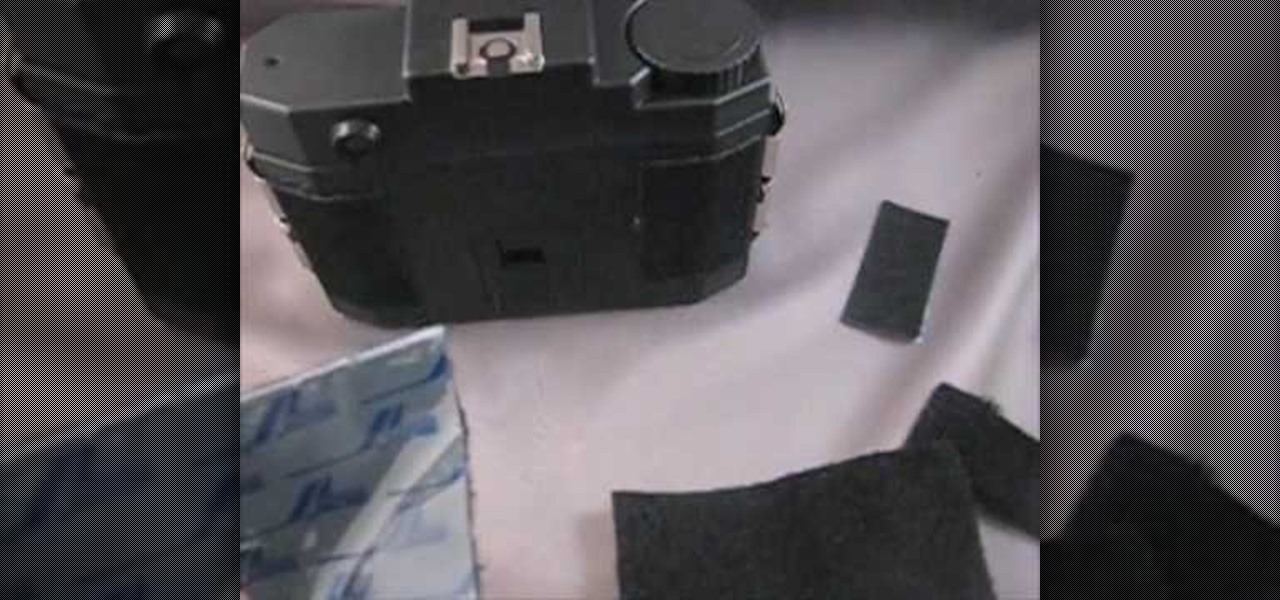
First of all open the box and take out the kit, different parts and the instruction manual. You also need glue, epoxy adhesives, sand paper, 2 mm drill and a 4 mm drill. Start with assembling the outer frame of the camera by fixing in the slots. Use a screw driver to screw the bolts. Now use the glue and fix the inner parts of the camera. Now make the front portion of the camera. Fix it exactly as shown in the instruction Manual. Now drill in the holes on the sides of the camera's outer frame...
A bouquet of fresh roses is wonderful but real roses soon fade and die. Make a rose that will last forever, or at least a lot longer that a freshly cut one. Give your rose to someone special or use it as a decoration.
This video explains how to get powder or cream make-up out of the plastic container that it comes in. You can condense your products to take up less space if you remove them from the pots and put them in palettes. The tools you need are a flat iron or other heat source, parchment paper to cover the plate of the flat iron, an X-acto knife, alcohol, cotton pads, make-up in pots, self-adhesive magnets and a palette. First use the X-acto knife to pull the plastic pot out of the container. Set the...
This video teaches the viewer how to make a memo book with a paper bag. For this craft you will need two paper bags, memo paper, adhesive, ribbon, and scissors. To begin, you'll need to cut off the bottom of the bag and discard it. She explains where to make decorative edges on the bags before sewing them together or using hot glue. Fold and crease the open end down about one third of the way. Open and then fold a little farther down to allow room for the spine of your memo book. Repeat this ...
Got an urge to get that peanut butter jar out for something else other than a peanut butter & jelly sandwich? Peanut butter has many uses in addition to being a healthy treat. In this video, learn how to use peanut butter in unusual ways.