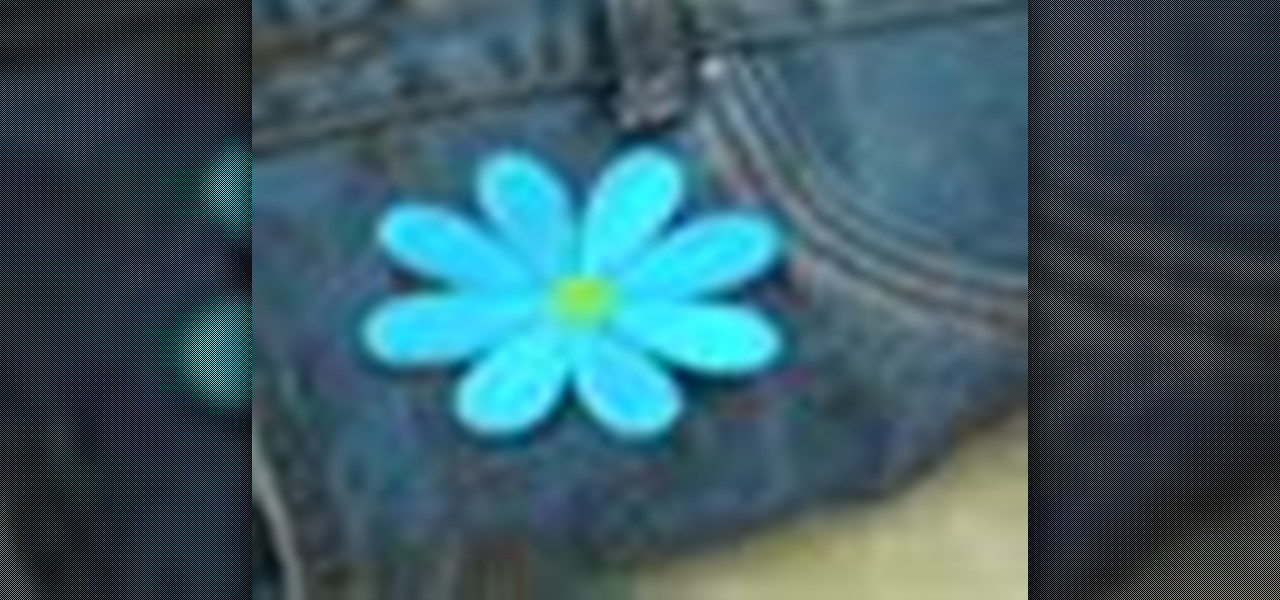
Is you favorite pair of jeans suffering from a hole in the knee? No problem. Extend the life of your clothing by using patches to cover worn or torn areas, or to embellish tired items and give them a fresh new look.
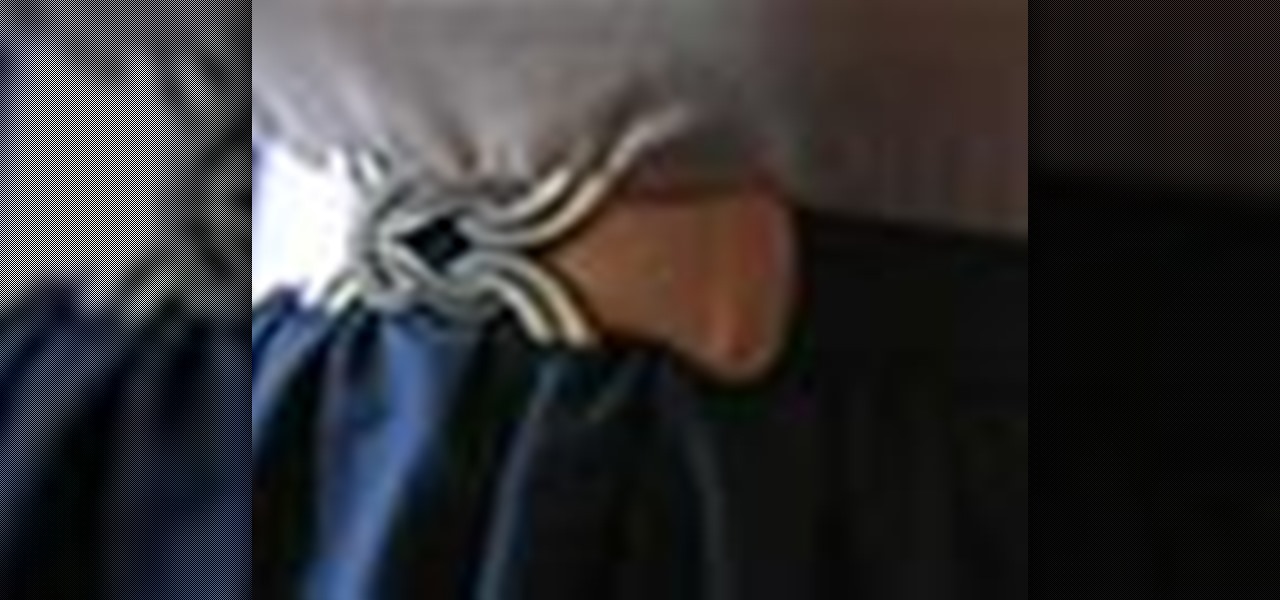
Don't just use a belt for keeping your pants up, use it to give you some style! As important an accessory as a handbag, a belt doesn’t just hold up your pants or pull in your tummy. Change your look by creatively matching your belt with your outfit.
While drywall is an inexpensive building material, it's not the sturdiest. Luckily, repairing the inevitable holes is a quick and easy process.
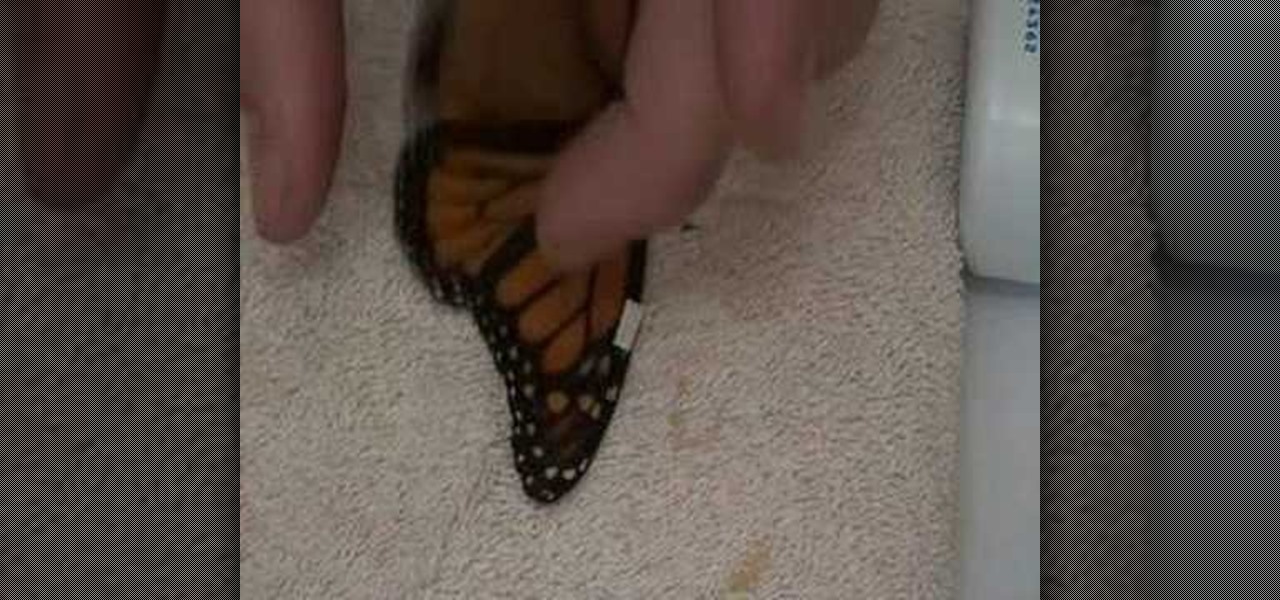
This video tutorial from Live Monarch shows you how to fix a live butterfly's broken wing. You can help restore flight to a butterfly in need -- you can be a hero and make a real difference.

Want to dress up as Queen Cleopatra but don't want to look exactly like every other Queen Cleopatra this Halloween? Then take a walk on the colorful side by applying this super bright and highly geometric makeup look.

Just because it's Halloween doesn't mean you have to dress up as something gory or creepy. Inject some pretty into the spooky holiday by donning a peacock costume, and check out this makeup video to learn how to create a lovely peacock makeup look.

Doing makeup on Asian women is a lot different to doing makeup on any other ethnicity, mostly because they have different face shapes and eye shapes. More than half of Asians don't have a crease, or a fold above the eye, so their eyes are monolids.
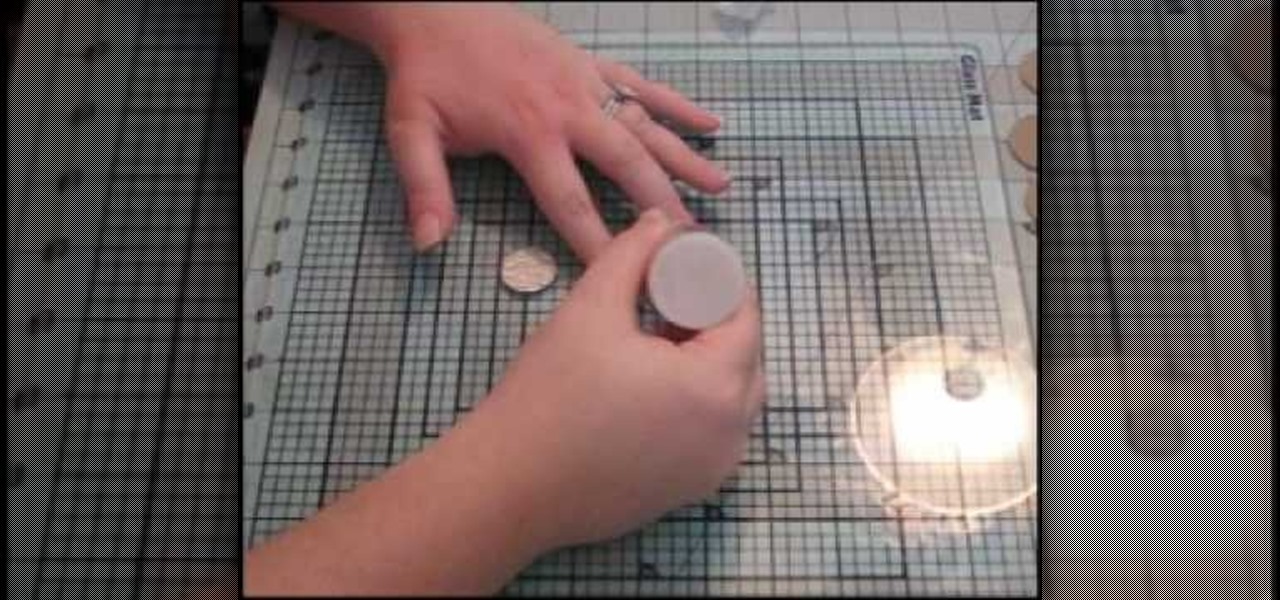
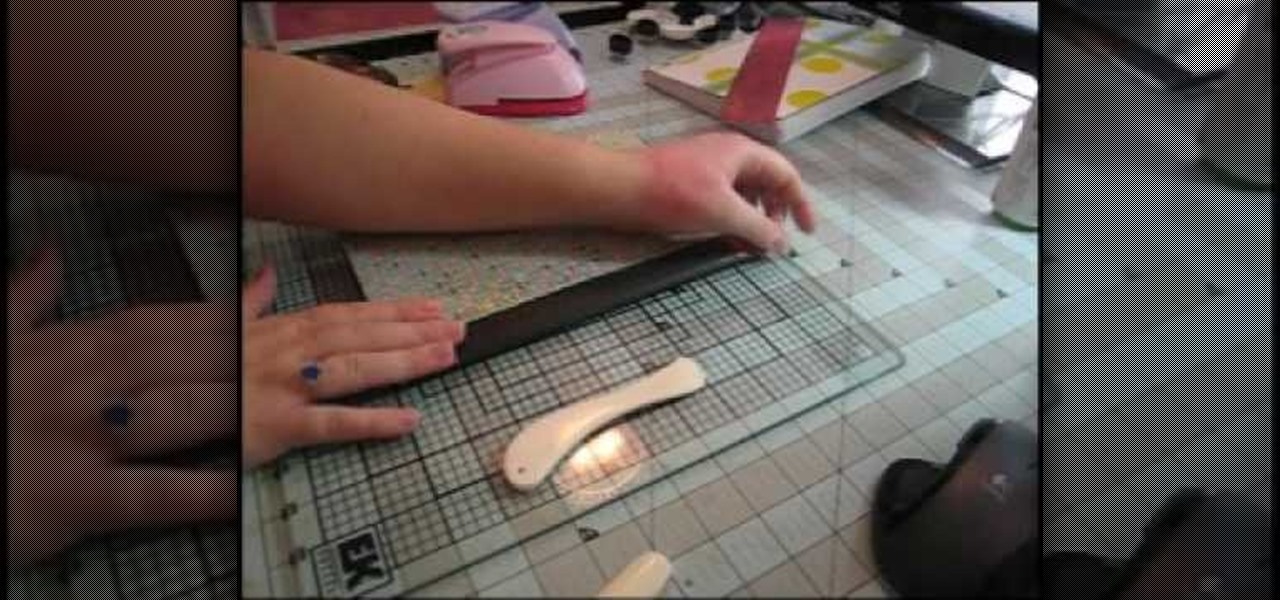
In this video, we learn how to make custom chipboard buttons for scrapbooking. First, take a scrap of chipboard and use a circle trimmer to cut circles out. Cut circles out of patterned paper in different sizes using many different patterns. Now, apply glossy finish onto the papers and wipe off the excess liquid. Ink the edges after this, then put adhesive onto the back of each of the different circles. Now, you can punch holes into the center of the circle to make it look like a button. Now,...
If you're a habitual makeup user then your brushes probably experience a lot of wear and tear every day. This means not only that you must clean them right after you use them, but also that their logos and brush numbers - MAC 216 for instance, fade away quickly.
Want to dress up like Rihanna for Halloween? Okay, we're totally kidding, but you should watch this special effects makeup tutorial if you're looking to wear a costume that requires facial scarring and bruising this Hallowen.
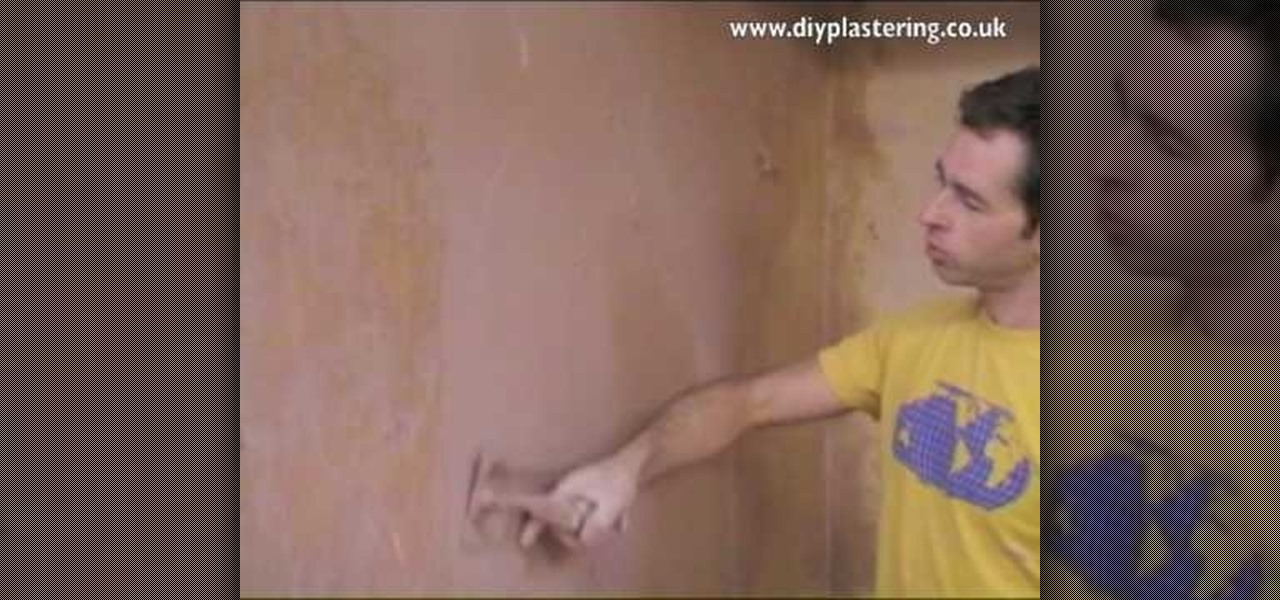
This video illustrate us how to plaster a wall. Here are the following steps: Step 1: First of all take white cement and mix it with the color of your choice and make a paste of it, add fevicol or any other adhesive to it.
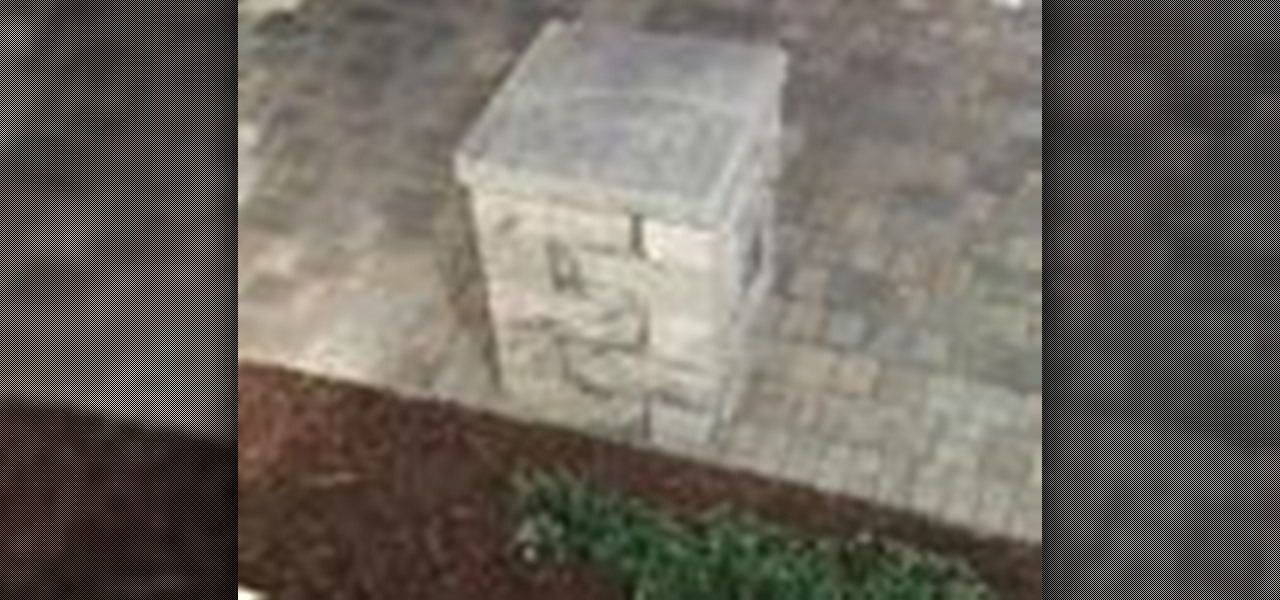
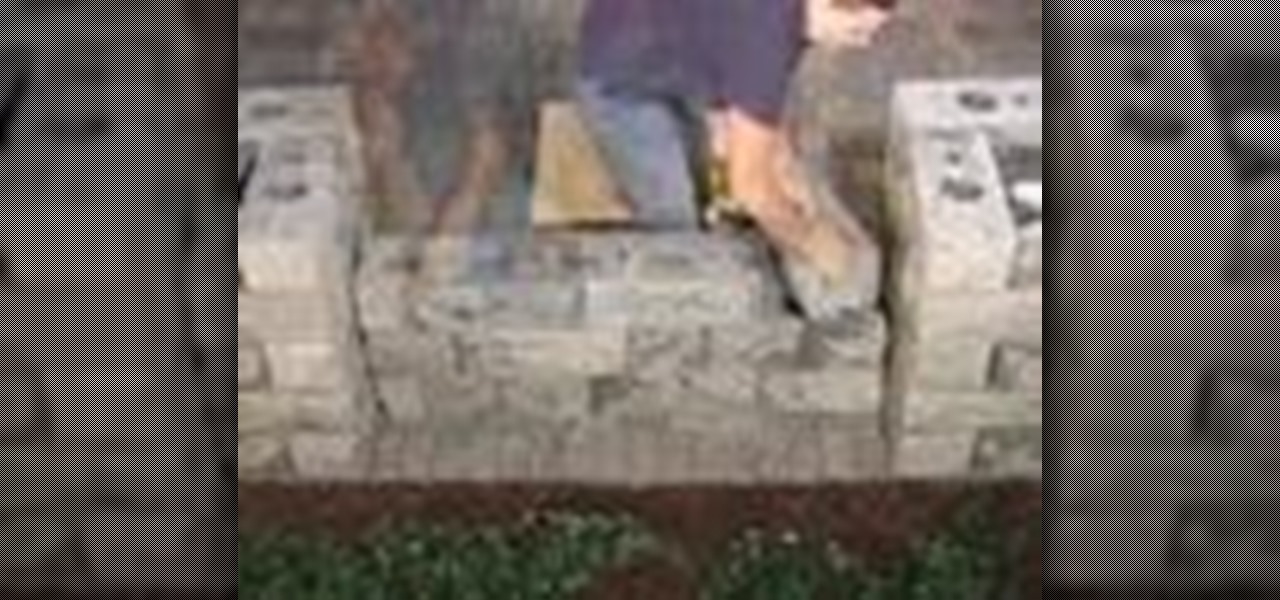
In this how to video, you will learn how to build a post. Court yard posts create beautiful accents to your yards. They can be used as entry monuments and fence posts. When using corner blocks, make sure the long sides are at the outside of the post. First, place these corner blocks in a square. Align the blocks with the square. Next, place four more blocks on top of the original blocks. Make sure the blocks touch two blocks. Keep on stacking them to the desired height. Add two post caps. Sec...
Instructions for building wall panels and posts using Alan Block materials. This is How-to Sheet #190, for the Courtyard Collection. Combine walls and posts in a three step process: build a post, build one wall off the post, then build a second wall off the first. Corner blocks help make perfect corners, and have one long and one short side. Offset the vertical seems by alternating. Blocks used for the wall include Dublin center-split, Dublin end-split, and York center-split. You will need to...
In this video, the viewer is shown how to apply red, silver, and glitter nail polish to make various patterns. First, you need to apply two coats of a natural, pearly color. Next, she uses a very thin brush to apply her red patterns. She uses one red to make lines and another red to fill in. Then she adds a dark, glittery red to coat over the filling. The same procedures and brushes are used to apply the silver on her nails. Finally, she applies small rhinestones to her nails by using the wet...
Lauren, AKA QueenofBlendingMUA has joined the ranks with the other YouTube makeup gurus. Lauren is a makeup artist with a large collection of eye makeup video tutorials. Her eye makeup look span from everyday makeup to creative, more expressive party looks. Check out this makeup tutorial video to learn how to create a glamorous yet neutral eye makeup look. Search QueenofBlendingMUA on WonderHowTo for more beauty videos.
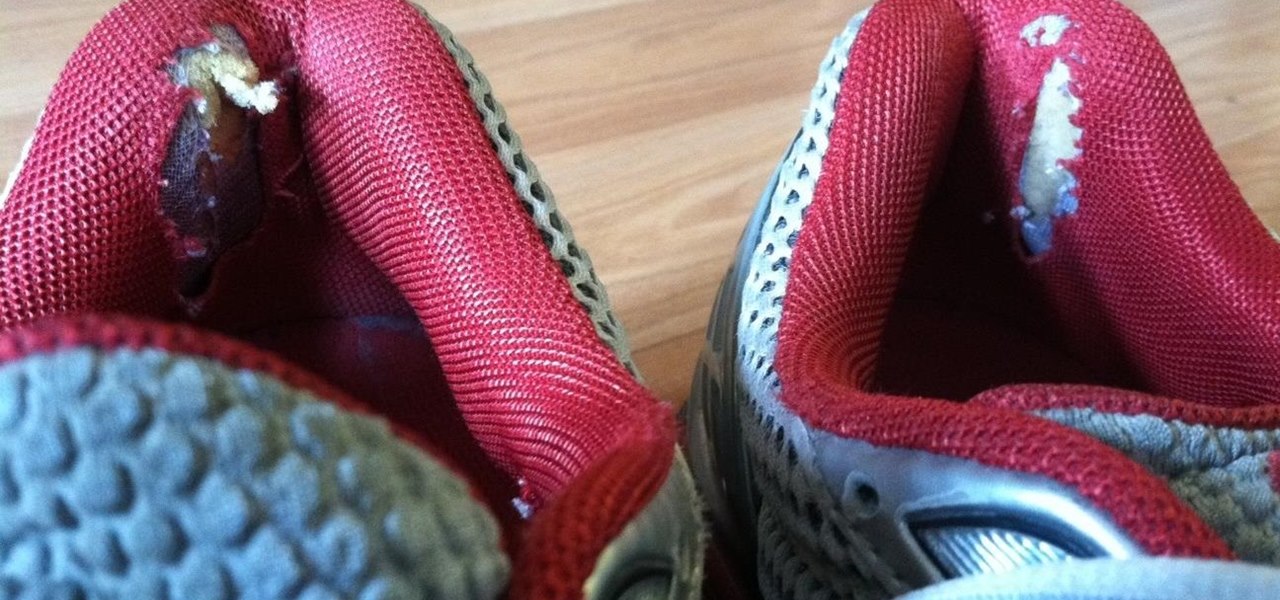
The worst thing about running shoes is that they're expensive, but you're supposed to abuse them. Even if you're not a runner, everyday wear and tear takes its toll. No matter how well you take care of them, if you use them enough, they're eventually going to wind up looking like this: And it's not just running shoes. I have a pair of Vans that I've worn for almost four years, and the heels are just about ripped all the way through.
In this video, we learn how to turn a composition book into a decorative notebook. First, measure your composition book, then measure out that same size on a piece of decorative paper. Next, put adhesive on the back of this on all four edges, then diagonally. Now, you will have a solid attachment for the paper to be placed on top of the composition notebook. Use a straight edge to push it down and it's completely flat. Then, use scissors to cut any excess paper off of the edges and corners. Y...
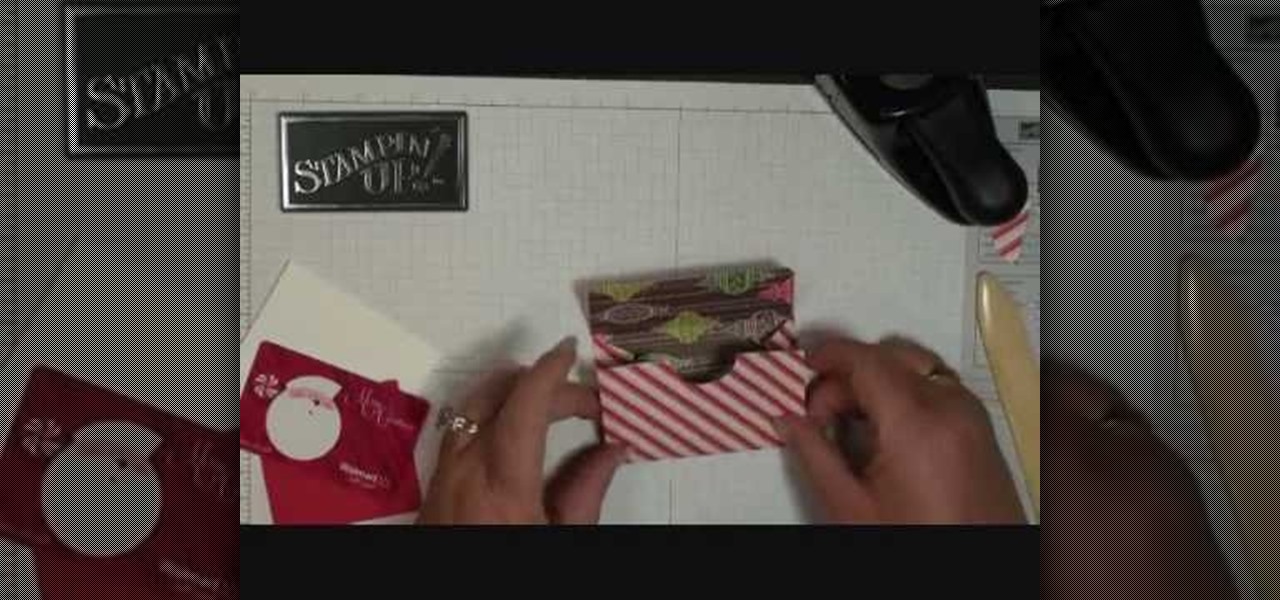
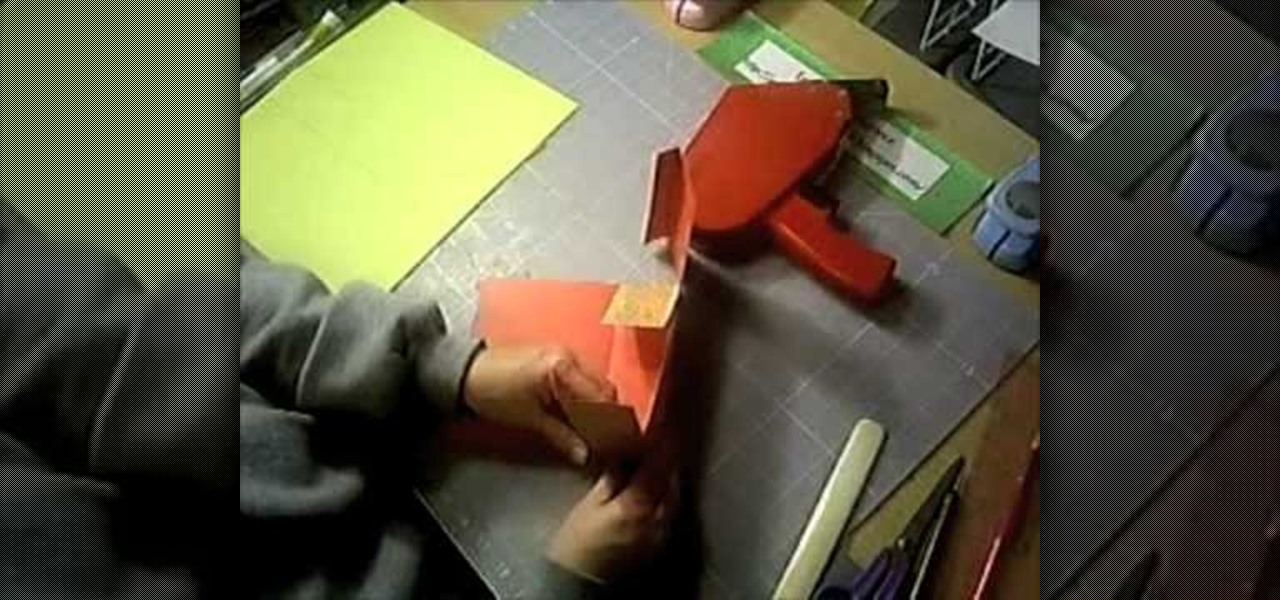
In this tutorial, we learn how to make a mini gift card envelope with Stampin' Up!. First, take a piece of card stock that is red and white. Score this 3/4" on both sides, then turn on the 6" side and score at 1 1/4" and 3 3/4". Once finished, fold this up and cut along the sides that you have scored. Put adhesive on the bottom of the gift card holder to seal up the bottoms so you can place the gift card in. Now, punch a hole in the bottom of the paper so you can see the gift card peak out of...
In this video, we learn how to install dry acoustic flooring with Fermacell. To start, you will level the floor and apply compound if you need. Next, you will lay the Fermacell around the room on top of the leveling compound. Push the flooring tightly together so there are no spaces in between them. You may need to cut the flooring to make sure it's the correct shape for the wall. After this, apply flooring adhesive to the seams to make sure they are secure as they are laid down. After this, ...
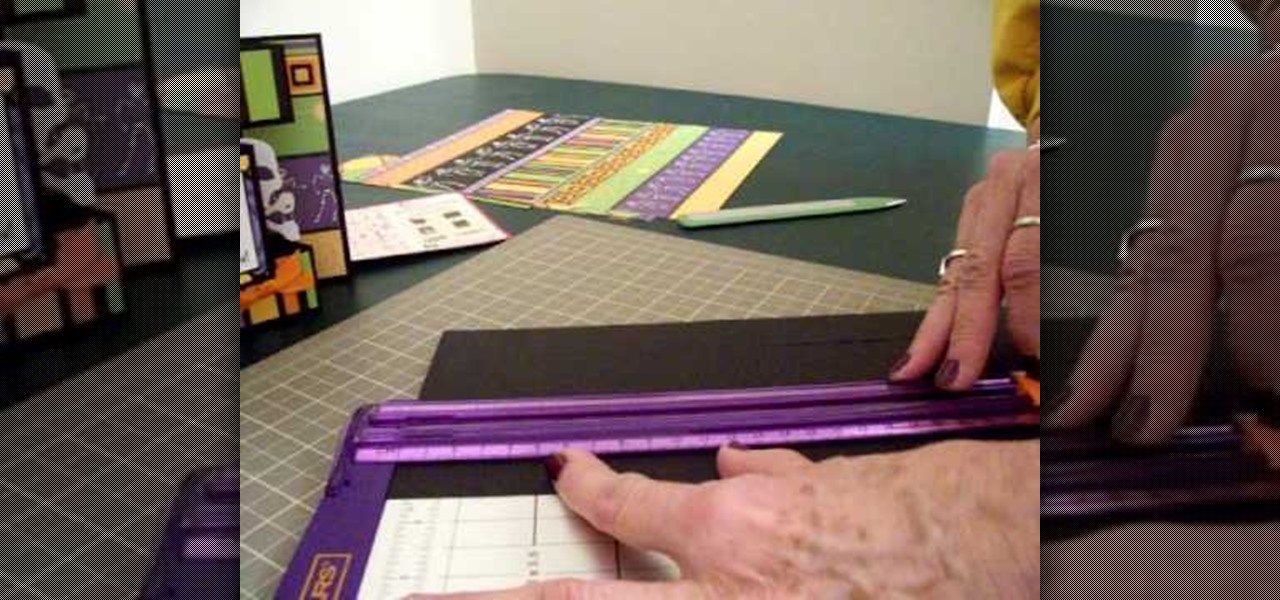
In order to make the side step Christmas card, using Cricut, you will need the following: card stock, cutter/trimmer, adhesive, rhinestone, ribbon, and a bone folder.
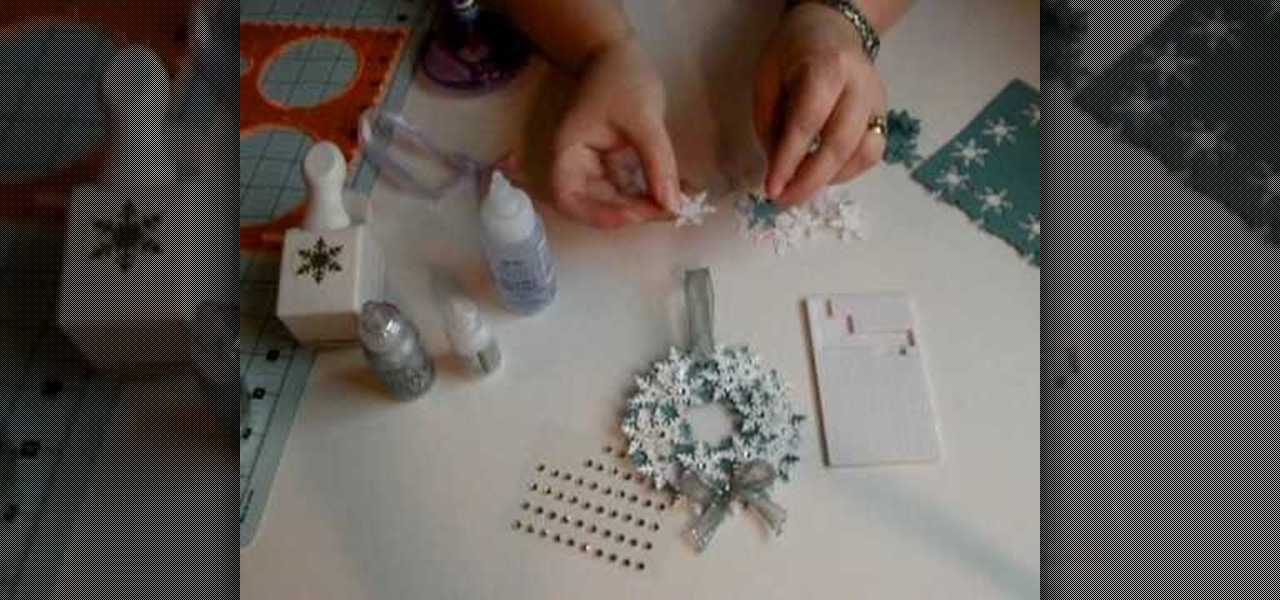
In order to make a snowflake wreath ornament, you will need the following: a snowflake punch, adhesive, foam, rhinestones, card stock, a hole punch, a circle cutter, scraps of paper, and ribbon.
In this video, we learn how to make photo magnets. First, clean your glass with vinegar, make sure it's small enough for the magnet. After this, cut your preferred image to fit in the glass, then apply adhesive to the image. Apply the glass with the texture side down, then push it around to work out all the bubbles. Clean the glass off with a damp towel before it dries. Next, apply Diamond Glaze to the back of the magnet and then allow it to dry completely. When finished, attach a magnet to t...
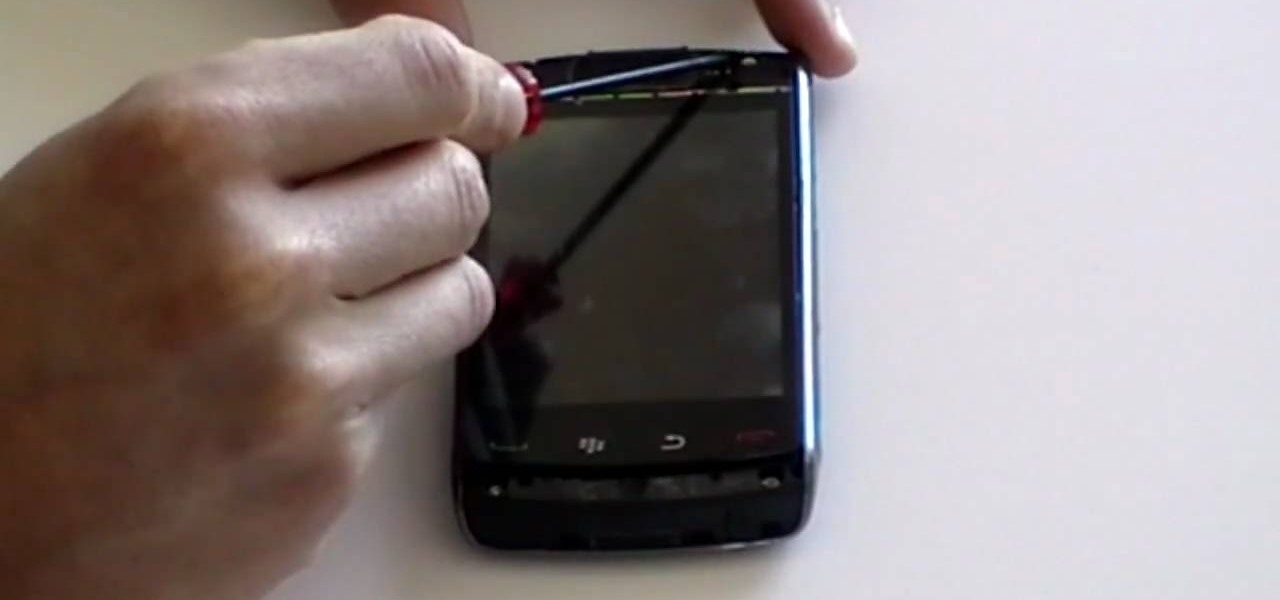
Repairs Universe demonstrates how to take apart the BlackBerry Storm 2 to replace the LCD. First, flip the phone over and take out the battery, SIM card and memory card. Then, use a safe pry tool to pry off the top and bottom covers which are held on by adhesive and clips. Next, use a T-6 screwdriver, remove the size screws on the front of the device. Flip the phone over and remove two more screws. Use the pry tool to release the clips and remove the outer casing. Flip the phone over and usin...
In this video, you will find out how to make a large recipe card file from Emerald City Elegance Paper Crafting. Anyone who loves to collect recipes knows how quickly you can fill up a little recipe box so make this file to keep all your treasured recipes together. You can easily make this divided file to hold four by six recipe cards. To create this file you will need a large piece of card stock, a printable template from the website, scissors, a scoring tool, adhesive, a ruler, and your cho...
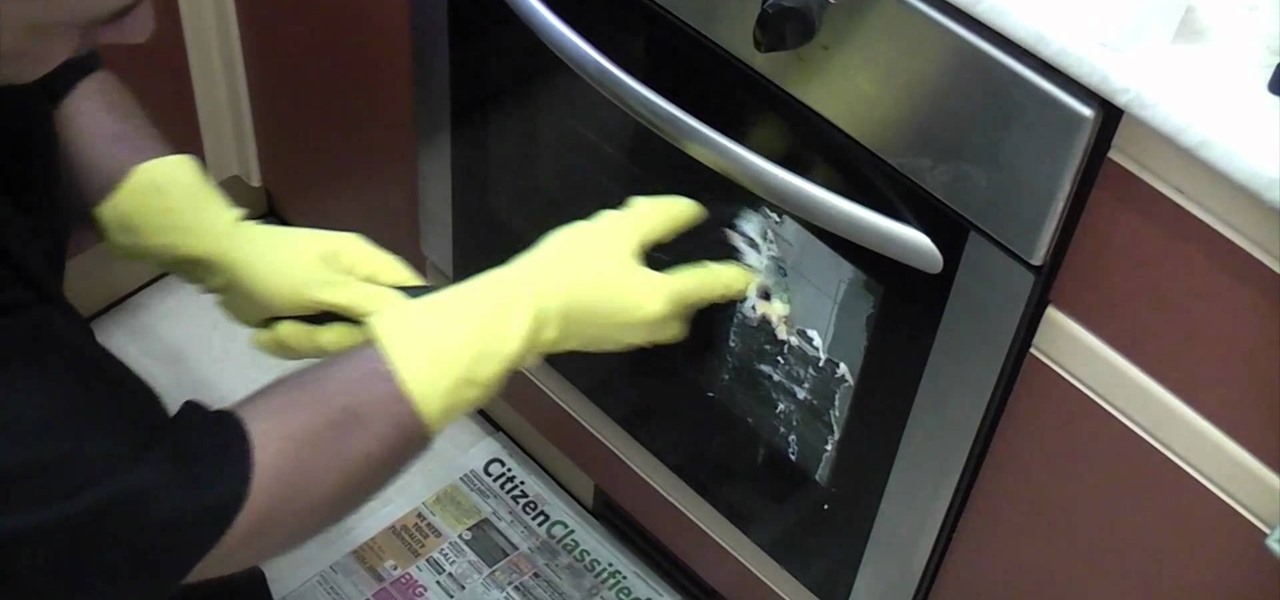
We understand why companies affix sticky labels to their products. We just don't understand why they manufacture these labels with unyielding, Godzilla strength glue. Who wants to open up a new microwave only to end up with partially peeled labels and glue stains?
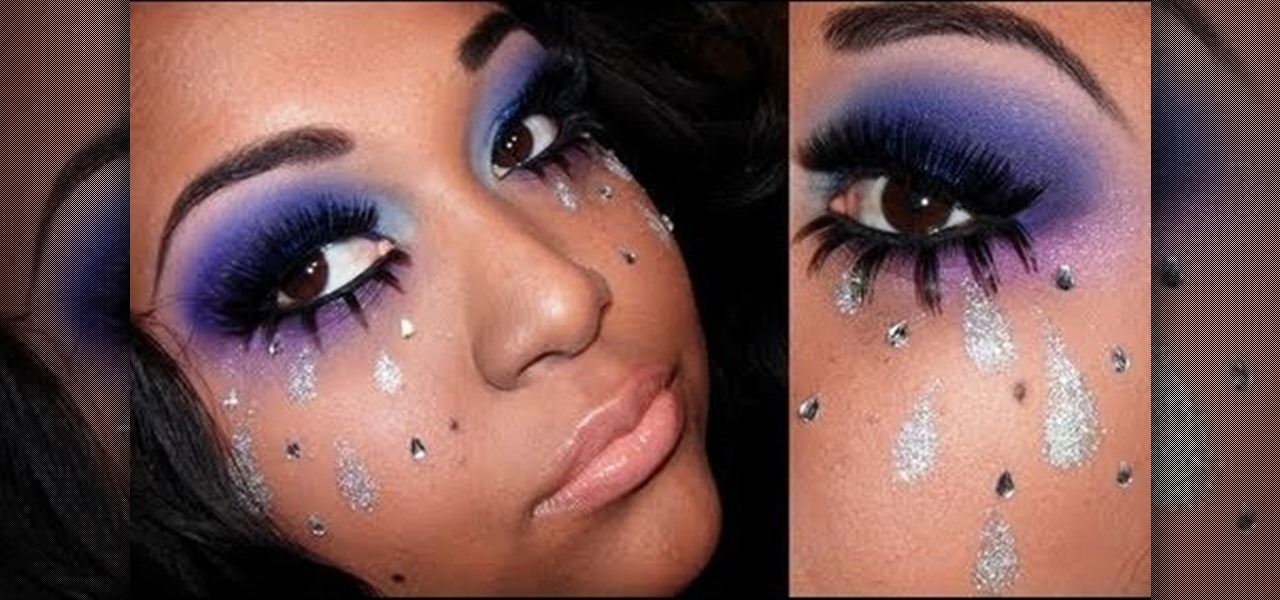
Need an outrageous and beautiful look for Halloween or attending one of Ke$ha's concerts soon? Then you'll definitely need to amp up your makeup game with lots of color and a Claire's store worth of glitter.
The story of "Alice in Wonderland" is one of childhood naivete, self exploration, and ultimately growing up. That's why we love the character of Alice so much - she's equal parts child and adult, fighting to find her own in an adult world filled with hypocrisy and craziness.
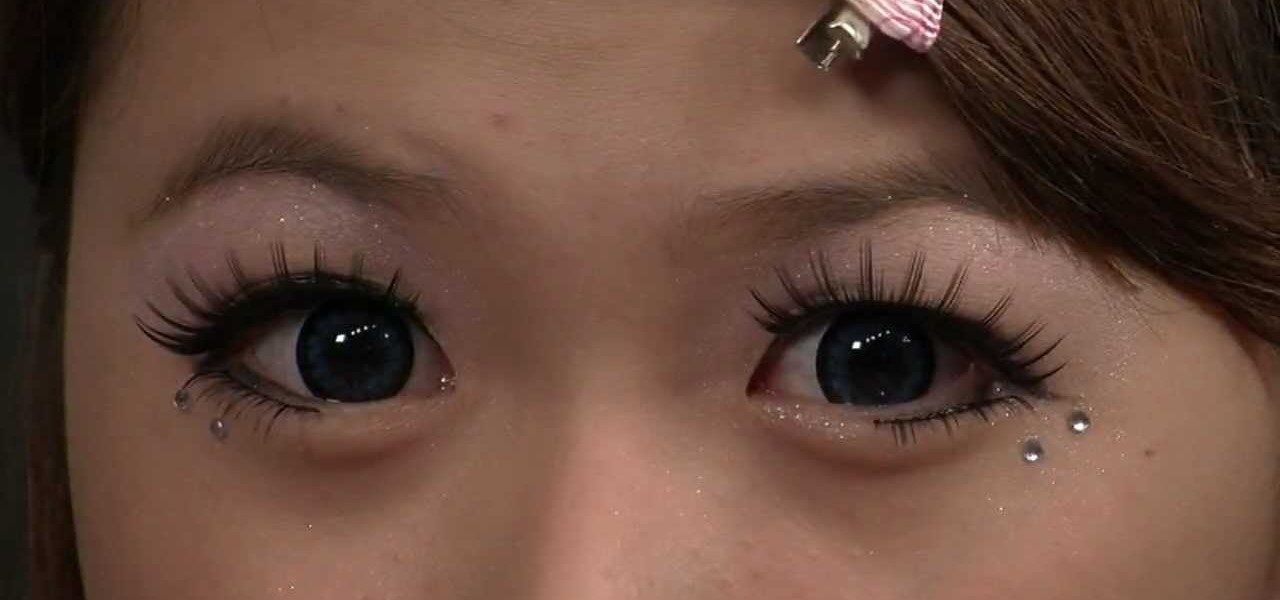
Want to look like a living doll? That's the goal of thousands of Japanese girls in the Harajuku district of Japan, where all fashion trends start. No matter what style of dress, the dolly look seems to be pretty pervasive, espcially when it comes to makeup.
In this tutorial, we learn how to make a small recipe card box. First, you will need to grab any color of card stock that is 8.5" by 11". You will also need a scoring tool, scissors and adhesive. After this, you will need to score your card stock in all the different areas to make the correct measurements. When finished, fold up the box using the score lines to fold along the sides. Then, take another piece of card stock and score it to use and folds inside of the box to separate different se...
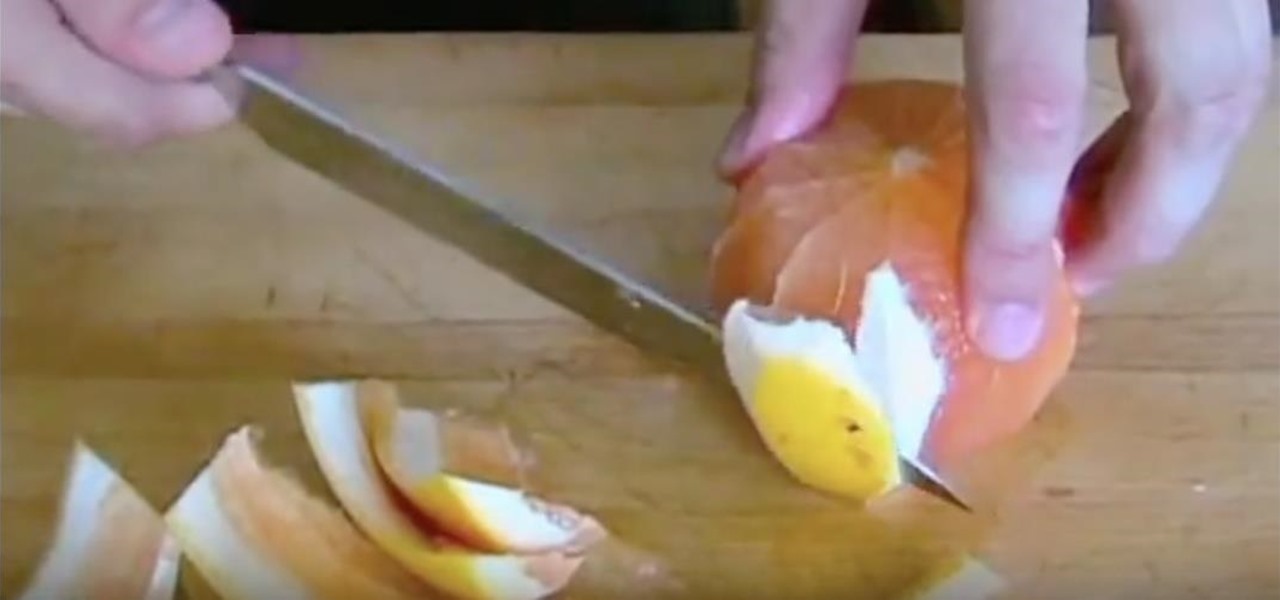
Cutting up an orange or a lemon seems pretty easy. You just take it out, cut off the ends (if you're working with a lemon), and slice it up, right? Wrong. If you want to create a professional presentation for your citrus fruits, there's a very specific way for peeling and cutting a fruit so that you create pith- and membrane-free segments.
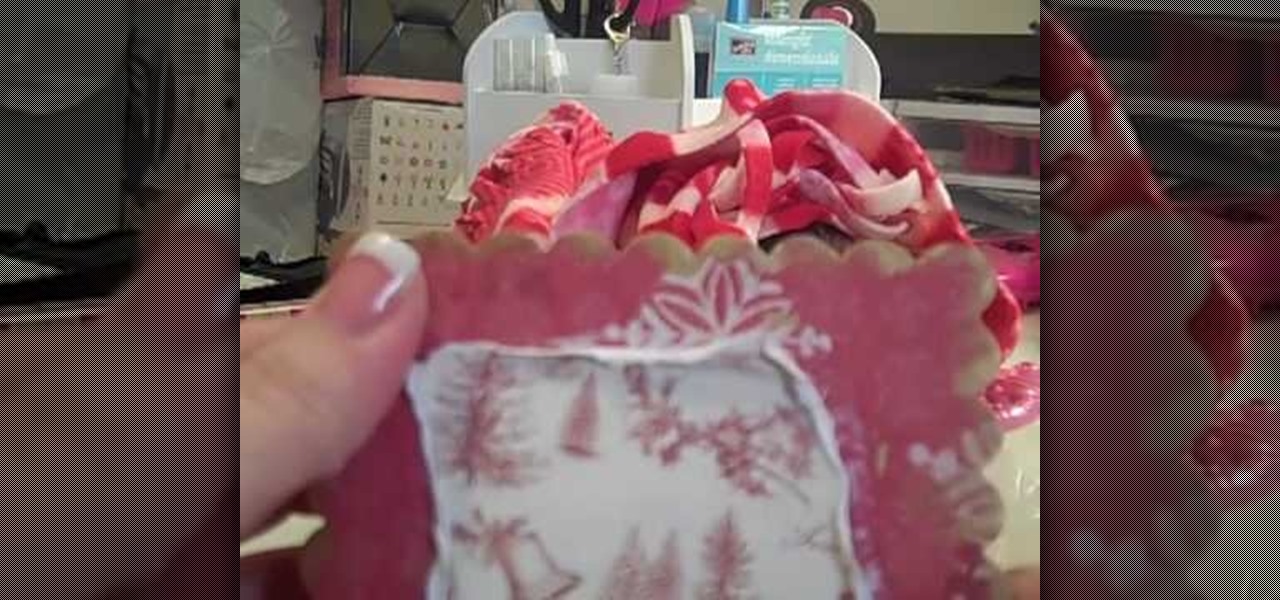
In order to make a Tri-Shutter Halloween Card, you will need the following: card stock, fishing line, ribbon, paper trimmer, printed/decorated paper, and adhesive.
In this video, we learn how to distress old wallpaper. First, cover your chip board and then take the piece of paper and tear the edges. Tear all the way around, or how you prefer it to look. Next, rub quick dry adhesive onto the back of the paper, then brush it to the ends of the paper. Now, push the paper onto the chip board and start to roll and crinkle it up. Distress the paper first if you want to, then continue pushing the paper until it looks how you like it. Make sure you work quickly...
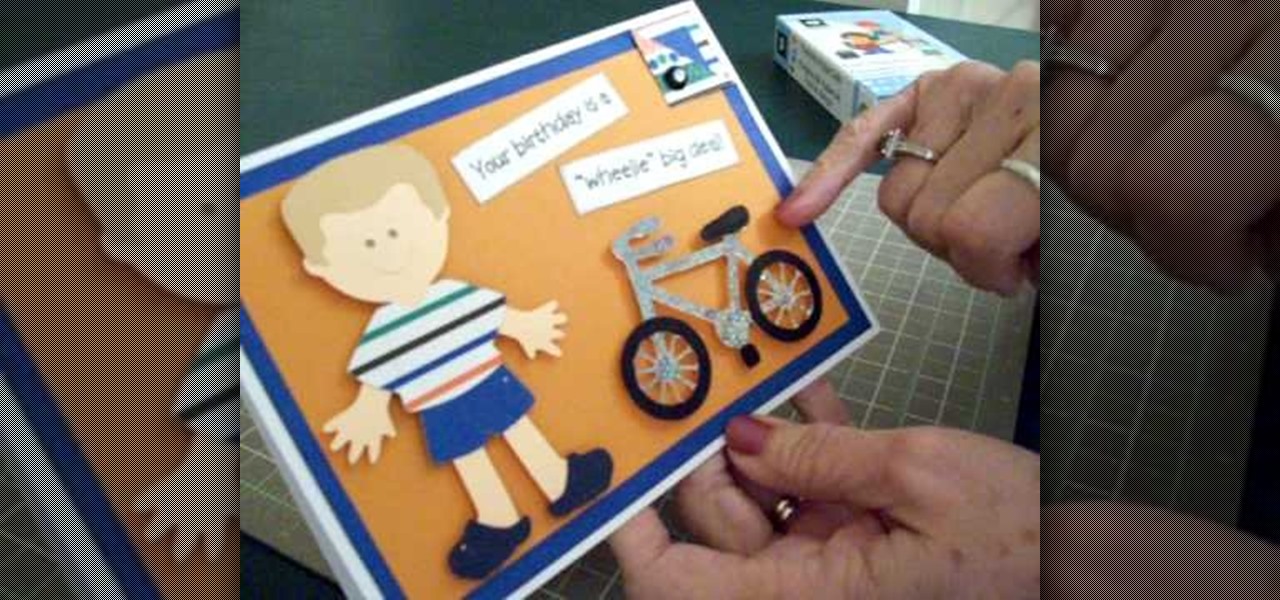
In order to make a Cricut "biker boy" birthday card for a young boy, you will need the following: Everyday Paper Dolls cartridge, adhesive, and card stock.
This video tutorial belongs to the Electronics category which is going to show you how to make a hack pack. This is basically turning a notebook in to something that you can take literally anywhere. Here you will learn how to create a video streaming hack pack to carry around with you and be able to do live internet shows anywhere. For this you will need a netbook, Sony PSP, mobile Wi-Fi thumbstick, microphone and a webcam with Velcro or adhesive. Plug in the mobile Wi-Fi stick for internet c...
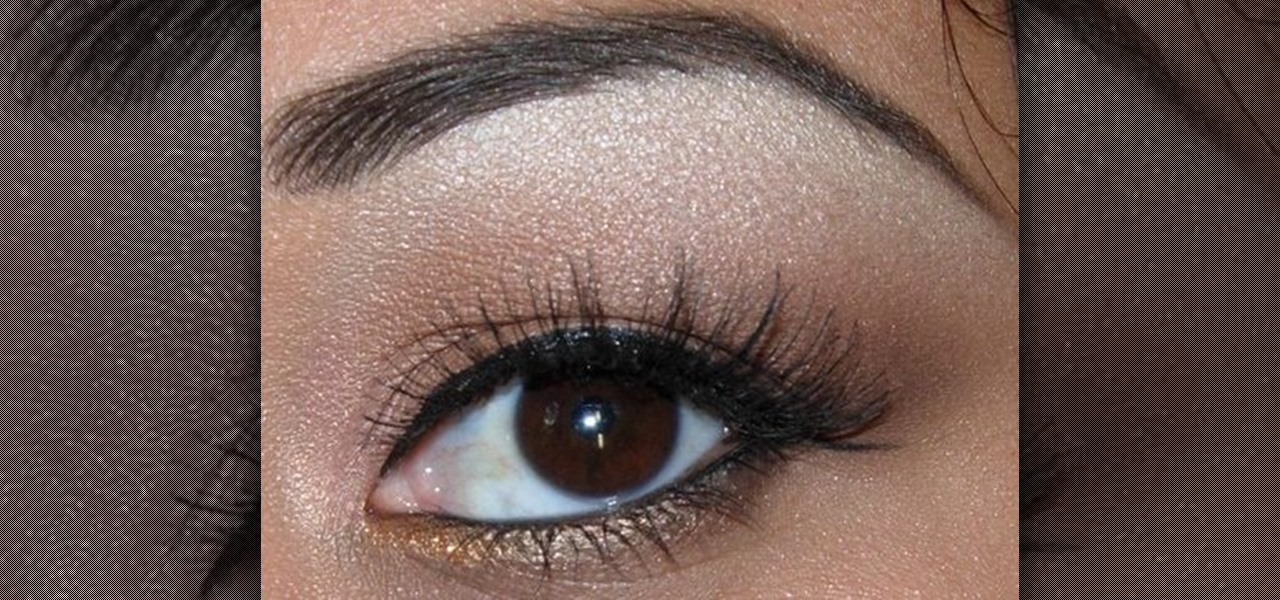
In this tutorial, we learn how to apply MAC 34 fake eyelashes. First, lift your eyelashes out of the case they come in and lay them on your lash line. If they are too long, cut the ends to fit your eyes. Next, grab your eyelash adhesive and apply it to the strip on the base of the lashes. Let the glue dry for several seconds until it becomes tacky. After this, push the lashes onto the base of the lashes, and use tweezers or your finger to push the lashes on until they are stuck. After this, a...
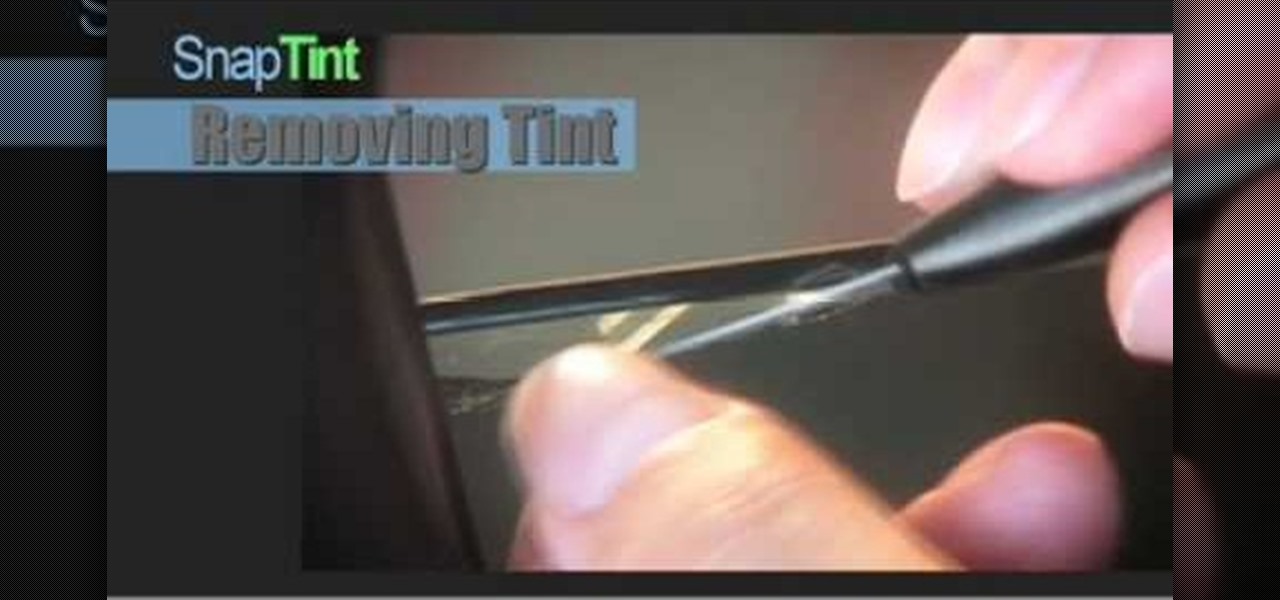
Is the tint on your windows losing its luster? In this video, learn how to remedy a bad window tint. All window film deteriorates with age and eventually have to be removed. Two of the most common symptoms of dying film are the dreaded "purple film" and the "bubbling film". Purple film is caused by non-metallic dyes in the film breaking down and changing color. Bubbling film is a sign that the adhesive used to apply the tint to the window is failing. After a single bubble appears, many more w...
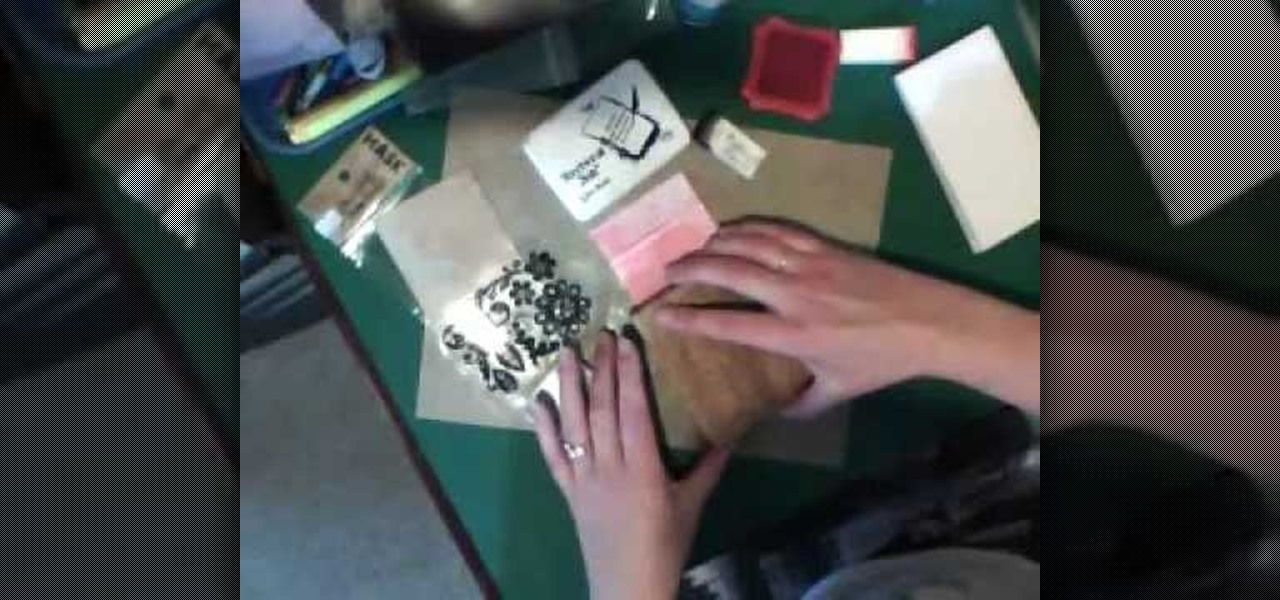
In this Arts & Crafts video tutorial you will learn how to make a stamped notepad cover. Put the note pad on the edge of a bigger sheet of paper, draw the outline and cut the paper along the lines. The paper should be longer than the notepad. Put the note pad on top of the paper aligned with one end and fold the other end of the paper. Remove the paper and crease it properly along the scoring lines. Depending on the theme you want for the cover, apply the required ink with sponge on the paper...
In this Arts & Crafts video tutorial you will learn how to create a box to hold a mini album or small cards. Take a shiny card stock 10.5 x 6 inches. On the 6" side, score at .5" and 1" on both sides. On the longer side, score at 3, 3.5, 7.5 and 8 inches. Cut out the corners on the flap side of the card as shown in the video. Do a step cut on the other side of the card as in the video. Round the four corners with a corner rounder. You can do some stamping now if you want or you can also glue ...
CadNYC demonstrates how to open the Nike iPod sensor casing. Replacing the iPod Nike sensor battery is easy and low cost with a few simple steps. First, place the sensor in a vice clamp and saw off the casing using a very thin hacksaw blade. then, open up the sensor compartment to have access to the battery. You can now remove the battery and replace it with another battery which will cost about two dollars. After you replace the Nike iPod sensor battery, use a strong adhesive to glue the cov...
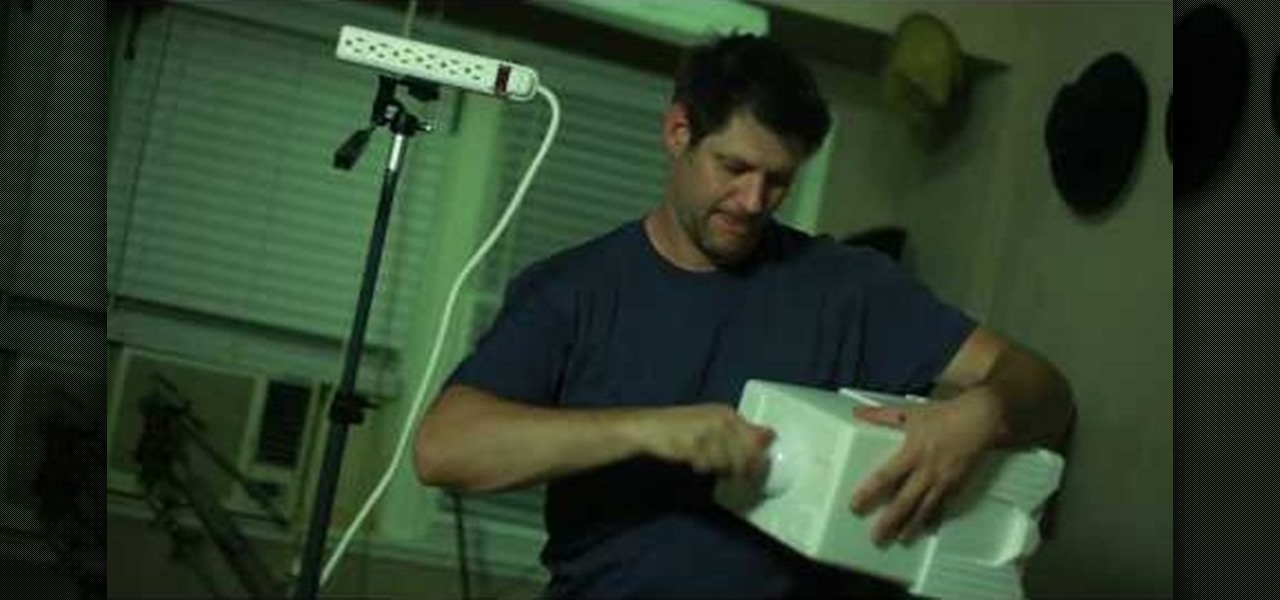
This video shows how to make a studio softbox light for under 20 dollars. It is made with items found around the home or easily acquired. The author takes us through the process in a step by step manner. It starts with a cheap camera tripod upon which a plastic electrical outlet strip is attached using either a screw or strong plastic adhesive. An electrical plug with a light socket attachment is plugged into the strip to allow the light to be attached. A small cooler with a hole cut in the b...