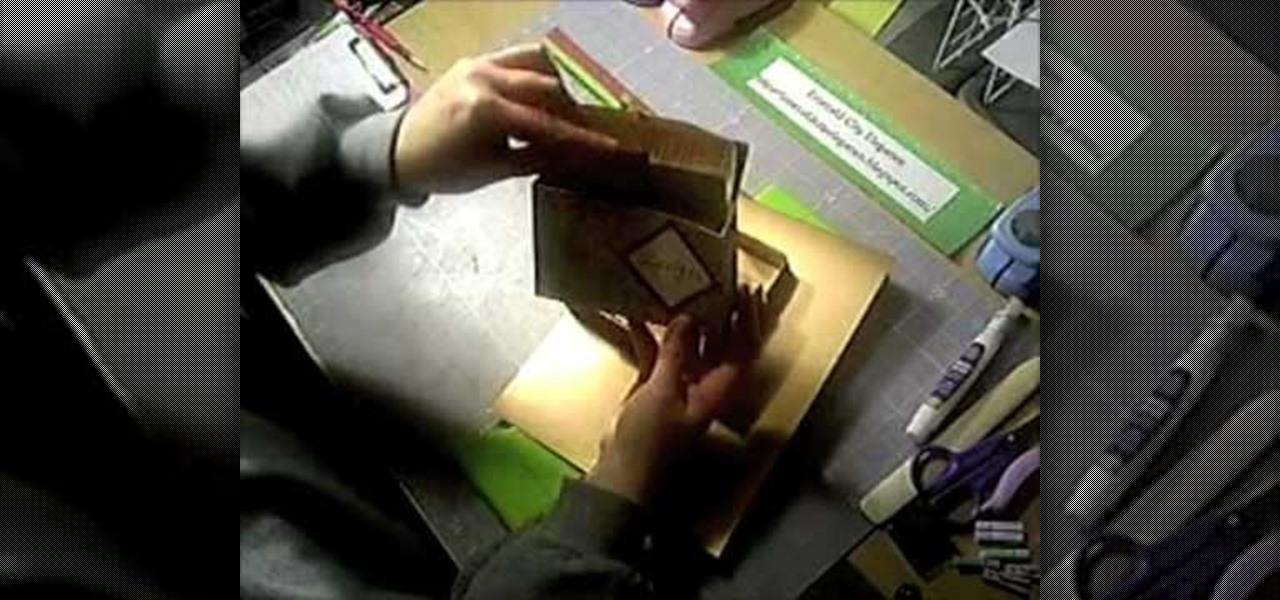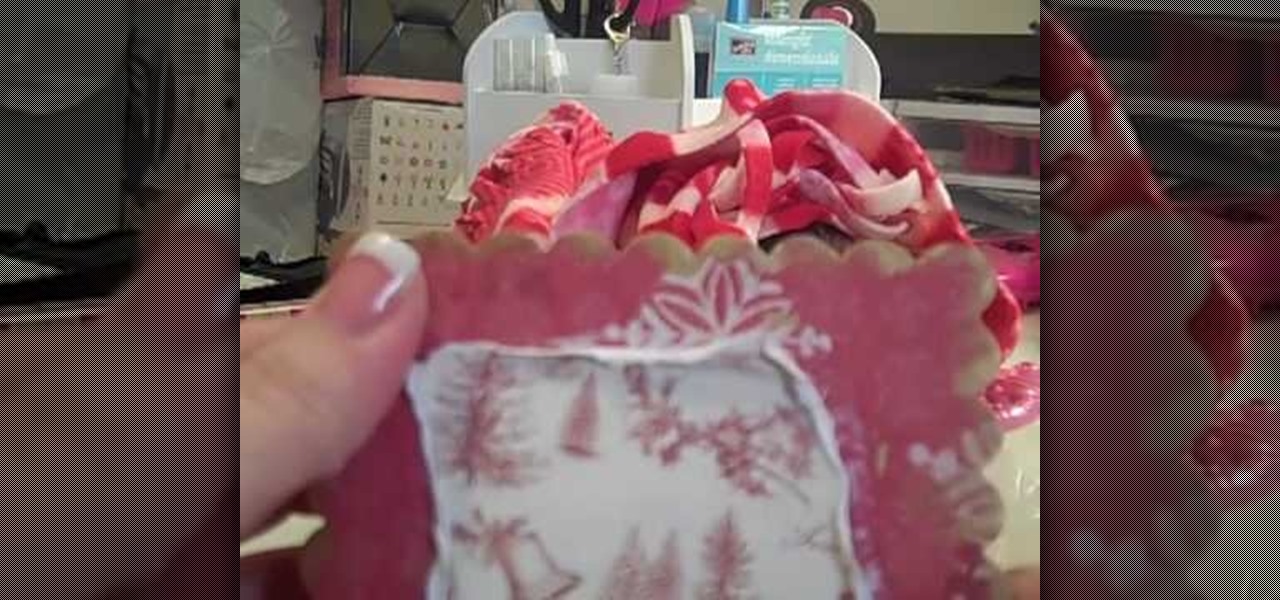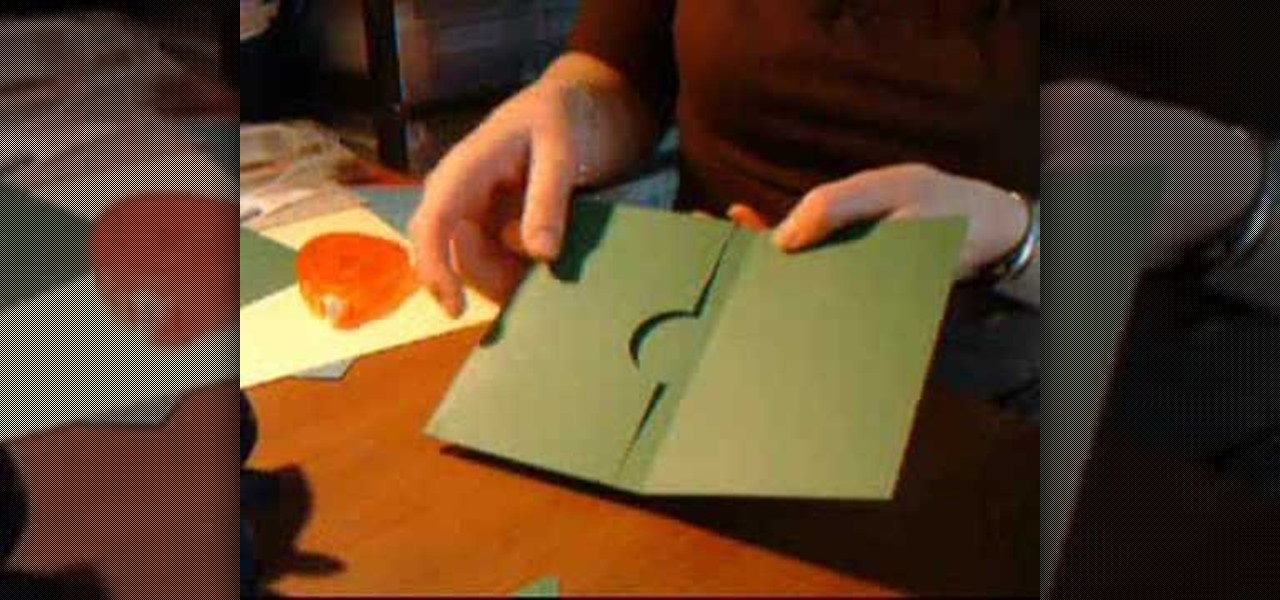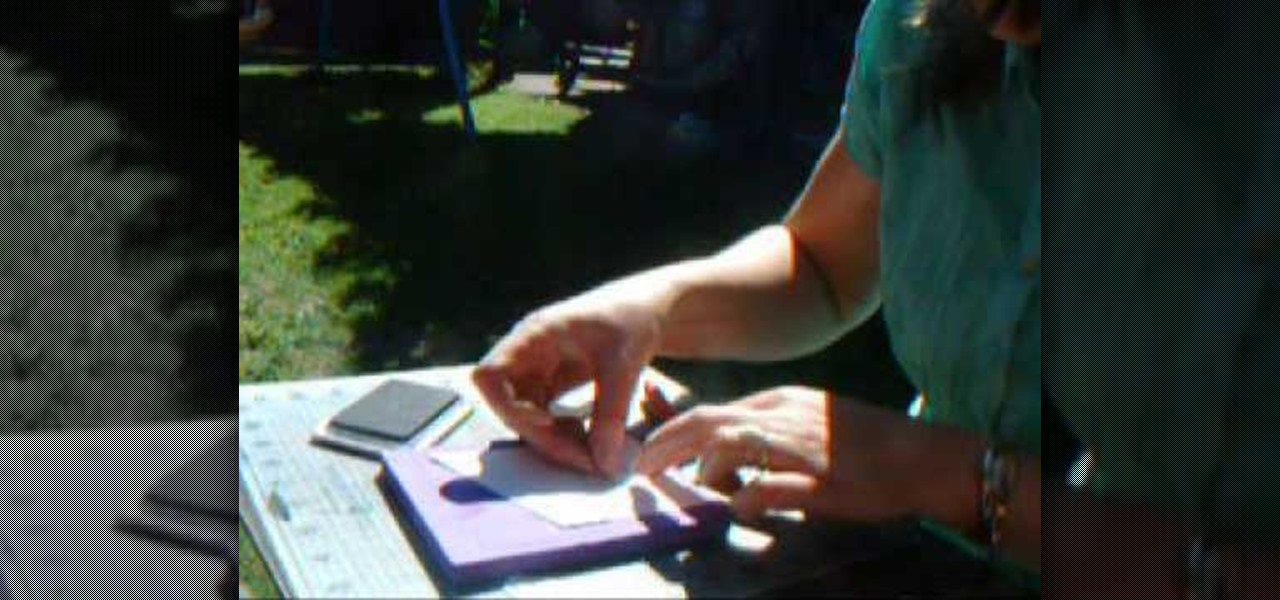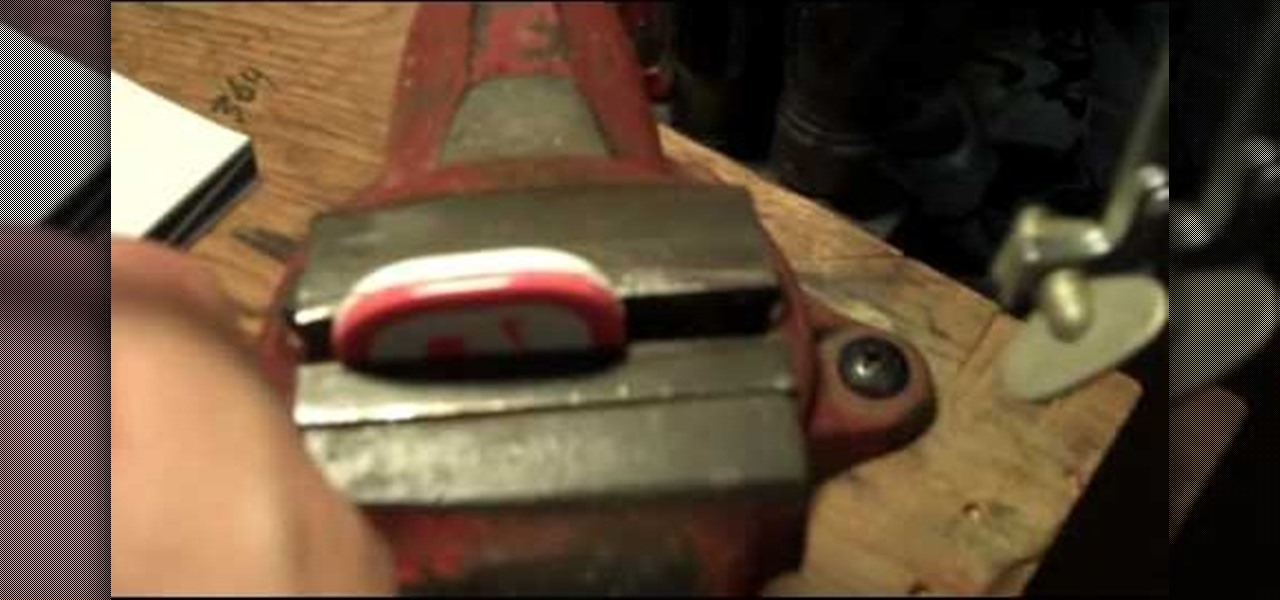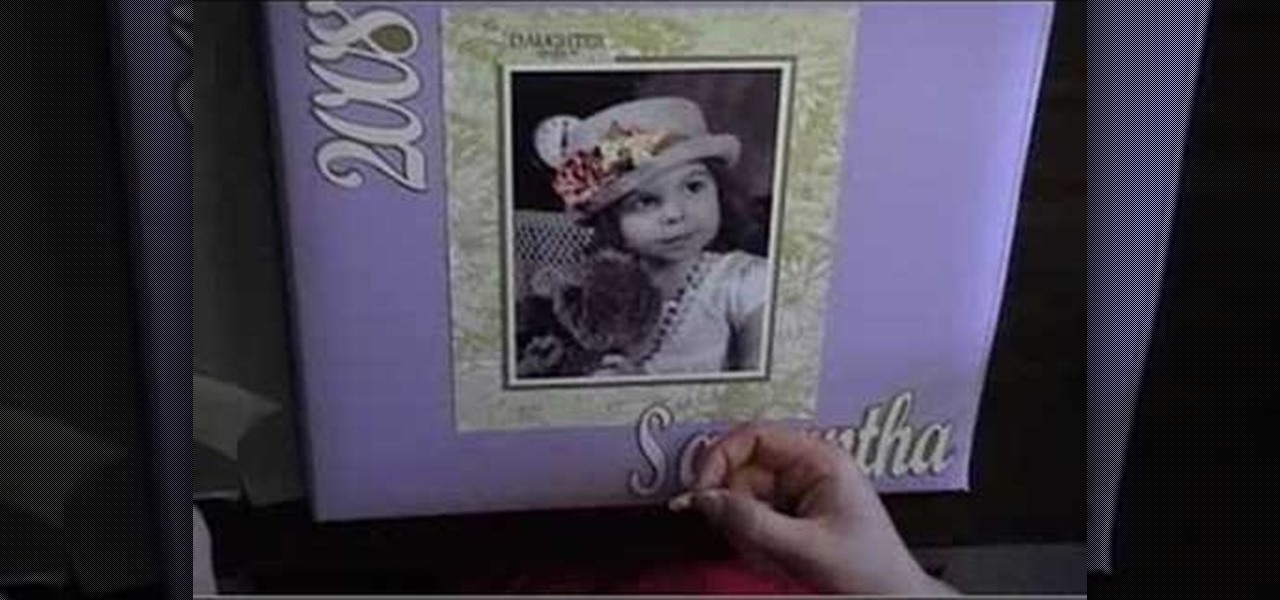
Did you know you can create beautiful covers for your scrapbooks using all kinds of materials? This video tutorial shows how easy it is. Linen scrapbook covers need slightly different materials than regular paper compatible materials. You'll need Tombo (or another double sided adhesive) and liquid glass. Watch this video scrapbooking tutorial and learn how to decorate a linen scrapbook cover.
For a natural alternative to wallpaper or poster glue, consider using wheat paste. This clear, permanent adhesive is used by artists and decorators and is simple to make.
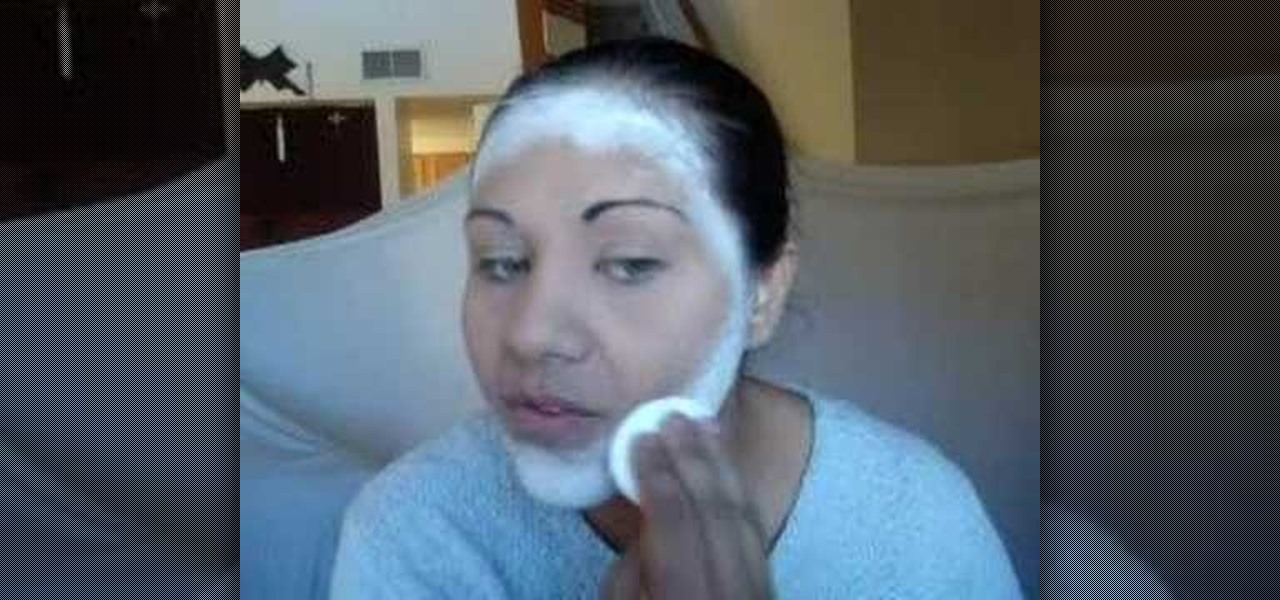
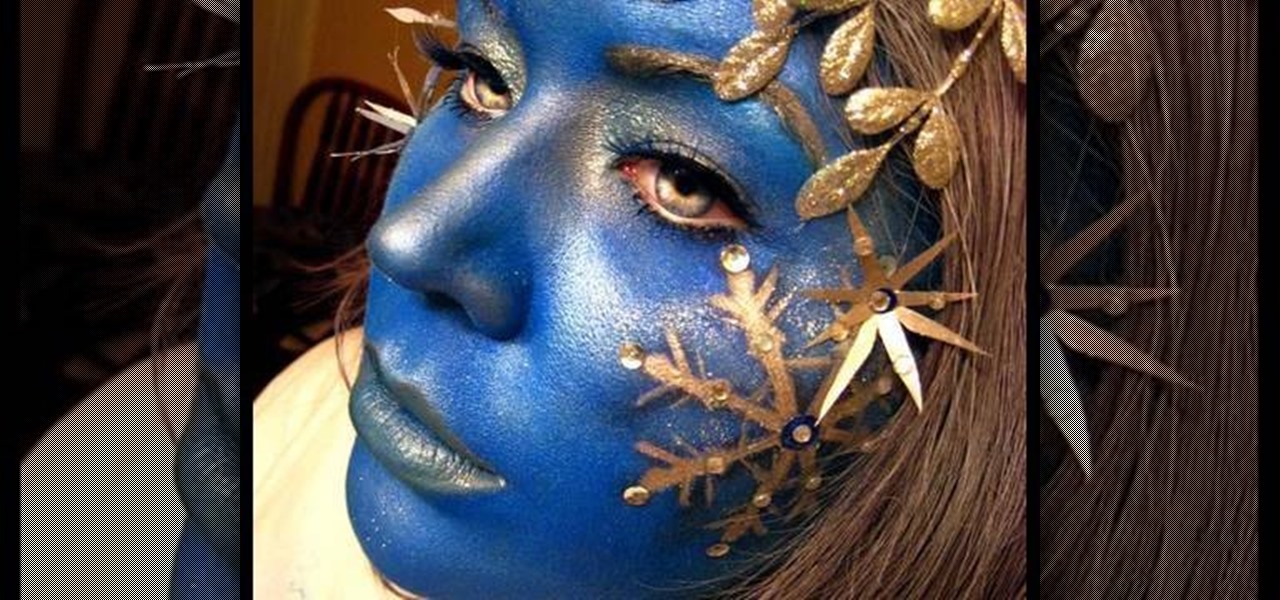
Tired of run-of-the-mill makeup? This eye-catching Winter Wonderland look is great for pageants, dance recitals, or for the truly brave, just for day wear. The cosmetic products used to create this look are N.Y.C Yellow Concealer, Clinique Super Powder Double Face Make Up # 10 Matte Medium, Graftobian Clown White Cream Make Up, MAC Pearl Reflections Pigment, Rimmel Metallic Eye Gloss #021 Chelsea, Mac Sky Blue Pigment, Hot Topic Glitter Gloss & Eye Shadow Turquoise, Rimmel Special Eyes Trio E...
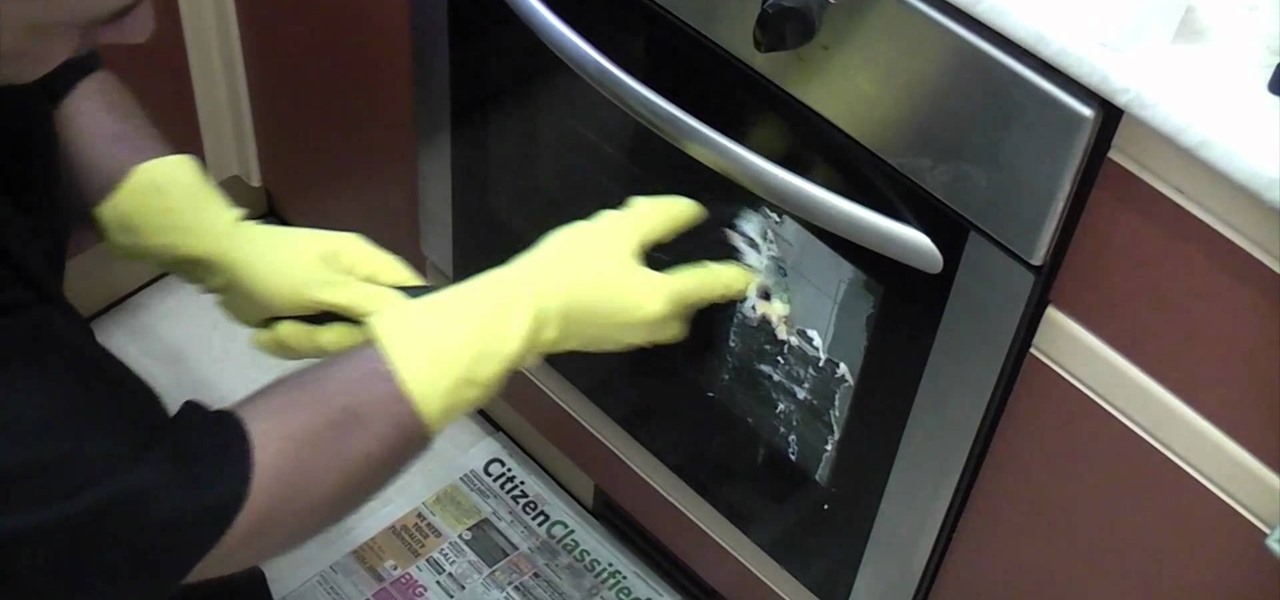
We understand why companies affix sticky labels to their products. We just don't understand why they manufacture these labels with unyielding, Godzilla strength glue. Who wants to open up a new microwave only to end up with partially peeled labels and glue stains?
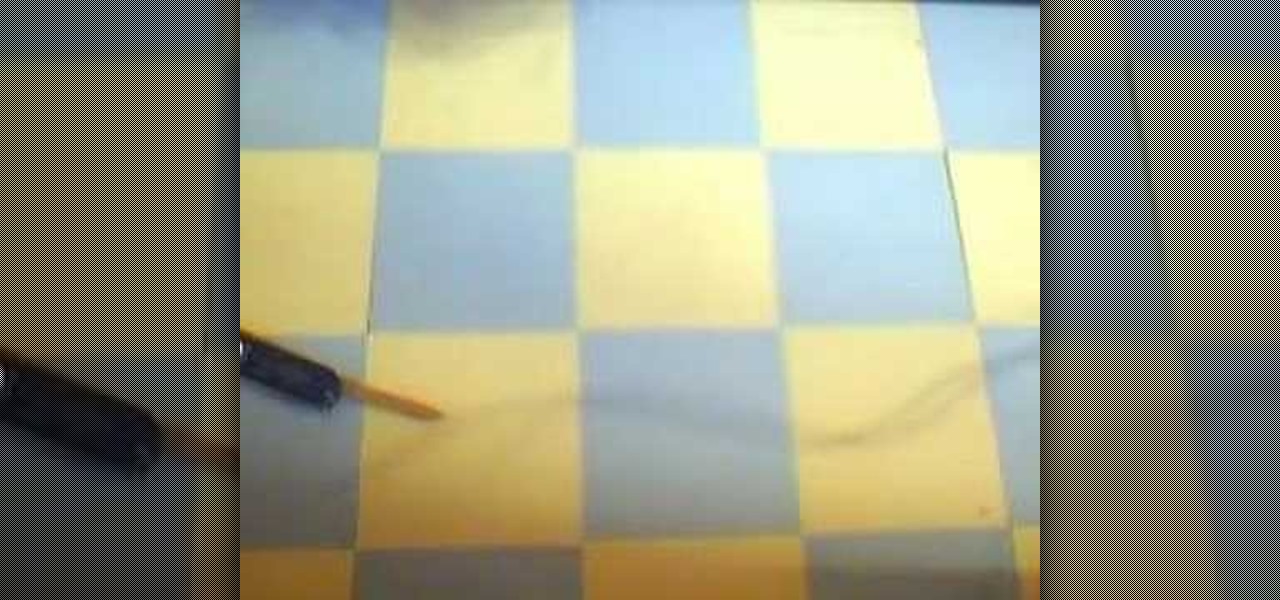
In this video, we learn how to lay floor tiles. Lay the tiles in a diamond pattern, using a tape measure to make sure you have enough of them. You will need to cut the corner tiles so they fit in with the rest of them. Lay the tile adhesive down first before you lay the tiles down and make sure they are pushed down into place securely. Continue to lay the tiles down until you have covered the entire area. After this, you will lay mortar in the middle of it and then wipe it off clean to finish...

Need an outrageous and beautiful look for Halloween or attending one of Ke$ha's concerts soon? Then you'll definitely need to amp up your makeup game with lots of color and a Claire's store worth of glitter.

The story of "Alice in Wonderland" is one of childhood naivete, self exploration, and ultimately growing up. That's why we love the character of Alice so much - she's equal parts child and adult, fighting to find her own in an adult world filled with hypocrisy and craziness.

In this tutorial, we learn how to make a small recipe card box. First, you will need to grab any color of card stock that is 8.5" by 11". You will also need a scoring tool, scissors and adhesive. After this, you will need to score your card stock in all the different areas to make the correct measurements. When finished, fold up the box using the score lines to fold along the sides. Then, take another piece of card stock and score it to use and folds inside of the box to separate different se...

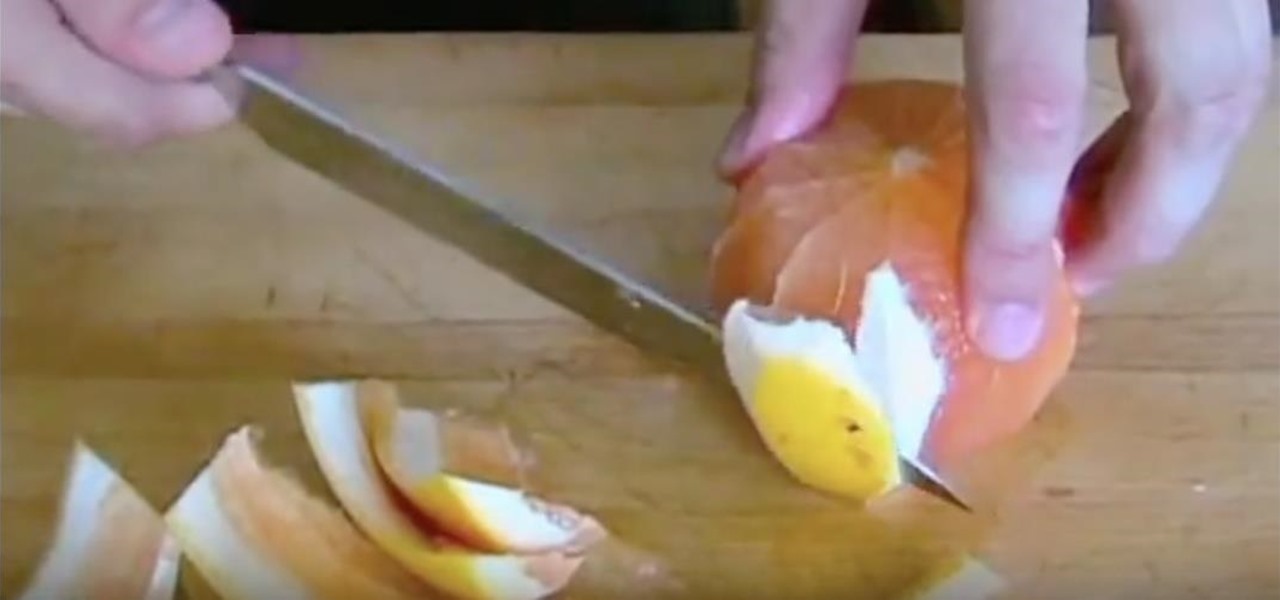
Cutting up an orange or a lemon seems pretty easy. You just take it out, cut off the ends (if you're working with a lemon), and slice it up, right? Wrong. If you want to create a professional presentation for your citrus fruits, there's a very specific way for peeling and cutting a fruit so that you create pith- and membrane-free segments.

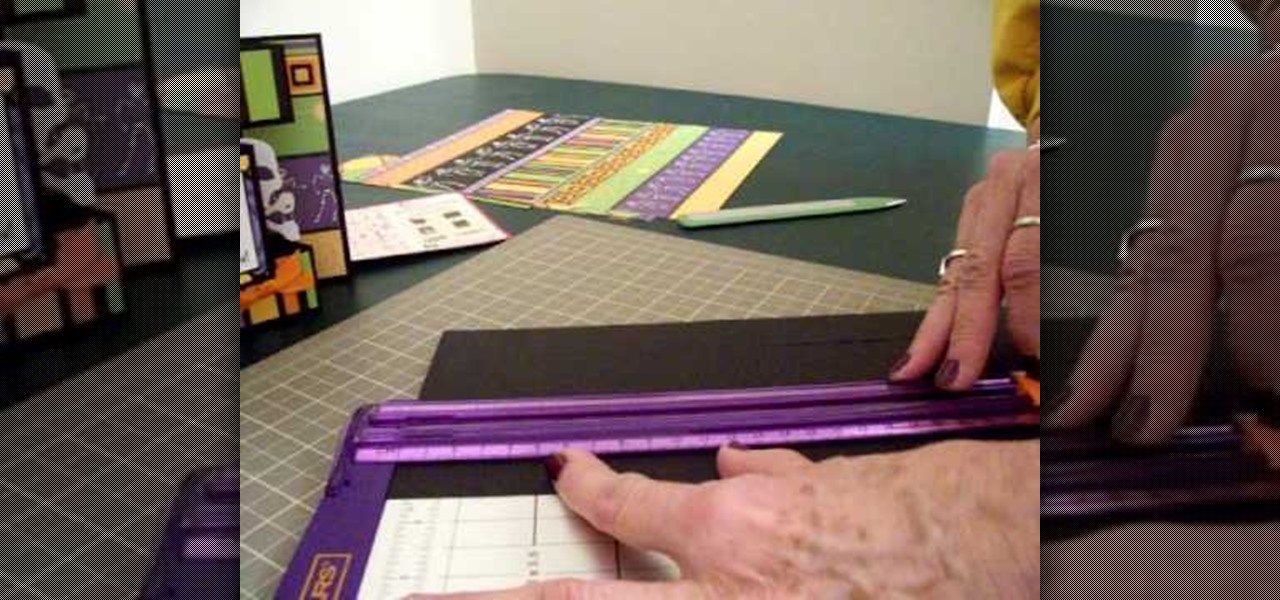
In order to make a Tri-Shutter Halloween Card, you will need the following: card stock, fishing line, ribbon, paper trimmer, printed/decorated paper, and adhesive.

In this video, we learn how to distress old wallpaper. First, cover your chip board and then take the piece of paper and tear the edges. Tear all the way around, or how you prefer it to look. Next, rub quick dry adhesive onto the back of the paper, then brush it to the ends of the paper. Now, push the paper onto the chip board and start to roll and crinkle it up. Distress the paper first if you want to, then continue pushing the paper until it looks how you like it. Make sure you work quickly...

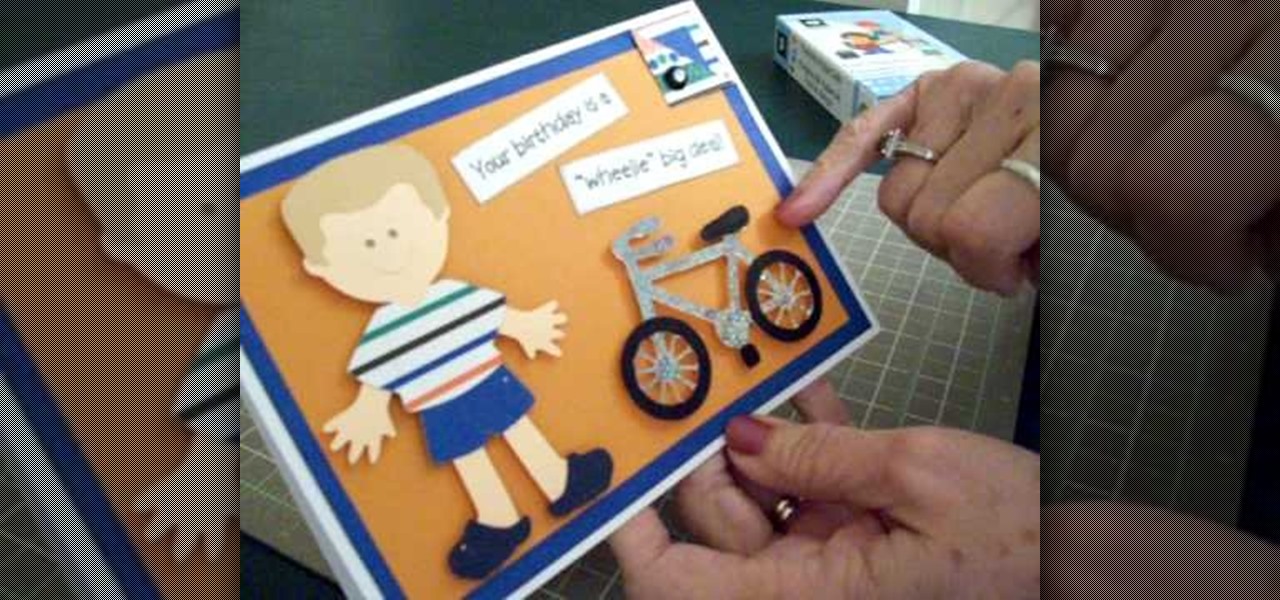
In order to make a Cricut "biker boy" birthday card for a young boy, you will need the following: Everyday Paper Dolls cartridge, adhesive, and card stock.

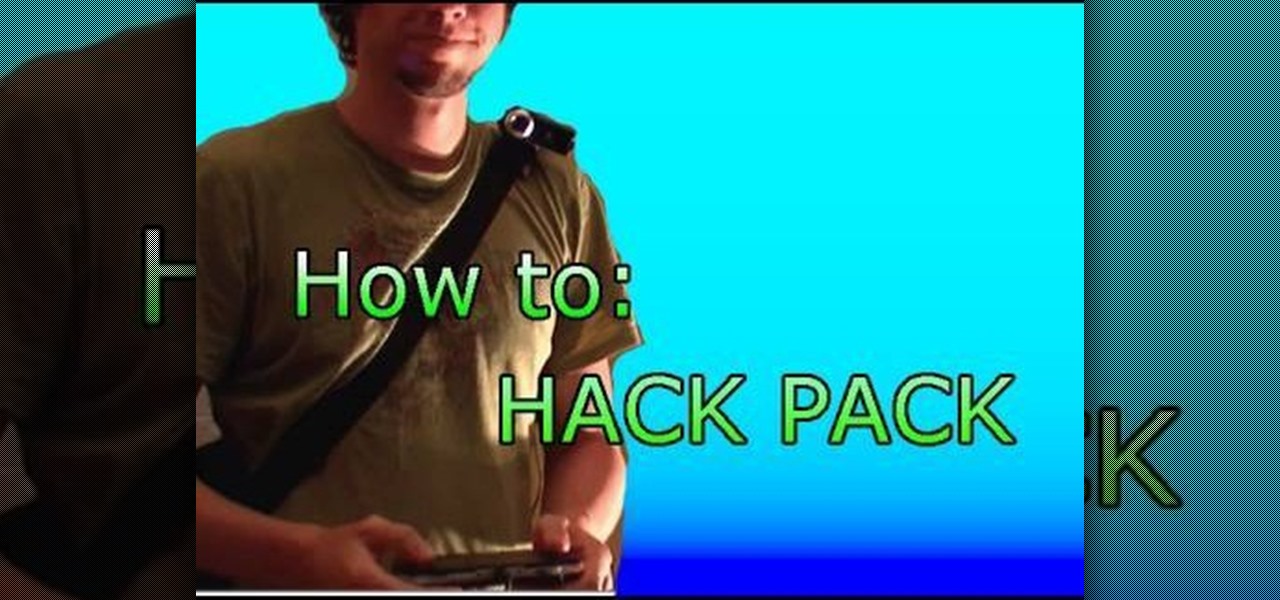
This video tutorial belongs to the Electronics category which is going to show you how to make a hack pack. This is basically turning a notebook in to something that you can take literally anywhere. Here you will learn how to create a video streaming hack pack to carry around with you and be able to do live internet shows anywhere. For this you will need a netbook, Sony PSP, mobile Wi-Fi thumbstick, microphone and a webcam with Velcro or adhesive. Plug in the mobile Wi-Fi stick for internet c...

In this tutorial, we learn how to apply MAC 34 fake eyelashes. First, lift your eyelashes out of the case they come in and lay them on your lash line. If they are too long, cut the ends to fit your eyes. Next, grab your eyelash adhesive and apply it to the strip on the base of the lashes. Let the glue dry for several seconds until it becomes tacky. After this, push the lashes onto the base of the lashes, and use tweezers or your finger to push the lashes on until they are stuck. After this, a...

In order to make and use a stencil, you will need the following: pencil, blue painter's tape, Dura Lar film, Self-healing mat, spray adhesive, old canvas board, airbrush, compressed air, airbrush paint, utility knife, paper, eraser, and an idea for a stencil.

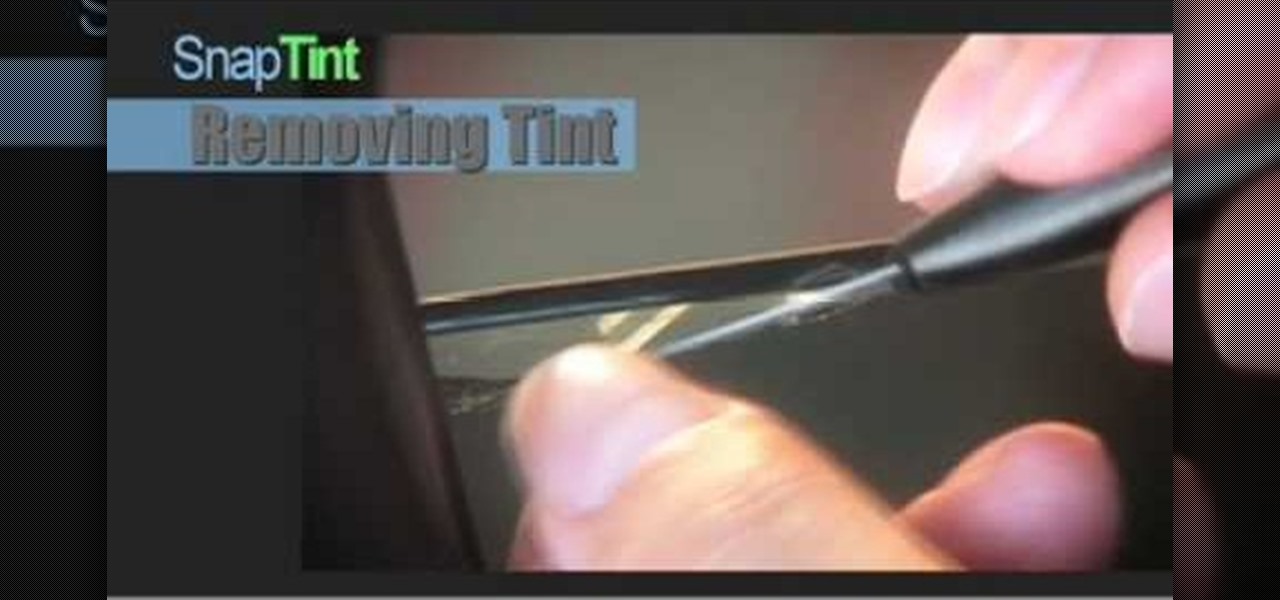
Is the tint on your windows losing its luster? In this video, learn how to remedy a bad window tint. All window film deteriorates with age and eventually have to be removed. Two of the most common symptoms of dying film are the dreaded "purple film" and the "bubbling film". Purple film is caused by non-metallic dyes in the film breaking down and changing color. Bubbling film is a sign that the adhesive used to apply the tint to the window is failing. After a single bubble appears, many more w...

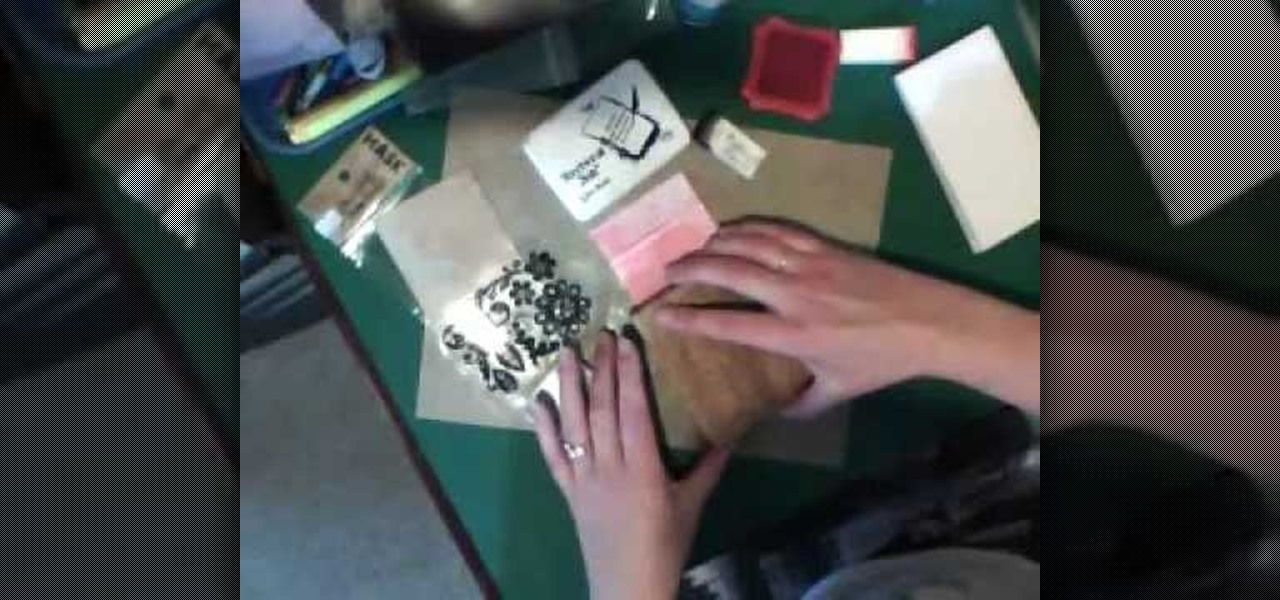
In this Arts & Crafts video tutorial you will learn how to make a stamped notepad cover. Put the note pad on the edge of a bigger sheet of paper, draw the outline and cut the paper along the lines. The paper should be longer than the notepad. Put the note pad on top of the paper aligned with one end and fold the other end of the paper. Remove the paper and crease it properly along the scoring lines. Depending on the theme you want for the cover, apply the required ink with sponge on the paper...

In this Arts & Crafts video tutorial you will learn how to create a box to hold a mini album or small cards. Take a shiny card stock 10.5 x 6 inches. On the 6" side, score at .5" and 1" on both sides. On the longer side, score at 3, 3.5, 7.5 and 8 inches. Cut out the corners on the flap side of the card as shown in the video. Do a step cut on the other side of the card as in the video. Round the four corners with a corner rounder. You can do some stamping now if you want or you can also glue ...

This how to video shows you how to make a pocket card. You will need a trimmer with scoring blade, fiskars corner boarder punch, circle squeeze punch, 3 pieces of 12" x 12" card stock, small pieces of patterned card stock, tape, and embellishments. First, score the stock at 4" and 8". Next, trim about 1/4" off. Now apply adhesive down to the sides of the card. From here, use the circle punch on the edge of the card stock. Fold the stock together to create a pocket. Next, trim unwanted strips ...

In this how to video, you will learn how to make bag tags. You will need a tape runner, embellishments, elastic, a plastic bag, letters, cloud 9 rain dot eyelets, a trimmer, bits of card stock, and hole punches. First, cut the card stock and make it a square shape. Next, decorate the card stock with embellishments and the name of the child it is for. You can use the adhesive to stick these on. Next, cut more card stock and wrap it the piece around the decorated card stock. From here, place th...

In order to make an accordian- fold style greeting card, you will need a piece of card stock, glue or adhesive, scissors, markers, and stencils/stamps. Cut the cardstock in a diagonal. Fold the card into 3rds, lengthwise. Cut a 5 x 3 ¼” panel at an angle. Use Masking Magic and stamp the excess card stock. Cut out your stamp designs. Color in your designs with Sharpie brand permanent marker pens. Glue the 5 x 3 ¼” cut piece to the card, or you could use 2 sided tape. If you have addition...

CadNYC demonstrates how to open the Nike iPod sensor casing. Replacing the iPod Nike sensor battery is easy and low cost with a few simple steps. First, place the sensor in a vice clamp and saw off the casing using a very thin hacksaw blade. then, open up the sensor compartment to have access to the battery. You can now remove the battery and replace it with another battery which will cost about two dollars. After you replace the Nike iPod sensor battery, use a strong adhesive to glue the cov...

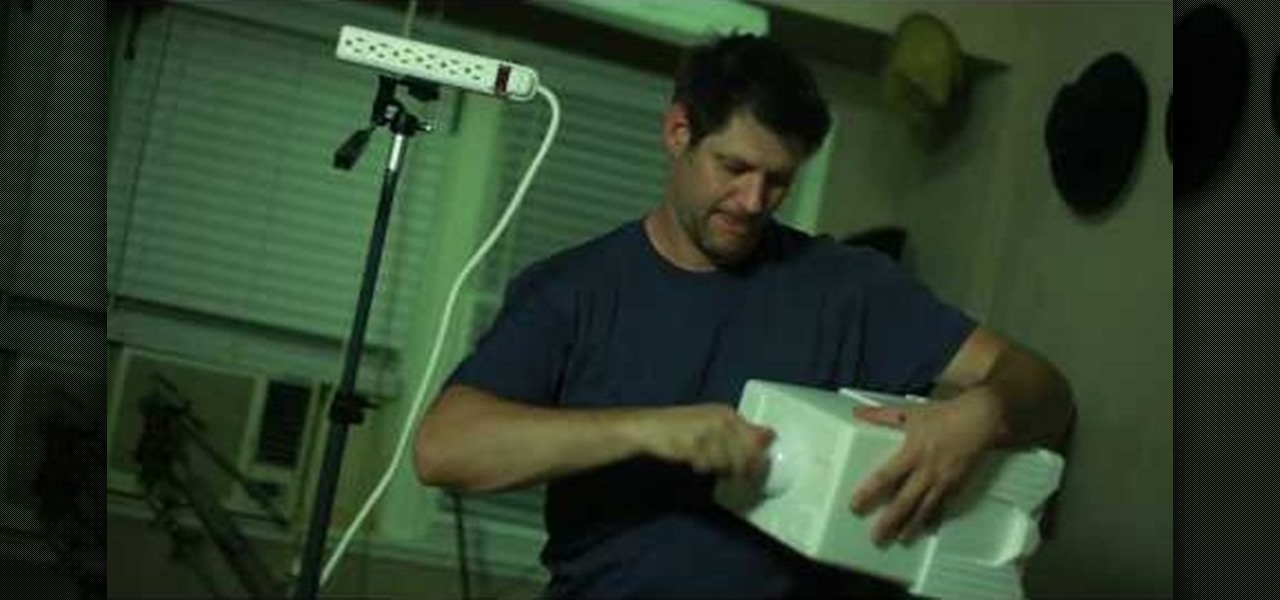
This video shows how to make a studio softbox light for under 20 dollars. It is made with items found around the home or easily acquired. The author takes us through the process in a step by step manner. It starts with a cheap camera tripod upon which a plastic electrical outlet strip is attached using either a screw or strong plastic adhesive. An electrical plug with a light socket attachment is plugged into the strip to allow the light to be attached. A small cooler with a hole cut in the b...

A simple and creative way to make your own wallet. A few folds and snips of the scissors and you've created your own pocket wallet. You can even use different color of the carton to achieve a different and unique kind. It is extremely simple, the only things you need are your hands, scissors, tape and stapler. Open the carton, flatten it out, cut, tape the cut sides, staple and apply adhesive strips. You can apply whatever color of tape you want, this can make the wallet even more personalize...

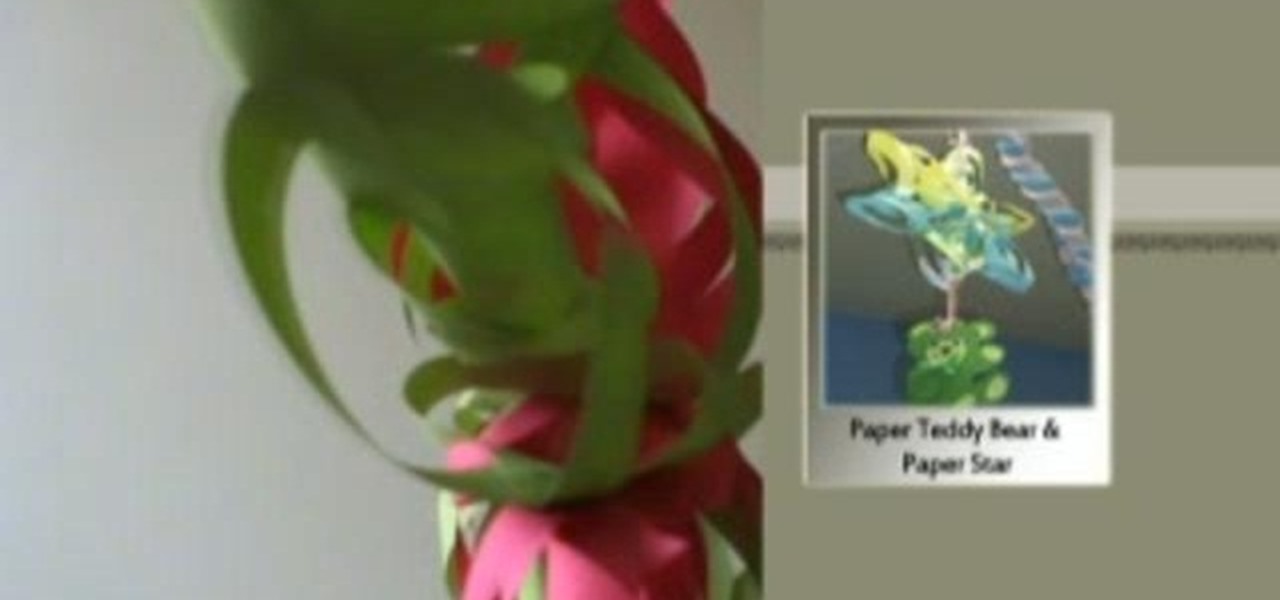
This is a great instructional video on how to make a decorative paper star. The materials you need are color papers, ruler, stapler, scissors, adhesive tape, pencil and cutting pliers. Take a paper and make a square of 20 cm side. Now fold the paper twice and get a triangular shape. Now draw four lines on it. Then cut along the lines with the help of scissors. Take the middle square and staple it. Then go to the back side and staple the ends. Repeat this process and get a star. You can make t...

In this two-part tutorial, learn how to use a stencil on a shirt to create a screen printing effect. Although this does not show you how to do real screenprinting, by using a stencil you will create the look of a screenprinted shirt and be able to transfer your image. Materials you will need include: A blank t-shirt, a high contrast image, acetate, Scotch tape, a sponge, a Sharpie, Exacto knife, some acrylic paint, and glue adhesive. Get your favorite image on a t-shirt you can wear with help...

Danielle Proud shows you how to make a beautiful Christmas table centerpiece for your Christmas dinner! Your guests will be amazed at how incredible your table looks. This amazing display catches light and looks simply magical. All you need is an old pair of deer or elk antlers, some sticky-backed crystals, and a little time and creativity! First, take your antlers and sand them until they are smooth and the color you like. Then, take different sized crystals, even different colors if you pre...

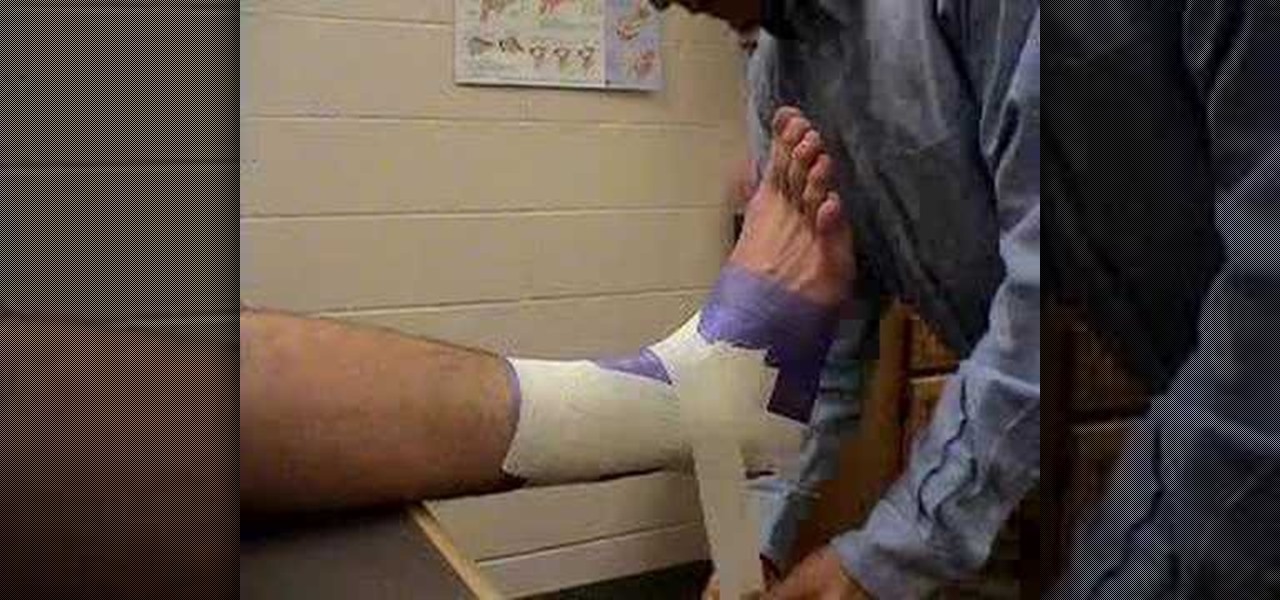
This video shows how to wrap an ankle with athletic tape. First he sprays a little spray adhesive on the ankle and sticks a couple thin pads on places that are prone to blistering. He then wraps the foot and entire ankle with a prewrap to protect the skin and cover the hair so that the tape won't irritate the skin. Then he begins by taping two anchors around the top of the ankle, and putting a piece of tape down the side from the anchors, under the heel, and up the other side like a stirrup, ...

Tree Climbing Man demonstrates how to lay ceramic tile with drywall spackle. You don't need to rip up your existing floor and put down plywood or a sub floor to lay down a new floor. You can put ceramic tile right over existing linoleum with less work, less heartache and less problems. First, spackle the back of each tile and lay it down. You can also use a stapler and tape to fix problem areas. You don't need to go crazy with the adhesive. Spend your money on quality tile. You can use clay f...

Ever wish you can have your own custom stickers? Well its not that hard and you can find everything you need at many major supplies stores. This video will show you exactly how to make professional vinyl stickers to stick anywhere!

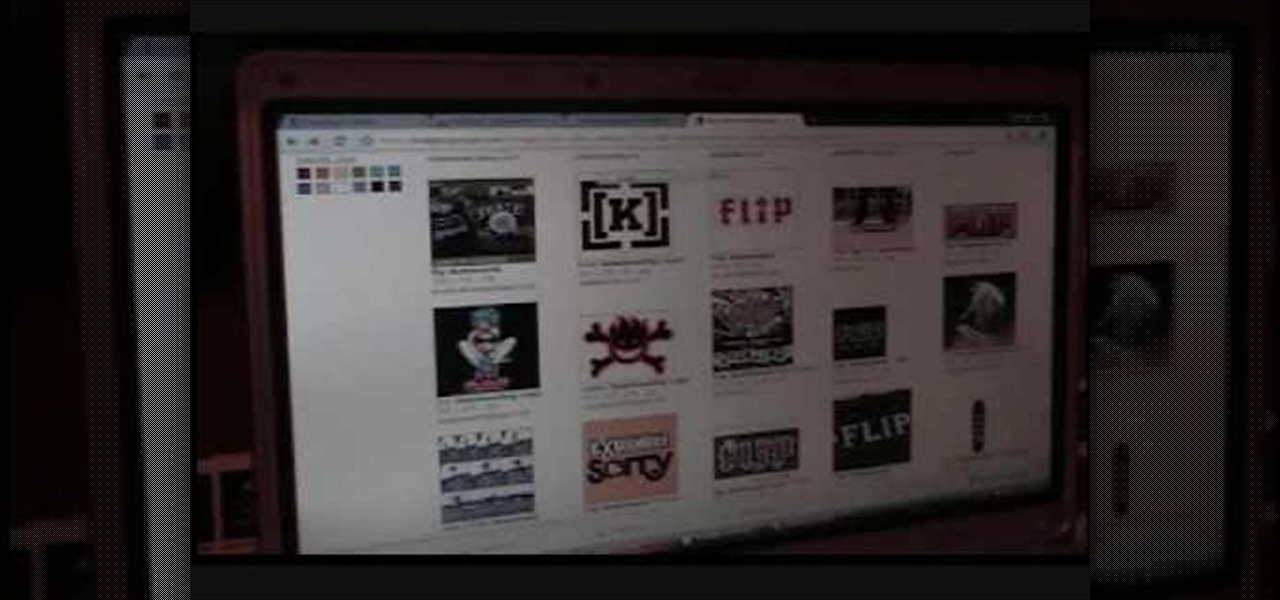
If street art is your thing, maybe you should make and print your own stickers to post around. Well this user shows us a pretty sweet way to do so. This video shows us how to make, import, edit, and then print our own stickers

Goldiestarling teaches you how to apply a snowflake fairy makeup look. You first need to draw the snowflakes on some card stock and then cut them out. Apply those to the face using eyelash adhesive. Use a moisturizer and then a blue powder using a short haired brush. Apply a frosty white metallic color around the eyelids. Also add a darker blue around the snowflake edges. You can also add small rhinestones and glitter to the snowflakes. Use a light brown lipstick for the lips and blend it wit...

This video helps in making a bow and arrow using pencil, pen and rubber band. You can get these from school, stores, house etc.

Fondant cake decor can turn a simple birthday cake into a jawdropping and inspirational centerpiece. You can decorate pretty much anything edible with fondant decorations. And for that Asian safari expedition cake you're making, these fondant bamboo sticks would be a great addition. This tutorial will demonstrate exactly how to create fondant bamboo sticks to add to your cake decorations.

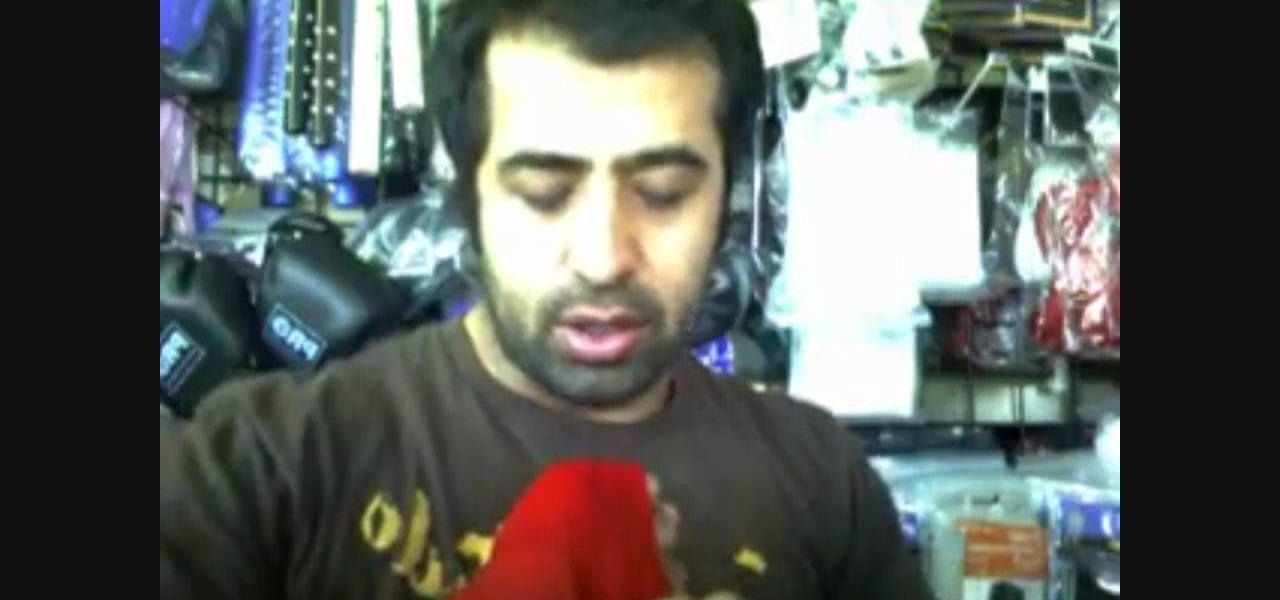
A boxer knows that during and after a fight, their bodies will be aching. As a part of the job, they grit their teeth, focus and get past the pain. The most important part of a boxer's body, though, is arguably his hands. A boxer depends on his hands to win fights and to train. The best thing one can do to protect their hands is to wrap them properly. This video will show you exactly how to wrap your hands so that they are cushioned and protected against injury. An ideal wrapping job would pu...

FK describes how to make a Yoshimoto cube. First, print out the template. Then, trim the paper with scissors along the perimeter and glue the edges into a 3D pyramid. Repeat these steps until you have 48 cubes. Fix 3 pyramids together 16 times. Arrange pyramids in groups. Repeat 2 times and color 8 of the pyramids. Place adhesive on the joints of the cubes. Arrange the pyramid groups into a cube. Now, you can perform neat tricks with the cube, like changing the cube from white to colored with...

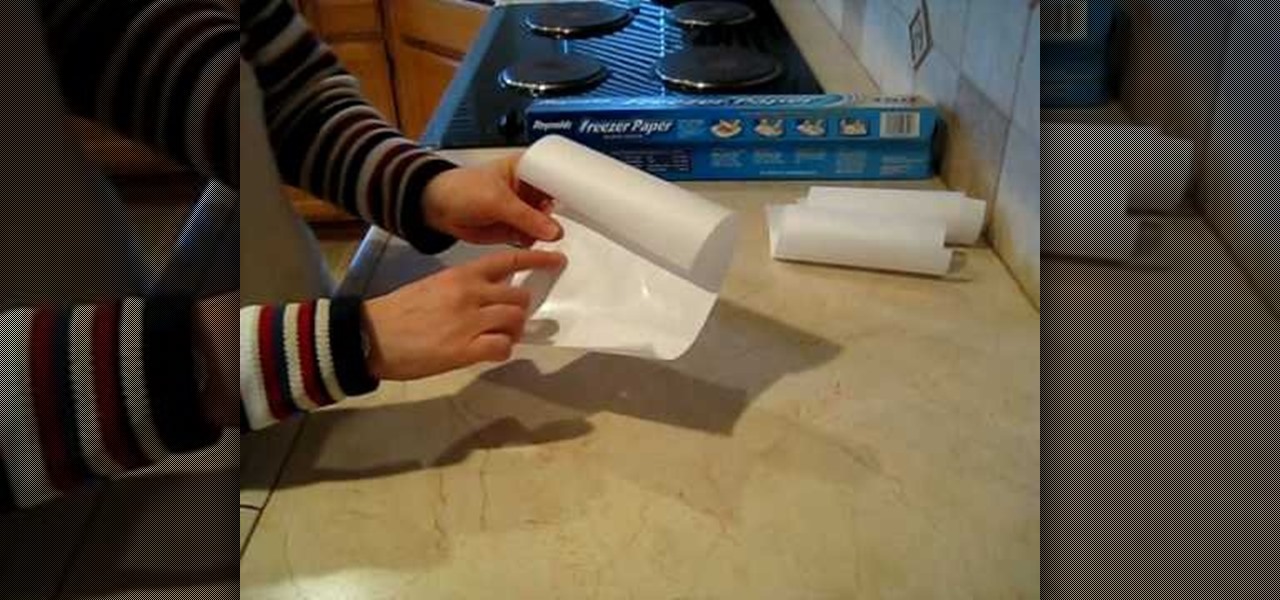
This video shows the method to make a disposable icing tube from freezer paper. The video explains the things needed for doing the task. The basic thing needed for the task is a freezer paper. The freezer paper is cut into three pieces across its length. This gives us a freezer paper which is six by twelve inches long. The freezer paper is then folded into a triangle across one of its sides. The paper is rolled along the triangle so that a tube is formed. The paper is stapled for an adhesive ...

In this video tutorial from StudioMallory, learn how to take Mapei premixed adhesive and grout and turn it into a six-point star. Begin by cutting out the star shape in a piece of cardboard. You can use a stencil to make sure the shape is accurate. With your fingers, spread the grout onto the shape. After you are done shaping the grout, spray a little bit of water on the grout to help you smooth out any rough edges on your star. Set the star on a flat surface and allow it to dry overnight. Th...

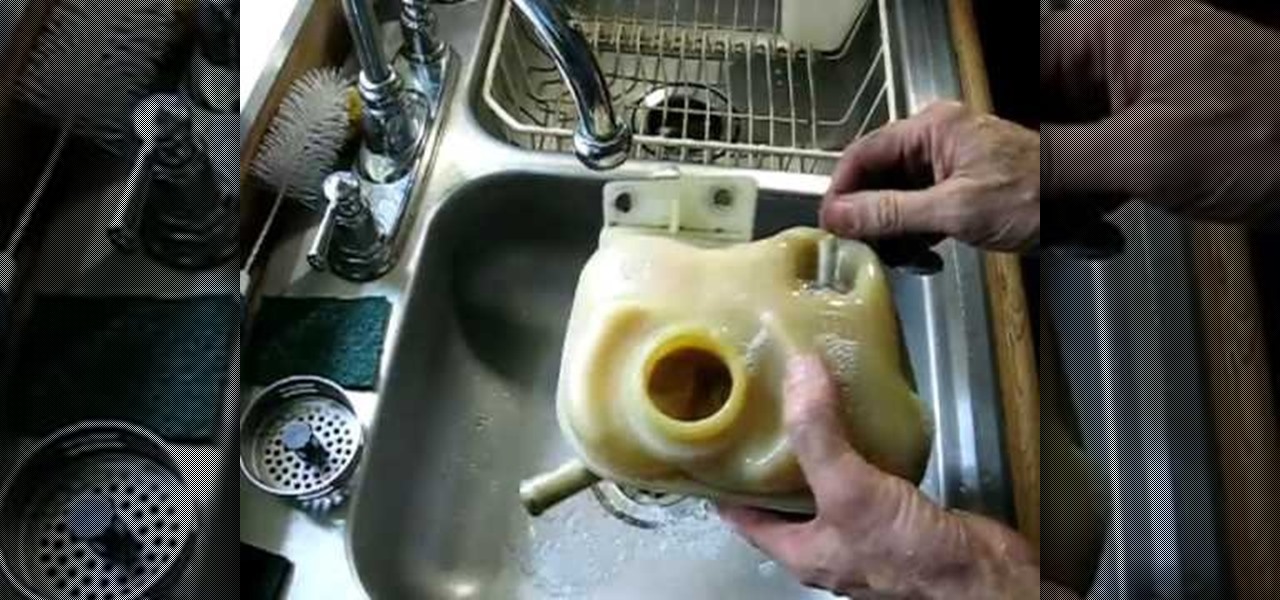
Where is the coolant level sensor and how to fix or replace it on a Mercury Sable?? The coolant sensor is located in the coolant reservoir bottle. It cannot be serviced, you can only replace the reservoir. However, if just the sensor is bad, you can also try unplugging the sensor at the coolant reservoir bottle. Unscrew the two screws holding the reservoir bottle in place. With the bottle loose, tilt the bottle slightly toward you until you see wiring coming out of the reservoir bottle, that ...

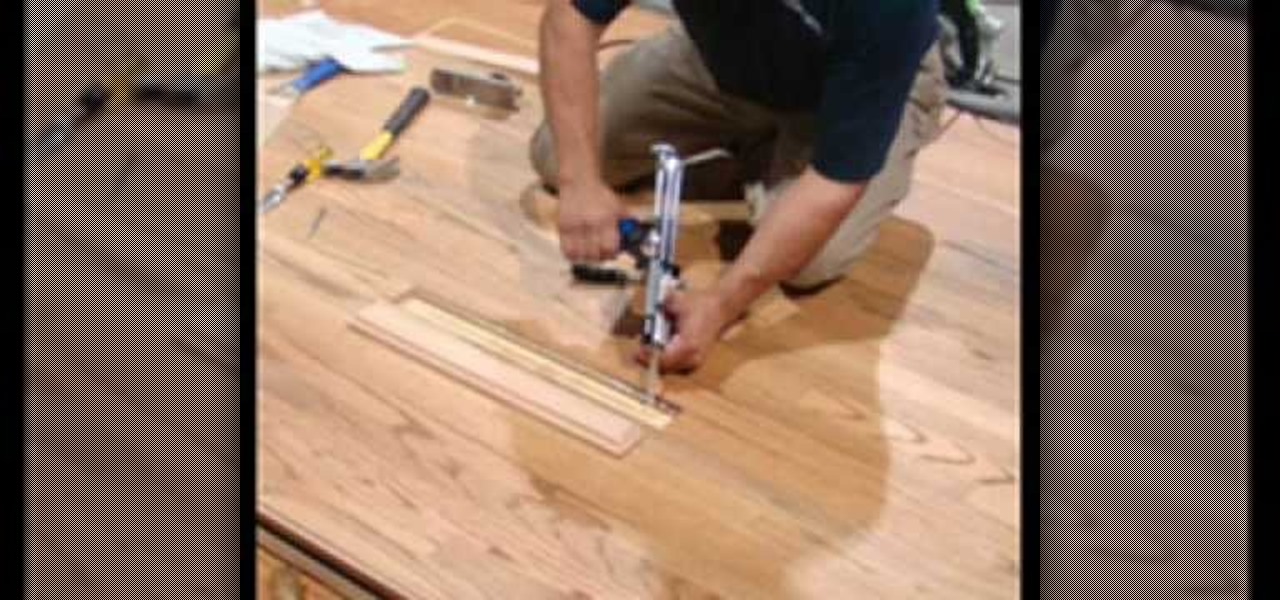
Need to replace or repair a single hardwood floor board? Don't want to pay people hundreds of dollars to do it? Well, if you have a circular saw and a straightedge. Then you can do-it-yourself by following this video. First of all, remove the old board by cutting a section of it using the saw and prying it out with the straightedge. Then, get your new floor board, which should be retrofitted, then apply some adhesive and fit the board back into the spot where the old board was. Hammer the new...


