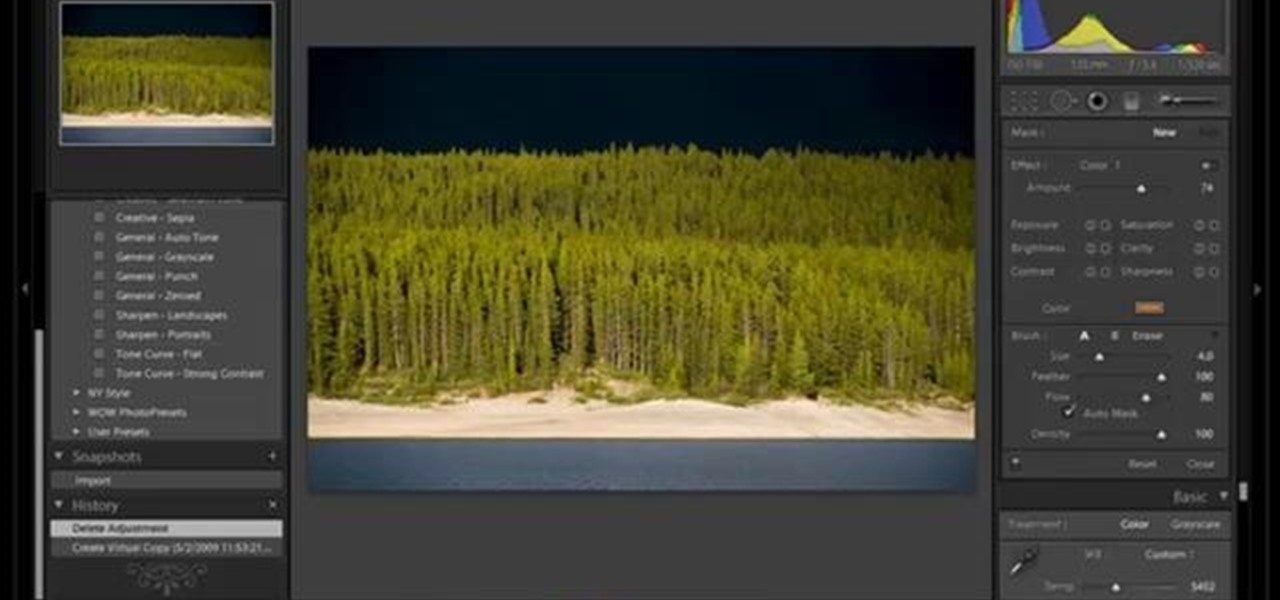
In this video tutorial Yanik Chauvin of Yanik's Photo School shares a discovery he made while using the software Lightroom. This quite simple technique of adding hints of color to black and white photos can make them striking. By adding a color screen on top of your photo, using either the adjustment brush or a gradient filter, you can create a lovely conversation piece for your home that will confound your visitors. "Is this photo black and white or sepia or ... what?" He also shows a trick ...
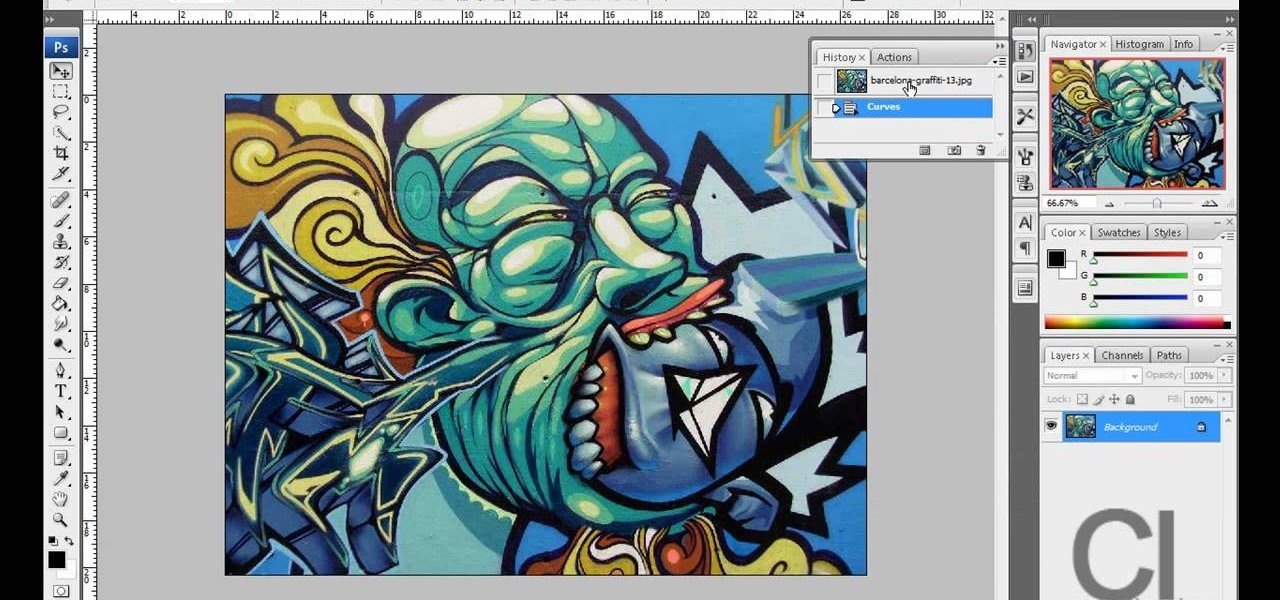
This video demonstrates a way to use the lomo effect on pictures in Photoshop. The effect makes colors stand out more, thus making the picture stand out more. The first step in adding the lomo effect is to change the color curve levels of the picture by going to Image > Adjustment > Curves in Photoshop. They should be changed very slightly, from a straight line to a slight "s" shape curve. After this, the gradient map should be changed to a black to white gradient. Finally, the mode of the ne...
In the tutorial, GeorgiAnastaso shows your how to change color of an object in Photoshop. First of all open the picture which you want to change. Then make a new layer and go to make adjustment layer option. There will be three options. Hue, saturation and lightness. If you change the hue amount it will change the color of your object. Saturation will maintain the color amount. After finishing this tutorial you will be enable to change any color in photoshop.

Have a Rubik's Magic Puzzle that's been failing you? It needs a little adjustment, doesn't it? Well, this four-part video tutorial will show you how to fix it, by restringing the puzzle.
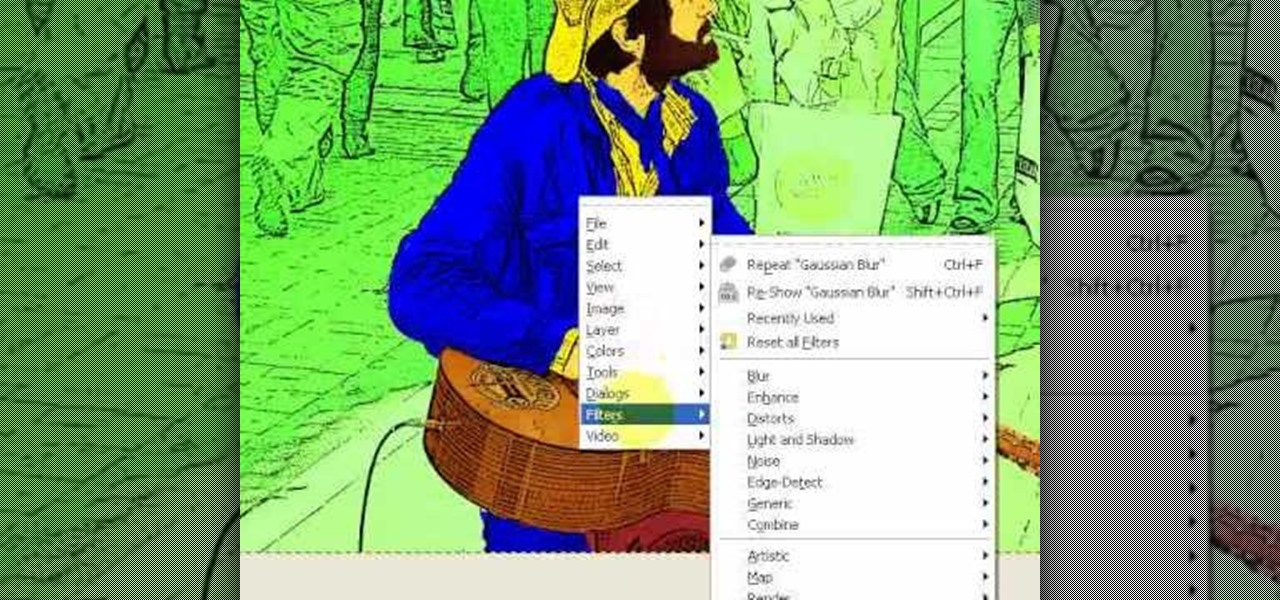
Learn how to produce Roy Lichenstein style Pop Art from your photographs using GIMP image editing software.

In this video tutorial, you'll learn how to increase your Windows performance by adjusting your virtual memory settings. This tweak applies to computers running Windows Vista or XP. If you are running a lot of applications, especially large resource hogs that eat huge amount of memory, your system may become unstable or even crash.

Open the picture you want to edit. Right-click on the main picture layer in the box and then select "Duplicate Layer". Then, in the same box, go to the drop-down menu that says normal, and change it to "Overlay". Then, select Filter>Other>High Pass. In the box that comes up, set the radius to 7.4 pixels. Next, go to Layer>New Adjustment Layer>Gradient Map. Then, when the box comes up, click OK. Then click on the main gradient in the Gradient Map. In the new box, there is a bar that goes from ...

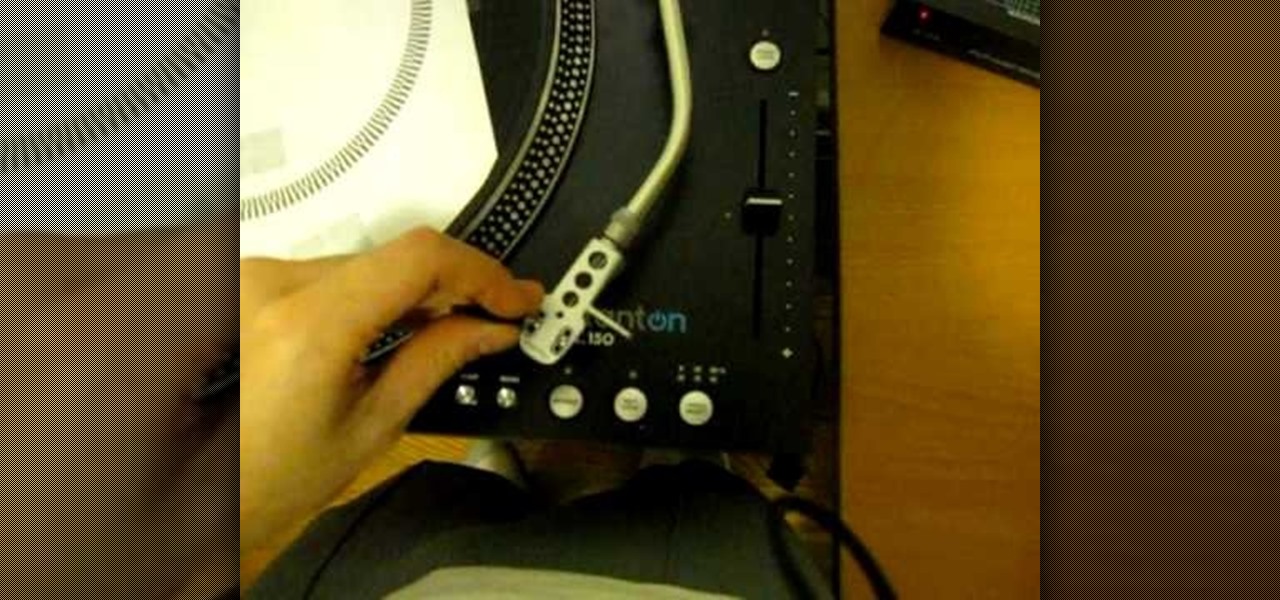
Paul demonstrates to viewers how to properly set up a turntable. Each turntable has the same basic parts, so this tutorial should work for most users. There are several components: the platter is the part that spins and it has a slip mat on top. The tone arm is to the right and it has a head shell and stylus cartridge (needle) mounted on the end. The queueing lever is at the base of the tone arm and it raises and lowers the tone arm base. There is also a VTA (Vertical Tracking Angle) adjustme...

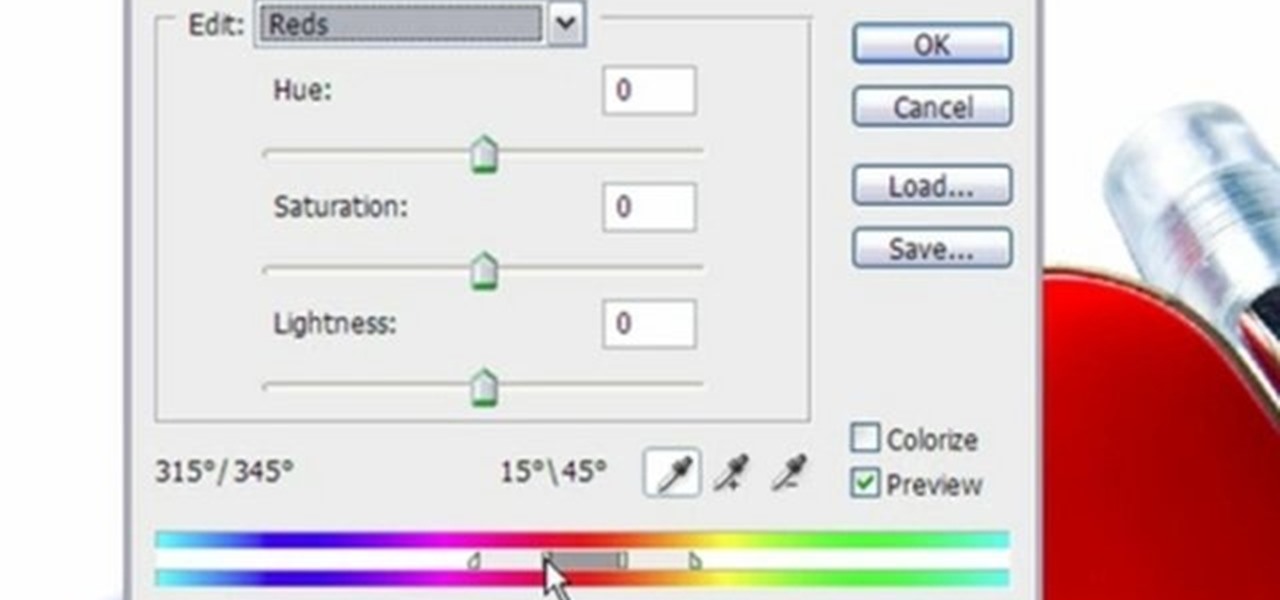
This video shows three ways to change the color of an object in Photoshop. The first method is of hue and saturation. Go to 'Image' & 'Adjustments' and choose 'Hue/Saturation' or press Ctrl+U as shortcut. Go to Edit and choose the color you want to change. As you select the color, a grey bar appears in between the rainbow bars at the bottom representing the color you want to change and the feathering which it will cause. You can change it by sliding it outwards. Slide the 'Hue' slider to chan...

This video describes how to put eyeshadow on someone in Photoshop CS3 and CS4. 1.First open the Photoshop CS3 or CS4 and open your image in which you want to put eyeshadow.

StephanieValentin teaches you how to draw a realistic ear in Adobe Photoshop. You create a new document of 1300x1900 pixels and then create 9 layers named L00, L01 and so on until L08. The first layer should be black. On Layer 01 use a soft round brush with a white color, 100 pixels width and 50% opacity. This is the base sketch of the ear. You then apply a gaussian blur of 30 pixels. For Layer 02 you use a soft round brush with a white color, 50 pixels width and 50% opacity. Apply a gaussian...

In this Photoshop tutorial the instructor shows how to do retouching to produce undead skin makeup. This video shows how to make a convincing, undead like, vampire skin make up. First open a image of the face which you want to make it look like undead face. Go to the channels panel and make a selection of just the face with the skin and exclude the rest of the head which includes the hair and other stuff. Now open a new adjustment layer and open the color balance tool. Fist select the mid ton...

Team Member, Nacelle takes us through the process, showing us how to put a beautiful water feature for your garden which could be the reason for the envy of your friends.

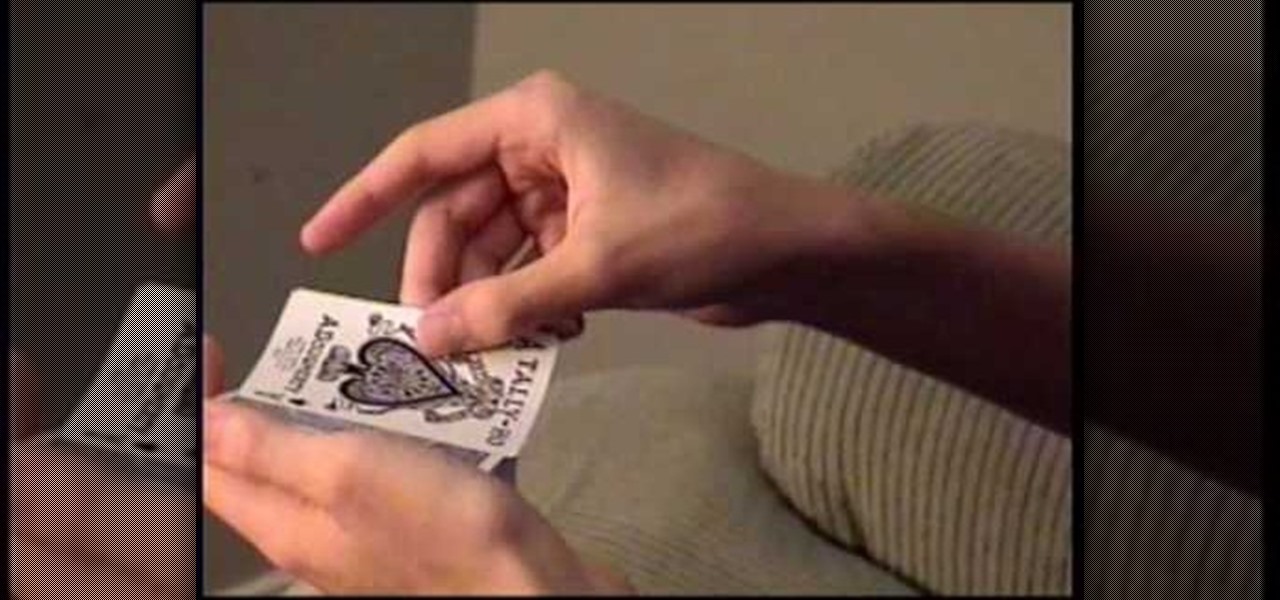
Watch this instructional magic card trick tutorial to learn how to perform the binary routine. This is an original series of user-created moves. There are 9 phases of the Binary Routine, 6 of which are false, and the other 3 are closers that involve a color card change at the end. This video provides instruction on 2 false cuts and 1 closer, along with some possible variations. Just keep in mind, there is room for adjustment with these phases. If you find a better way to do a certain move, th...

This video gives another iteration of a digital makeover, using Mama's Powder w/sharpen action. This series will highlight some advanced masking techniques; rubilith and quick mask modes, and adjust makeup colors using Levels Adjustments rather than Curves. Hopefully this will broaden your understanding of mixing color using a different type of adjustment, in Photoshop or Photoshop Elements.

Poor alignment of cabinet doors will cause a kitchen to look run-down and may be embarrassing to the homeowner. Luckily, with a single screw driver and a little ambition, the door alignment can look brand new.

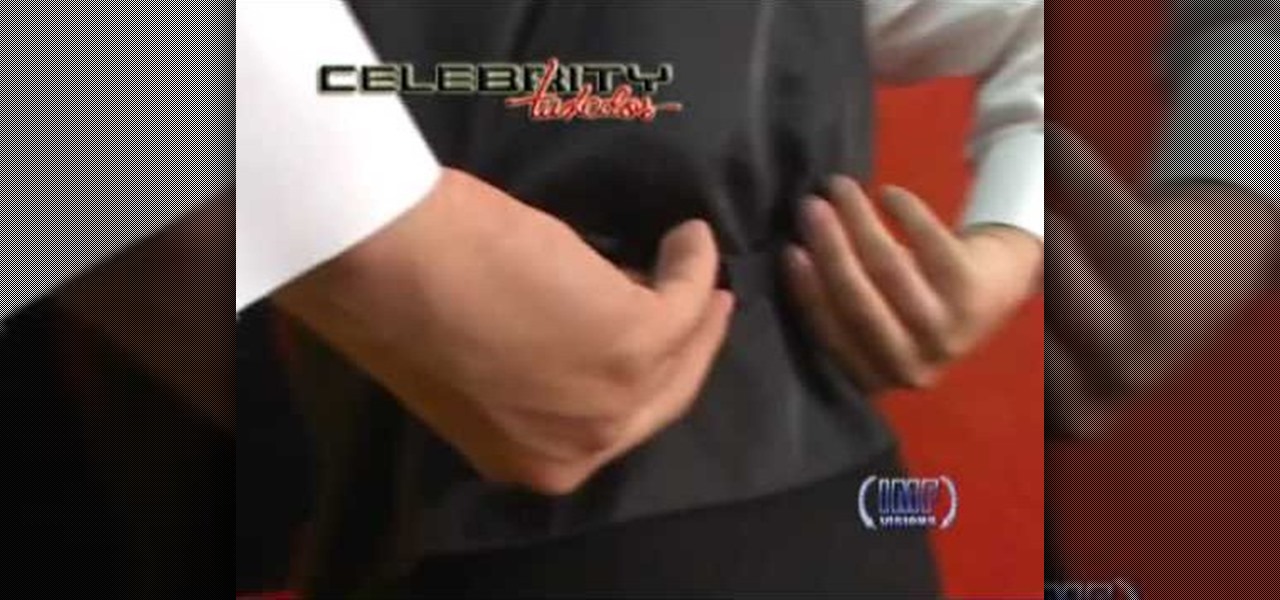
This video shows everything about how to put on a rented tuxedo. When you get your tux, the shoes will be hanging in a bag on the outside of the bag. Inside the bag will be the coat, shirt, vest or cummerbund, tie, pants and studs and links. Socks will be in the inside coat pocket, and the pocket square should be on the outside pocket of the coat. Remove the studs and links from the bag. Leave the collar button alone and start with the next button hole. Put the studs through the holea. Insert...

Check out this woodworking video from Eagle Lake Woodworking. Learn how to build a table saw crosscut and miter sled by watching this five-part series.

CS3 has a few ways to invert colors or drop the saturation of parts of an image, including selection tools, vector masks, and adjustment layers. Learn how to manage and desaturare colors in this free Photoshop tutorial video.

Our gardening expert will explain how to set up your perfect perennial plant business. Learn which plants go together, how to position the plants for just the right amount of sun, and how to determine if your adjustment has been successful. Are the flowers, shrubs and grasses happy after all of the work you have put in to meet their needs? Once you have mastered the basic care and maintenance of your garden, then you can concentrate on working toward exactly the look you want. Martha Cycz dis...

With Adobe Photoshop on your computer, it's super easy to change or adjust the skin tone of somebody in a digital photo. The process uses some basic selection and color adjustment tools, and it's a fun way to make a friend's face nauseously green or lessen the effects of overly strong, sometimes even orange, makeup.

Apple's iOS 13 has been available for beta testing since June, and the stable release pushed out to everyone on Thursday, Sept. 19. To help you make the most out of iOS 13 for iPhone, we've rounded up everything you'll want to know, whether a colossal feature, small settings change, interface update, or hidden improvement.

Smartphone cameras are so good nowadays that there's almost no reason to own a point and shoot. Once the megapixel spec race was finally settled (hint: more isn't always better), manufacturers started focusing on the quality of their camera sensors, which has led to a huge jump in color accuracy, dynamic range, and image clarity.

Editing photos can be tedious, especially if you are using a similar theme for all of your photos. It takes time to select every tool, play with the bars, and find an adjustment that you're happy with. Luckily, there's a faster way. Adobe Lightroom for Android and iPhone allows you to save your favorite editing presets so you don't have to change every photo every time.

Adobe Premiere Clip gives mobile video editors the tools they need to make some great looking projects from their iPhone or Android device. Editors need ways to organize and trim clips, edit the look of those clips, add music, and more. For a smartphone app, Adobe Premiere Clip has these features in spades.

Your phone's volume panel is one part of the user interface that usually goes unnoticed to themers and developers. With themes capable of changing the look and feel of the fingerprint scanner, keyboard, and other system apps, this central aspect of the UI seems to get lost in the shuffle.

This instructional cinematography video provides troubleshooting alternatives to adjusting the focus gear on a Redrock microFollowFocus should it become too loose. There are several adjustment capabilities built into the Redrock microFollowFocus and can be tightened by watching this video. This instructional video is interesting for cinematography aficionados.

In this home repair video Bob Schmidt shows you how to make a simple adjustment to an interior door that will fall open or closed on its own.

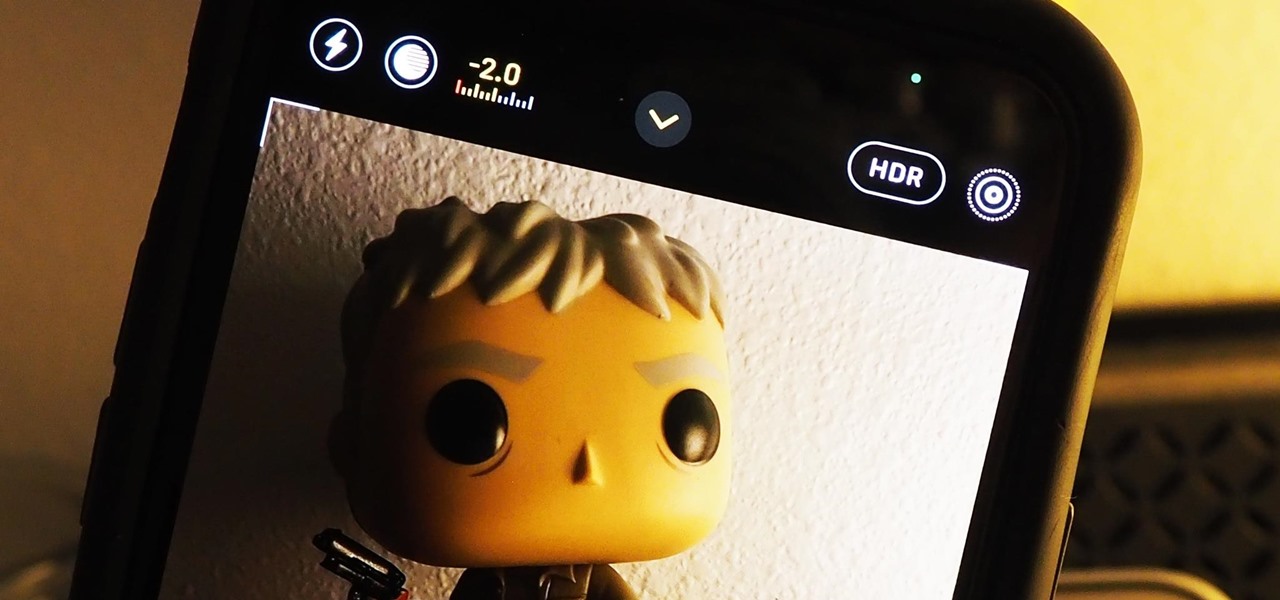
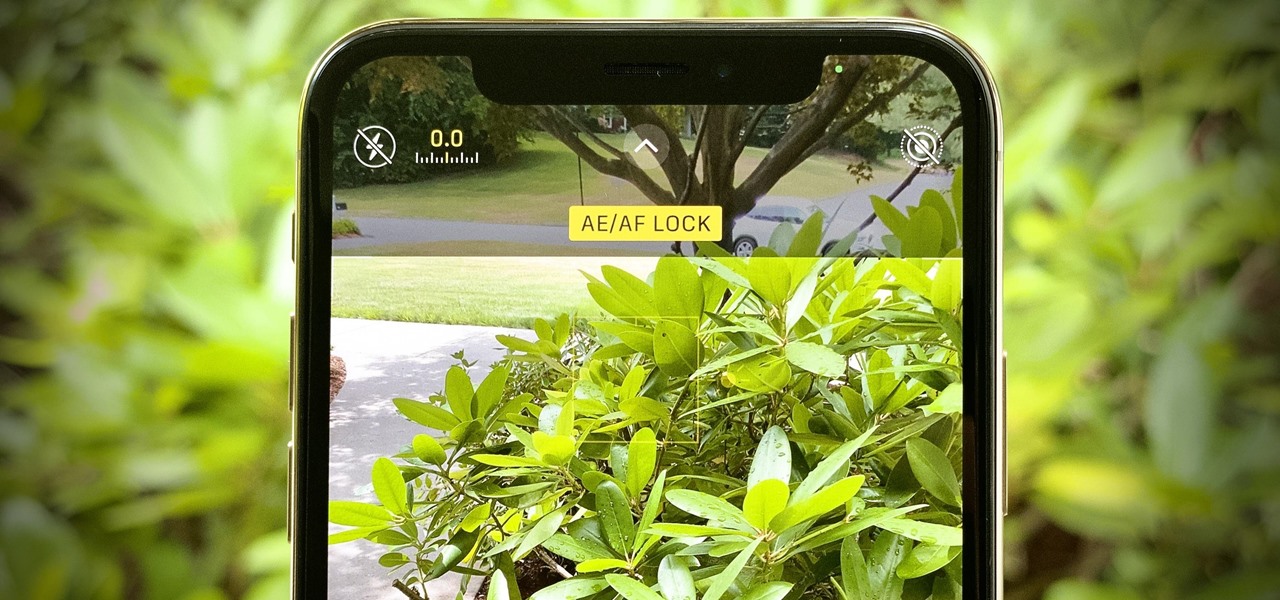
Your ability to control exposure in the Camera app is much better in iOS 14. Instead of setting the exposure for a single shot, you can also lock an exposure compensation value for an entire session while you take photos and videos. A session ends as soon as you exit the app, but you can also remind your iPhone to use your last used ECV the next time you open Camera.

While iPhone cameras these days are downright impressive, the same can't be said for the Camera app. In true Apple form, Camera is as simple as possible, forcing you to go third-party for pro-level features. With iOS 14, however, Apple adds a little extra professionalism, allowing you to lock focus and exposure separately.

Android has separate volume levels for various system sounds like incoming calls, notifications, alarms, and media. This means that when you want to adjust volume levels for just one of these categories, you usually have to press the physical volume rocker, tap a button to expand the volume menu, find the category that you want to adjust, then finally raise or lower the volume.

In this tutorial, you will learn how to make advanced hair selections using the alpha channels. And how to blend two different images together, using advance masking and the adjustment layers.

Video: . Valve Clearance Adjustment Tutorial Toyota Hilux, Surf 22re.

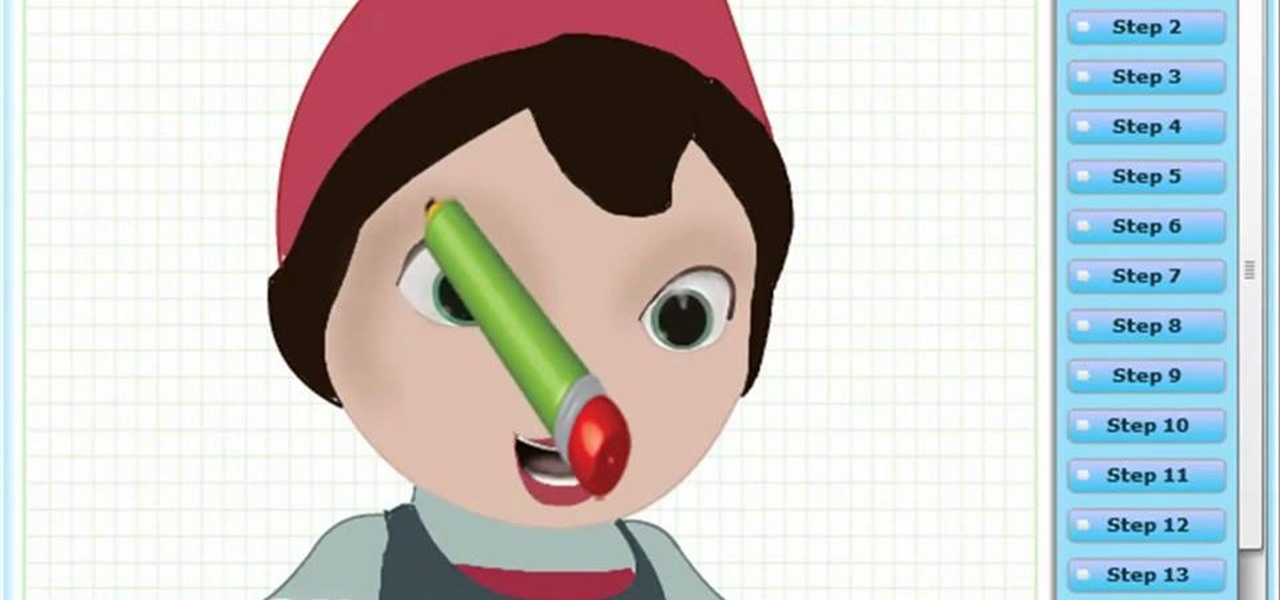
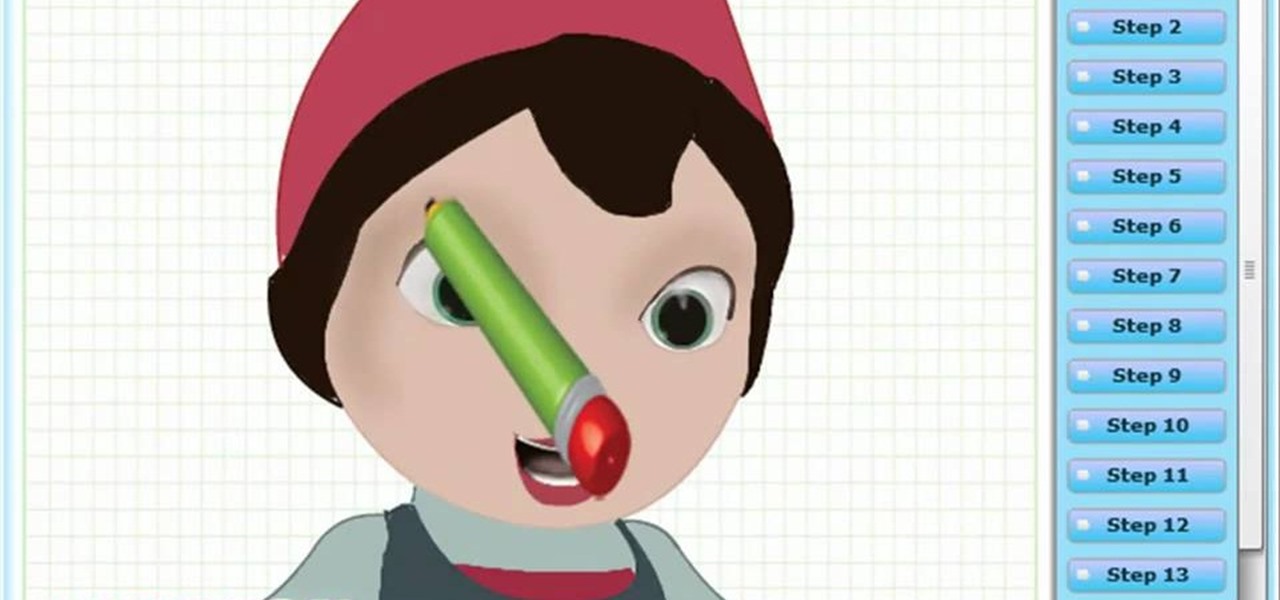
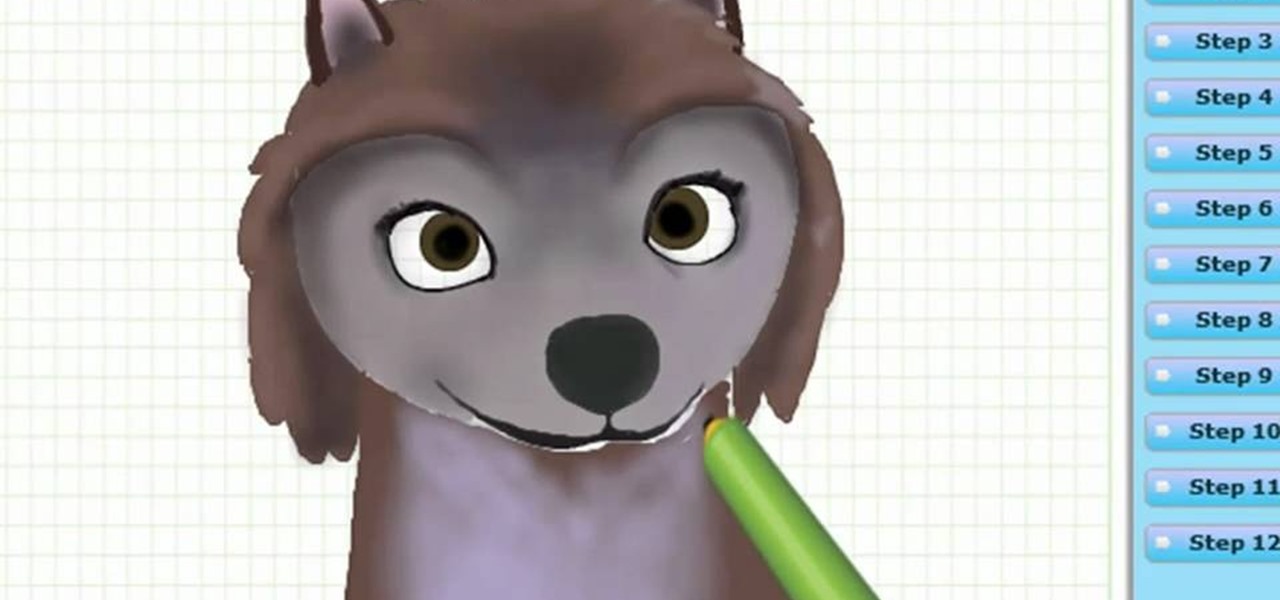
Learn How to draw Juliet from the film Gnomeo & Juliet with the best drawing tutorial online. For the original tutorial with speed adjustment and step by step instructions please visit: How to draw

Learn how to draw yuki nagato with the best drawing tutorial online. For the original tutorial with speed adjustment and step by step instructions please visit: how to draw.

Learn how to draw yuki nagato with the best drawing tutorial online. For the original tutorial with speed adjustment and step by step instructions please visit: how to draw.

Learn How to draw Juliet with the best drawing tutorial online. For the original tutorial with speed adjustment and step by step instructions please visit how to draw.

Learn how to draw yuki nagato with the best drawing tutorial online. For the original tutorial with speed adjustment and step by step unstructions please visit how to draw

Learn How to draw Kate with the best drawing tutorial online. For the original tutorial with speed adjustment and step by step unstructions please visit: how to draw.

Learn How to draw Juliet with the best drawing tutorial online. For the original tutorial with speed adjustment and step by step unstructions please visit how to draw


