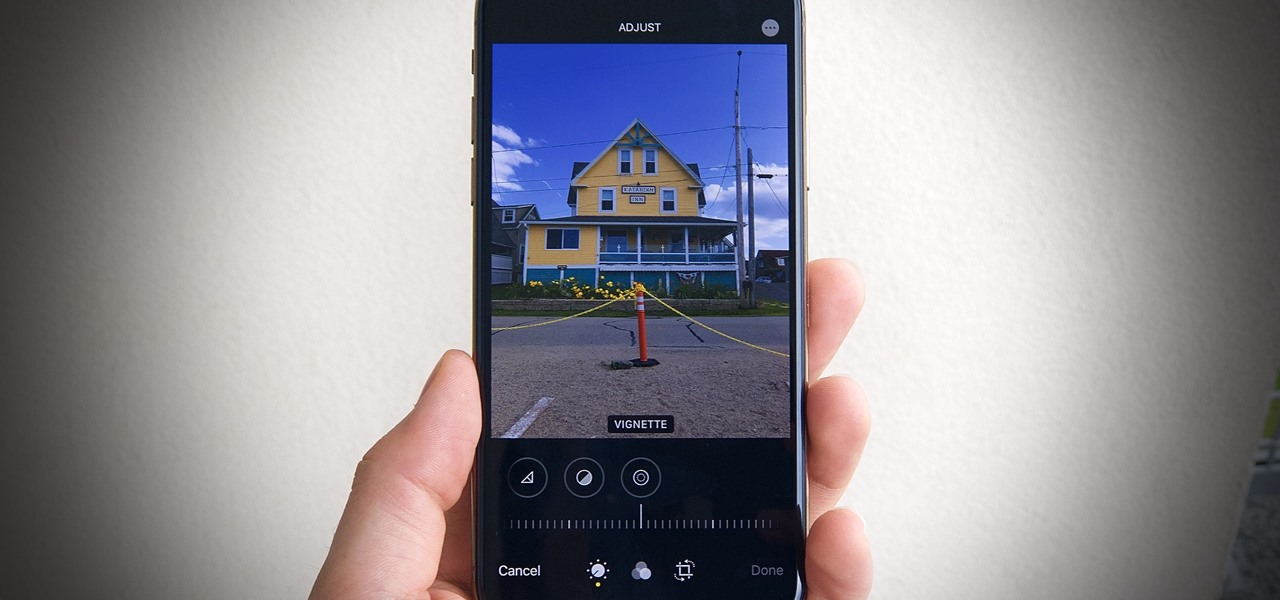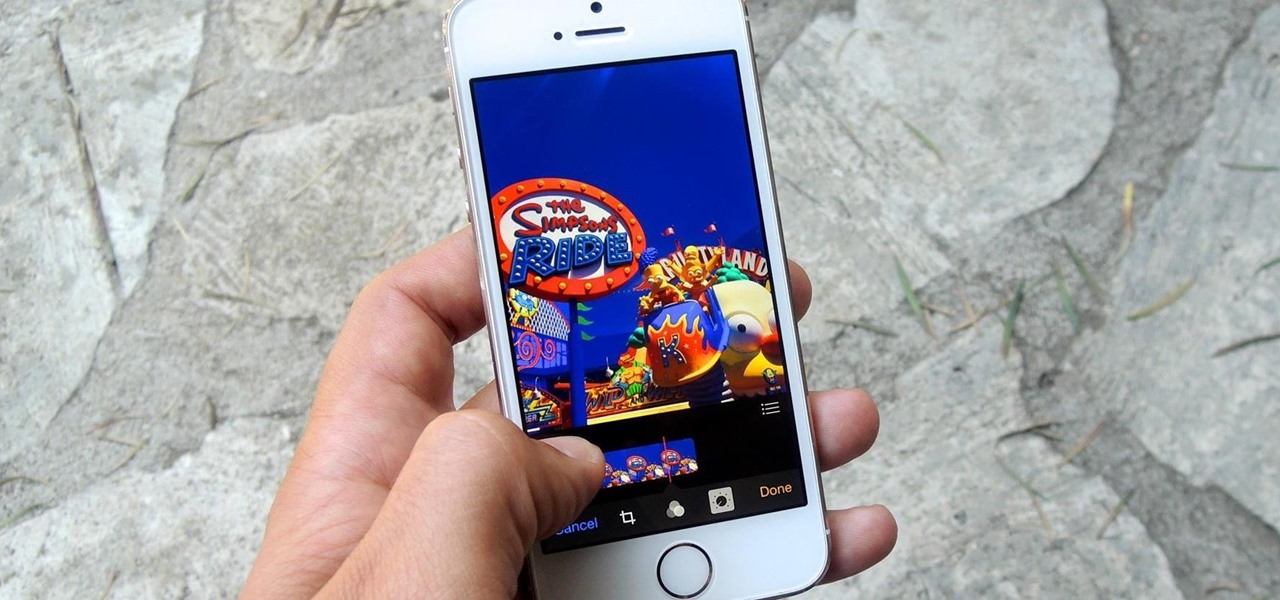
The new Camera app in iOS 8 has a few really great features, but some of the best photo-centric features were packed into the iPhone's photo editing tools. These new editing features can create even more dynamic images than before, no Instagram required.
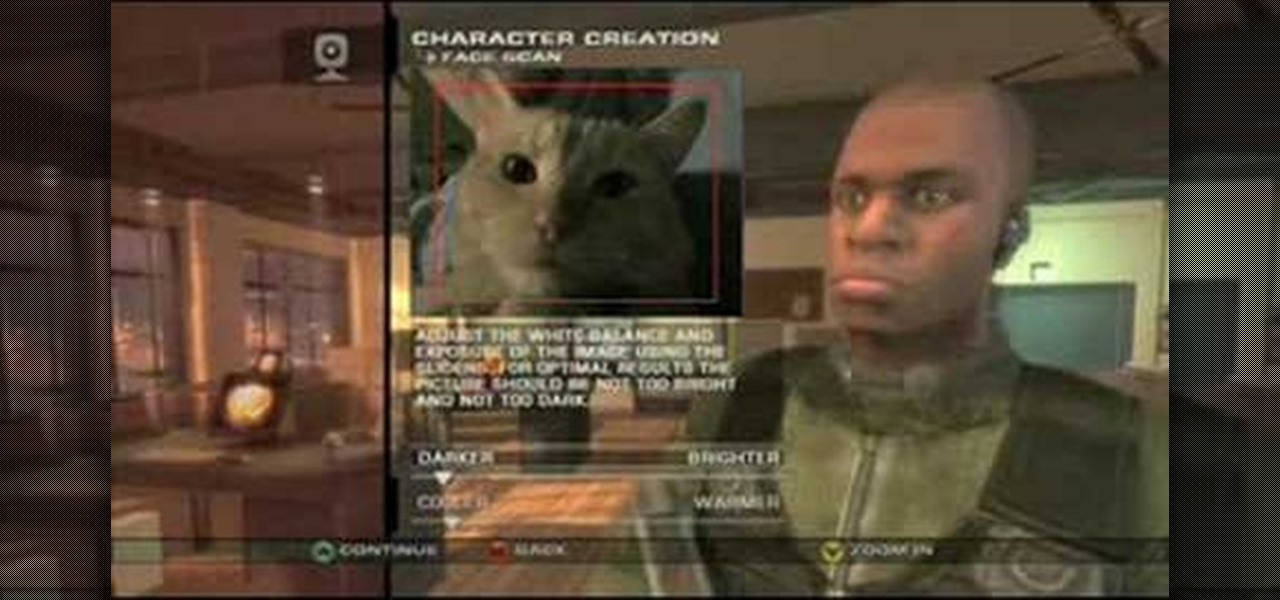
This process requires XBox2 live with vision camera. We are going to create a character. First, you go to multiplayer mode, options and then choose character creation. If you haven't created a character, you will start from scratch here. If you have created a character previously, you will make some adjustments to the character for this presentation. Now, go to player information and then service record. As the program already has a character, we are going to change the appearance of the char...
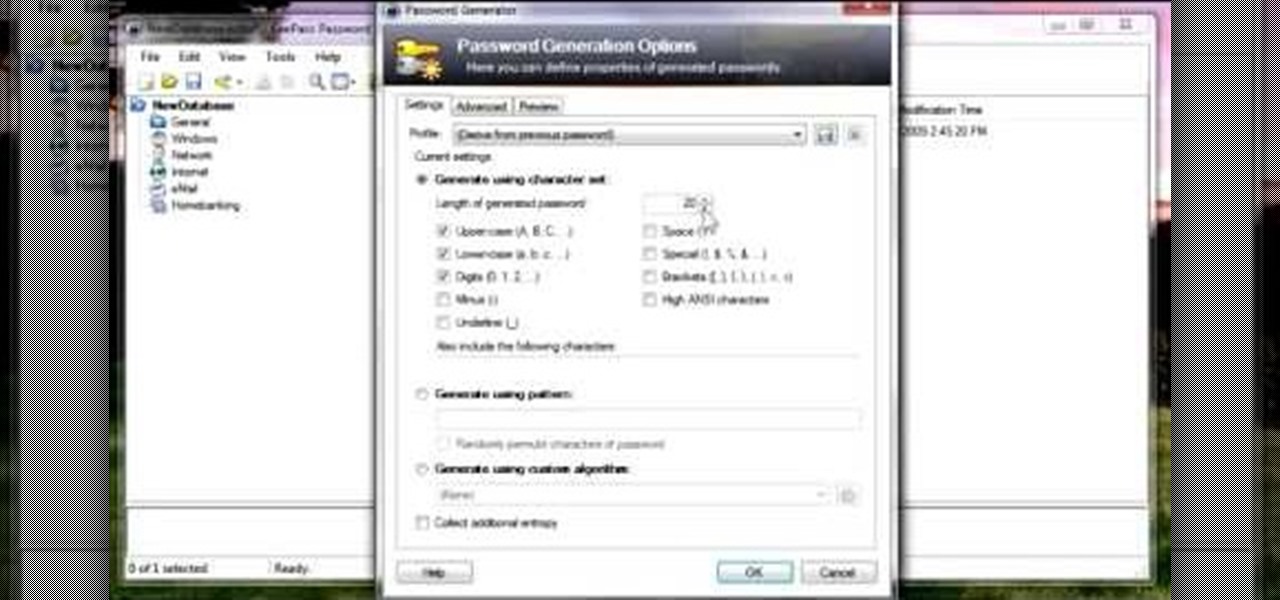
In this video, we learn how to use KeePass password generator. First, open the entry to edit the existing password and type in your username and e-mail address. Type in notes if you need it, then click on the bottom key icon. This will generate a password for you when you click on it and cover it up. If you click it once more, it will uncover what the password is. You can decide what kind of password you want and make one specific for the account you're using. When finished, you will have a n...

Creating a game using Flash CS4 and Actionscript 3 is a great way to start the gamemaking career you've always dreamed of. If you want a game company to hire you, it will really help if you have at least one simple, creative game in your portfolio. If you want help with this undertaking, this seven-part video series will teach you how to create a simple spaceship shooting game from start to finish. The first three videos cover physics topics like acceleration, friction, and velocity, the adju...
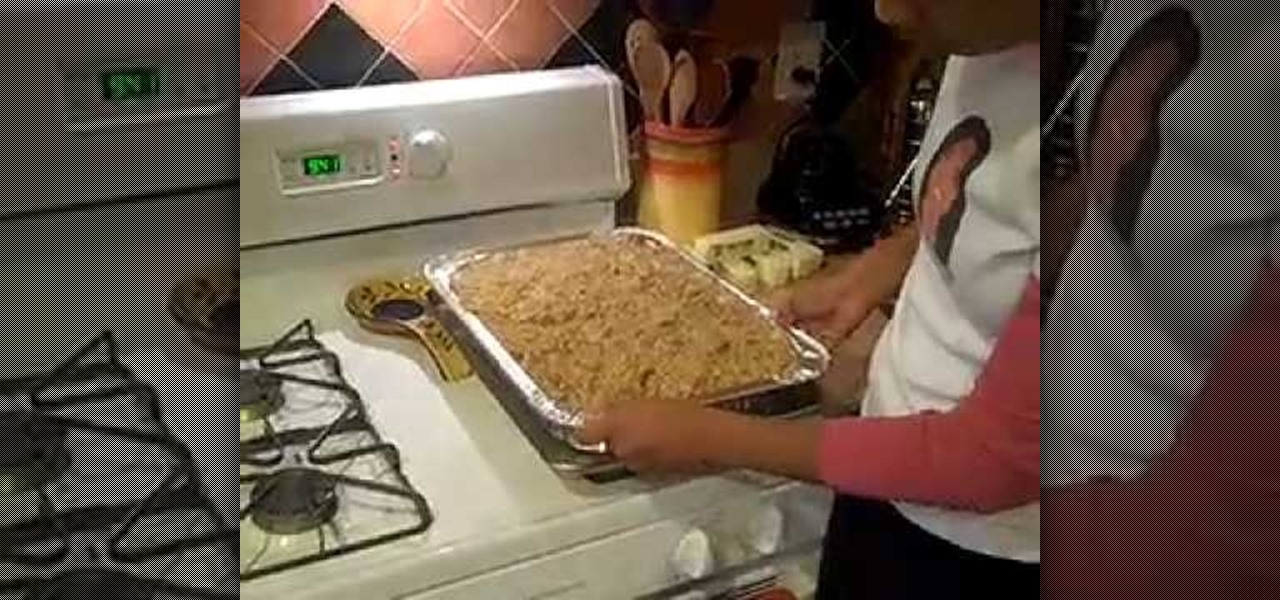
Creole In DC teaches viewers how to make Creole Style Cornbread Dressing! Mix shrimp, bell peppers, onions, celery and oysters chopped to a pot. You will also need 2 big pans of cornbread cooked, giblets and the giblet stock. Now, you need to mix all of these ingredients in the pot. When these are all mixed up you need to put this into a large pan in order to bake them in the oven. You'll want to cover this with parchment paper instead of foil so the pieces do not pull off. Then cover the par...
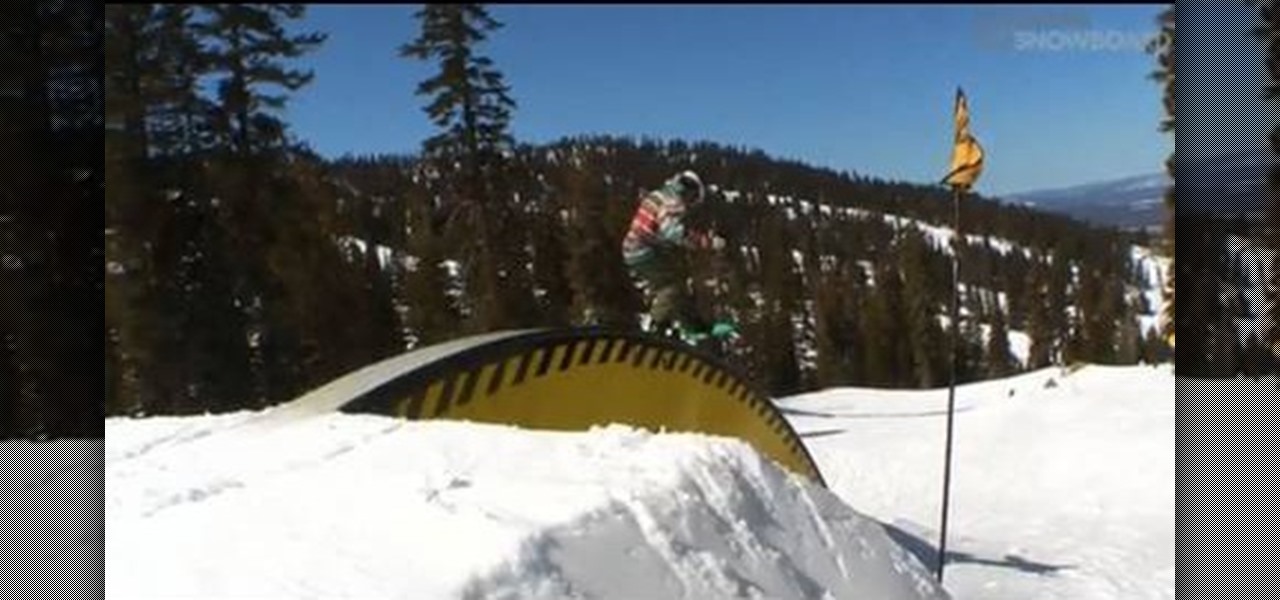
Sierra Snowboard describes how to pull off a board press on your snowboard. The most important aspects of the board press are using your legs to flex the board and setting up your body to balance over the press. Approach the press in an upright, balanced stance and move into the press. Flex down on the leg closest to the end of the board that you want to press and pull up your other leg. At the end of the press, give one last hard press of the leg and pop back into your centered stance. Alter...

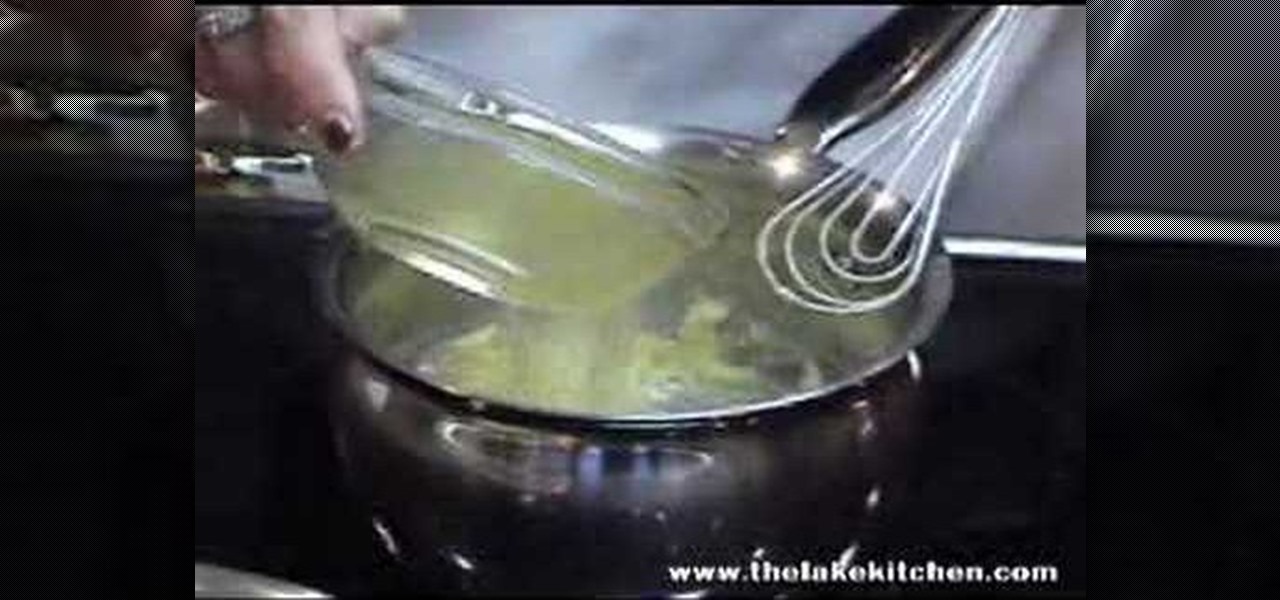
Jill Tutland teaches the secrets of making fast and easy gourmet Mac and cheese. First peel and nicely dice the shallot and start boiling a jar of pasta in water. Now cook the shallot with some butter in a pan, simultaneously melt some butter in a soup pot and some flour to it. Now add chicken stock to the soup pot, then add some cream, milk, cheese and mix everything. Add some salt and pepper and the shallots to it. Mix the soup with the pasta and transfer them to a baking dish. Finally add ...
The alluring beauty of Asian women is celebrated around the world. And they often look years younger than their true age. Ever wondered what the secret was to the gorgeous skin of Asian women? We’ve uncovered a few.
Pixel Perfect is the "perfect" show to help you with your Photoshop skills. Be amazed and learn as master digital artist Bert Monroy takes a stylus and a digital pad and treats it as Monet and Picasso do with oil and canvas. Learn the tips and tricks you need to whip those digital pictures into shape with Adobe Photoshop and Illustrator. In this episode, Ben shows you how to use color correction in Photoshop.
If Netflix's $9.99/month has deterred you from signing up for its streaming service, you're probably looking for cheaper alternatives to stream movies and TV shows, like Crackle (free with ads) or Hulu ($7.99/month with some ads). And now there's a new option for you when it comes to movies—Paramount Vault.
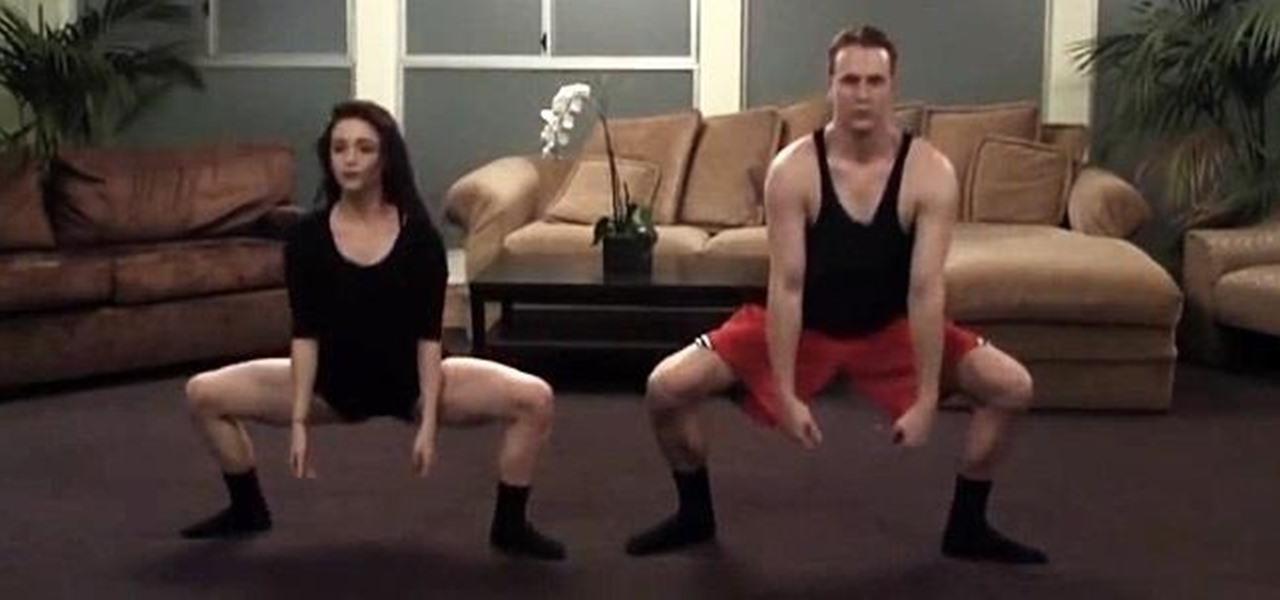
Contemporary dance moves are more technical and definitely more serious than your average club dance. You won't be seeing the Booty Dance in any contemporary dance classes, that's for sure.
Like in the original Black Ops, there are a bunch of funny and cool Easter eggs built into Call of Duty: Black Ops 2. Most have been discovered, like the Atari arcade invincibility on Nuketown 2025, but perhaps you didn't know about Thor's hammer?
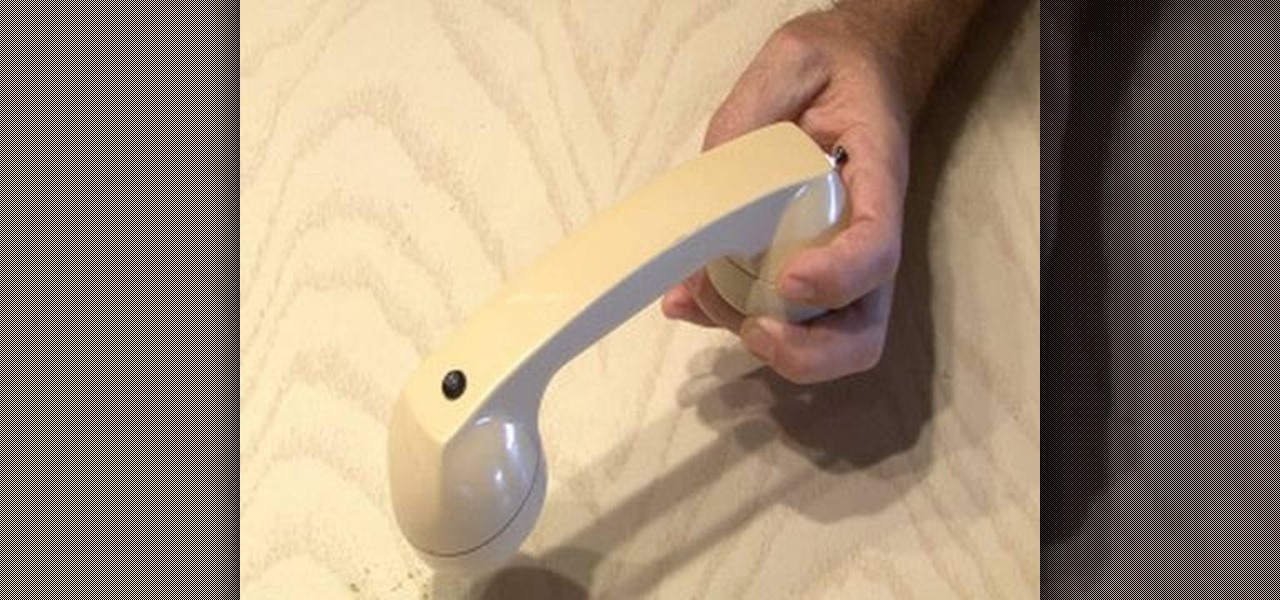
In order to make a retro wireless handset, you will need the following: vintage handset, a momentary switch, a resister, a Blue tooth headset, wires, a drill, and a blue LED and mount.
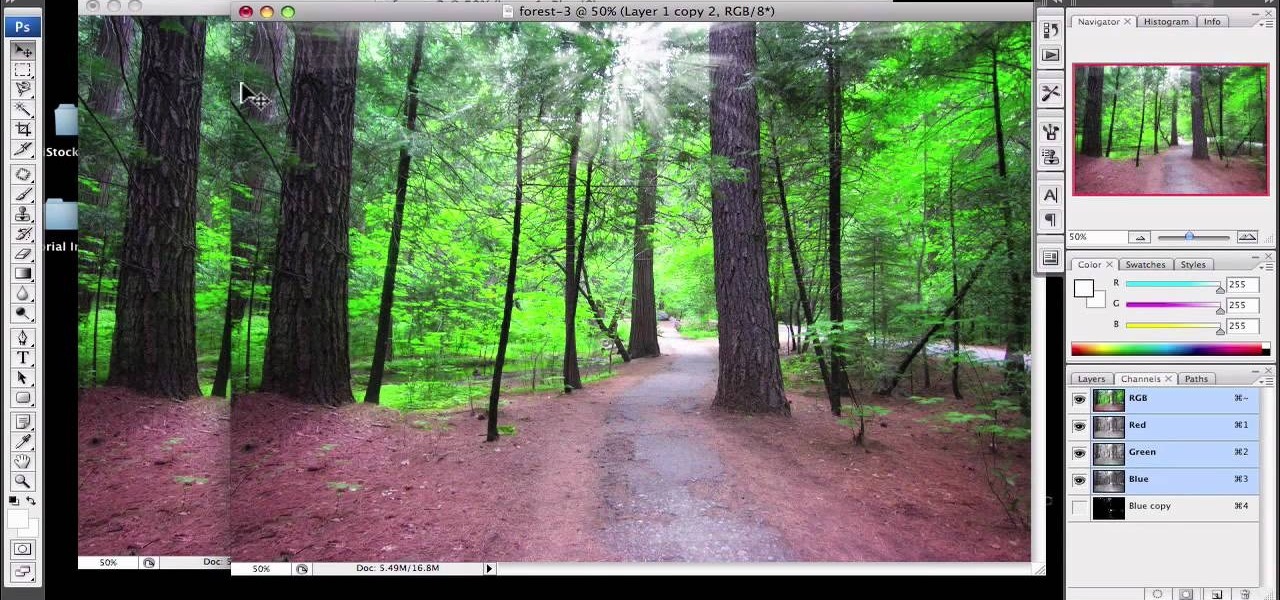
In this video, we learn how to add ray so flight through trees in Photoshop. First, open up Photoshop and open up your picture. Now, go to your channels and choose the one with the most contrast by looking at all of the options. Now, duplicate the layer and go to "image", "adjustments", and then "levels". Now, make the image a lot darker, looking at the image preview as you go. When finished, click "ok", then select this layer and press "control", then click". Go back to the regular image, th...
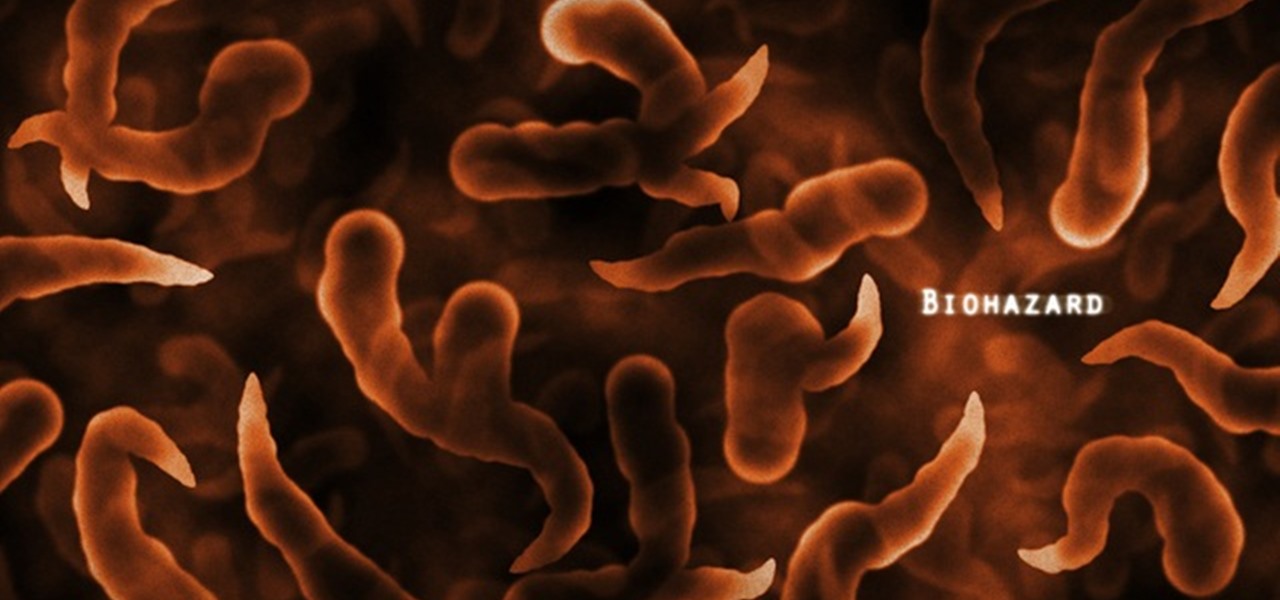
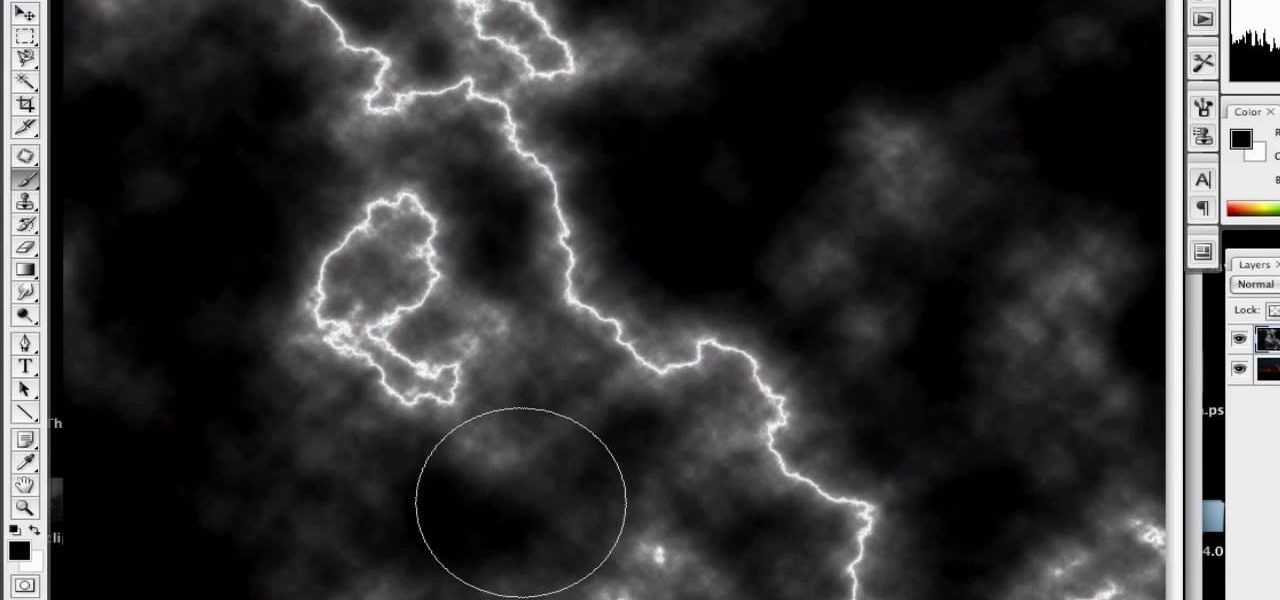
Learn how to make a "Resident Evil"-style Biohazard Virus with nothing except the brush tool and layer effects in Photoshop. Use adjustment layers to create extra grain and contrast to your made from scratch hi-res microscopic bacteria and learn more about those brush tool options you didn't know about.
This video shows us how to build a garden bench out of cinder blocks. Before you get started, you need to refer to the How To sheet #320 for all your materials and make sure you have everything you need.
In this Home & Garden video tutorial you will learn how to build an outdoor kitchen. You can build it yourself using the AB courtyard walls collection. You should have all tools as per How-to sheet #341 before you begin. Determine the location of your outdoor kitchen and with a measuring tape mark the location of the back wall. Mark the line with masking tape. Begin the 1st layer by placing a corner block in the corner. Then place a large piece of a split block next to it. For information on ...
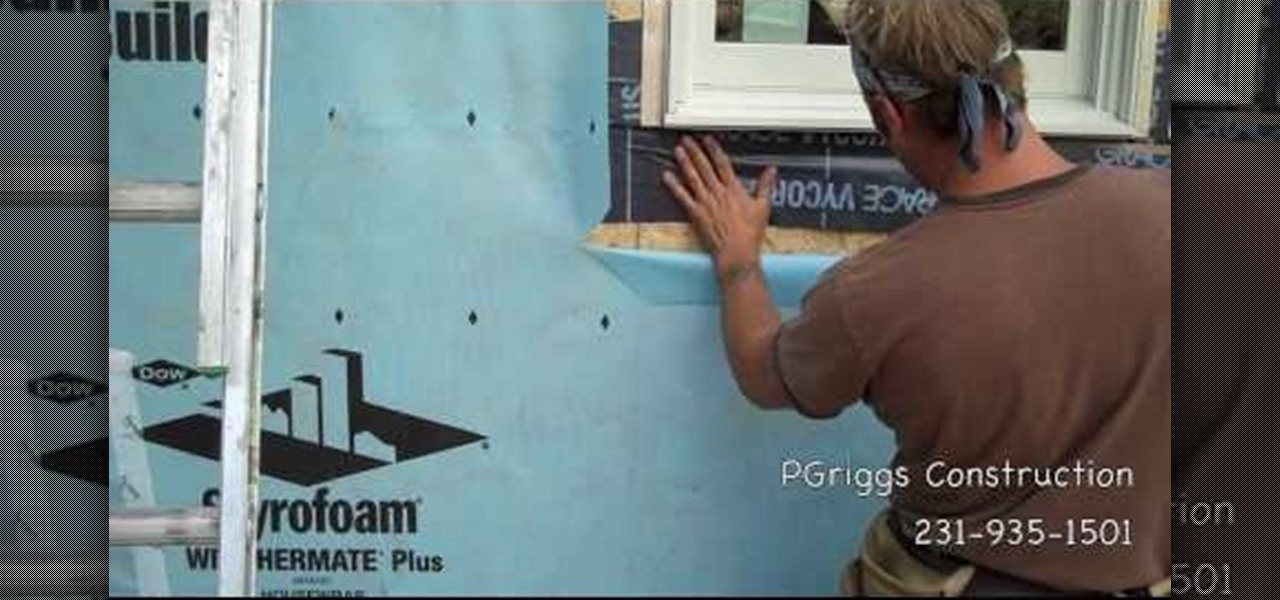
Steve with Eikenhout Educational Video Series and Paul Griggs with PGriggs Construction demonstrate how to install new windows during a new construction application. You will need a level, a utility knife, a caulk gun and a hammer to install the windows. First, cut the house wrap away from the area where the window will be placed. Next, properly flash the opening to protect it from water by starting at the window sill. Next, verify that the sill is level. Next, caulk around the window opening...
Ash Davies believes that it is important to understand how to properly use Photoshop, especially with the Obama "Hope" posters that have become increasingly popular. The first step is to cut out the image that you want to use for the poster. To do this, you have to use the polygon tool and trace around the object you wish. After done, select Layer via cut to separate. Creating a new layer and choose color fde5a9 for the background layer. After this, you can create the different blue and red l...
In this Photoshop tutorial the instructor shows how to automate white balance. Normally there is a good chance that a group of photos were taken in a particular environment and if there was a white balance defect it would have affected all those pictures. So you will need to automate white balance correction to apply it to all those pictures at the same time. Take a group of photos which has white balance so that you can apply the technique on them. To do this go to Window actions and create ...
Learn how you can remove the blue haze from photos in Photoshop with this tutorial! 1. Select any image and right click on the menu click on Levels. 2. Select each and every channel and set input levels for red, blue and green and see the preview of the image. Set as RGB in Channels. 3. Now, click on "Sample in image to set gray points" and click on the area of the image which need to be set gray click on ok button. 4. From the picture icons select eye dropper and make sure it is set as 5 by ...
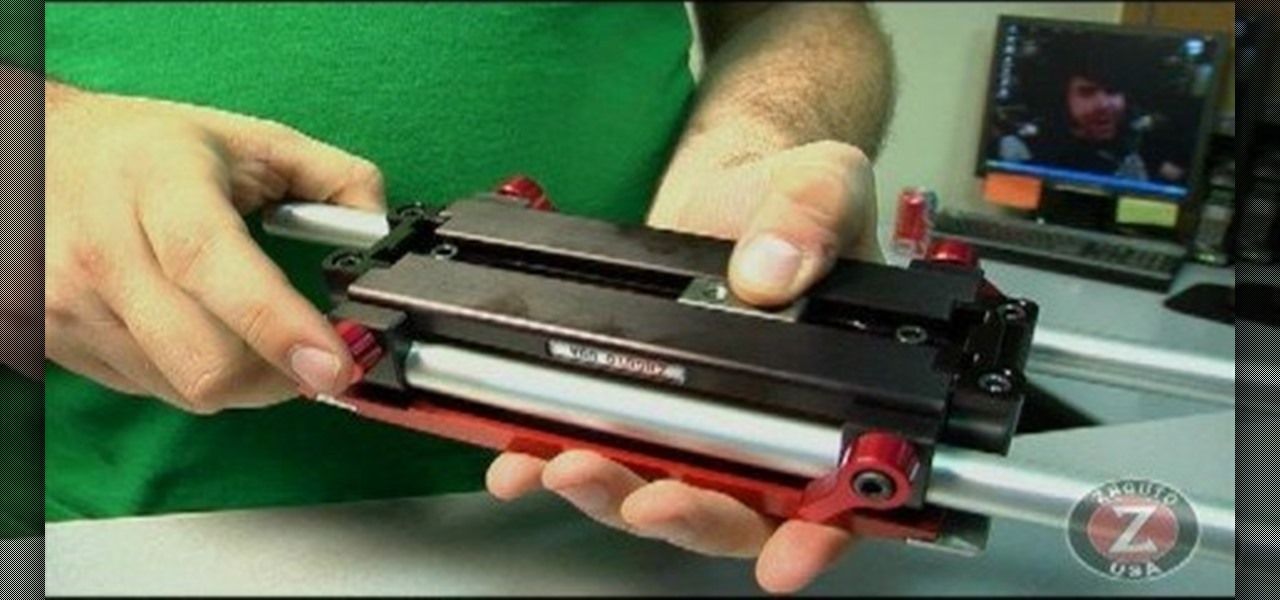
Zacuto Universal Baseplate V3, includes 12-inch rods and works with all cameras. Zacuto's Universal Baseplate allows mounting accessories off the front and the back of the rods. Our new version 3 Universal Baseplate is 22% lighter then Version 1 or 2. The baseplate measurements (excluding rods) are 7 x 4 x 1 ½
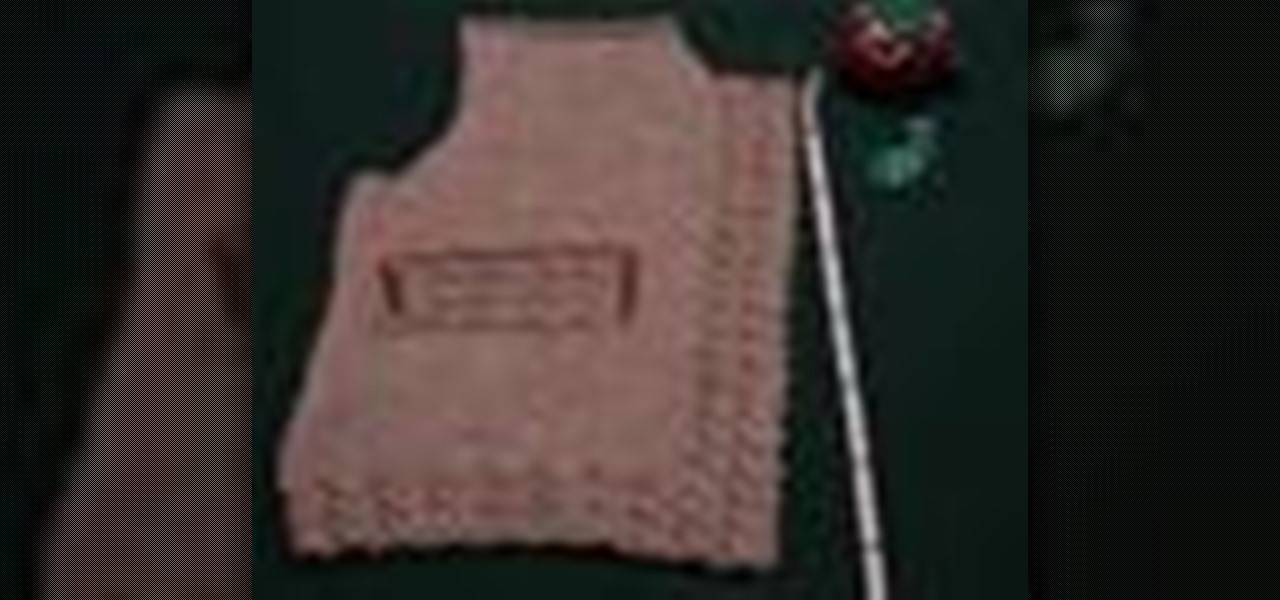
Watch this knitting instructional video on spacing and marking buttonholes for knitting projects. This knitting demonstration uses the swatch of a right sweater front to show an easy way to mark the placement of buttonholes on your knitted material. Lily Chin attributes the method to Carol Anderson of Cottage Creations. You wil be working the button bands from the right side, from the bottom up, so you'll be marking the placement of the bottom of each buttonhole. If this was a boy's or man's ...
This software tutorial shows you how you can blend three differently exposed images using Photomatix, and then demonstrate how to use some basic Photoshop techniques to touch-up the resulting image. [Note: the Flash overlay in this video doesn't sync completely with the audio; pausing for a second and then resuming it fixes the problem.]
While iOS 13 introduces over 200 new features for your iPhone, one of the biggest focuses this year is Photos and Camera. The update completely overhauls the Photos app, creating a more organized and natural way to interact with your pictures and videos. You'll also find a few new tricks in the Camera app. In all, Apple has added over 30 new features to your shooting, editing, and viewing experience.
Three variants of the Pixel 2 have appeared in Google's Android Open Source Project (AOSP) code, confirming various suspicions about which processor will power the Pixel 2.
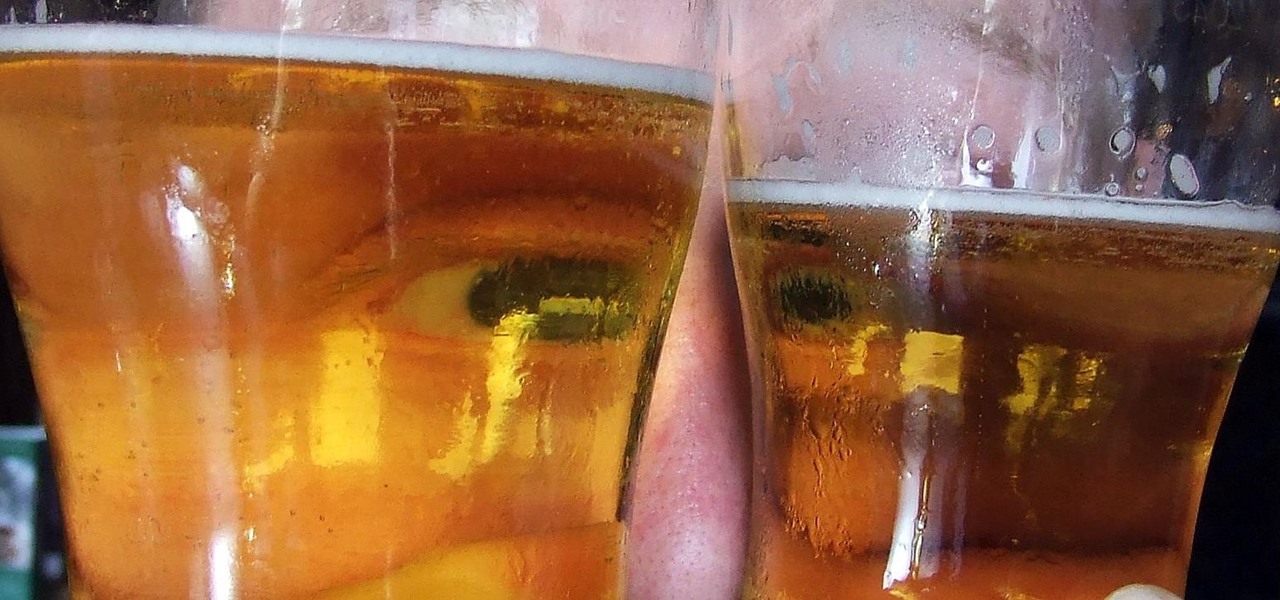
Did you know that your face shows others how much alcohol you drink? Whether you've never had a sip of booze with those around you or you're known as the party animal of the group, the genes that shape your appearance also show others just how much you enjoy liquor. Pinpointing the big drinker in any setting is easy to determine: you just need to make eye contact.
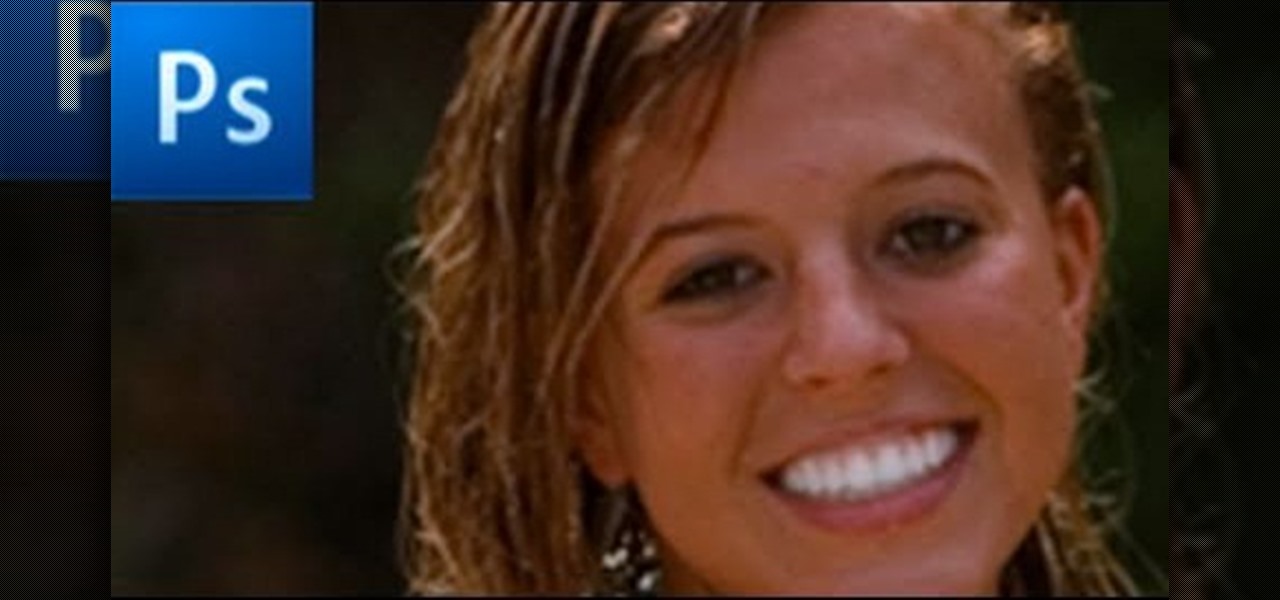
In this how to video, you will learn how to whiten teeth in Photoshop. First, open an image that you want to edit in Photoshop. Zoom in to the teeth as much as you can. Next, go to the brush tool and set the diameter to 21. Hold shift and q to put you into quick mask mode. Now paint over the teeth with your brush. Whatever is red will be your selection. Once you are done painting the teeth, select press shift and q again. Go to select and choose inverse. Next, go to image and adjustments and ...
First of all open an image which shows many different lights in a night background. Now make a new layer now set the color of background to black by first and the foreground color set to white. Click the background for the bottom of the left bar and then pressing 'd'’. Next select the 'gradient' tool. Make sure to select the style from the foreground to background. Select the 'mode' to 'normal' and ‘opacity’ to '100%'. Now drag the top right hand corner to the bottom of the left hand corner. ...
1)Open image, go to channel. Look for the channel that gives the most contrast by going through them one by one.
Tutvid shows you how to add flare and dramatic color to your raw camera images (usually the format of a DSLR). In a step-by-step guide with narration, Tutvid takes you through the process of using CameraRaw (used as an extension of Photoshop but never really brings it in photoshop) to add desired colors to your picture. Pull up your raw file in CameraRaw, and press "Command" or "Ctrl + R" to open up the editing panel. With an example, he shows you how to bring out lights in underexposed (dark...
Ever wonder what those bars and lines on the LCD screen on your digital camera do? In this great tutorial, Ethan Wilding demonstrates how to read one of the most useful features on your camera: the histogram.
This video tutorial will show you how to create a seamless background texture using Photoshop using any square or rectangular portion of a picture. The narrator in the video demonstrates step-by-step how to achieve a seamless tiling of a photo through Photoshop and dictates the options that you will need to select. You first have to select a portion of the picture that you want to use. Then the narrator explains that you have adjust the sides of the square portion you chose--labeled A, A' , B...
This how-to video is about how to darken an over exposed image in Photoshop.
Want to get a Weezer girl hairstyle look? *Use a FHI Curling Iron. *Measure your front bangs and roll them up to the thickness you want. *Set it into place with a pin, split your hair right at the top in half, behind your head at the crown area, open the top behind your ear. *Take the front part and curl it with your iron, take your time and curl the other sections back setting them down with bobby pins. Once this has been repeated on both sides, let your hair cool down. *Tie the back of your...
In this video tutorial, you'll learn how to increase your Windows performance by adjusting your virtual memory settings. This tweak applies to computers running Windows Vista or XP. If you are running a lot of applications, especially large resource hogs that eat huge amount of memory, your system may become unstable or even crash.
In this video tutorial, viewers learn how to change the color of lips in Adobe Photoshop. Begin by importing the image into the program. Select the quick mask tool and then select the brush tool. Now color the part that you want to retouch. This will allow the mask to create a selection. No click on the masking tool to create a selection. Then select the marquee tool. Right-click the selection and click on Select Inverse. Right-click the selection again and select Feather. Make it 1 pixel and...
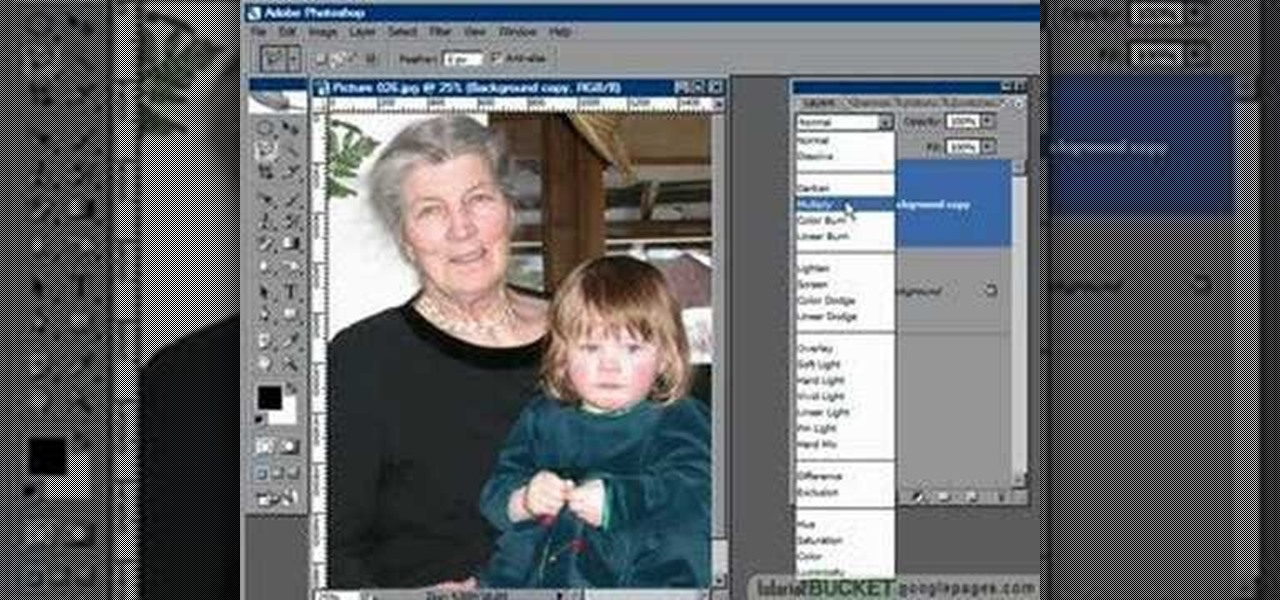
Open the picture you want to edit. Right-click on the main picture layer in the box and then select "Duplicate Layer". Then, in the same box, go to the drop-down menu that says normal, and change it to "Overlay". Then, select Filter>Other>High Pass. In the box that comes up, set the radius to 7.4 pixels. Next, go to Layer>New Adjustment Layer>Gradient Map. Then, when the box comes up, click OK. Then click on the main gradient in the Gradient Map. In the new box, there is a bar that goes from ...
This tutorial guides you through the process of making a mennorade star with origami. It begins with a square of paper that is folded in half and then folded from the corners to make guides on the paper. The paper is then cut in half to make two rectangles. Each rectangle is then folded and trimmed to form a 'Z' shape. It is necessary to complete these steps for ten more pieces of paper. The next step is to take to of the 'Z' shapes, perhaps of complimentary colours, and link them together so...
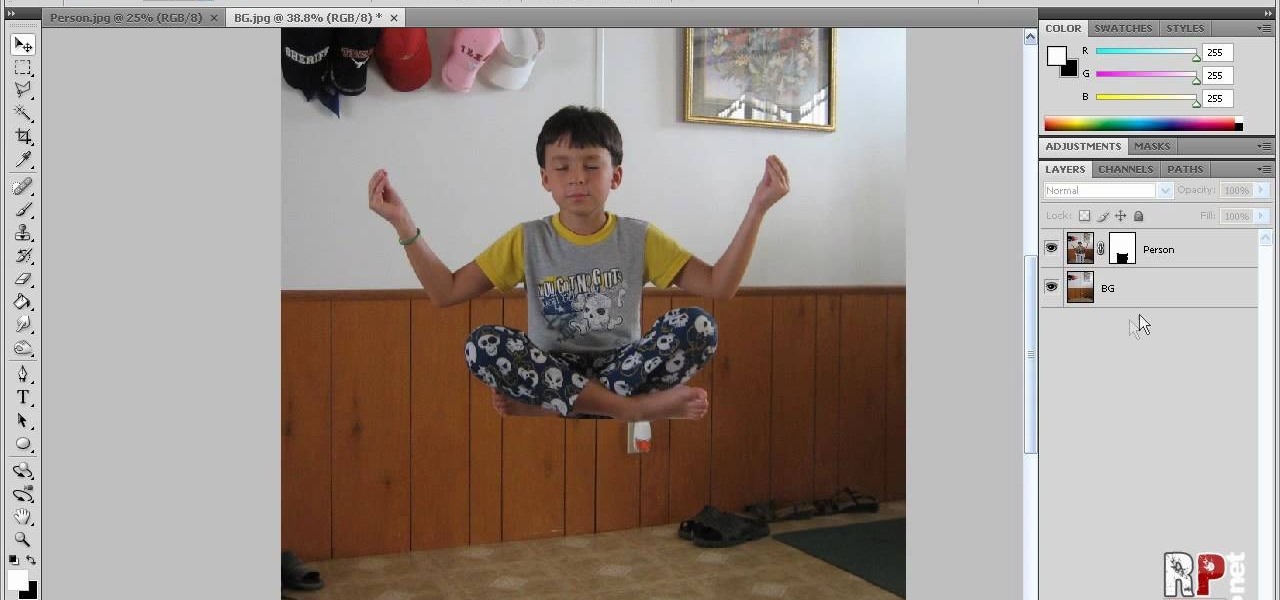
This video tells us the method to perform a simple levitation trick using Photoshop. Take the photo of the background and the person sitting on some object posing as if he or she is levitating. Select the 'Move Tool' and hold the 'Shift' key down. Drag the picture on to the background and release the shift key. Select the layer containing the person and go to the mask tool. Select the foreground color to black. Go to brush tool and set the 'Master Diameter' to 70 pixels and the 'Hardness' to ...