

How To: Create distressed text using Adobe Illustrator
How to create distressed-looking text with Adobe Illustrator.

How to create distressed-looking text with Adobe Illustrator.

Adobe Gamma is a screen calibration utility that used to install with Photoshop. Many say that it no longer comes with CS3, and that it is not compatible with Windows Vista. LIES!! Chad will show you the hidden truth in this movie.

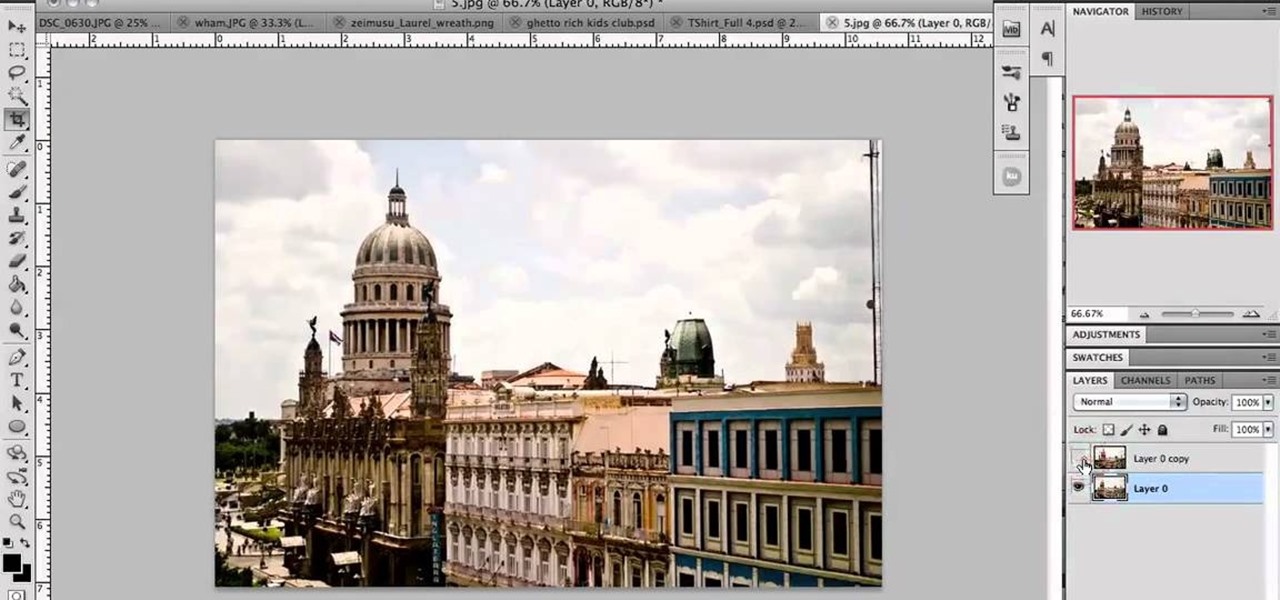
Try light graphic work or picture re-touching without any worry of damaging your original images by using layers in Adobe Photoshop.

Whether you're new to Adobe's popular Flash-development platform or a seasoned web developer looking to better acquaint yourself with Flash CS3, you're sure to benefit from this free software tutorial. For more information, including detailed, step-by-step instructions, watch this video guide.

Add air bubbles to an image with a custom-made bubble brush. Whether you're new to Adobe's popular image editing software or simply looking to pick up a few new tips and tricks, you're sure to benefit from this free video tutorial from the folks at IT Stuff TV. For more information, including step-by-step instructions on how to get started making your own bubble brushes in Photoshop, watch this graphic designer's guide.
Want to make a Windows Vista-style icon? With Adobe Photoshop, the process is a breeze. Whether you're new to Adobe's popular image editing software or simply looking to pick up a few new tips and tricks, you're sure to benefit from this free video tutorial from the folks at IT Stuff TV. For more information, including step-by-step instructions on how to generate your own Vista-style logos in Photoshop, watch this graphic designer's guide.
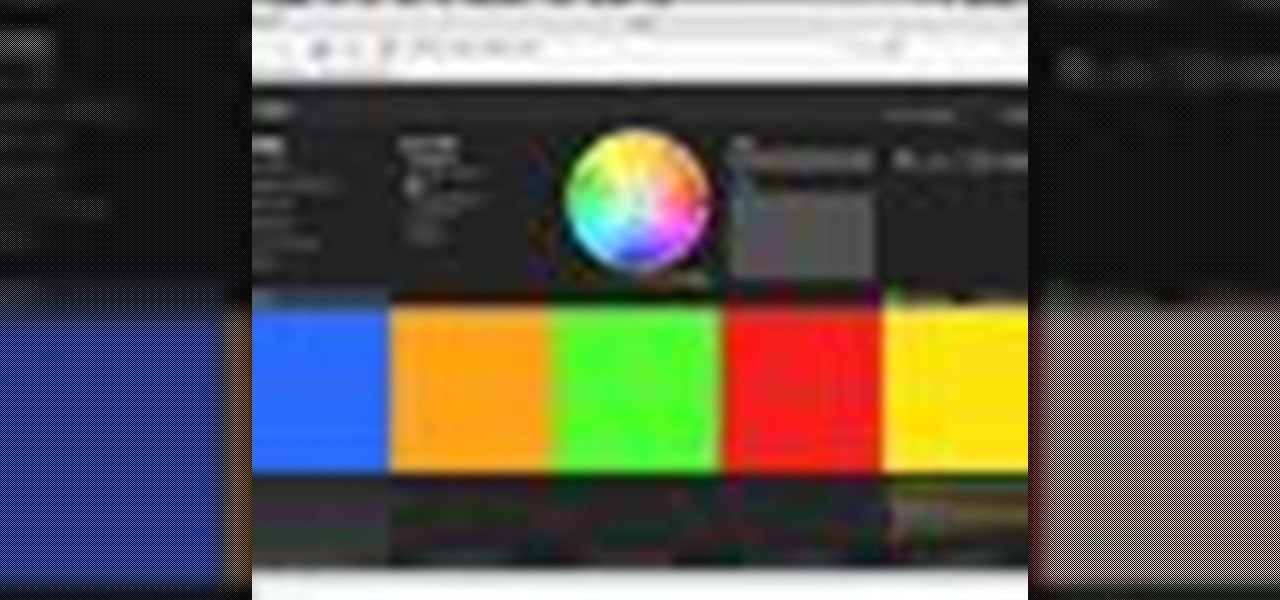
Kuler is a beta Adobe application at labs.adobe.com. It allows you to choose color schemes using rules or completely at random, then export the colors as an Adobe Swatch Exchange file for use in all of the Creative Suite applications. In this video tutorial you will learn how to create color schemes using Kuler.

This video will show you how to use Adobe Photoshop to create a very realistic looking light ray using a Mask, Radial Blur and adjustment layers. Give your images a beautiful sun-kissed appearance with the techniques demonstrated in this how-to video.

Bring your Adobe Photoshop images to life with this wonderful effect, the page curl. Create a sense of movement and tell a story by adding the page curl, also known as page peel, effect. This is a simple procedure that you can master once you've watched this video.
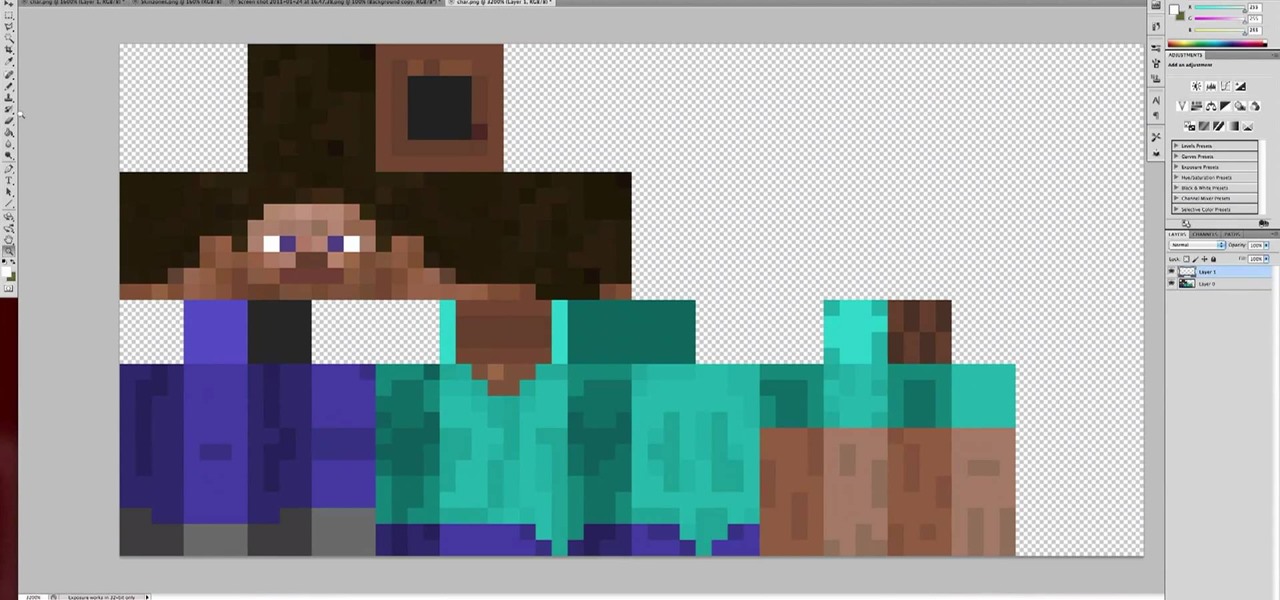
You can personalize not only your avatar in Minecraft, you can also create custom skins for the monsters and animals as well. This tutorial shows you how to create these custom skins using Adobe Photoshop (though it will probably work for other graphics programs as well).
If you're serious about your video creations you're going to want to watermark them. To do this, you'll need Adobe Photoshop to create, in this case, a text watermark with a transparent background. It's not hard to do with this simple tutorial, so get going!

This tutorial shows you how to use some of the basic functions in Adobe Photoshop, including the ability to save an image in multiple file formats, to create a picture that you can easily use on your website or blog.
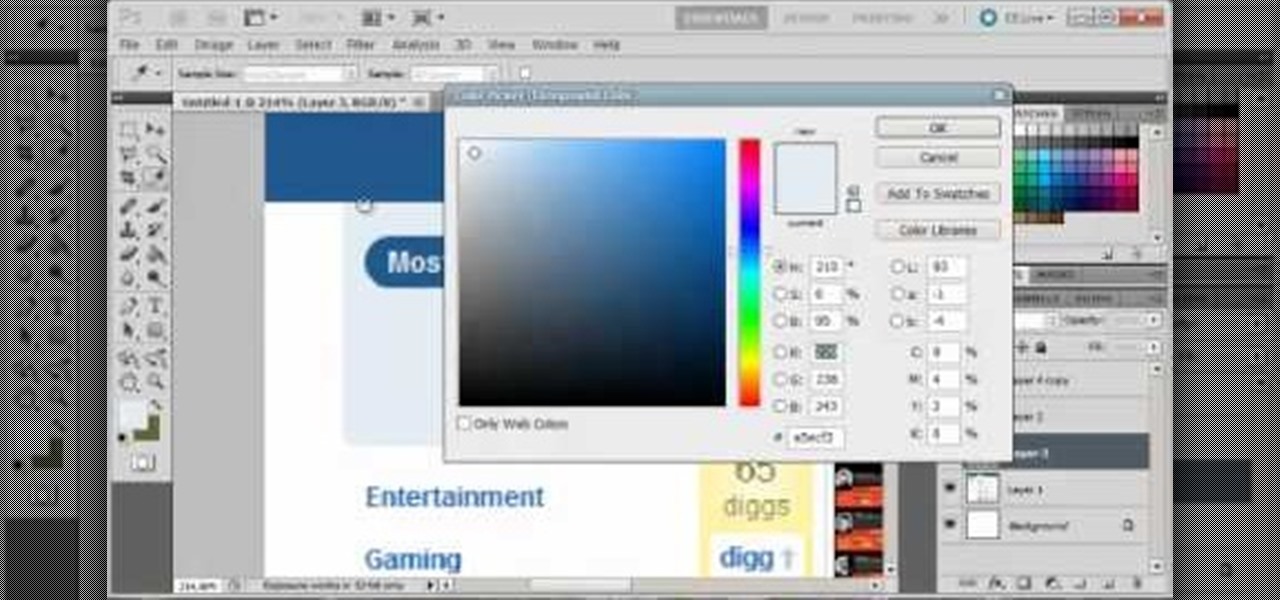
This tutorial takes a screencap of a popular website, and then shows you how you can use the tracing tool and use some of the principles of web design to create an effective layout for your own website using Adobe Photoshop.

This is a pretty basic tutorial that will help you learn most of the core features of Adobe Photoshop, like shapes, pen tools and layers. Start with a blank file and create your own realistic piece of soft, wavy ribbon.
Start with a photograph of your subject and maybe there are a few things slightly wrong - perhaps the skin tone is off, or you want to accentuate certain features. This video shows you a few basic touch ups you can use when photo editing in Adobe Photoshop.
Start with a basic photograph, and then use the various image effects to subtly alter it until it's precisely how you want it. This tutorial also goes briefly into layer styles, and some easy and effective ways to work with layers in Adobe Photoshop.
This tutorial shows you how to use vector graphics to trace images in Adobe Illustrator 5 without using live trace. Do a manual trace, which will give you a little more creative control over the image you're working on in Creative Suite 5.
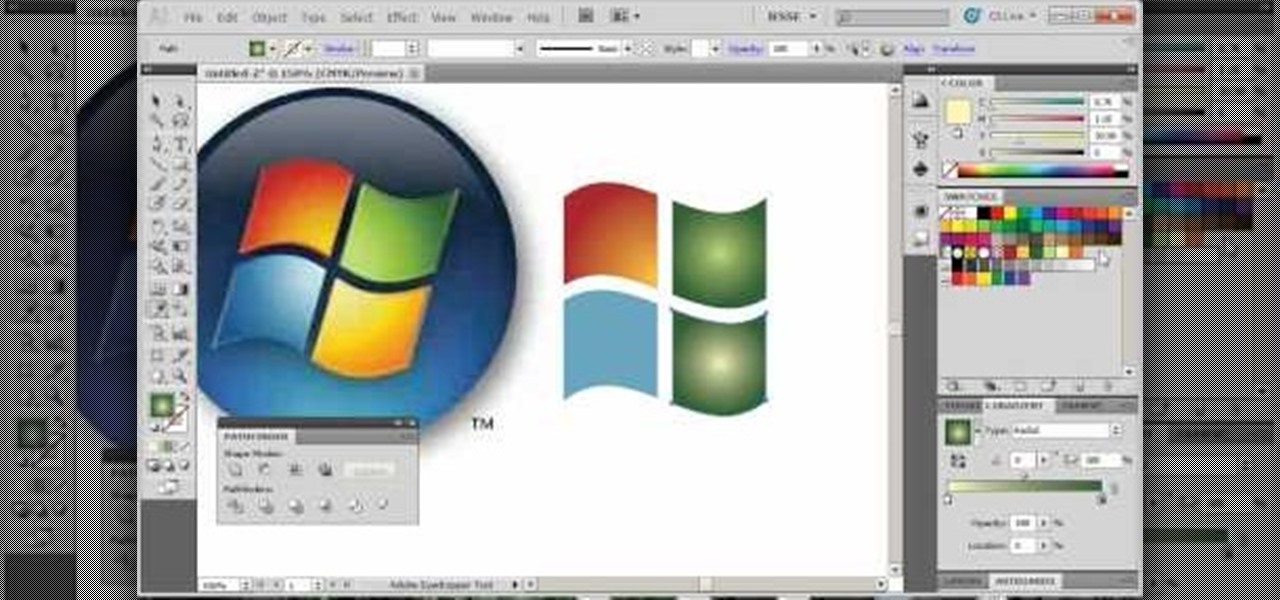
The Warp tool can save you a lot of time on your projects, so you'll want to learn how to use as efficiently and effectively as possible. This tutorial uses the Microsoft logo to demonstrate this function to Adobe Creative Suite 5.
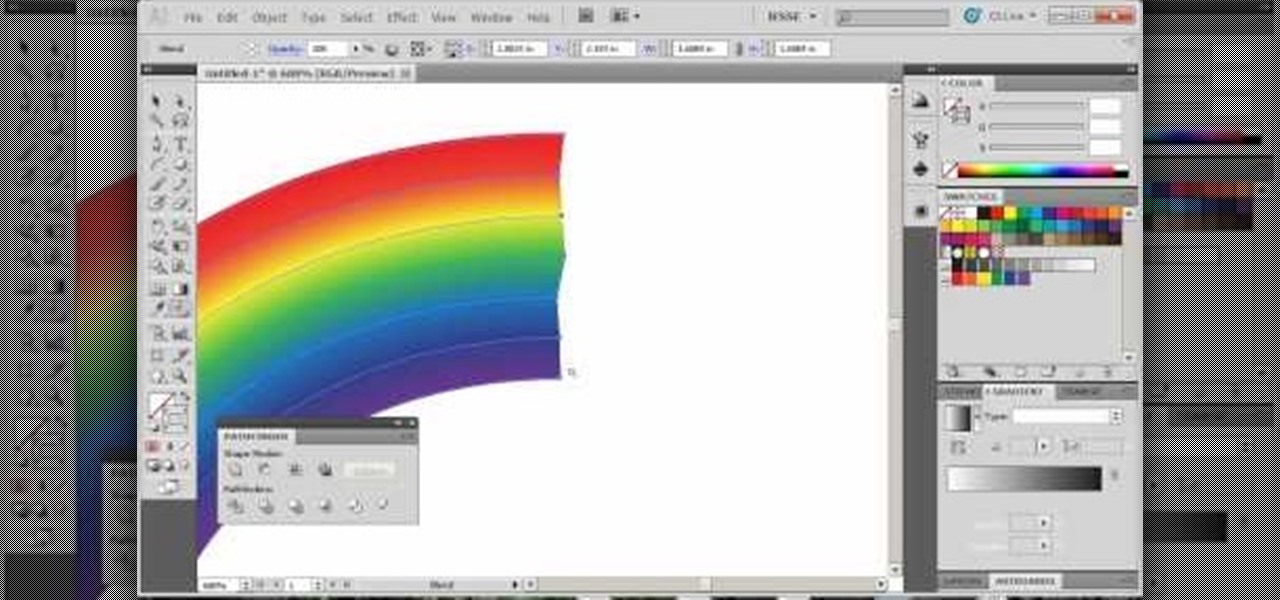
If you're having problems figuring out how to make a rainbow in Adobe Creative Suite 5, this tutorial is for you. Some users have found this to be a bit tricky to replicate, but here are a few useful shortcuts you can take.
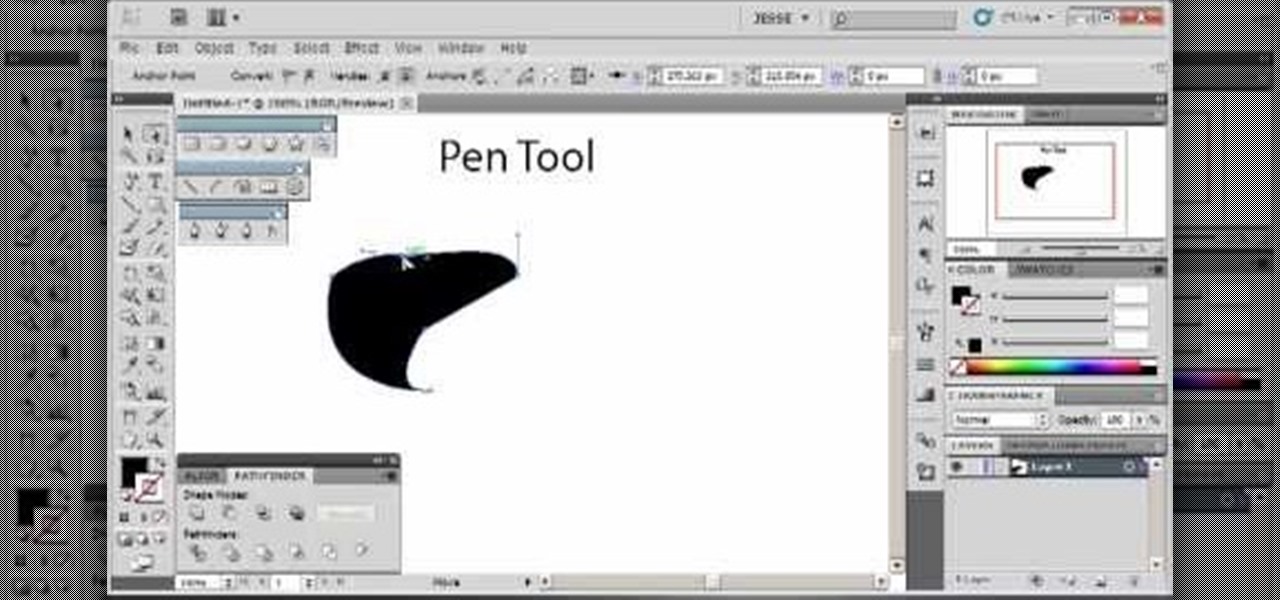
Whether you've just started working with Creative Suite or want to update from CS4, this is still a valuable tutorial for you. This video is all pen tool, all the time - one of the most basic and critical tools when working in Adobe Illustrator.
If you're trying to give your images a 3-D feel when designing them using Adobe Illustrator, it's critical that you know how to use the perspective grid. This handy tool will also help you if you're working with images that have depth, like outdoor shots.

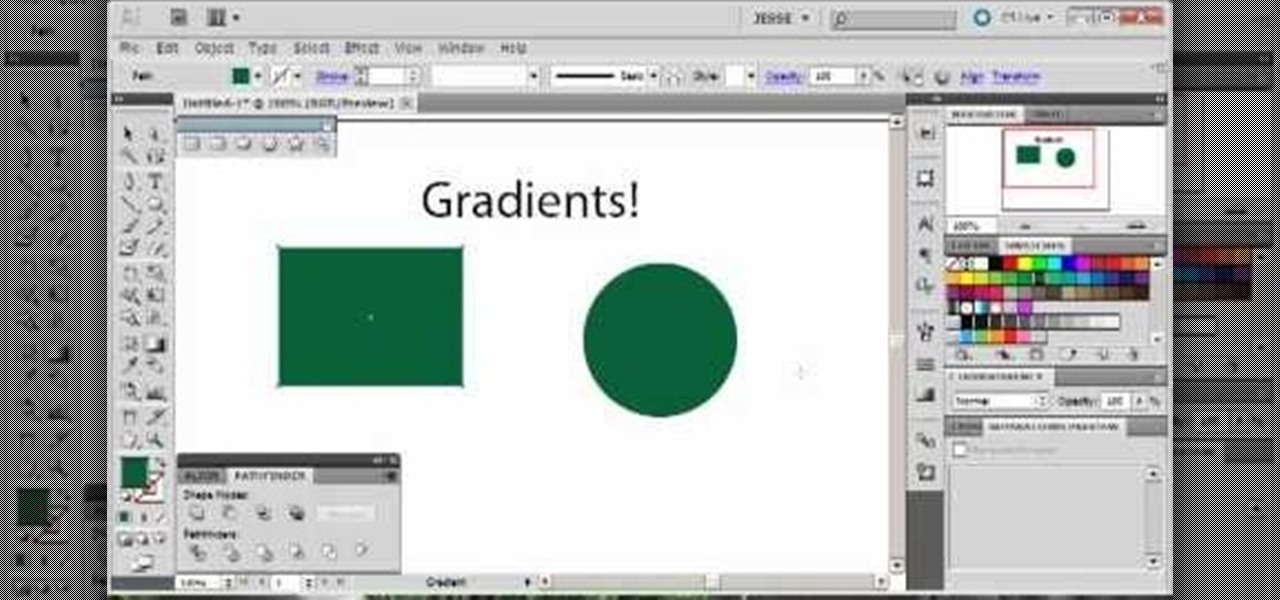
This tutorial starts with a blank project and shows you how to use vector graphics to create a simple leaf in Adobe Illustrator 5. Master many of the basics, such as the pen tool, gradients and path finder, whth this easy tutorial.

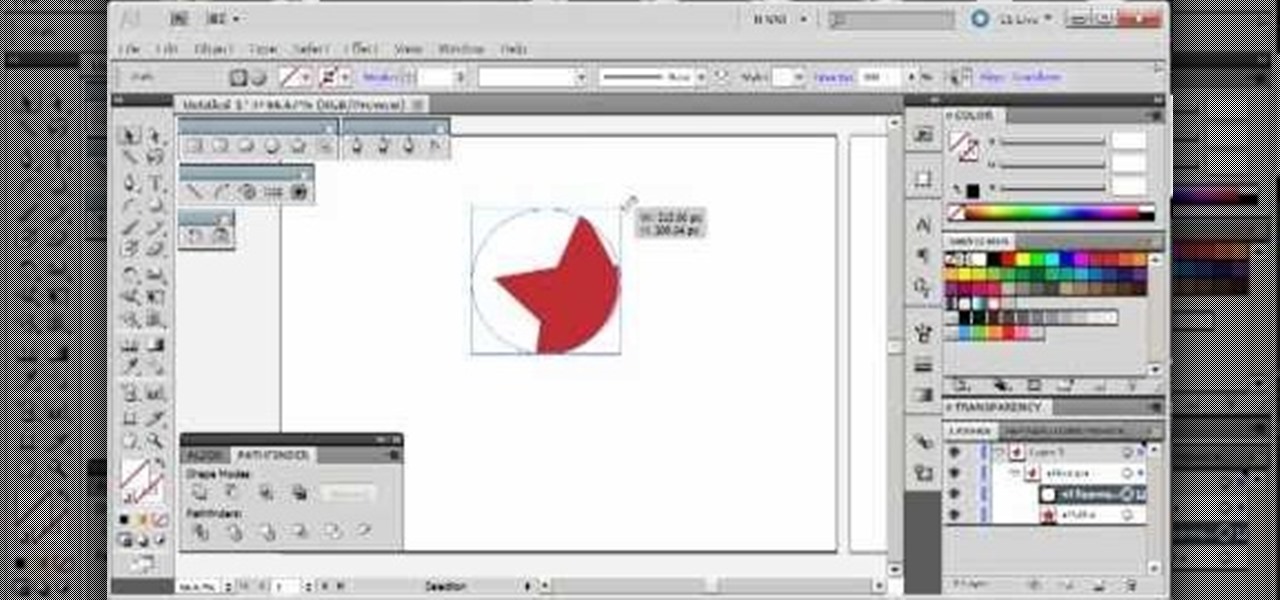
This tutorial shows you how to use the star took and a few other basic functions with Adobe Illustrator 5 to replicate the Star of David on the Israeli flag. Master a few basics of image manipulation with this tutorial.
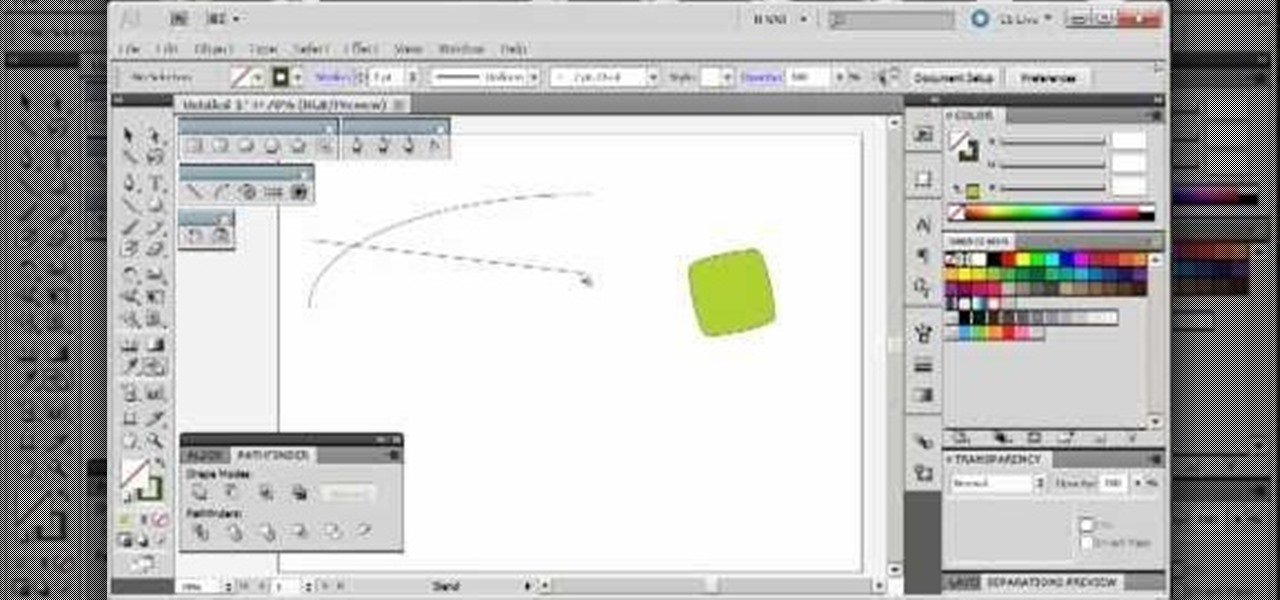
The blend tool will create a graphic for you where one graphic or image slowly blends into another one. Customize it using color, shapes and other more advanced techniques - this tutorial shows you everything you need to know about the Adobe Illustrator 5 blending tool.
This is a quick and easy tutorial that both new and long time users of Adobe Creative Suite will be able to find useful. Clipping masks are one application of layers and shapes that can add new depth to an image.

Upload your footage to Adobe After Effects (make sure it has been set to 3-D), and then apply the effects you want, such as fog. Then, you can use the Depth Cue setting to change the depth of your picture to really make it look 3-D.

You can simulate the look of fluids using the FreeForm plugin for Adobe After Effects. Play around with the color, viscosity and opacity of your liquid, and animate a container filling up as well. This tutorial covers everything you'll need to know!
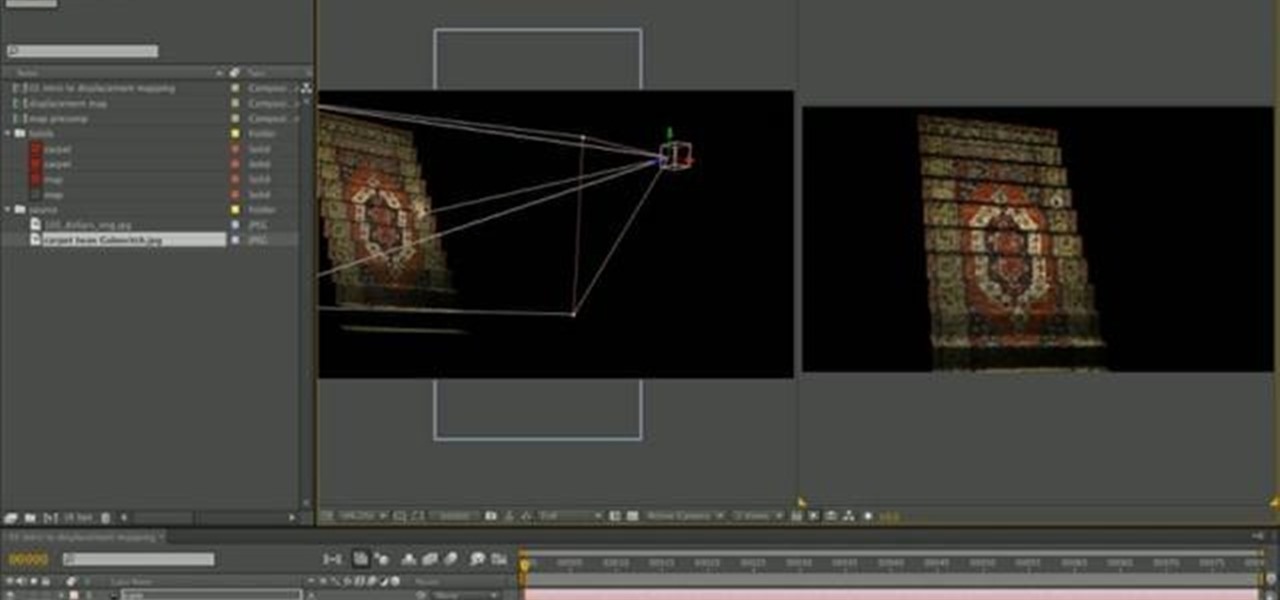
This tutorial shows you how to take a 2-D image of a Persian rug and turn it into a fully 3-D staircase using the displacement mapper in Adobe After Effects. Displacement mapping is a versatile, helpful tool for any 3-D animator.
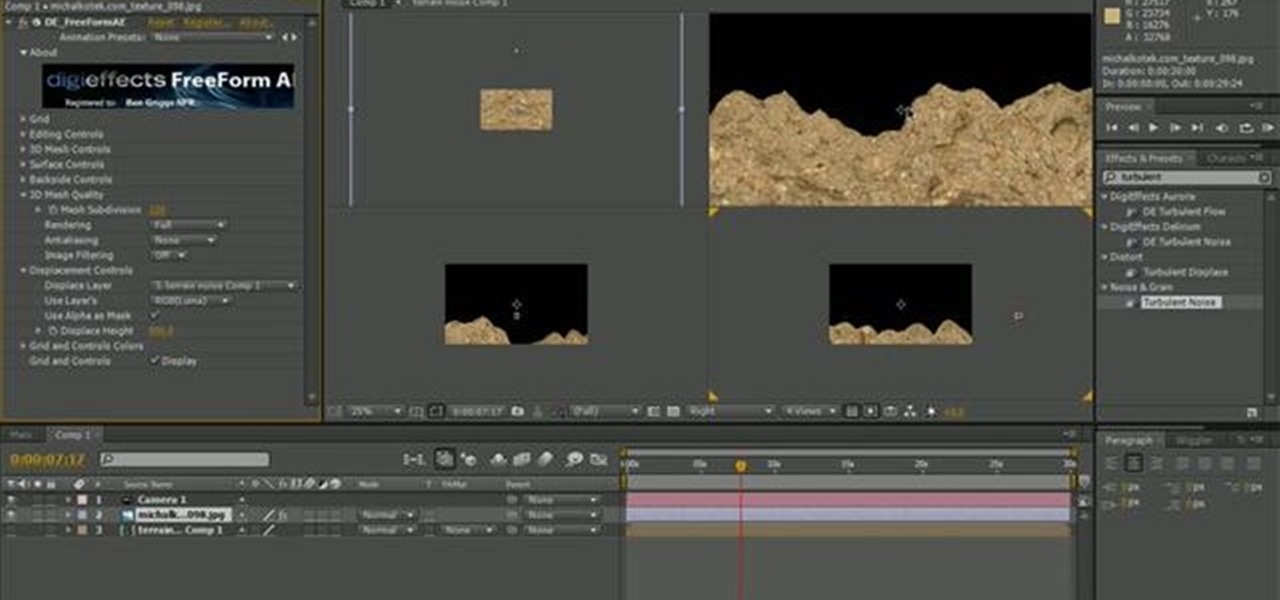
This tutorial shows you first how to create some basic outdoor terrain in Adobe After Effects. Then, create a camera effect which makes it look like your camera is slowly flying over the terrain using the FreeForm plugin for After Effects.
Decided after you filmed it that your footage shot in 60p would actually look better as a slow motion shot? Fortunately, you don't have to shoot anything over again - you can just use Adobe After Effects to slow it all down.

Create an image using Adobe After Effects in which 3-D words and numbers roll across the screen, as if they were on a giant wheel. This is not a difficult tutorial, and makes for a great intro clip for any video project.

Whether you are using Adobe CS3, CS4 or CS5, this tutorial will still work. This is a very basic holiday greeting, where the phrase 'Merry Christmas' (or whatever else you want to say) is animated to appear slowly over a blue, snow filled background.
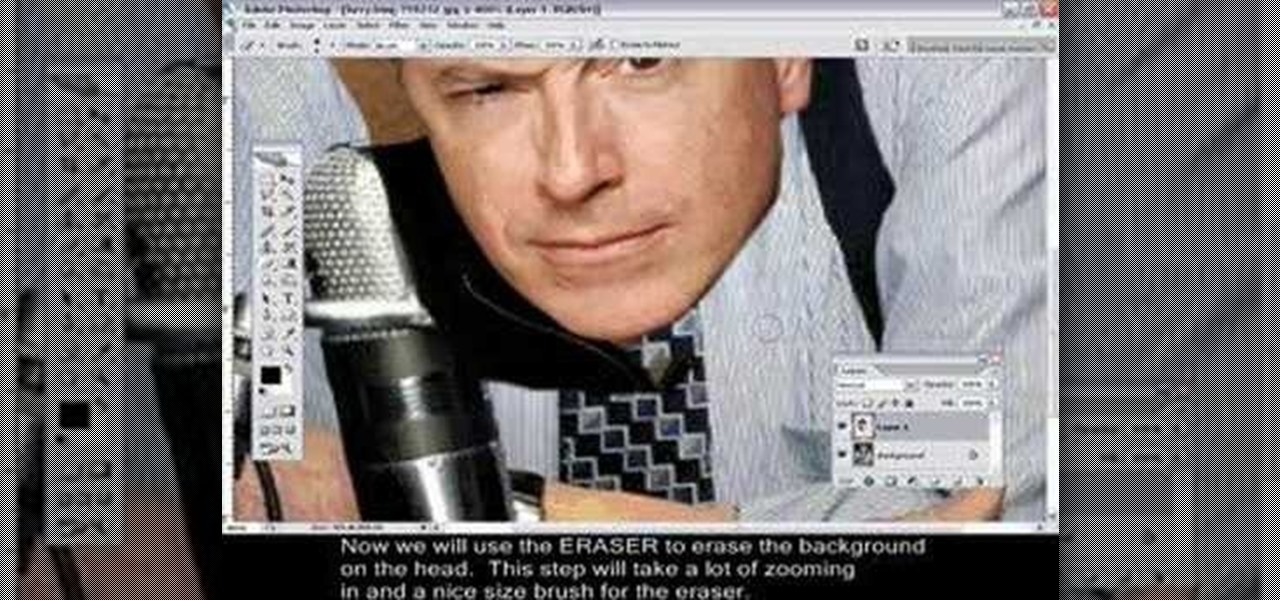
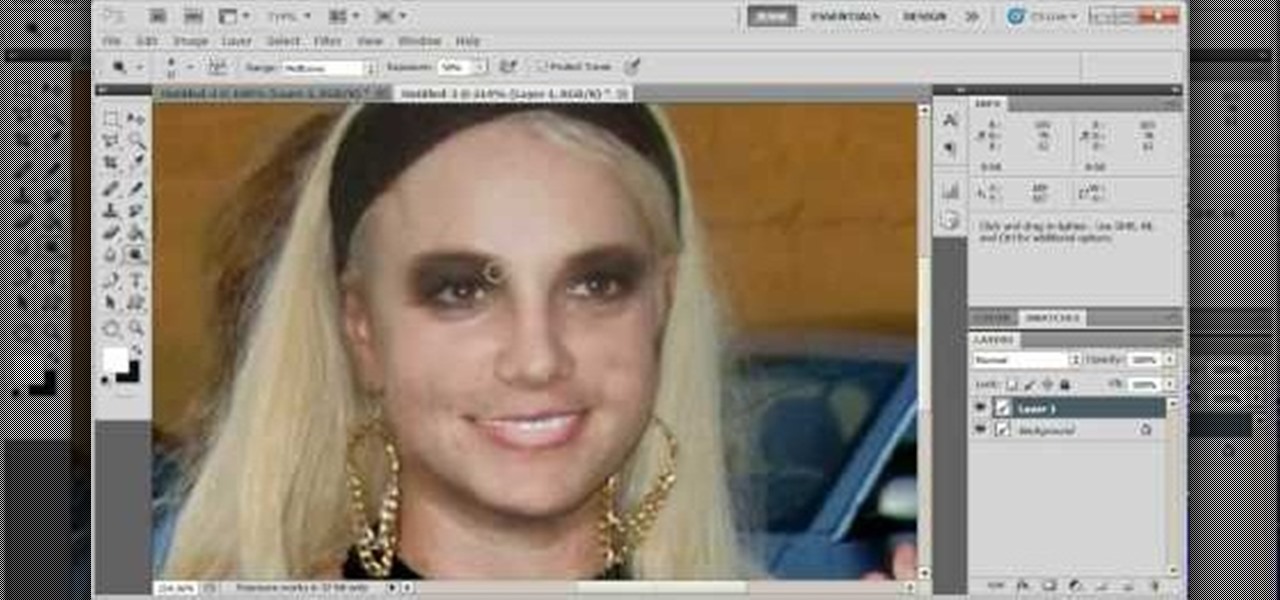
Changing heads is a fun, easy, and valuable technique for beginners that can help build up their confidence in Adobe Photoshop. This Photoshop video tutorial will walk you through the process of extracting the head from one body, resizing it, and blending it on to the body of another picture. By the end of this tutorial, you will become familiar with some basic tools used in Adobe Photoshop, and at the same time, you will learn how to successfully switch heads from one body to another.

Want to create a force field effect within a video project? This clip will show you how it's done using only stock After Effects CS5 plug-ins.

Interested in using After Effects to create an intro for your next video project? Learn how with this video guide, which will teach you how to create and position title text within 3D space in AE CS5.

Null objects in After Effects CS5! In this clip, you'll learn all about them: what they are, how to create them and how to link layers to them. This clip also looks at adjustment layers and their relative advantages over making changes to individual layers within your projects.
The first step in any After Effects CS5 project is importing your footage and setting up a custom composition with reference to the technical settings of your individual clips. Learn how it's done with this video tutorial.

Before you can get started creating eye-popping videos with After Effects CS5, you'll need to learn how its user interface works. Happily, this guide presents a very thorough overview of all the most important functions, features and filters.
In this clip, we learn an easy technique for generating anaglyph 3D images in Adobe Photoshop CS5. It's easy! So easy, in fact, that this video can present a complete overview of the process in about two and a half minutes. For all of the details, take a look.
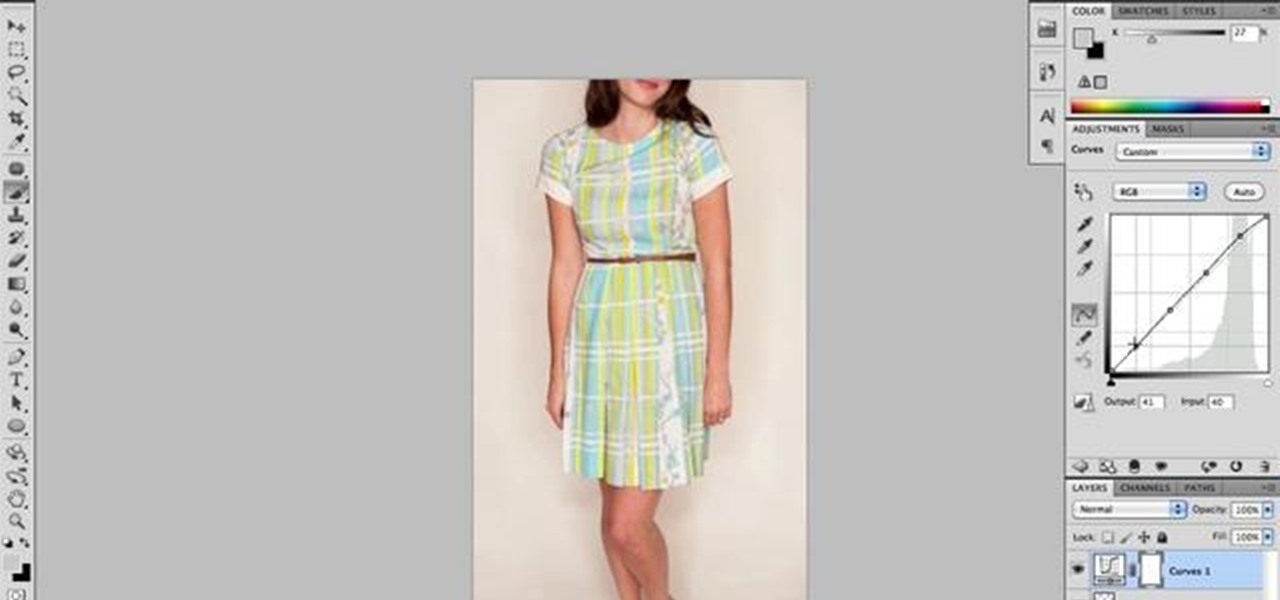
In this free video software tutorial, we learn how to color correct a product photograph within Adobe Photoshop CS5. Whether you're new to Photoshop or are a seasoned user looking to better your understanding of Photoshop CS5, you're sure to be well served by this quick video guide.