This After Effects tutorial will show you a nice underwater scene, complete with light rays, rising bubbles and cloudy ocean mist. You don't have to be a professional AE user to recreate this great animated scene, either! Laurence Grayson demonstrates all the techniques for this subtle ocean-like underwater look using the standard toolkit in Adobe After Effects (CS3, CS4 & CS5). Using Fractal Noise, CC Snow and a Lens Blur with Depth Map, Laurence will have you chilling out in no time!

Add music content to your website! If you want to add a scrollable, clickable playist to your Flash-based website (like to show off your band's music), this tutorial shows you a step by step process to building this interactive .mp3 player using Adobe Flash CS3 and Action Script
In this photography tutorial, you learn how to create a contact sheet using Photoshop for your digital photography prints. In order to create this contact sheet, you can open Photoshop, go to File, find the subfolder called "Automate" and then choose to create a contact sheet. If your version of Photoshop does not appear to have this setting, your version of Photoshop should have come with a secondary disk which has this feature. You can also find the file from Adobe if you do not have the go...
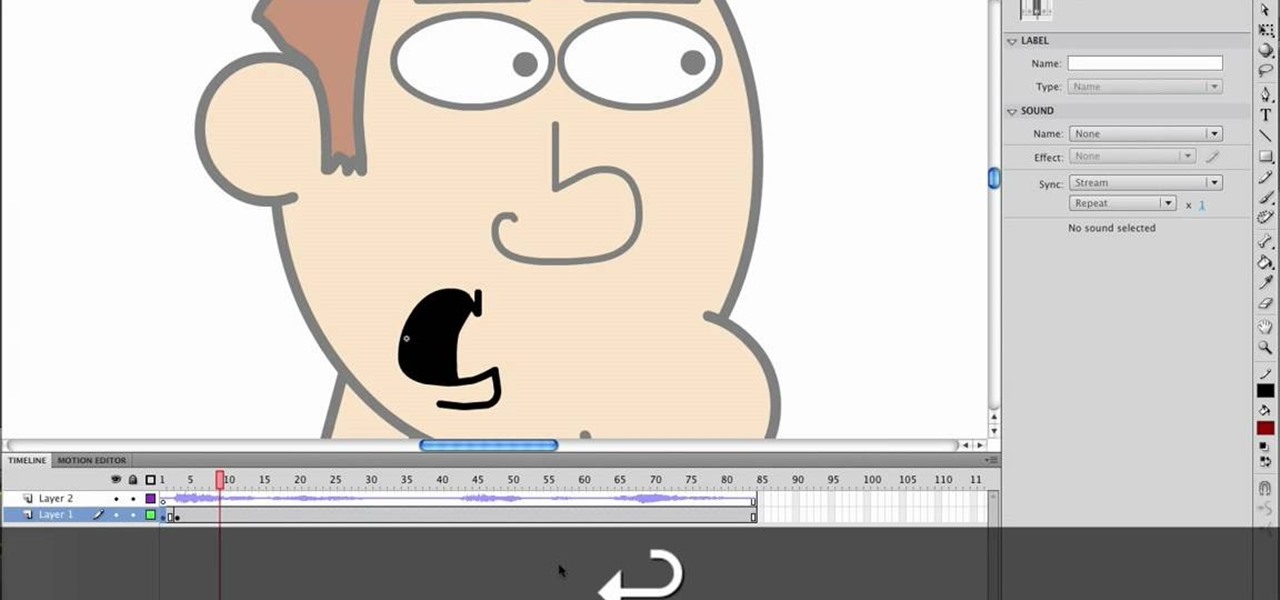
This video will show viewers how to use Adobe Flash and how to make a cartoon character talk in this program. This tutorial covers aspects such as recording the voice of your characters, drawing their mouths to speak, and how to sync the recorded speech to the animation. Furthermore, this video will also show how to create subtle facial expressions that display emotion in the character. In order to record the sound, the host recommends a program called Audacity which has a free downloadable v...
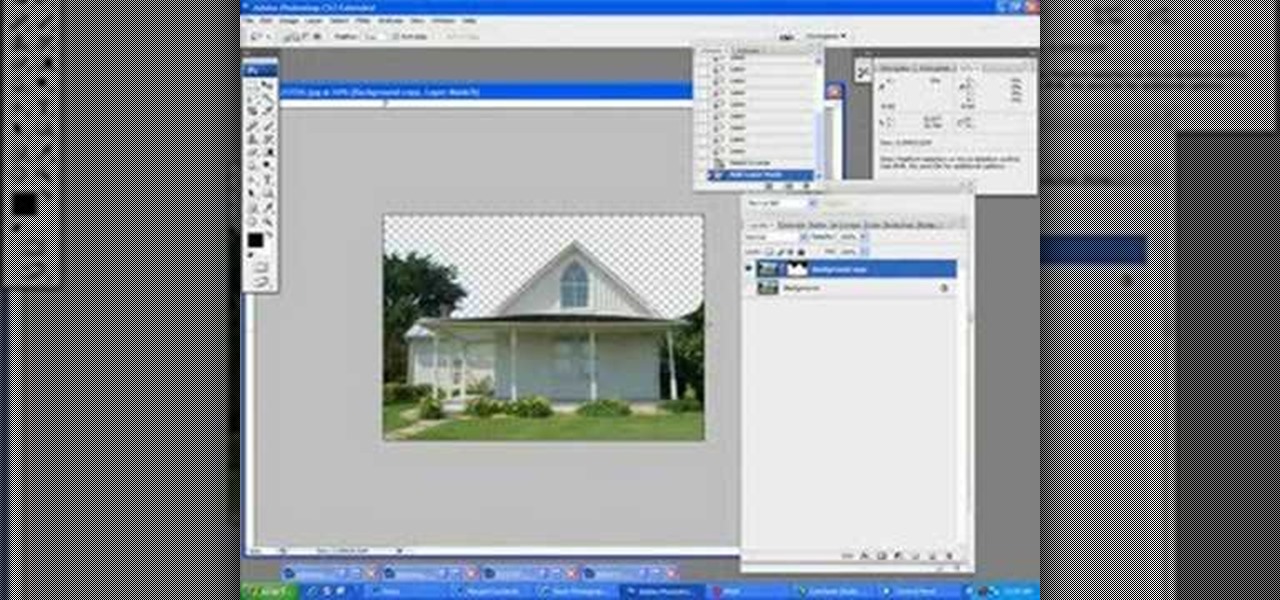
This tutorial shows you how to use Adobe Photoshop to take a regular photograph of a house and turn it into a picture of a dark haunted house. Starting with a picture from the actual painting, "American Gothic," you watch along as the farmhouse is transformed into a piece of dark gothic art.

After Effects makes it easy to create wonderful designs and great looking material, and this tutorial makes it even easier! Watch and learn how to create a really quick carbon fiber (or carbon fibre for all you British folks) effect using After Effects. Carbon fiber is a great-looking material, and you can used the standard toolkit in After Effects to create an instant carbon fibre texture in seconds. Great for your next extreme sports car and high-tech driver video intro title sequence! Get ...

By now, everyone is familiar with the Annoying Orange, but how do they do their effects? This video will reveal the secret and show you how to put a face on an inanimate object like the Annoying Orange. See how to put any face on any object to make something that once was inanimate alive! This should work on all Adobe CS versions of After Effects. This example in this video is a beach ball.
In this four-part tutorial, you'll learn how to create realistic 3D ninja throwing stars with Adobe Photoshop and Cinema 4D. Whether you're new to MAXON's popular 3D modeling application or are just looking to get better acquainted with Cinema 4D and its various features and functions, you're sure to enjoy this free video software tutorial. For more information, including complete instructions, watch this 3D modeler's guide.
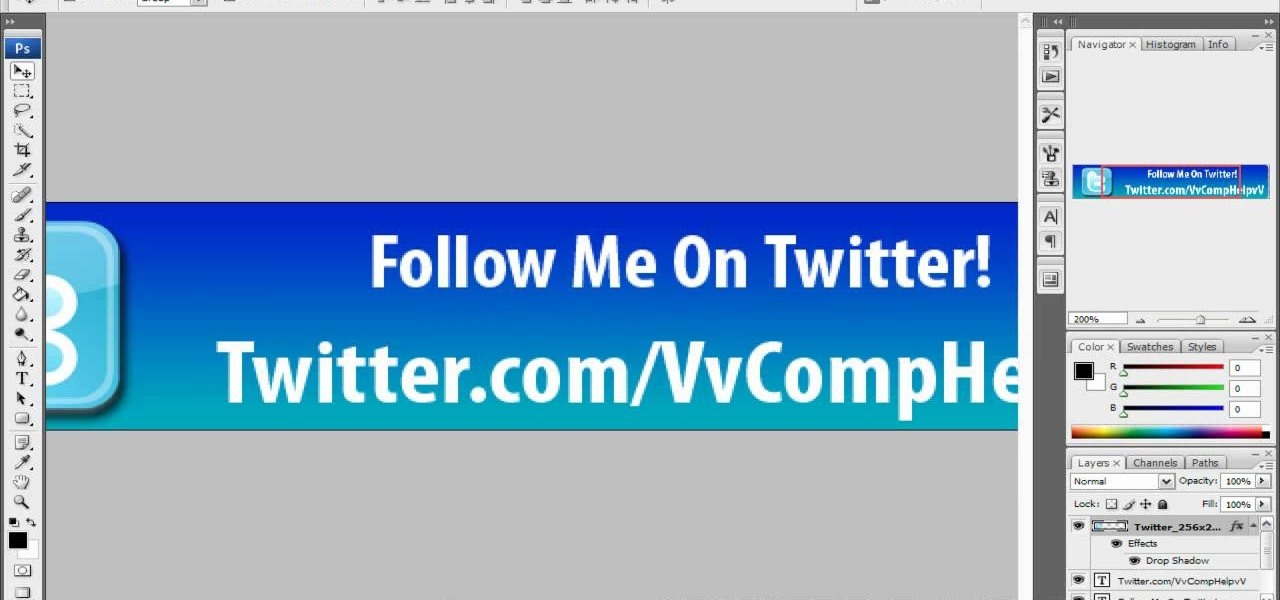
The Twitter bird, along with the Tux the Linux Penguin, is among the most popular of online animal logos. Not happy with the version that Twitter uses? Create your own twitty bird! This two-part video will show you how to draw the Twitter bird in Adobe Photoshop CS4. Now you can have a Twitter logo as large as you like, or make modifications to it like giving him a worm in his mouth or something. Whatever you want!
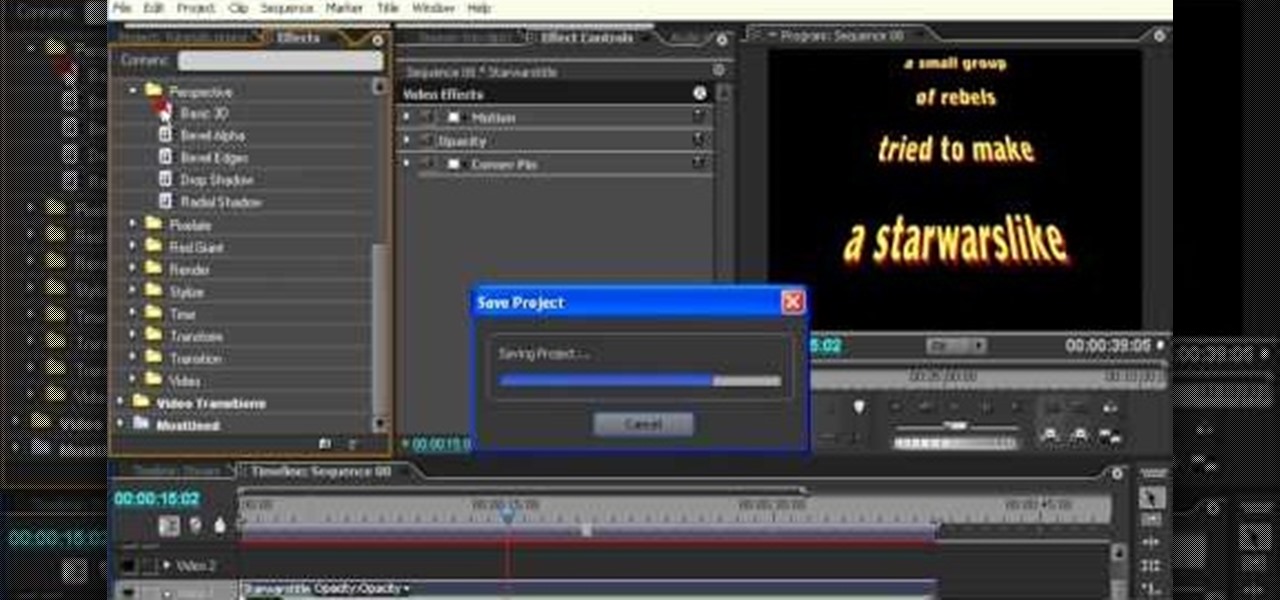
The scrolling, synopsis-giving titles of the sci-fi epic Star Wars might be the most famous set of titles in the history of cinema. All most people need to see is deep space and yellow letters to immediately think of Star Wars. This video will teach you how to make similar titles for your own films using Adobe Premiere Pro. This is MUCH easier than what the Star Wars staff did to make the original titles, so fire up your computer and make your own!
In this video tutorial, viewers learn how to import, manage and export 16:9 footage in Adobe Final Cut Pro. Begin by opening the Log and Capture.Then configure the Logging, Clip Settings and Control Settings. For the Control Settings, set the Device Control as Fire Wire NTSC and the Capture/Input as DV NTSC 48 kHz Anamorphic. Then scroll through the sequence setting of the footage and check Anamorphic. To export, click on File and select Export. Click in Options set the the size to Compressor...
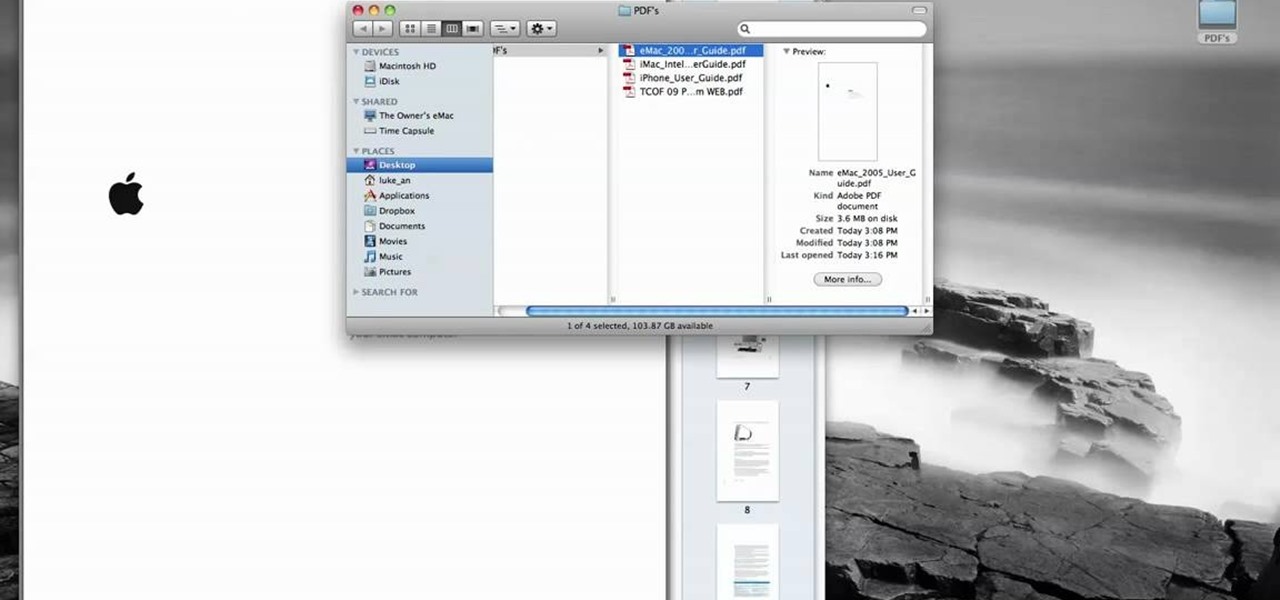
In this tutorial, Luke shows you how to change your default PDF reader on your Mac computer. There are various programs that can be used to read PDFs and you don't have to decide on only one. Your Mac is probably pre-programmed to open up the "Preview" application when you click on a PDF file, but if you'd prefer to use something else, such as Adobe Acrobat Reader, there is an easy way to change your default. Check out this tutorial, and set it up in just a few minutes.
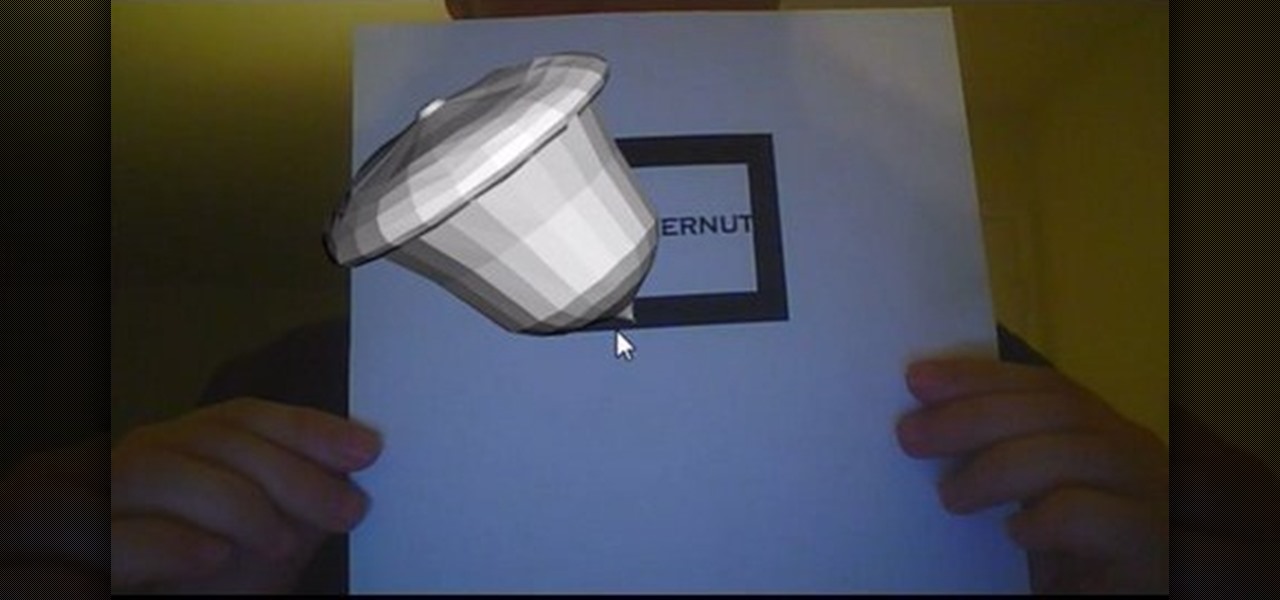
In this video, viewers learn how to create augmented reality applications, using Papervision 3D version 2.0. Augmented reality is a term for a live direct or indirect view of a physical real-world environment whose elements are merged with virtual computer-generated imagery - creating a mixed reality. To create augmented reality applications, users require the following programs and software: Adobe Flex Builder 3, TortoiseSVN and FLARToolkit. This video tutorial is not recommended for beginne...
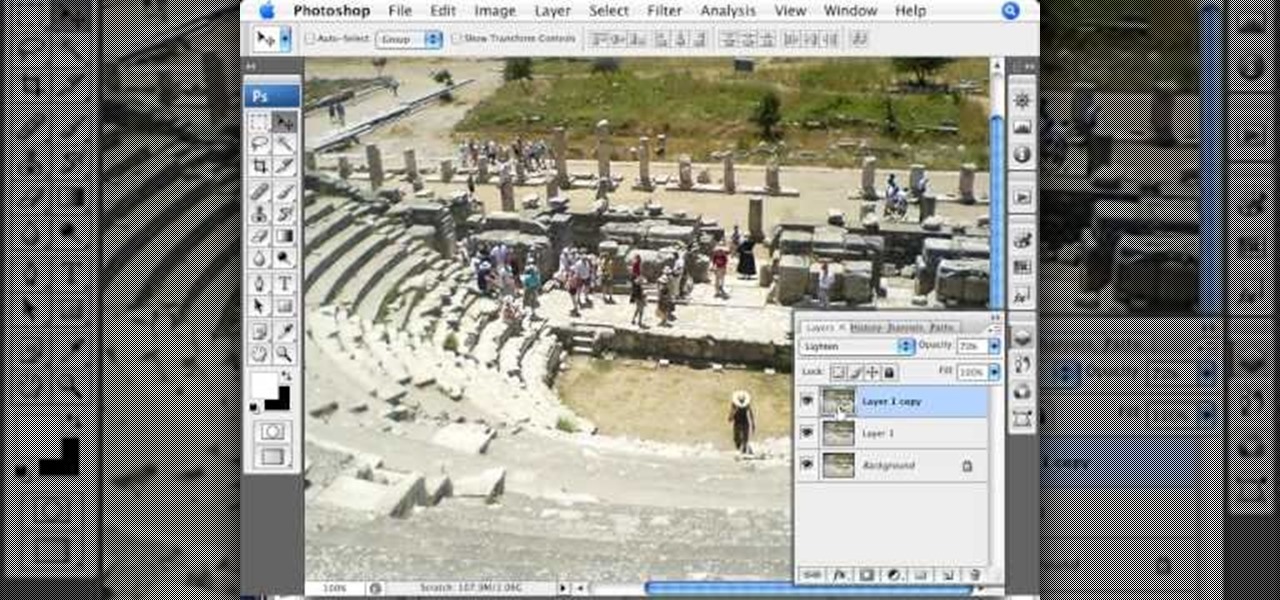
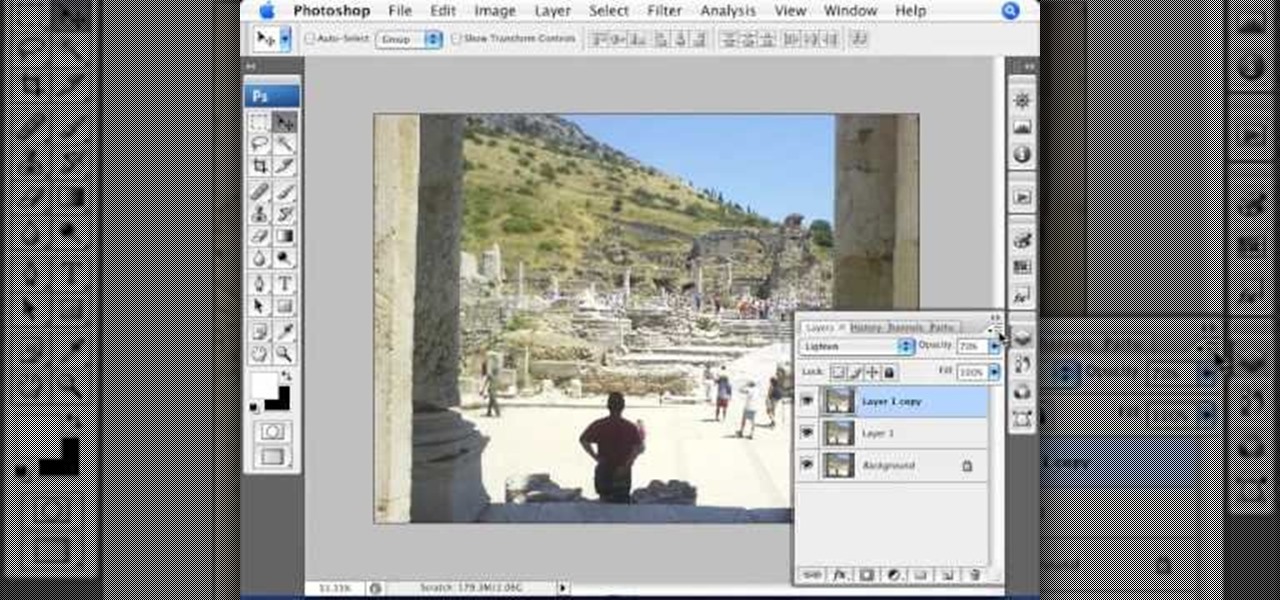
Photoshopuniverse teaches you how to enhance the colors of photos using Adobe Photoshop. You get a photo and duplicate that layer. Set the blending mode to Soft Light. You repeat that step, only the blend mode should be Lighten. The shadows are now darker. You can change the blend mode opacities to 60%-70%, but both layers should have about the same opacity. Also make sure that the white values are not to white and that details, like faces, are still OK to see.
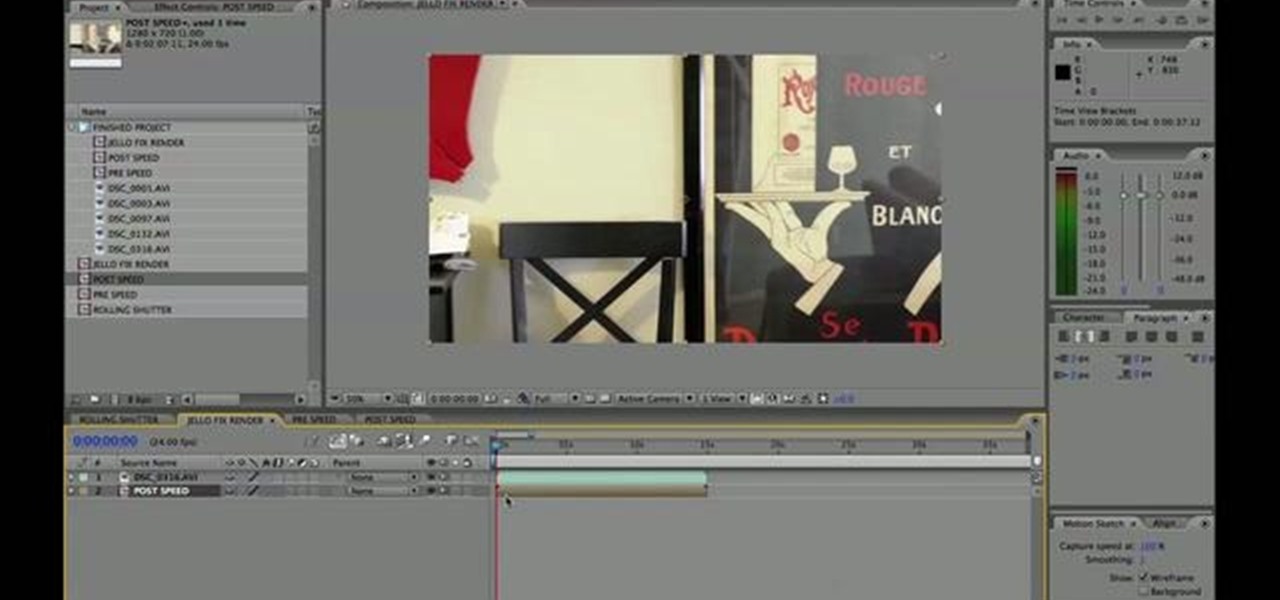
Is your digital SLR camera creating an unintentional "Jello effect"? Well, this is caused by a rolling shutter, which can be fixed in Adobe After Effects. This tutorial serves to help you eliminate your problems on your D-SLR caused by the CMOS's "rolling shutter".
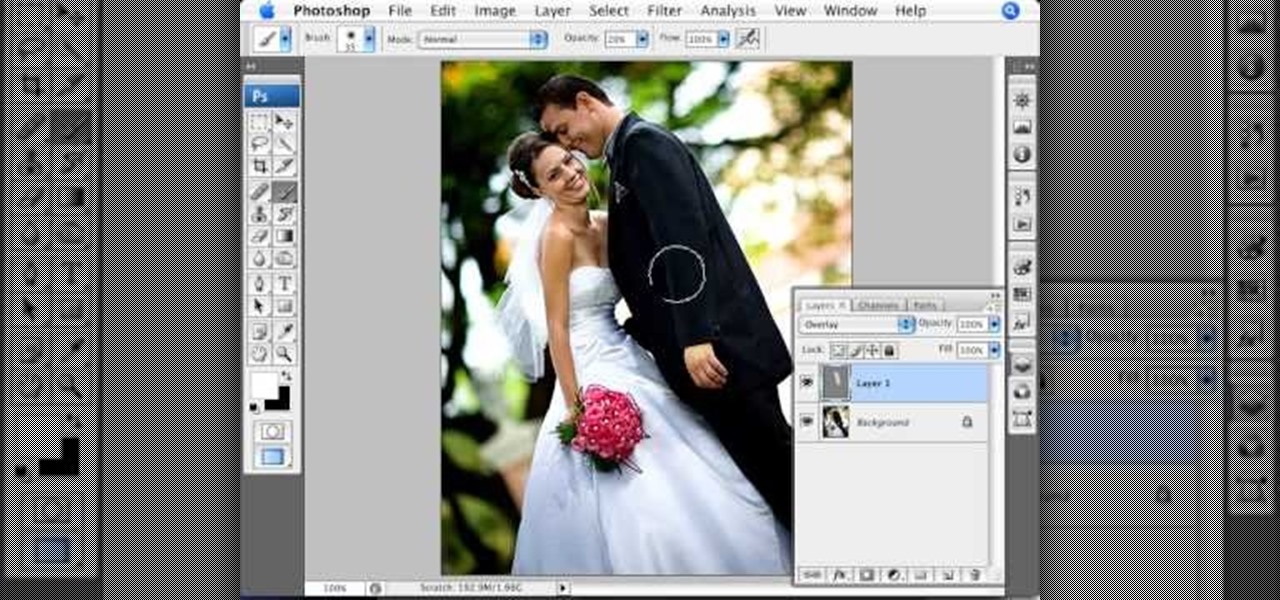
Photoshopuniverse teaches you how to use the Dodge and Burn tools in a non destructive manner, in Adobe Photoshop. Dodge makes things lighter. Burn does the opposite. The problem is that this is destructive operation. Use the Brush tool at 20% opacity. Create a new layer with 50% grey. Change the layer's mode to Overlay. With the black color you will make things darker and with the white lighter. To view the changes, review the overlay layer. To correct a mistake on this layer, use a brush wi...
This how-to video produced by Photoshop Universe gives step-by-step instructions on how to batch automate a process in Adobe Photoshop. With this tutorial you'll be able to learn to correct white balance, enhance colors, resize, and save for the web whole folders' worth of images in one go. The first step to doing this is to open up one of the images in your folder and correct the white balance, enhance the colors, resize the photo and save. The next thing you want to do is to record all of t...
This video shows you how to enhance the sky in pictures using a program called Adobe Photoshop. With this program you can use a gradient tool to layer different areas and change the color to enhance the picture of the sky. You can also invert colors and do a lot of different things using this tool. It is a very helpful tool to have because it drastically changes how bold the sky looks and could help a photographer out a lot to learn this skill.
In this video we learn how to make it seem like your photo is torn in half using Adobe Photoshop. The first step is to decide how you would like to have your photo "torn" up. The second step is to select the lasso tool and draw the tear line through the photo. The third step is to select the rest of the image you want to keep. The fourth step is to go into Quick Mask mode and select Filter, Brush Strokes, then Splatter. This creates the jagged edge torn effect. Finally select a smoothness bet...
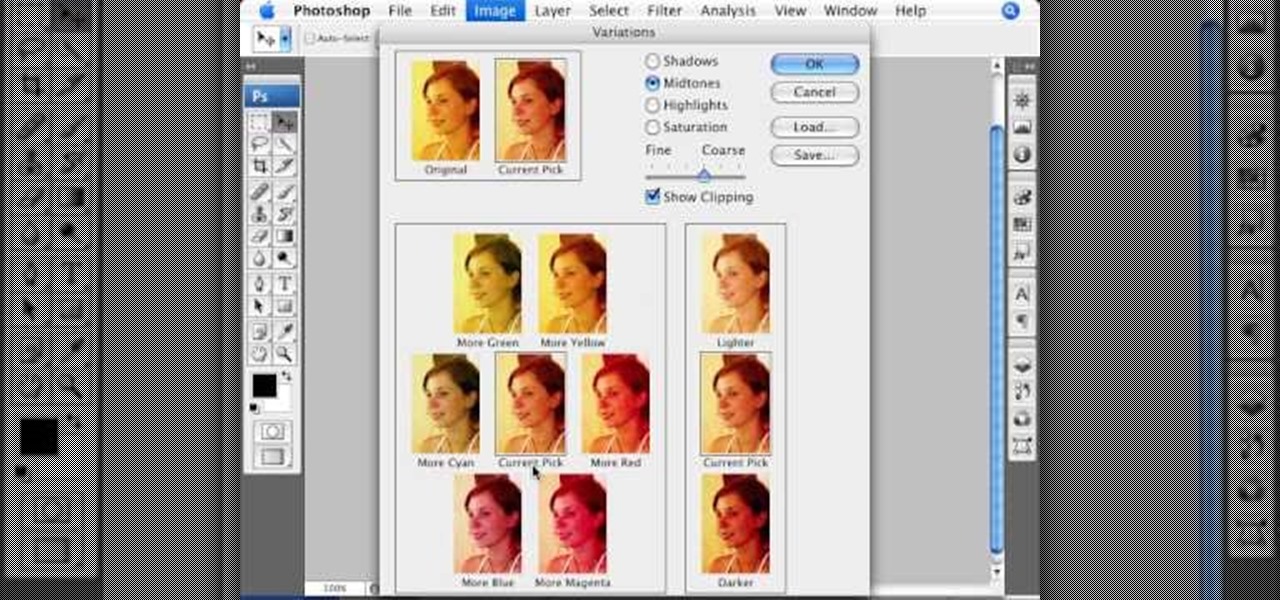
This informative video tells you how to use the variations panel in Adobe Photoshop to correct color issues in your photo. Too much yellow in your picture? Learn how to use the variations setting to instantly fix this with the corresponding opposite color. With simple clicks and easy preview-able pictures, you can correct color over-exposures with a click of the mouse. First go to the Images drop down and select the variations option. The original photo on the top can be clicked to revert you...
This is an excellent kids tutorial to draw a koi fish easy and simply using a Adobe Photoshop. The artist shows you how to hand draw the body, add the fins and other features of the fish. Then you create guidelines to make a perfect pattern of scales on the fish. Next he starts texturizing the fins as well as creating a realistic flip of the tail. He then takes the outline of the fish and puts it on one layer then traces it over on the next layer. On subsequent layers, the artist paints the f...
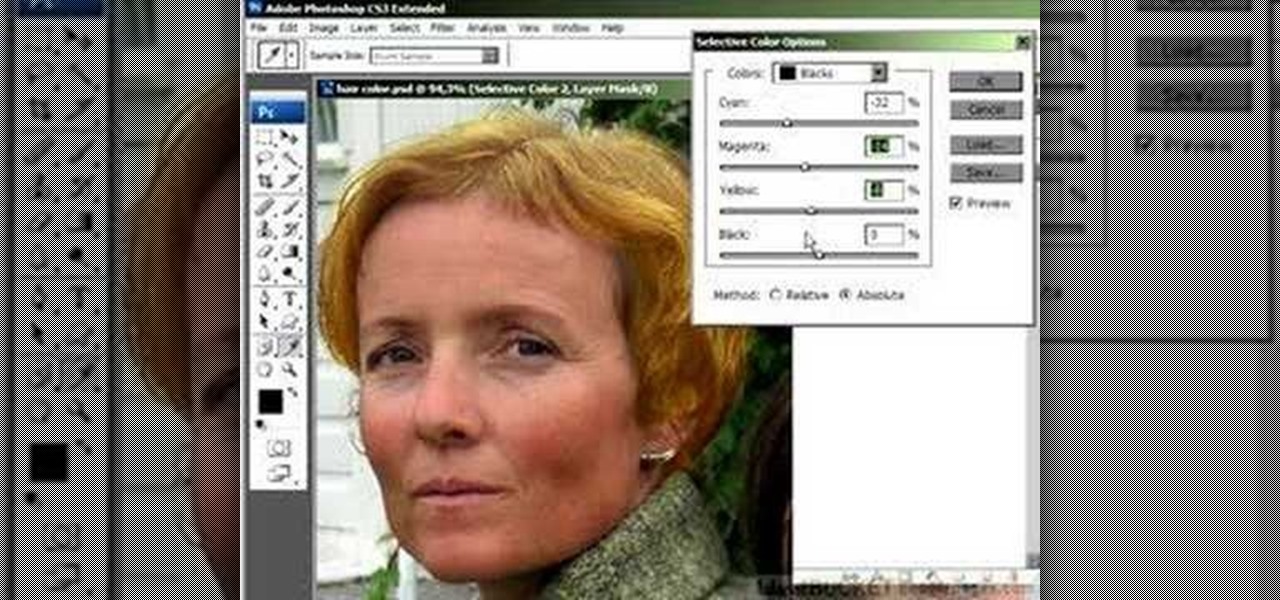
In this Photoshop tutorial the instructor shows how to change the dark hair color to blond. To get this accomplished you need to use a couple of very special techniques. First use the selective adjustment layer and select the outline of the hair. Now use the selective color option and change cyan and magenta settings to about minus forty. Now changing the other yellow color to achieve saturation and black colors to achieve the effect with shadows. Now next change the colors of black so that t...
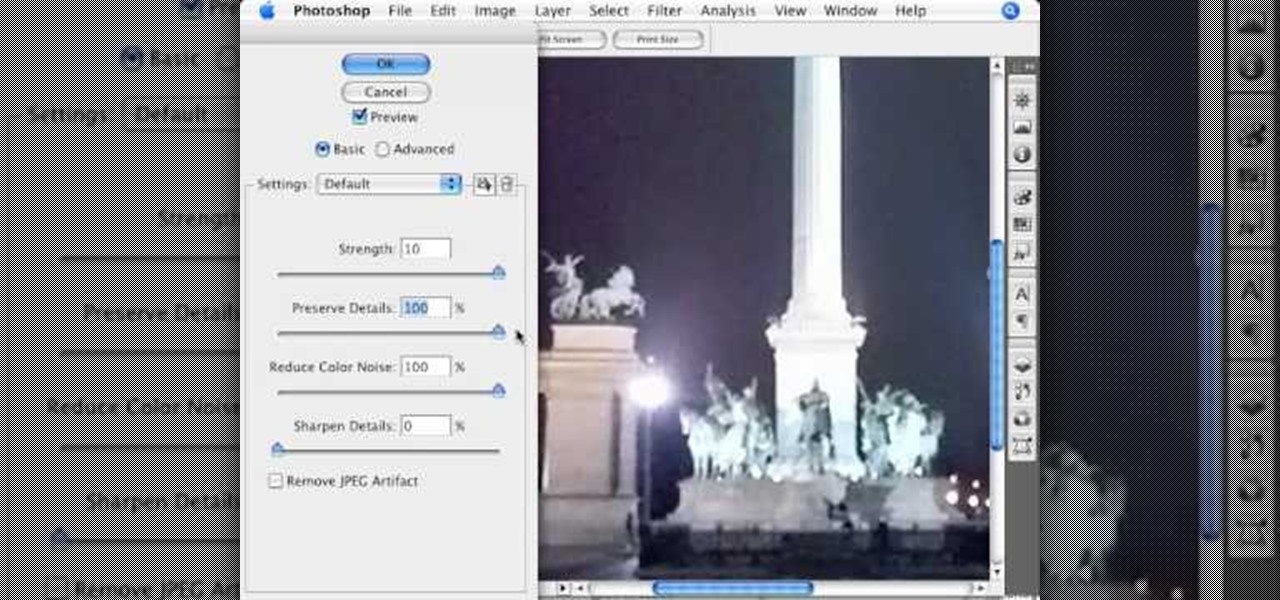
In this video by Photoshop Universe we learn how to reduce noise in a photo in Adobe Photoshop. First we learn that there are two types of noise in a photo, luminance and color noise. Next we learn that reducing noise is balancing act, as we take away noise we also lose some detail of the image. Finally the author goes over the 3 steps it takes to reduce the color noise that can be present in photos. Using these methods we learn that we can quickly clean up images that have noise in them in P...
Ah, falling leaves: They remind of the beauty of nature, fall, and the changing of seasons. And if you've ever walked alongside a row of oaks on the street it seems as if their leaves fall to some unknown, hidden perfect orchestration.
Have some fun while gaining pro Adobe Photoshop skills by embarking on the project featured in this video. You'll learn how to produce a fancy license plate that's snazzy and shiny. To make the plate, you'll be using the text tool, layer effects, and paths.
Get your dose of the coolest Adobe Lightroom tutorials, tips, time-saving shortcuts, photographic inspiration, and undocumented tricks with Matt Kloskowski from Photoshop User TV. Photoshop Lightroom is the leading photo management software solution. See what leading photographers use to manage their photos, and how.
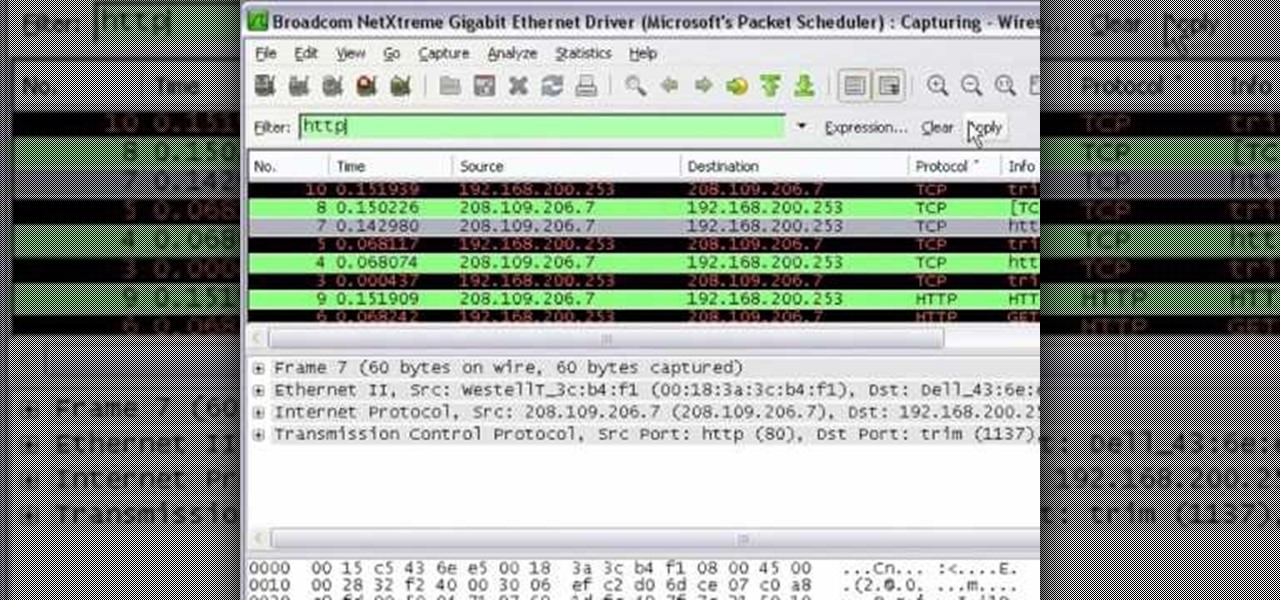
In this tutorial Mike Lively of Northern Kentucky University shows you how to get started with Wireshark. Wireshark is a network protocol analyzer for Unix and Windows. It is used for network troubleshooting, analysis, software and communications protocol development.
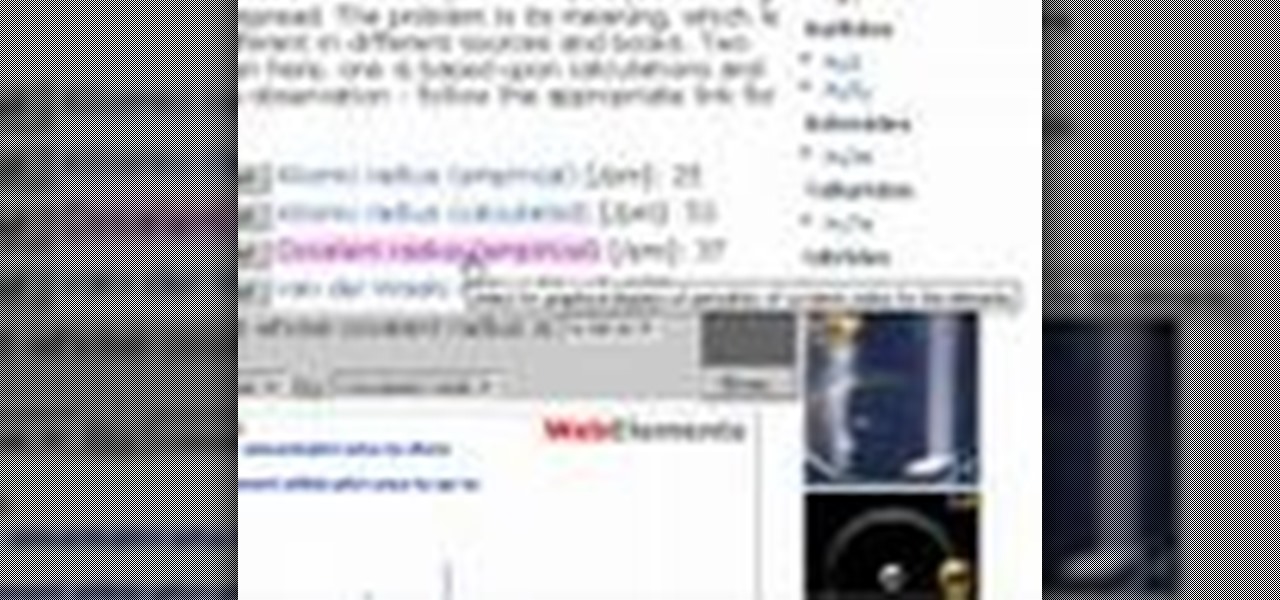
Mike Lively of Northern Kentucky University shows you how to build an interactive Molecule Viewer in Papervision3D and Flex 3. This is a fun application building project for anyone learning Adobe Flex Builder 3 and a great resource for molecule viewer for students, educators, and researchers in chemistry and biochemistry.
This software tutorial takes a look at how to design an icon set in both Photoshop and Illustrator. An icon set is a set of icons that you can integrate into a number of different projects, like a website or a company letterhead, logo and identity set up. Having an icon set readily available for all your project needs will make your workflow faster and simpler. So watch and see how to make an icon set first in Photoshop and then in Illustrator.
Using three layers of alpha transparent PNG files, we can can create a pseudo 3-dimensional looking background for a web page using the parallax effect. This video screencast covers how to do that from start to finish. Since Internet Explorer 6 and under do not support alpha transparency in PNG's, this screencase also covers how to create a warning message that will display only in those web browsers. You'll see how to use TextMate, Adobe Photshop, Safari, and VMware Fusion for your CSS build...
The Microsoft Surface has been the go-to device for many professional artists since its initial release back in 2012. Since then, the Surface line has continued to offer customers a portable, high-powered machine that's a near perfect value for both casual and professional artists. And the Surface Book is its best model yet—a full laptop convertible with a detachable screen and a dedicated GPU.
This tutorial shows you start to finish how to draw an image of a bully with a water bottle in hand and then fling that water bottle onto someone else using FL Studio. This a useful reference piece for trying to animate splashing water or similar water physics. It's not precisely hard to do, but you'll want to pay attention to some of the detail in each piece. Also make sure that you have the most current version of FL Studio installed!
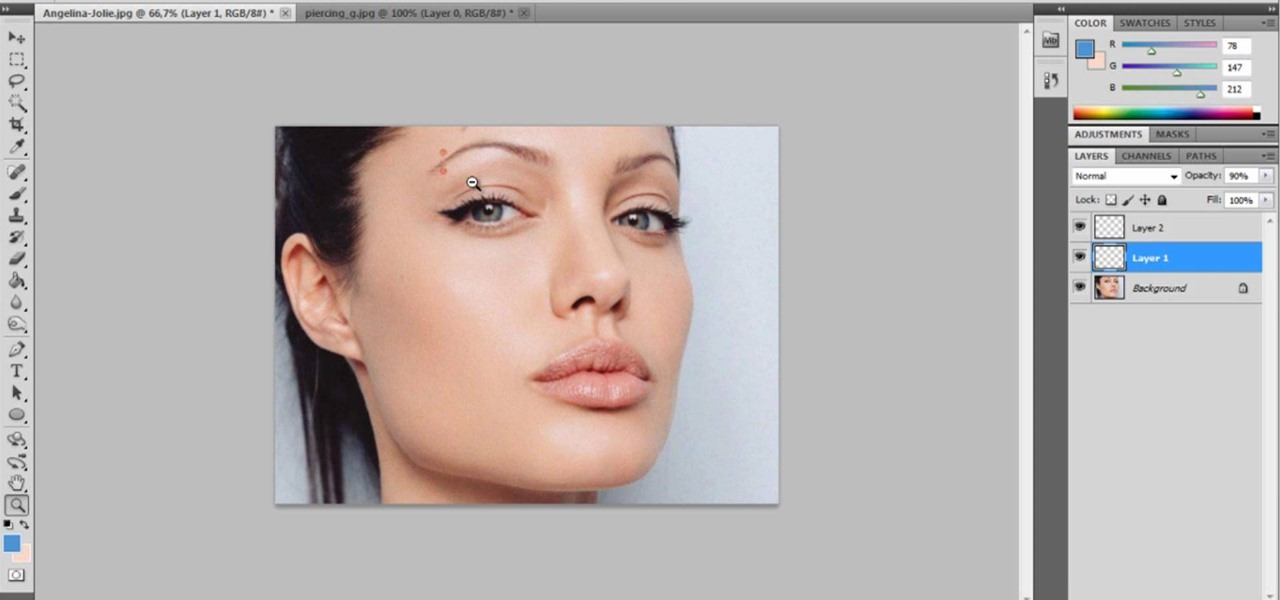
Want to prank a friend by making them look like a punk? Or get revenge by showing the picture to their parents? Or maybe you just want to see what you would look like wiht an eyebrow piercing yourself. Start with a photo of your subject, one with the eyebrow prominently shown, and then follow the steps in this tutorial to add a fake eyebrow piercing using the tools and techniques in Adobe Photoshop.
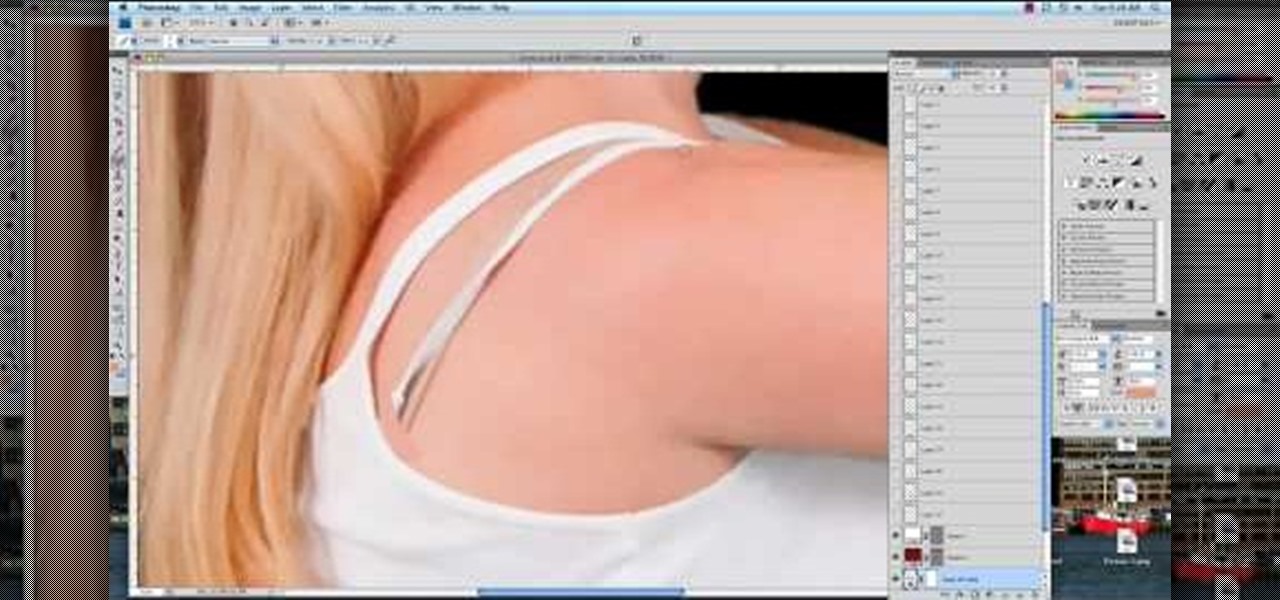
Bras are such wonderful inventions. Without them, our twins would stray and wander right out of our clothing, and cold weather would prove rather uncomfortable - not to mention awkward - anytime we take our sweater off (if you catch our drift).
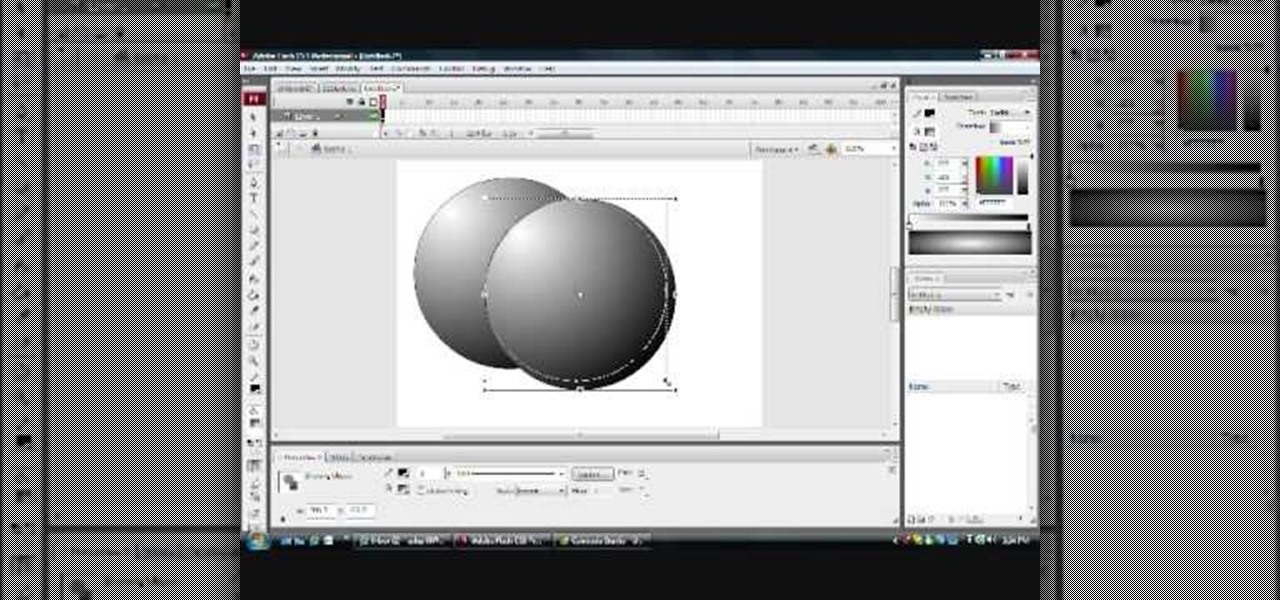
Want to create 3D shapes in flash easily, without doing any real 3D modeling work? Watch this video and learn a few basics. An Adobe Flash tutorial video that is essentially divided into three sections. The 1st section teaches how to create a rounded filled circle with spherical effect and depth. The second part teaches the same thing with rectangular objects while the third teaches how to create a cylindrical effect using a rectangle. The obvious uses of these methods is to create your own 3...
First select the pencil tool then click on pencil mode which is located at the bottom of the toolbar, select straighten and draw a line as in the video. Now you can see that the line is automatically adjusted, it will make the round and straight shape in the line depending on how you drew it. Now delete your shapes and select the smooth in pencil mode and draw a line as in the video. Now you can see that the line is automatically smoothed. And finally select the ink in pencil mode and draw a ...
Looking for a primer on how to create custom banners for your YouTube videos with Photoshop CS4, CS5 or GNU GIMP? This guide will teach you everything you'll need to know. It's easy! So easy, in fact, that this guide can present a thorough overview of the process in just over eight minutes. For more information, including detailed, step-by-step instructions, and to get started making your own custom banners, watch this clip.
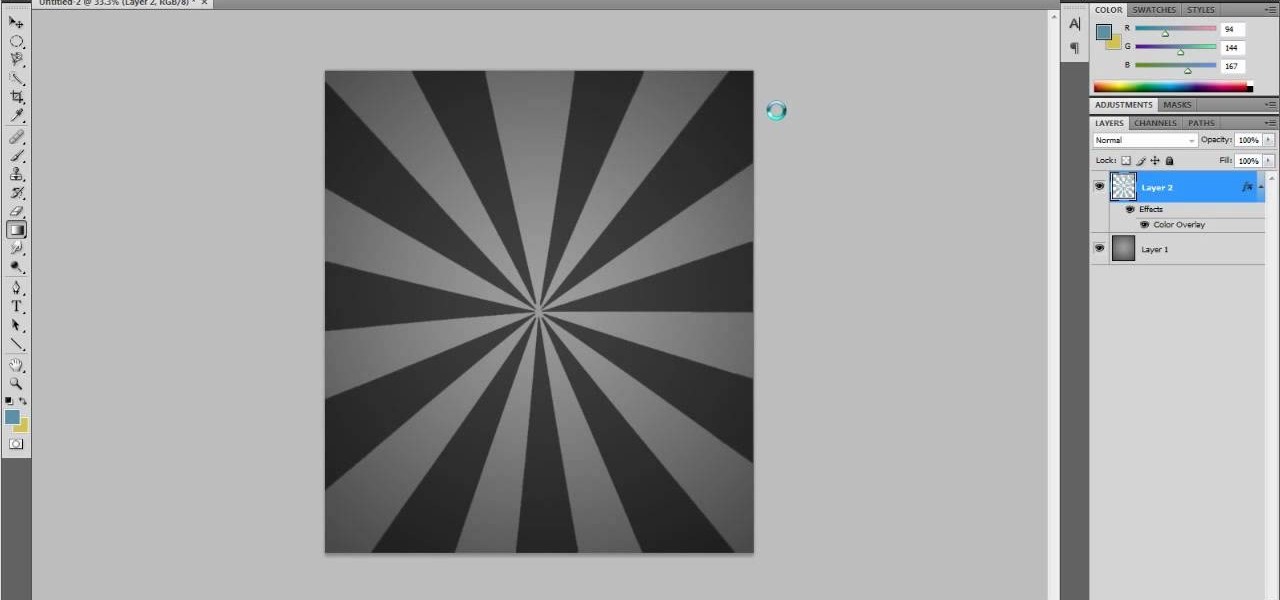
This is a very popular brush right now and I figured that their may be some people out there who would actually like to see how they are made. So in this tutorial I show you how to create the starburst effect by itself then take it a step further and show you how to make it into a brush that you can use on other projects! Hope you guys enjoy and leave any comments that you might have... Thanks!
If you're looking for a fun little project to work on using Adobe Photoshop, why don't you give this a try. In this next tutorial, you'll be finding out how to create multi-colored glowing lines using Photoshop.
This video tutorial is in the software category where Kerry Garrison will show you how to use vignettes with Adobe Photoshop Lightroom. By this you can remove the dark corners in a photo created by some zoom lenses. Select the photo, kick in the vignettes and fade out the corners focusing on the main subject matter. For this, select 'lens correction' on the right hand side and with the help of the sliders apply the vignettes. You have the choice of applying either a light or a dark vignette. ...