

How To: Integrate Dreamweaver & Photoshop to create websites
Dreamweaver and Photoshop play very well together. Learn how to use this dynamic duo to create great-looking websites. Integrate Dreamweaver & Photoshop to create websites.

Dreamweaver and Photoshop play very well together. Learn how to use this dynamic duo to create great-looking websites. Integrate Dreamweaver & Photoshop to create websites.

Being able to auto stretch tables is one of the features available for use in the layout mode of Dreamweaver. This tutorial will show you how to use this feature and give you some tips on good webpage design approaches. Auto stretch tables in Dreamweaver.
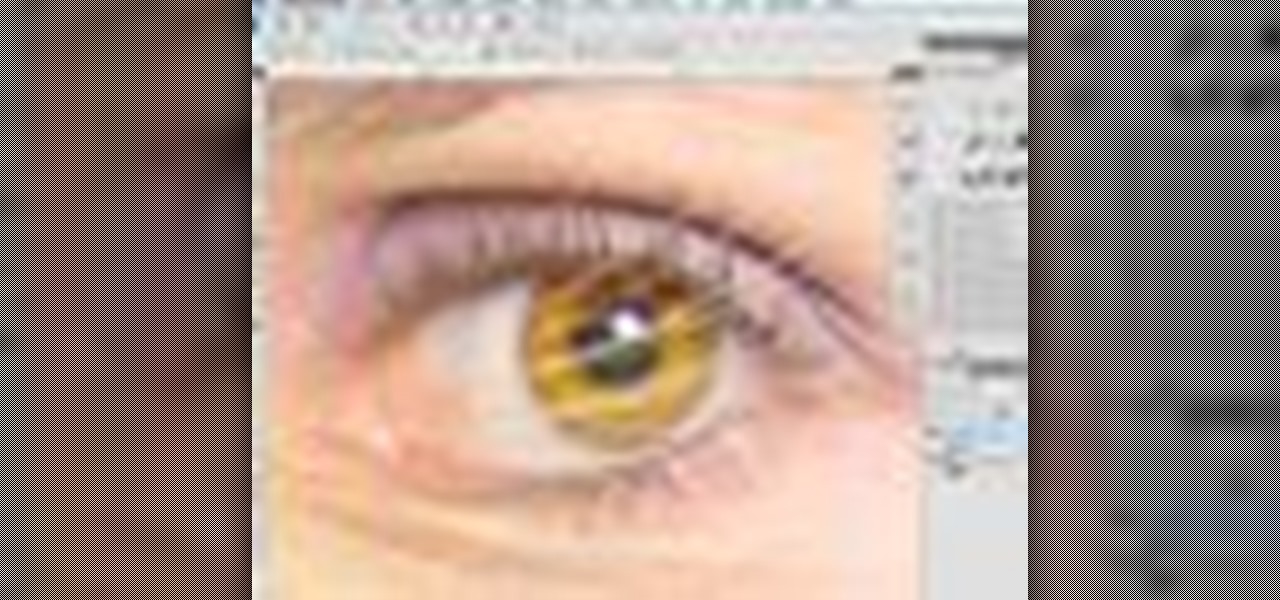
Photographer Chris Alvanas uses some of the new tools and functionality of Photoshop CS4 to retouch the eyes of his subject. This video involves Quick Mask mode, and isolating Hue/Saturation adjustments for a specific tone.

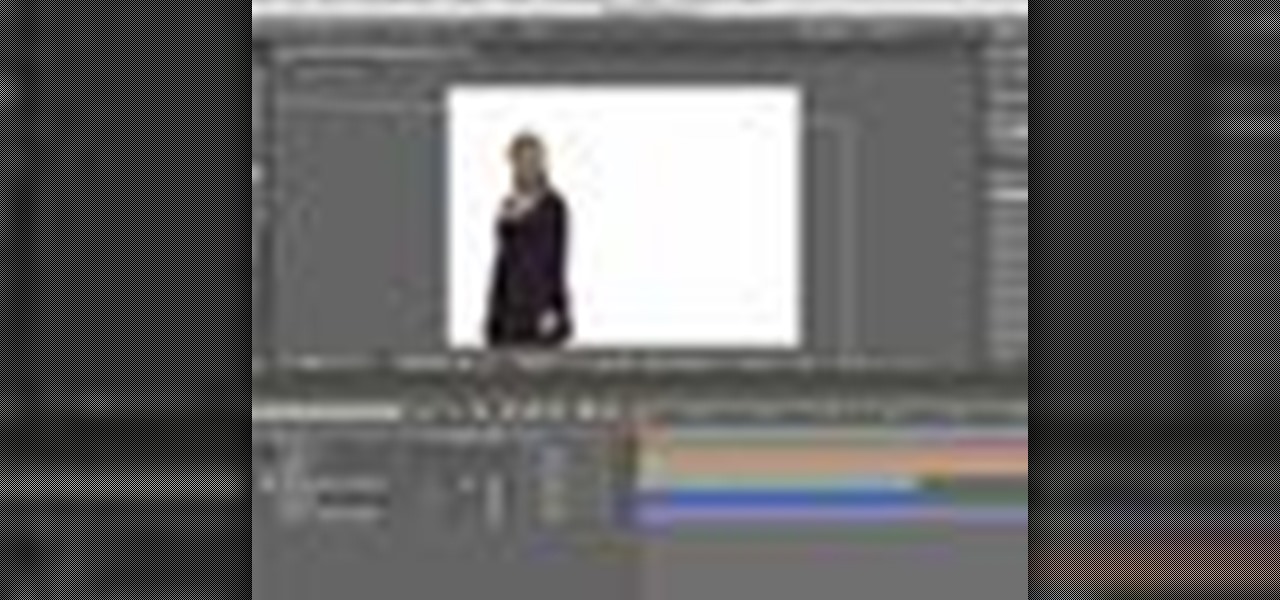
Rollovers let your users know that they are interacting with the web page. In this software tutorial, we will use Photoshop to create images to be used in both states of the rollovers and Dreamweaver CS3 to create the rollovers themselves. Rollovers are a huge part of website design so if you don't know how to make them, and you are building websites in Dreamweaver CS3 this tutorial is a great place to learn. Create rollovers in Dreamweaver CS3.

Let’s explore the new spry form widgets in Dreamweaver CS4. After creating a simple form, use new insert panel to create and customize the spry menu objects. Use the new Live View function to preview how the form will behave on the web. Follow along as Geoff Blake shows you everything new about using spry form widgets in Dreamweaver CS4. Use the new spry form widgets in Dreamweaver CS4.

This tutorial experiments with a current design trend of creating cyber punk backgrounds using Adobe Photoshop and Illustrator in tandem. For more information, including detailed, step-by-step instructions, watch this free video software tutorial.

As it ships, Dreamweaver typically has more built-in behaviors for ASP and Cold Fusion than it does for PHP. Still, developers are quickly writing PHP extensions to make Dreamweaver quite a robust tool for developing PHP/MySQL Web Applications. In this Dreamweaver 9 video tutorial you will learn how to define a site to use PHP pages. Make sure to hit "play tutorial" in the top left corner of the video to start the video. There is no sound, so you'll need to watch the pop-up directions. Define...
In this two-part tutorial, J. Schuh demonstrates how to animate a flying bird using Illustrator and Flash. In Part 1, he goes over the process of creating the vector assets in Illustrator. In Part 2, he brings the illustrator assets into Flash to animate the movement of the wings. For more information, including detailed, step-by-step instructions, watch this free video software tutorial.

If you’re a photographer who's using WordPress to your blog, more often than not, you are making compromises on what pictures to put on your post. You don't want to overrun the space on the browser with images and have the user sift for the content, but you want to post more than just one. Learn how to an insert a Lightroom slideshow onto your WordPress blog. For more information, including detailed, step-by-step instructions, watch this free video software tutorial.

In this Photoshop tutorial, Richard Harrington shows how to perform depth of field blurring techniques using the lens blur feature in Adobe Photoshop CS4.
In this episode of Photoshop for Video, Richard Harrington takes a look at a new feature in Adobe Photoshop CS4 called content aware scaling. This feature allows a user to define a region or a graphic to scale or not to scale when the image is resized, giving tremendous flexibility to not have certain parts of a photo distorted when other parts are stretched.
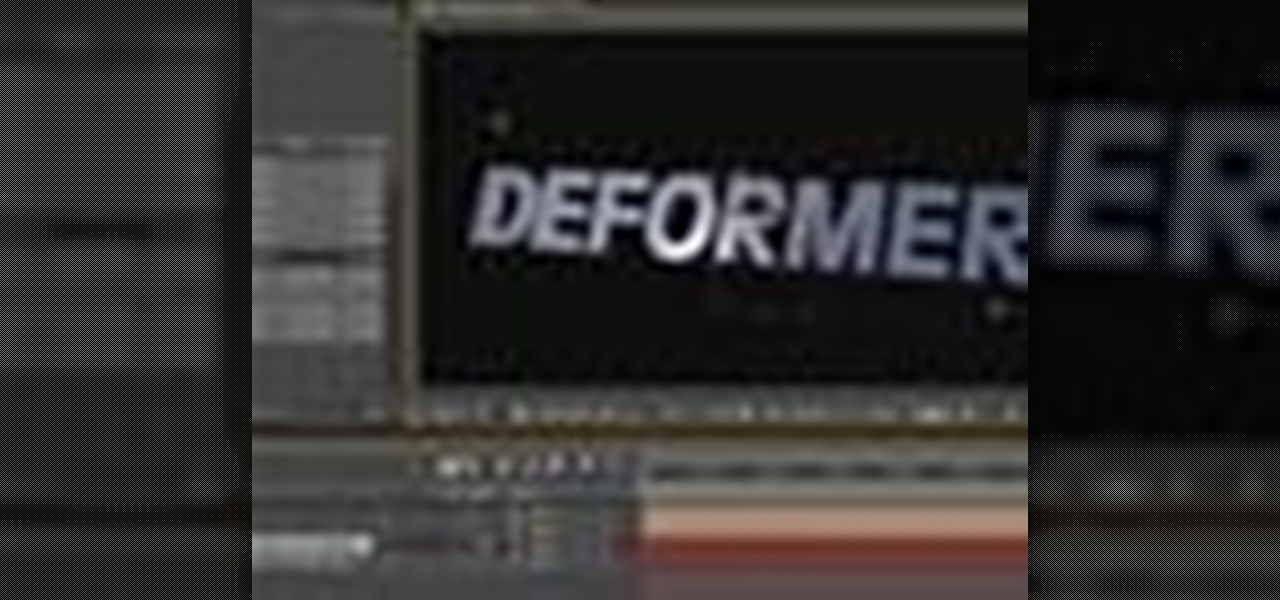
In this Boris FX video tutorial we show you how to employ the power of vertex shaders to warp, deform and even explode 3D extruded text using Adobe After Effects and the new 3D Objects from Boris Continuum Complete 6 AE.
In this tutorial, Broadcast Designer Jason Brown will show you how to knock out a vector logo from Adobe Illustrator into a 3D logo in Maxons Cinema 4D. The tutorial also touches on basic texturing, lighting and animation.

Tom Green shows how to make your life easier using these Fireworks productivity tips. This tutorial includes things like sharing layers between pages and creating dummy text.

This tutorial shows you how to create e-mail hyperlinks in Macromedia Dreamweaver. Email hyperlinks in Dreamweaver.

Looking for precision in your Web layouts? Discover techniques for using Dreamweaver layers to position page content and even overlap page elements. Use layers to create web layouts in Dreamweaver.

This is a 3 part tutorial. Be sure to click on Chapters 2 & 3 to get the full tutorial. In Part 1 of this 3 part Adobe Illustrator tutorial series, Vincent Rosati explains how to use the free transform tool to take the first step in creating a helix with AI.

Dreamweaver contains a useful set of pre-built Macromedia Flash buttons. In this Dreamweaver 8 video tutorial you will learn how to add these Flash buttons and set links in them. Make sure to hit "play tutorial" in the top left corner of the video to start the video. There is no sound, so you'll need to watch the pop-up directions. Add Flash buttons in Dreamweaver 8.

You can use a Dreamweaver timeline to animate any object you insert in a layer. You can then move, resize, and affect the visibility of the layer across a time continuum. In this Dreamweaver 8 video tutorial you will learn how to animate layers. Make sure to hit "play tutorial" in the top left corner of the video to start the video. There is no sound, so you'll need to watch the pop-up directions. Animate layers in Dreamweaver 8.
SQLyog is a Graphical User Interface (GUI) for the popular Relational Database Management System (RDBMS) MySQL. In this Dreamweaver 8 video tutorial you will learn how to create a database with SQLyog. It sounds complicated, but it really isn't. Make sure to hit "play tutorial" in the top left corner of the video to start the video. There is no sound, so you'll need to watch the pop-up directions. Create a database with SQLyog and Dreamweaver 8.

In this Dreamweaver 8 video tutorial you will learn how to trace images. Learn how to locate and open the tracing image button and set your tracing image. You'll then use the tracing image as a reference for layout. Make sure to hit "play tutorial" in the top left corner of the video to start the video. There is no sound, so you'll need to watch the pop-up directions. Trace images in Dreamweaver.

Jump menus offer a compact pop-up menu for users to navigate to other pages in the current site or to external pages on the Internet. In this Dreamweaver 8 video tutorial you will learn how to use jump menus. Learn how to locate and open the jump menu item, insert jump menu into the page, and style it with CSS. Make sure to hit "play tutorial" in the top left corner of the video to start the video. There is no sound, so you'll need to watch the pop-up directions. Make a jump menu item and lin...

In this Dreamweaver 8 video tutorial you will learn how to display records by extracting info from a database. Learn how to create a data connection, create a query, work with recordset, display items, and use repeat regions. Note: To use this tutorial you need XAMPP and make sure to hit "play tutorial" in the top left corner of the video to start the video. There is no sound, so you'll need to watch the pop-up directions. Display records in Dreamweaver 8.
In this episode of Red Giant TV, Aharon Rabinowitz shows you how to create the effect of text (or a logo) dissolving to sand and blowing away. You'll also learn how to reverse the transition, so that sand forms into text.
In this video tutorial, CreativeCOW leader, Eran Stern demonstrates using paint strokes brushes to automatically morph between path shapes.
In this 2 part video tutorial, Eran Stern shows you the first step to create a retro design title animation for a fictional sci-fi movie.
In this Red Giant tutorial, Aharon Rabinowitz shows you how to create a realistic traffic pattern backdrop - great for a scene in which the camera overlooks a low lying, but developed area - perhaps looking down from a high hill onto a residential neighborhood.
In this video tutorial, CreativeCOW leader, Eran Stern demonstrates how to create flower trails using Trapcode Particular in this special holiday episode. You'll also work with the light emitter and use 3D layer to obscure particles.
In this video tutorial, Creative Cow leader Tony Ross demonstrates how to create a simple multi-video player in Flash using Actionscript 2. Also learn to have several videos use a single flv player.

In this Apple Color tutorial, Richard Harrington along with color expert Robbie Carman create the Pleasantville effect in Apple Color. Using the secondary curves, specifically the saturation curve, to isolate just the yellow in a taxi cab everything else in the video clip can then be desaturated to create this popular effect.
This two part episode shows you how to use Trapcode Form to create a dramatic transition where footage breaks into binary code, and re-forms as different footage.

In this Episode, you will learn how to set up a seamless looping particle system. We will be using Trapcode Particular and Starglow to create a stylized holiday snowstorm, but the concepts can be adapted for anything from backgrounds to lower 3rds.

In this Boris FX video tutorial we show you how to use an After Effects mask to define custom extrusion curves as well as the baseline for text characters in Boris Continuum Complete's Extruded Text filter.

In this Final Cut Tutorial, Richard Harrington shows you how to clean up the Final Cut application when it starts acting up with bugs or other problems. Many times this can be caused by a corrupt preferences file or other user settings related to Final Cut Studio. These tips are also handy when performing an upgrade installation or reinstallation.

In this episode of Final Cut Help, Richard Harrington takes a look at keyframing the three way color corrector in FCP. As details change in a movie clip you can have the filter adjust its values over time. This example uses a video of a bird starting in a bright sky and ending in water which is darker, the contrast transition is controlled by keyframing the saturation and color correction.

In this episode of Red Giant TV, Aharon Rabinowitz will show you a technique for placing layers inside the middle of a particle system in After Effects - crucial to truly integrating your CGI effects with your live action footage or motion graphics.

In this Final Cut tutorial, Richard Harrington discusses the common problem of backlighting, exposure and what can happen when shooting video outdoors. Proper exposure of all elements in a shoot can be a pain to achieve with a bright sun and blue sky but using the three way color corrector in Final Cut Pro, Richard is able to make all the elements pop.

In this Photoshop tutorial, Richard Harrington takes a look at the auto blend command that allows you to merge multiple pictures together into a single larger document. When you have a large scan and you have to scan it in multiple pieces and then stitch it together or if you want to stitch together panoramic photos for a virtual scene this photography tool becomes quite useful.
In this Final Cut tutorial, Richard Harrington discusses what to do to correct your film when you shoot footage with the wrong white balance setting. This is a common problem if you step outside after shooting inside and you forget to rewhite balance. Richard uses the three way color corrector to do a digital white balance on the clip inside of Final Cut Pro.

In this Photoshop tutorial, Richard Harrington takes a look at balancing out exposure issues inside of Photoshop CS4. Mixed lighting on a photo can cause portions of the image to be too bright or too dark, fortunately Photoshop gives us some great tools to take care of these types of issues. Using a levels adjustment layer in combination with a color range selection, Richard is able to greatly control the lighting in a photo. The equalize command is also covered in this video tutorial.