Any hacker worth her salt will need to debug from time to time. One particularly efficient way to check your code is with the RATS code checking tool. In this video, you'll learn how to use the RATS code checking tool for C/C++, PHP and Perl. For a detailed walkthrough on how to use RATS scanner to audit your source code, take a look!

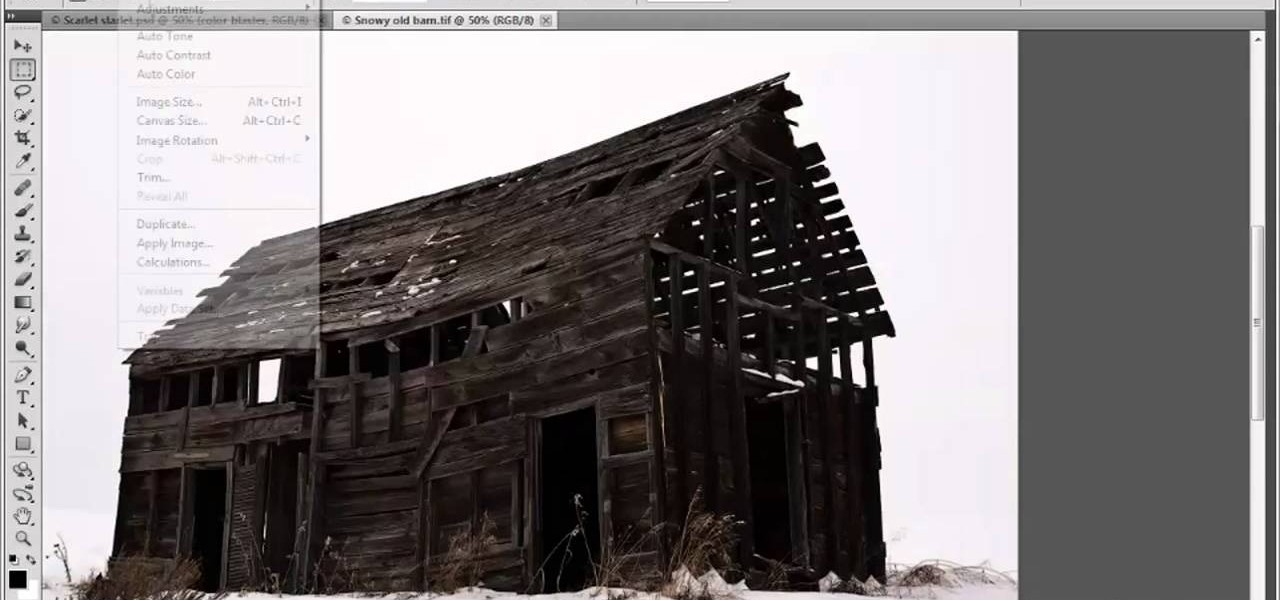
This image editing software tutorial shows you how to use the healing brush tools in Photoshop CS3. Think of them as first aid for your photos! Watch and learn how to use The Clone Stamp, Spot Healing Brush, Healing Brush, and Patch Tool to retouch photos in Photoshop CS3.
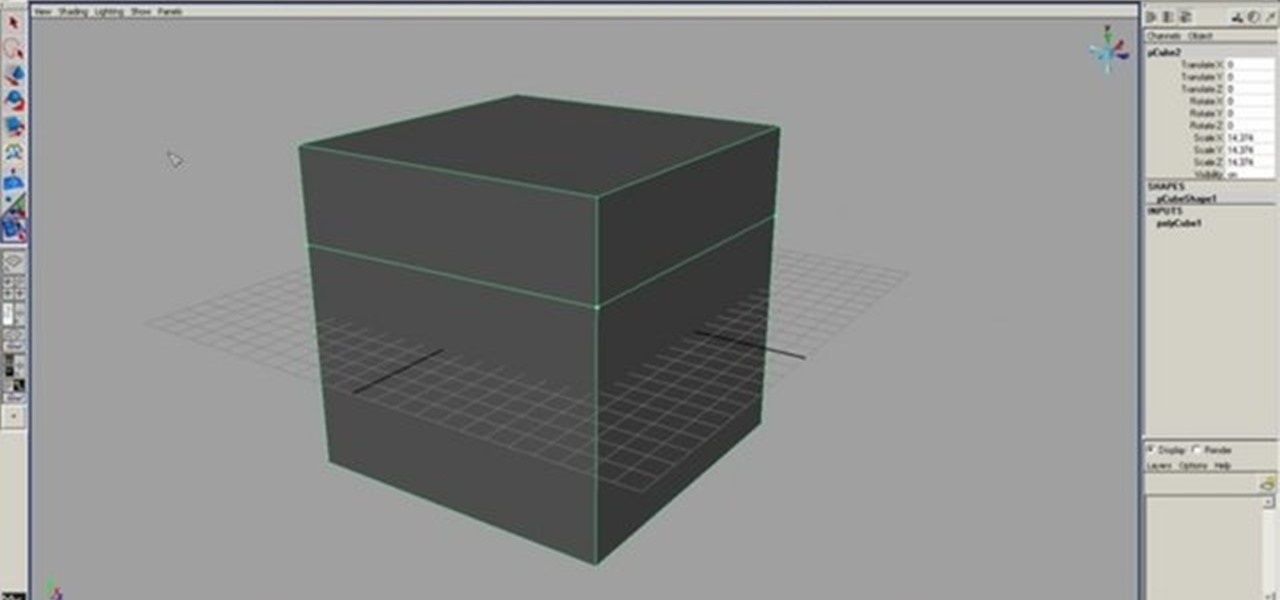
This 3D modeling software tutorial shows you how to use the split polygon modeling tool in Maya. Learn how to use the split polygon tool to get full control over adding detail to your polygon object in Maya.

After you've assembled your clips in order, you can fine tune your sequence by trimming the edit points between each clip. This video explains the many tools you can use to make trimming videos easy and precise, including the ripple and roll tools. These tools allow for seamless editing.

The Dremel Stylus tool is ideal for any wood worker or wood crafter. This versatile and easy to use tool can let you carve or whittle any number of projects out of wood, such as a wooden relief. This video demonstrates how to carve a piece of ivy onto a wooden box.

Tim the tool man Taylor would do his famous grunt in favor of this manly way of carving a pumpking. Rather than use your typical pumpkin carving tools like a mini knife and sharp picks, you'll learn how to employ a faster course of action by using power tools to blast those contours off.

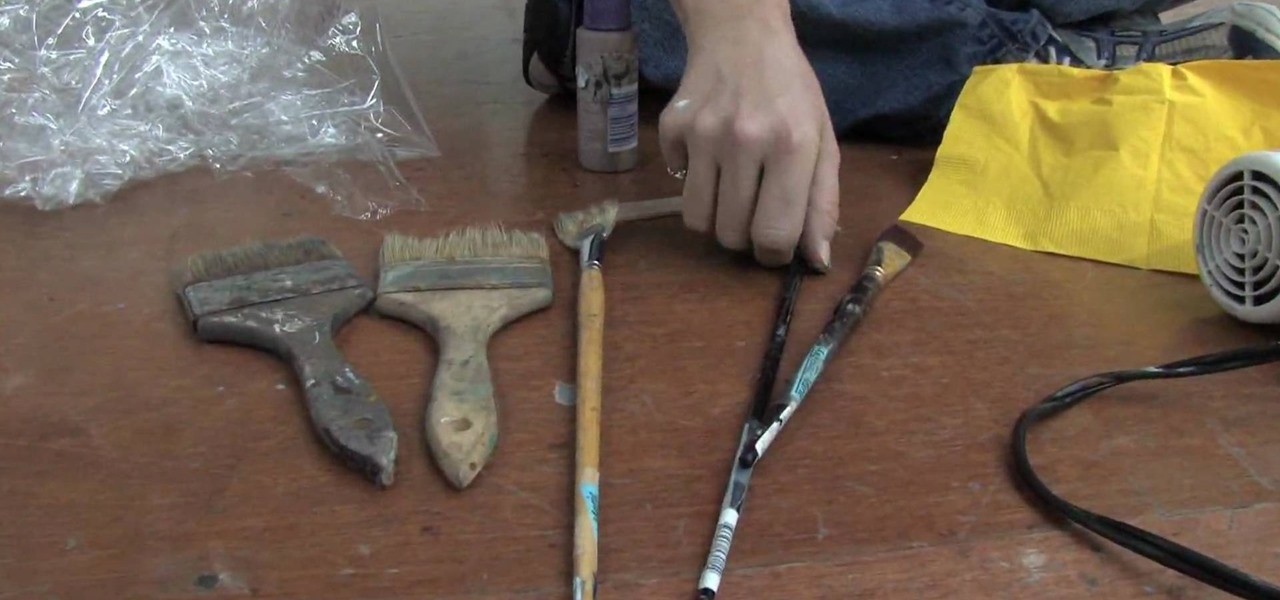
In this tutorial, we learn how to understand artist tools for painting. The first tool is plastic, which can be use for great textures on the painting. Cheap brushes are great for painting in big spaces and fan brushes are great for painting wider widths. A badger hair brush will be best for painting tails on canvas and different types of papers. A synthetic brush is very easy to clean and perfect for oil or acrylic paint. A hair dryer is a tool that is great to speed up the drying time of pa...

In this Software video tutorial you will learn how to use tool shortcuts in Final Cut Pro. To change opacity and the volume limit, click the little mountain button on the bottom and you will have two lines in the clip representing audio lines of two mono tracks. And you also have opacity located above the audio lines. With the help of the slide bar you can set the opacity. To get the pen tool press 'P'. To get out of any tool, press 'A'. To delete the entire audio track, select it, lock, dele...

The great thing about woodworking is the ability to do whatever you want to something using various styles and tools. Whether you're making a bird house or a table, there are plenty of ways that this can be done.

If you've recently purchased a Kreg Jig, you've probably recieved the plans for bulding certain items, including a work bench. If not, it's okay, you can head to their website for the guide. So, in this tutorial you'll find out how to build a workbench using your Kreg Jig tools. It's a great place to keep your tools and will make life much easier for you whenenever you need something. Enjoy!

In this video, we learn how to use the Cool Noodle Tool to make noodles make from thai coconut, auzzhini, jicama, daikon radish and yellow squash. First, grab a half of a coconut and your noodle tool. Take your tool and scrape the inside of the coconut and you will have coconut noodles in no time! Do this for all of your different vegetables, whichever you prefer. Place all of your vegetable noodles into a large bowl and you can now prepare these with any sauces that you prefer. This tool mak...

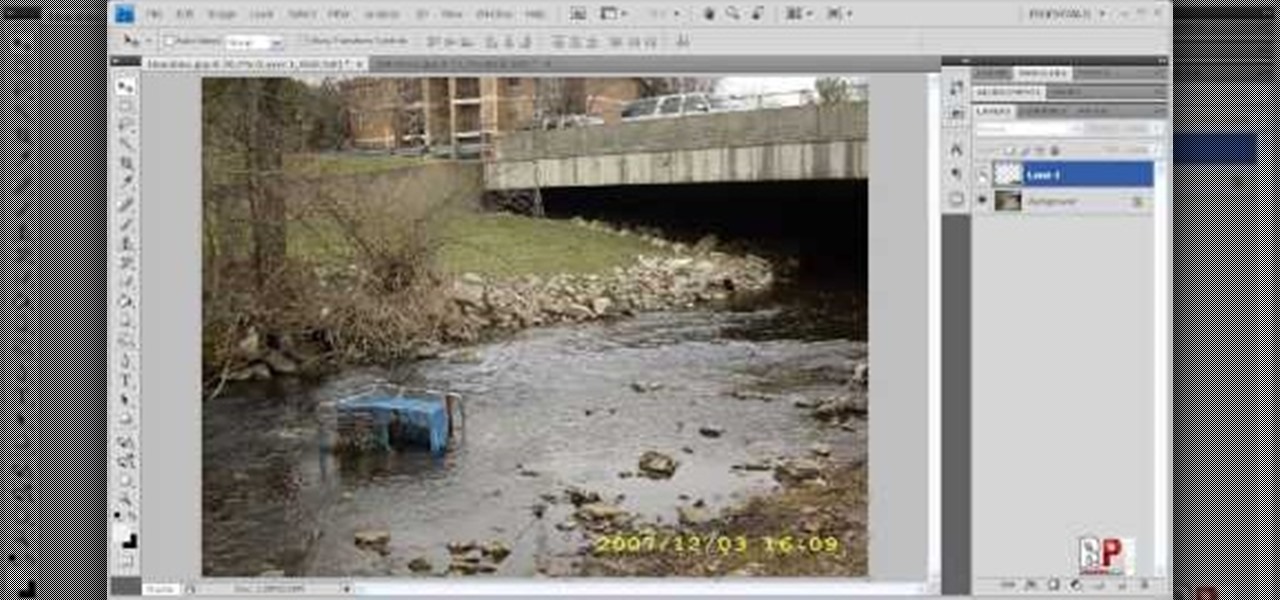
There are various ways to remove the timestamp on your photos using Photoshop. You can use the crop too and crop out the photo, but then you'll lose parts of the photo as well. You can use the patch tool, and draw a border around the date, then drag the date to another area, let go and press ctrl+D. The time will disappear and the area will be patched up with surrounding colors. Another method is to use the spot helium brush tool, and simply just brush over the text, and the spot helium brush...

If you need to remove vocals from a song in Pro Tools first you need to open Pro Tools and load the song. First, you need to split this track so go to Track and click split to mono. Now, mute this first track. Next, you want to remove the stereo by panning each the bottom to 0. Now, flip the phase by going to the bottom clicking EQ plugin. Now the vocal is pretty much gone.

In this video tutorial, viewers learn how to tie a fly fishing line to the backing. Users will need a nail knot tool. Put the backing into the tool, leaving about 6 inches sticking out. The wrap the line around the tool 5 times, pushing the loops together. Take the end of the line and run it through the groove of the tool. Put the fly line through the other end about 2-3 inches. Then hold the loops in your hand, remove the tool and pull on the backing to tie it. This video will benefit those ...

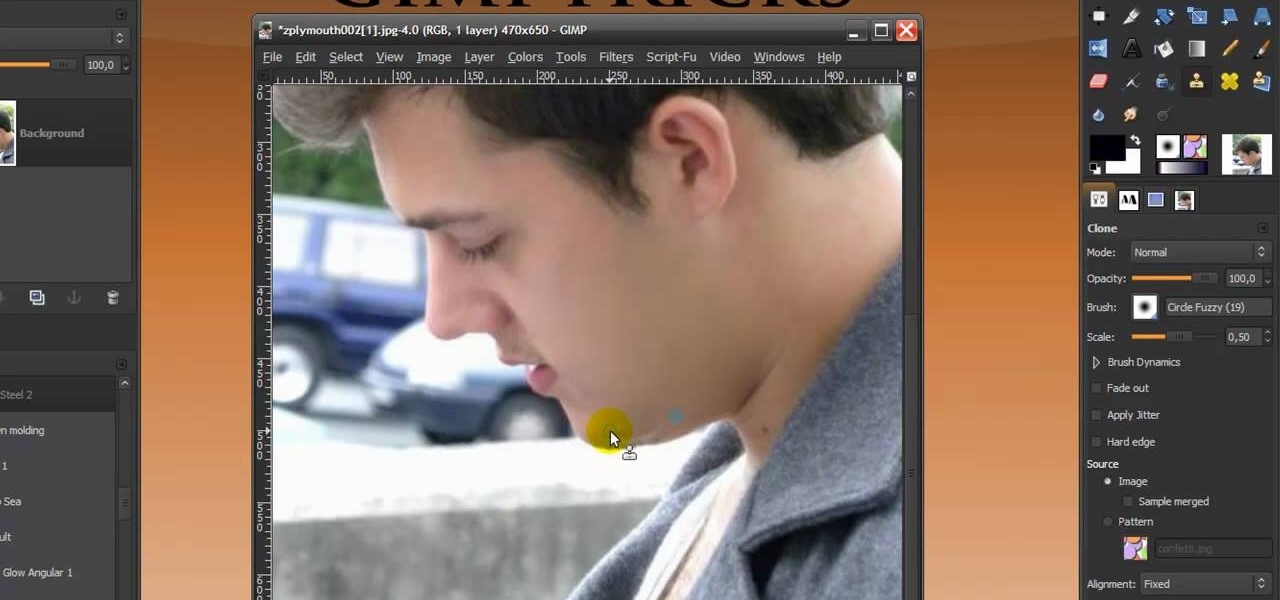
In this Software video you will see how to give someone a shave in GIMP. Learn spot removal, skin smoothening and a makeover or removing a 1 day beard. This is done using the Clone and the Healing tool. To use the Clone tool, select the tool from the right hand panel. Then to select the source skin color, you have to hold ctrl key down and click. Now when you apply it to the area you will get the same shade of the source color. So, you will need to select an area very close to the spot you ar...

In this video the instructor shows you how to mount ISO images. You can use your ISO images of CD or DVD with out burning them on to real disks. Using this you can play a DVD with out a DVD player. Use DVD shrink to extract the copy of ISO image from your DVD. Go to internet and install Daemon tools lite program. After installing you will see an icon in the tray which says daemon tools. Right click on it and select the Virtual Devices option for the menu. Inside it select the virtual drive yo...

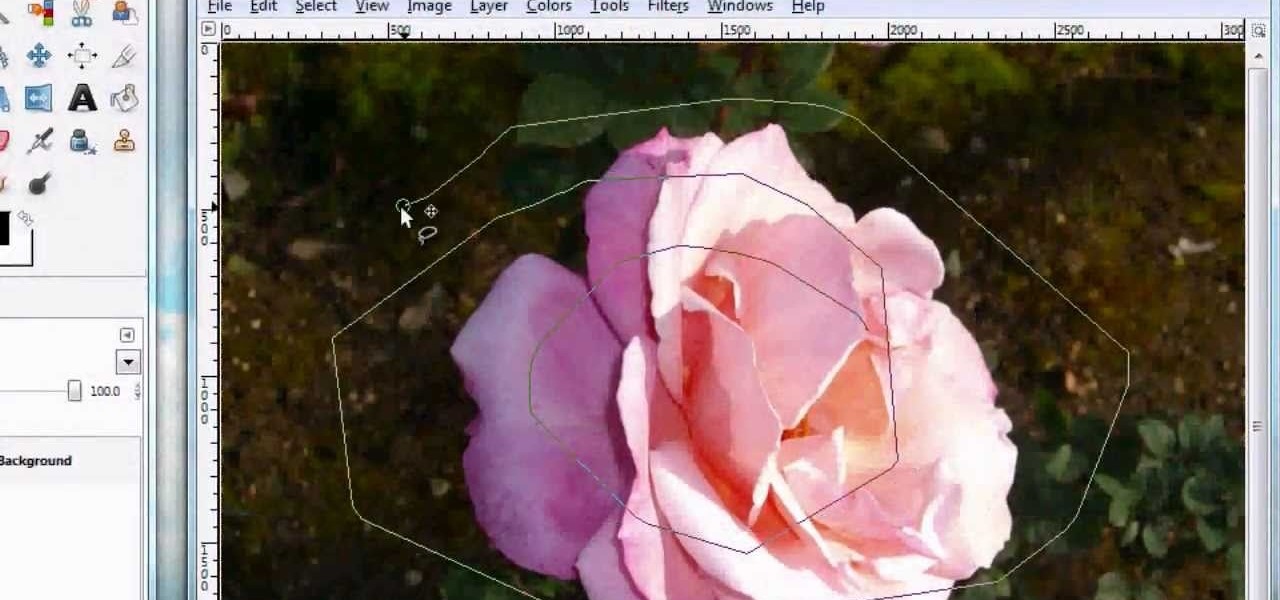
For anyone looking to edit a picture with one or more persons down to just a single person in the picture, you can use GIMP. This video tutorial goes over how to utilize the paths (or pen) tool and foreground select tool. The paths tool allows a person to select a part of an image to create a series of lines, or paths, that allow you to create a path around whatever you want to select in a picture. This item can then be moved and copied to a completely different photo. The foreground select t...

In this tutorial the instructor shows how to use commenting tools in Adobe Acrobat 9. He says that the look and feel of the commenting tools are very similar to the previous version tools which were used to mark and comment documents. He shows how to open the comment button from the menu bar and explains about the options present in there to use the commenting features. He demonstrates many ways to enable comments and markup tool bar in the application. Now he shows about the various ways of ...

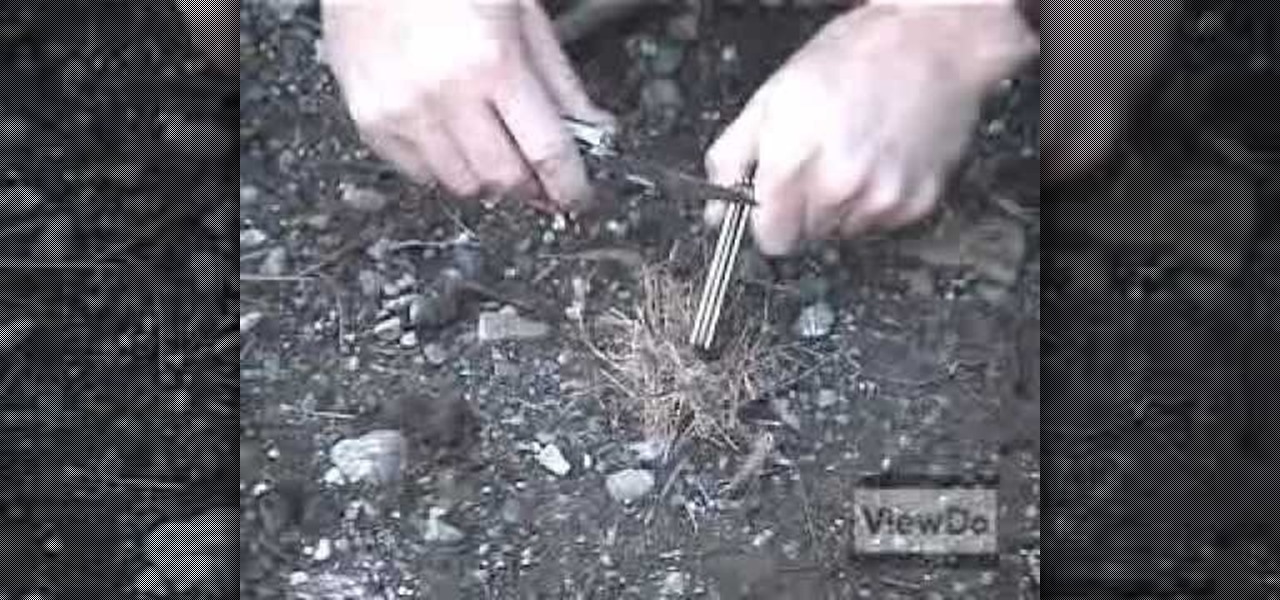
Do you want to learn how to make fire with a magnesium fire tool? Then all you need is a magnesium fire tool and this video. First of all, you need some kindling ready such as dry grass, small leaves, twigs, etc. Create a small pouch for the magnesium strips, then shave small pieces of magnesium into this pouch. Then, use your knife and move it against the flint side of the tool. This will cause a spark, which will catch on fire and the magnesium will assist in allowing this flame to grow. La...

Photo editing expert Chad Troftgruben teaches the viewer how to effectively use the quick selection tool in Adobe Photoshop. In Chad's opinion, the quick selection tool is quite similar to the magic wand tool in the same software, except for one major difference: one can select a particular object, even in a complex picture, simply by holding down the left key of the mouse and moving the pointer over the object. Chad also points out that the quick selection tool saves a lot of time and is ver...

Take a look at this instructional video and learn how to use the drawing tools in LayOut to create shapes. Although the tools work the same in both Windows and Mac versions, they are organized differently. Line tools infer the same way SketchUp does when you set down to create shapes. When using the Curve tool, click between points to draw straight lines, and drag the mouse button to create curves. Create waves and free form shapes with the freehand tool.

Take a look at this instructional video and learn how to use the rotate tool in Google SketchUp. When you pick the rotate tool, the icon orients itself to any surface you hover over. Click once to set the rotation and move away to set a rotation base. This is the controlling arm you will use to rotate your object. This tutorial covers how the rotate tool works, examples of the rotate tool in action, and how to lock or define the orientation of the tool.

This tutorial shows you how to use the Puppet Tool in Adobe After Effects CS3. The Puppet Tool can be used when compositing in 2D or 3D space to manipulate and animate layers. If you are new to After Effects or have never used the Puppet tool, this tutorial will get you started.

Learn how to say the names of kitchen tools in French

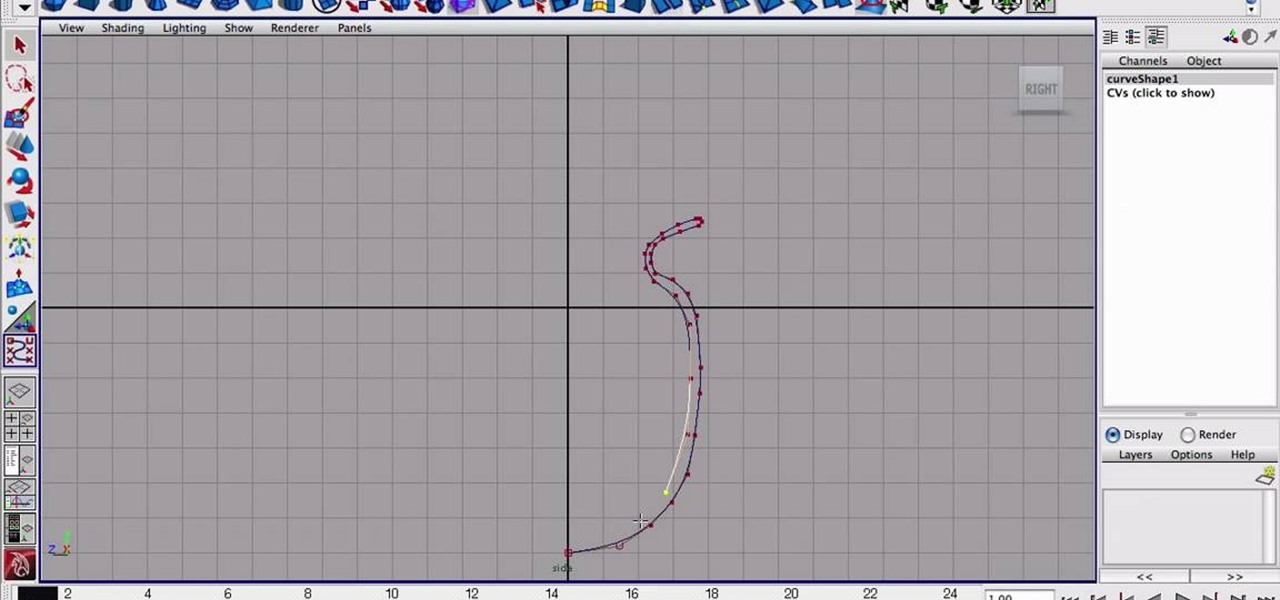
3D modeling tool Mayafrom Autodesk is a monster of a program, able to do SO many things. One of the things you'll need to learn is how to use the CV Curve tool. This will allow you to create objects with curves of any shape or dimension you desire. Let's be honest, most of your models will require curves, so check out this tutorial and find out how to do it. Maya is used in everything from small animation to feature films like Spiderman. If you want to be in the biz, expand your skill set wit...

If you take a lot of photos with your smartphone or cheap digital camera, you can see the difference compared to results from a pro camera. So, if you want to get a professional camera look without dropping the money, check out this video to learn how to enhance your pics. This trick works with Photoshop, or any photo editing software that has a selection tool, a gradient tool and a gaussian blur filter.

If you loved The Da Vinci Code by Dan Brown, then listen up— there's been a new discovery found hidden within Leonardo da Vinci's most famous painting— the Mona Lisa.

Plexiglass is great for all sorts of projects, but it is notoriously hard to work with at home. If you've got a plexiglass project in mind though and need an easy, cheap way to bend it, watch this video. It will teach you how to make a tool out of part of a blowdryer that will help you bend plexiglass into whatever form you want.

In this clip, learn how to utilize the Curves tool to fix luminance problems. Whether you're new to Adobe's popular raster graphics editor or a seasoned designer looking to better acquaint yourself with the new features and functions of the latest iteration of the application, you're sure to benefit from this free software tutorial. For more information, watch this video guide.

Learn how to use the ever-useful Quick Properties tool in AutoCad 2011. This clip will teach you everything you'll need to know. Whether you're new to Autodesk's popular 3D drafting application or a seasoned professional just looking to better acquaint yourself with the newest iteration of the program, you're sure to be well served by this video tutorial. For more information, including step-by-step instructions, watch this free video guide.

Now that it's legal to jailbreak mobile phones, why not finally take the plunge and jailbreak your iPhone? This video will show you how to create a custom .ipsw for iOS 4 for installation on an iPhone 3GS using Pwnage Tool 4.0. The process is pretty quick and easy, and will allow you to create the custom iPhone interface that you've always wanted.

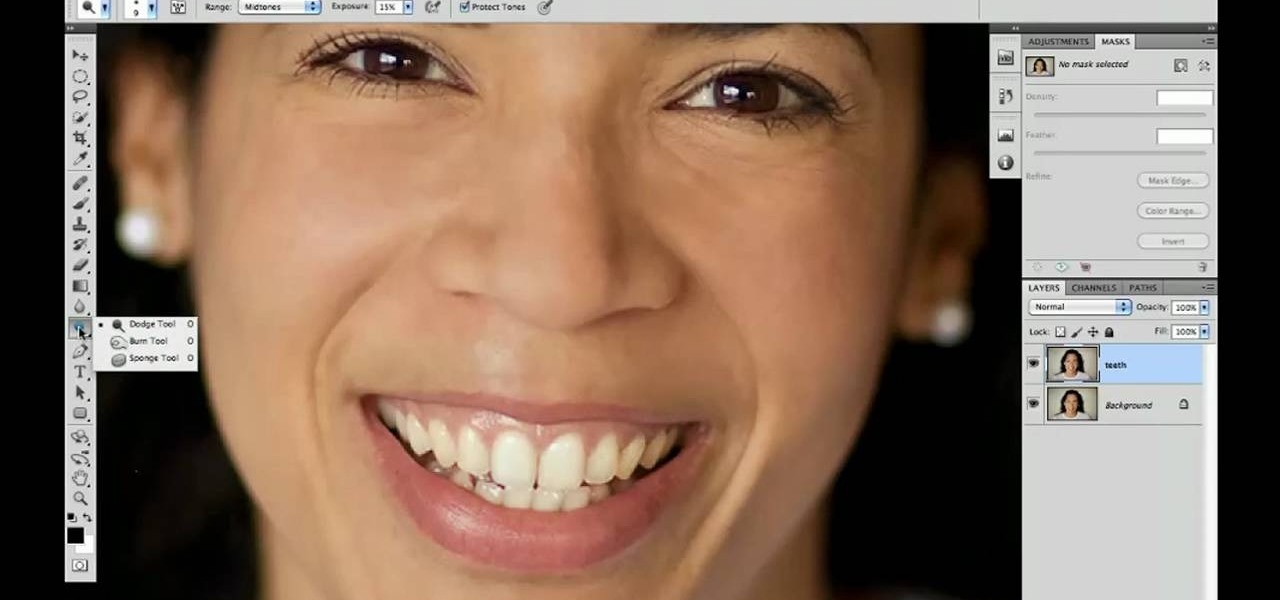
Polish those not-so-pearly whites with Adobe Photoshop CS5's Dodge & Sponge tools. This clip will teach you what you need to know. Whether you're new to Adobe's popular raster graphics editing software or a seasoned professional just looking to better acquaint yourself with the program and its various features and filters, you're sure to be well served by this video tutorial. For more information, including detailed, step-by-step instructions, watch this free video guide.

Not every photograph you take will come out perfect. The best digital cameras can't keep a photo from being too dark in certain areas, but that's why God invented Photoshop. Okay… "That's why 'Adobe' invented Photoshop".

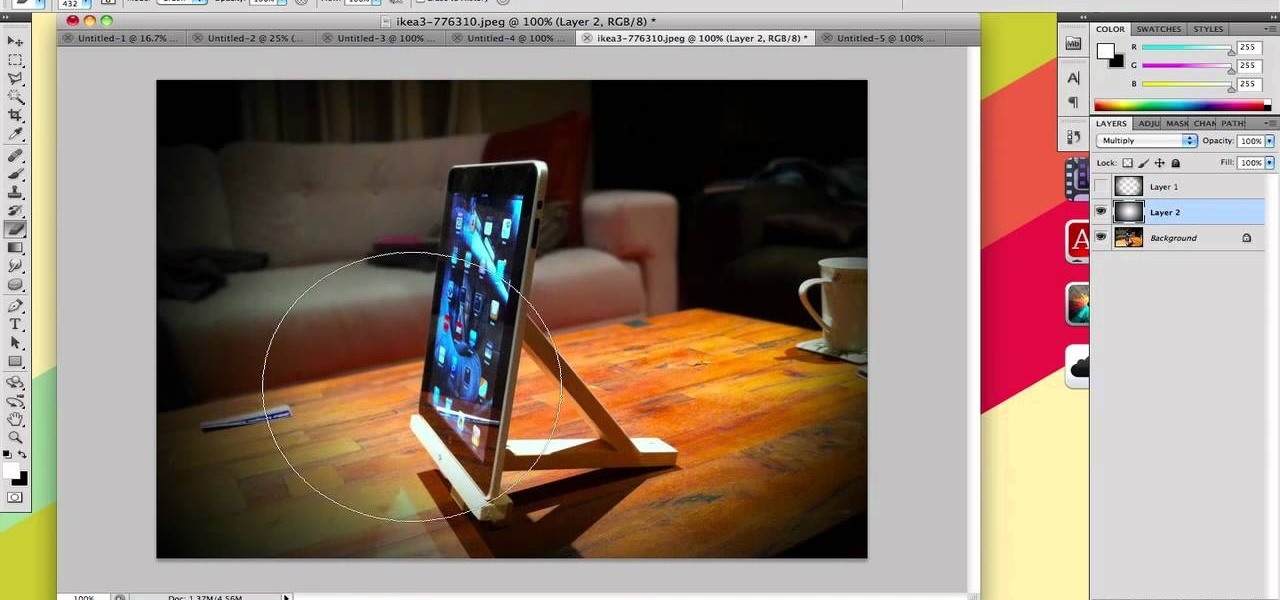
The iPad is a pretty innovative device, it looks like an iPhone, runs like a computer and is sleek and thin like a magazine. This new tool can be used for almost anything.

In this how to video, you will learn how open an iPod classic. Notice that the sides of the interior of the bottom case have tabs. There are metal locking clips at the bottom of these. The plastic clips on the front cover engage these to lock the cover into place. This means you will need a pry tool in order to remove the cover. First, you will need to use the pry tool and insert it into the side of the device. Try to get under the clip and pry it from the front base plate. Work around the si...

Whether you're new to Adobe Photoshop or a seasoned graphic arts professional after a general overview of CS5's most vital new features, you're sure to be well served by this official video tutorial from the folks at Adobe TV. In it, you'll learn how to create, edit, and fill shapes intuitively, directly on your artwork, using the Illustrator CS5's new Shape Builder Tool.

Whether you're new to Adobe Photoshop or a seasoned graphic arts professional after a general overview of CS5's most vital new features, you're sure to be well served by this official video tutorial from the folks at Adobe TV. In it, you'll learn how to draw shapes and scenes in accurate 1, 2, or 3-point linear perspective with the new Perspective Drawing tools in Illustrator CS5.

This video tutorial from TutVid shows how to create a simple movie poster text effect in Adobe Photoshop CS4.

This video will discuss how to implement color changes in Photoshop editing. This step by step approach will tutor the novice Photoshop user how to utilize the various tools and applications to achieve, colorization in photos, swap select and hue, colors and backgrounds of photos, describes layering using saturation and blend techniques. This video tutorial will describe and demonstrate the correct settings and tool usage for easy application of each editing and color manipulation.

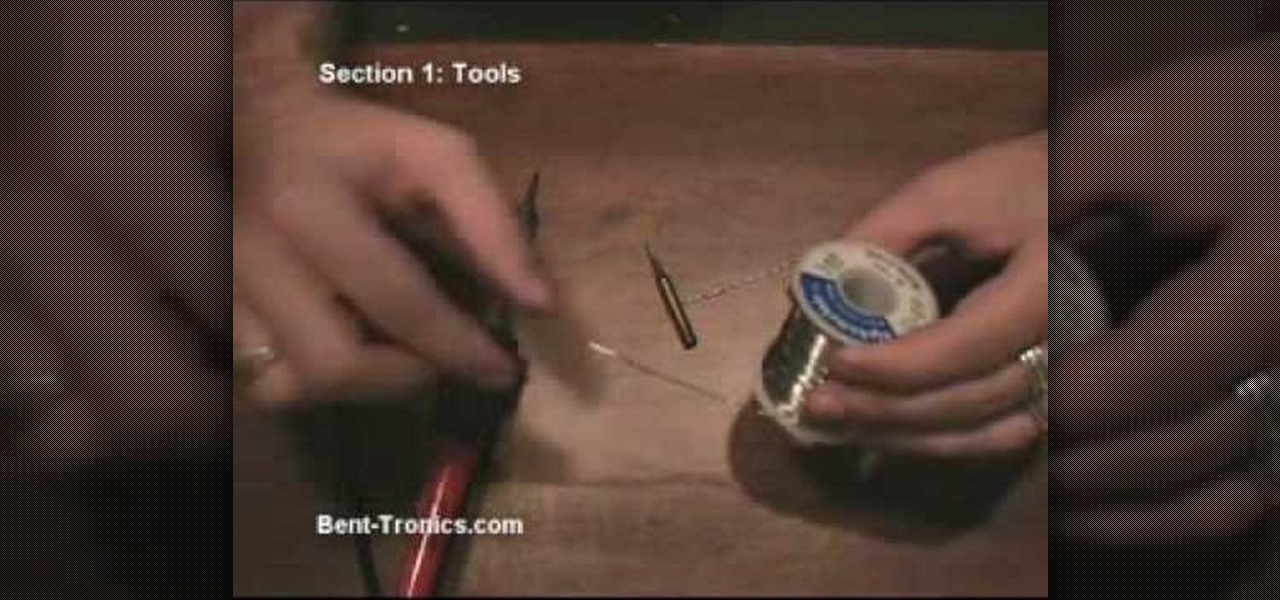
Looking to get into the weird world of circuit bending? In this four part video tutorial geared towards beginners, learn in thirty minutes how to circuit bend. Tools you will need include a soddering iron with innerchangeable tips (thin pencil preferred), thin sodder, hook-up wire, a wire cutter, a wire stripper, a drill with drill bits, plyers (needle nose included), and screw drivers of various small sizes. Other useful tools include cresent wrenches for toggle switches, jewelers files, & a...


