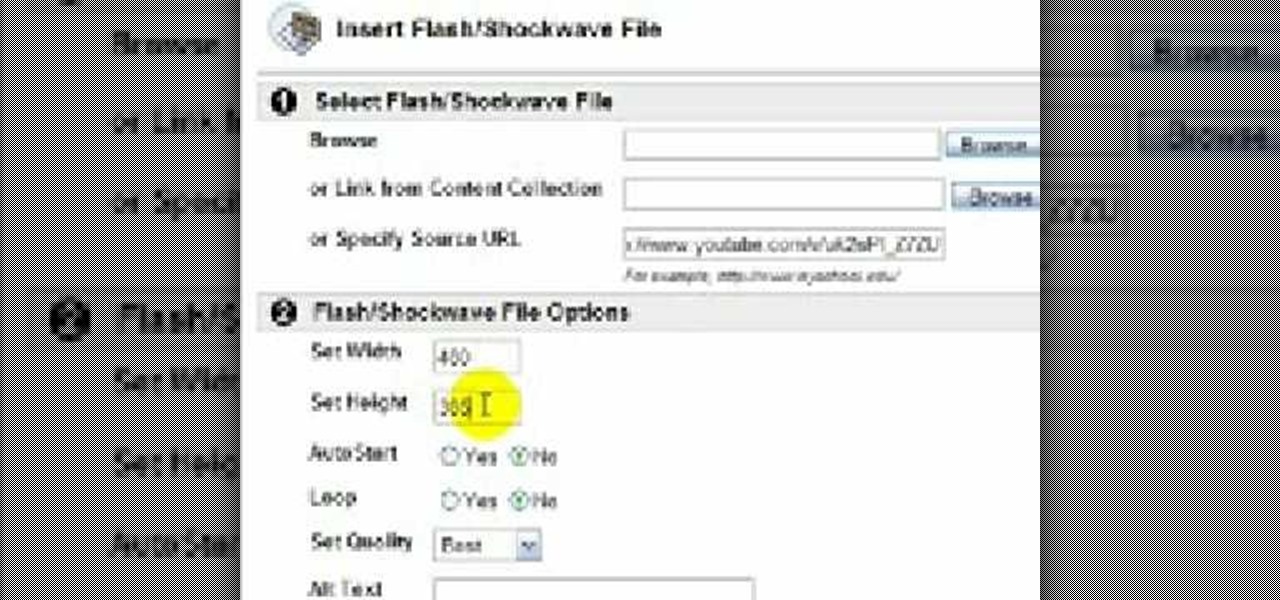
In this video tutorial, viewers learn how to embed a YouTube video into a blackboard forum post. Begin by finding the YouTube video that you want and copy the URL. Then go to your blackboard post and go to a forum that you want the video to be in. Start a new thread and fill out the thread as you wish. Then click on the red F (Add Flash/Shockwave Content). Paste in the URL and fill in the file options. In the URL, delete "watch?", add / after v and delete =. This video will benefit those view...
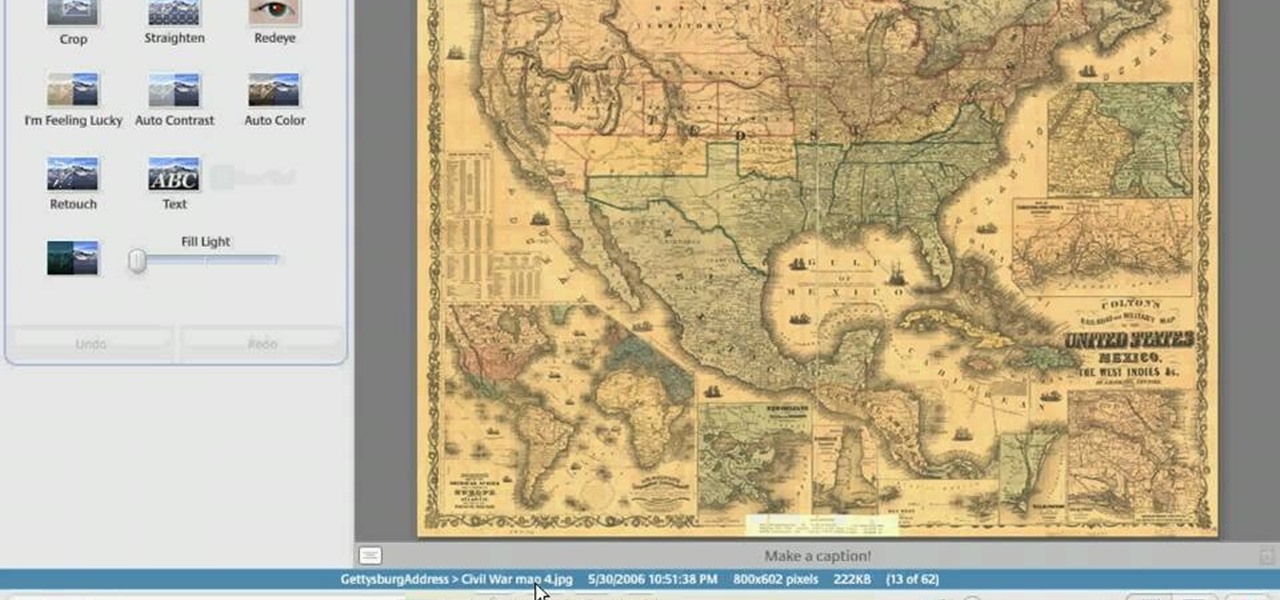
In this Computers & Programming video tutorial you will learn how to make a simple CD / DVD cover in Google Picasa. Go to ‘Tools’ and select ‘Options’. In the box that opens up next, click on the ‘Printing’ tab and from the drop down menu, select ‘CD Cover Size’ and click OK. Then on the top left hand corner, go to ‘File’, select ‘Print’ from the drop down menu. On the next page, click on ‘CD cover size’ and you get the print preview. Then all you need to do is to just print that out and you ...
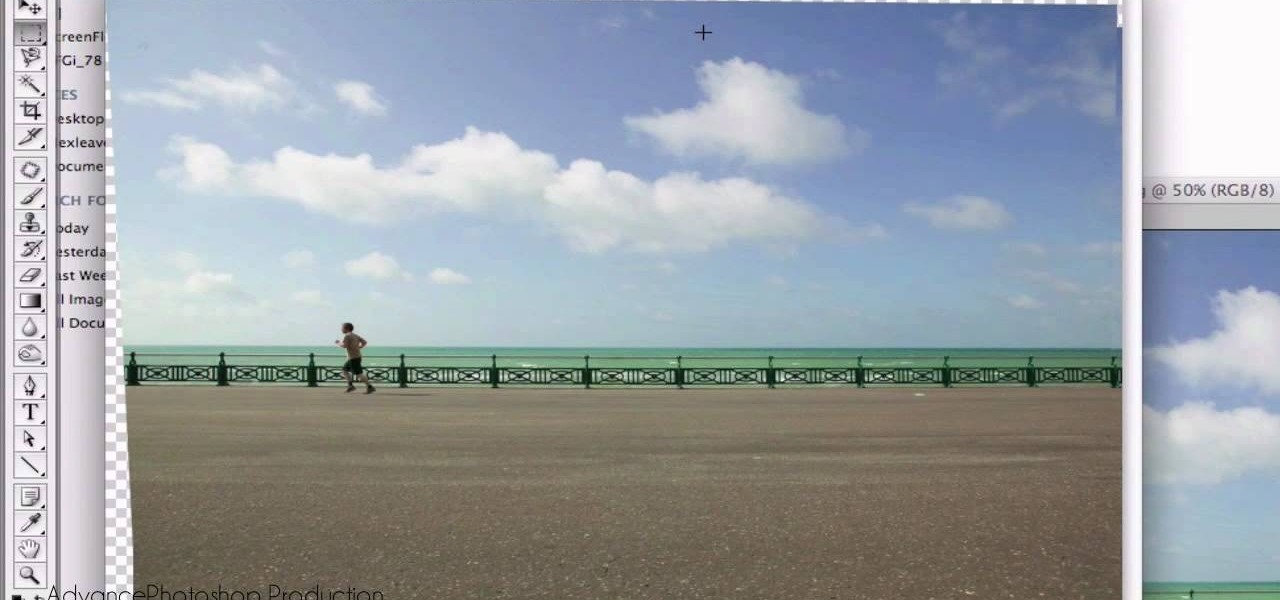
Open your first image and go to the rectangular marquee tool and select all of the image. Next click command or control C to copy image. Then go to your second image and click command or control V to paste the image. Select both the layers (hold down shift when clicking the layer), then go to edit, auto align layers and choose the top option then click ok. Last add a mask to your top layer, this is done by selecting the gradient tool (make sure its set black to white, the mode is normal and o...
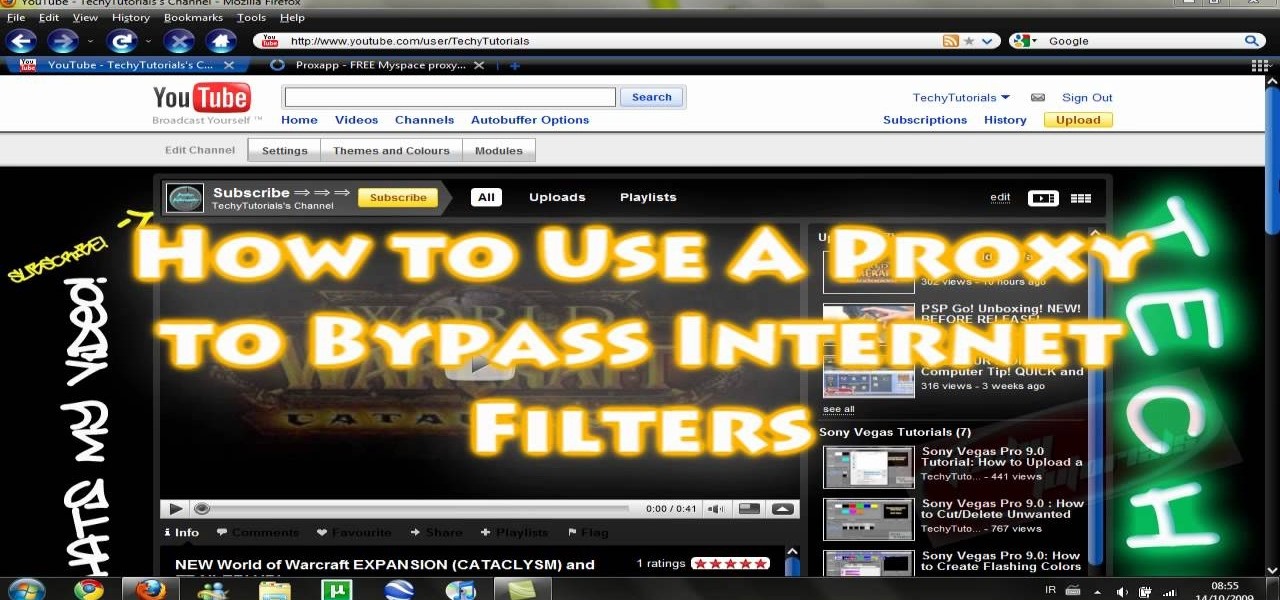
The video shows us how to use a proxy to bypass the Internet Filters. Most of the times in our schools and colleges most of the websites including the social networking ones will be blocked for security reasons and makes us unable to log into those websites. In such cases even the ones from the YouTube, several videos will be blocked. So in this video, we will be shown how to bypass those filters and log into those sites. Firstly go to the website Proxapp and over there you will be asked the ...

In this video the tutor demonstrates the magnifier tool of Microsoft Windows 7. If the size of text is very small on your screen and you are facing difficulty reading it you can use the magnifier tool to resize the text to read it clearly. You can change the resolution but this makes the LCD screen look blurry. So to do this go to the Start Menu and select the Magnifier tool. Now there are two buttons with minus and plus symbol on them. Click the plus button to magnify the screen around that ...
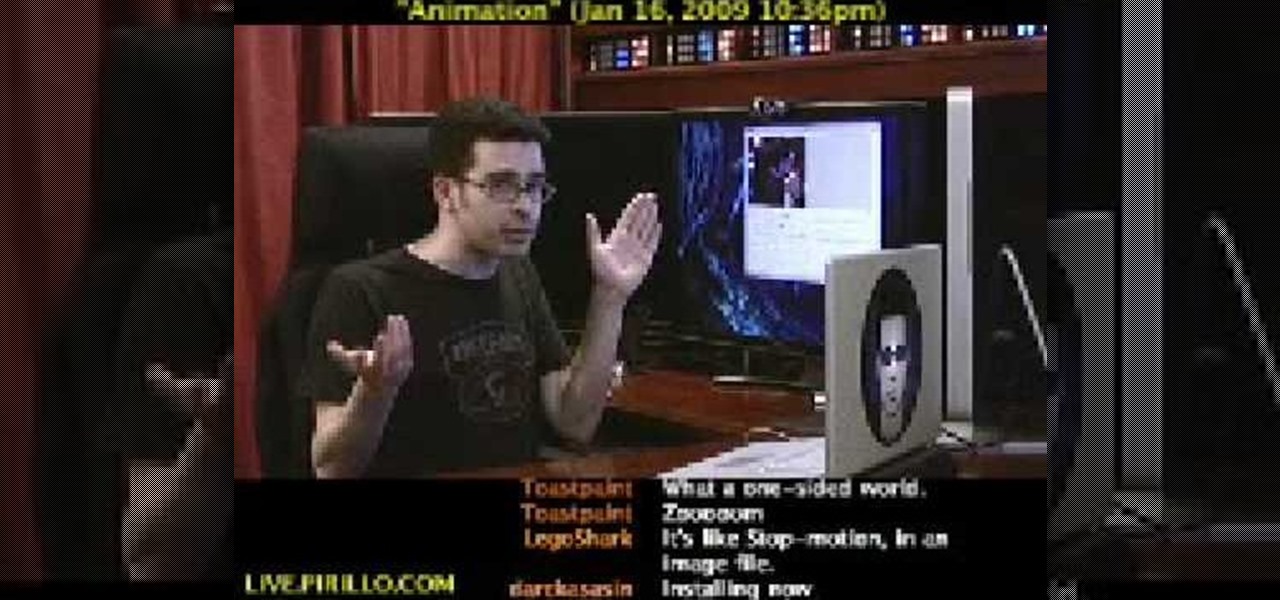
Initially, it is explained what an animated GIF is: a series of frames that are shown in sequence, and are looped 'forever'. There is an example of one of them in the background, and it is stated that it was created in around a minute, using nothing else than a webcam and a free software, found at TagJag.

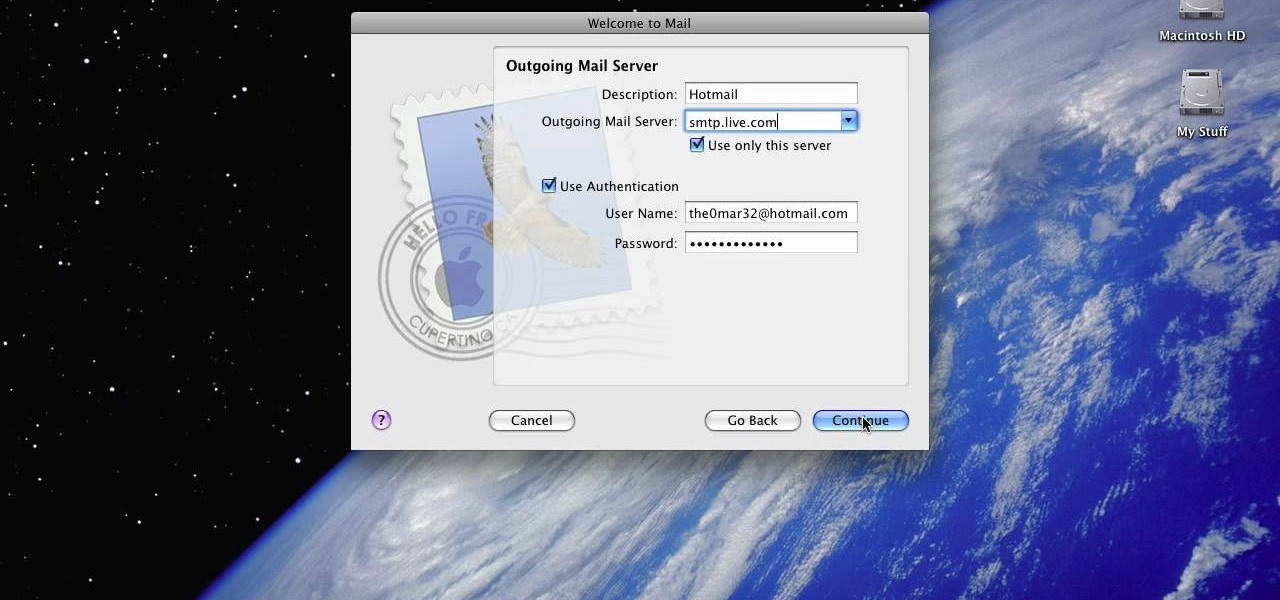
The video shows you how to link your hotmail account to your Mac. The person first asks you to open the mail and write down your full name, hotmail id and the password in the boxes given there. Then click on continue, and in the next option box, leave the account type as POP and then give a description as hotmail in the space provided. Then you have to type pop3. live.com in the box given for incoming mail server. Once done, click on continue and it will ask you for description of outgoing ma...

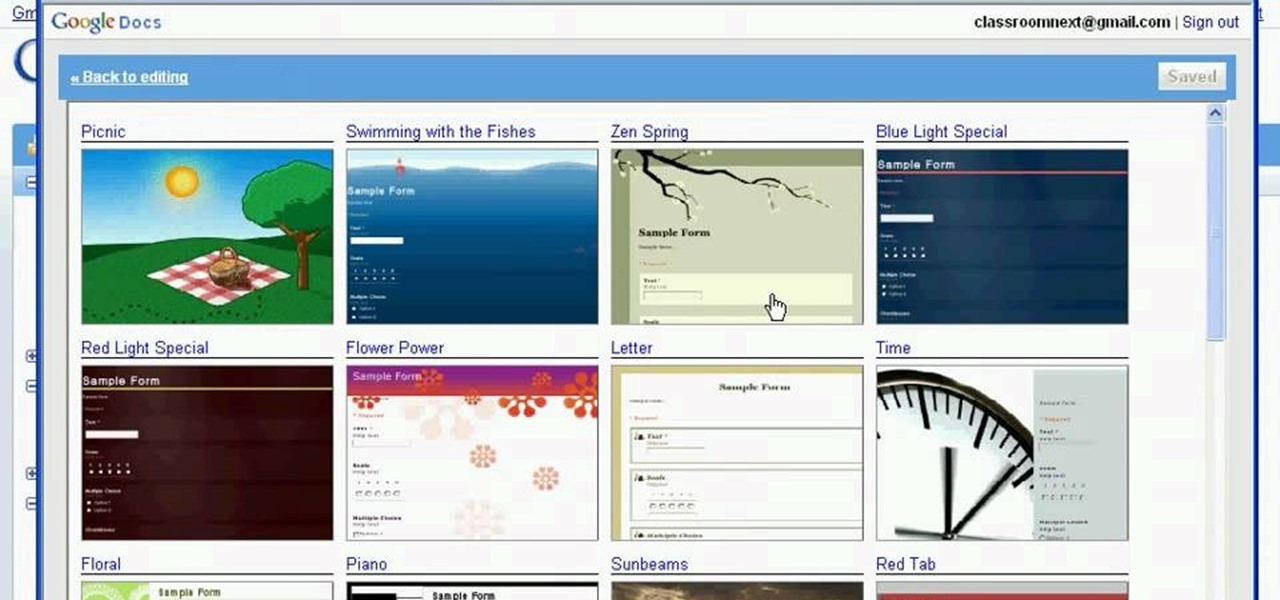
Classroomnext describes how to create a Google form with your own custom colors and designs to give it a personal touch. Once you are logged into the Google Docs main screen, click on the button that says "New" and choose the option "Form" from the dropdown menu. Once your new form appears onscreen, type in a simple test name in the title field and a placeholder question. Save the document. Click on the button that says "Theme" and you will be shown a variety of styles to choose from. Save th...

In this Computers and Programming video tutorial you will learn how to delete temporary internet files in Internet Explorer 8. The video is from FreeComputerRepair. Click on Start -> control panel ->network and internet connections -> internet options. Now the internet properties dialog box opens up. Here you go down to browsing history and click ‘Delete’ button. This will open up the Delete Browsing History window. Here you check all the data that you want to delete. If you don’t want to del...

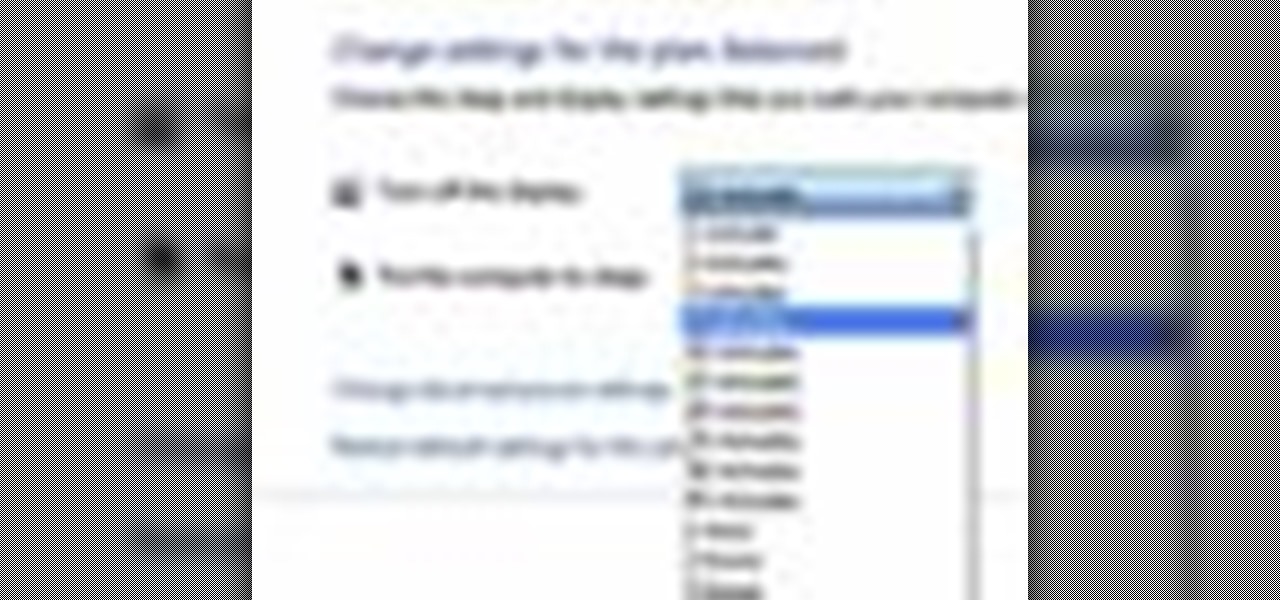
Follow along as we are shown how to change the power settings for our monitor for Windows 7. -Begin by going to the Start menu and clicking on the Control Panel.

As you type in Microsoft Word, take care to notice when the computer puts a red squiggly line underneath a word you typed. If you see a red squiggly line, the word is spelled incorrectly. If you right-click on the word, MS Word will show you a list of correctly spelled words that it guesses you were trying to spell. If you wish to check the entire document, you can click the Tools tab at the top of the page and then spell check. This will go through the document and point out every misspelled...

This is a video about "How to Hack: Demolition City 2" by Travis. This is a flash game. To begin hacking, go to the game and enter the first level. At this point, you do not have any cash. Specify that you are using Mozilla in the cheat engine. After you have completed the first level, write "double" variable in value type and then type the value for the first level, and you can easily notice the game appearance seems to be changed, because the second level of the game consists of first level...

This video will teach you how to create a basic logo in Photoshop CS3. In order to create a logo you need to follow this simple steps: 1. Go to File -> New and create a new document with the width and height 500 px. Set the RGB Color and the background transparent. 2. Fill the background with a black color. 3. Create a new layer and create a perfect circle. 4. Select Blending Options and Gradient and use a light red color to fill the circle. Add the text and use some effects for it. The video...

Ever have the problem of people messing with your word documents? This guy shows you the solution by telling you how to create password protected encrypted word documents. The process starts with your open file. Clicking on save as... and in the popup window clicking the tools button in the bottom left corner and clicking general options. There it shows you text entry boxes, one for setting a password to open the file, another to set a password for rights to modify the file. Enter your passwo...

This video shows how to delete a user account on Windows 7. Go to the start menu, the control panel, then user accounts. Click add or remove user accounts. Select the account you want to remove. Choose the option to delete the selected account. Windows will ask if you want to delete everything on the account or keep the information on your desktop while still deleting the account. This will be your choice. The narrator chooses to delete the full account.

In this video we learn how to use Smart Art graphics including creation of Hierarchal charts, flow charts, modify, adding gradients, style, and colors, in Word 2007. The first step is to click on the Smart Art icon in Microsoft Word 2007. Next, you can scroll through the Smart Art object choices. In this example we first want to click on the Text Cycle icon. Once we do that click on OK and the rough drawing will be placed on your document. After that click on design and you can format the gra...

This video demonstrates how to show and hide the ruler in Microsoft Word 2007, along with working with page margins. The presenter indicates that if you click the small button above the vertical scroll bar, Microsoft Word will then display Rulers. To work with margins you'll need to click on the Page Layout tab to display the Page Layout ribbon. The video shows the different options located on the Margins menu. There are several built in settings for wide, narrow, normal, moderate, and mirror...

This is another HelpVids.com technology video. This video will teach us how to sort table contents in Microsoft Word 2007. The video starts out with a Word 2007 document with a sample table. When you click on the table, you will see the Table Tools tab appear above the ribbon. Click the Table Tools button, then click Layout and finally the Sort Button. The sort dialog box allows you to choose which column to sort by, which direction you would like to sort, and any secondary sorting you would ...

This video is from HelpVids and describes how to change the axis titles on charts in Microsoft Word 2007. To access the chart tools, select the chart and the tools will appear above the ribbon. There are many different design options that you can preview on the screen to make your final selection. To change the chart title, click on the Chart Title button which is located on the Layout ribbon. You can then select where you would like the title to appear. Once you select the location you can t...

When you're using MS Word you should be able to see a large Microsoft office icon in the top-left icon. Clicking it opens up a menu where you should be able to see the save button. Pressing this button will save your work or overwrite a previous copy. If you press 'save as' instead, you will have the option to change what format the file is saved as and what name it is saved under so as not to overwrite the existing copy. When you've decided on the name and format and where to save, just pres...

This video tells you how to save files in Microsoft Word using different file types. If you are trying to save a file as the old Microsoft Word 97-03, the process is easy. This video takes you through a visual tutorial on how to save files under different documents. If you click the circle in the upper left corner and scroll down to save as, it will give you several different options to save under. Then, you can choose which document you want to save it under, and save the file under a new na...

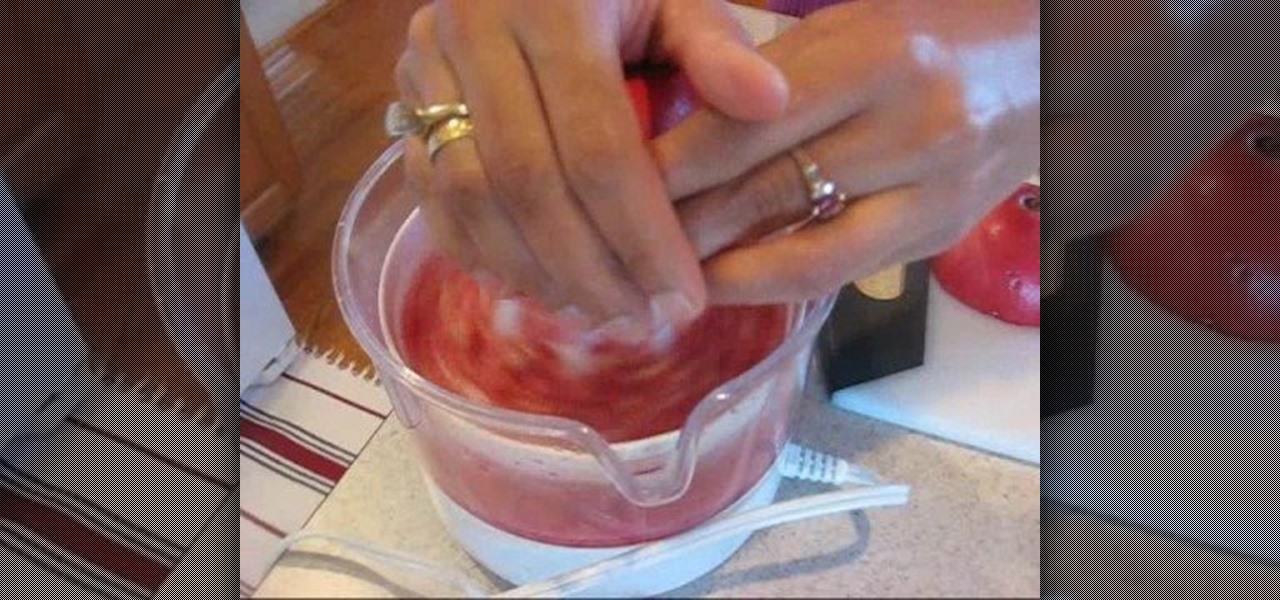
In this video, Sheba is demonstrating how to make pomegranate juice. She is mixing the juices of pomegranate and oranges. It is just an option. If you want you can drink pure pomegranate juice also. Pomegranate is very good for heart and has cancer fighting abilities. So pomegranate juice is a very healthy drink. You have to cut the pomegranate into two halves and then extract the juice in a citrus juicer. Further you can also extract juice out of oranges and have a mix juice ready. If you pr...

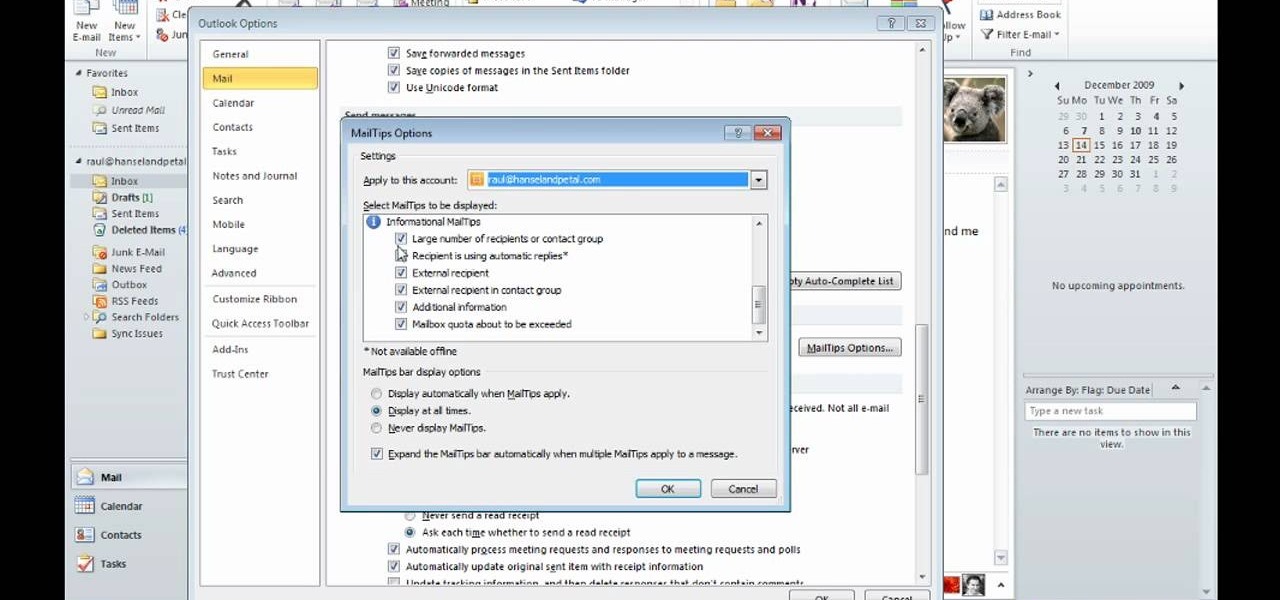
David Rivers is back to give us some more tricks on using MS Outlook 2010. In this video he tells us how you can avoid sending email to the wrong person by setting up some email preferences in MailTips. MailTips actually has the ability to alert you when you are about to send an email under certain conditions. Don't worry about sending an email to your boss that was meant for your co-worker. Your MailTips folder contains many options that you can use to restrict some of your outgoing mail and...

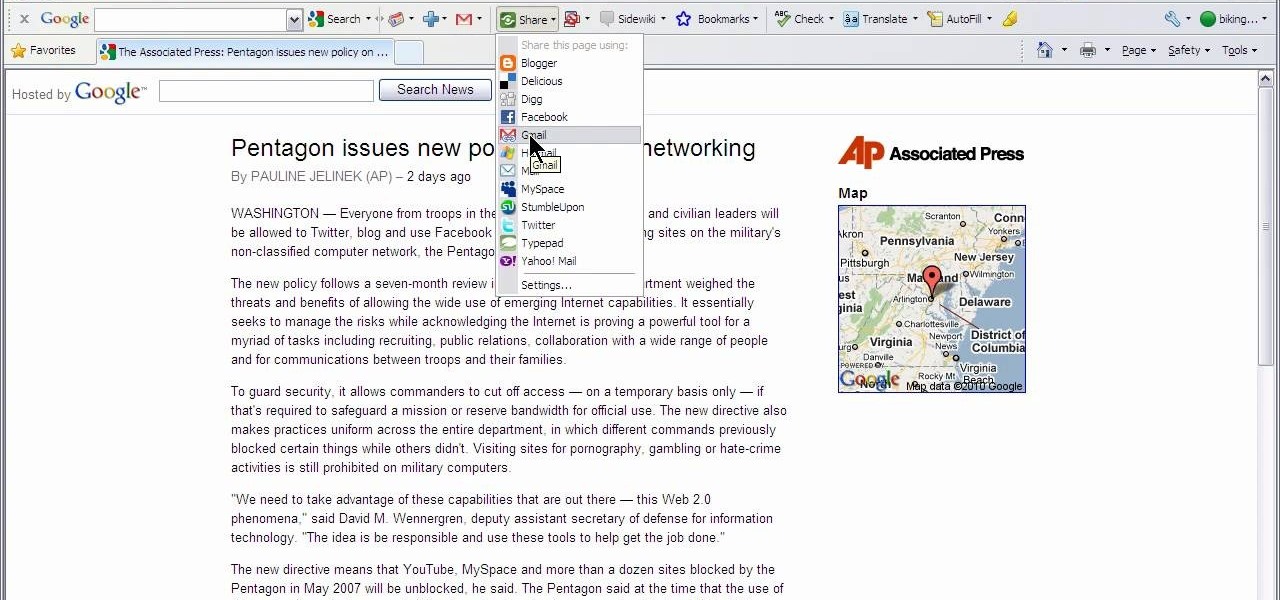
This video shows how to use Google toolbar to share links with friends. Once you were in your desired website, click "Share" button located at the middle part of the Google toolbar. Options will appear. Click Gmail if you wish to send the link through Gmail. Compose mail (Gmail) window appears. Type email address in the "To:" textbox. Click Send button. A confirmation message will appear.

Now you can easily animate gradient image using Flash. For this you need to open flash, and then import an image which you want to work with. Create a new layer. Draw a rectangular. Go to color option and choose liner. You have to keep alpha in one side of gradient. Ad few key frames and use motion tween. Now go to your picture. You also make the same key frames of that. So it will be regular. After watching this tutorial you will be able to make nice gradient animation using Flash.

Open Xara 3D. Hit show or hide cursor. Type the name JRR Tolkien. Open Animation Options. Set to swing 2. 4 frames per cycle. 1 frame per second. No pause. Angle 0. Select the second "R" and change the animation. Flip the "R" around so it is a mirror image. Go from frame one to frame two. Select the "J". Move the line spacing down to the middle. This yields the JRR Tolkien logo in Xara 3d. You can also flip around the logo using the view menu.

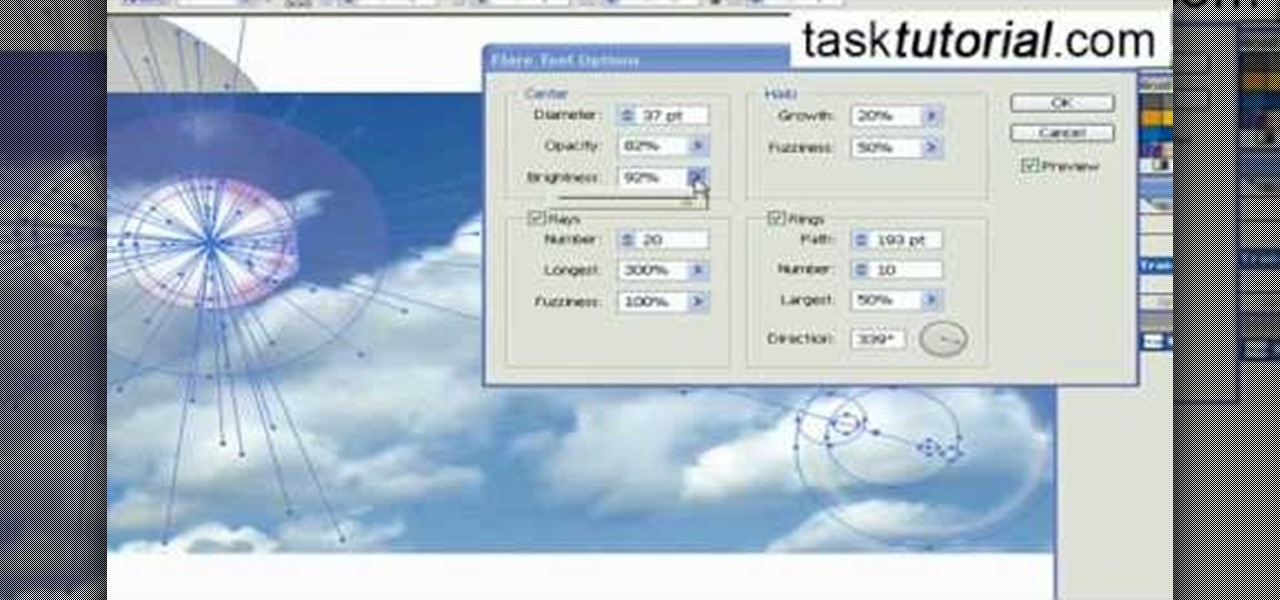
Ever wondered about the flare hitting your eyes from reflective surfaces (vehicle mirrors)? Let's create one. Open Adobe Illustrator with an image and embed it. Take the flare tool from tool palette. Draw the first shape and then second shape. To change settings, go to flare options. You can change the brightness, opacity and diameter of the flare which will add life to the image(open sky). This will help bring out some cool effects as well as realism to the image.

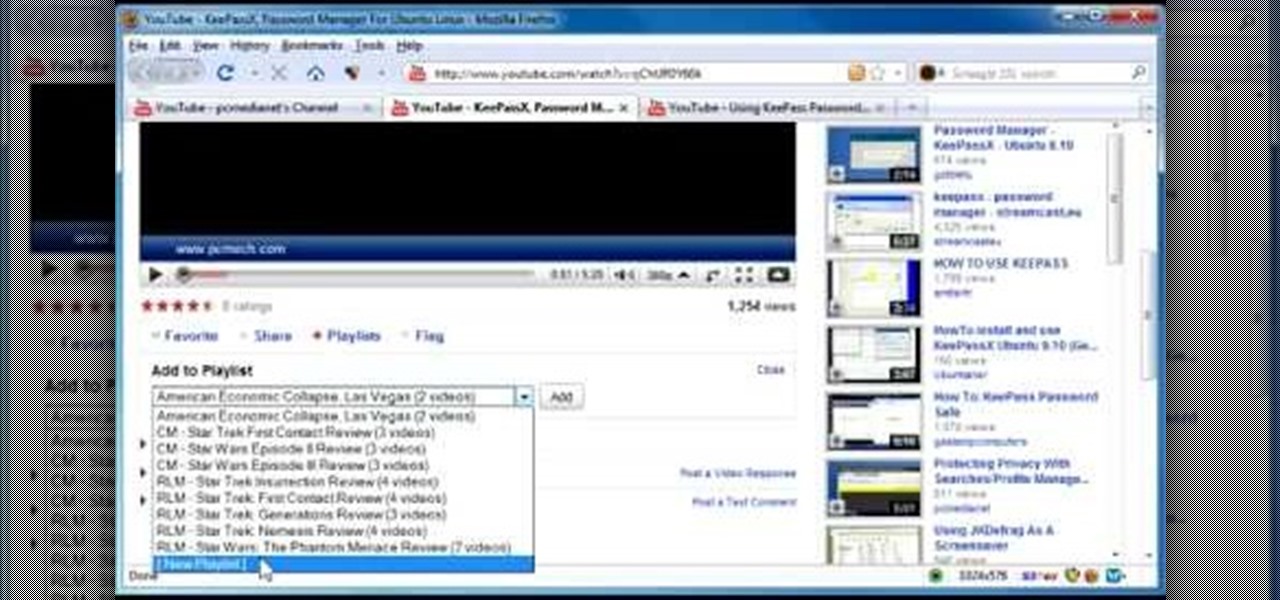
In this video, the author shows how one can make one's own playlists on YouTube, and also get the code which can be embedded on one's website or blog. All one has to do' according to the author, is to first load all the videos which one wants in a playlist and pause them. Then one has to click the 'Playlists' option under the video pane. In the drop-down list which opens, one can choose one of the existing playlists or create a new one, and then, simply click the 'add' button. This action has...

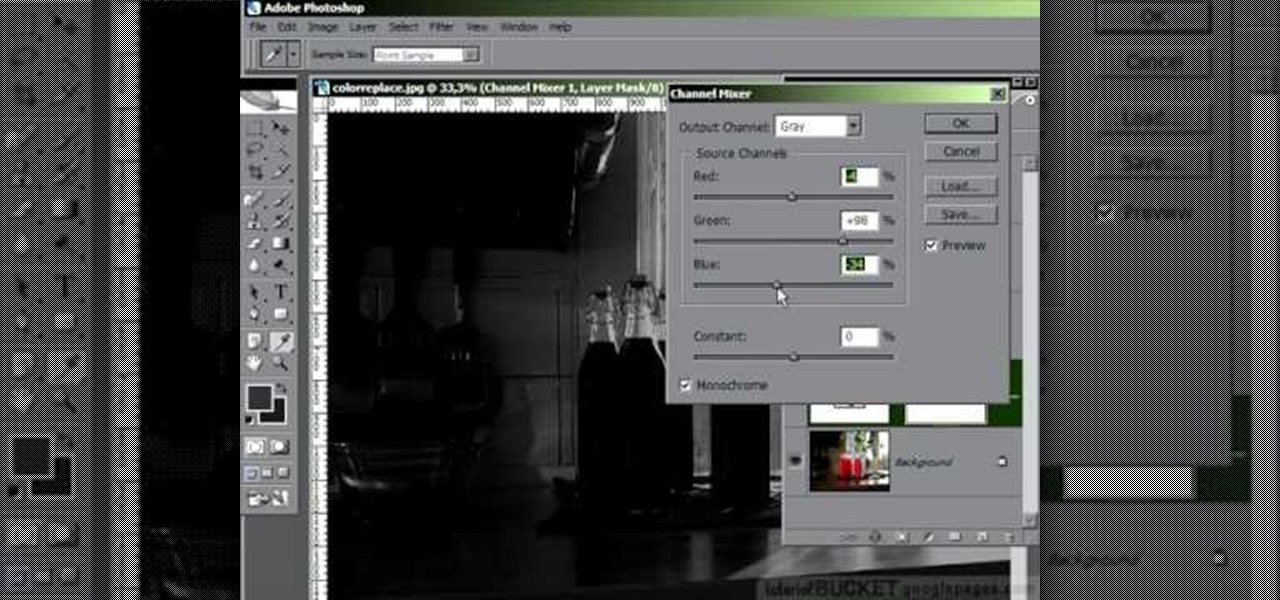
In this video tutorial, learn the several methods to get black & white images from color originals in Photoshop. The first method is the simple desaturate by going to image > adjustments > desaturate and it will wipe out the color from your image. The second non-destructive way of doing this is going into the layers palette, adding a new adjustment layer, choosing hue and saturation and dragging the saturation slide all the way down to minus (-) 100. The next method is going to the channels p...

Do you want to compress your video files less than five times the size while keeping the same quality? If yes, then this video shows you how. By compressing video files you can save a lot of space. Then, it can be easily burned to a DVD or even uploaded to a file-sharing website. To do the compression, you need to use Windows Movie Maker software. Open the video file in Windows Movie Maker. Now, move all the clips into the story board. Open the option "Save to computer". Now, Windows Movie Ma...

In this video, we are shown how to change the skin color of a person in Photoshop. He starts off by explaining that there are two different methods that you can use to change the skin color. The first method is through Hue and Saturation. With a couple of simple changes, you can change the tone and color of the skin. The second way is the more difficult method. You work through the color balance options in Photoshop. He explains that you will need to learn and play around with the color balan...

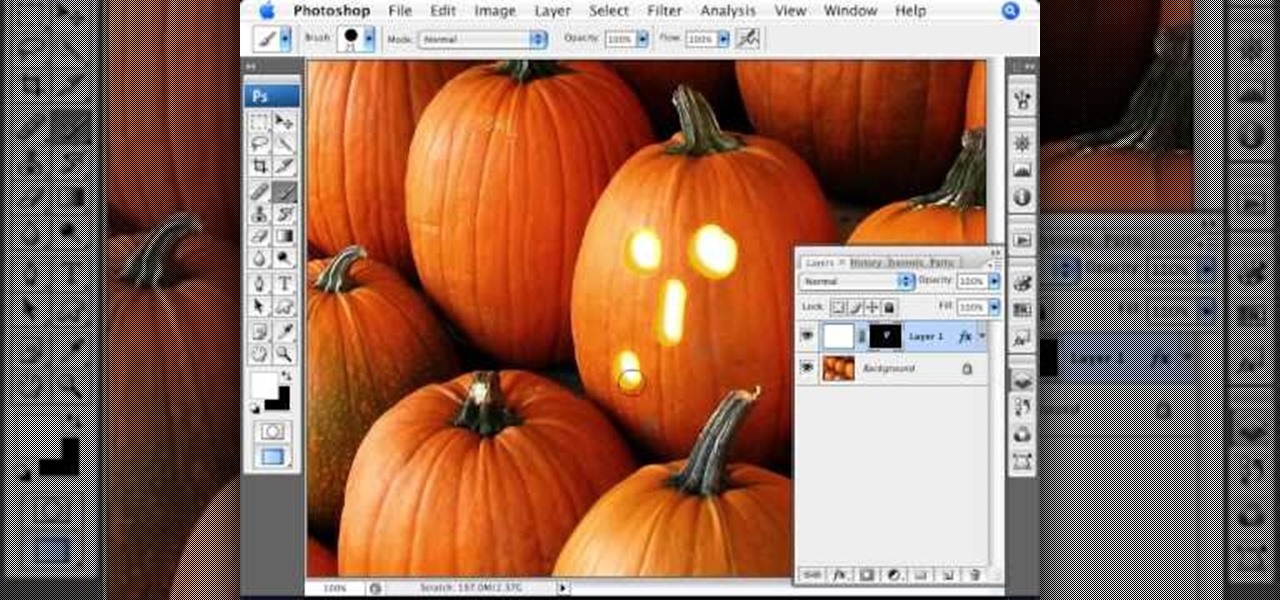
Photoshopuniverse shows the way to create a Jack-O-Lantern in Photoshop. At first you need to collect or take a photo of a pumpkin. Make a new layer, with a white background, then mask it. Fill it with black color. Now go to blending option and give inner shadow, inner glow, gradient layer and outer glow. The major color will be yellow. There will be also a thin stroke. Your brush is ready now with all its effects of a Jack-O-Lantern. After following this video, you can use the same effect an...

When defining fields in FileMaker Pro 10, one has to choose what type of field to decide for a database. There are two fields that accommodate special handling of data. They are time and time stamp fields. When one decides a field under manage>database,there is a option for "type". Under that, there is time and time stamp. The "time" one determines the time while the "time stamp" determines the time and date. This will help in preparing a proper and detailed database system.

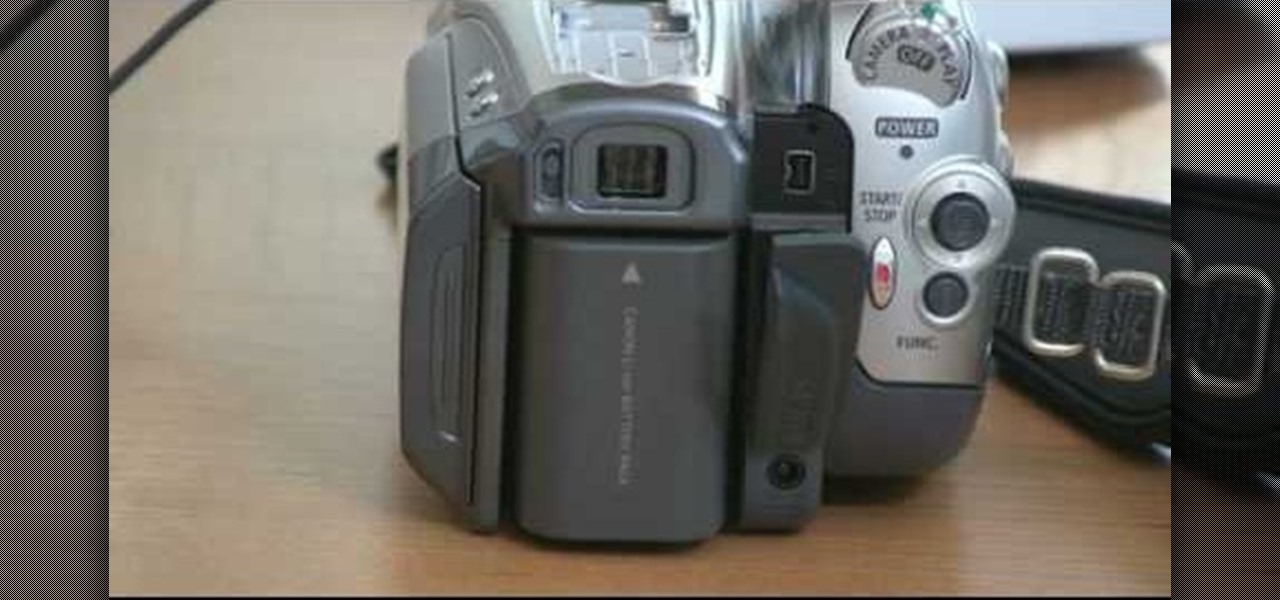
Bill Myers shows us how to record live video direct to your computer from your camcorder. You will need: long firewire cable, camcorder with firewire output, computer. Procedure: Connect one end of the firewire cable to your camcorder, then connect the other end to your computer. Start your video editing program. Turn the audio down on your speakers to avoid feedback. Turn your camcorder on then check the capture option in your screen. Record the video then hit the stop button when you're fin...

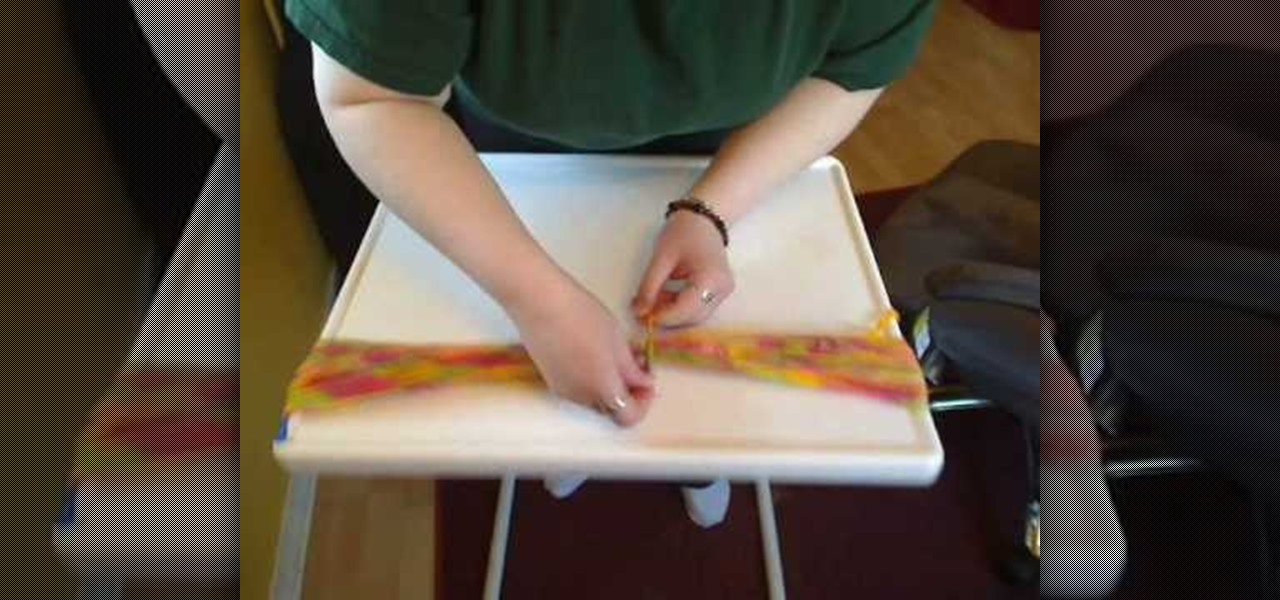
Emily from Girlispoision takes us through crafting yarn falls, a new and interesting sort of hair accessory for girls and women of all ages. First, obviously, you need yarn. Second, you'll need a glue stick, for general construction. Third, you'll need a nice large flat surface on which to work. Spreading your yarn out into separate strands, all side by side, you then tie them around the middle, and apply your glue stick, to make sure it will be secure. After snipping it to the desired length...

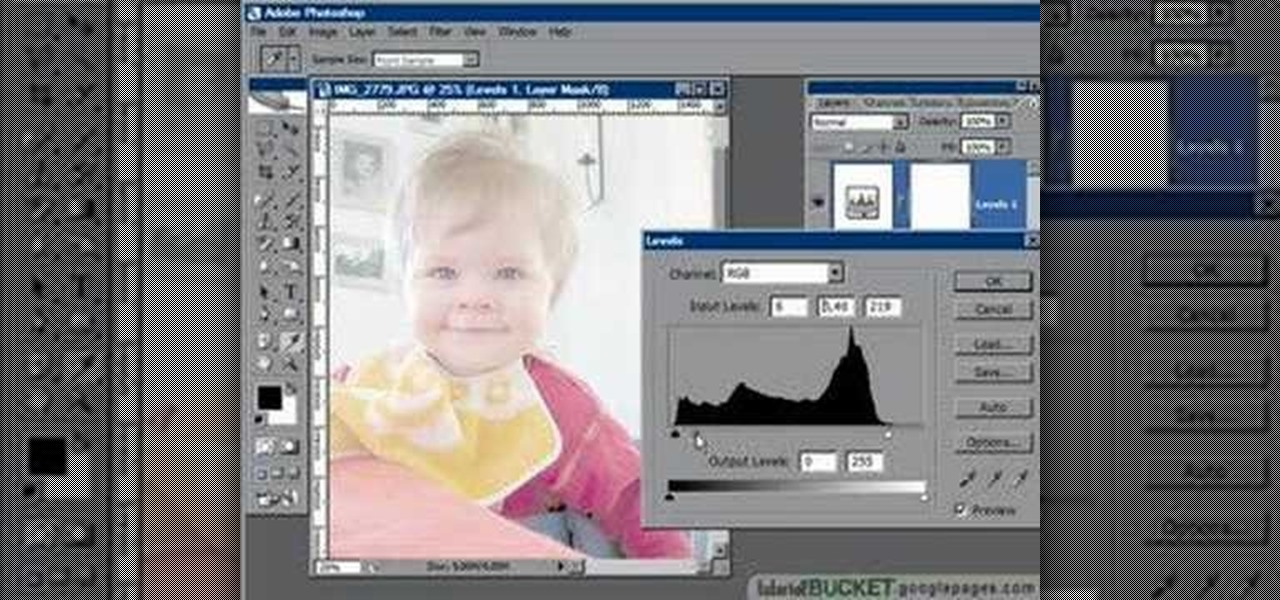
In this video tutorial the instructor shows how to perform basic lighting corrections in Adobe Photoshop. The levels tool is the Photoshop's most used command which has many features to it. Its most basic function is as a lighting correction tool. In this video open an image and work on its adjustment layer so that you do not damage the original picture. Now choose the levels option by right clicking and it shows a pop up window which contains a histogram which shows the population of the col...

Open a document and change the background to black. Make sure the foreground color is white, now simple use the text tool and write whatever you need to.

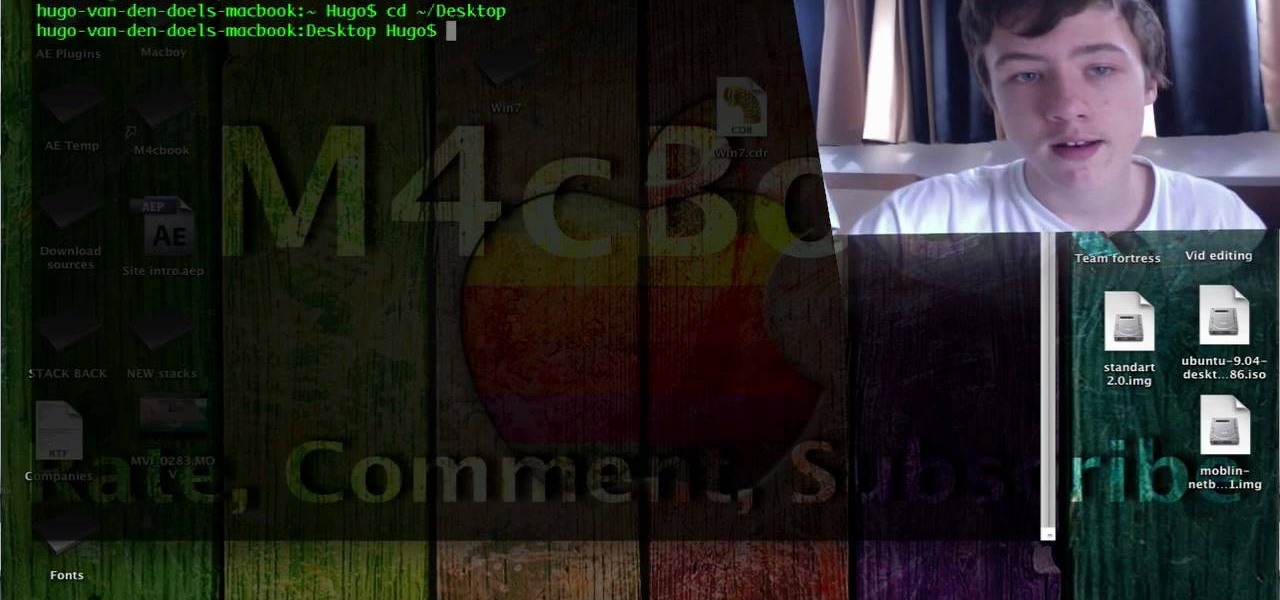
In this video the tutor shows how to make an ISO image file on a Mac. He shows what the requirements are to get started. He points to the disk utility program from where he points to the option where we can open a disk image from a folder. Now he selects the folder to which he wants to save the image. Now he guides us through the rest of the settings on how to prepare the image. Now we end up with an image file which is in the .cdr format. Now he shows some commands on the terminal through wh...

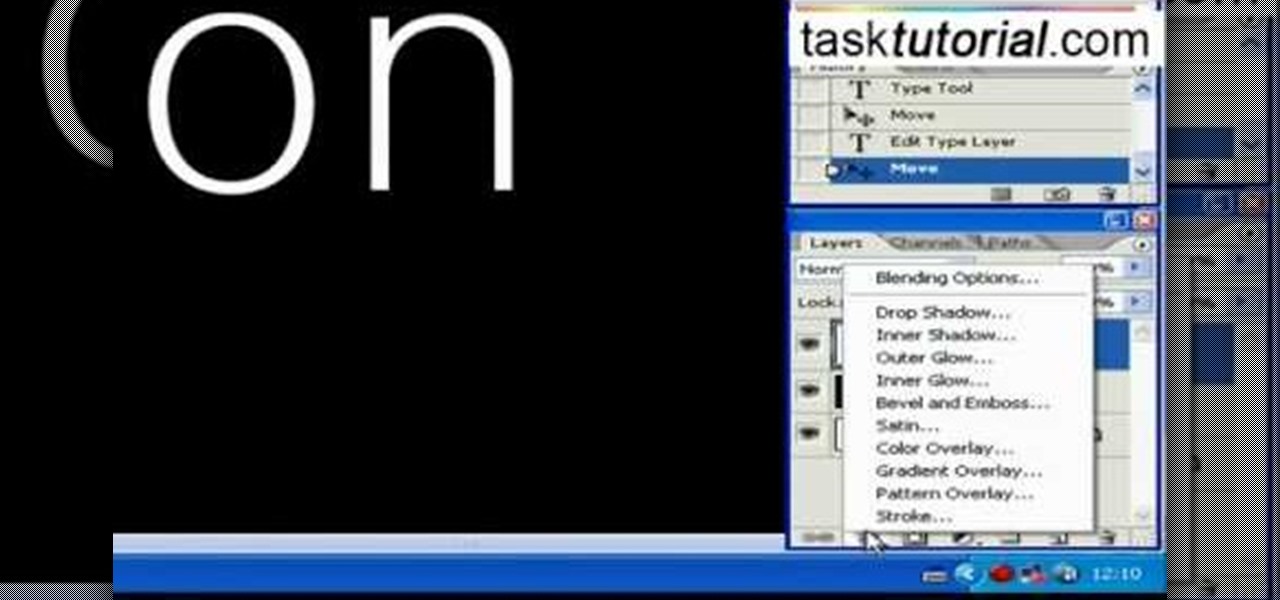
This video tutorial by tasktutorial shows you how to create stylish text in Photoshop. Launch Photoshop and select the type tool and choose myriad-pro font light. Create a text field and type in the text as indicated. Increase the font size and location as desired. Thereafter open the layer options, choose a gradient and create a new gradient by selecting the color as required. Apply a white color outer glow change the size, range and opacity. If you want to add more text create a new layer a...

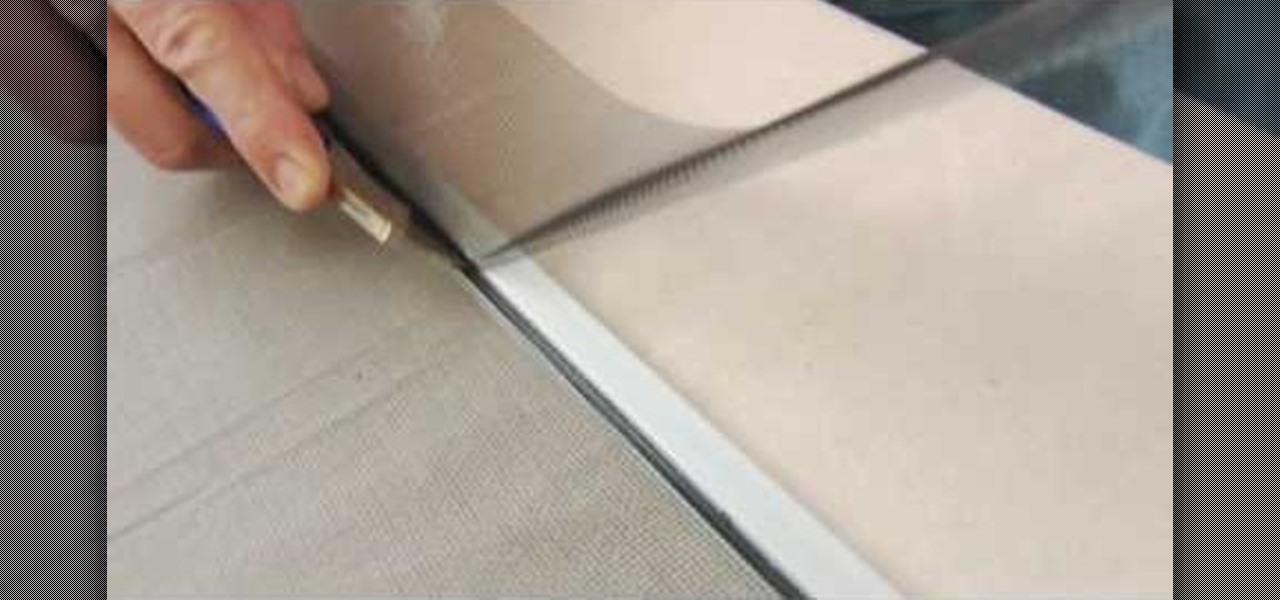
This how-to video from Lowe's demonstrates how to replace a damaged screen. The tools required are fiberglass screen, spline, tape measure, spline roller, screwdriver, and utility knife. He shows the different options in screen material, and suggests taking pieces of your old screen and spline along to match it. He removes the old spline and screen, lays the replacement screen over the frame and trims it. He uses a spline roller to roll the new spline into the groove and attach the screen. Th...


