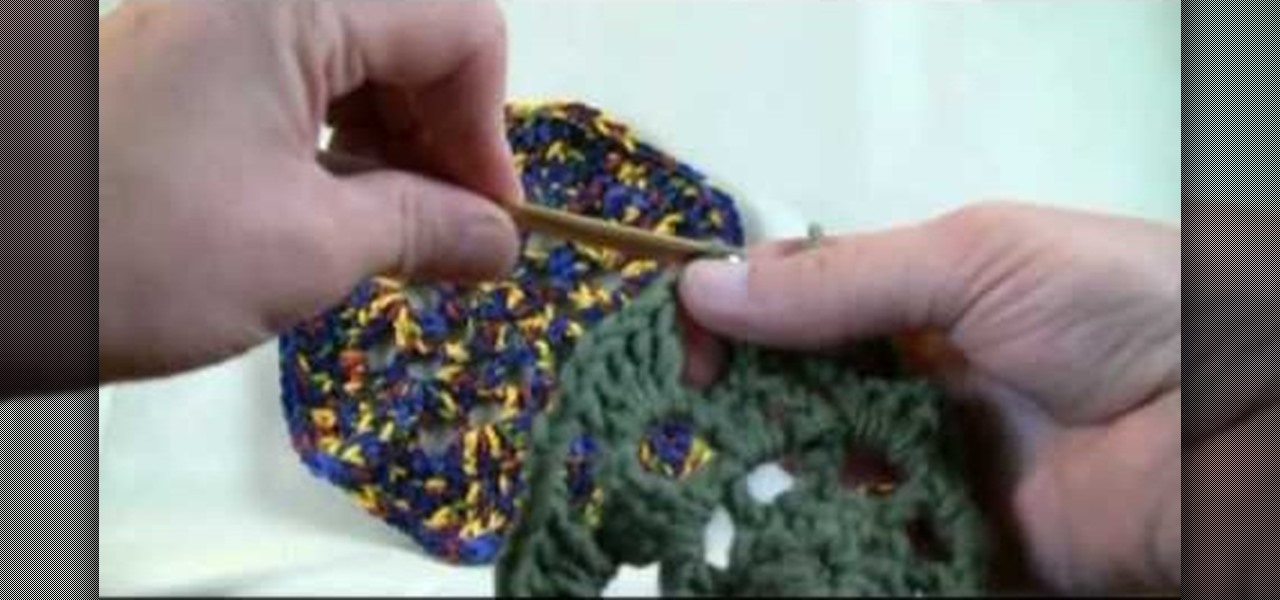
Triangles, squares, pentagons, and hexagons? Crocheting projects often sound a lot like geometry class, with basic shapes being the foundation of all your knitting projects, whether beginner or advanced.
This crochet stitch tutorial is definitely not for beginner crocheters, as it involves a rather difficult pattern called the crochet boxed block stitch, but the results are fabulous if you're an advanced or intermediate knotter and approach the project with patience.
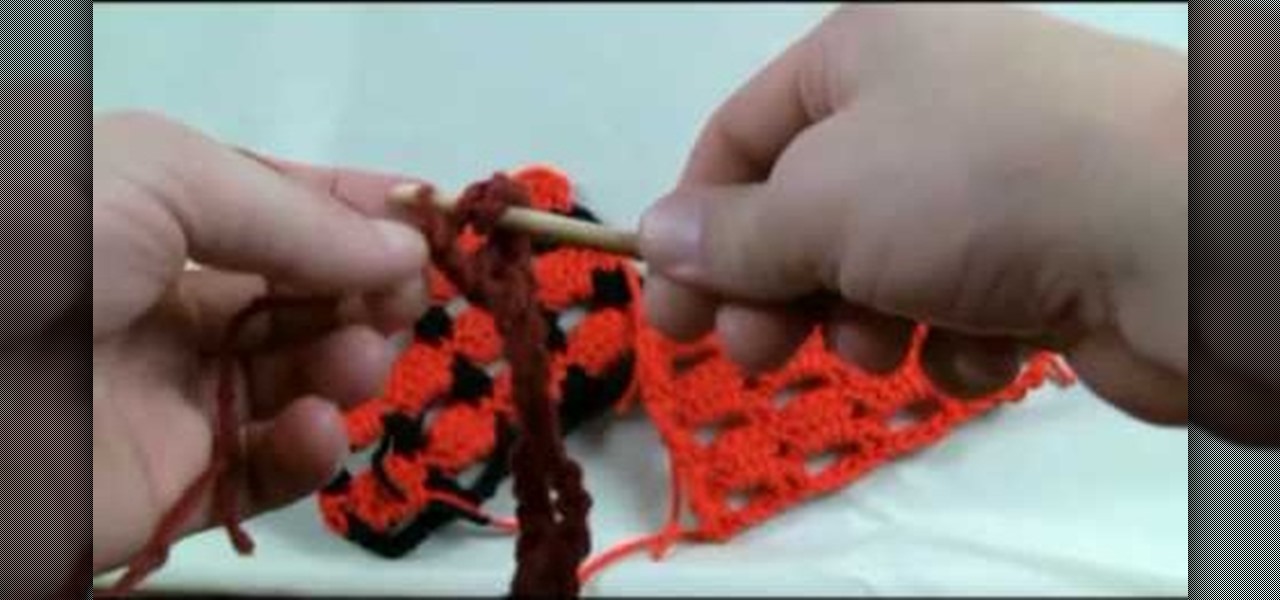
Are you a left-handed crochet addict who's tired of finding only right-hander oriented YouTube crochet tutorials and having to put a mirror up to the screen to get what the heck is going on?
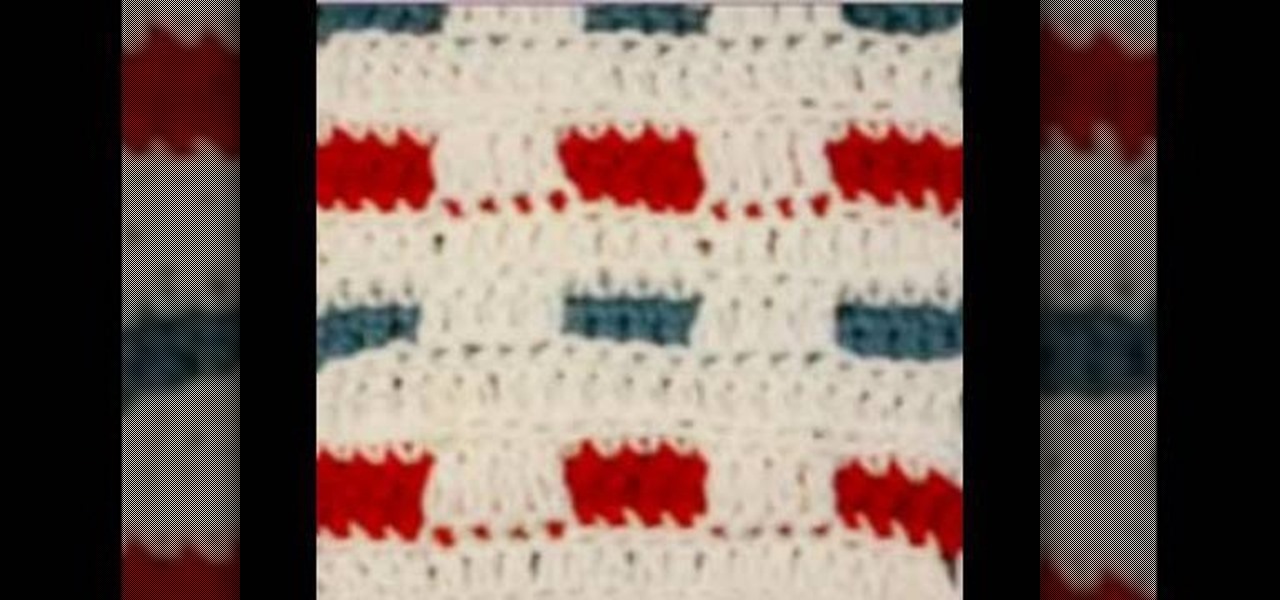
Any good crochet artist will tell you that most crochet patterns can be mastered more easily simply by sticking to one color yarn. Once you begin adding different colors to the same stitch, it becomes an integrative process as well as a learning one.
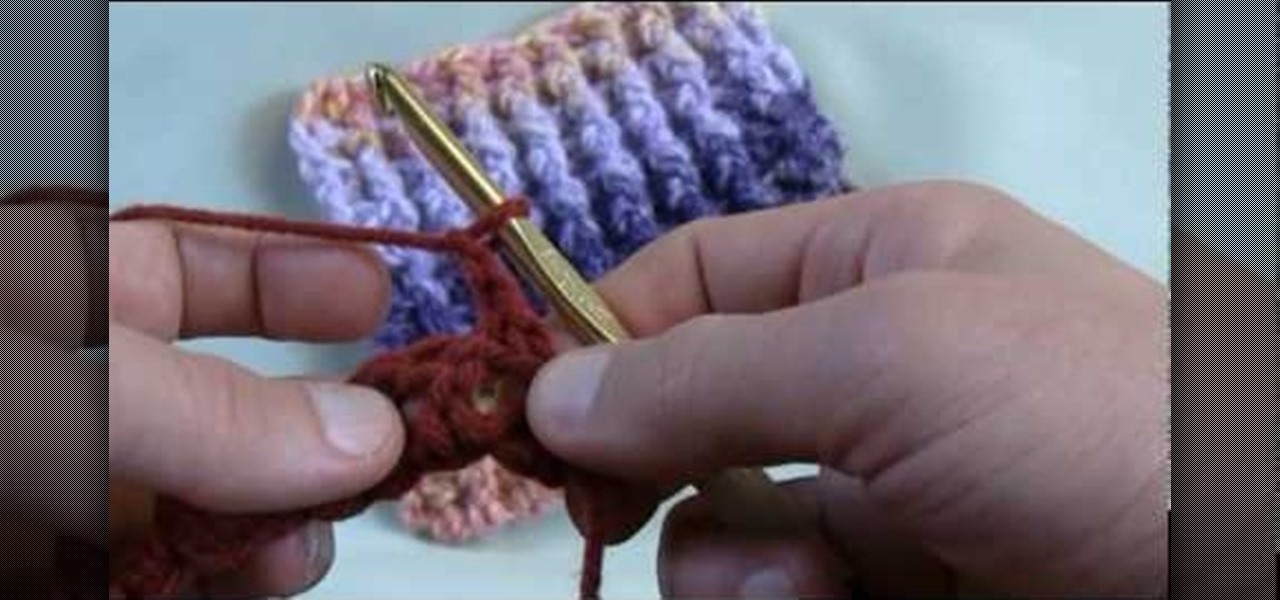
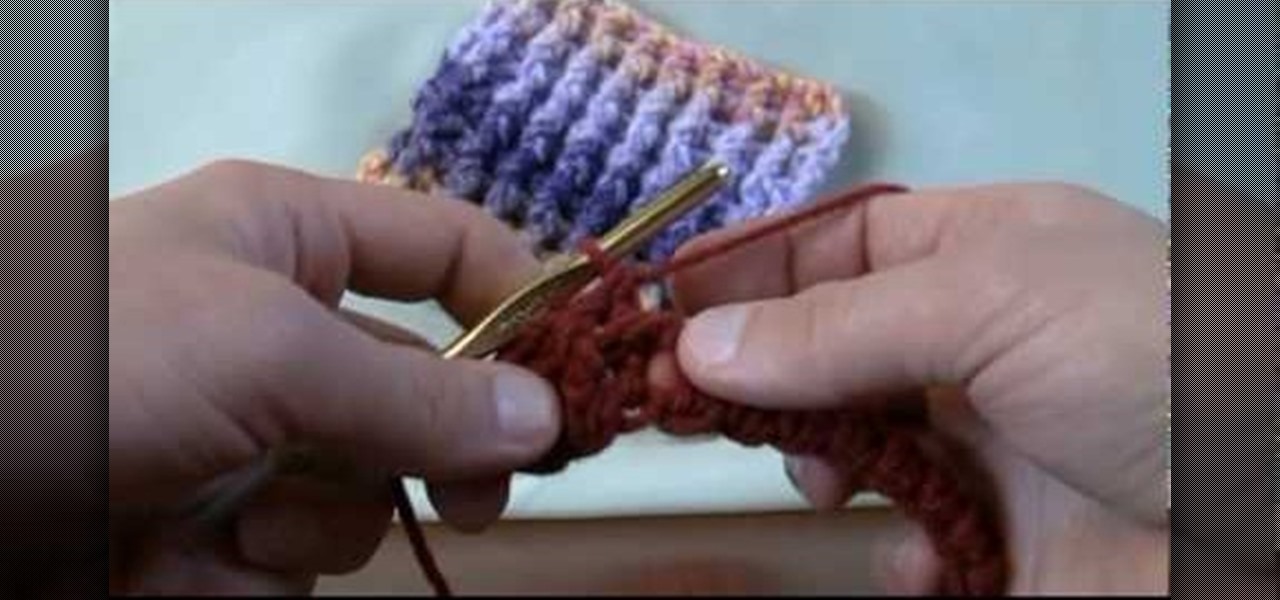
A crochet single rib stitch is essentially a fancy way of saying a crochet stitch with an undulating up and down pattern. A "rib," or elevated stitch, runs across the finished piece vertically, forming an interesting pattern that can be used to accentuate scarves and mittens.
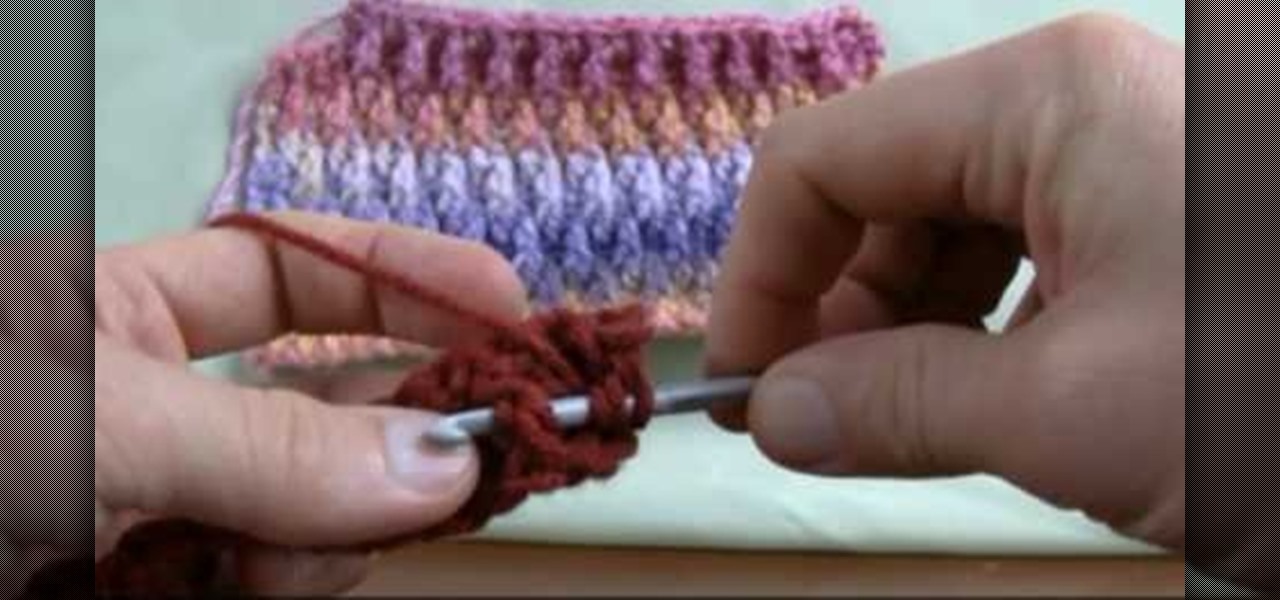
A ripple stitch looks just like the rippling waves on an ocean, swaying back and forth and creating a beautifully punctuated, undulating pattern. Replicate the ocean's waves by learning how to create the ripple stitch.

To use borders in Microsoft Word 2007, you begin by clicking on the Page Layout tab. Next, click on Page Borders. This will open a window. Page borders will border the entire page. You are able to custom choose the width of the lines, the style of the border, or the color of the border. The color drop down menu will allow you to choose automatic colors or custom colors. You can also choose to remove one or more of the sides. You can decide which pages to add borders to, as well. There are als...

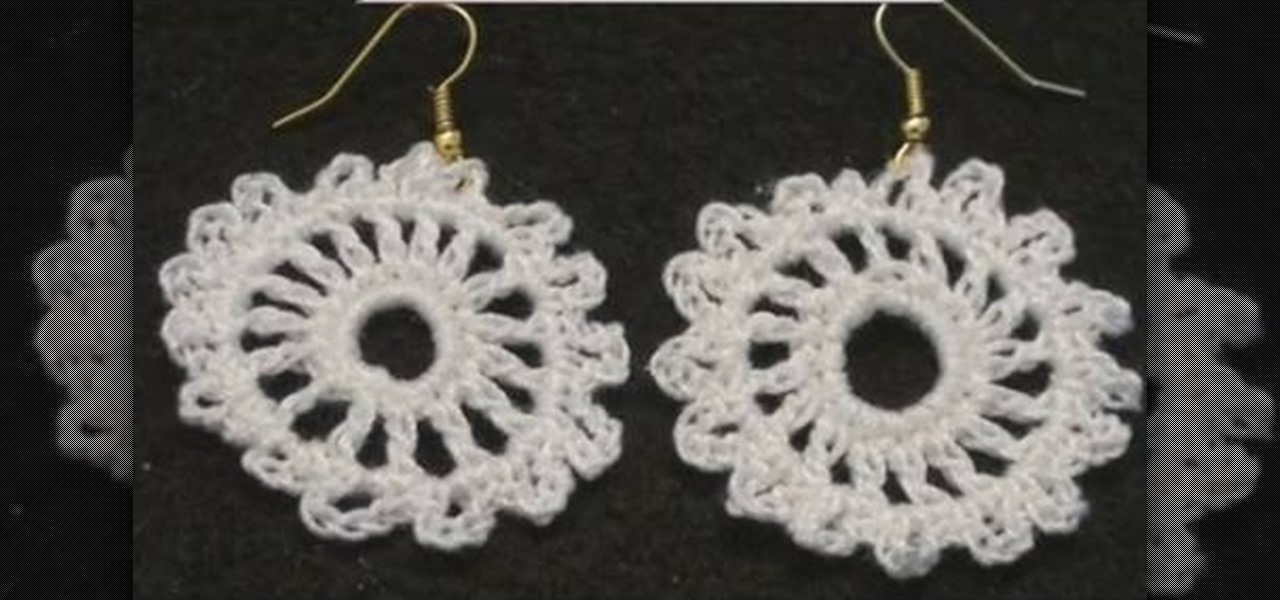
Well this is quite the alternative crochet project. You've probably already knitted a light, hole-y Afghan, and even a long, thick crochet scarf for the winter months, but we can bet you've never even thought of crocheting your own earrings.

Expand your crocheting repertoire by learning how to crochet a crinkle stitch, which does indeed replicate fabric crinkles. With very hole-y yet tightly woven vertical lines of yarn intersection with horizontal ones, this type of stitch creates excellent warm fabric for scarves and cold weather gear.

A ripple stitch looks just like the rippling waves on an ocean, swaying back and forth and creating a beautifully punctuated, undulating pattern. Replicate the ocean's waves by learning how to create the ripple stitch.

This may be a really short tutorial, but it teaches you a skill that you'll need to use in many future knitting projects: removing provisional cast-ons. Cast-ons are basically the latticework and frame of your knitwork, allowing you to create complex designs without any threads coming loose. These cast-ons are a third hand, if you will.

Flowers are the perfect accents for spring and summertime crochet projects, including scarves, Afghans, and lightweight shawls. While an entirely undecorated shawl is a great basic piece for your wardrobe, adding a few of these five petaled flower accents tacks on a feminine touch.

In knitting speak, pearling is just a fancy schmancy term for creating ribs in your crochet project. Ribs help to create a regular pattern and add visual interest to caps (as in this tutorial), scarves, Afgans, and just about any crochet craft.

When measuring for borders on your quilt, begin by spreading your quilt out on your work surface making sure that it is laying flat but not pulled tight. With a tape measure, measure from one edge to the opposite edge across the length of the quilt. You should measure along two or three different seam lines and cut the border material to correspond with your longest measurement.If you would like a two-inch wide finished border then you should cut your border material two-and-a-half inches wid...

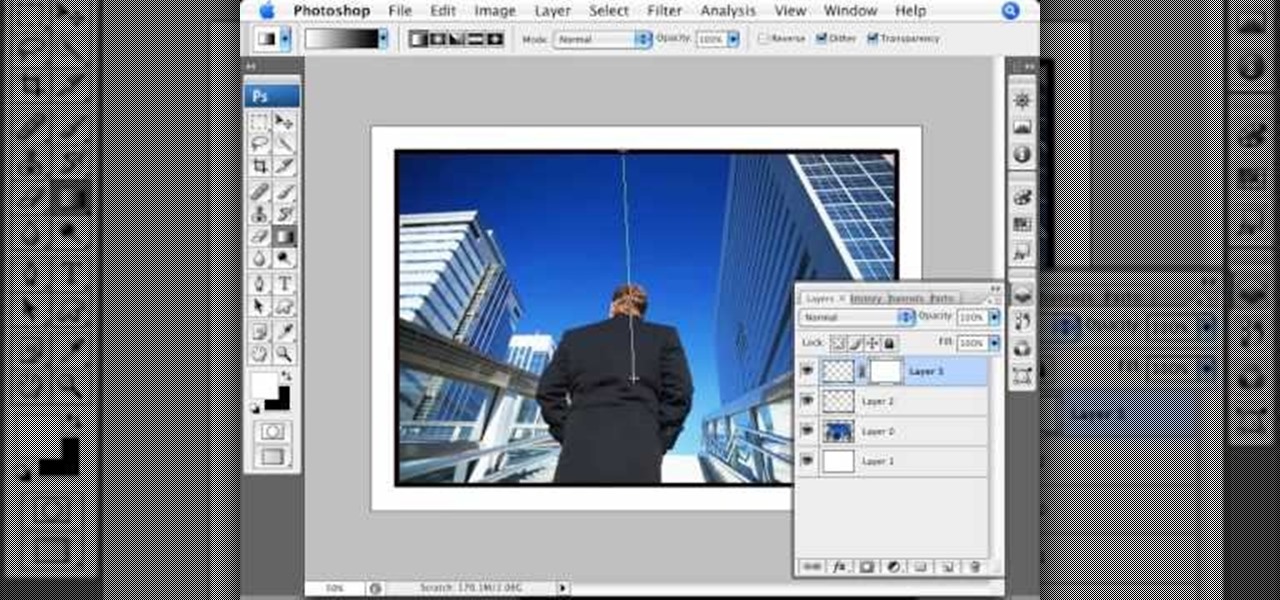
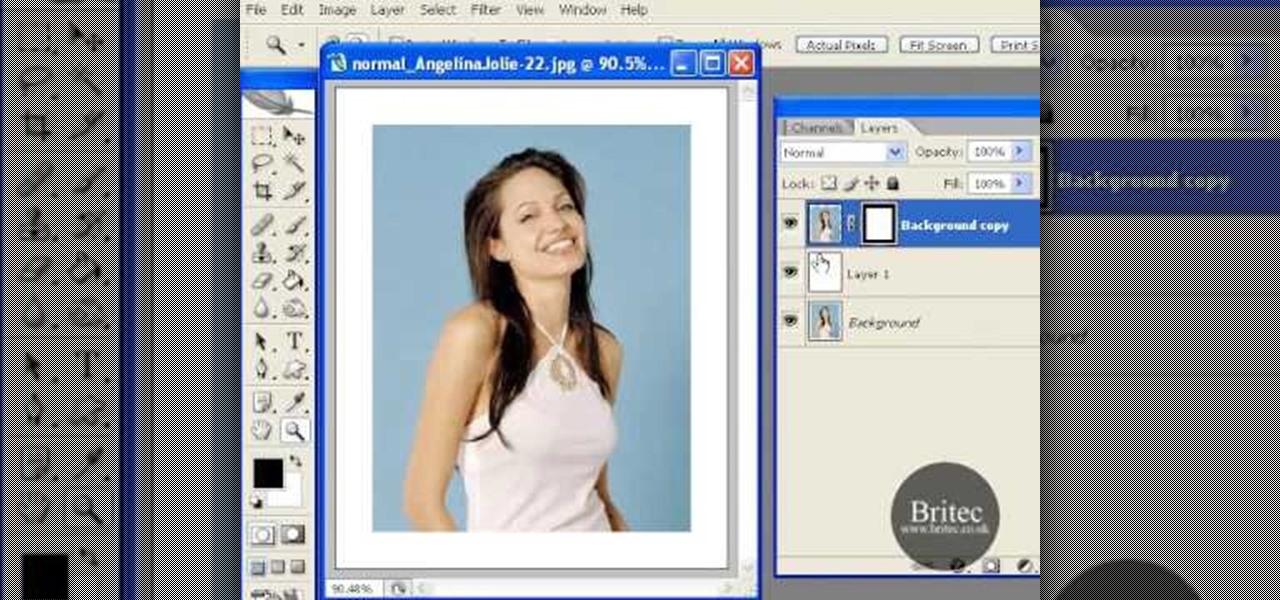
Don't know how to add some line frames in Photoshop? Well, this video teaches the viewers how to exactly add line frames, or borders for their images using Photoshop. First of all, change the background layer into a normal layer. Next, go to image size and add in some more pixels in order to allow room for the border. Next, add another layer and set it to transparent. Now select where you want your border to be, then go to strokes, and select a color. At this point, the viewer should have a b...

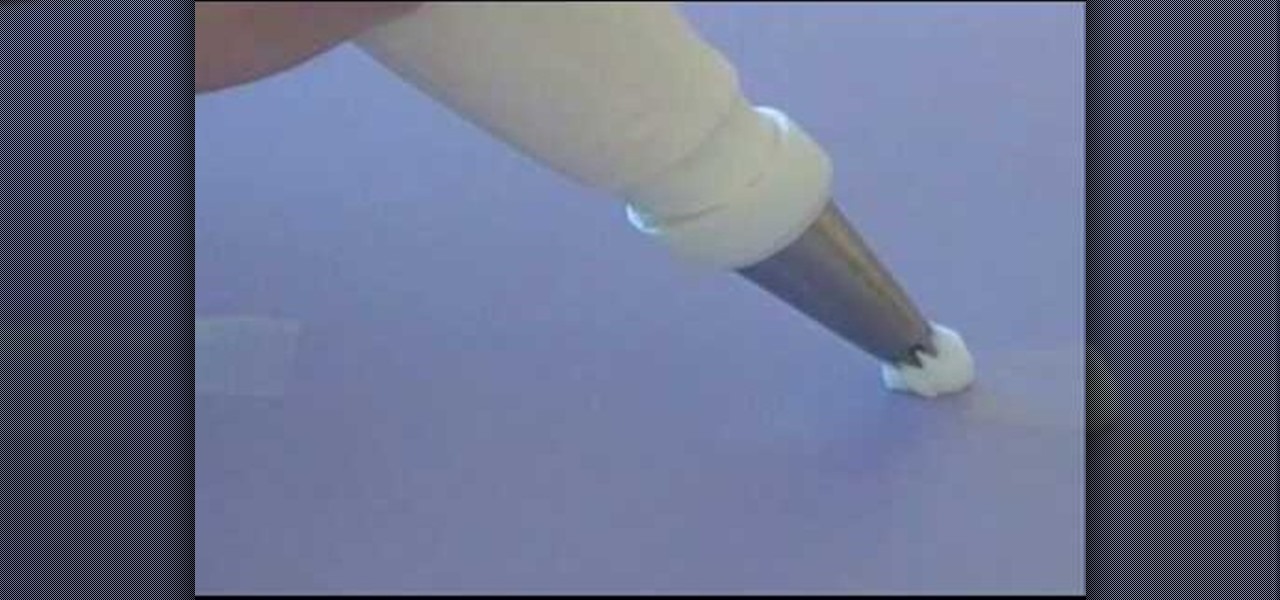
There's no better way to improve your ability to ice masterpieces of cupcakes and cakes than to simply practice. And the tip presented in this cake decorating video is indispensible. Using a #21 tip (called an open star tip), you'll learn how to ice a shell border.

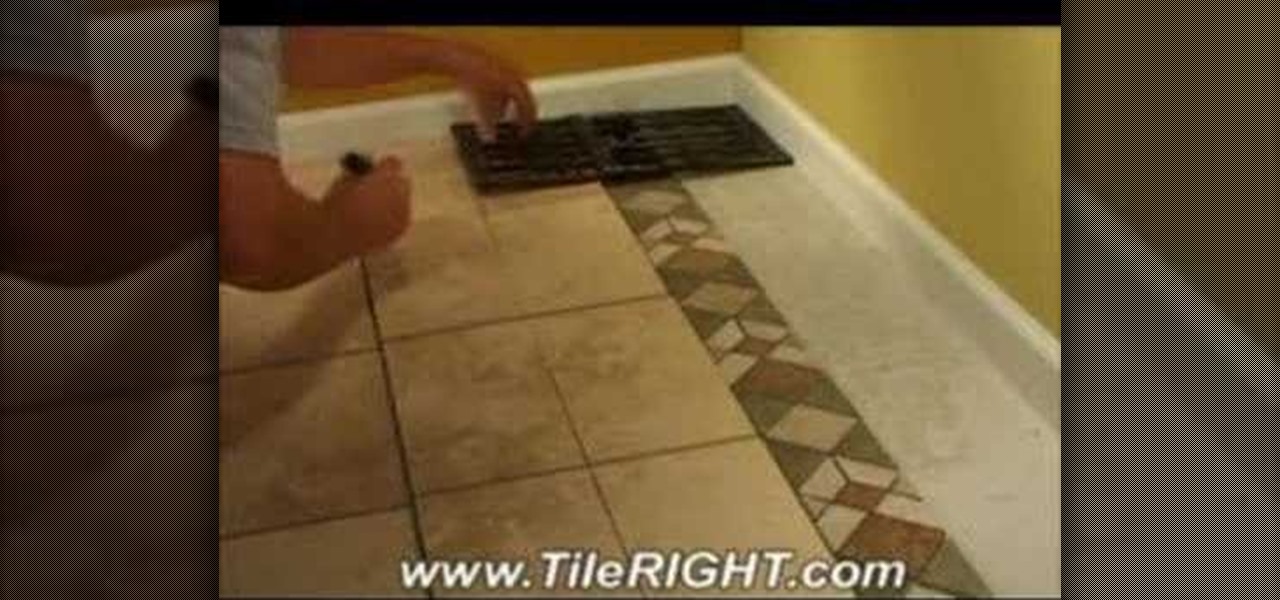
In this Home & Garden video tutorial you will learn how to install a decorative tile border. Decorative borders add a beautiful accent to any room. Start by setting the "measure right pro' tool. Slide the tool open to cover the entire tile and the width of the border. Next move out one eighth for the wall space and lock the tool. Now place the fill tiles on top of the set tiles. Then you slide the "measure right pro' along the wall and mark the tiles. Write the sequence numbers on the tiles a...

Want to add a border to your digital image? With Photoshop, it's an easy process. Whether you're new to Adobe's popular image editing software or simply looking to pick up a few new tips and tricks, you're sure to benefit from this free video tutorial from the folks at Britec Computer Systems. This video offers a step-by-step guide on how to add borders and edges to digital images.

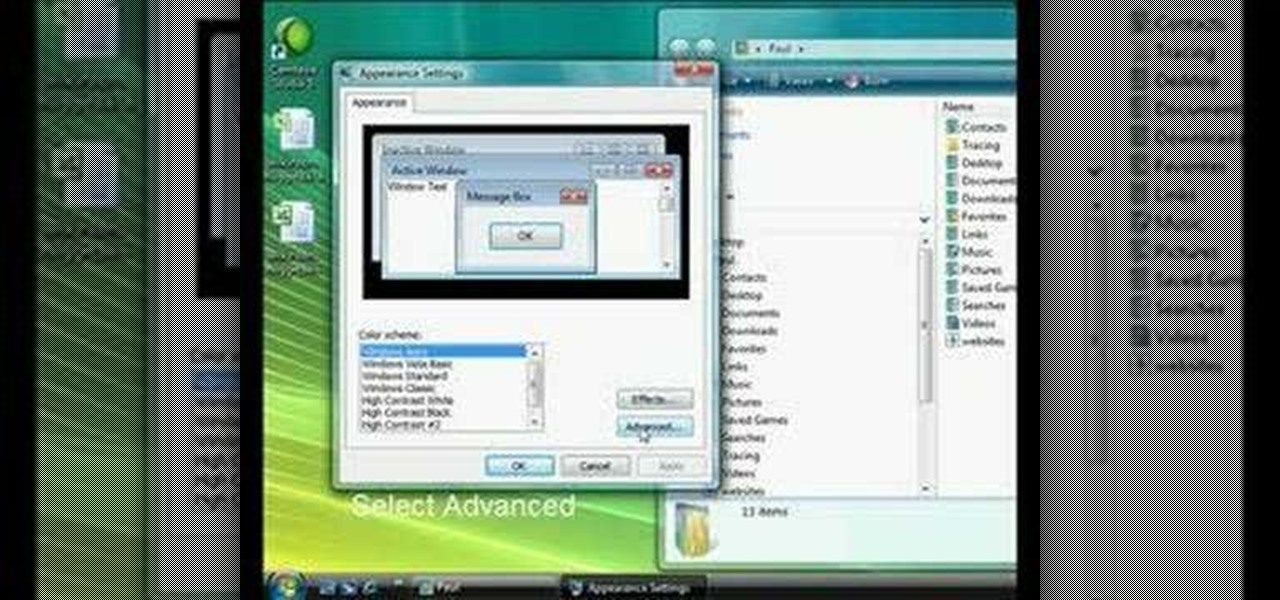
Customizing Window Vista's glass borders is relatively simple. In order to expand the borders, right click and choose properties, then choose appearance. Scroll down and click on 'open classic appearance properties'. Under Windows Aero, choose advanced settings, and click on desktop and choose border padding. You can then increase the size to your choosing and click 'ok' and 'apply'. After a few short seconds, you will notice that your borders are fatter than they were before! You can also us...

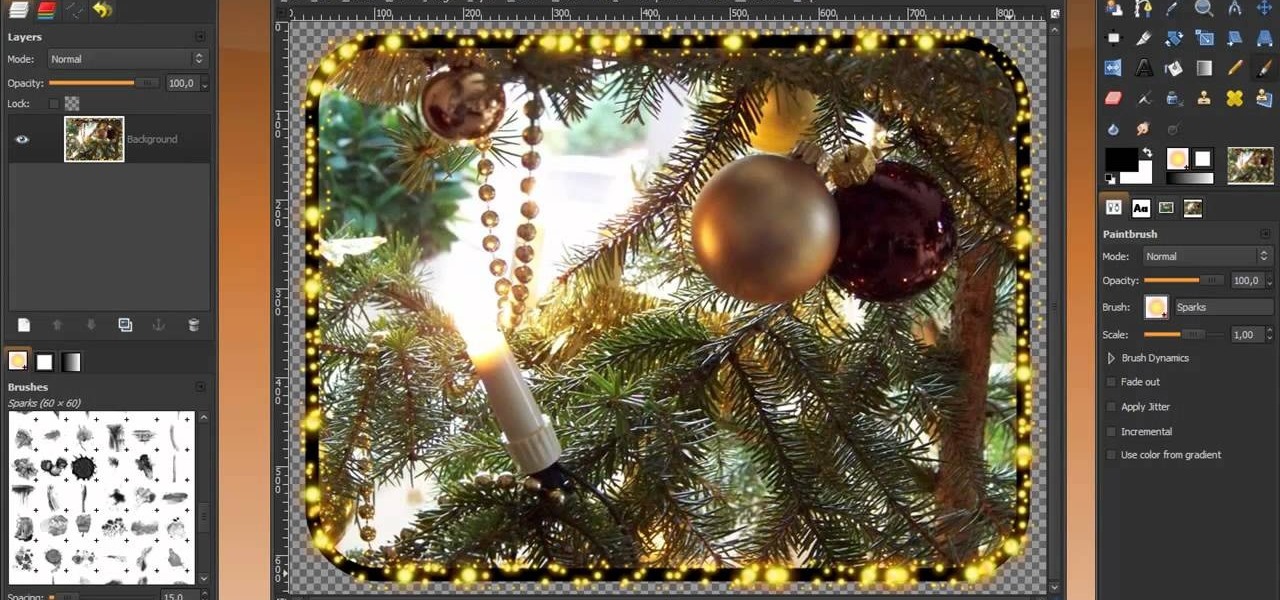
Learn how to make a fancy border in GIMP with this GIMP tricks video tutorial. This border can be used to frame images for YouTube videos or other things. Take your image, and go to Image and Canvas Size. The size should be made larger to allow room for your border and then click Center. On Layers, select All Layers. Then, click Resize. This allows you to make room for your Layer. On the far left side, right click on your layer and select Alpha to Selection. Go to Select, To Path, Select, and...

In this instructional video series, our expert will demonstrate how to crochet an afghan. She will demonstrate an afghan pattern and how to attach each row of crochet stitches. If you are familiar with crocheting and want to make a beautiful afghan our expert can walk you through each step to creating a wonderful blanket.

We enjoy the fuzzy wool yarns at craft stores as much as any other knitter, but did you know that yarn doesn't have to be made from wool or any of the typical yarn fibers? In fact, you can make your own yarn at home. Don't worry, we're not going to put you in front of a weaving machine.

You can easily "square up" your quilt by adding borders that have been measured for perfection. The trick is to leave extra space where the fabric will stretch the most. Watch this instructional quilting video to account for small changes that occur in the sewing process to sew an exact border on your quilt.

Do you need more space for your image? Do you want to put a border or text or additional information around your original image? You can do it all within Photoshop Elements with the help of this tutorial. Add your image to a larger canvas in Photoshop Elements and you can easily make a border.

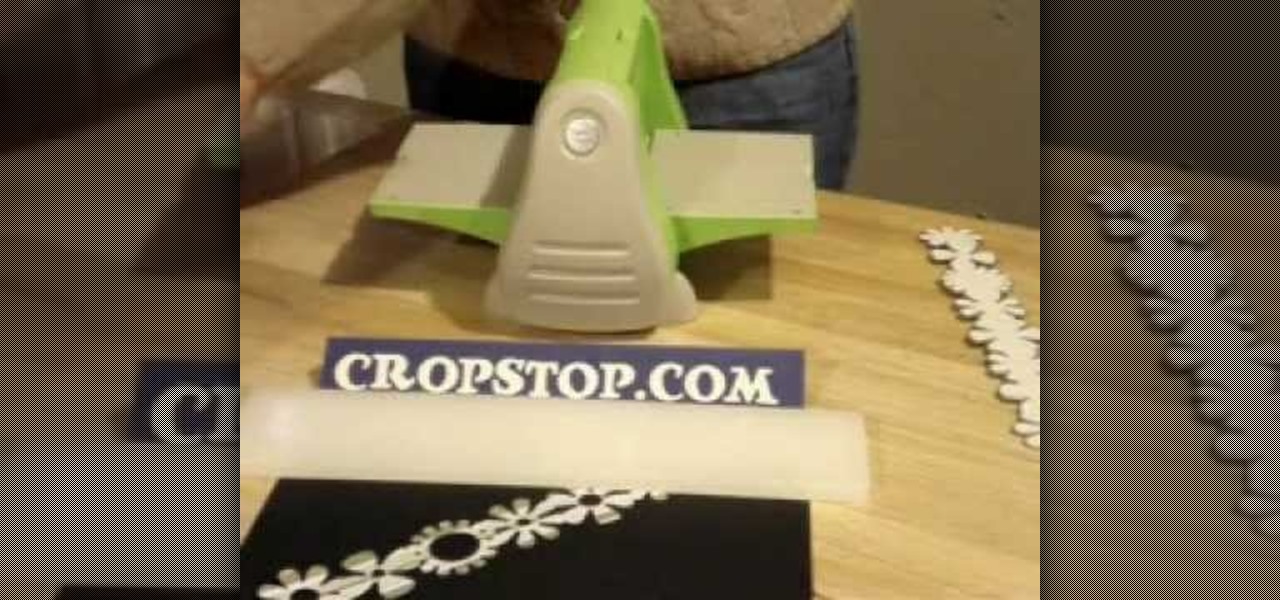
While embossing machines are marketed to be used brand specifically, all those QuicKutz 12 inch border dies and embossers are completely compatible with a Cuttlebug embossing machine. Make the most of your stamping materials without having to purchase to much of everything. Watch this video crafting tutorial and learn how to use QuicKutz 12 inch border dies in a Cuttlebug embossing machine.

Once you have created a basic shape in Open Office Draw, you can add a range of formatting to alter the appearance of your shape.

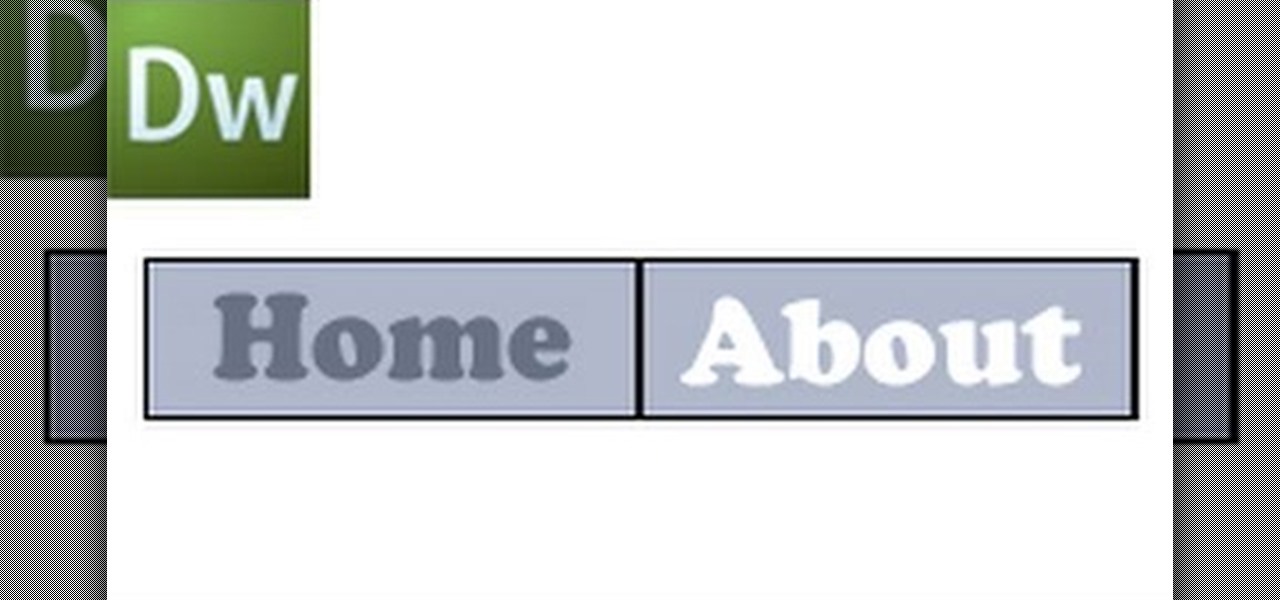
This video shows how to create a menu with rollover images in Dreamweaver. Open a new document and create a table with one row and one column. To add your rollover images, go to the "Image" tab and select “Rollover Image”. In the “Insert Rollover Image” box, give the image a name, then click “Browse” under “Original Image” to find your images. You can select your rollover images in the same window. Then enter your alternate text and click OK.

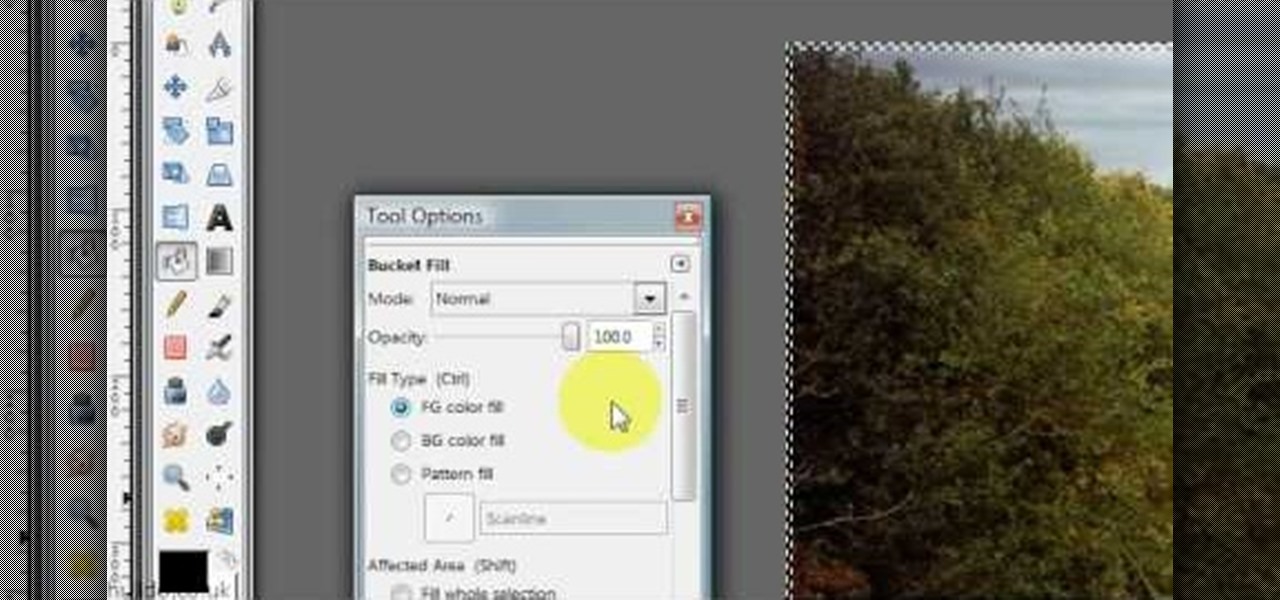
Hulldo teaches you how to give your images a widescreen border using GIMP. Open up a picture and the click new layer. Next go to select - border and make it 3 pixels. Go to tool options and use black for foreground fill. Select none and create a new layer. Go to view and make sure snap to canvas edges is ticked. Go to rectangle select tool and go to its menu. Then select 640x30 pixels. Fill that layer with black and select none. Duplicate this layer. You place this one on the bottom and you a...

See how to add grungie borders to your images to give them a cool effect in Photoshop. If your borders are white and the background of the background of the website or page you are uploading them to is also the borders will blend in giving it an even cooler look. This is a great Photoshop picture effect!

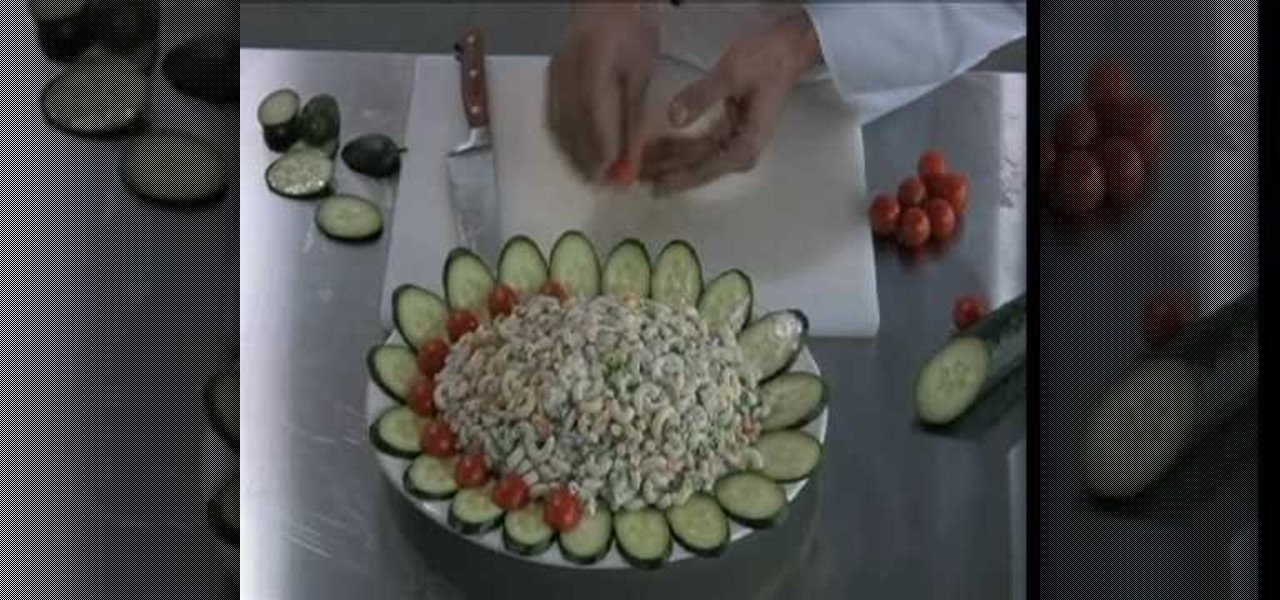
Let's face it: When it comes to most elaborate food garnishes at restaurants, we go "Oh! How pretty!" and then toss it aside so we can chow down on the food, the beautiful adornment forgotten forever. Not so with this salad food garnish. Made from fresh cucumbers and tomatoes, this salad border is both beautiful and delicious. Easy to make yet impressively placed, it'll definitely garner you garnish compliments at your next soiree.

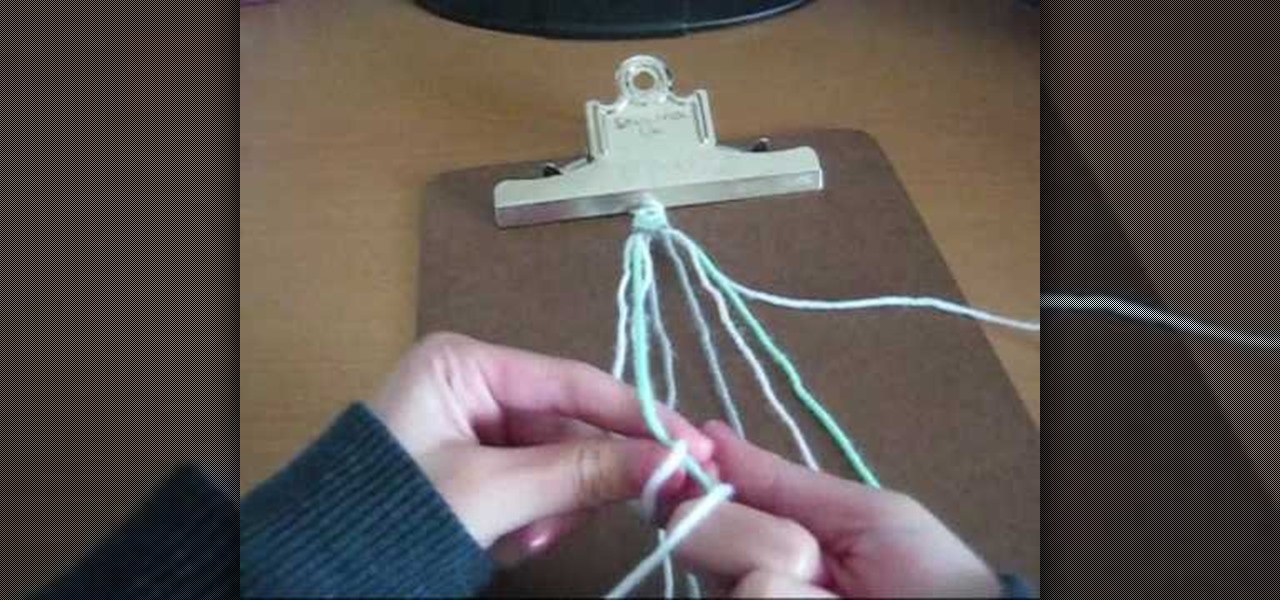
You and your best friend may be taking the next step in the friendship ladder… the friendship bracelet. Not everybody wants to show off their friendship to everyone, but if you do, this video tutorial will show you how to make a friendship bracelet, specifically the bordered chevron friendship bracelet. It's similar to the chevron, but has a border outside the chevron.

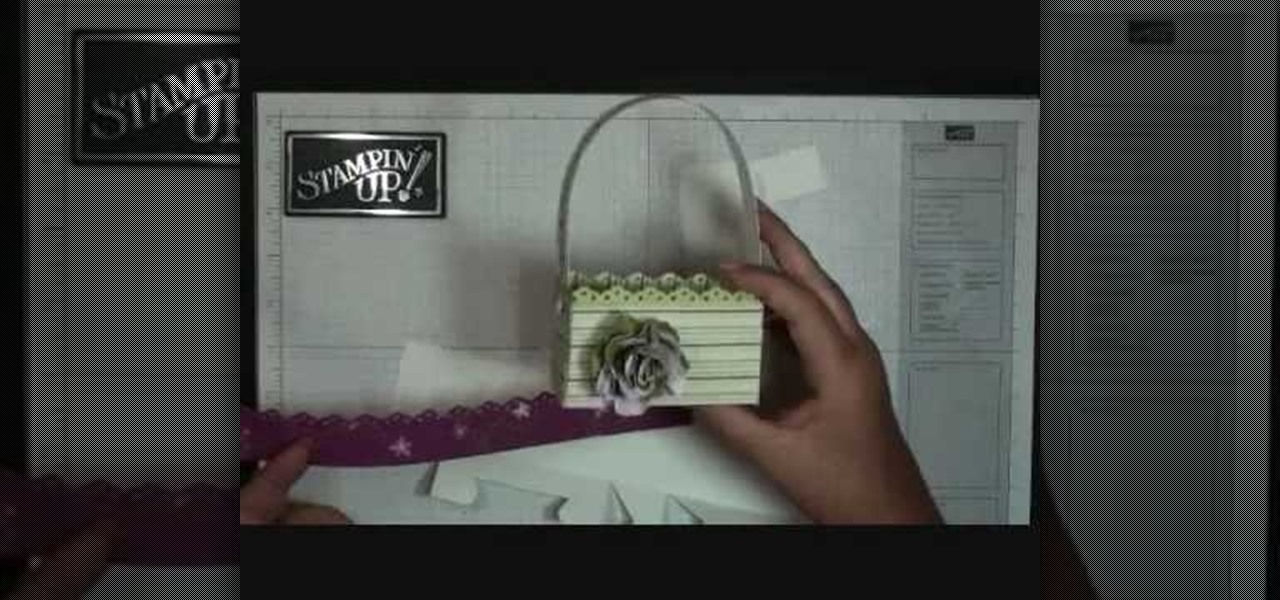
This video tutorial is in the Arts & Crafts category where you will learn how to make a mini Big Shot Box with Stampin' Up! For this you got to use the Bigz Die Box #2. Cut a Whisper white card stock at 6" x 11", place it on the die box and run it through the machine to get the box template. Cut off one edge of the template along the score line with scissors. This will be the top part of the open box. Now fold the bottom part of the box along the score line. Take a strip of cottage wall desig...

Add fancy touches to crochet projects that are just sitting in your basket. This crochet how-to video shows you how to crochet frilly and loopy borders on just about anything. Watch and let Mike show you how easy it is to make simple crochet projects look fancy by adding frilly borders.

Learn how to add extra flair to paper edges with paper punches. This video tutorial shows different tools that will change the borders of paper and how to use those tools. Paper punches change the border of papers and expands the options of basic card making.

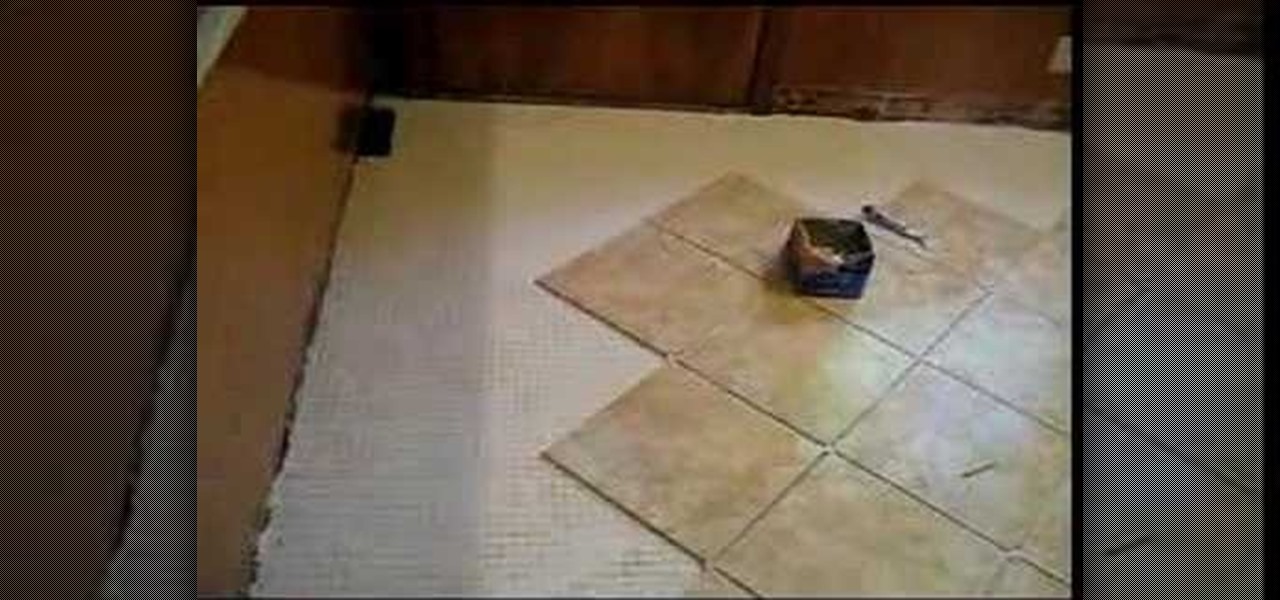
In this video, we learn how to tile a kitchen floor with a border. First, you need to remove the flooring that is currently on the ground and sweep it clean. After this, lay down the paste and then the filling for the middle of it on top of the paste. Make sure this is pressed down firmly, then lay down the white paste on top of it. From here, you will be able to la down the tiles in a pattern that will make all of them line up together. Place the border around the sides and you will be finis...

Looking for a quick guide on how to create video borders in Photoshop CS5? This clip will teach you what you need to know. Whether you're new to Adobe's popular raster graphics editing software or a seasoned professional just looking to better acquaint yourself with the program and its various features and filters, you're sure to be well served by this video tutorial. For more information, including detailed, step-by-step instructions, watch this free video guide.

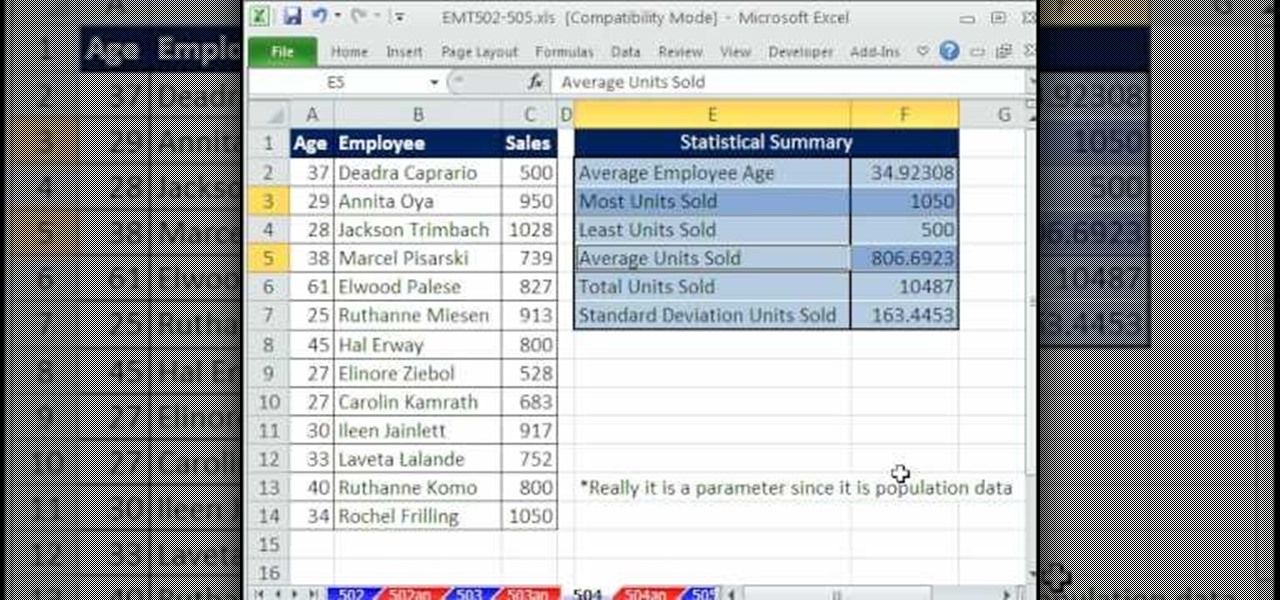
New to Microsoft Excel? Looking for a tip? How about a tip so mind-blowingly useful as to qualify as a magic trick? You're in luck. In this MS Excel tutorial from ExcelIsFun, the 504th installment in their series of digital spreadsheet magic tricks, you'll learn how to use the borders tab in the Format Cells dialog box to create a 3D effect.

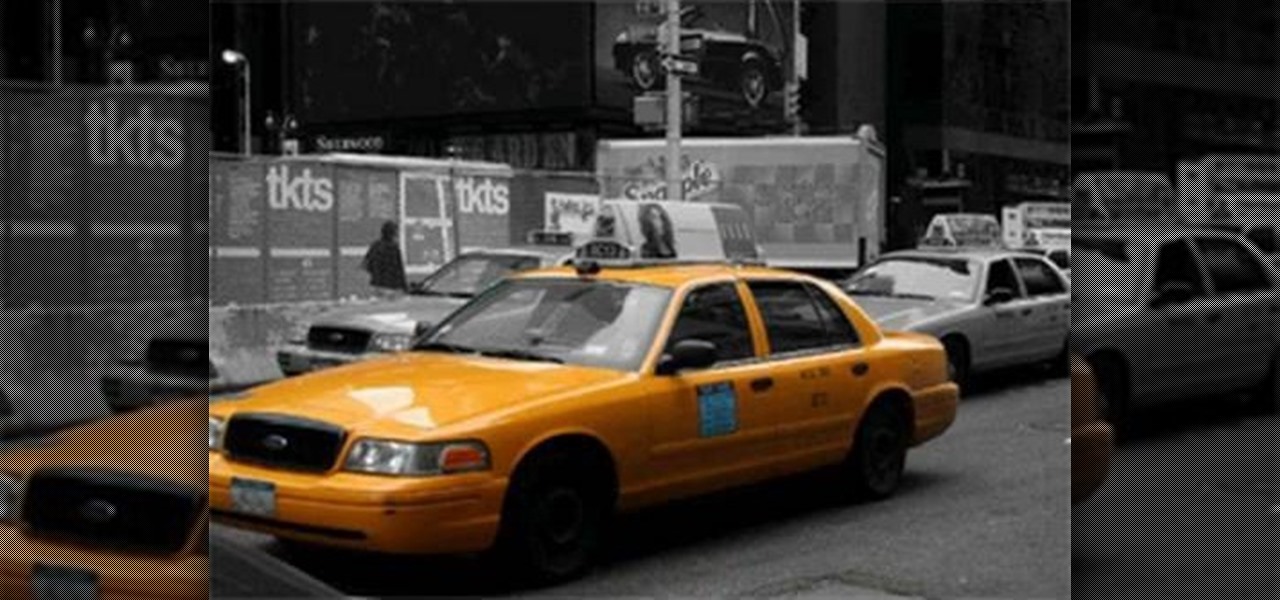
This video shows us how to turn parts of a color photo into black and white and keep the colors for the parts we choose. Start by choosing the polygonal asso tool in the tool box. Now create borders for the parts of the image that you want to keep the colors. Hold the ALT key while clicking to draw borders around a second or third object. Once all the borders are created, right click on your selection and click "select inverse". Now go to "image menu, highlight "adjustment", and then click "b...

This video lesson will show you how to easily make frames and borders in Photoshop. Yanik from Yanik’s photo school presents this video. It’s really easy and fun. Go to select -> all or ctrl+A. Then Go to select -> modify ->contract. Put in the amount of pixels you want your border to be and click OK. 75 may be suitable for most pictures. Then Go to select -> inverse. Now you go into quick mask, ctrl+Q or click the appropriate icon. Click filters -> filter gallery and select the type of effec...

For those of you who want to learn how to make those beautiful fondant pearls, here is a cake decorating how to video. Learn to make fondant pearl borders the easy way. This video is a step by step guide on how to roll press and attach the pearls to cakes.


