This by far one of the most elegant and beautiful cards we've ever seen in a card making tutorial, and we've seen a lot of cards. Rather than tacking on cheesy mass-produced floral prints and little butterflies and other odds and ends that just distract, this Christmas card focuses on minimalist beauty.
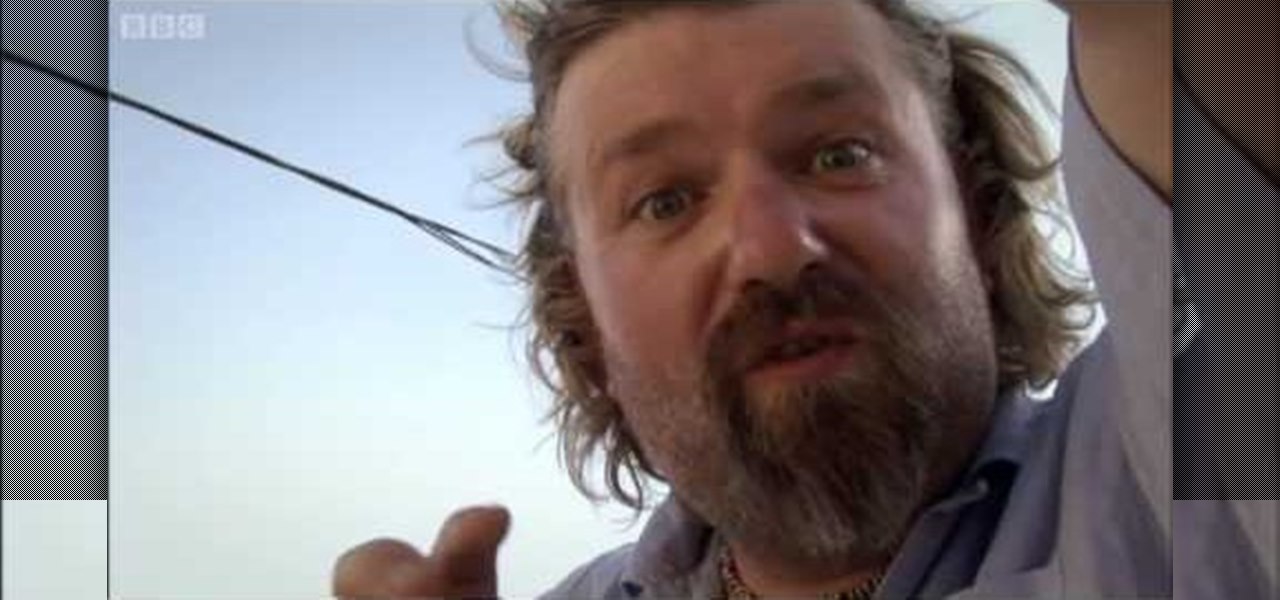
In Turkey, near the Syrian border, the Hairy Bikers demonstrate the best way to build and cook the perfect doner kebab. Brilliant recipe clip from BBC food-lovers show 'Hairy Bikers Cook Book'.
This anatomical look of the human body will have you dissecting a cadaver to see the superficial limbs. This video tutorial is basically just skinning the upper and lower limbs.
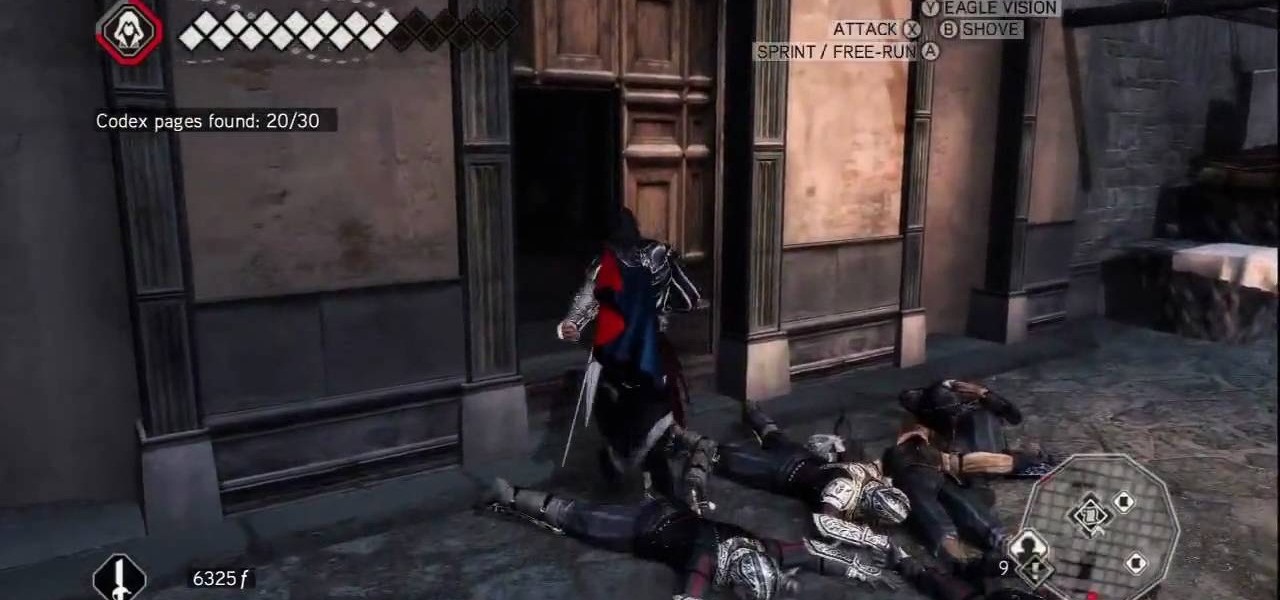
X Marks the Spot: Activate the odd glowing thing and then walk up to the wall of codex pages to bring up a puzzle. Use eagle vision and you can spot the faint red outlines of a picture. You need to rotate all of the pieces around into their correct positions in order to complete the picture. Start by going around the perimeter of the puzzle and arranging the border—it's the easiest. Once you've got the border in place, go for the inner pieces.

This is a great Christmas DIY tutorial that shows you how to take a plain white tablecloth and use a star stencil, gold gel pen, glitter paint, felt scraps and a hot glue gun to add a festive holiday border.
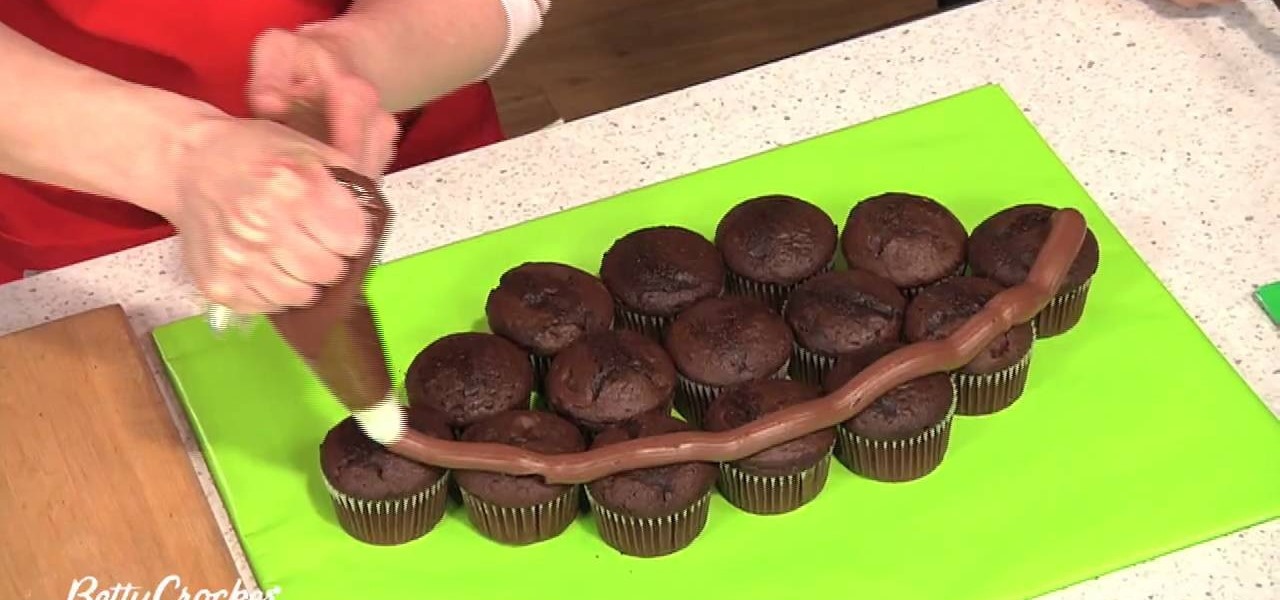
BettyCrockerTV shows viewers how to make pull-apart football cupcakes! First, you should cook cupcakes, and then arrange the cupcakes on the platter. Start with three rows of three cupcakes. Next add two on each side! Then add one on the end to finish this off. Now it should look like a football. Now to frost, you should not frost each cupcake. Instead, pipes frosting on to all of the cupcakes in the shape of a football. It should take 2 cups of frosting. Now, after piping frosting onto the c...

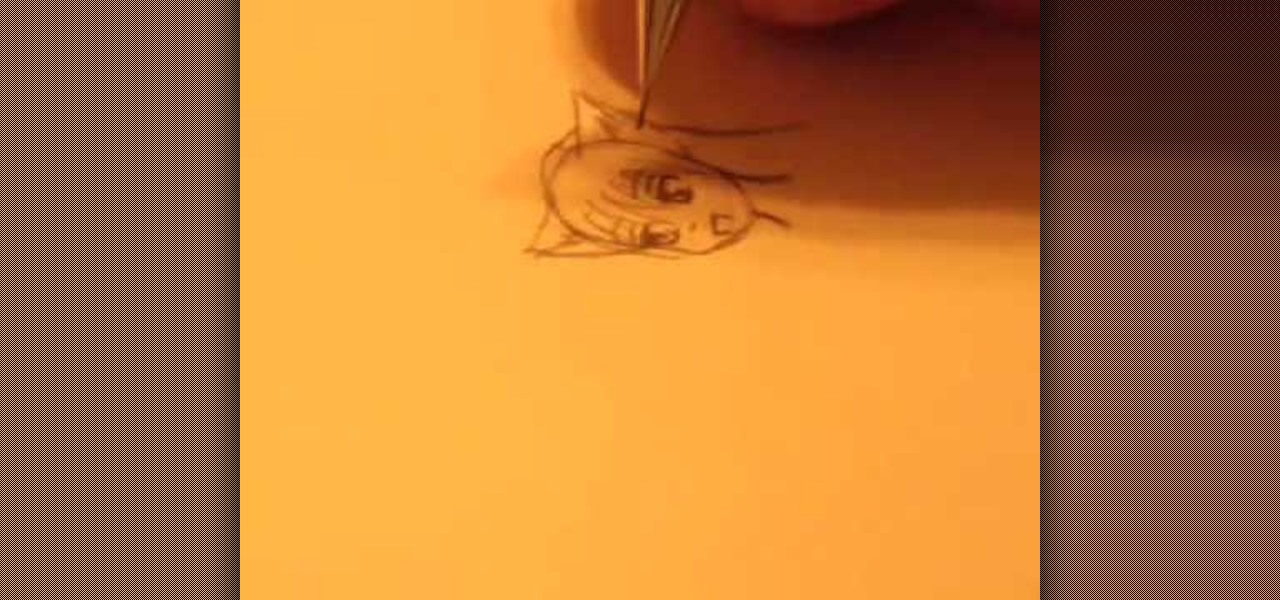
This video shows how to draw an anime Fox Furry. First, draw the outline of the face, neck and straight-up ears. Then draw the eyes with eyebrows and make them prominent, to look nice and real. Then draw the nose and mouth. Then give borders and shades to ears to look prominent. Then outline and draw the hairs over the head, a little on the face and also side hairs. Then for finalizing the eye part, adding pupils to the eyes to look a little real, and more bordering the eyebrows. Then, draw t...
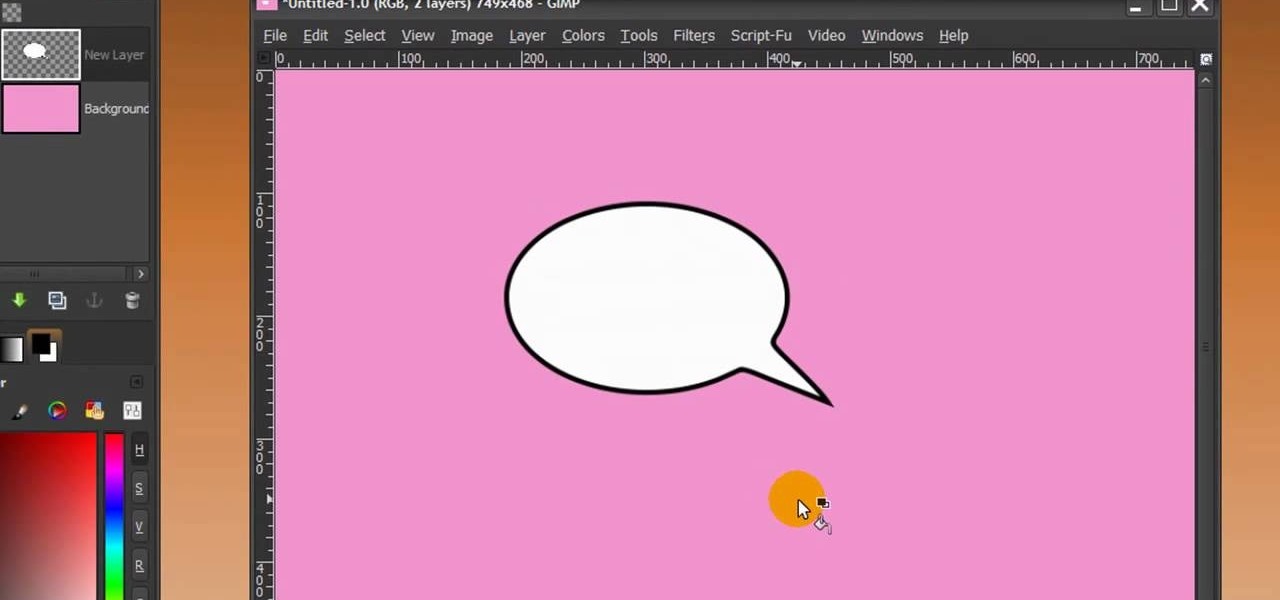
First of all open any image and create a new ‘layer’ and add it to your image. Click on the transparency and then click ‘ok’. Now from the right menu bar choose the ‘elliptical’ icon to make a round balloon. Now select the 'free select tool' and select ‘mode’ to 'add to current selection' and then draw a triangle with the base inside the previous balloon and the pointed end outside the balloon. Now select the 'bucket fill' tool and make sure your ‘background’ color is selected as white and th...
This video describes how to insert keywords and SEO with the fusion essentials in the website. He asks you to first go to the site mode and then click on the home page and from there you can get in to the property box. There you can find three choices or tabs. He explains that the first one can be used to change the page name and page title and also can adjust the master border. The second tab is used to mention the page status, if it is done and can be displayed to the viewers or if it shoul...
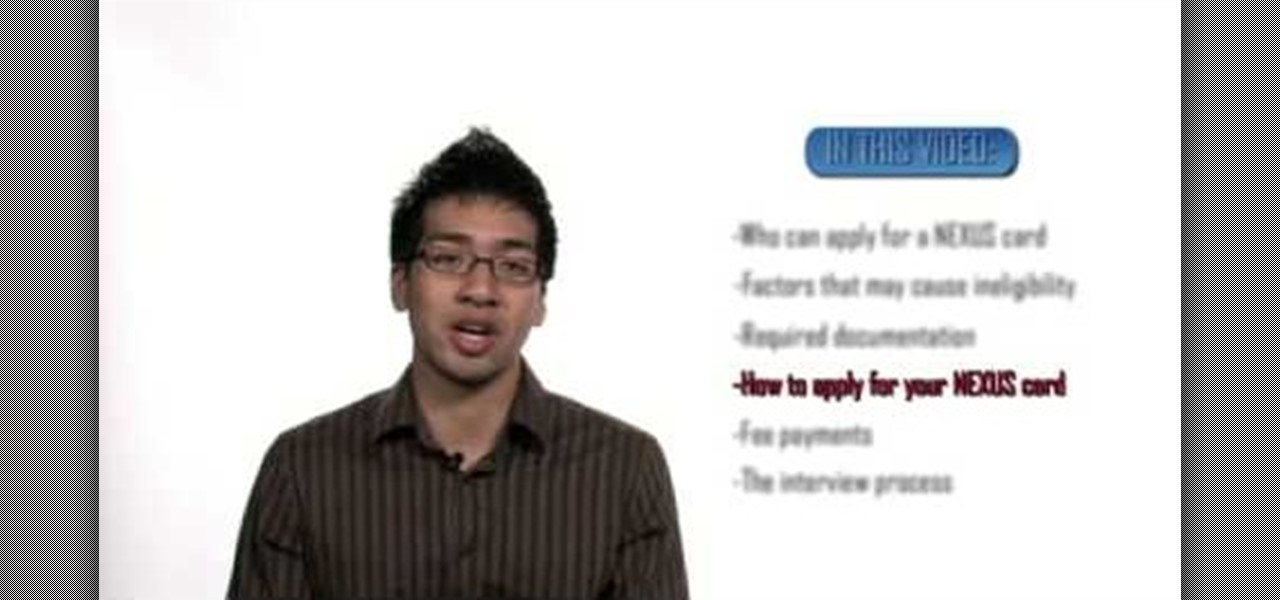
Nexus is a pre-approved trusted traveler program that allows approved people expedited travel between Canada and the US. The card is available to US and Canadian citizens or permanent residents who travel by air or land between the two countries. Anyone traveling between the two countries must have their own Nexus card including babies. The Nexus card is considered a privilege by both the US and Canadian governments. You must have a clean record with both the Canadian Border Services and The ...
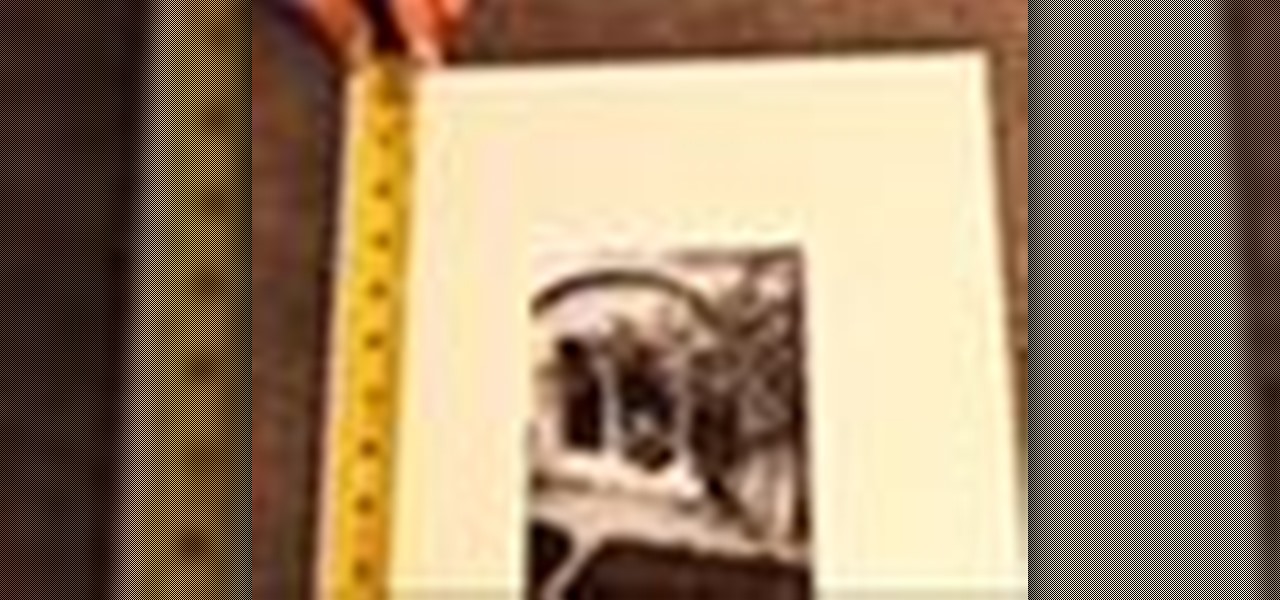
Stumped on what frame to use for your favorite piece of artwork or photo? The perfect frame will make your painting, photograph, or piece of artwork stand out on your wall. Here's how to find an ideal match.
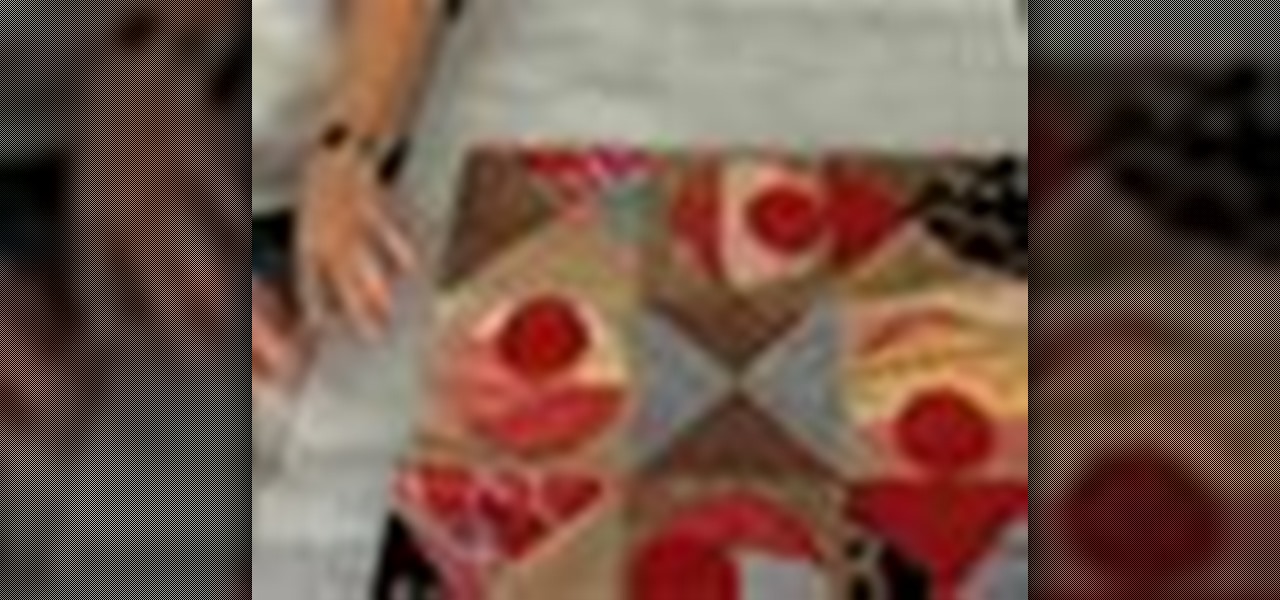
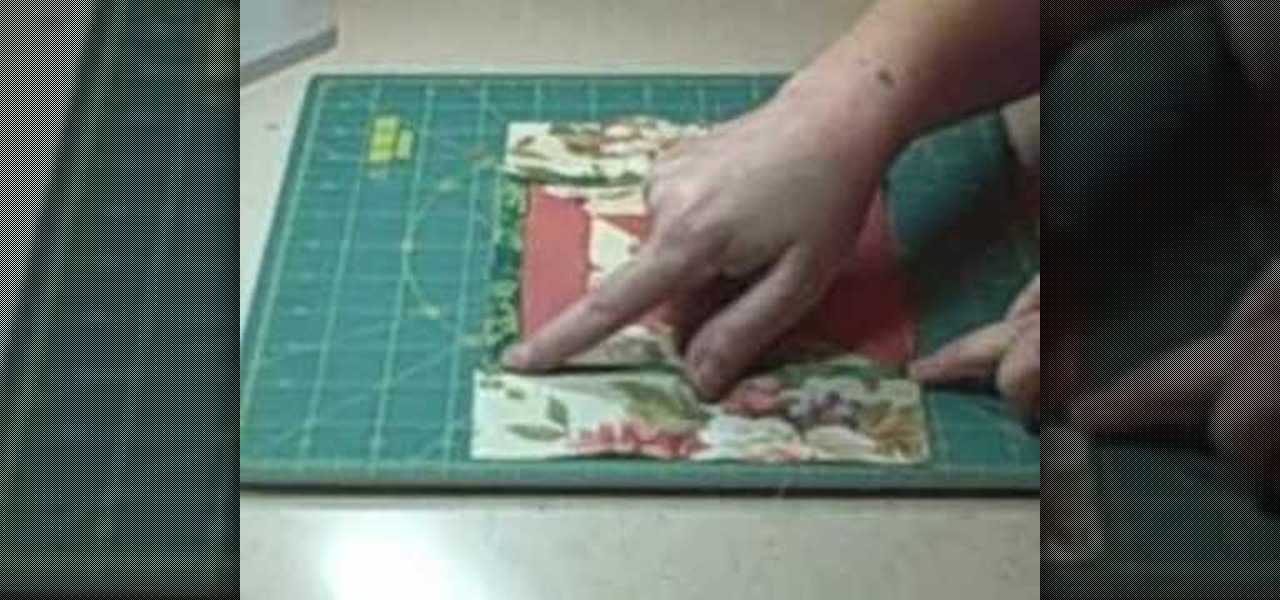
Sure, buying a quilt is fun, but making your own is much cooler! Learn how to design and sew your own quilt by watching this informative video.
Having a hard time making your bed? This video shows you how to properly make your bed. Kids, use this great tactic to impress your parents next time they ask you to make your bed!
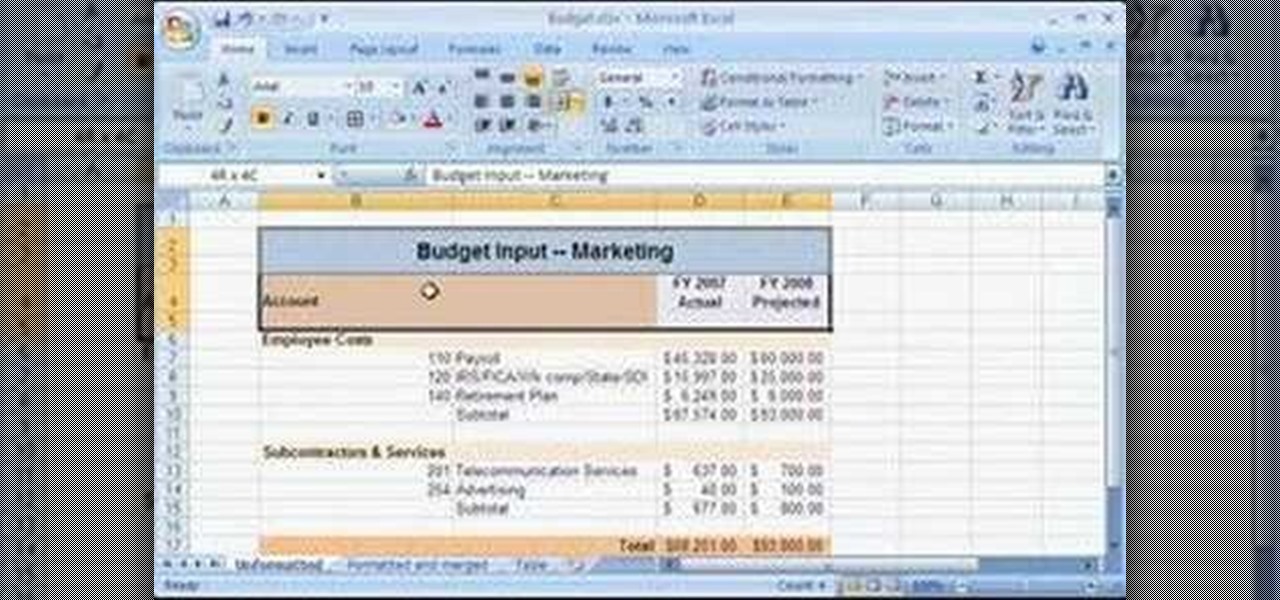
Using the Merge feature in Microsoft Office Excel 2007, you can quickly turn that worksheet into an easy-to-scan, appealing report. When you merge cells, you join several adjacent cells into one larger cell. Check out this tutorial and learn how to adjust the position of the contents of the merged cell and add borders and background colors.
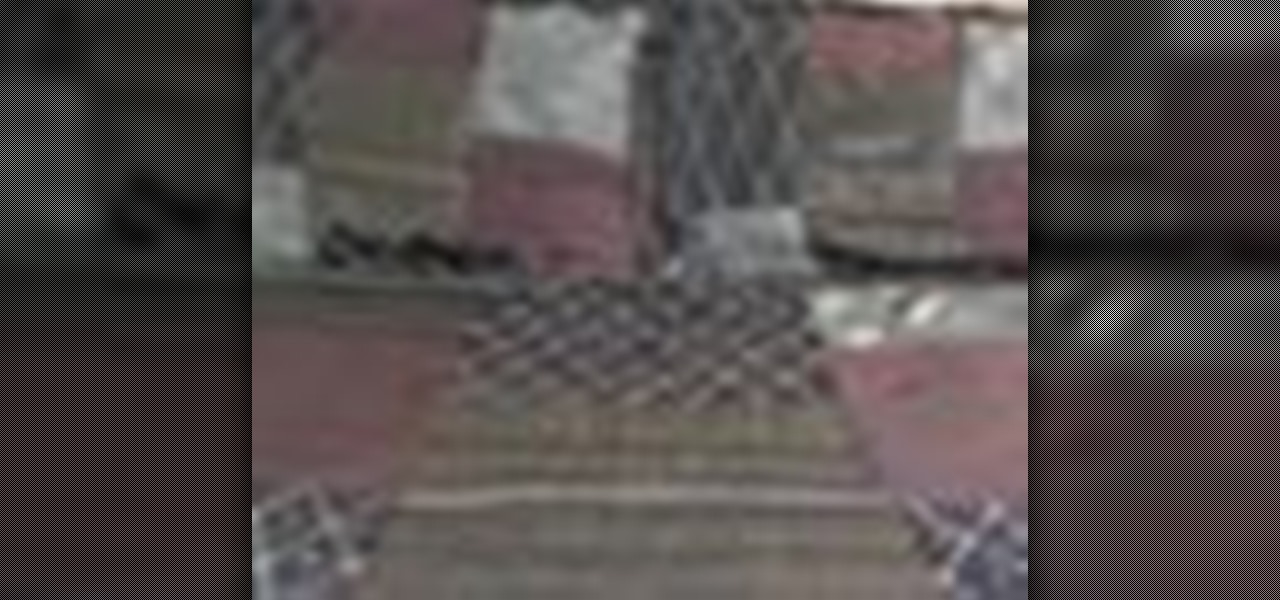
A quick tip on adding a flange accent to piece your quilt. A flange is a one inch strip of fabric that you fold in half and fit into the border to add a delicate accent to your quilt. This layout provides the groundwork for sewing flanges into a quilt.
This tutorial demonstrates how to finish your quilt that has irregular edges using a facing instead of binding. Review this quilting instructional video to quilt a complex border finish. The facing method allows you to avoid mitering every corner.
Learn how to use the couching technique to create depth and dimension to your quilts. Add borders and trim to intricate quilted patterns. You'll need a large eye needle and various couching material, such as yarn, ribbon and scraps of fabric. Couching adds texture and finish to quilted fabrics.
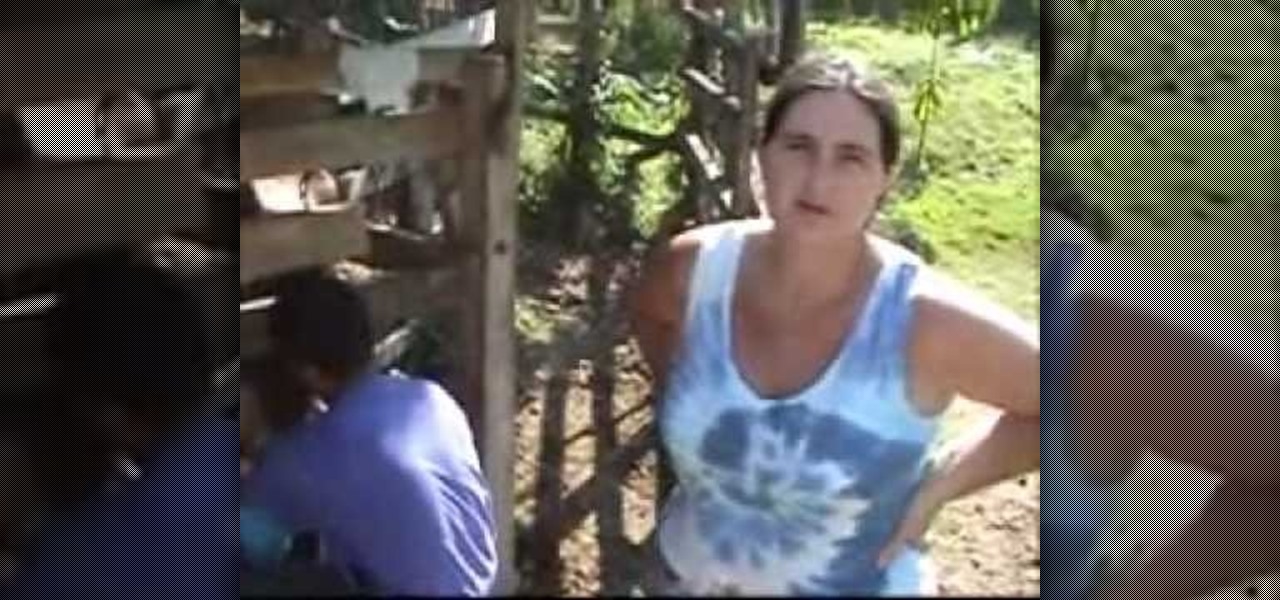
Tres Semillas Mountain Inn is a family owned organic farm and rainforest retreat located in El Brujo de Rio Nuevo, Costa Rica, on the southern border of the Los Santos National Park. Learn the simple procedure for how to milk cows and care for them on an organic farm by watching this video tutorial.
This video is designed to give lots of clear and helpful information about the cable cast on method. It produces a nice, even cast on edge which is excellent for picking up stitches for decorative borders.
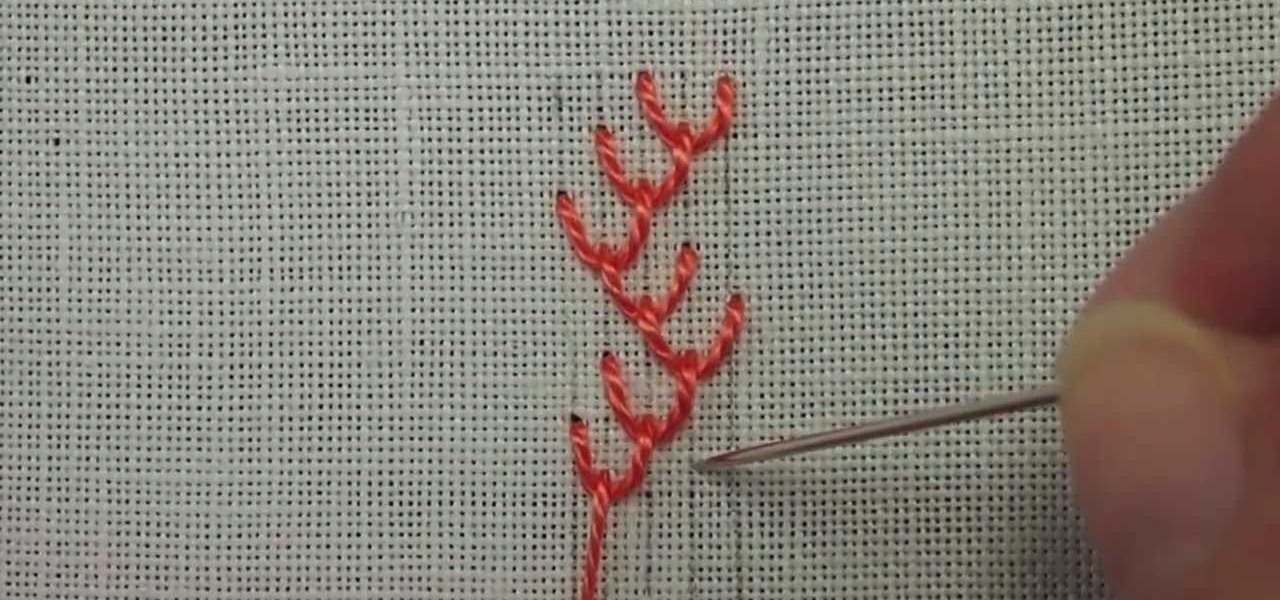
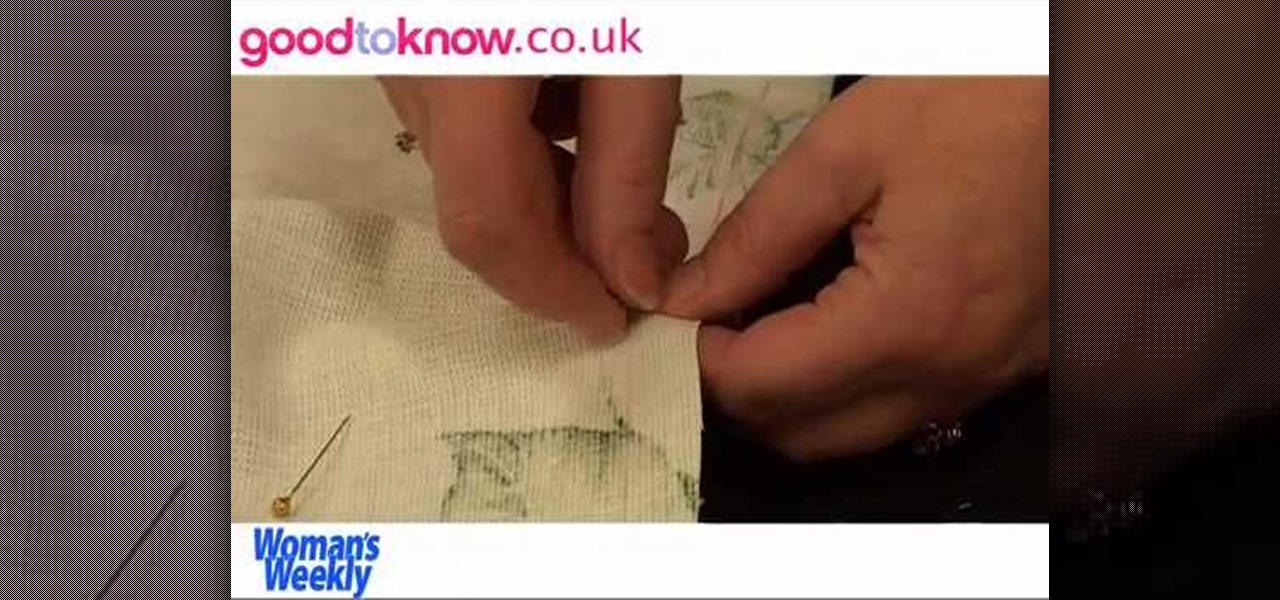
Variations to the feather stitch make it a versatile stitch for hand embroidery. Like the feather stitch, the double feather stitch is used for foliage, sprigs, greenery, etc., in all types of general surface embroidery, and is especially good for Brazilian embroidery, ribbon embroidery, etc. It works great as a seam embellishment in crazy quilting, and as an edging or border stitch on other work. Watch this video from Needle 'n Thread to see how it's done.
If you have a desktop photo printer, then you can use iPhoto '08 to create photos with borders, headings and other things before you print. Check out this tutorial and see how to print your iPhoto projects and pictures.
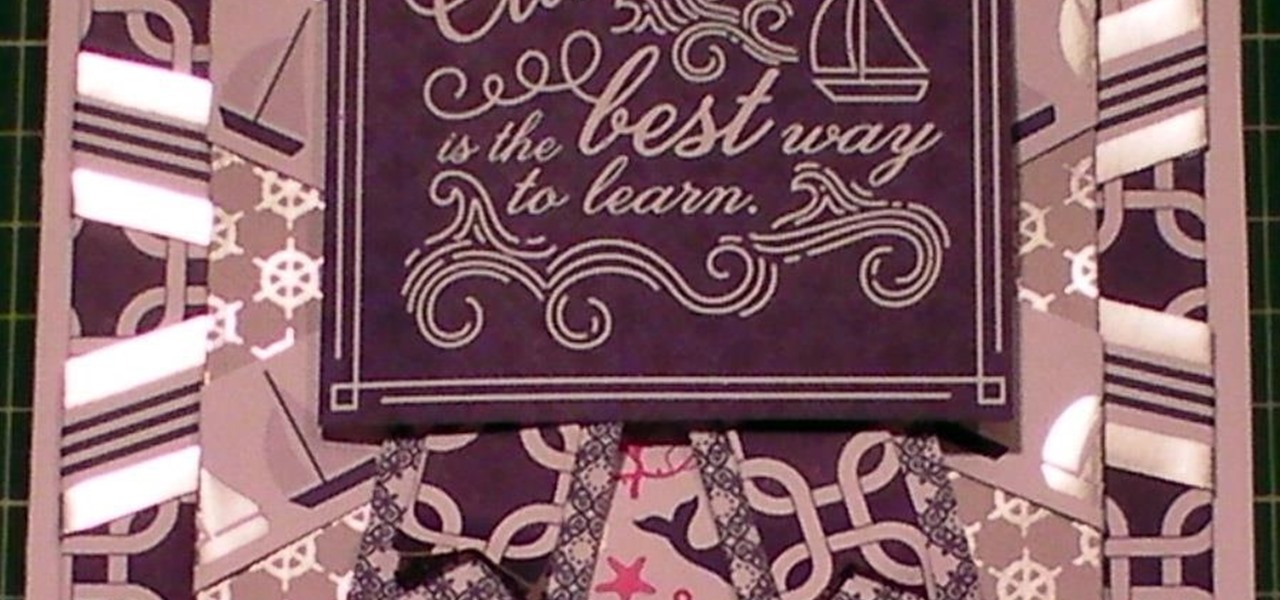
I have used the DCWV Ocean Breeze stack to make this gorgeous card.I have used a couple of the card sheets from the stack and the borders as well as one of the sentiments.
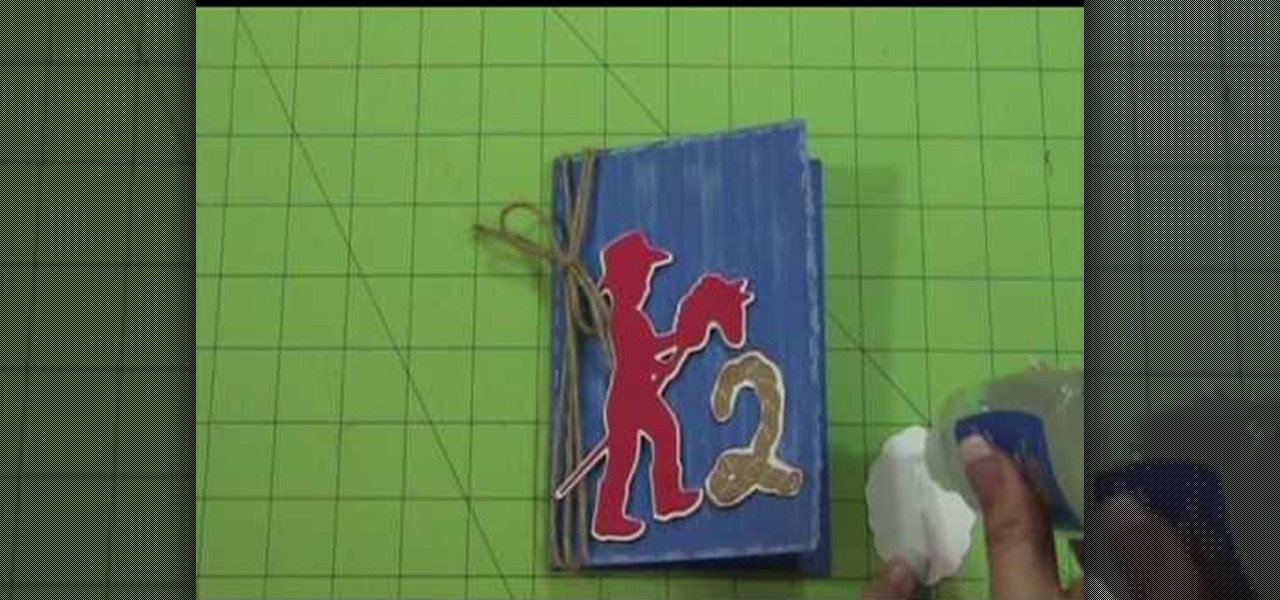
Why ever would you want to throw a cowboy-themed party for your little cowboy? Two words: John Wayne. The epitome of wild West cool and the exemplar of the "strong and silent" type, John Wayne made the cowboy badass. So give your boy the coolest party in the world by creating a cowboy theme.
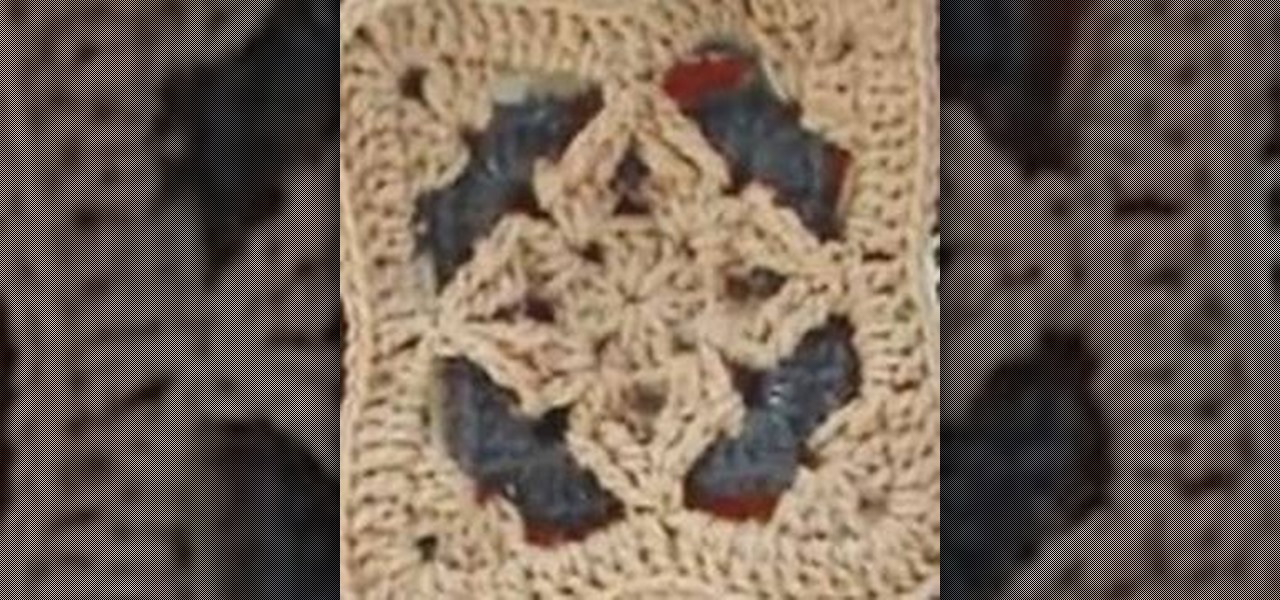
There definitely exists logic behind calling these fuzzy crochet squares granny squares. After all, the cozy texture and delicate, retro motif do remind us of Sundays visiting Grandma while she served us tea and sandwiches and she knitted the day away.
Quite honestly we're sick of getting storebought Christmas cards. Not that we don't appreciate them - many are pretty and well-written, it's just that we have received copycats in the past and they're too mass-produced to maintain any sort of special quality.
Fondant frills are magical cake trims that resemble frilly lace and pretty ruffles. On cakes and cupcakes, they can be used to adorn borders for an uber feminine touch, and are especially beautiful on wedding cakes.
This video by photoshopuniverse shows you how to make any photo seem as it was taken in a studio. Take the working photo and add a new layer over it and fill it in black as shown. Add a newer layer over that and add the filter> render> clouds effect. Increase the opacity of the cloud layer and merge it with the black layer as shown. Add the splatter effect and the sprayed stoke effect as shown onto the merged layer and add a hue and saturation adjustment layer and colorize it as desired. Go t...
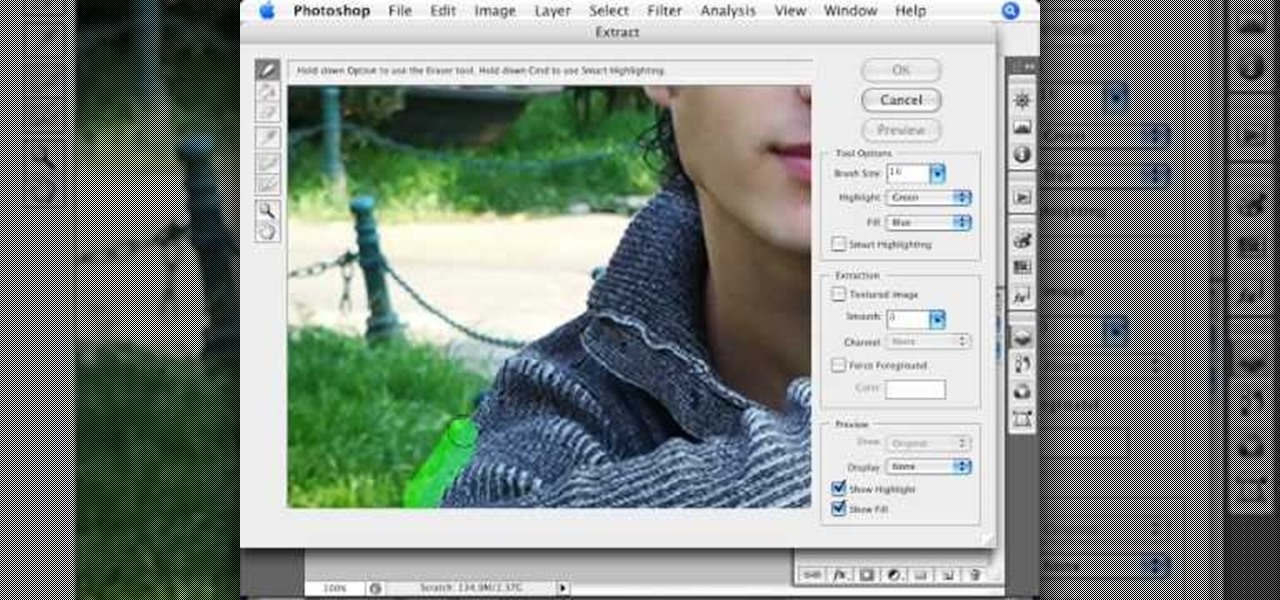
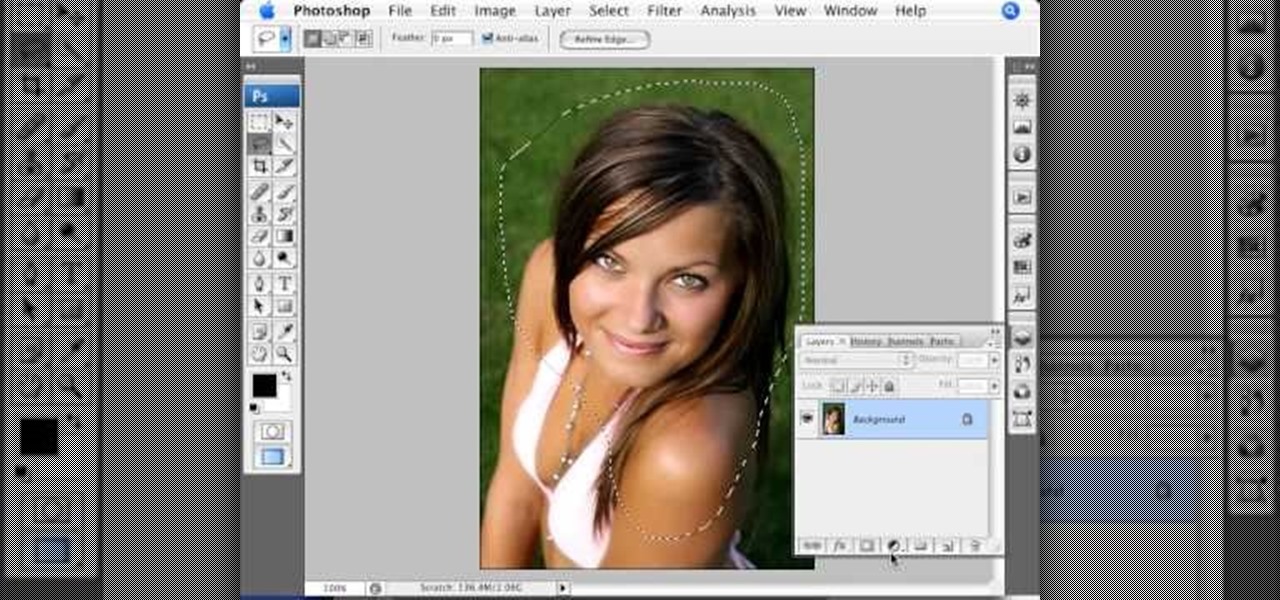
This video tutorial by photoshopuniverse, is to tele-transport people in photos using Photoshop. For this you will need two photos, one with a person and another of a suitable scene. Select the image with the person and extract the person using the extract tool by marking the edges. Make sure to change the brush size so that you can mark the edges with a bit of the border to be included and a bit of the outside to be excluded. Fill in the retaining area and extract the image. Using the move t...
Photoshopuniverse shows you how to quickly add rounded corners to photos using Photoshop. He talks about vector masks which he is going to use to give the photo in the video a rounded corner. He uses layers inside of Photoshop to complete this task and also use the Crop tool. He also adds a border around the image then makes it green. IF you watch this video, you will learn how to add rounded corners to photos and how to add boarders and color them.
The video is basically about how to modify the focal point of the image. When the image has some stuff on the background and when you want the viewers to focus more on one particular area and making the rest of the image darker, you need to modify the light values of the image, which will be taught in this video. This can be done by just selecting the area, which you need to highlight on the image by giving some border and then add curves. In the curves the area is made darker than the rest b...
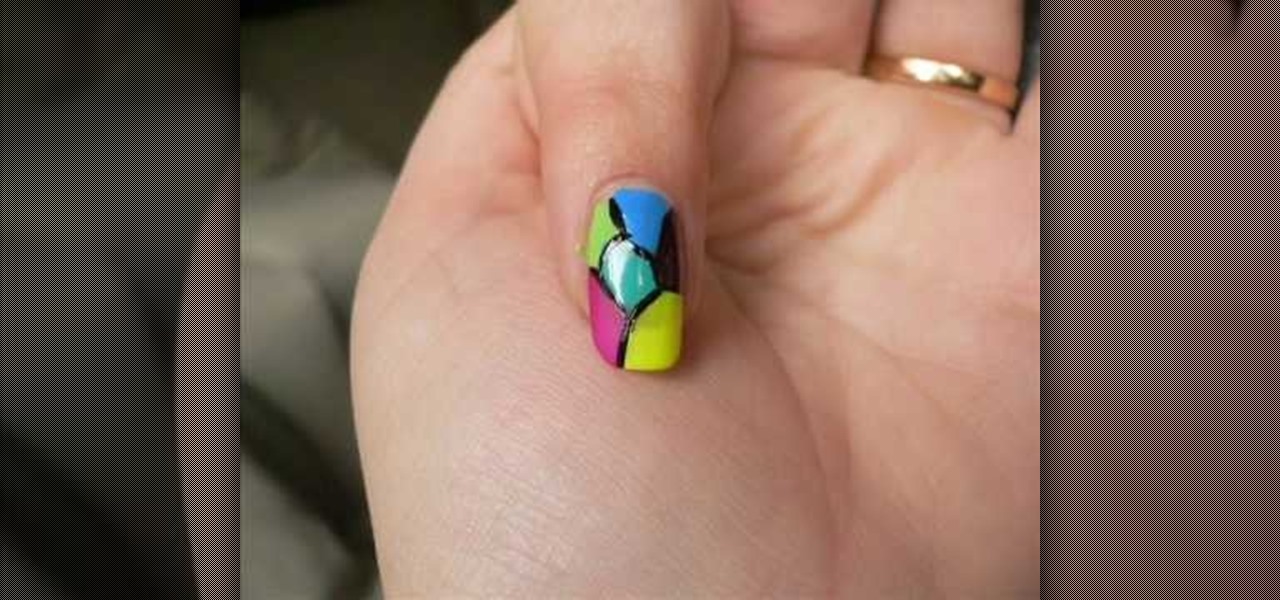
This video relates to Neon Mosaic Nail Tutorial. This video teaches how to make the nails good looking and also pleasing. In this video she teaches how to select the colors of nail polish and also she teaches the steps to be followed regarding which color nail polish to be applied first and also to create a mosaic by using multiple colors. She also add some border line to create and pleasing look. She also narrates to change the colors in applying to each nail. She also teaches how to create ...
While Magic Leap World gets its share of fun apps for playing with Porgs, watching TV, and exploring the ocean's depths, developers are making a strong business case for the Magic Leap One as well.
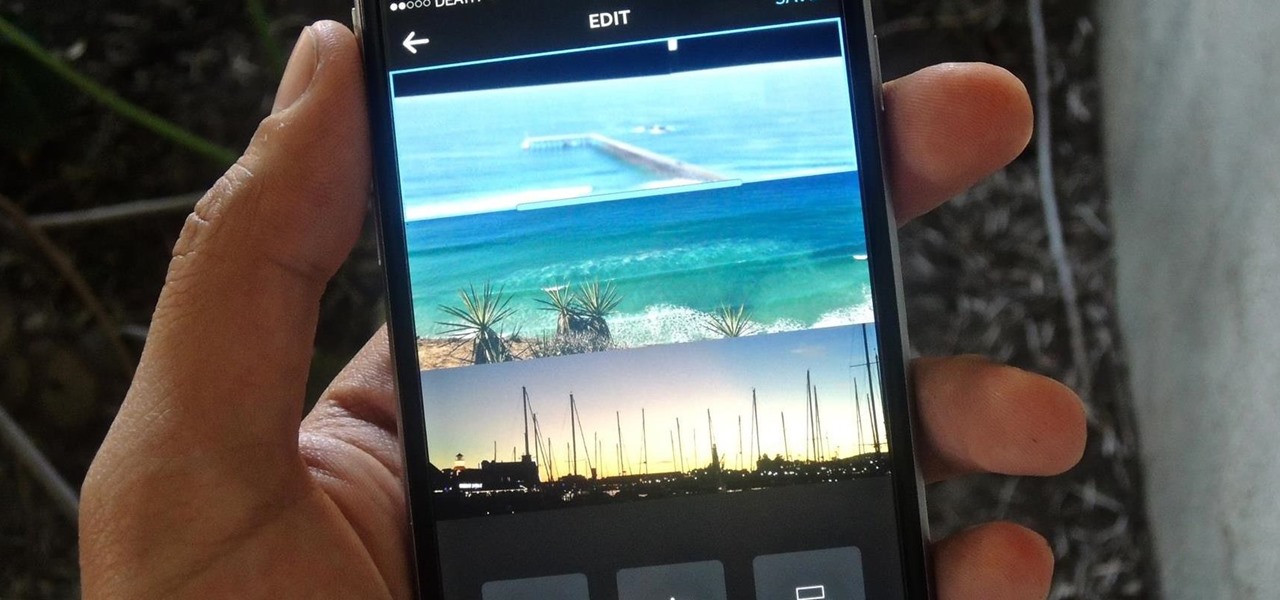
If you're one of the many that likes to upload collages to Instagram, the Facebook company has a new tool for you. Instagram released a brand new app in March called Layout to help facilitate the process of creating photo layouts to post onto social media or just share with friends.
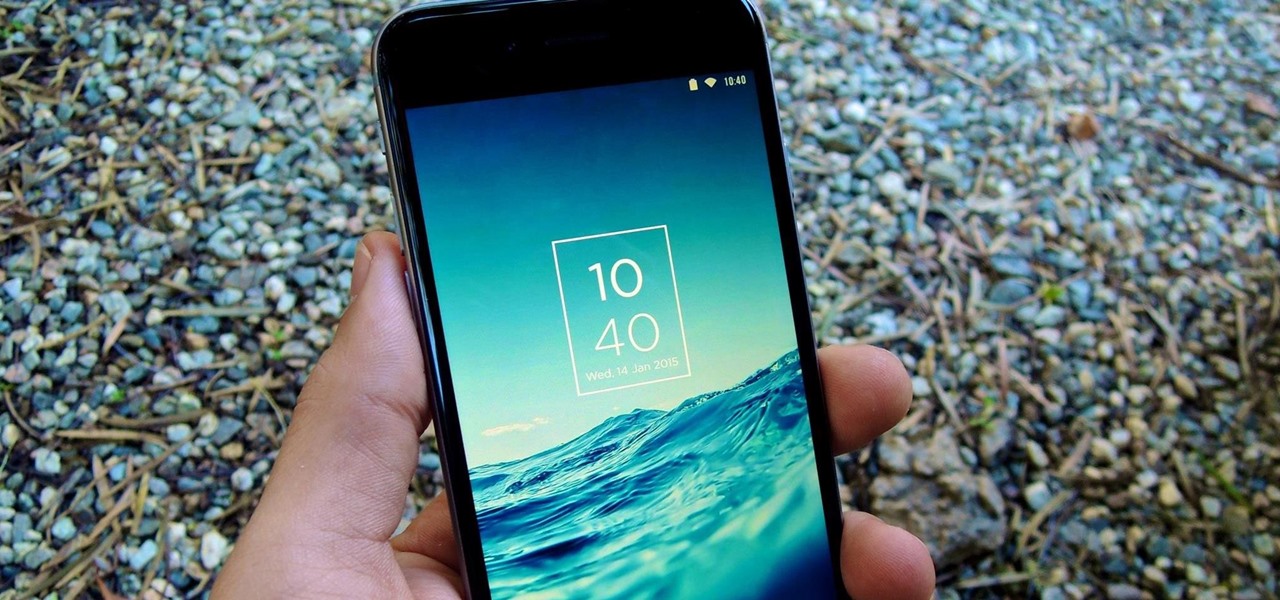
One of the most rewarding things about jailbreaking is theming. Unlike Android, iOS doesn't allow you to make small changes to certain aspects like the icons or the lock screen, so jailbreaking facilitates the ability to make some of these desired changes happen.
In this tutorial, we learn how to make a family photo album from digital photos. iPhoto from Apple has a ton of different options for you to make a great photo album. You can first start out with loading these on your computer and then creating them into a book. After this, you can choose the borders and text that you want to include in this, then drag the pictures in. After this, you can add in captions for each of the photos and then design the layouts of the different pages. After this, yo...
With a little practice a cushion cover can be made at home easily. The materials/equipments required are as follows: fabric of your choice (having appropriate dimensions) to make the cover, scissors, measuring tape and ruler, needles, threads, sewing machine and an iron.
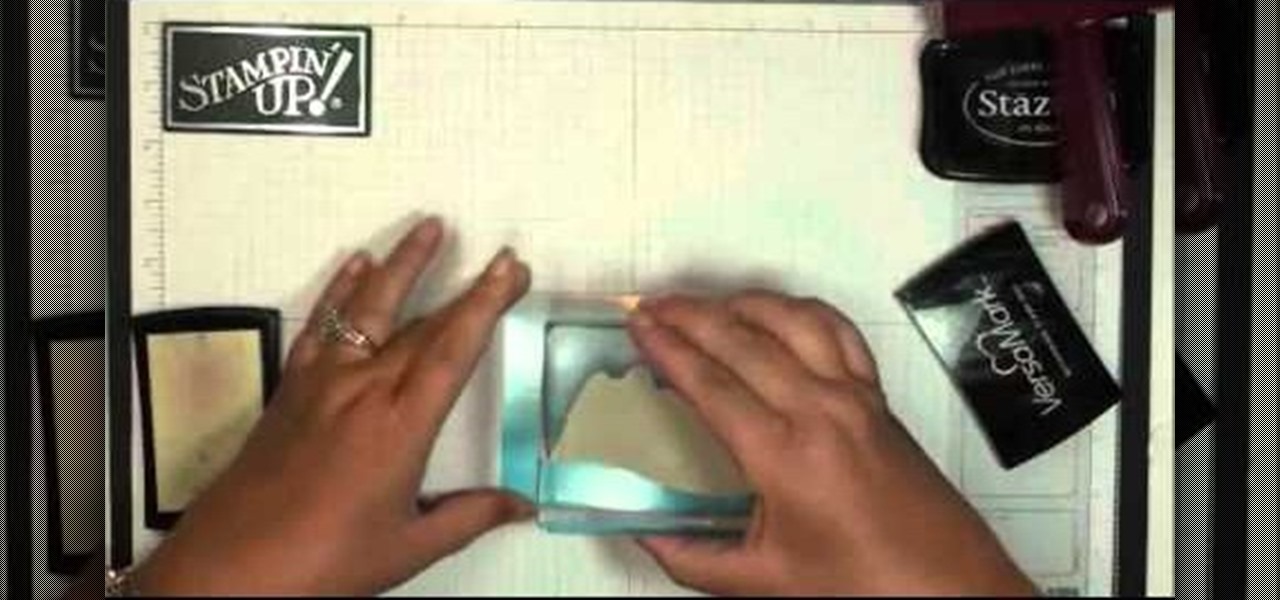
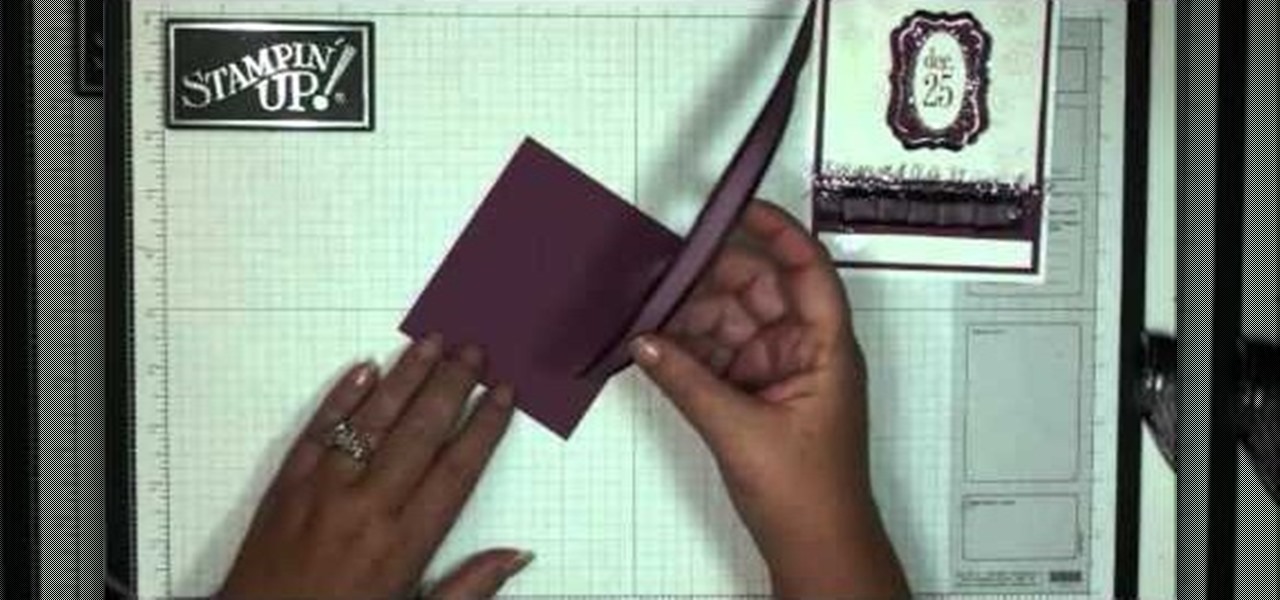
In this video, we learn how to make a double flap card with Stampin' Up!. First, cut out the card in green, then add a creamy caramel color to the top of a white piece of paper. Now, add a green piece of paper that is slightly smaller to the top of the caramel color paper. Add another piece of white on top of the green, then layer then together on the card. Add in a walrus and a little kid stamp to the cards and place them onto scalloped punches. On the bottom, apply striped paper, then apply...
In this video, we learn how to make January thank you notes with Stampin' Up. First, you want to choose what you want your notes to say. You can use a small card stock that is 3" x 3". Then, use a border hole punch and apply it on in different colors you prefer. After this, you will want to stamp on a message that says thank you in black on the front of the card. Next, you can lay a heart punch out on top of the card to give it more personality. You can also place the heart on first and let t...
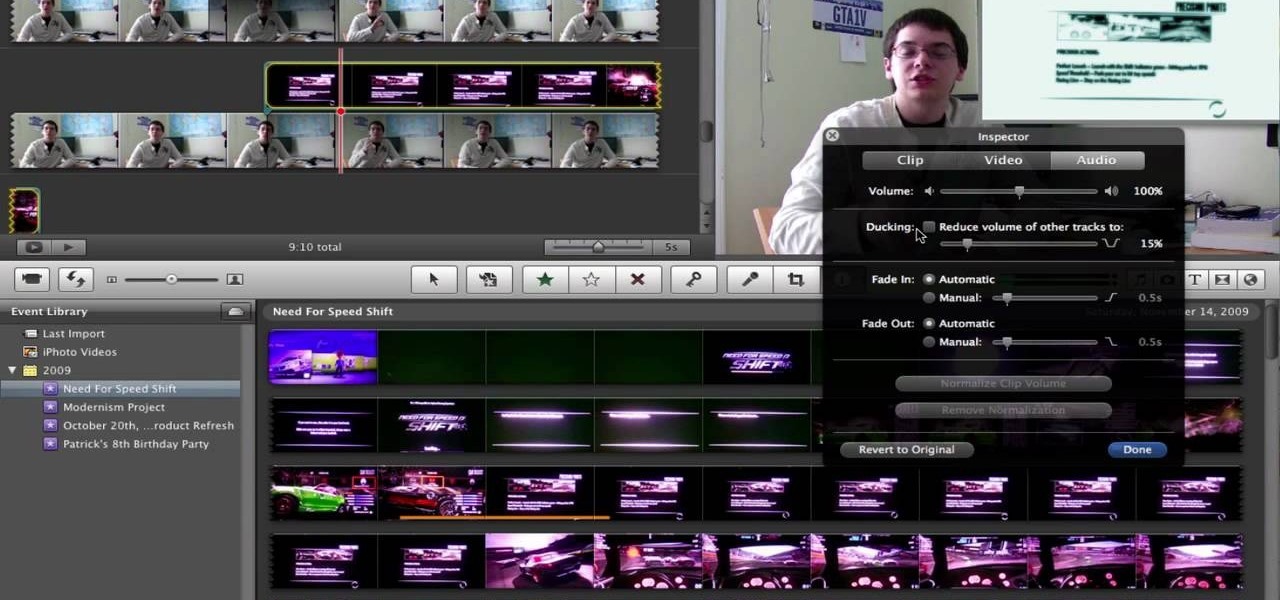
This video will show you how to take advantage of one of Apple's iMovie advanced editing feature, picture-in-picture effect. This feature allows you to embed either another video, or images into a base video. To enable this valuable tool in iMovie, go into the iMovie preferences by clicking on "iMovie" in the top left hand corner of your screen. Under the General tab make sure "Show advanced tools" is selected. Import a video from your event library by dragging it into iMovie and selecting pi...
In this tutorial, we learn how to wear a bandanna "homegirl" style. First, lay your bandanna out flat then fold a triangle in the bandanna so it has a slight border around it. Now, do your hair how you want to style it. Fold the bandanna over a few different times, making sure it is thick. Now, place it over the back of your neck and tie at the top with two knots. You can do this a different way by flipping it over and just placing that on your head, folding the corners into your hair and mak...