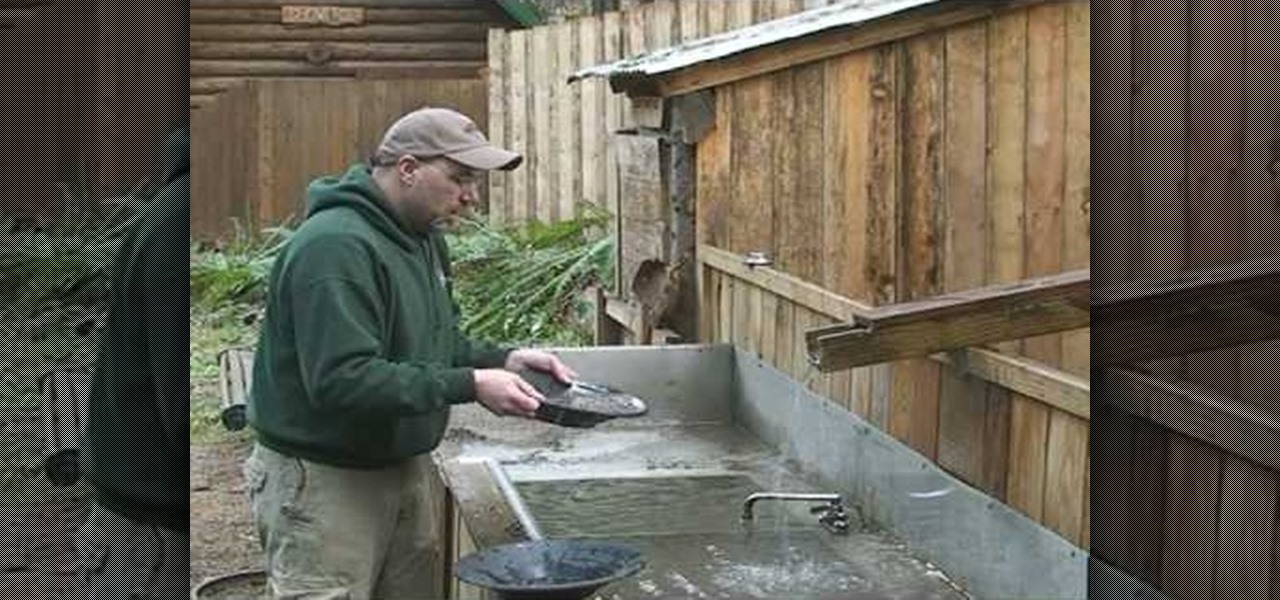
In this video tutorial, viewers learn how to pan for gold. Users will need a gold pan. Begin by add some dirt and rocks into the pan. Then pan has ridges that will keep the gold in the pan. Dip the pan and fill it in some water. Now gently shake the pan from side to side for 20-30 seconds. The gold will sink to the bottom as you shake. Then slightly tilt the pan forward to pour out some water as you're shake the pan. This video will benefit those viewers who are interested in searching for mi...
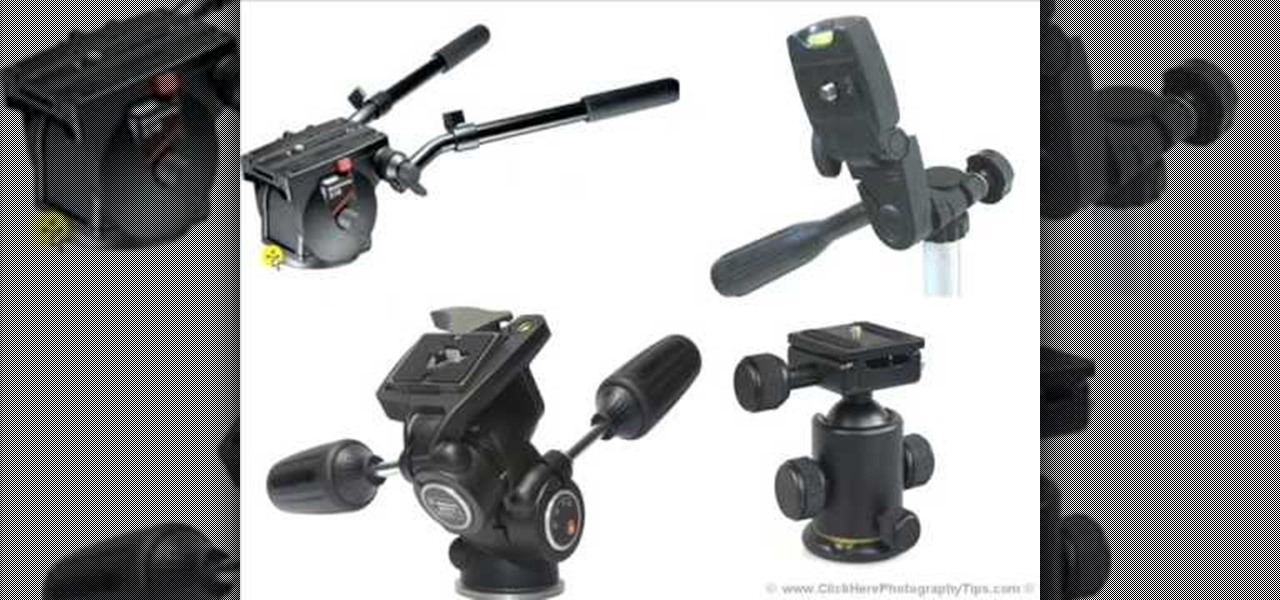
In this video tutorial, viewers learn how to use a tripod to improve photography. There are many different tripod manufacturers, but the operation of most tripods is similar. Look for a tripod that is easy to use. Make sure that the tripod can tilt forward, backward and side to side easily. It should be able to rotate at a 360 degree angle. This video also provides 4 different types of tripods in an image. Each tripod has different functions, size and movement. This video will benefit those v...
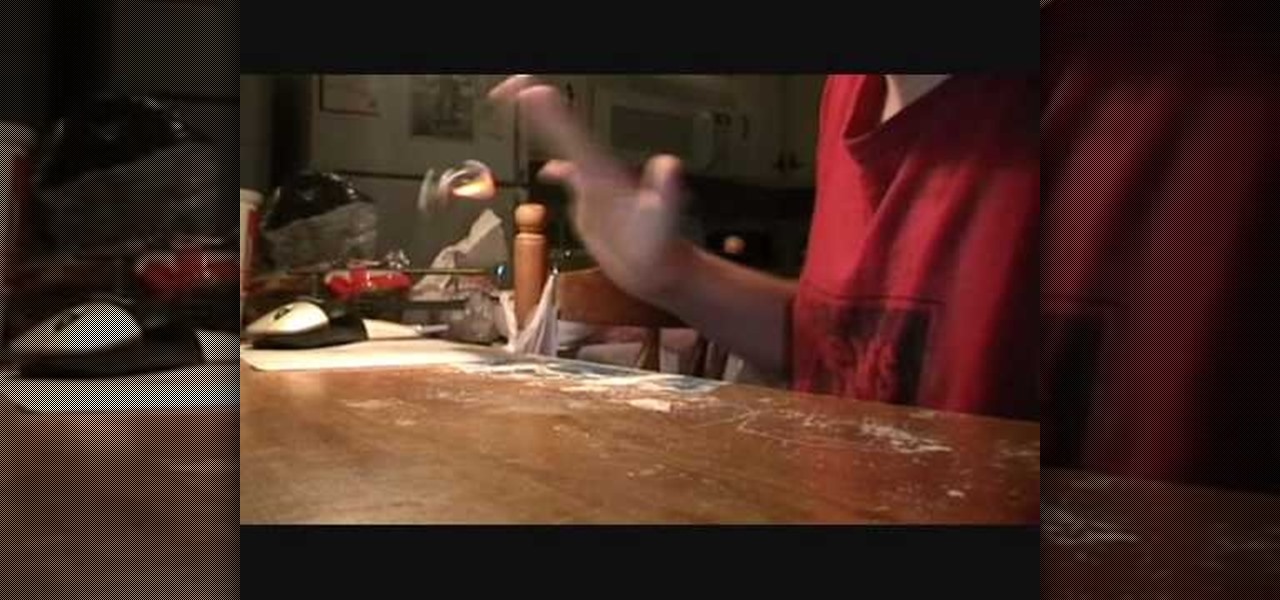
In this video tutorial, viewers learn how to do a kick-flip on a fingerboard/Tech Deck. Begin by setting the fingers into a Ollie position with the middle finger on the tail and the index finger behind the bolts of the board. Pop the tail down and slide the middle finger on the edge of the board. Tilt the board forward and towards you. Users should catch the board with the two fingers in mid-air, and do not wait for it to land. This video will benefit those viewers who enjoy playing with fing...

This video shows us how to perform a round off back somersault. Firstly you have to make sure that your leading leg must be wide when you put your hands down. And when you place your hands down, don’t place them parallel to each other but just place them slightly tilted. While you place your hands down, keep your head within your shoulders and when you place your hands down your back leg kicks back and you will rotate on your hand. When you go down, both your legs will be kicked to the back a...
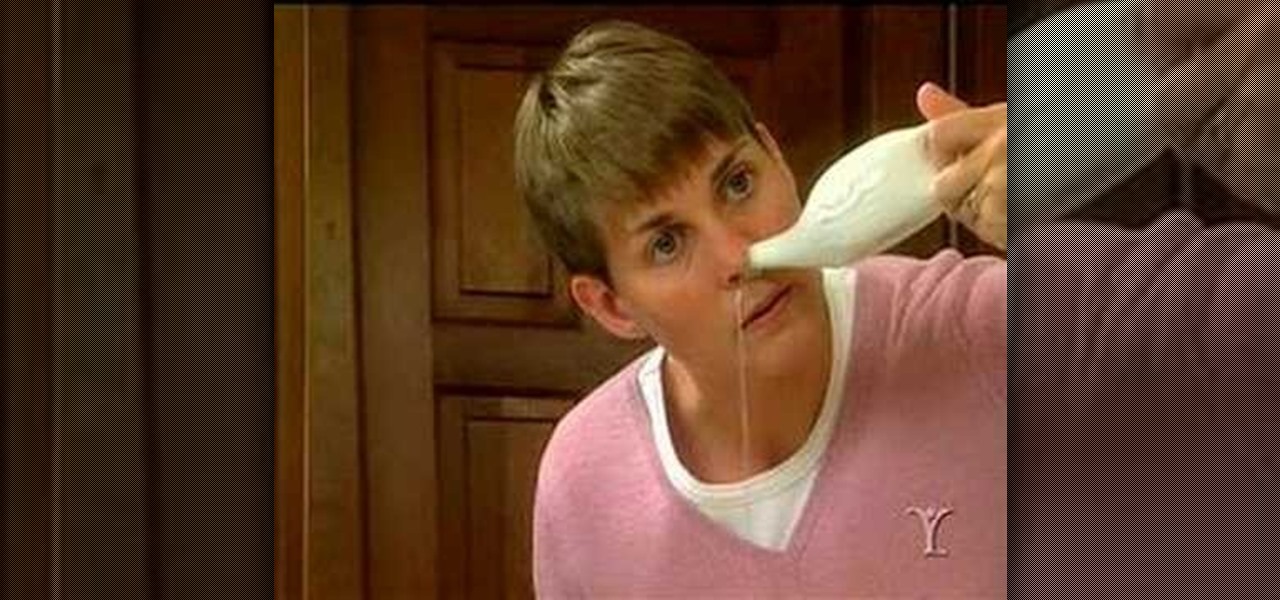
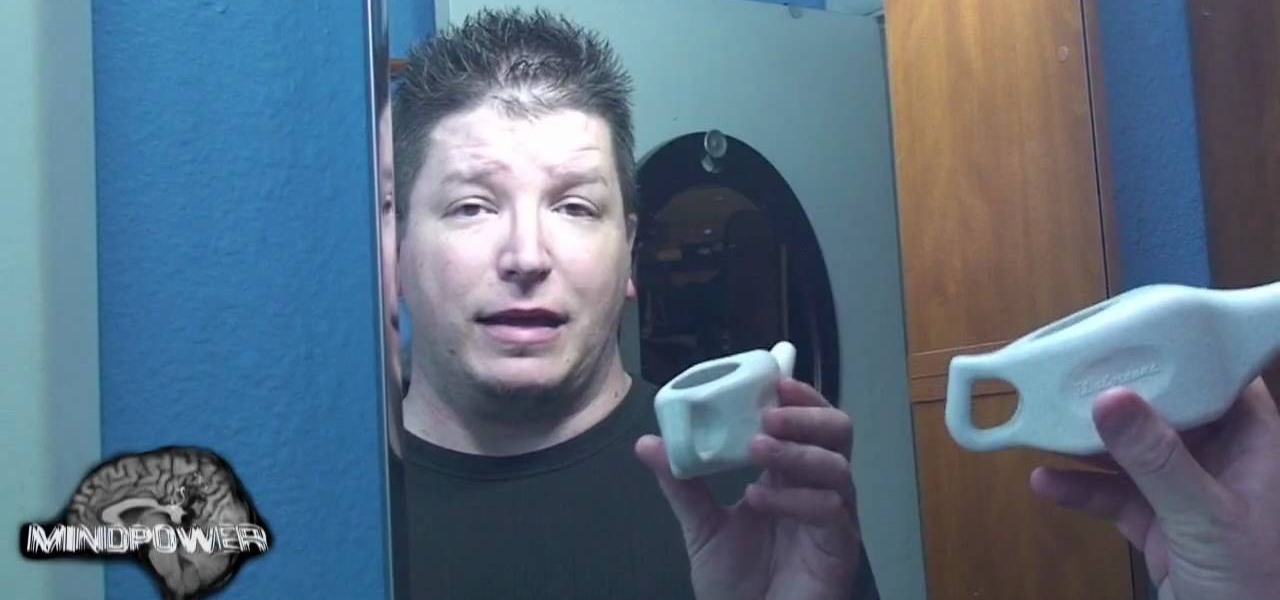
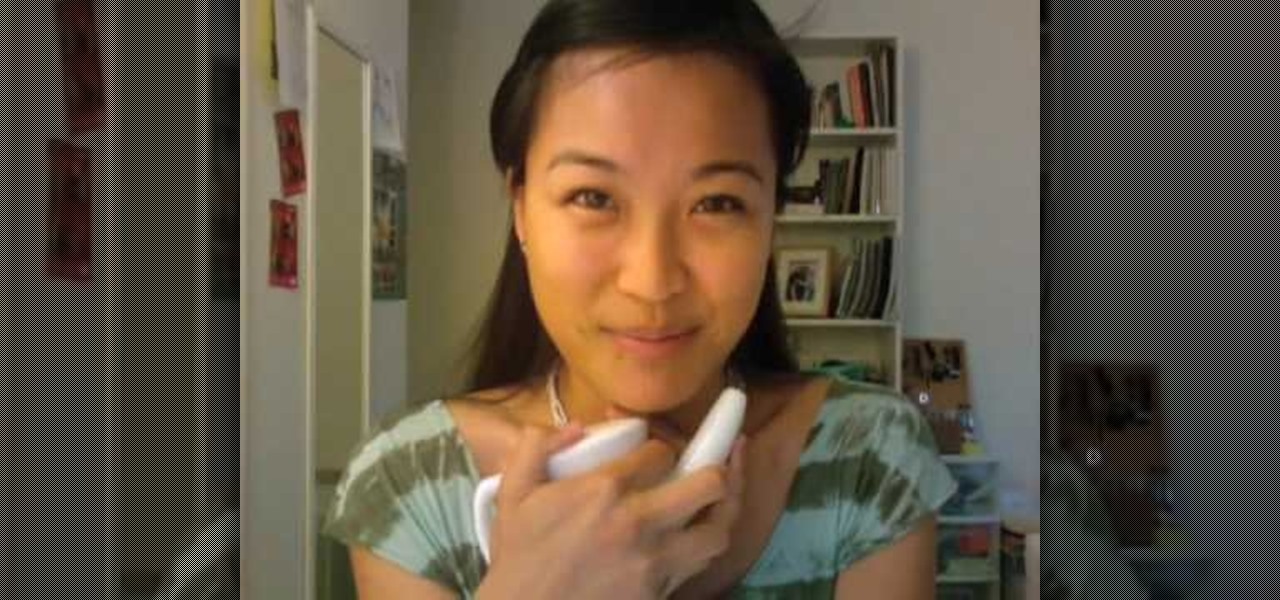
In this video tutorial, viewers learn how to use the Neti pot. The Neti pot is the personal hygiene practice in which the nasal cavity is washed to flush out excess mucus and debris from the nose and sinuses. Begin by filling your pot with warm water. Now add a heaping 1/4 tsp of finely ground, non-iodized or Neti pot salt. Next, lean over your sink and tilt your head. Put the spout into the nostril and raise the handle of the pot. Do the same for the other nostril. This video will benefit th...
Neti pots can be used to clean out your nose of dust, dirt and allergens and can help reduce swelling of the nasal passages. Stir half a teaspoon of salt in to a cup of warm water. Salt should be kosher salt or sea salt (DO NOT use ordinary table salt). Pour saline solution in the neti pot, then leaning over a bowl or sink place the spout of the neti pot in one nostril. Tilt your head so that your nose is slightly higher than the mouth, then rotate your head so your ear is facing the bowl or ...

Learn how to use a Neti pot, otherwise known as a saline sinus wash to help clear out your nasal passages. This is a homeopathic remedy for sinus problems or any issues you may have with your nose. Take the packet that comes with your Neti pot, and dump it in. Fill the pot to the guideline with lukewarm water. This will create a saline solution once mixed. Stick the end of the Neti pot in your nose, and tilt your head to the side, allowing gravity to send the saline solution trough one nostri...

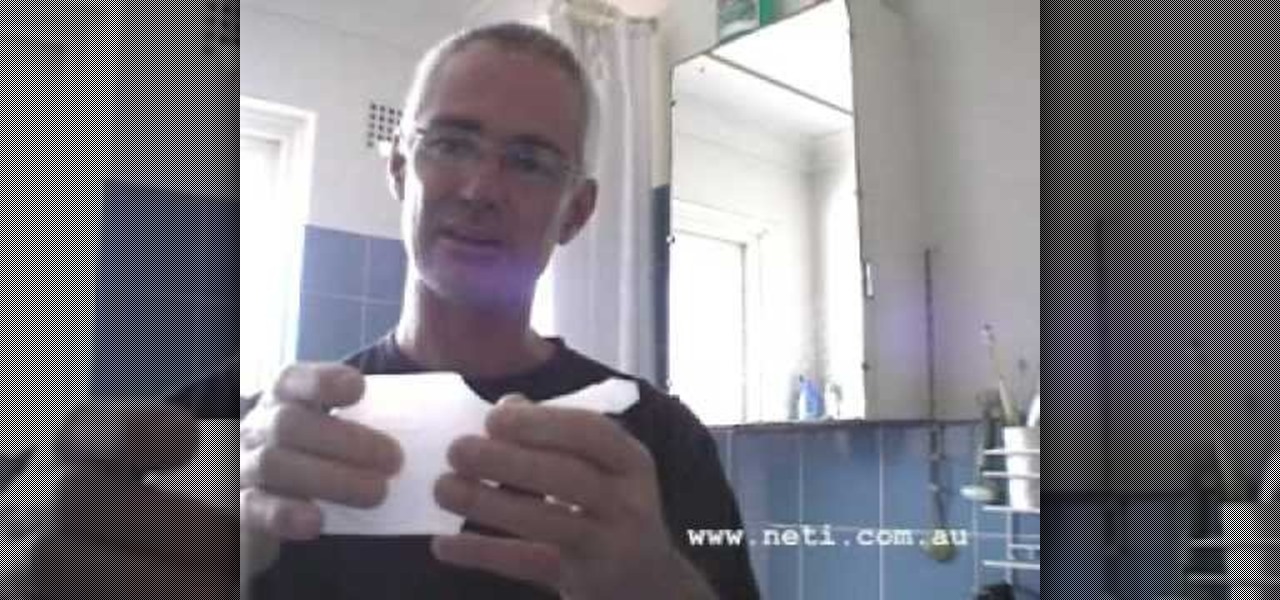
This video is demonstrating the technique of jala neti by Steve. It is a purification exercise. You will use the unbreakable neti pot in the bathroom to do jala neti. This pot's nozzle properly fit in the nose and the plastic body of the pot can be easily hold. For 200 ml of neti pot put 1/3 of teaspoonful of salt. Don't put more, or otherwise your nose will burn. Fill the water straight from the tap and shake the neti pot properly. Take the neti pot in the right hand if you want to put water...

In this video tutorial, viewers learn how to use the neti pot. A neti pot is a small pot used for irrigating the nasal passages. This pot looks very similar to a tea pot. To use the pot, fill it with warm water. Lean your head over a sink and put the spout into your nostril. Tilt your head to the opposite side of the pot and slowly pour the water into the nose. The water will come out of the other nostril. This video will benefit those viewers who have nasal problems and would like to learn h...

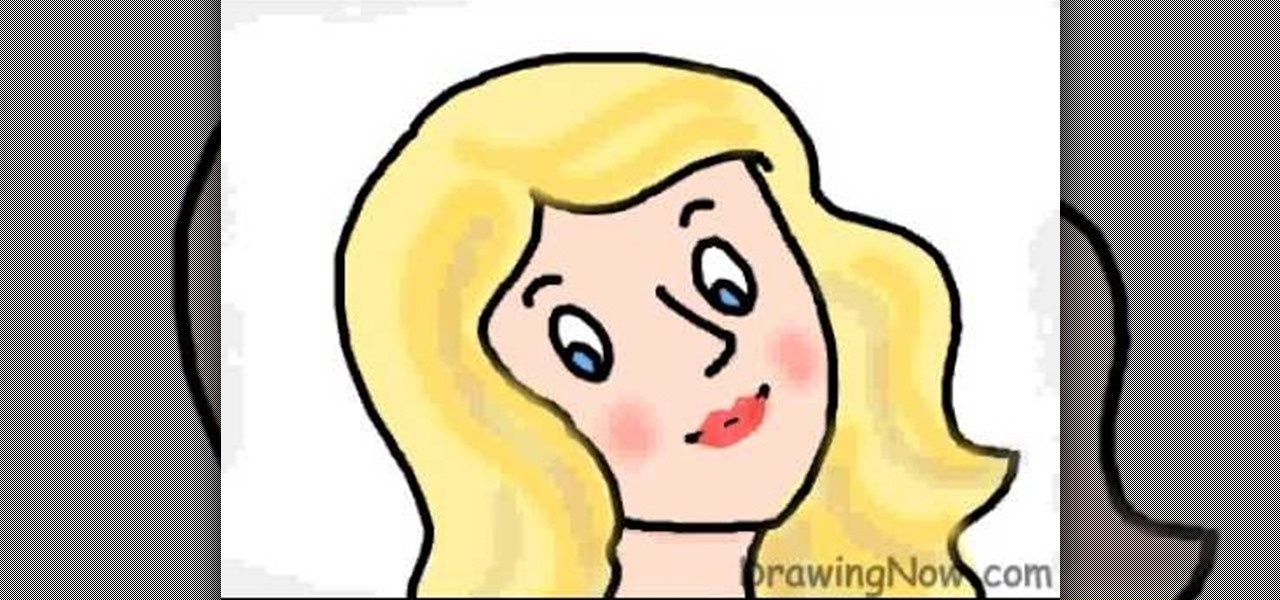
DrawingNow teaches you how to draw a cartoon mom on a computer in Microsoft Paint or any other drawing program. You start with a basic oval, but tilted to one side. Then, add the contour of the long hair. Next, you can start adding details to the face. Draw a nose and two equally spaced ovals with circles inside each one. These will be the eyes. Draw eyebrows and full lips. Now that you are done with the sketch, you need to color it in. Use yellow for the hair, blue for the eyes, a pink flesh...

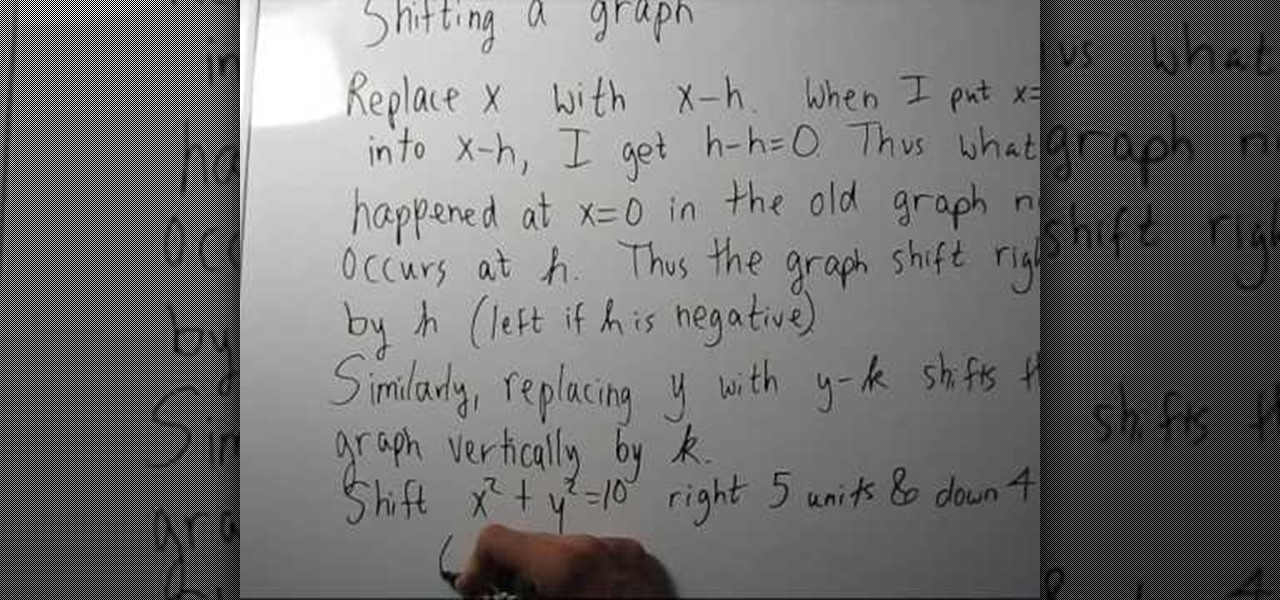
This video will demonstrate exactly how to shift a graph on a x,y axis. When shifting a graph on the x axis you will need to replace x with x-h; where h is the variable to shift the graph. No matter how far you need to shift a graph, h is always the number of units you are shifting; shifting up or right is represented as a positive and down or left is negative. Just plug in your units into your equation and you will have your shifted graph.

This video shows you how to make a perfect Kir Royal. A drink for anytime of the day. You will need a flute glass(classic champagne glass), Creme De Cassis or Royal Chambord liqueur, sparkling wine or champagne(Spanish Cava champagne which is cheaper and better). Open the champagne by removing the foil, open the screw, hold the cork and twist the bottle until cork comes out. Put 1 ounce of Royal Cchambord in the champagne glass. Tilt the glass and pour the champagne into the glass leaving roo...

Make the most out of your cosmetic brushes by cleaning them regularly. Wet your cosmetic brush. Take a small amount of a natural shampoo in the palm of your hand and make circular motions with the brush . Rinse the brush under running water, continuing to make circular motions in the palm of your hand until the water runs clear with no bubbles. Don't allow water to extend past the bristles. Gently squeeze the bristles to remove excess water. You can also use conditioner to condition the brush...

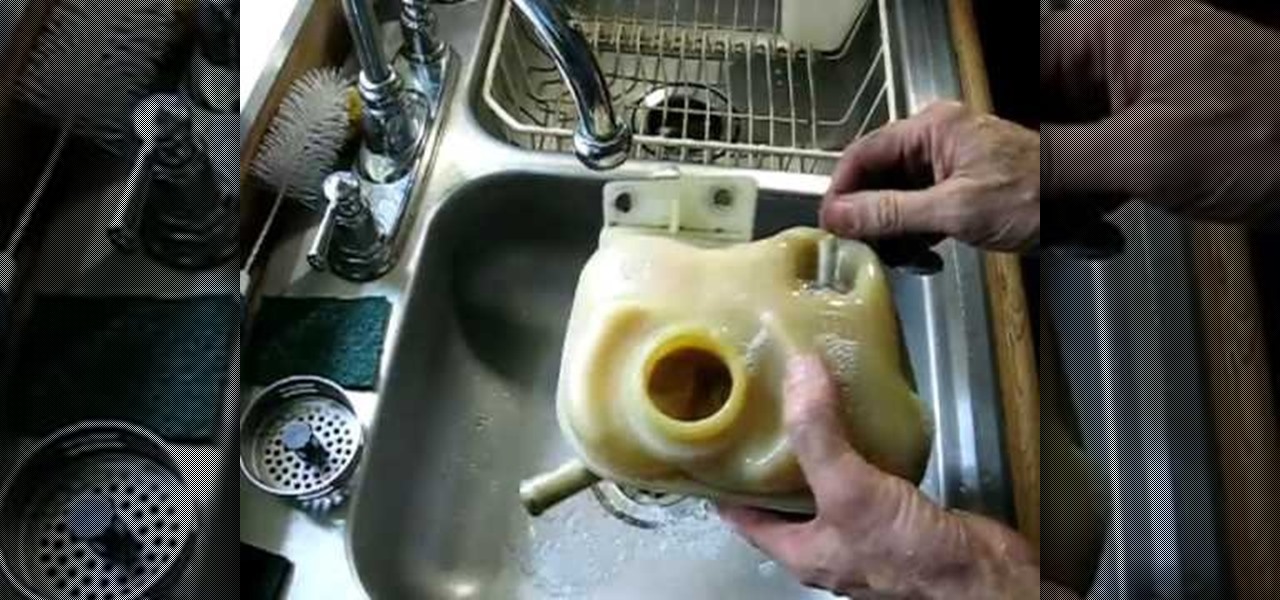
Where is the coolant level sensor and how to fix or replace it on a Mercury Sable?? The coolant sensor is located in the coolant reservoir bottle. It cannot be serviced, you can only replace the reservoir. However, if just the sensor is bad, you can also try unplugging the sensor at the coolant reservoir bottle. Unscrew the two screws holding the reservoir bottle in place. With the bottle loose, tilt the bottle slightly toward you until you see wiring coming out of the reservoir bottle, that ...

Today we learn how to throw a punch. The exact punch we learn is the uppercut. We are demonstrated the punch on a punching bag. The start of a punch is always keeping your arms in close to your body. The power of your punch doesn't come from your arms but mostly from your legs. So when throwing your punch make to tilt your torso which will give you extra power in the punch. Finally the fist must be flat, which will evenly distribute the force and not hurt your hand. Punching should be a last ...

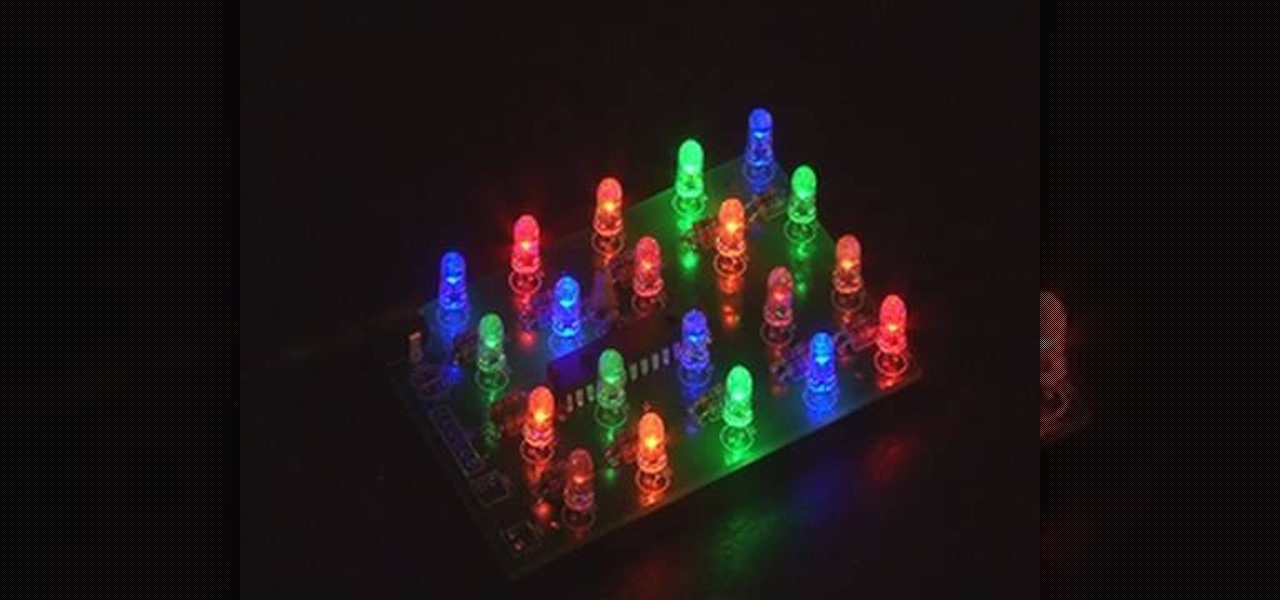
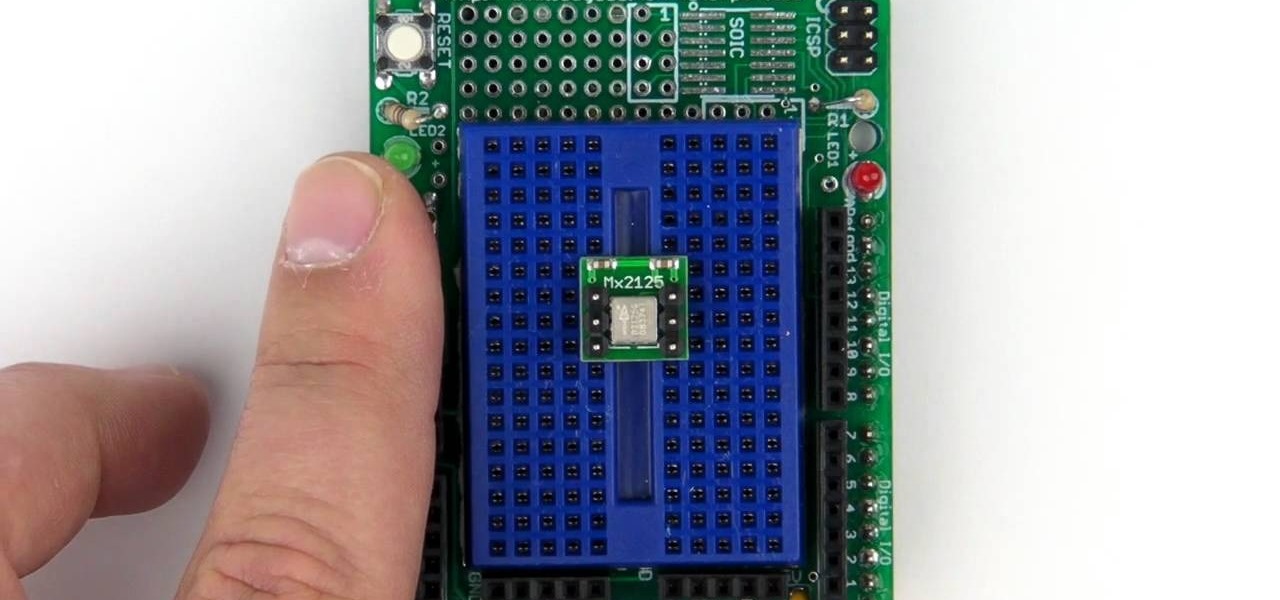
This video by makemagazine demonstrates a weekend project on how to make a LED light brick. The materials required for this project are listed on the link to the make magazine page in the info box or it can be orders as a kit from the make magazine store. Take the PCB (printed circuit board) and first solder the Resisters and Capacitors as shown. Next test the LEDs and separate them using a button cell batteries. Solder the LED, PIC micro-controller, DC power connector and tilt switch followi...

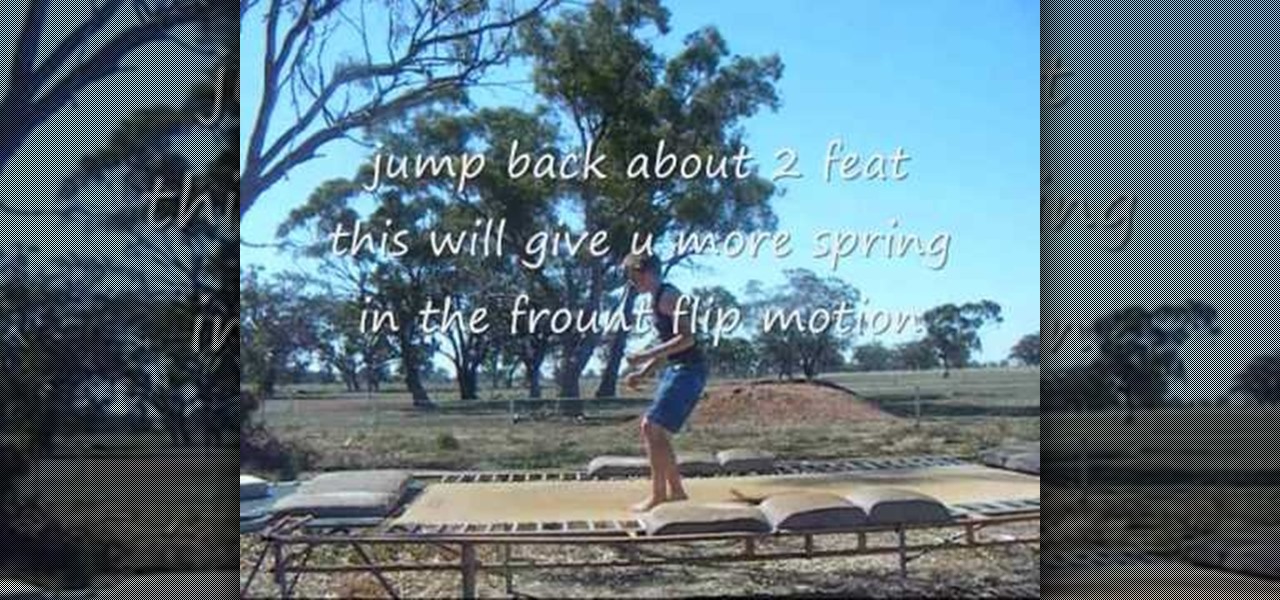
This video guide shows you how to perform a stomach front flip using a trampoline. • Get good balance on trampoline

MAKE brings the do-it-yourself mindset to all the technology in your life. Make Magazine celebrates your right to tweak, hack, and bend any technology to your own will.

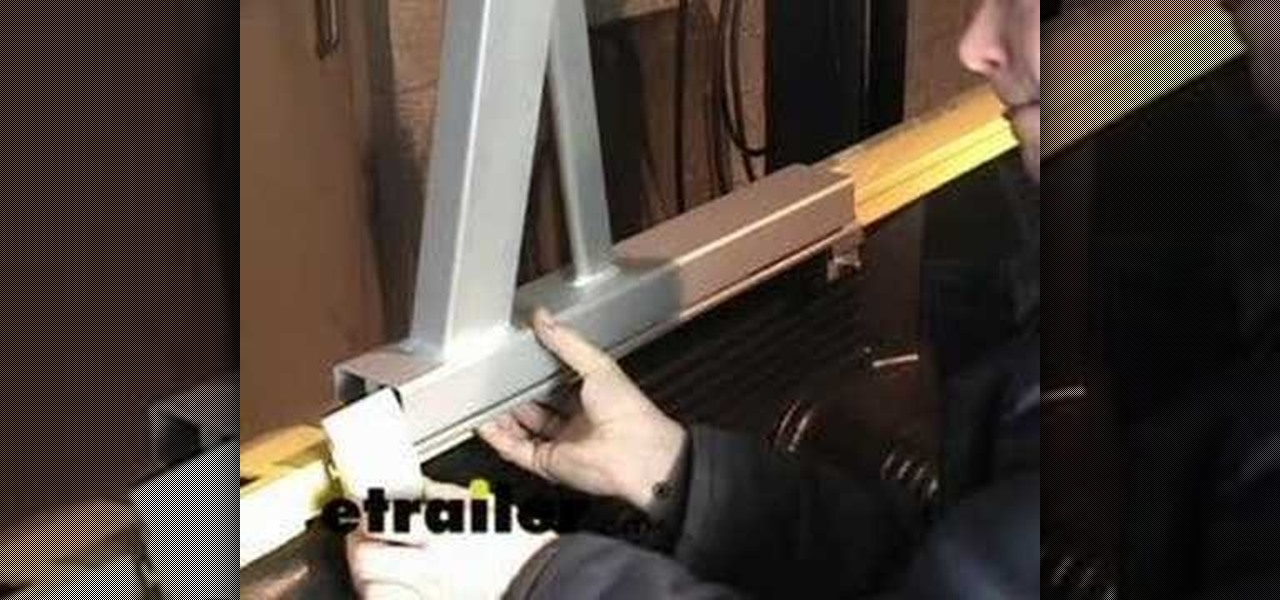
This video shows you how to assemble and install a Thule ladder rack (part # TH375) pick up truck rack system, part of the professional series line. The second video goes over adding the Thule ladder tilt rack and the third part shows you quickly how to use it.

Take $1.35 of thrift store bric-à-brac, toss in a few spare parts from your electronics drawer and mix it all up with an earnest desire to alienate your loved ones forevermore and what do you get? A booby-trapped Magic 8-Ball, that's what! Hacker arfink explains, "My idea was to make a Magic 8-Ball which would blind an unsuspecting victim with the camera flash. I had an old Honeywell thermostat at home which had a mercury tilt switch inside, and after cutting open the 8 ball and removing the ...

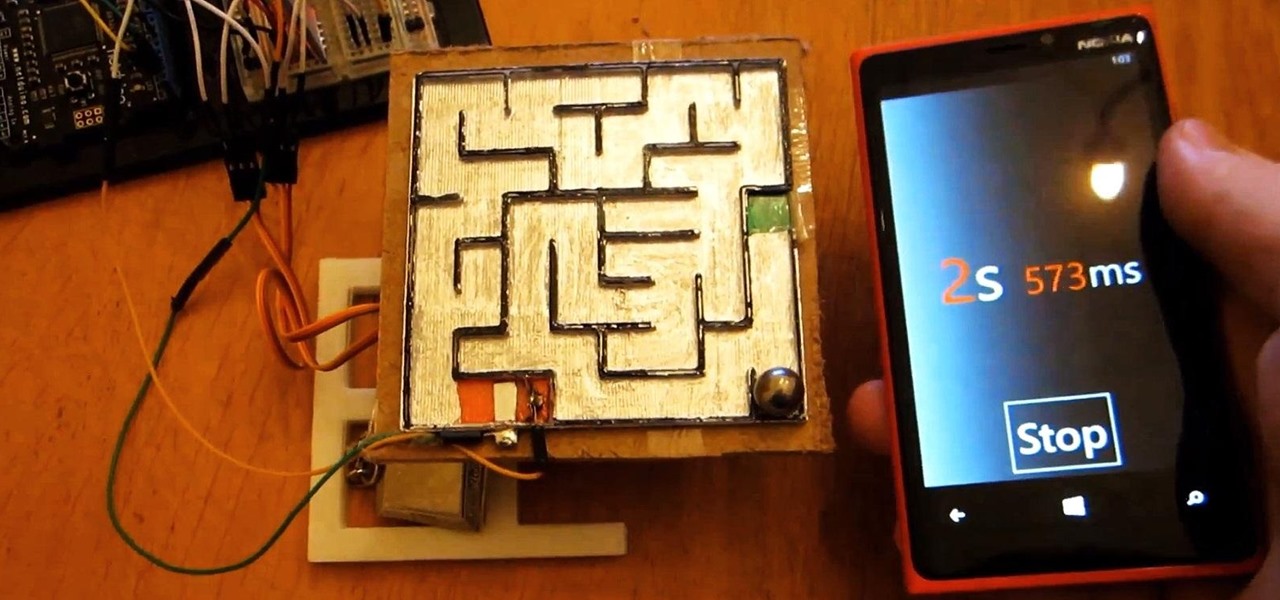
There are tons of different versions of maze games. First, there were paper mazes that you had to draw your way out of. Then, there were computer and video games, and later, smartphone apps.

Sophie Rycott demonstrates how you can improve your balance and coordination with a balance ball. There are four exercises you can do: side tilts, opposite arm to leg lifts, spine twist, and paddling. Improve balance and coordination using a balance ball.

Sweden's Hans Andersson, has a new way of solving both the Rubik's Cube and Sudoku puzzles... ROBOTS. That's right, memorizing lengthy algorithms or racking your brain with numbers is no longer required to solve these perplexing puzzles.

This is a presentation from WatchMojo detailing the operation of a manual/standard automobile. Explanation includes the placement of pedals listed from left to right as the clutch, the brake, and the gas. There is also an explanation on the gearshift which includes a diagram of where gears are located. Explanation for the beginning of driving includes instructions as follows; ensuring that the ground is flat, the application of the parking brake, the process of depressing the clutch, placing ...

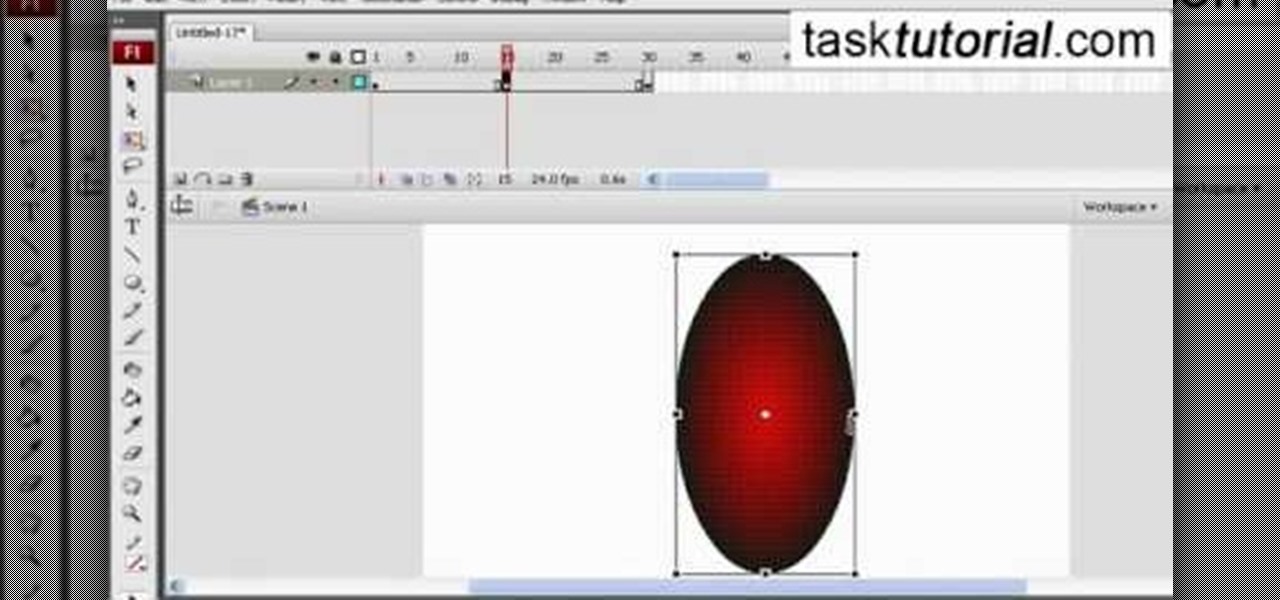
In this video tutorial the author shows how to stretch objects and text in flash. To do this open the flash tool and select the radial gradient. Pressing shift key draws a shape. Go to frame 30 and create a key frame by pressing F6. Now similarly do it at frame 15. Now at frame 15 select the free transform tool and stretch the image. Now create the shape twins in the locations shown in the video. Repeat the same process for a text starting with adding some text to the scene. Finally convert i...

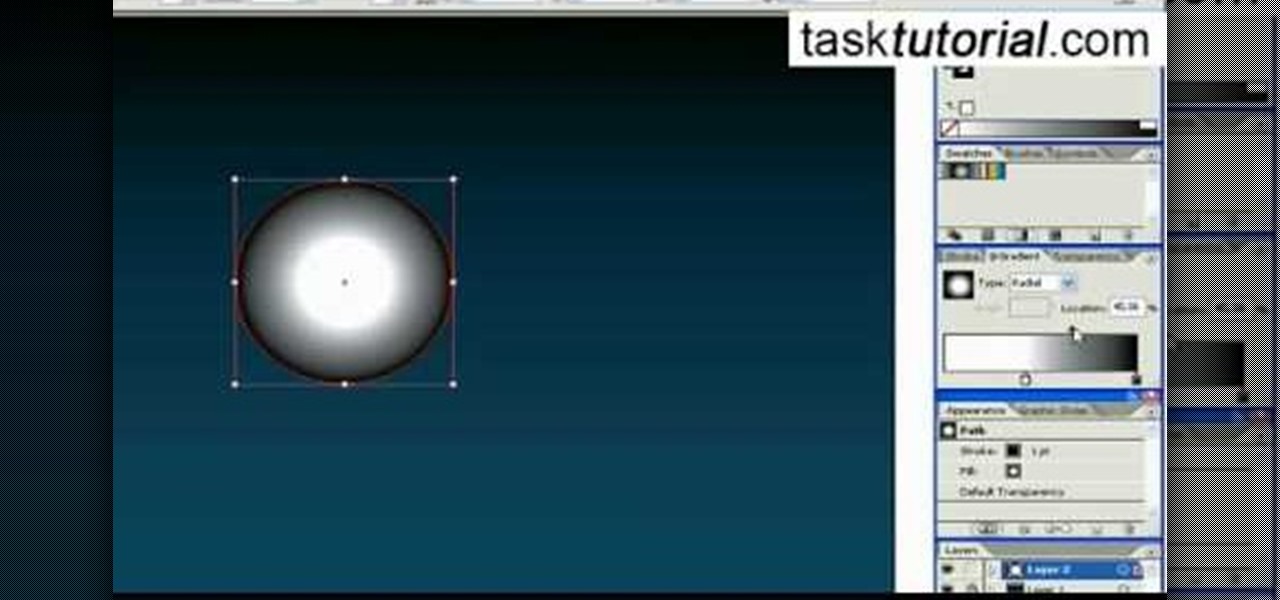
Want to create some cool effects in illustrator? Create a new layer. Draw the ellipse tool and add radial gradient, then go to transparency and select screen. Then create the star tool and deselect stroke. Drag and place the star shape on ellipse and group them. Then duplicate that layer to make multiple sparkles on different layers. Resize other sparkles by holding down shift key. One can change colors of other sparkles. This will help you in making a good background.

In this Photoshop tutorial the instructor shows how to create a glossy sphere. Now to get started open the tool and select the oval tool. Using the oval tool create a sphere shape. Draw holding the shift key button and set it to green color. Now similarly draw ellipse and give it white color. Create a few more ellipses this way. Now go to filers and then glowers and then Gaussian glower. Now go to shape free and select gradient and set the gradient. Now you can apply color changes to it and g...

Planet are cool and explosions are awesome so what could be better than an exploding planet. This tutorial will how you how you can create an exciting and adrenaline invoking exploding planet in Adobe Photoshop without too much work.

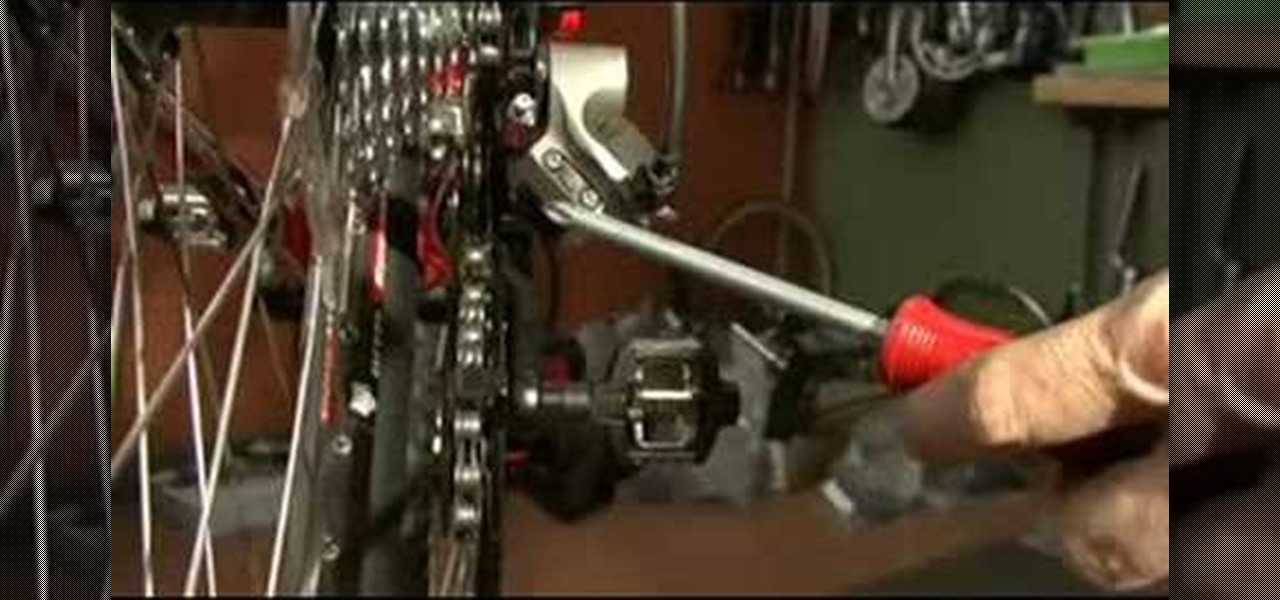
Use a 5mm Allen wrench and loosen the bolt holding the cable on the rear derailleur. Thread the shift cable through the cable stays and tighten it in the rear derailleur with as little slack as possible. Make sure that the adjustment screw on the shifter is in the mid point of the adjustment.

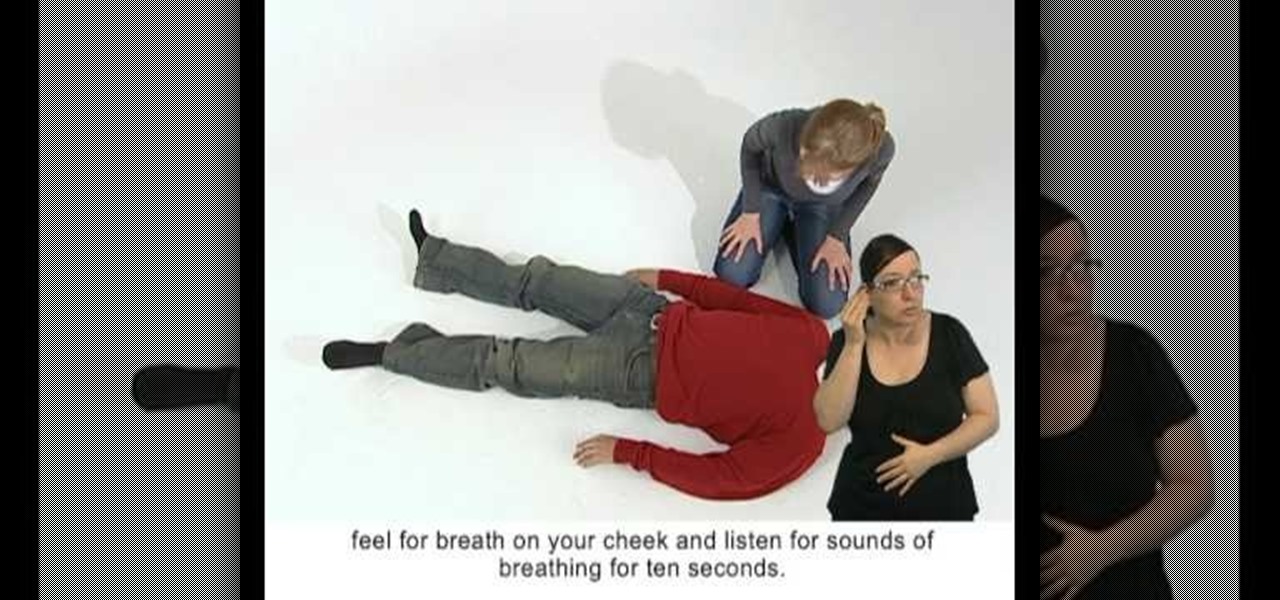
Even those with hearing impairments need to know basic first aid procedures, because everyone, including deaf people, can save a life one day. People may collapse unexpectedly for a number of reasons, and people who faint periodically, or those who suffer frequent seizures or from epilepsy need help from others, so it's important that everyone know the proper first aid procedure for saving a collapsed victim casualty.

Very cool project by Benjamin Gaulon. Gaulon has created a graffiti writing paintball robot, entitled PrintBall. He uses technology from (previously posted) EyeWriter to tag with his eyes, plastering a wall with paintballs.

Watch shader writer, Mario Marengo, explain spectral wavelength and how to utilize it within Houdini. This presentation was recorded at a Toronto Technical Evening hosted by Side Effects Software.

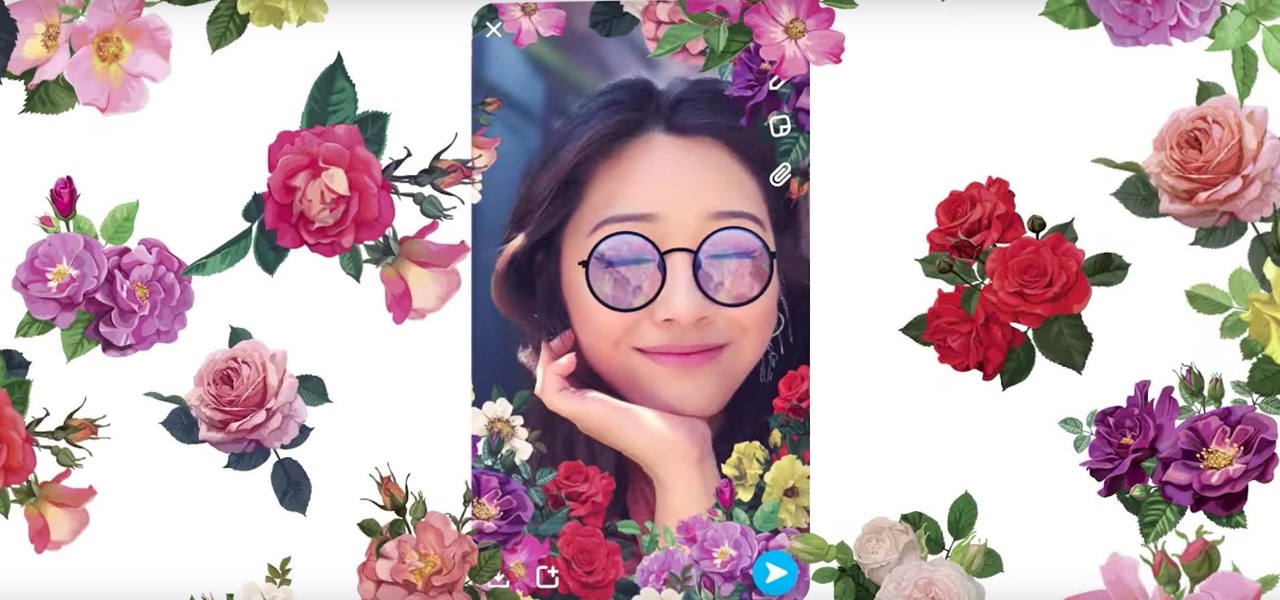
After adding dual cameras to its camera glasses, Snap is finally taking full advantage of the depth-sensing abilities of newer iPhones as well, extending the use of its new 3D Camera Mode.

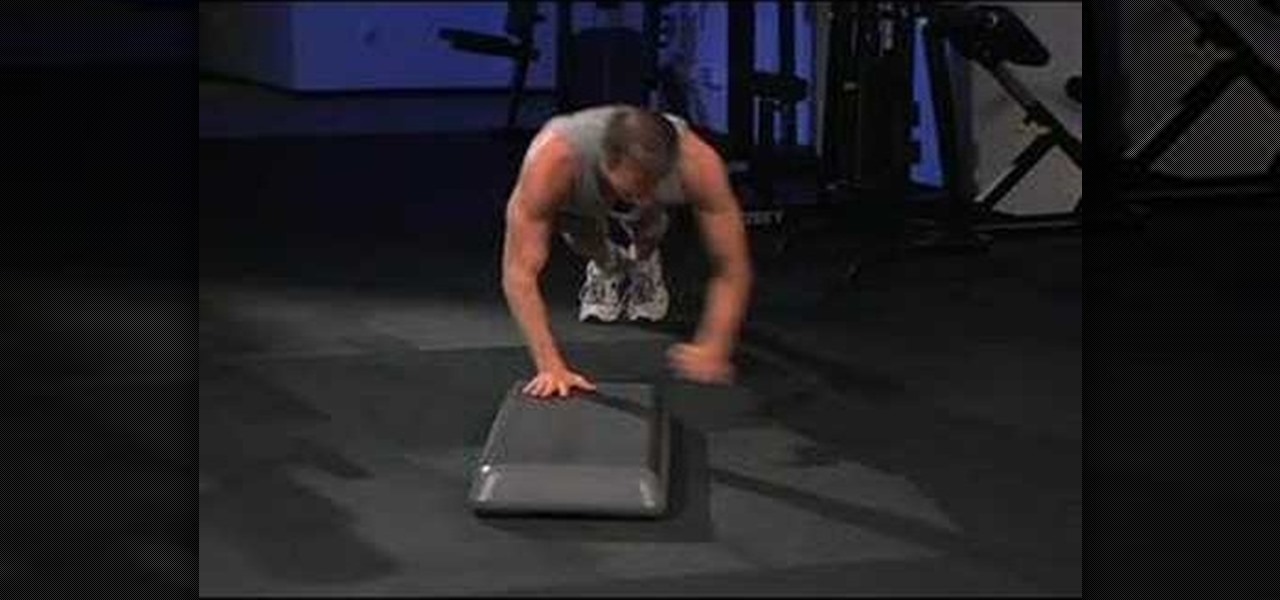
Learn how to do side to side pop push ups across a step. Presented by Real Jock Gay Fitness Health & Life.

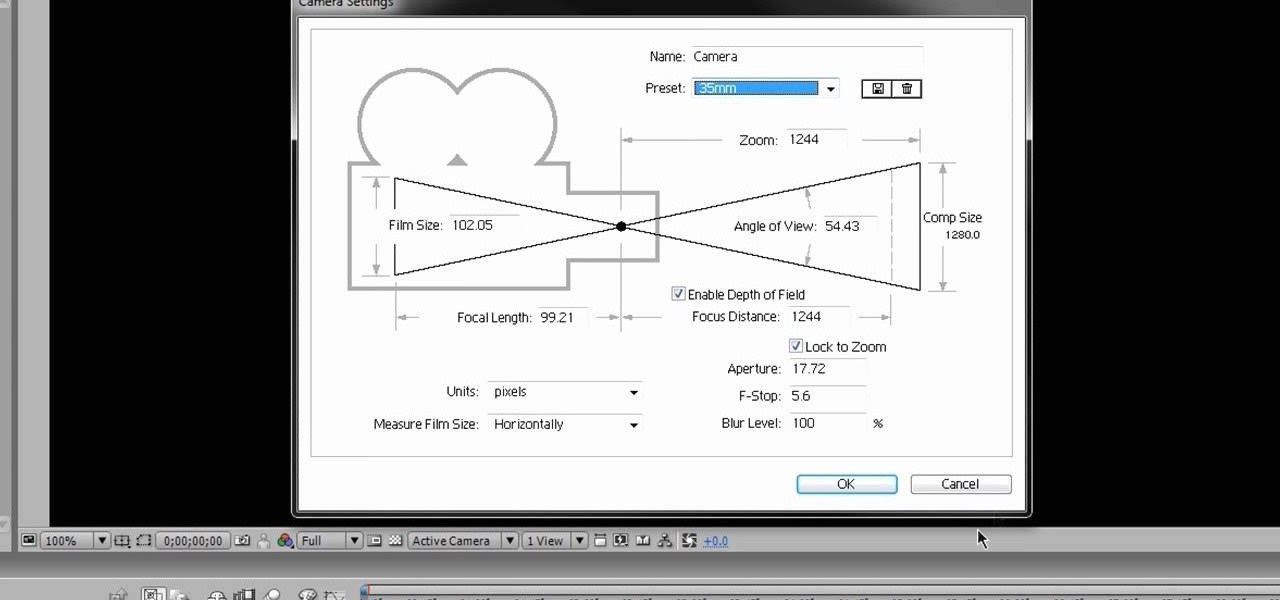
The Camera tool in After Effects can be used to create or help create all sorts of cool effects. This video will show you how to use it to create some simple 3D text effects for titles. You'll be some other effects and particles as well.

More power and better gas mileage are just two of the reasons you might want to learn how to drive a stick shift.

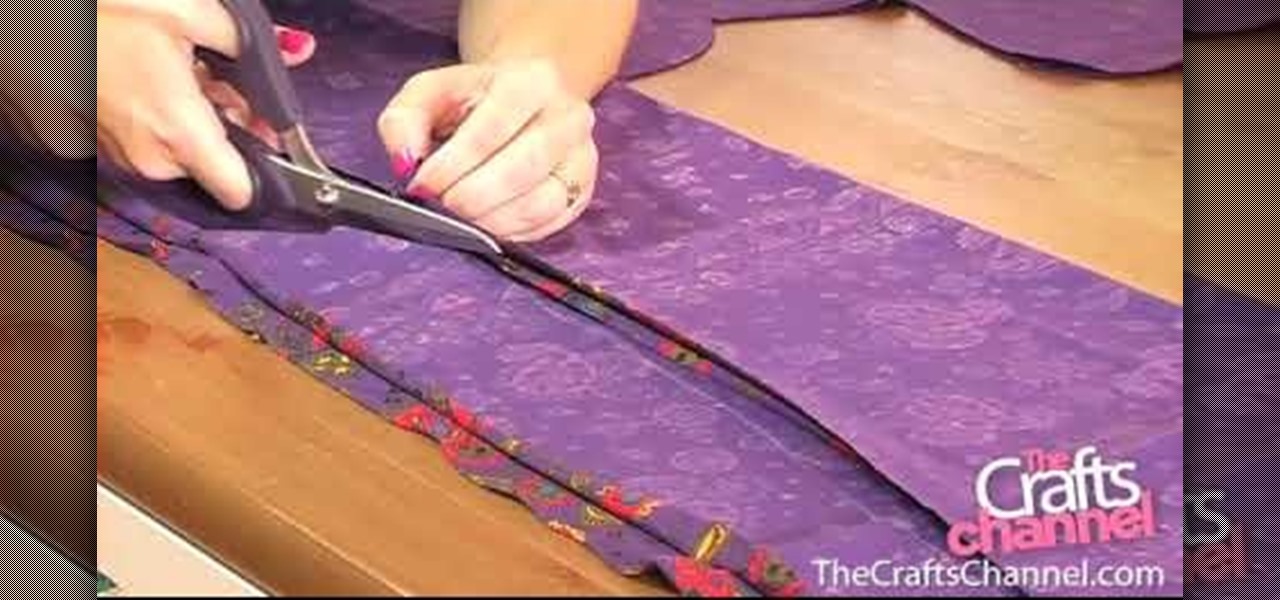
1: Chose a stretchy fabric & fold in half, so that the right side of the patterns are together. 2: Lay dress on top of fabric & trace the dress with dressmakers chalk, allowing for a 1.5 cm seam allowance (except for the bottom. allow 5 cm).

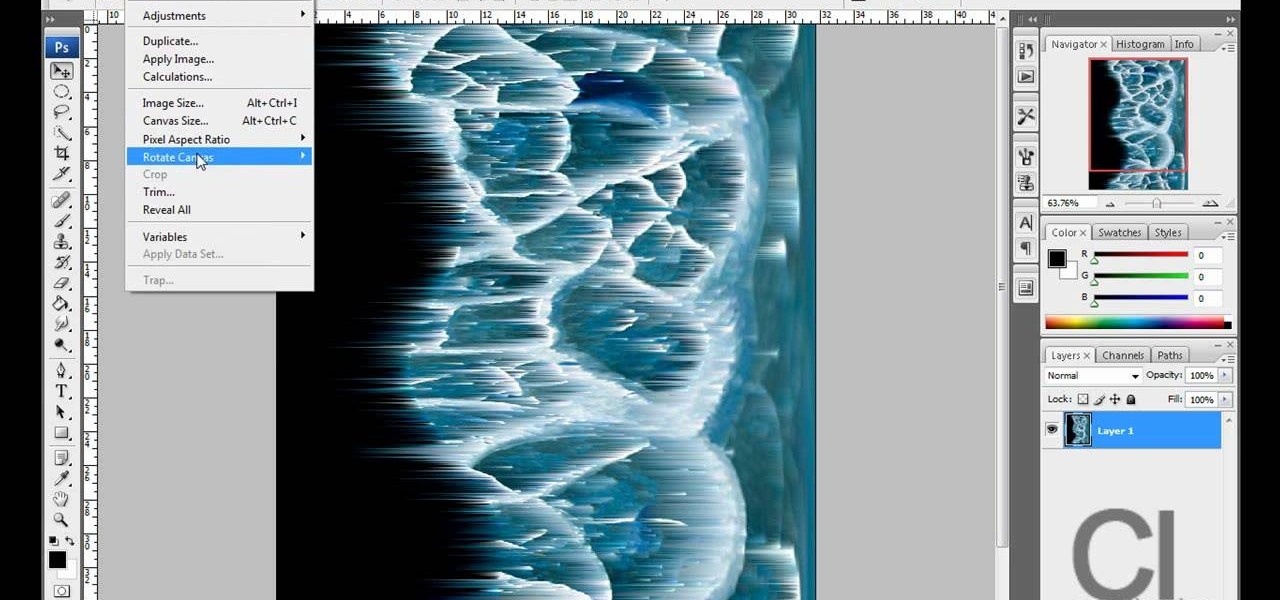
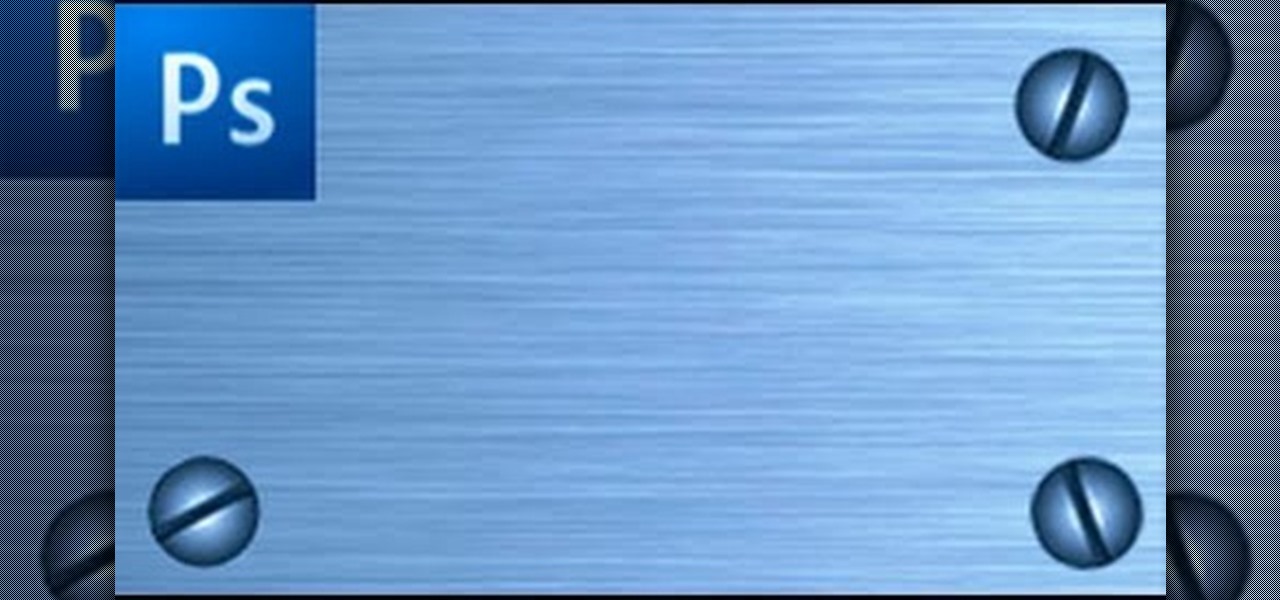
In order to make a brushed metal effects in Photoshop you should first go to your gradient tool and select a dark grey or a black and click okay. Shift and drag your mouse to create the gradient. Next, go to filter, Noise, and then add noise and change the percent to 40% and click okay. Now, go to blur and ocean blur and change the angle to 0 and distance to 100 pixels. Now, for the sides to look like brushed metal, crop those sides out. Now you have a metal effect. To make a screw, click on ...

In this video, Brandon will show you how to drive a stick shift safely and effectively. In a stick shift, there are three pedals, the gas, the clutch, and the brake, all of which will be used in order to drive the car. You should use your right foot for the gas and the brake and your left for the clutch. This video will show you the basics of how to drive a stick shift and how to shift gears without making the car stall.


