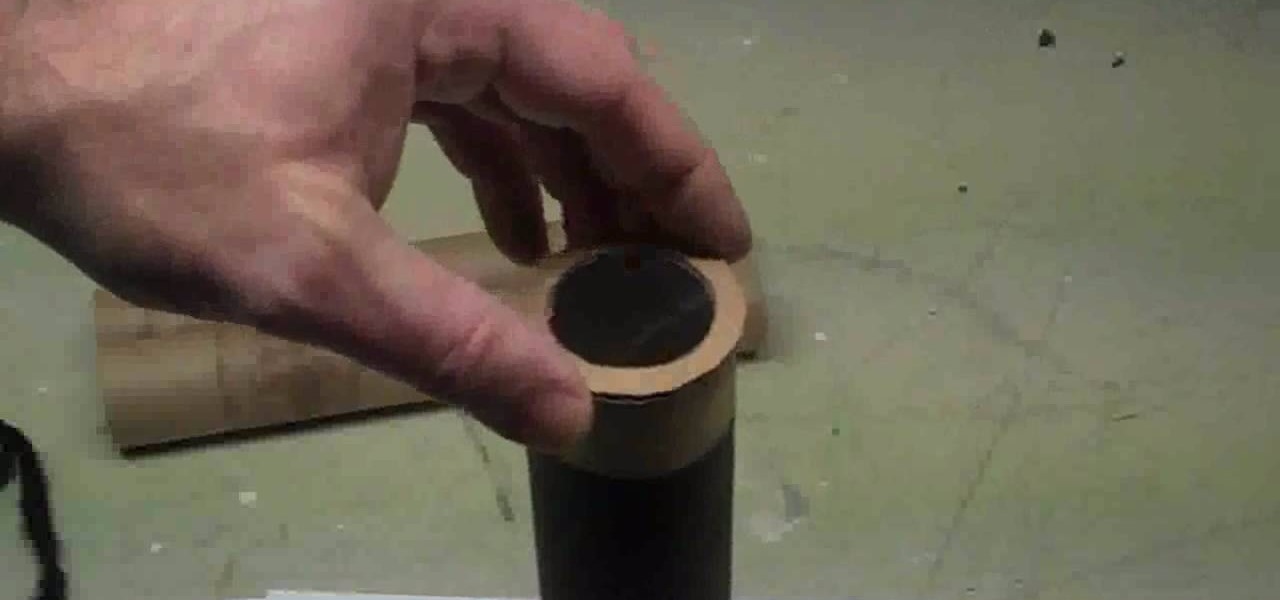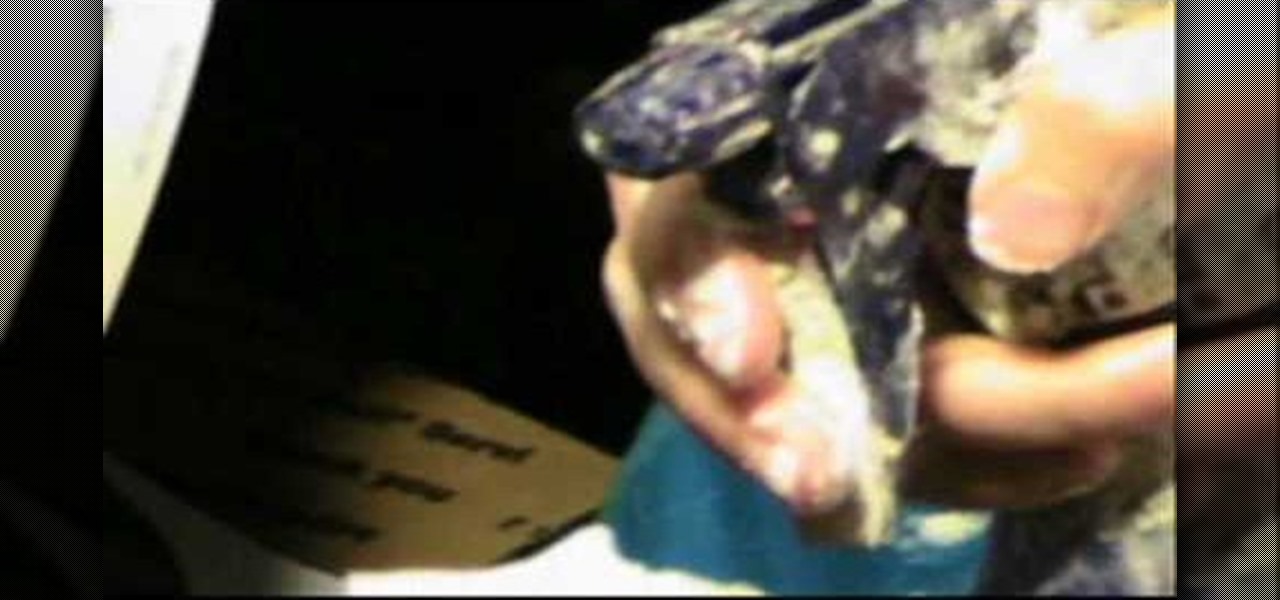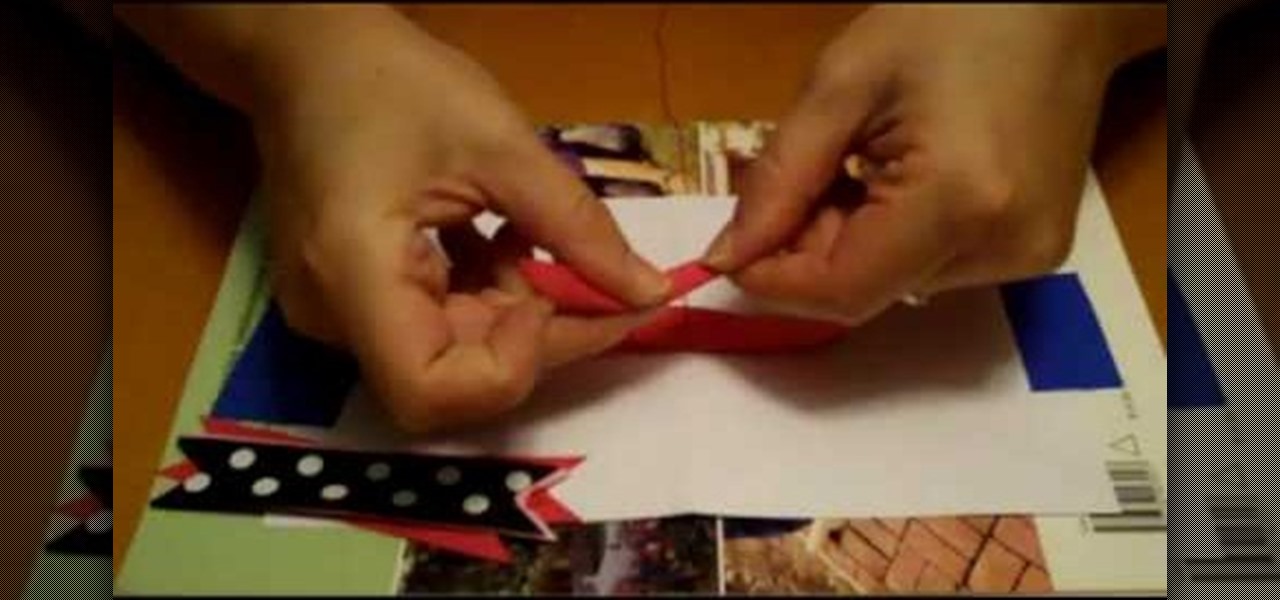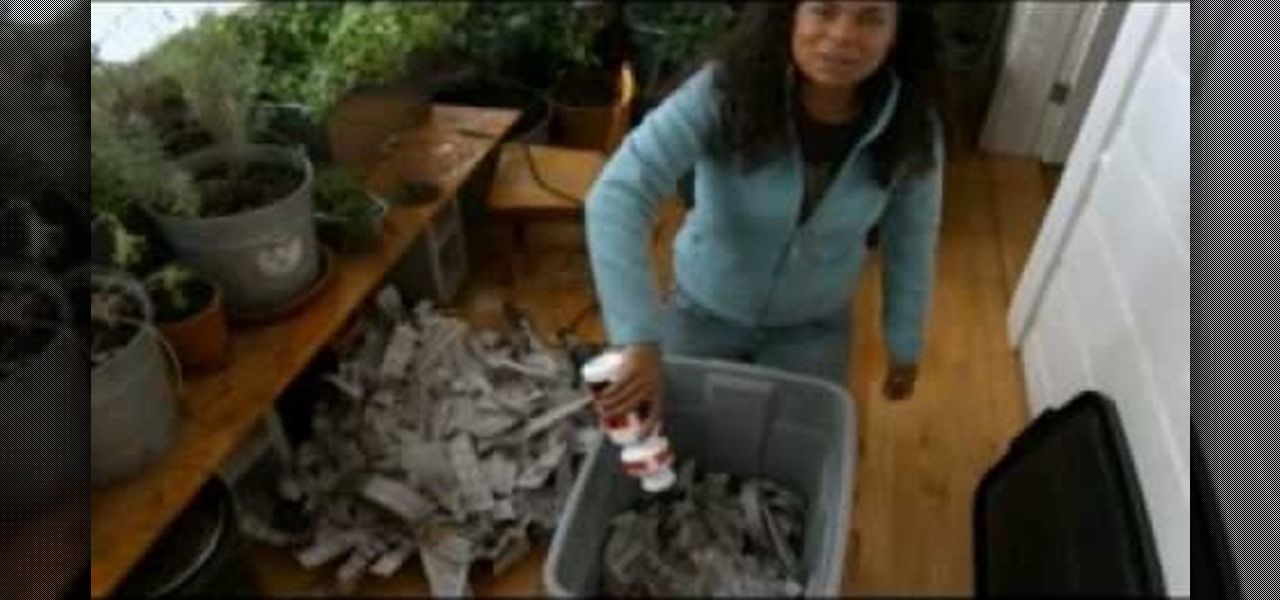
This video shows you how to make a tech deck quarter pipe. You will need the following materials: wood pieces, cardboard, a small metal bar, glue, and scissors. The first thing you will need to do is cut out the base, this requires cutting out three equal parts (as seen in the video). The base pieces are then glued onto a back board for support. Small slits are then cut in each base to allow space for the metal bar. Glue the bar onto the base, making sure that only the bottom of the bar gets ...
Leona from Artists Resource shows us how to decorate cushion covers with a beautiful multi-colored leaf design. You will need textile paint, metallic pens, scissors, glue, paintbrushes, masking tape, a marker pen, cardboard, scrap paper, and some cling film.
Many midrange phones are being manufactured without a gyroscope sensor—the Moto X Play, third-generation Moto G, and several of Samsung's Galaxy Grand models, among others. It's not exactly an essential smartphone sensor, and leaving this out keeps the phone's price point down, so it's an understandable omission.

A breakaway chair is one of the best pranks, or one of the easiest effects for your indie film project. A breakable chair can be made out of simple household items, and is very cheap. The biggest material needed is cardboard. So basically, you'll make a cardboard chair, that breaks. Watch this video tutorial to learn how to make a fake movie prop brick.
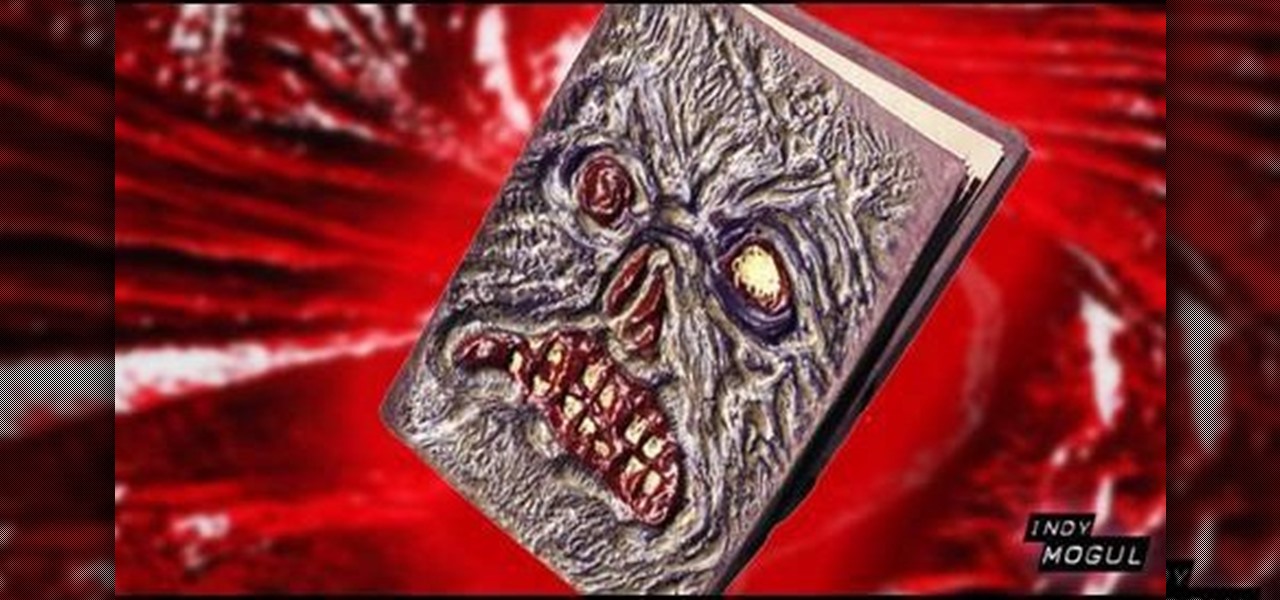
In this video, we learn how to make a Necronomicon prop from the "Evil Dead" series. First, gather all of your materials together so you can make this prop. After this, cut up piece of cardboard into the desired shape, then tape them and make sure it's able to open and close. Next, you will use tape to make it look like creases in the skin and create the face by rolling it together. Use masking tape to connect these and make it look like it's all part of the same skin. Next, mix red, yellow, ...
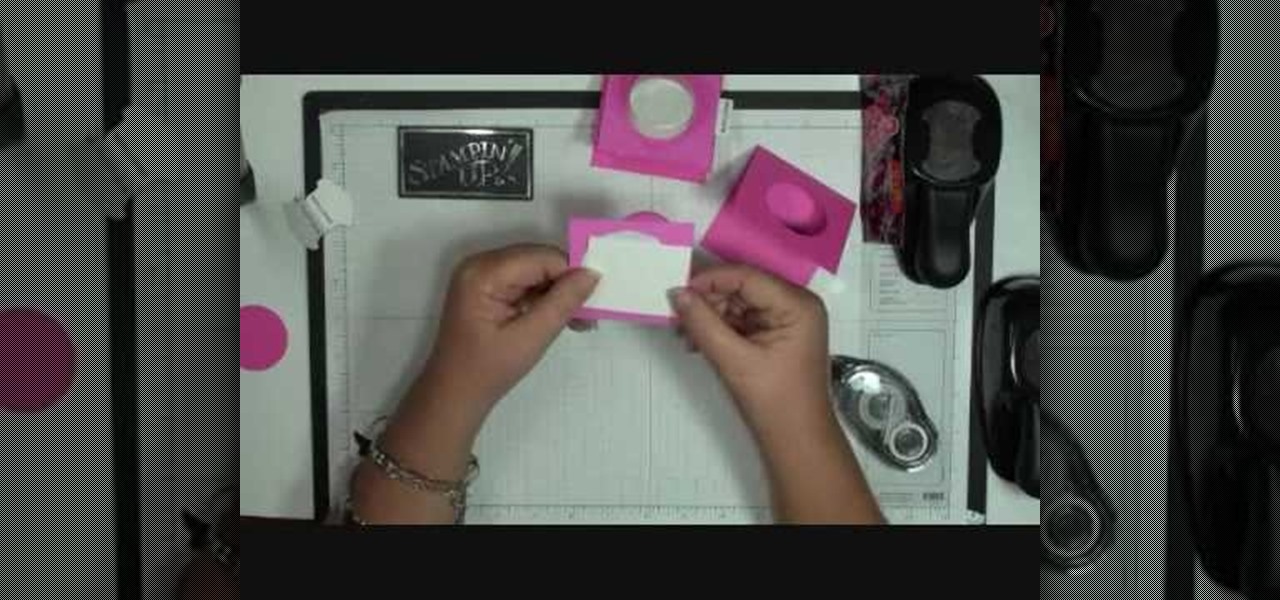
Dawn5377 teaches you how to make a pink sweet treat cup door. You need a stamp from the sweet center set and you use it on a small piece of pink cardboard. You punch the middle out. Also punch the middle of another piece of pink cardboard. Insert the treat cup door and stick it in. You use dimensionals to hold a white piece of paper, which acts like a tray under the plastic dome. You add some sweet treats inside and stick the other pink piece (with the heart) on the other side. Also remember ...

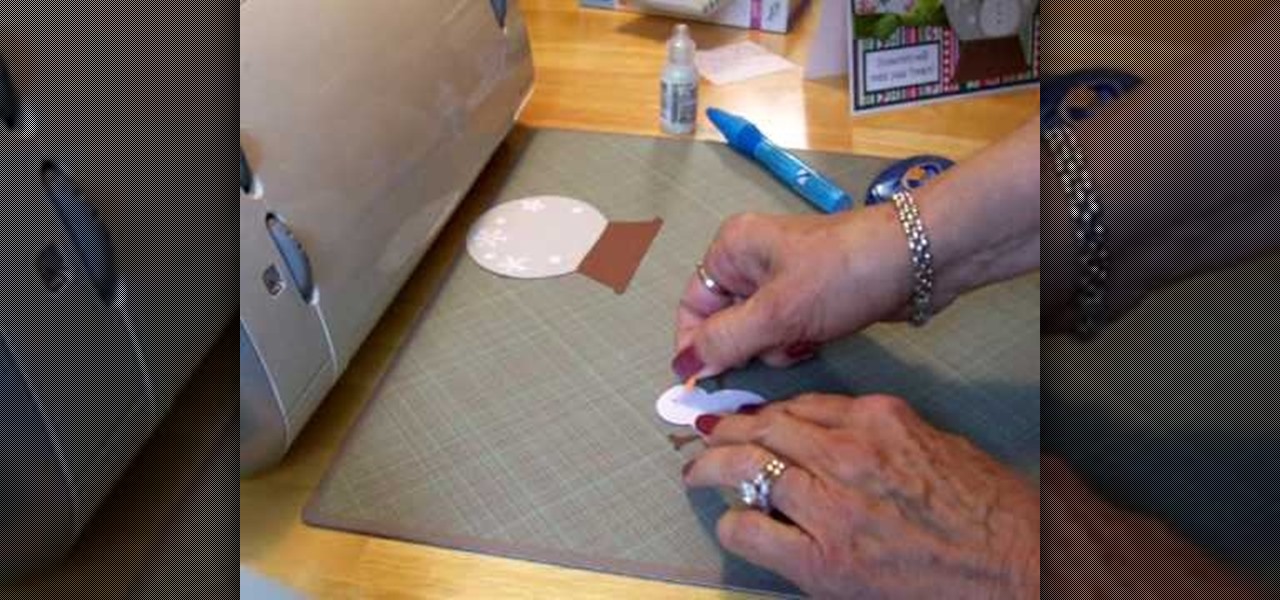
Cardcrazy09 teaches us how to make a Cricut snow globe card. You cut the base of the snow globe in brown cardboard. You then add a layer of white with dots and snow flakes on top. The snowman is done using the same technique - black cardboard and then a white layer on top of it. You add the carrot nose by sticking it on. When all is dry, add the snowman on top of the snow globe, in the middle of it. You add the acetate layer on top of them. The end result looks like the class on a real snow g...

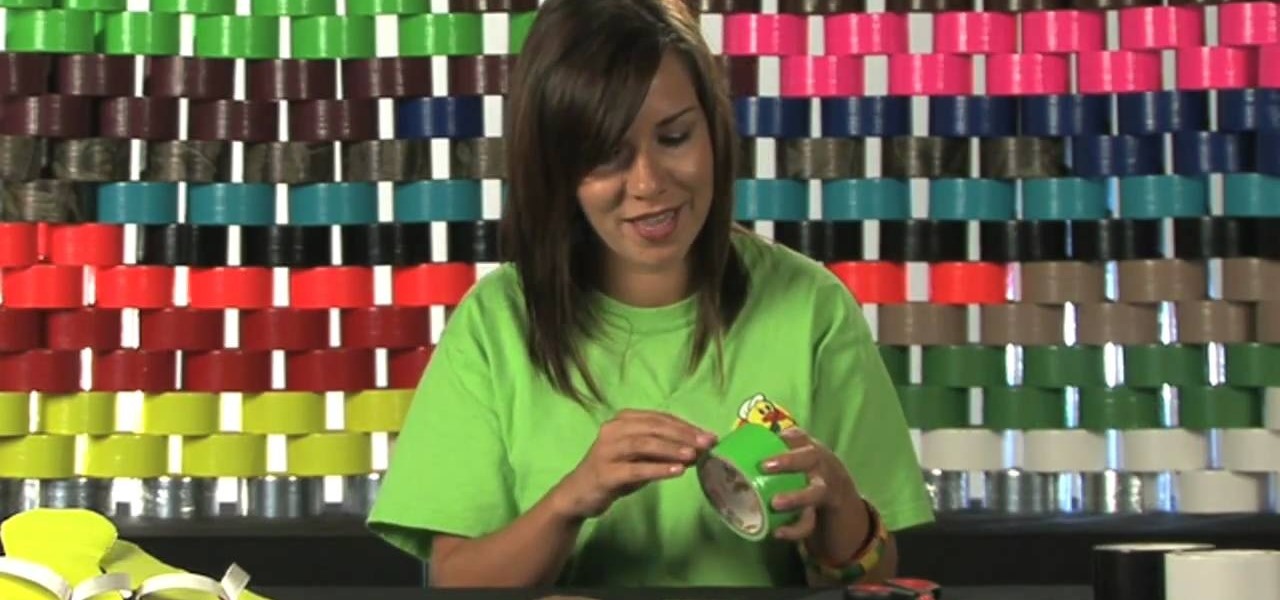
This video is about how to make duct tape flip flops. For this you need cardboard, scissors, and three different colored tapes. Follow a few easy steps: cut two identical slipper shapes out of cardboard. Paste the first colored tape on the cut pieces. Fold second colored tape three times to make it thinner. With the help of the scissors create a hole and pass the second colored tape through it. Paste the tape at the back. With the last tape, strengthen the joints above the hole.

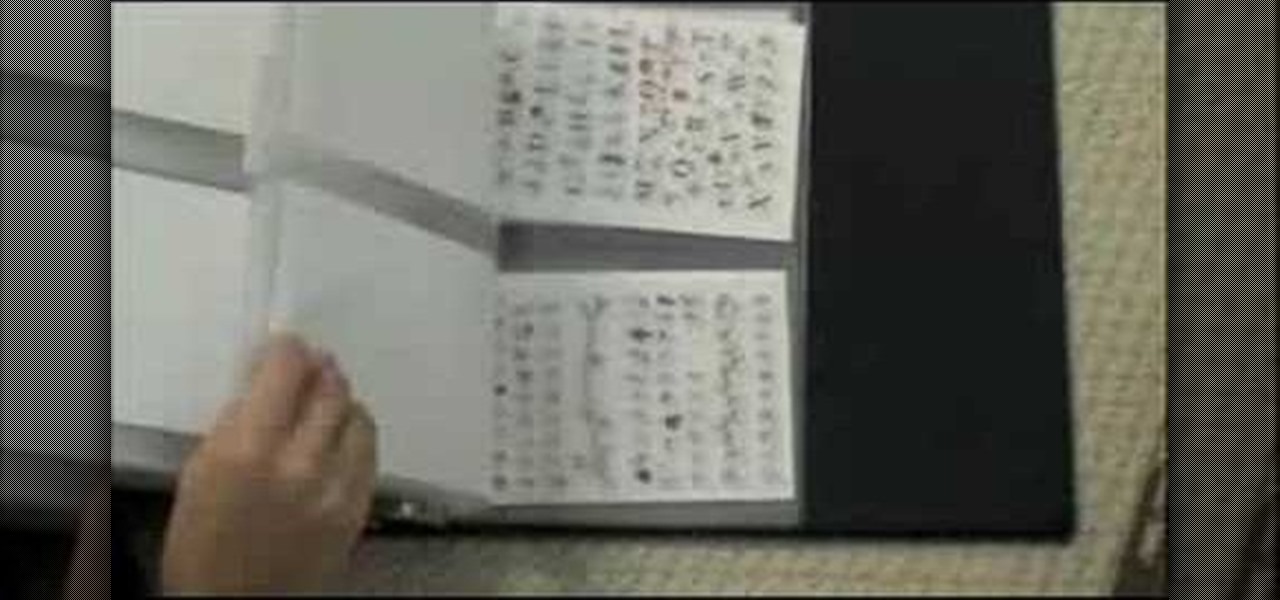
If you like to collect clear stamps, you've probably learned how challenging it can be to keep them all organized. In this video you'll learn how to store your clear stamps in a clean, organized system.

The FN P90. Everybody wants one, but more than likely, you can't get your hands on one, especially if it's illegal in your area. Designed by FN Herstal back in the 80's, the P90 personal defense weapon is the cream of the crop. It's full name, Project 90, specifies a weapon system of the 1990's. If you want this firearm for a weapon prop or just to have, you can easily build one yourself with household materials, mostly cardboard. Watch this video tutorial to learn how to build a P-90 prop ca...

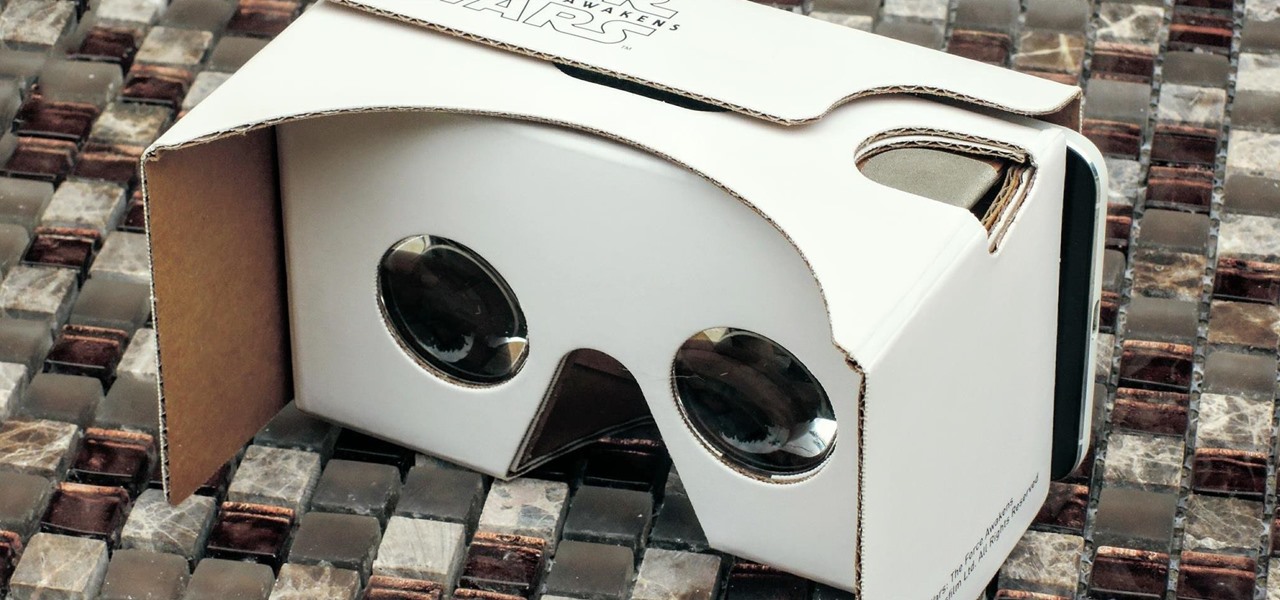
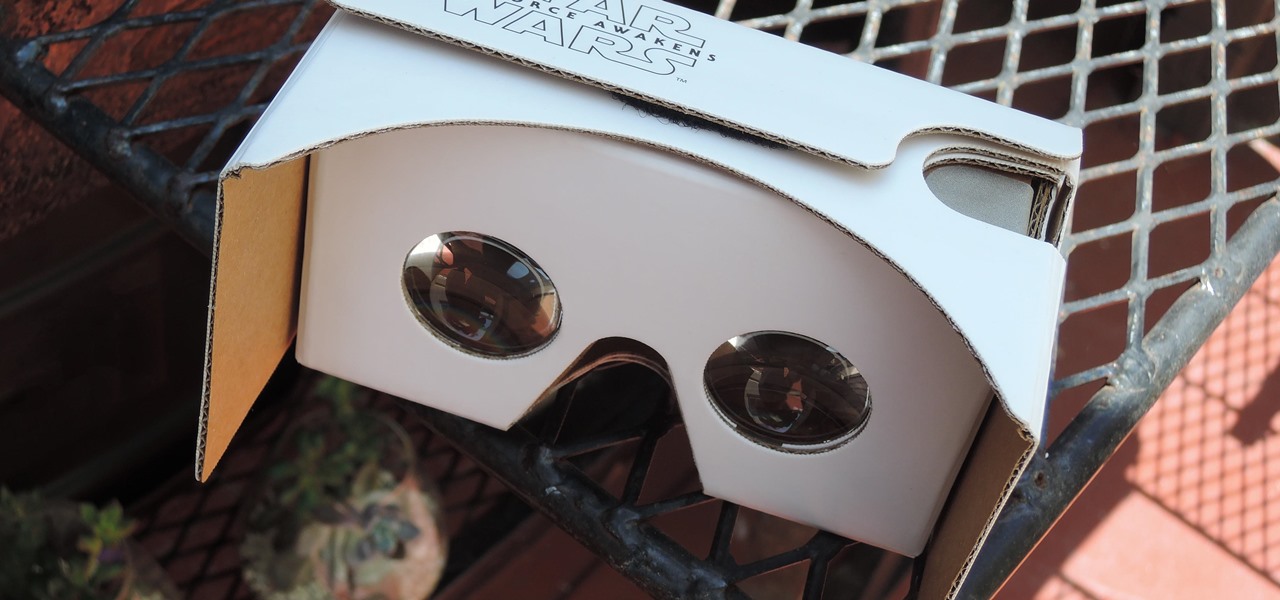
Virtual reality is all the rage these days, especially with devices like the Oculus Rift, Gear VR, and HTC Vive hitting shelves lately. But before any of those fancy, expensive headsets ever made it to the market, Google came up with a thrifty and inventive substitute in the form of Google Cardboard.

Ant-Man isn't one of the most famous Marvel superheroes. In fact, with the news of his individual movie came great doubt that the comic book legends could succeed in telling the tiny story of an oddball hero on the big screen. Yet with its humor and unique story, Ant-Man has become a hit movie in its own right—and the hero will most certainly make a hit Halloween costume.

Reading in bed with a book and bedside lamp is so 1990s. As tablets get smaller and content continues to be digitized, reading on an electronic device is pretty standard.

Back in 2008, media artist Kyle McDonald created a 3D interface that could track movement, which he turned into a virtual Tic-tac-toe game.

Sure you can go and make something cheap and unauthentic with a cardboard blade, or, you can REALLY live your dream of being Ezio, or Altair, by checking out this awesome video from IndyMogul on how to make a spring loaded hidden arm blade that will ALL of your friends squealing in jealousy!

This video provides an introduction to building 15mm scale buildings for Warhammer or miniature dioramas. Simulate roofing shingles and with small pieces of cardboard. Create a haunted scene with real spider webs. Preserve tiny spider webs with a protective spray or make miniature spider webs out of milkweed. Build small scale grapevines with toothpicks, wire, and painted leggy moss.

To mount a turkey tail you need borax, pins, hair dryer, pairing knife, cardboard and detergent. You must clean the turkey tail and then mount it.

Because who wants to mess with all those wires, programming and power sources? You can make your own origami robot out of paper or cardboard! Though it probably won't do as much as a real robot would, it's nevertheless a fun project to do! All you need are a few sheets of paper (you can also used cardstock or a thin cardboard, depending on how sturdy you want your robot to be). Then just follow the steps in this tutorial!

And you thought decorating the cake was hard. Once the last ruffle of icing is piped on and you've crowned your creation with a pretty fondant flower, it's time to bring it to where it needs to go, whether that's a birthday party or simply back home to devour.

In this tutorial, we learn how to make a Halo Needler prop. You will need: knife, scissors, pink straws, paint colors, cardboard, paint brush, and pencil. First, draw the pattern out on a piece of cardboard. Next, cut this out and make four layers of it. After this, glue or tape it together and then line glue everything together. Now, cover this with paper mache until all parts are fully covered and dry. Next, color with your paint and then let it dry until the paint is no longer wet. This wi...

In this tutorial we learn how to make a Universal Soldier eye. You will need: old head set, cardboard, hot glue gun, screwdriver, pen, flash light, knife, saw, black paint, and masking tape. First take the cardboard and cut it out into two rectangles. Place these around the headset and stick a rectangle in the eye piece. After this, you will connect the flashlight to the side of the head piece. Once finished, you can spray paint the entire eye piece and then wait for it to try. When done, wea...

In this tutorial, we learn how to make a small, easy, functional telescope. First, glue a lens in place with glue underneath a piece of cardboard with a circle cut in it. Then, cut this into a circle and tape it to a paper towel holder. Then, you can wrap this in some paper mache around the cardboard. Then, wait for this to dry and spray paint it with gold and black paint. When finished, you will have a functional telescope ready to go and use! This is cheap and a fun project to make with chi...

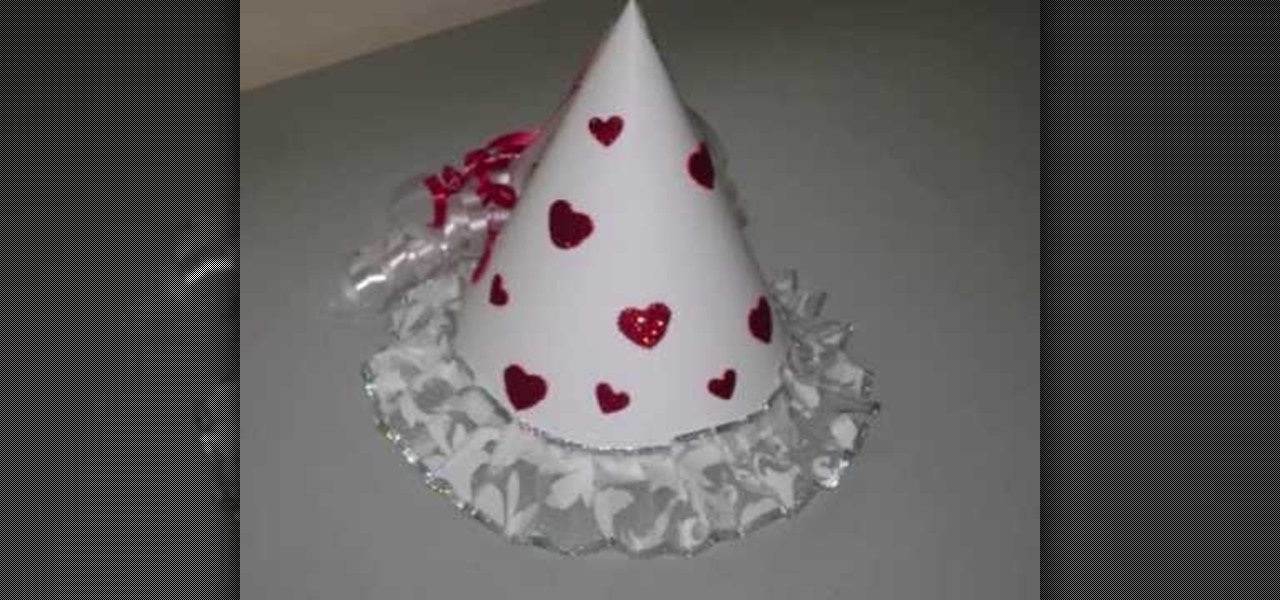
In this video tutorial, viewers learn how to make a fairy princess hat. The materials required for this project are: white cardboard/postcard, glitter stickers, glue, white lace/ribbon, red and white thin plastic ribbons and scissors. Begin by folding the white cardboard into a cone shape and glue it together. Trim the bottom of the cone. Then scrunch the lace ribbon to an accordion style fold and glue it to the bottom of the cone. Now decorate the cone with stickers or paint. Then glue the r...

In this tutorial, we learn how to tilt cardboard to make a topsy turvy cake. To do this, you will need two Styrofoam wedges. Take the wedges and place foil over them. Next, you will take the wedges and place them onto the top of the base of the cake where the other cake tier will sit. You can hold these into place with nails if you are making a non-edible cake that is sitting on display. This will make it much easier for you to make a cake that has a topsy turvy look instead of just sitting f...

In this video tutorial, viewers learn how to make a sawed0off shotgun. The materials required for this project are: hot glue gun, duct tape, cardboard, utility knife, black marker, spray paint and 2 paper towel rolls. Begin by tracing a shotgun outline onto the cardboard. Make 6 layers and glue all the layers together. Then smooth the edges with sandpaper and tape the outside with some duct tape. Now tape the 2 paper towel rolls together and tape it on top of the shotgun. Finish by painting t...

In this clip, learn how to turn a normal cardboard box into a shirt dispenser. Do you have a lack of closet space? Perfect! Are your shirts always wrinkled and never folded when you need them? No problem! This invention will keep your clothes neat, organized and save a ton of space. Best of all, you can ditch the box when you are done with it!

Eddy Currents are little circles of electricity created when metals are moved by magnets or even when magnets are moved by metals. To understand this practically take a regular piece of cardboard and drop it in between a horse shoe magnet. It drops normally with out being effected by the magnet. This is because the cardboard does not conduct electricity. Therefore it does not cause any eddy currents. But instead if you use an aluminum piece in the same way, it falls very slowly, because alumi...

Preserve the beauty of your flowers by pressing them. One of the simplest ways in doing that is to press between pages of a book. It's wood, over cardboard, over absorbent paper. The flowers are placed between the paper and then held and pressed down by the cardboard and wood. It's then going to dry over time to preserve your flower. Now some flowers don't dry as well as others. What you can do is purchase some silica sand and burn the flower within it. It usually takes a couple weeks this wa...

Cardcrazy09 teaches you how to make a Halloween mini tag album using Cricut. The album itself is made using different types of double sided cardboard. They're stuck together using a metal spiral. Each of the elements use different types of cartridges for Cricut. Simply cut all of them and stick them in place on each page. You can also add photos to give it a more familiar look. Multiple tags are inserted in little cardboard pockets. There is also a demonstration of the Cricut Gipsy, a useful ...

In this video tutorial from StudioMallory, learn how to take Mapei premixed adhesive and grout and turn it into a six-point star. Begin by cutting out the star shape in a piece of cardboard. You can use a stencil to make sure the shape is accurate. With your fingers, spread the grout onto the shape. After you are done shaping the grout, spray a little bit of water on the grout to help you smooth out any rough edges on your star. Set the star on a flat surface and allow it to dry overnight. Th...

Looking for a stylish new look without the price tag? This video tutorial will teach you how to make jewelry on a budget, with your main material being none other than paper and plastic tubing! This step by step instructional video by craftside shows you how to recycle old card stock, paper, and cardboard to make a holder for a plastic tube necklace. First they show you how to make a "matchbook" holder by just folding the card stock around the cardboard that create a little card that will hol...

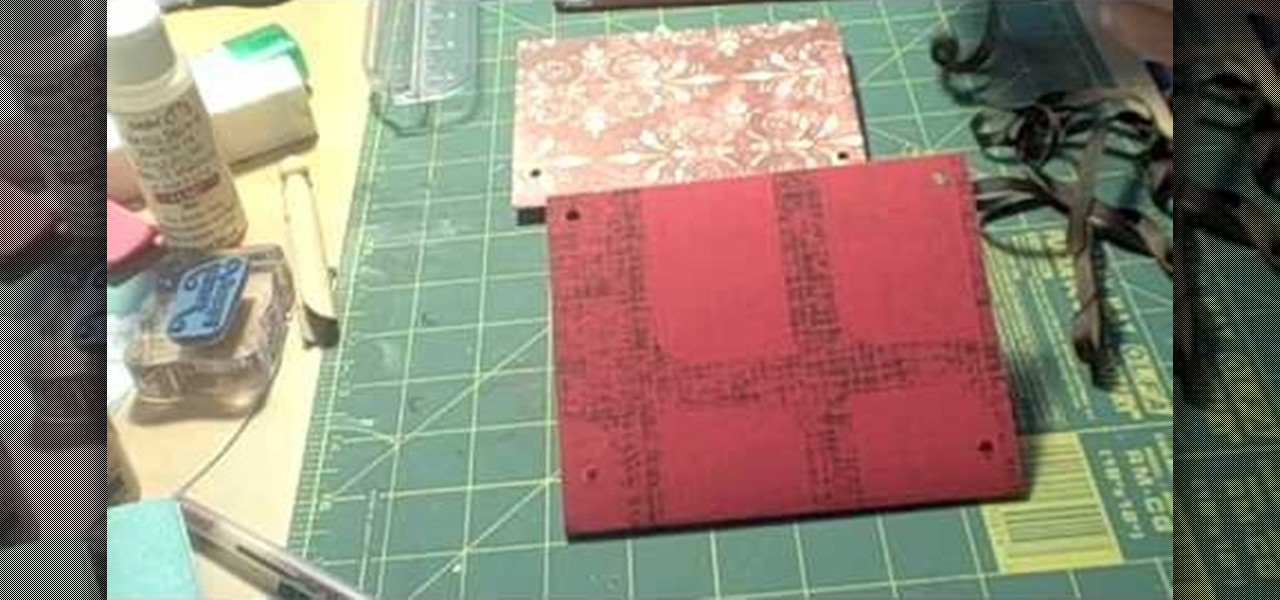
Making this DIY album is easy and fun! This video will show you how to make an 8x10 photo album enclosed in ribbon. After cutting two pieces of cardboard to size, you can take the material you've chosen for the cover and cut a 9x11 piece so that you can fold over the edges. After that, it's as simple as gluing the material to the backs of the cardboard and taking an extra piece of material for the inside cover. Good luck!

Hair bows are adorable for all ages, and in this simple, easy tutorial, our hostess gives us first the materials we will need to construct our own. A piece of cardboard, a sewing needle and thread, a rubber band, and of course the little fabric pieces referred to as "spikes," to complete the creation. From there, we are taught that the cardboard is our stabilizer, through which the needle will go, and that we will then be constructing the fabric into shapes upon that needle, layering the fabr...

Patty Moreno shows us how to make a worm compost bin with cheap, everyday, household items. • Get an 18-gallon rubber storage bin and at least two tops.

In this tutorial, learn how to find a successful agent that can advocate well for you and truly believe in you as an actor. Learn how to choose the right agency, agent and team to help your career. Hosted by a successful manager, this tutorial will help you know exactly what to look for when making this important decision.

Add a party favor to your next hosted New Year's Eve bash. Ring in the New Year wearing personalized party glasses! It's a fun project for kids and adults.

Make sure your winter wardrobe survives the summer by putting it away properly. Learn how to store your winter clothes.

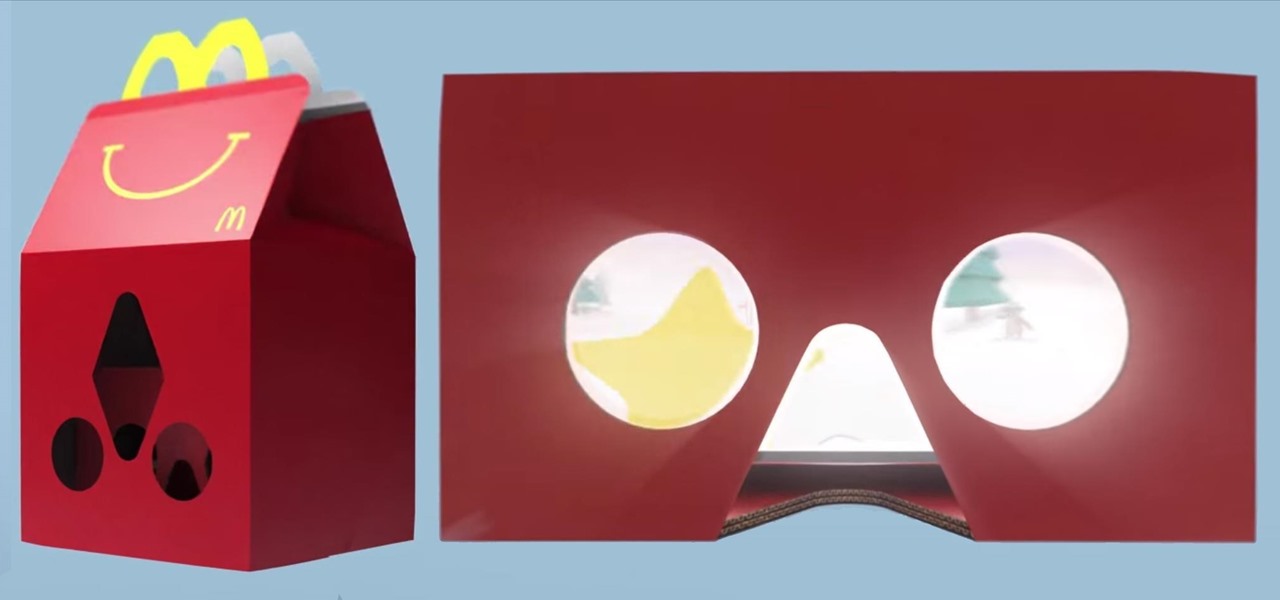
Another day, another company hopping on the virtual reality bandwagon. Today, it's fast food behemoth McDonald's, which is testing limited edition Happy Meal boxes that you can turn into a VR headset by punching out a couple holes and tearing along a few perforated seams. The resulting headset is a lot like Google Cardboard, with the lingering scent of fry grease.

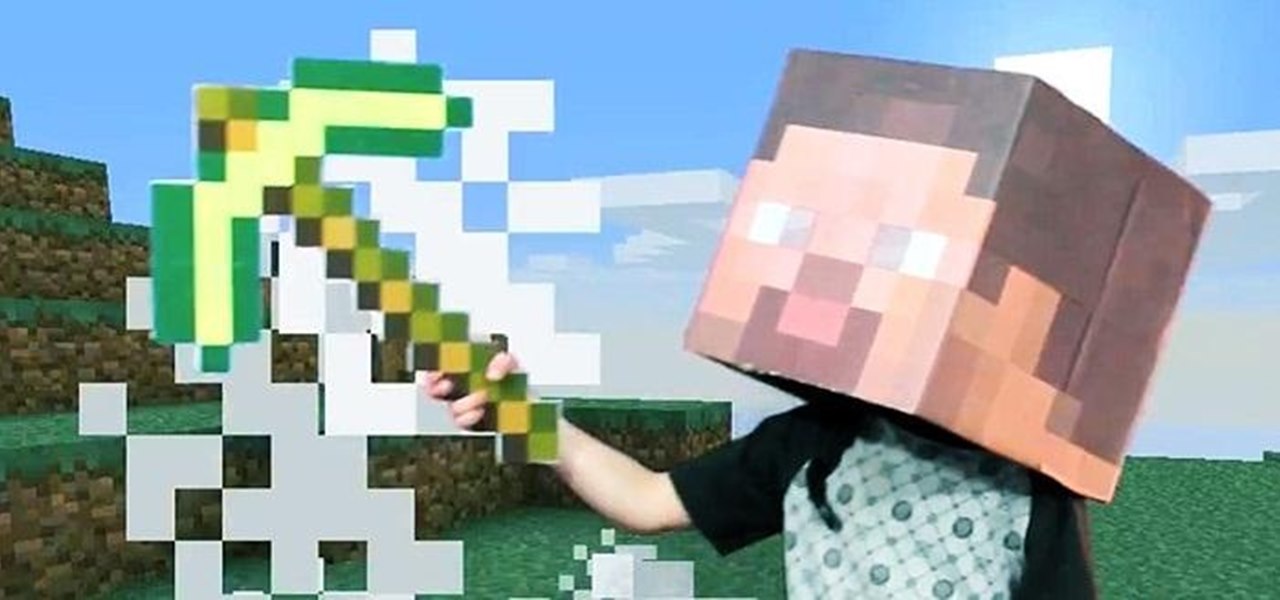
There's no doubt going to be a lot of Steves running around this Halloween, as Minecraft still has a huge community, but those posers are probably just buying their Minecraft costumes. Isn't the best part about Minecraft creating? So why let someone else create your costume?

Making your own Mondrian-inspired cushion cover is demonstrated in this clear and concise crafting video. Materials required are a plain cushion cover( preferably in a tight weave such as canvas or cotton; water; medium size, firm, flat edge paint brushes; scissors; one inch wide masking tape; a sturdy piece of cardboard , saran wrap and 4 jars of textile paint - one color should be black or graphite. You may choose plain or glitter paints. Cut the cardboard about one inch smaller than the si...


