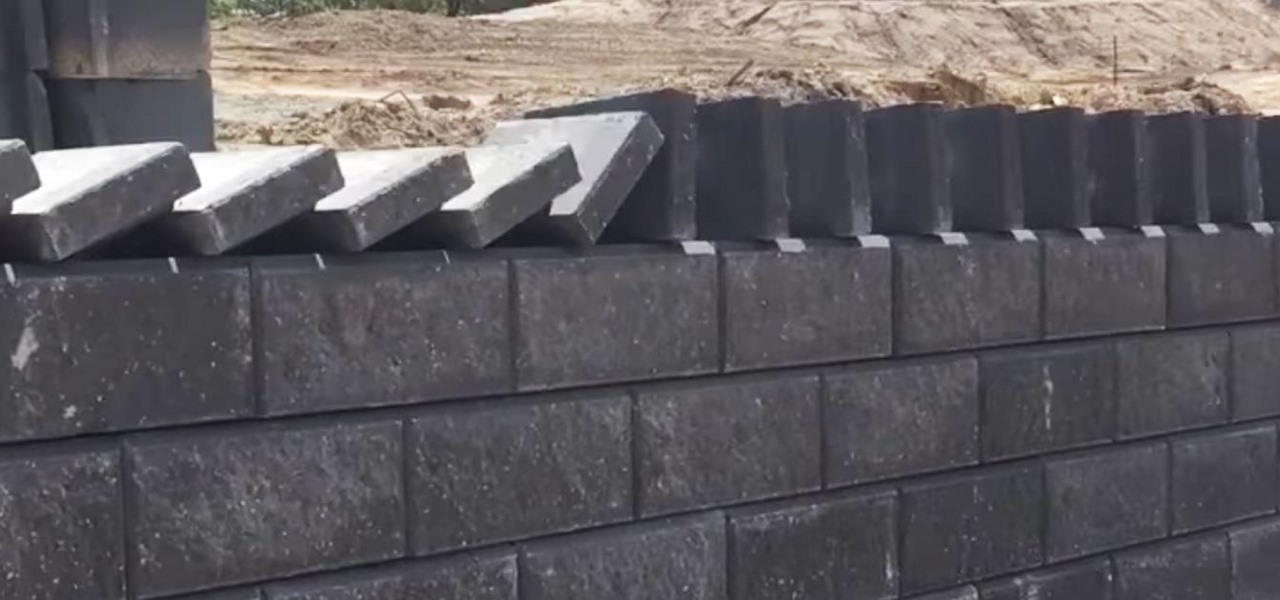
Usually, when I see a video that is captioned "wait for it," I'm quick to dismiss what could possibly come at the end of the clip. In this case, however, I was totally wrong and the final result was definitely worth the wait.
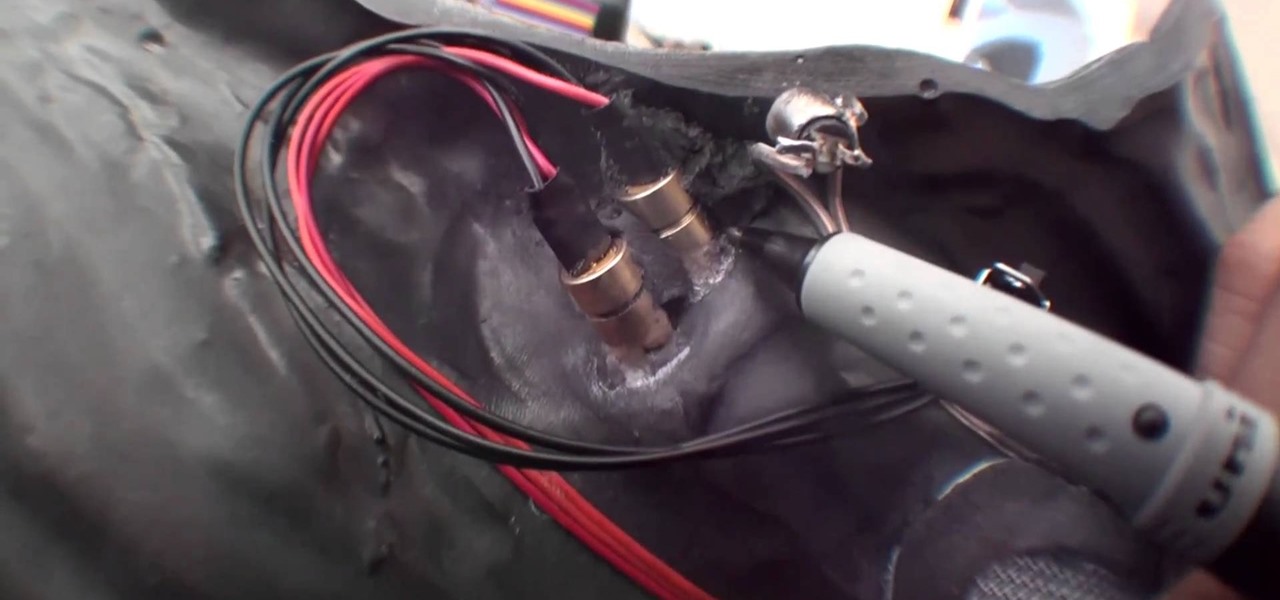
Going for a Predator outfit for Halloween or as a cameo in your film, you want to try to get as close to the real thing as possible. In this video you will learn how to perfectly align LED lights to create the targeting lights that the predator uses for its canon with a quick tutorial!
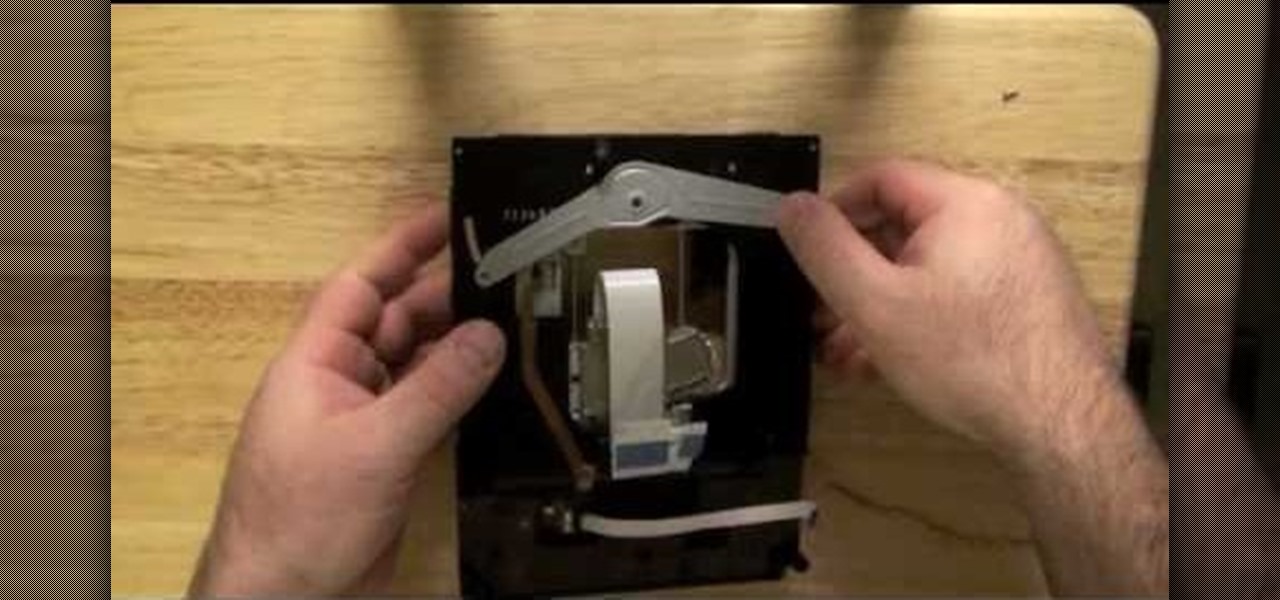
One thing that might be causing some unwanted PS3 disc drive failure is improper alignment, usually caused from blunt force trauma. Okay, it doesn't have to be that kind of forceful damage, it could be something as little as a jiggle of the console, but if you're drive isn't working, it might need properly aligned. This video will show you a list of the major things to check when doing the PS3 drive alignment.
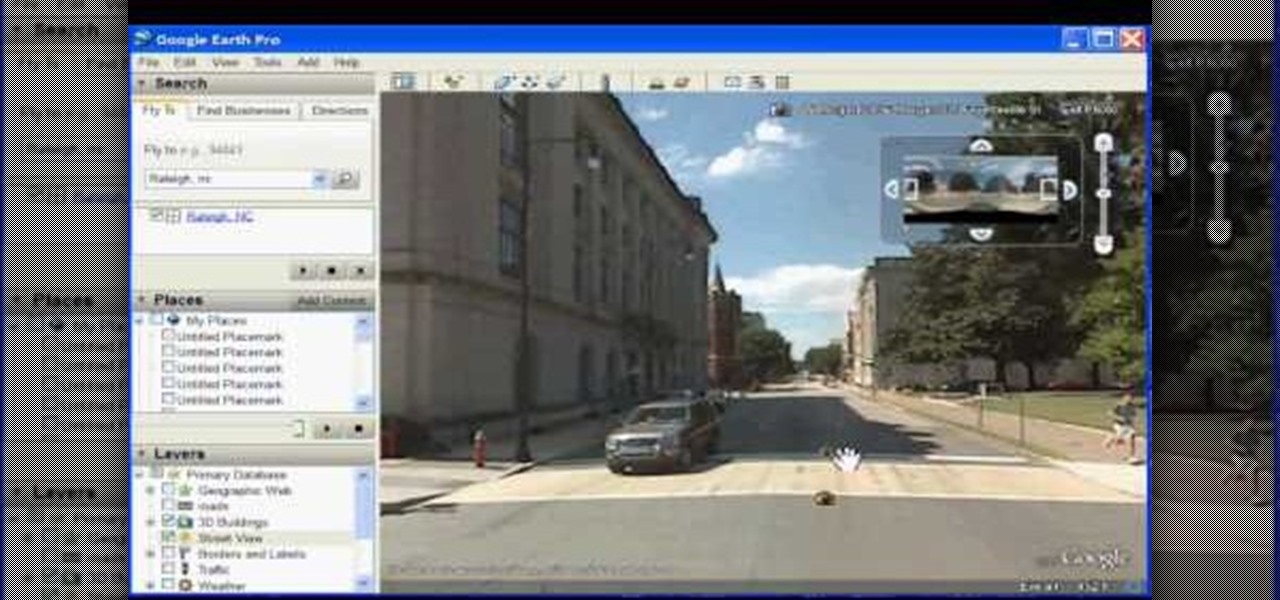
In this how to video, you will learn how to use Google Earth. First, download the program. Type in a city and state in the form. In the lower left, check street view to turn it on. Click the magnifying glass to zoom in. Some cities have 3d buildings. When you get really close, you will see cameras indicating street view images. If you get even closer, you will see spheres of the actual street view images. Click on it and the photo to get into the photo. In the upper right, you see controls to...
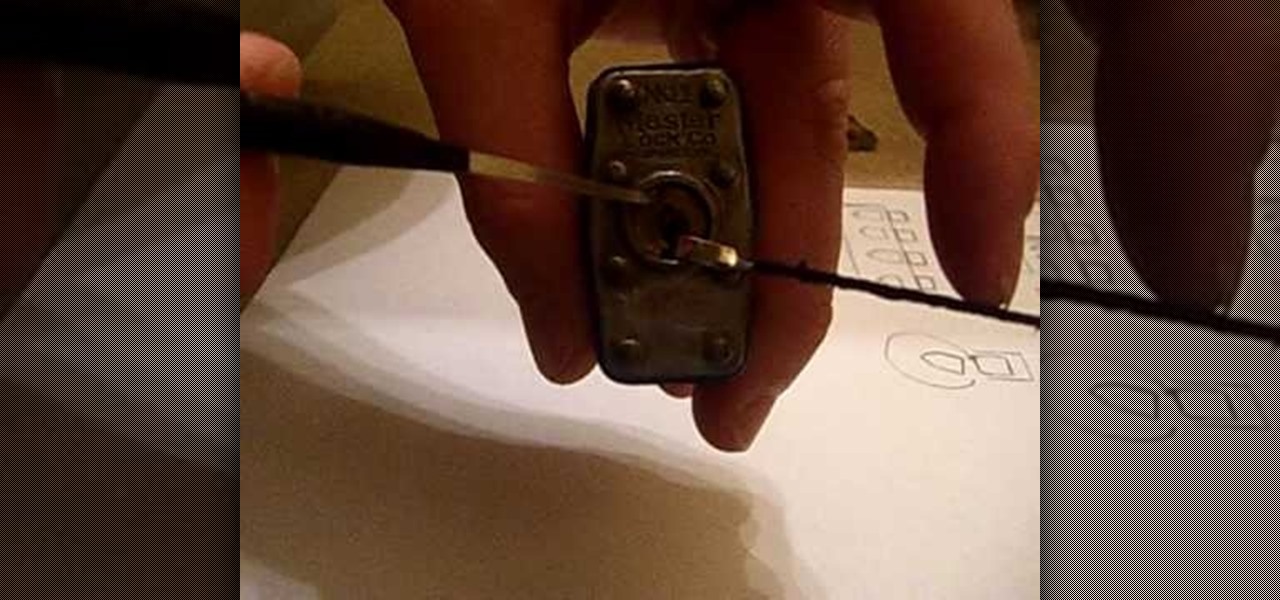
When picking a padlock, the only part you need to worry about is the part where the key goes into the lock. The locking mechanism has pins attached to springs. The key pins are on the bottom and the driver pins are on the top. The key turns when the pins of different heights are separated, flush and aligned. Stick a tension wrench into the keyway and put pressure on it. Take a pick to push the rest of the pins up until they are flush with the shear line. Stick the tension wrench into the bott...
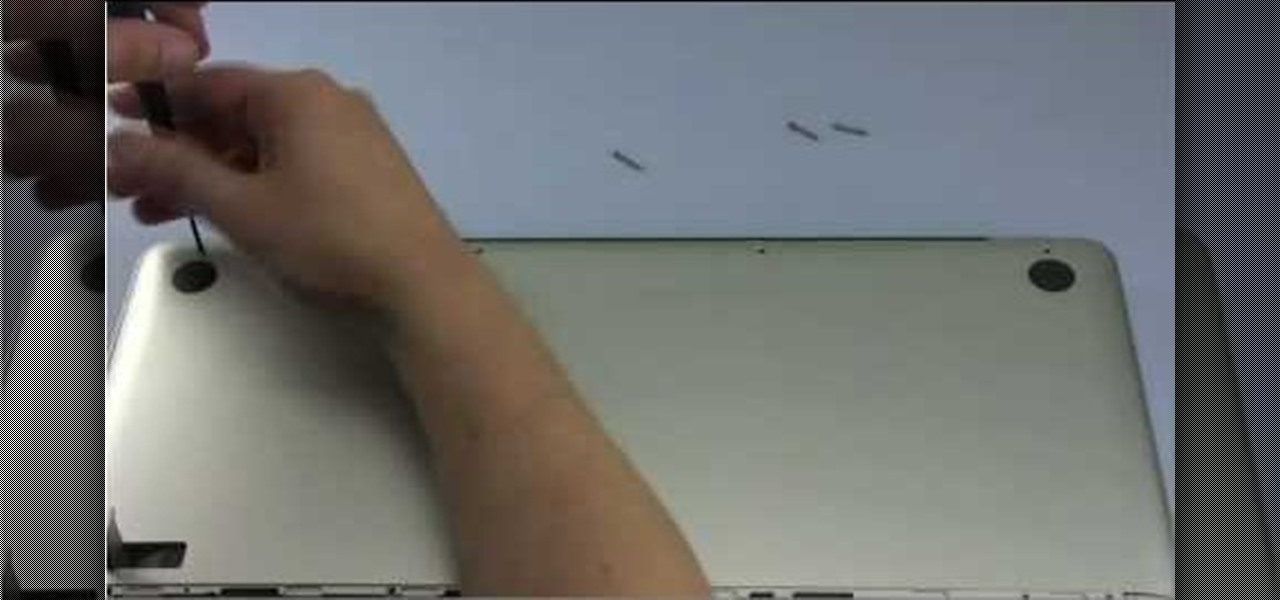
It only takes 15 minutes to install new RAM in a Macbook Pro. Before starting, remember to make sure that the power is off. Turn it over and release the latch in the left hand side. This will release the door and expose the battery. Remove the battery. With a #00 Philips screwdriver, remove 4 small screws lined up on the top of the opening. Next, remove the other 4 screws on the other side next to the hinge. When that is done, remove the cover. You will see the RAM directly in the middle. On ...

Someday, maybe not today, maybe not tomorrow, but someday, you'll find yourself on the road in your car, maybe on the highway, and you'll hear something.

Pixel Perfect is the "perfect" show to help you with your Photoshop skills. Be amazed and learn as master digital artist Bert Monroy takes a stylus and a digital pad and treats it as Monet and Picasso do with oil and canvas. Learn the tips and tricks you need to whip those digital pictures into shape with Adobe Photoshop and Illustrator. In this episode, Ben shows you how to bizarrely merge photos in Photoshop.

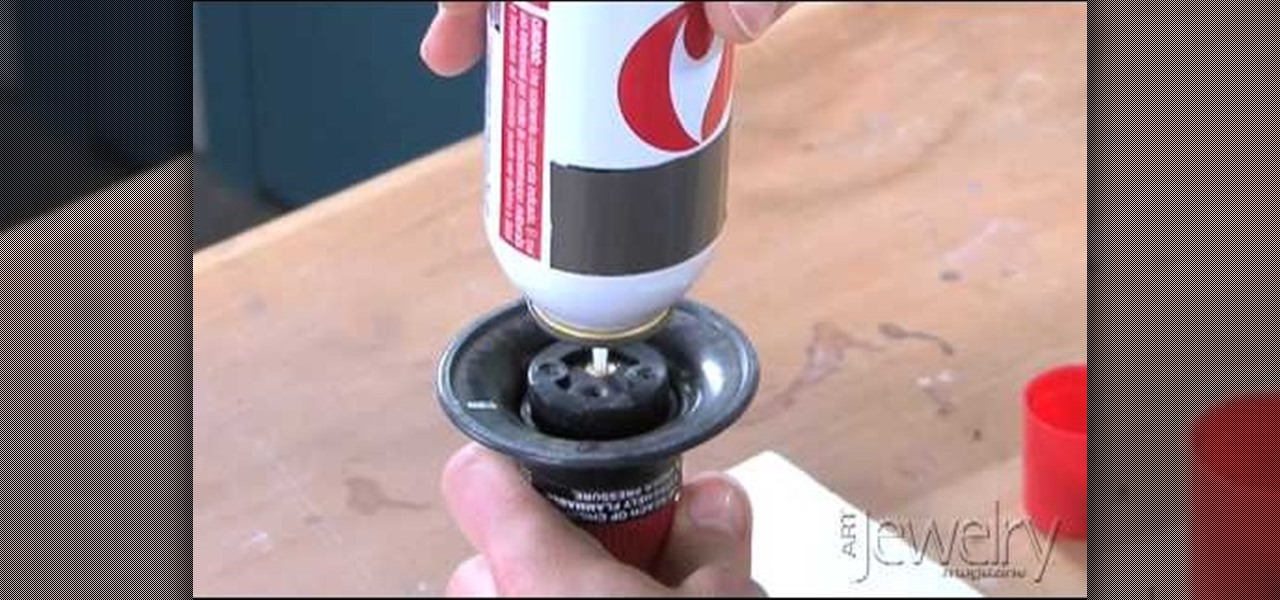
Jill Erickson of Art Jewelry Magazine demonstrates how to fill a handheld butane torch with fuel. You can purchase butane fuel at a grocery store or at a hardware store. First, uncap the butane fuel can and hold your butane torch upside down. There will be a small opening valve where you will vertically insert the top of the butane fuel can nozzle. Make sure the components are aligned straight up and down. Then, use direct downward pressure to get the fuel into the torch. The fuel can will hi...

This yoga how-to video tutorial demonstrates prenatal yoga poses to help open the hips. Prenatal yoga hip opening poses help to facilitate the opening of the pelvis to prepare for the baby to descend through the birth canal. They increase flexibility in the muscles that attach to the pelvis that will need to be elastic during labor and delivery. When the hips are more open it allows for the sacrum and pelvic to be better aligned. This will make daily activities like walking, sitting, standing...

First of all take one eight inch 'Ellen ' wrench and take off the back screw. Now you have to slide out the back plate. There is no need to take the front plate apart. You can clean it using some hot water.You can run hot water over it for a minute. You can also set it in a sink and then run hot water from the tap. You can see a scratch mark on the shaft. That is there to show you the vertical. Now insert in to the round so that this mark is in line with a little mark over it. If it is not al...

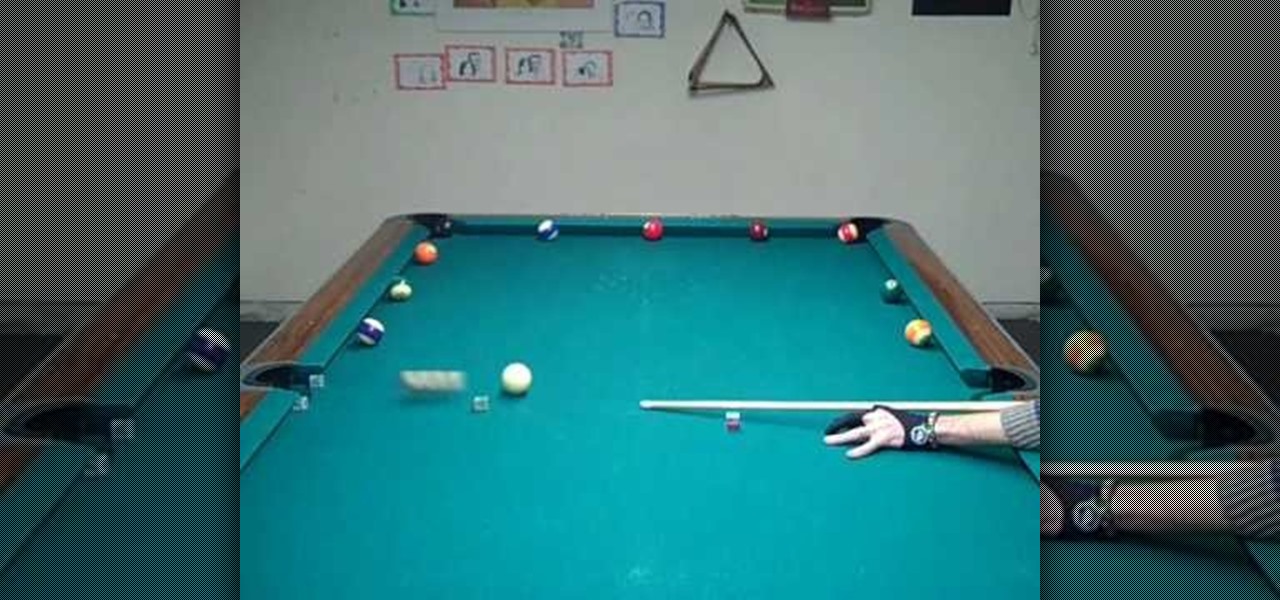
In this video tutorial you are told how to use the Wagon Wheel Cue Ball Control training method. This is called Wagon Wheel because each target ball is aligned to RESEMBEL the spokes of a wagon wheel. Set your cue ball and your object ball in the same position each time. The objective is getting the cue ball to one balls width of the target ball. Using THE FOLLOWING cue ball, direction and speed. By using a piece of chalk the instructor helps line up the balls. By using either a quarter stick...

This one minute Photoshop tip covers using the Clone Tool - aligned and un-aligned.

Can you properly parallel park your car? Well follow along as we are given instructions on what to do. -It is best to begin practicing parallel parking when there are no obstacles and then trying with plenty of space between cars. -Eventually you will be confident enough to squeeze into even the tightest of parking spots. -Remember to always go slowly and adjust your car if necessary. -Always indicate which direction you will be turning by using your signal. -When the space is empty pull up b...

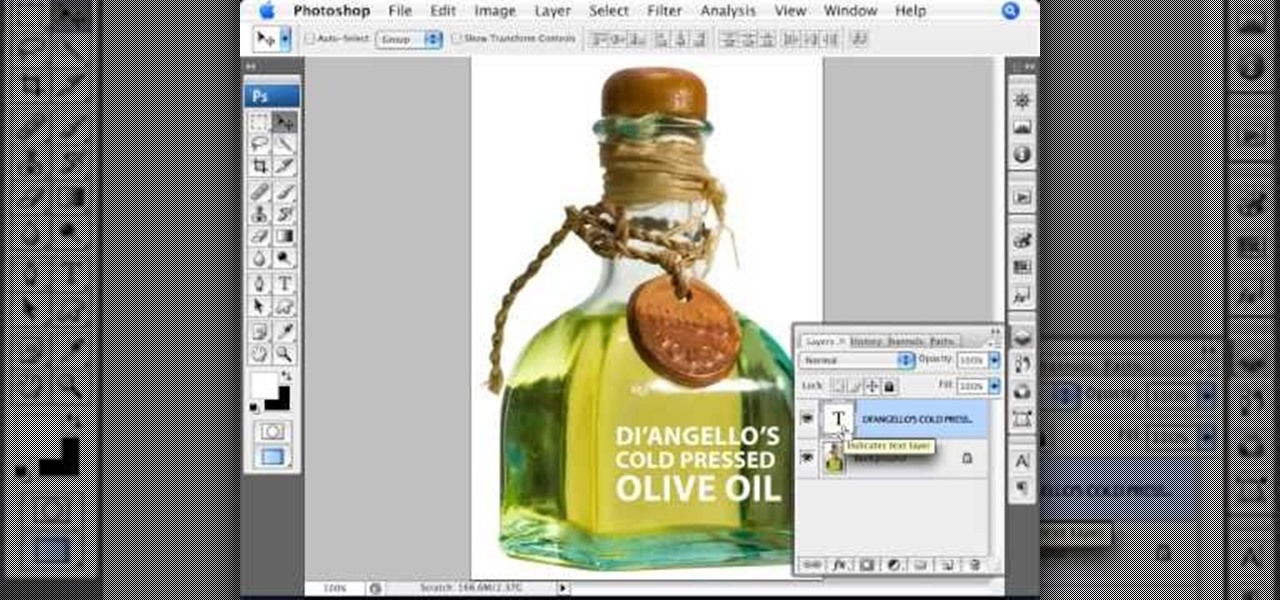
In this Photoshop video tutorial, hosted by photoshopuniverse, from Free Photoshop Video Tutorials, you will learn how to create an effect that makes it appear as though text you input into your image has been embossed on a glass surface. As you follow along with the host in this video, you will learn how to insert text, and align it to a plane, so that it will appear to be aligned to the surface you want to place the text on, as well as how to achieve the embossed look when you're finished.

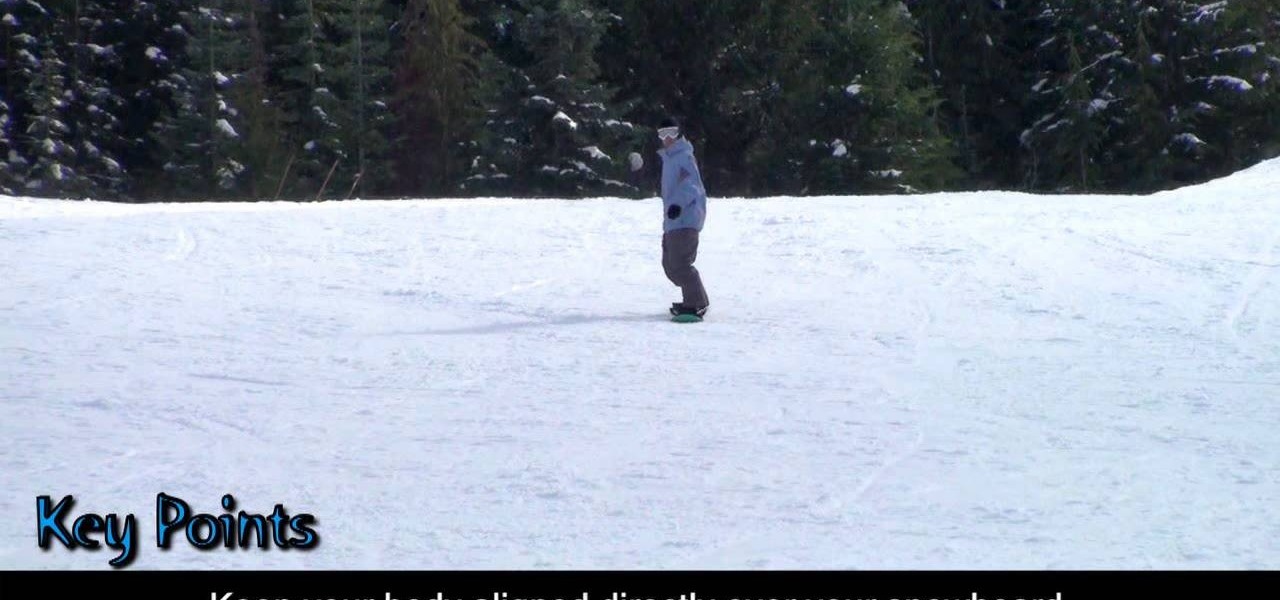
In this tutorial, we learn how to do straight runs in snowboarding. Keep the base of your snowboard flat on the snow and point your board directly downhill. Look and point downhill and focus on the ahead terrain. Keep your body aligned over your snowboard. Bend your ankles and knees to maintain your position. Keep your ankles and knees loose so you can absorb bumps in the road. Once you learn how to do these different tricks on the board, you will be on your way to riding a lot better than be...

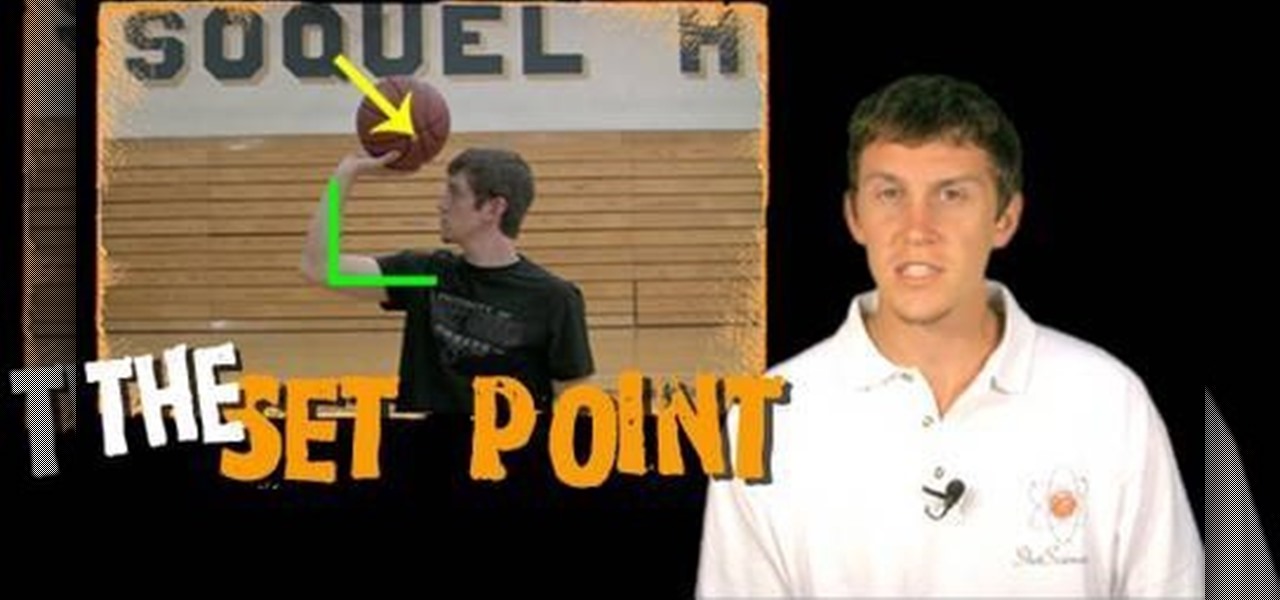
In this tutorial, we learn how to establish the set shot in basketball with Chase Curtis. The set point is the location of the basketball just before you shoot it. The execute the set point, make an "l" shape with your arm, your elbow should be aligned with your shoulder. Your wrist should be cocked and you should be able to see underneath the arm from a front view. The other hand should be lightly touching the side of the ball, giving it a small amount of stabilization. Follow these tips to ...

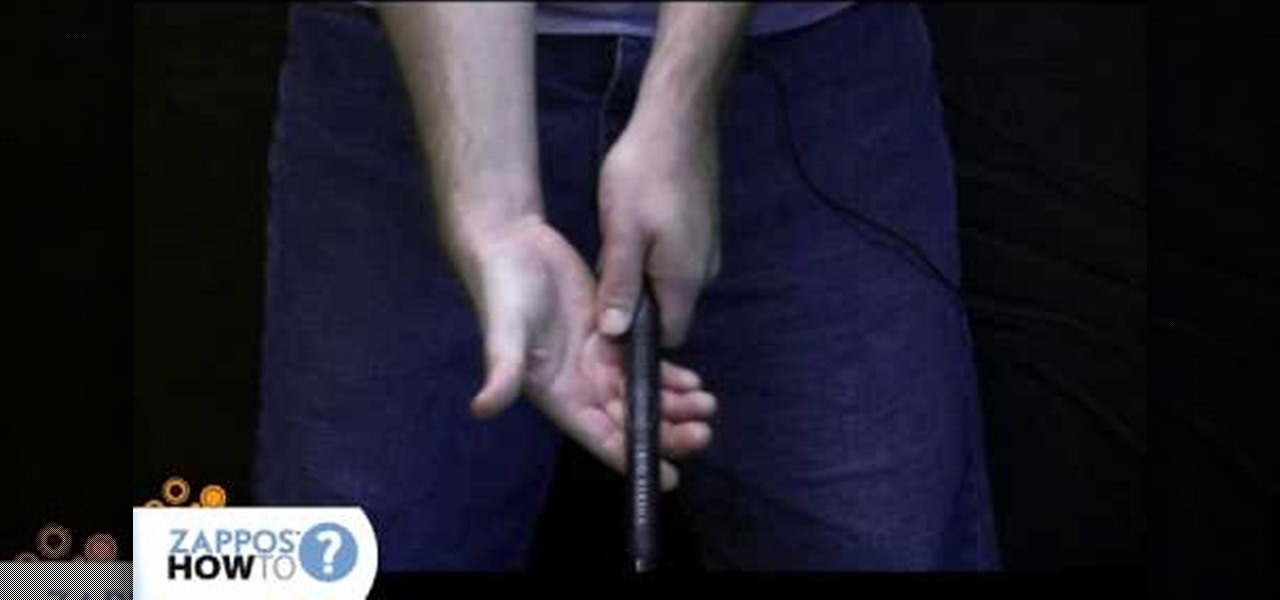
In this video, learn how to grip a golf club the right way. First off, lay the club across your left hand, then you close your left hand, gripping the club. Next, take your right hand, place it underneath your left hand and wrap it around so your left hand's thumb fits into the palm of your right hand. It should feel very natural. Finally, the v's of your hands should point to your right shoulder in order to confirm the correct grip. One will know if they have a proper grip if your knuckles a...

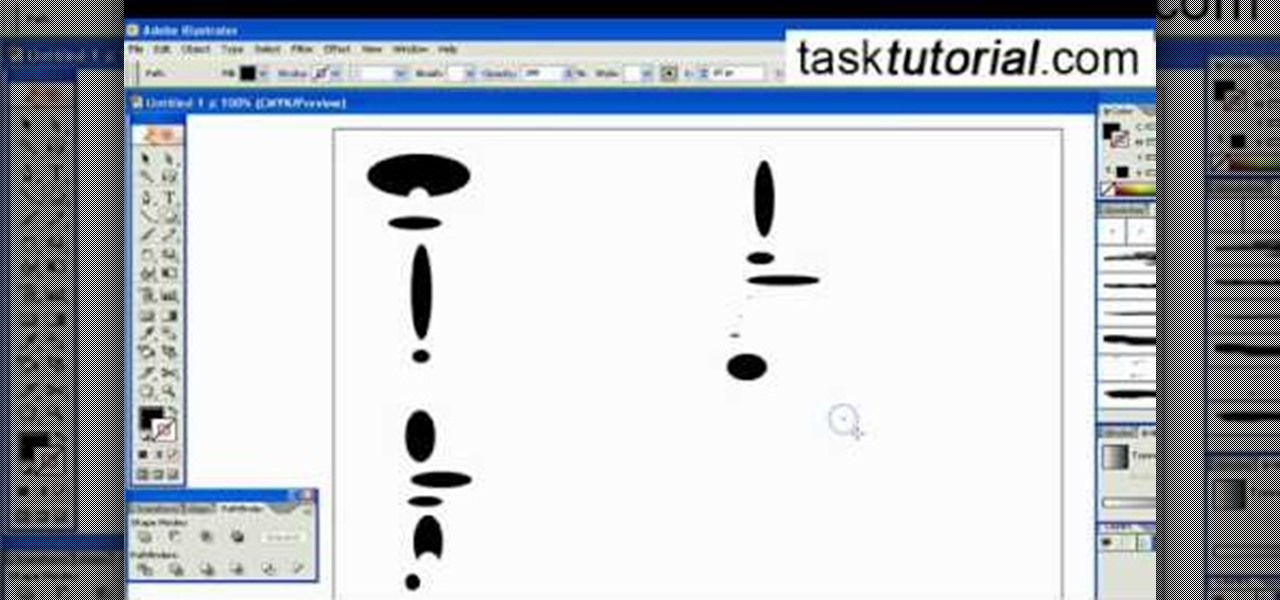
Pattern brushes in Illustrator can create additional interest and a custom look to shapes in Photoshop. Follow the steps in this tutorial to learn how to create new pattern brushes in Illustrator. In a series of steps creating different shapes aligned in different patterns, the create new brush command can duplicate those patterns as a brush stroke. The end effect allows us to create different designs quickly that can then be used for logos, art projects, and many other things.

Need some advice for playing golf? Well, Sports Illustrated has this video tutorial that will show you how to create a descending blow on the golf course. These tips from SI and professional golfer Brian Mogg will teach you how to create the perfect descending blow so that you can avoid fat and thin shots with your gold club. Two of the most basic basics are the ball position and the alignment. The golf ball should be place midway between each foot, and your body aligned slightly open.

If you like to work with wood and want to make a fun and challenging project, you can make a cube puzzle. A good tip to keep in mind is that your saw blades are sharp, aligned, and adjusted properly and cutting as straight as possible to get the tightest fit when you are putting your puzzle together.

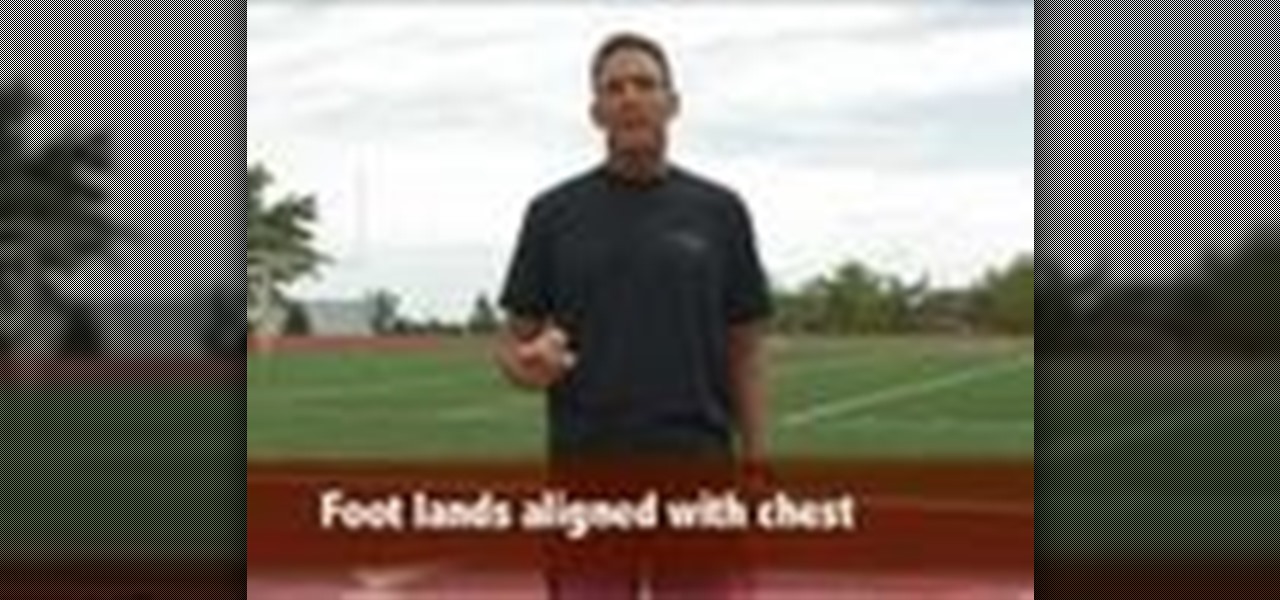
Six-time Ironman Champion Dave Scott teaches proper biomechanics for endurance runners. Check out this instructional cross country video that demonstrates a few techniques that can improve your running form. Just follow these biomechanics tips: head looking straight forward, shoulders relaxed and low, elbow flexion of 80-90 degrees, hands come up to lower breastbone, pelvis tucked under hips, avoid heel strike, foot lands aligned with chest.

Watch this instructional cello video to learn how to hold the cello in good posture. When sitting down to play the cello, you want to sit at the edge of the chair keeping your lower back aligned with the rest of your back. This tutorial provides great tips for beginning cello players.

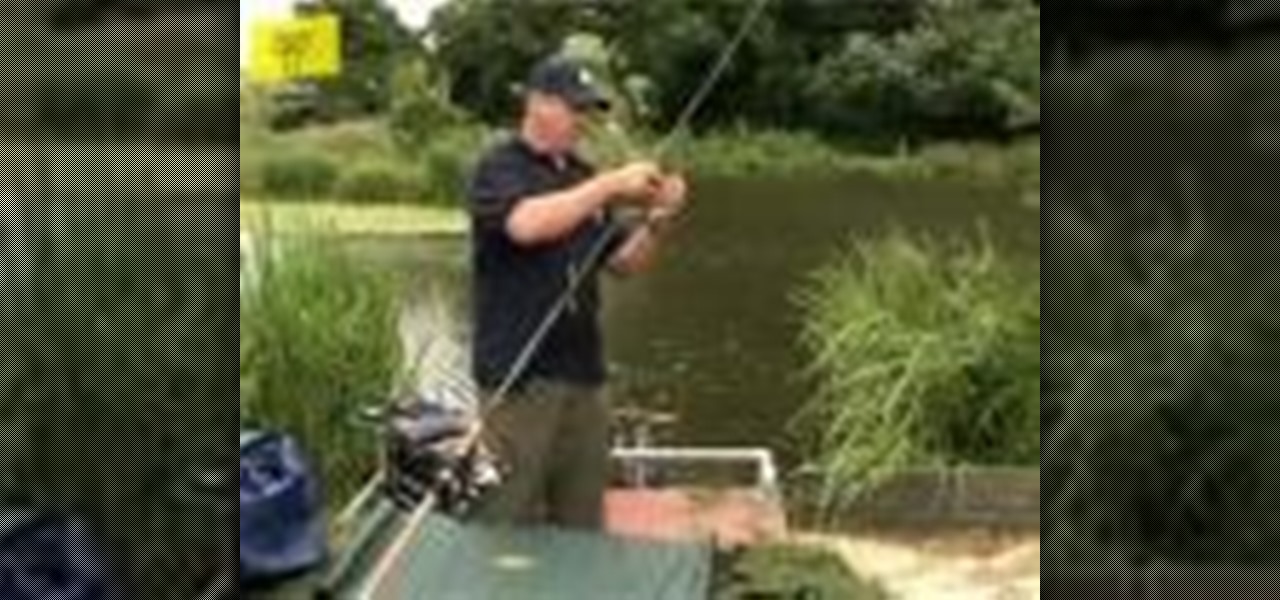
A great fishing tutorial that shows how to set up a basic rod. This casting rod video is presented by an English fisherman with great respect for his equipment. It is a two section rod, with aligned rings.

This video covers some great tips on how to make your trailer hitch installation go smoothly. It will explain how to clean out the bolt holes, make sure the hitch is aligned properly, and how to get a stubborn hole to line up.

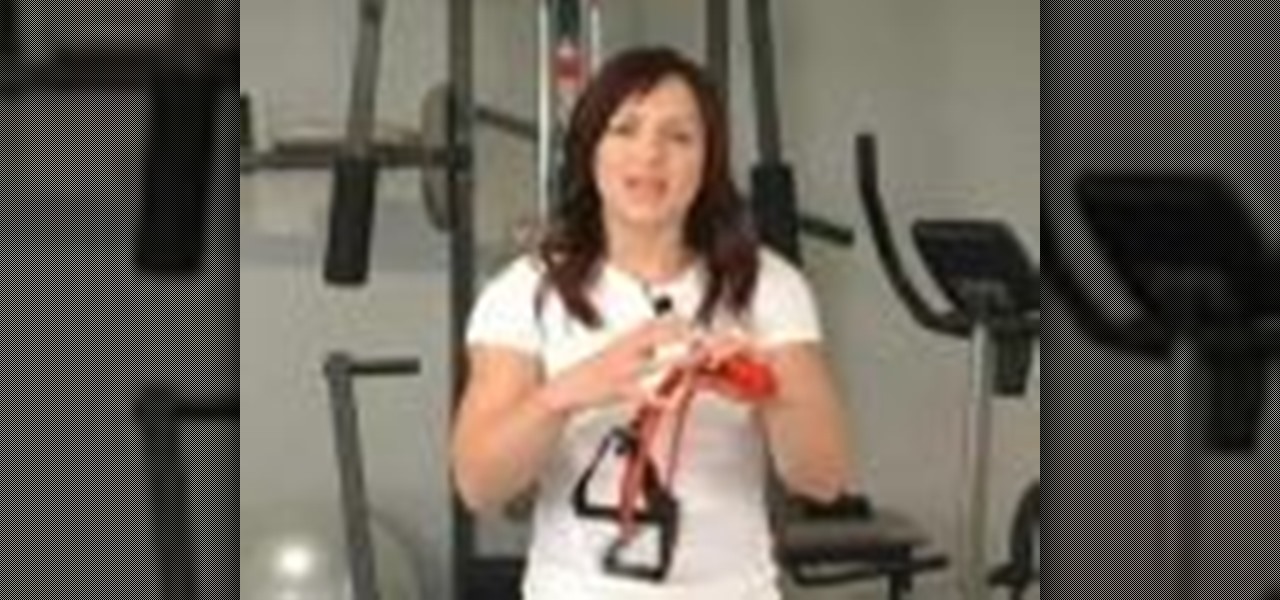
Use a resistance band to work out: your chest There are lots of creative ways to use resistance bands. This video is about building stronger chest muscles with resistance bands. Resistance bands challenge your muscles in a different way.

In order to do the increase your strength, through the Pedestal Pose Routine, you should begin in a modified pushup position. Resting on your elbows and looking down at the ground/floor, while you rest on pointed toes. Hold each pose for 20 seconds. Next, rotate over to one side. Remain resting on one elbow. Next, roll over onto your back, resting on both elbows. Next, roll over onto your other elbow. Make sure that you keep your spine aligned in all poses.

This video shows you how to do Hindu push-ups which have been used by wrestlers and martial artists for many centuries. It works all major muscle groups at the same time. You begin with the mountain pose, also known to yoga fans as the downward dog, with your hands and feet spread out. You go down by bending your elbows, until your body is on the ground. Then go into cobra pose, and as you push up into this pose you should inhale. Then push exhale as you push back to the starting position. Ke...

In this tutorial, we learn how to solder jump rings. This will give the rings more strength if you are doing a chain or a bracelet, and it won't break on thread. You will need a flame, wick candle with a number four tip, and something to light the torch. Start out by closing the gap in your jump ring until it's aligned and there is no gap left. Then light the fire for your solder and use it to cover over the jump ring. Once a few seconds have passed, you will be finished with the soldering of...

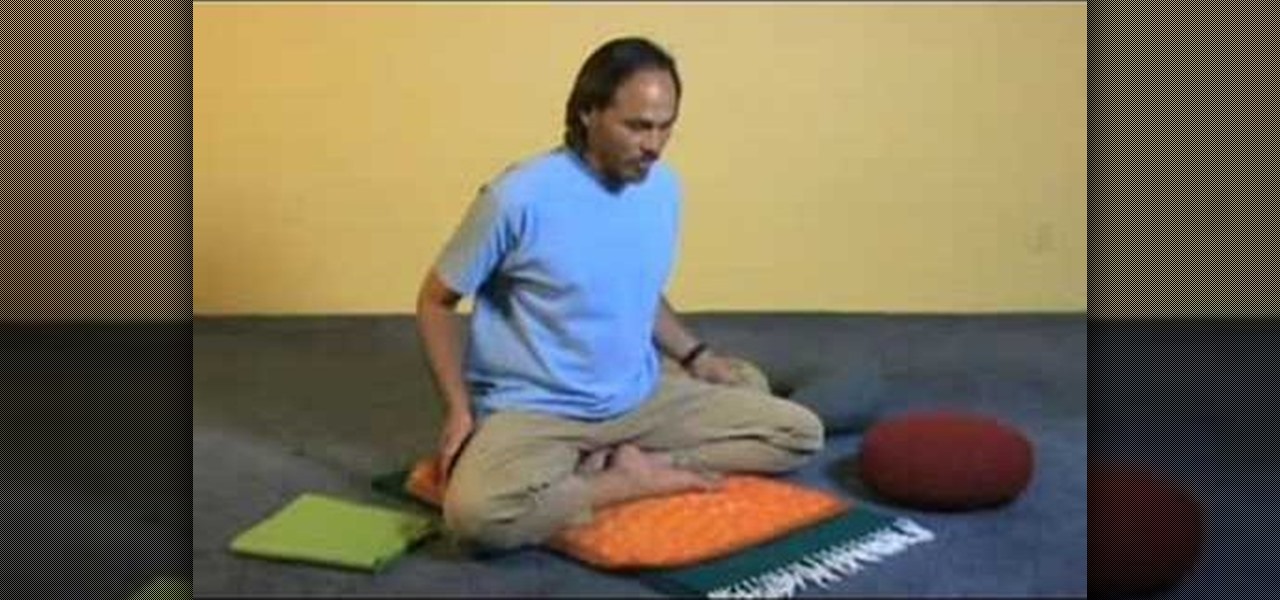
In this video, we learn how to sit cross-legged for meditation. Meditation in this pose will cause you to be far more relaxed and calm then if you were in an uncomfortable position. If your rear end hurts while you are sitting down, try putting padding underneath you so you are completely comfortable. Make sure your feet are tucked into your body and your back is aligned with your head straight in the air. Once you are comfortable, you can put your hands at your sides on each of the legs. The...

In this tutorial, we learn how to draw Rock Lee. First draw a circle for the head, making a chin underneath and using lines to reference where the facial features will go. After this, draw eyes that are slightly aligned to the left hand side of the face. The right eye should be larger than the left, both off center. Then, draw two dots for the nose and a "u" shape for the mouth. After this, draw a larger circle around the head and then draw in angry eyebrows above the eyes. Start to erase the...

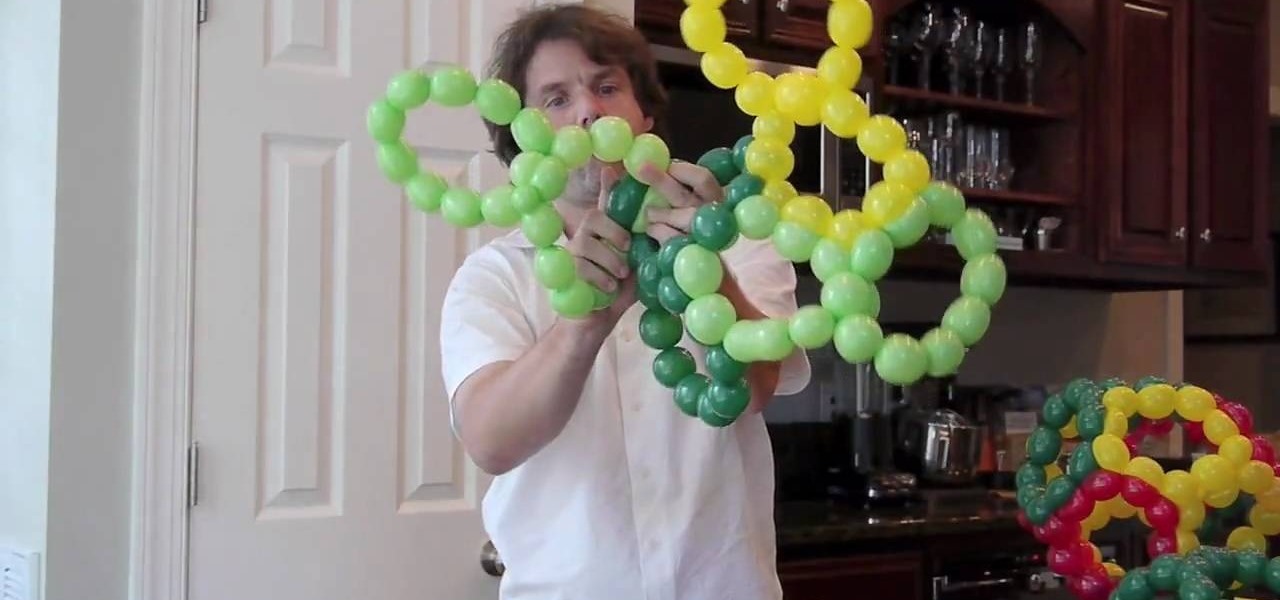
Balloons too, can be used to make complex geometrical shapes if aligned properly and made skillfully. For this video however, you would only need standard cylindrical shaped balloons.

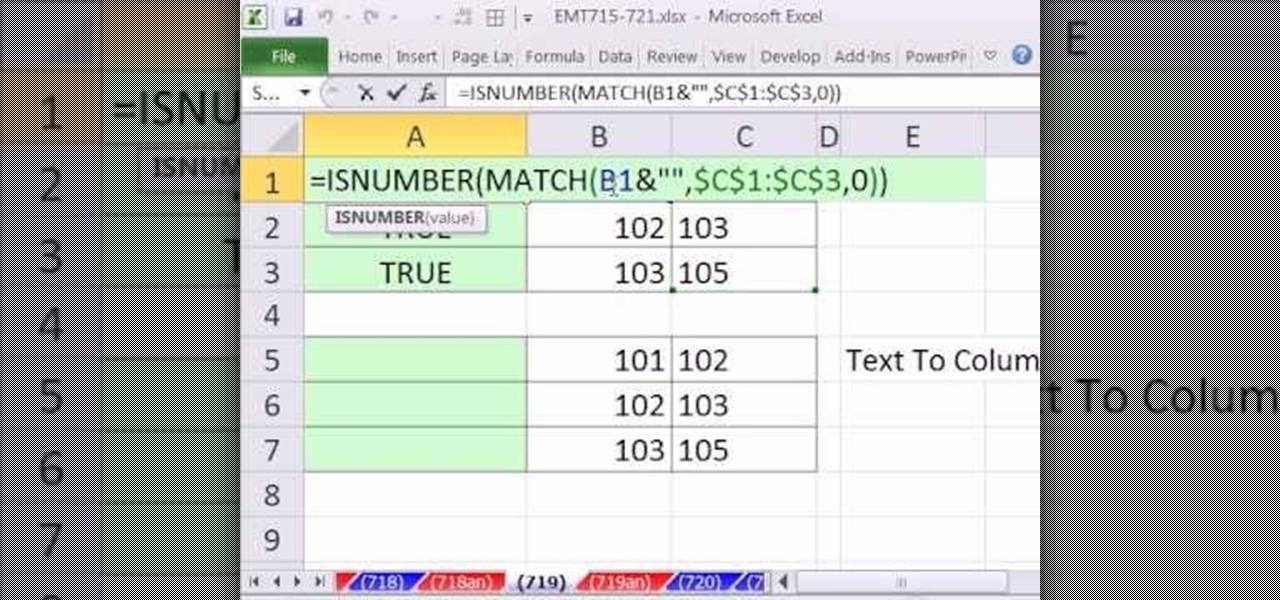
New to Microsoft Excel? Looking for a tip? How about a tip so mind-blowingly useful as to qualify as a magic trick? You're in luck. In this MS Excel tutorial from ExcelIsFun, the 719th installment in their series of digital spreadsheet magic tricks, you'll learn how to compare two list of numbers and see what happens when one list is numbers is aligned right and the other list is numbers as text.

In this video tutorial, viewers learn how to fold a paper airplane. Begin by folding the paper vertically in half. Then open the fold and fold the 2 top corners to the center crease to form a triangle. Now fold the top point down so the it tucks underneath the fold to form a envelope shape. Then fold the 2 top corners to the center crease to form a triangle once again. Now fold it vertically in half and fold the wings down so that they are aligned with the bottom of the plane. This video will...

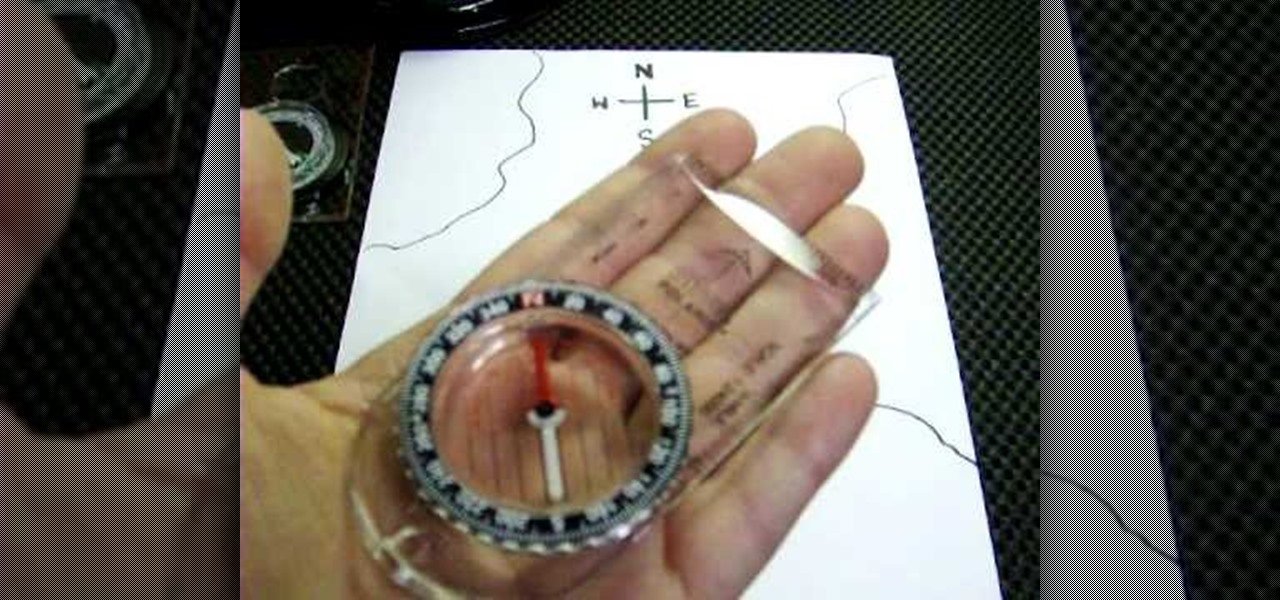
This video tutorial is in the Disaster Preparation category which will show you how to use a map style compass. The first thing is to get your bearings by sight without a map. The arrow on the compass represents the direction of travel, the N on the compass dial is the compass North and the red needle points to the magnetic North. First align the compass N with the magnetic North. Now say you want to go 90 degrees East. Next you align 90 degrees with your direction of travel arrow. Rotate the...

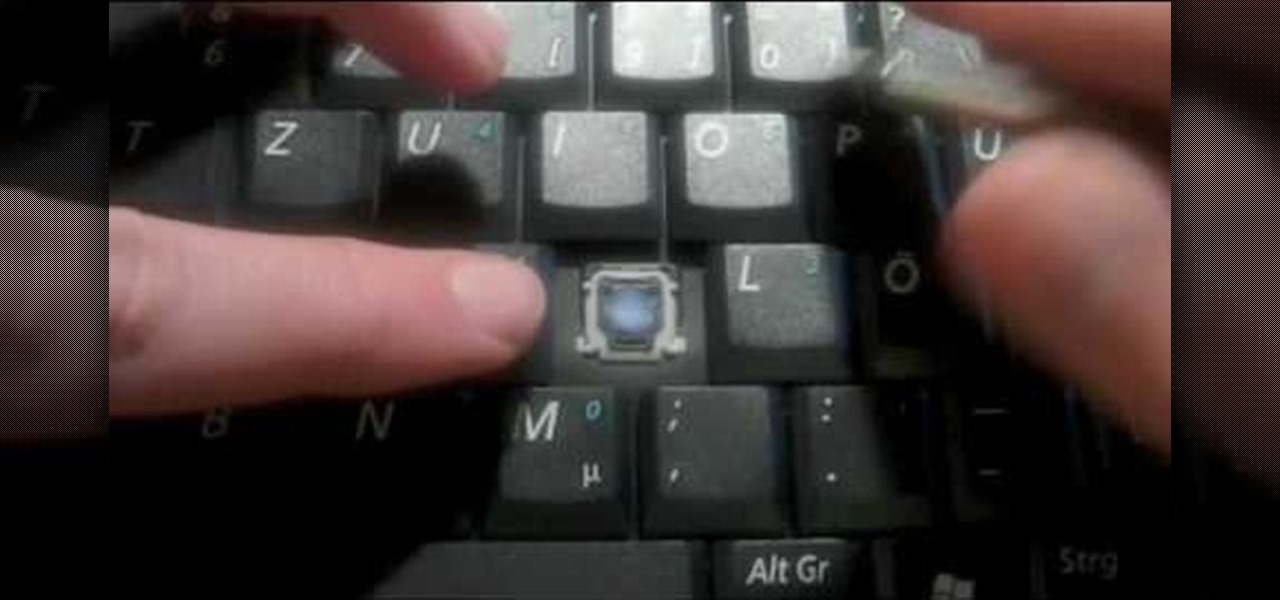
In this video tutorial, viewers learn how to replace a key on a Samsung notebook keyboard. This task is very fast, easy and simple to do. Begin by placing the small retainer clip into the small areas of the key. Make sure the retainer clip is aligned on top of the keyboard and is securely placed on. Then simply place the key over the retainer clip and press on it. Hold the bottom of the key with one finger and press down the key with another finger. to secure it in place. This video will bene...

In this video tutorial, viewers learn how to do a yoga forearm stand. Begin by placing a block against the wall. Then create an L shape with both hands and old them against the block. Now look forward at the block and stand on the toes of your feet. Keep the elbows on the floor and aligned with your shoulders. Move your feet as close to the block as you can and start to lightly hop on each foot Then press both feet up and let the wall support your feet. This video will benefit those viewers w...

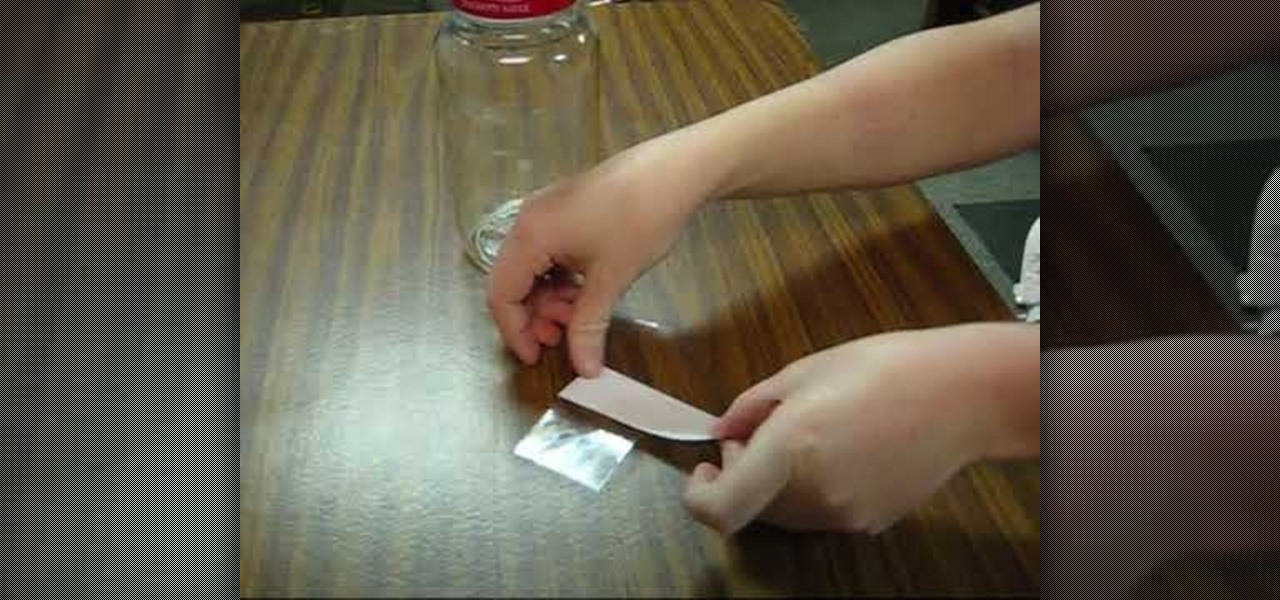
In this how to video, you will learn how to build your very own rain gauge. You will need tape, scissors, rain gauge ruler, and a jar. First, go to the website shown and print and cut out the ruler on the screen. Next, cut the tape strips. You will need them to be about 5 inches in length. Next, attach the rain gauge ruler to the jar. You will do this by placing the ruler on the tape and place the ruler on the jar. Make sure the ruler is aligned with the bottom edge of the jar. Take the secon...

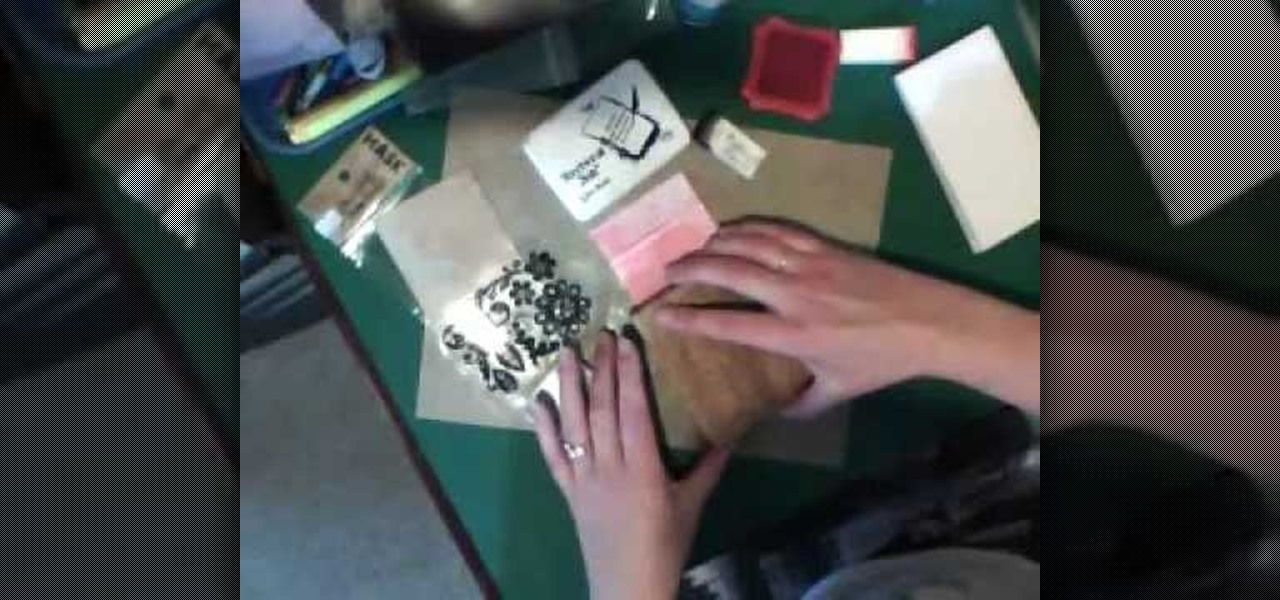
In this Arts & Crafts video tutorial you will learn how to make a stamped notepad cover. Put the note pad on the edge of a bigger sheet of paper, draw the outline and cut the paper along the lines. The paper should be longer than the notepad. Put the note pad on top of the paper aligned with one end and fold the other end of the paper. Remove the paper and crease it properly along the scoring lines. Depending on the theme you want for the cover, apply the required ink with sponge on the paper...

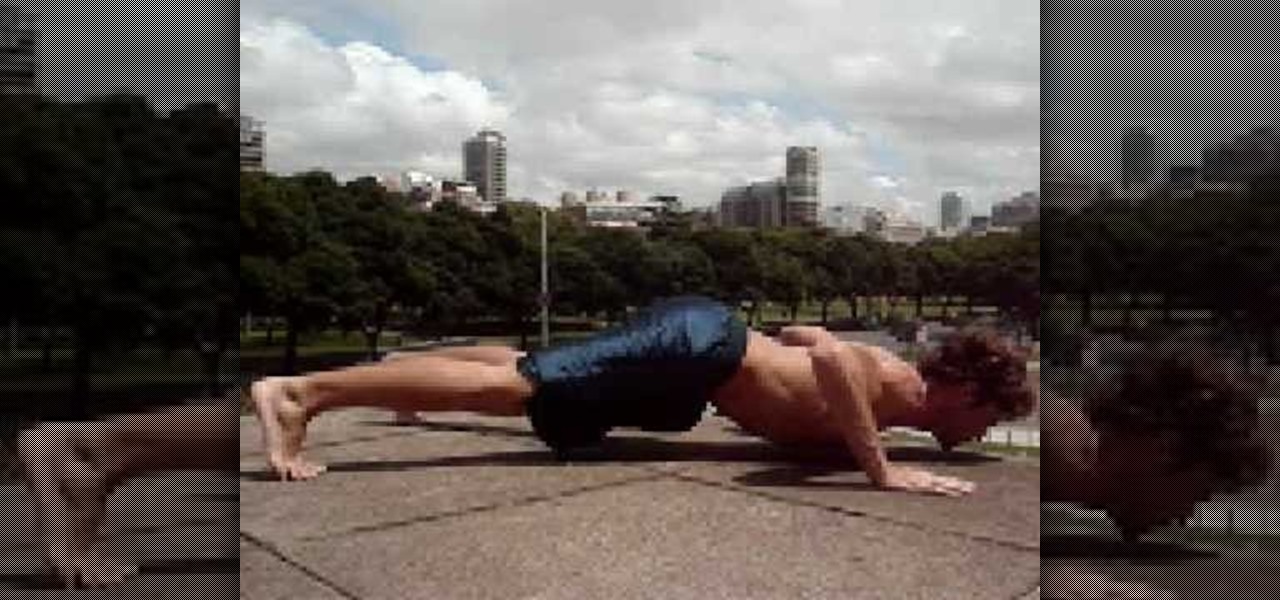
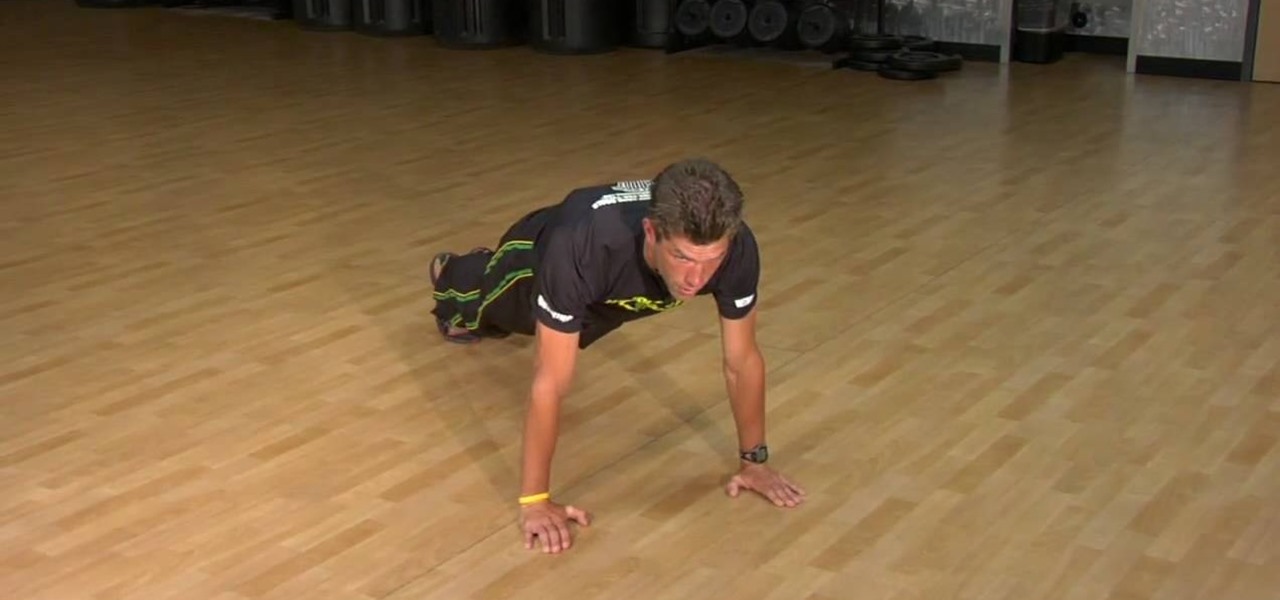
In this how-to video, you will learn how to do a military push-up. This will work your chest muscles. Get into push-up position. Get on your hands and toes. Make sure the shoulder, elbow, and hand are aligned. Your back should be straight and your abs should be tight. When you go down, breathe in. Your nose will hit the floor. Breathe out when you go back up. The motion should last for about a second. Do these for as many push-ups as you can do. Your chest should be over your hands while you ...


