In this tutorial, Donna Barnes tells us how to know if your boyfriend still likes his ex. One big sign that your boyfriend is still interested in his ex-girlfriend is if he talks about her a lot. Also, if he isn't around a lot of the time and he's doing other things, he's probably not interested in you. If he compares you to his ex-girlfriend, let the relationship go, because he's probably just on the rebound and isn't looking for anything serious with you. Make sure to pay attention to how h...
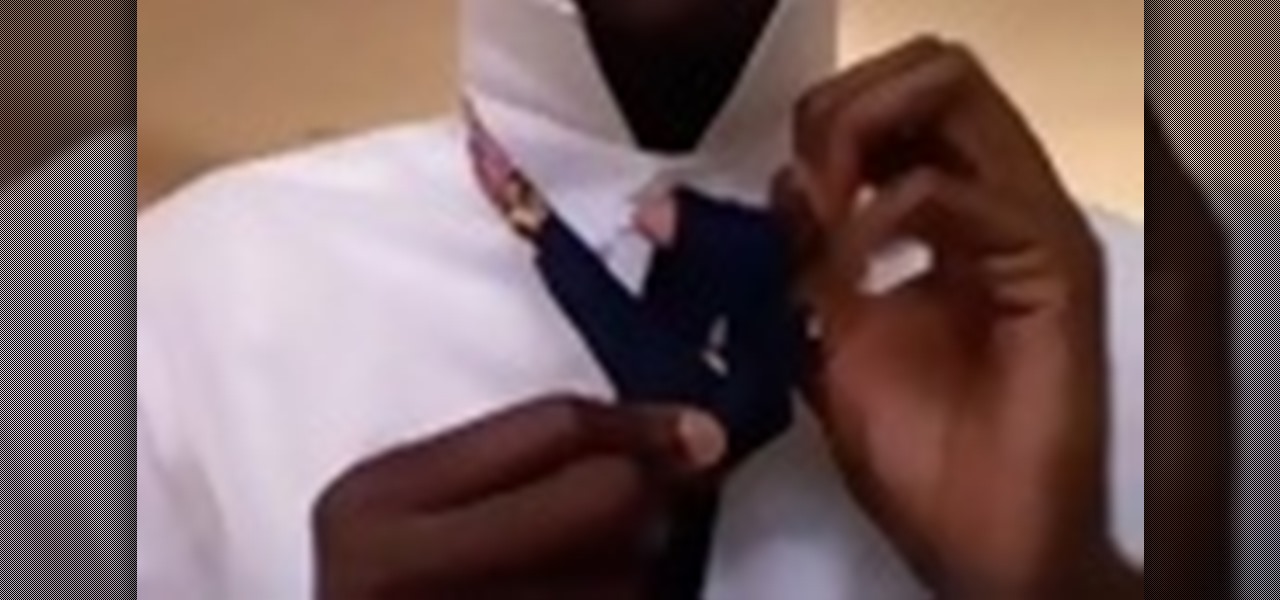
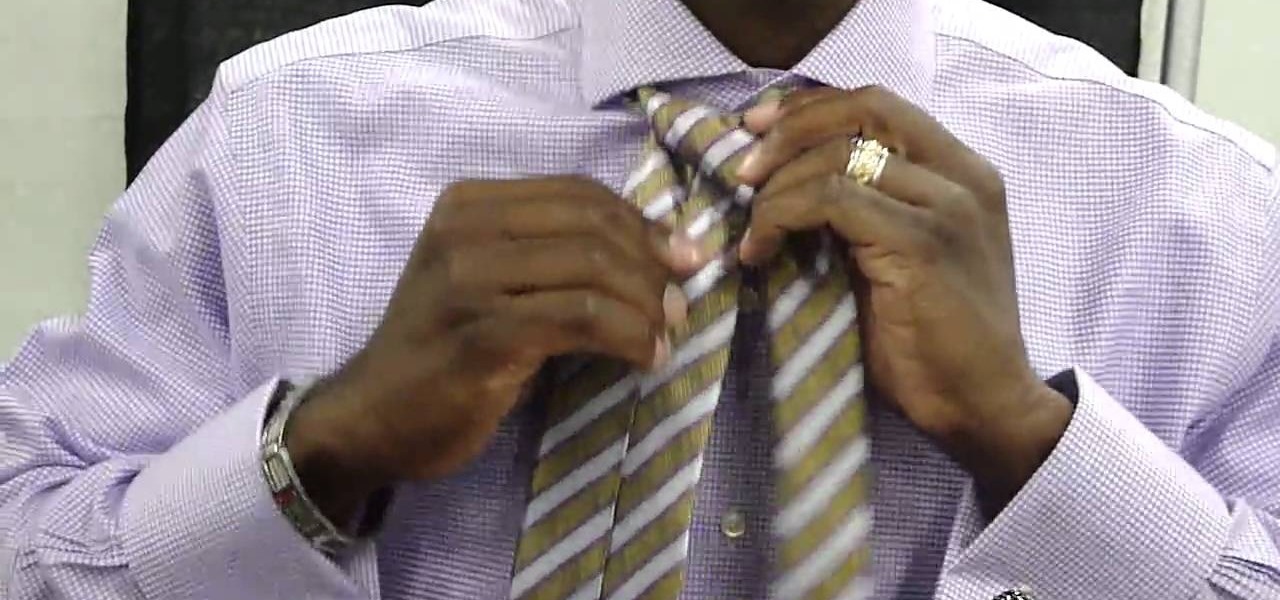
In this video tutorial, viewers learn how to tie a necktie the British way. Begin by putting the tie around your neck. Cross the wider end of the tie over the narrow end. Then bring the wide end of the top up through the loop between the neck and tie. Pull it back down and slightly tighten it. Now bring the tie over and through the loop once again. Then bring with tie around the unfinished knot, under and through the loop one more time. This video will benefit those viewers who need to dress ...
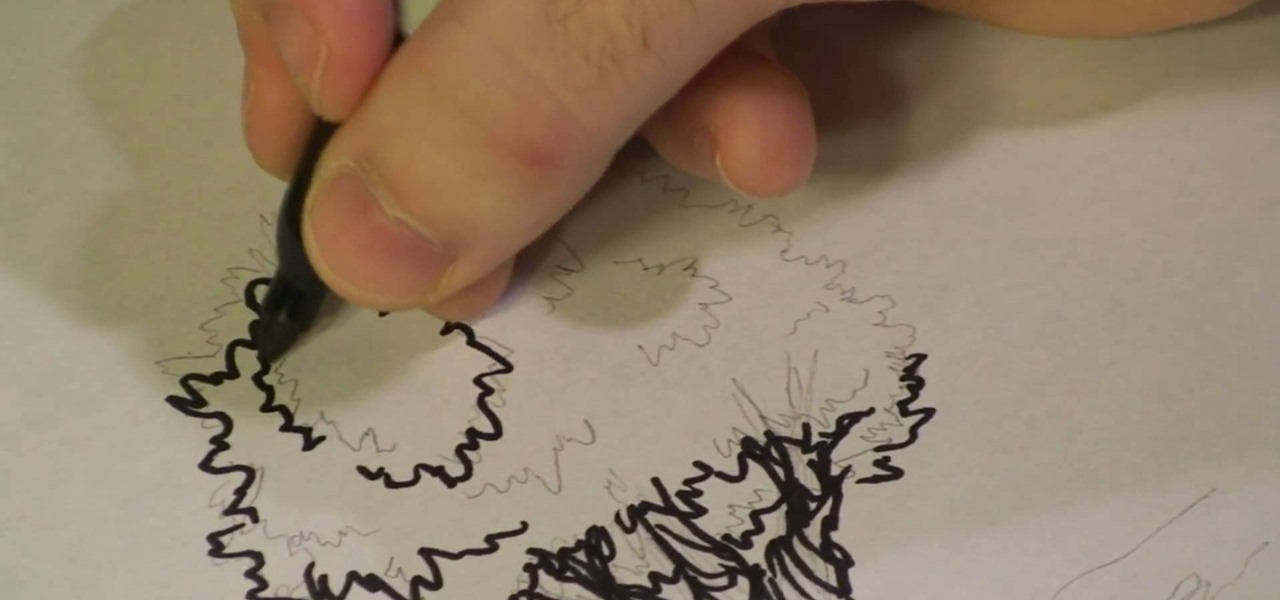
Michael Weisner, an animator and a graphic designer, shows us in this video how to draw an olive tree using a piece of writing paper and a writing utensil. First, it should be taken into account that olive trees are grown in rocky soil, which other trees cannot be grown in and the soil around the base of the tree should be rocky ground. Next, proceed to the trunk of the tree, which is a curved and branching structure. After that, we are shown to move on to the leaves of the tree, which are cr...

In this fitness video tutorial you will learn how to do the "shoulder stretch" on the yoga trapeze. Sit on the strap and lower back slowly while holding on to the straps. While doing this, wrap your feet around the straps and bring them together. Then get hold of the longest of the straps, rotate around, get your hands side by side so that the handles are in a straight line. Keep your head straight down and hang in this upside down position for about 50 seconds. Then try out a little variatio...

There are so many beautiful birds that fly around. This video shows you how to draw those birds to your yard by making a pinecone birdfeeder.
In this tutorial, Lisa Quinn tells us how to get rid of pests in the home. First, walk around your home and look around the foundation to see if there are any big crack or crevices on the foundation. To solve this, go to the hardware store and grab some caulk to fill in any cracks. Next, check your windows to make sure they don't have any cracks in them, if they do, fill it in with weather stripping. Now, go into your kitchen and cabinets and make sure your pantry is free of crumbs and your c...

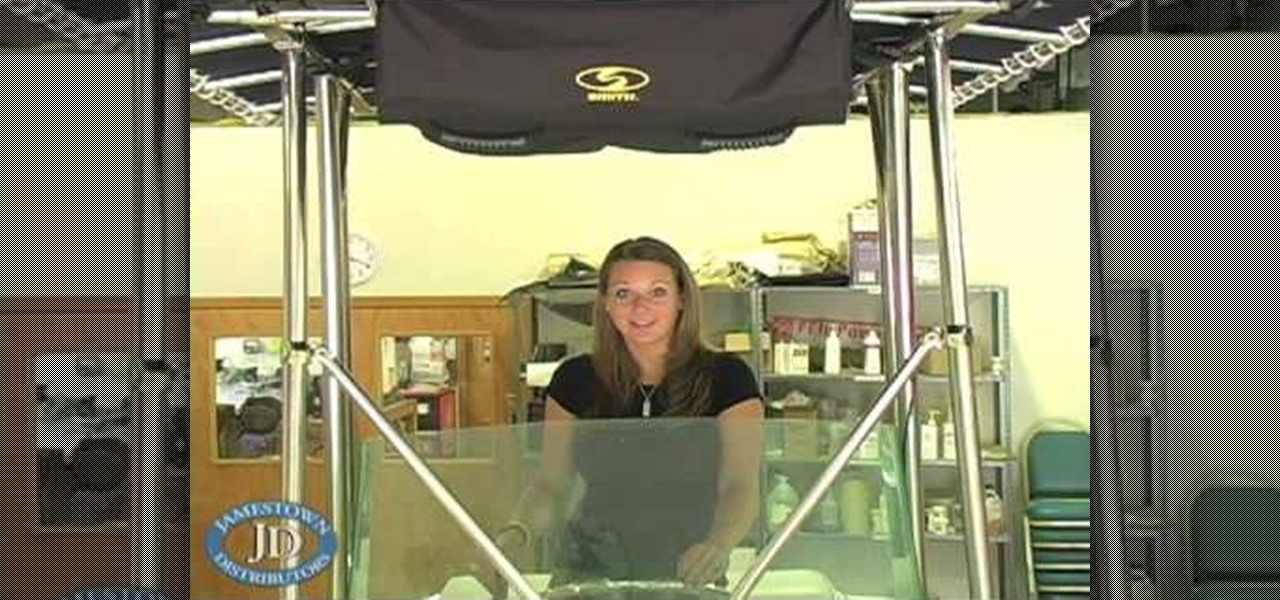
Nothing is more frustrating that finding yourself out on the open sea and having to manuever around a bunch of stuff lying around in your boat. Not only can it be hazerdous, but also very annoying. So what do you do? Install a storage bag or course! In this tutorial, you;ll find out how to easily install a CE Smith t-top storage bag on your boat in little to no time. Now all your stuff can be easily put away and easily accessible. Enjoy!

In this how to video, you will learn how to do a cartwheel. It is recommended to be able to do hand stands before attempting this, as it will be easier. When you are coming down, you want your front foot to come straight down. The hand will be pointing the opposite way. The other hand will come around at shoulder width. The other foot should come around. The point is to have your body come completely over where your hands and feet are. Make sure you throw your body in the direction knowing yo...

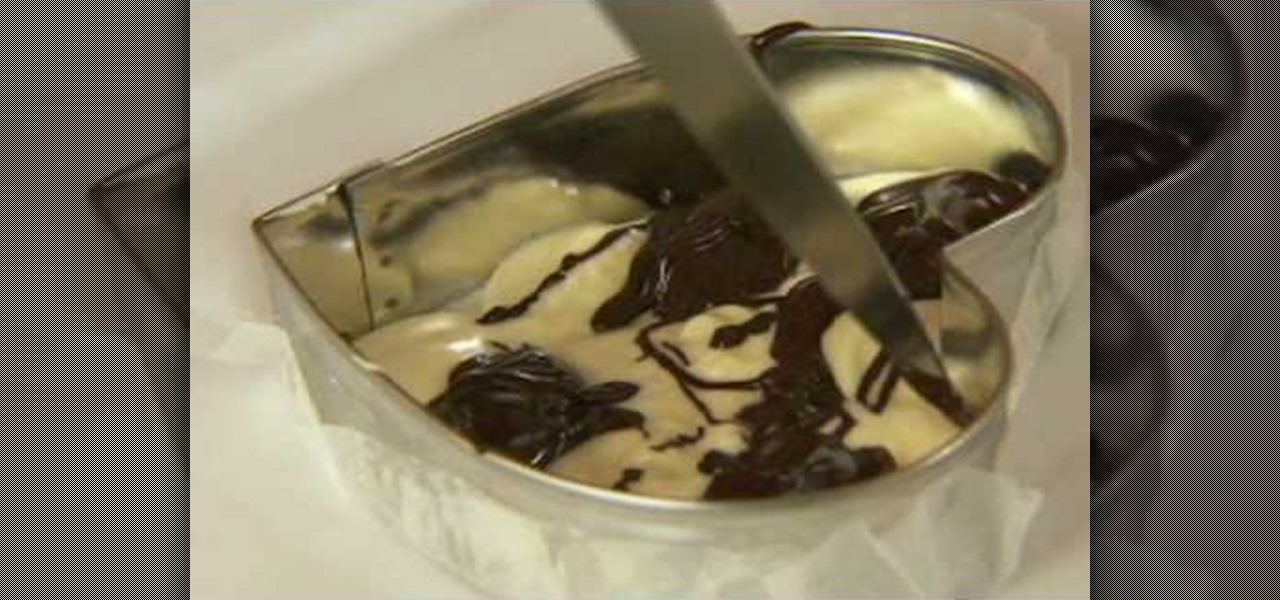
In this video tutorial, viewers learn how to make swirled chocolate heart cake decorations. Users will need a heart shape cookie cutter. Brush some oil inside the cookie cutter and some butter one the outside. Then press on some wax paper on the outside of the cookie cutter to create mold. Now pour in some melted white chocolate and fill in the heart shape. Now add the chocolate. Using the sharp point of a knife, swirl it around the chocolate to create a swirl design. Place the cake into the ...

This is a video produced by KazzieHeart on Youtube explaining how to make a puffy hairbow from a t-shirt. Choose a t-shirt and cut two equal-sized rectangles approximately 8"X4". Placing the two pieces facing inward, three sides are sewn together. It is then turned right side out and evenly stuffed with soft stuffing. The end of the remaining side is folded inward and sewn shut, forming a small pillow. A smaller rectangle approximately 5"X2" is cut from the same fabric. The pillow is sewn thr...

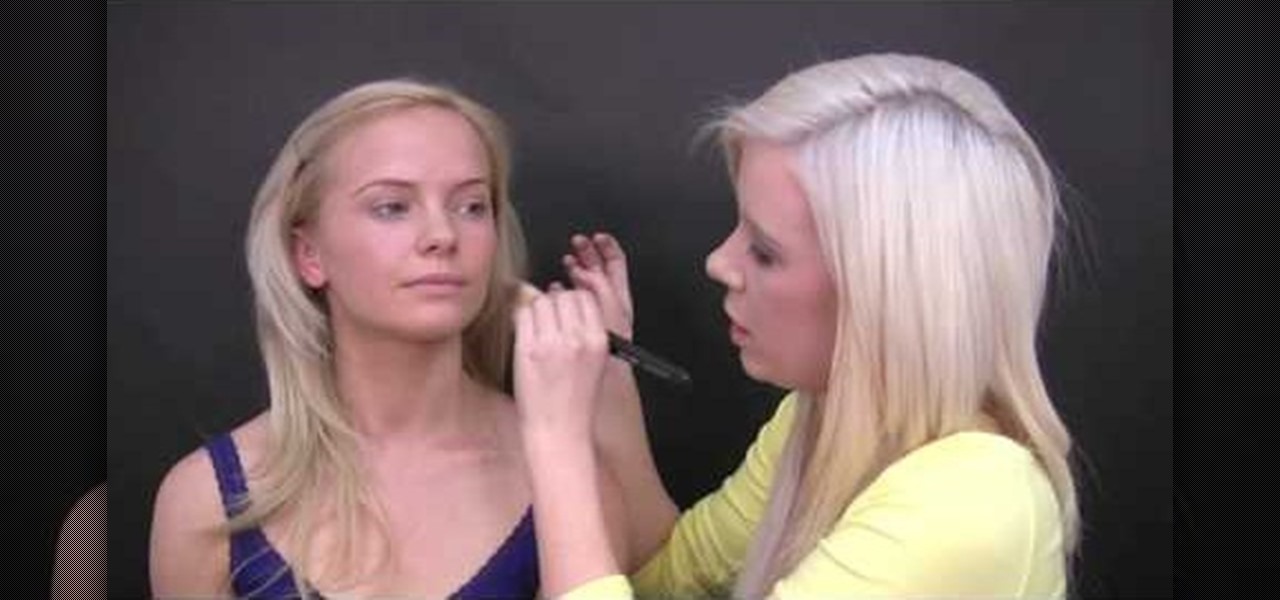
In this video tutorial, viewers learn how to apply foundation on the face. The material required are: liquid foundation, concealer stick, loose powder, foundation brush and powder brush. All the products are from the brand, BYS. Begin by adding some liquid foundation onto your hand and apply it on your face with the foundation brush. Now apply the concealer stick around the eyes and nose. Then finish by apply the loose powder all around the face with the powder brush. This video will benefit ...

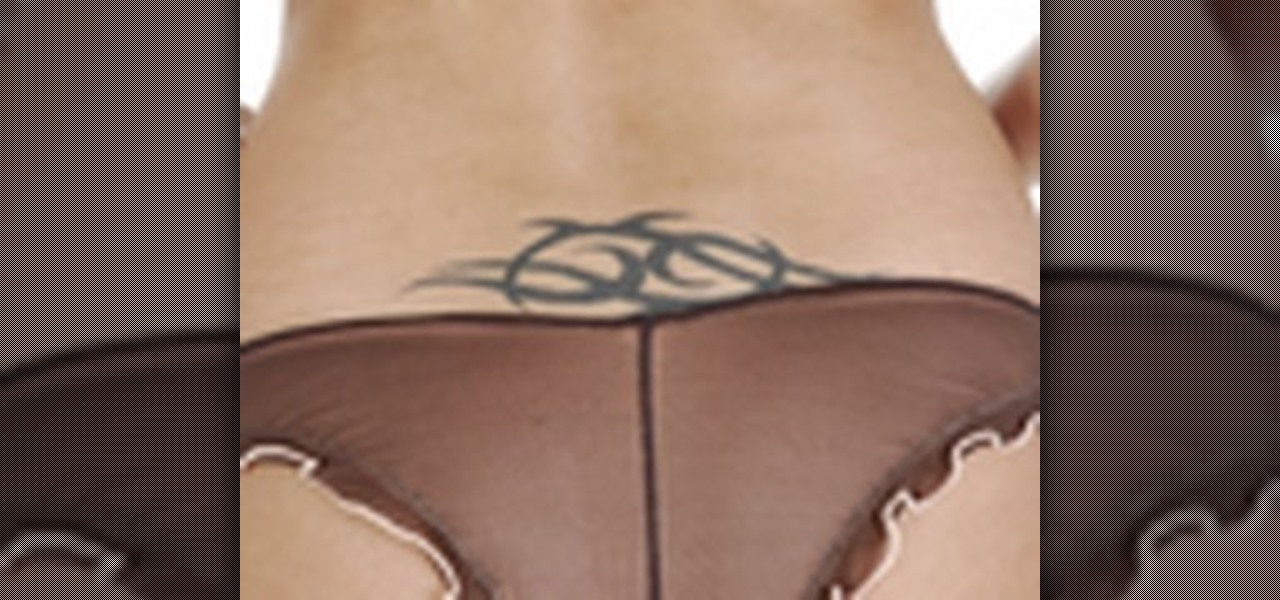
This video shows you how to remove a tattoo from a photograph using Photoshop. First, select the tattoo using the pen tool, to get a very accurate line around the tattoo. Make sure the "Paths" button is punched in. Drag the mouse and click several times to make a path around the tattoo. Right click on the path and choose "make selection". Feather the selection with a feather radius of about 8 pixels. Use the clone stamp tool and a large size brush. Hover outside the selection and click to sam...

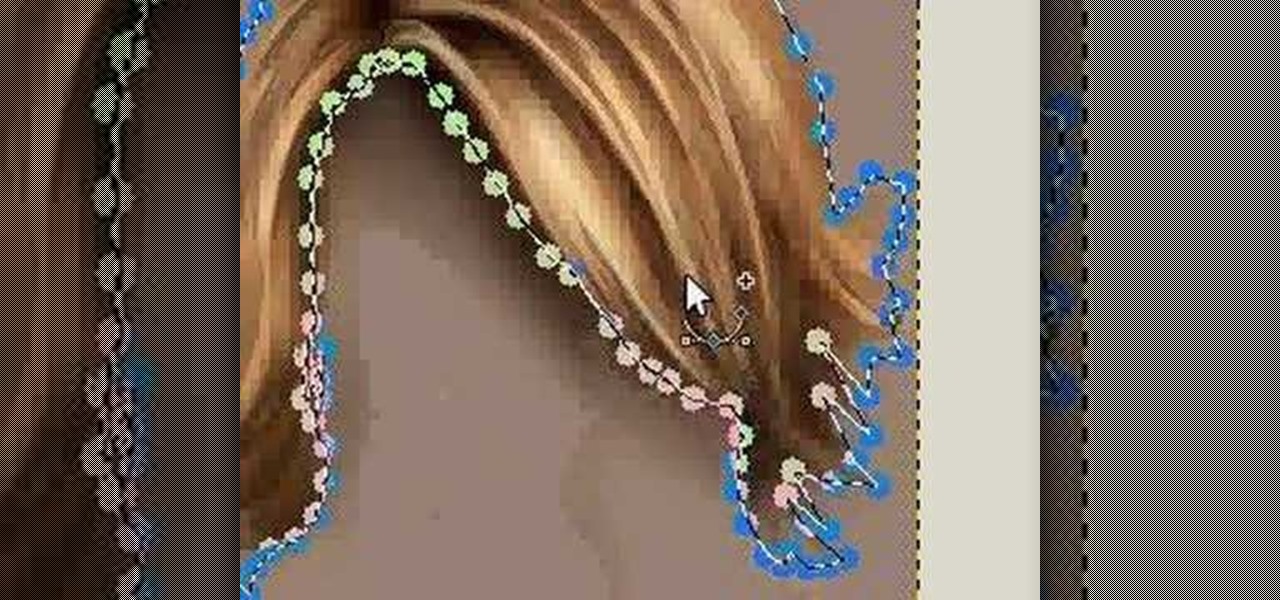
In this how to video, you will learn how to change hair color in a photo using GIMP. First, download and install the program. Open it and find the image you want to change. Next, zoom in to get a full view of the hair. Now you should go to the paths tool. Highlight all around the hair to select it. Once this is done, go to select and select From Path. Marching ants should go around the selection. Now, go to colors and select Color Balance. Adjust the color sliders to change the hair color. On...

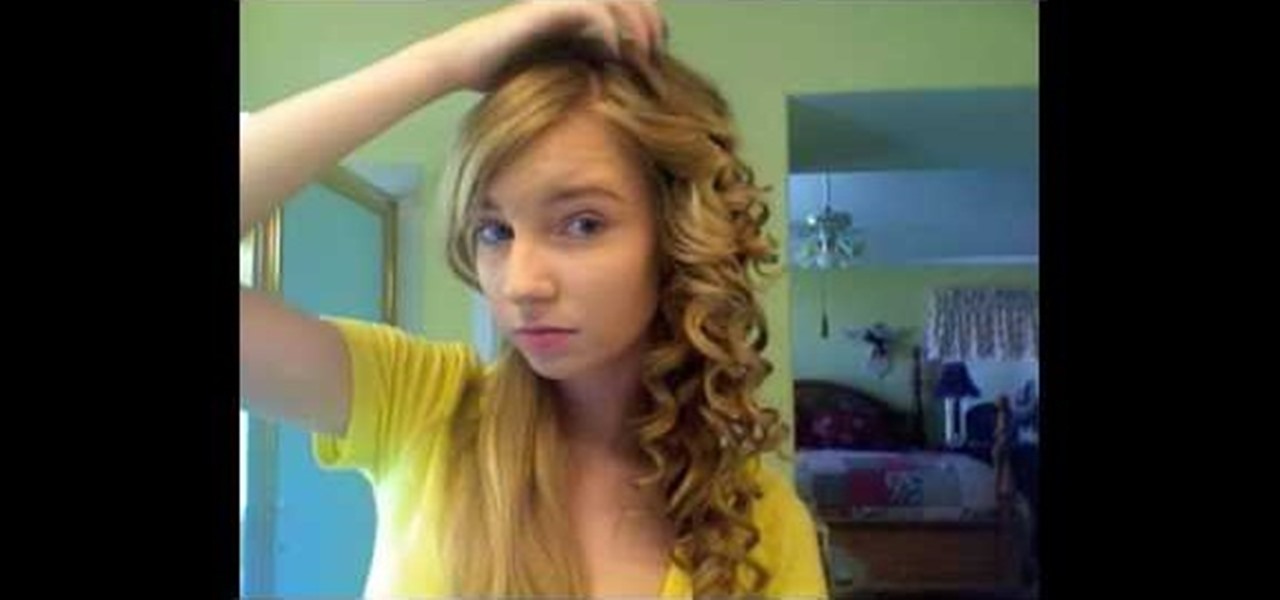
This video shows how to curl very straight hair using "hot sticks." Wash your hair and let it air dry partially. Apply some leave-in conditioner before drying with a blow dryer. Leave the hair slightly damp. Apply some heat control spray to your hair. For loose curls do not use anything else, for tighter curles you can use some hair spray before using the hot sticks. When the hot sticks are warm you are ready to start. Take chunks of hair and wrap around the hot sticks and fold the hot stick ...

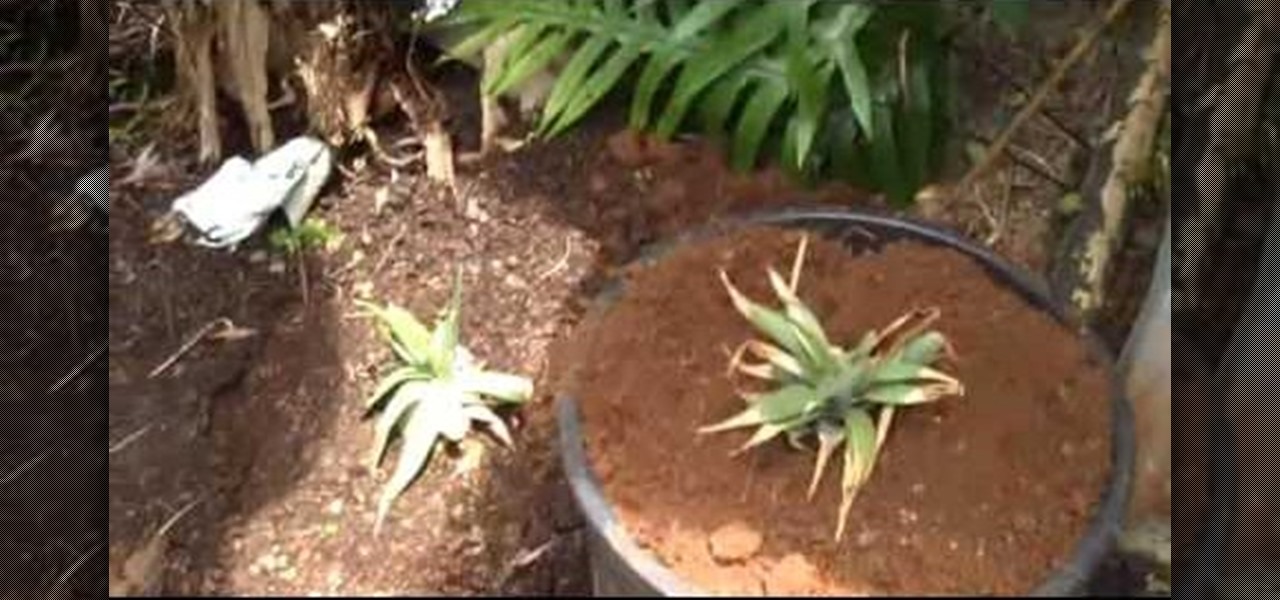
In this tutorial, we learn how to grow pineapple almost anywhere. First, buy a pineapple and cut the top off of it. Let the top of this dry out for around a week. Now, pull off all the dried up dead stuff from the bottom of the pineapple head. You will now need a large pot with soil and you will dig a hole in it. In that hole, place your pineapple head inside of it and place dirt around it, but not covering the leaves of the top of the pineapple. Now, water your pineapple and let it grow. Alt...

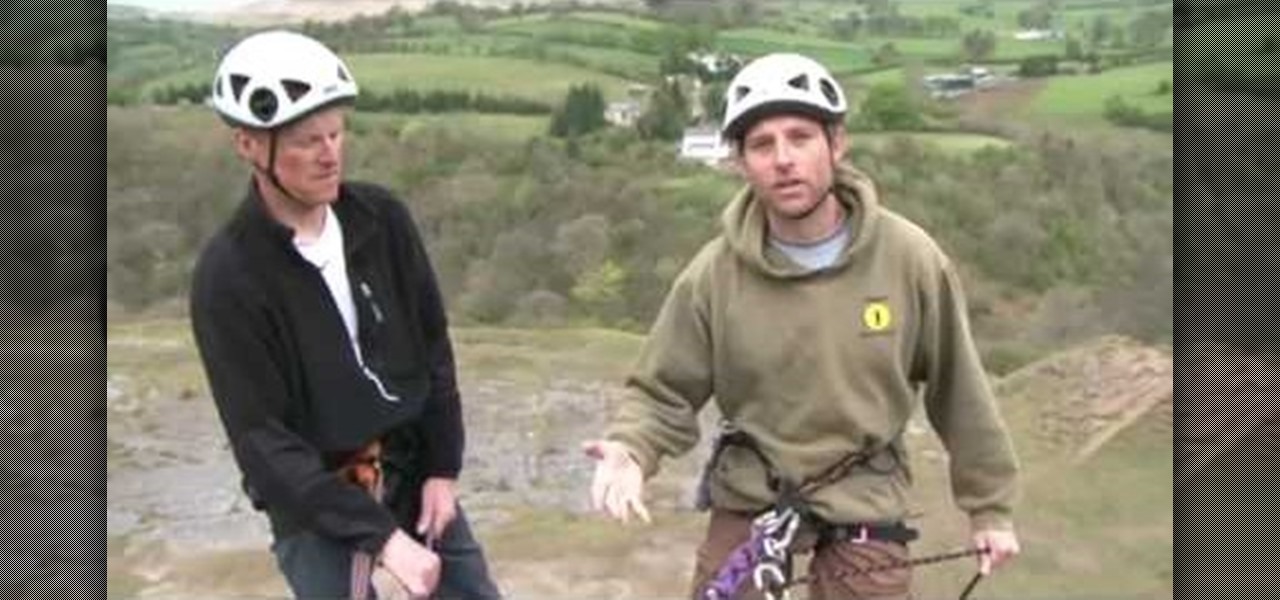
In this Outdoor Recreation video tutorial you will learn how to abseil (decend) in rock climbing. You will need some friction device for this purpose. Earlier people used to wrap the rope around their body and used the body as the friction device. That is a painful process. In the modern method, a figure 8 friction plate is used. There should be no jewelry or other hanging material around the body that can get entangled with the figure 8 plate. Also check the harness is OK. Then carefully go ...

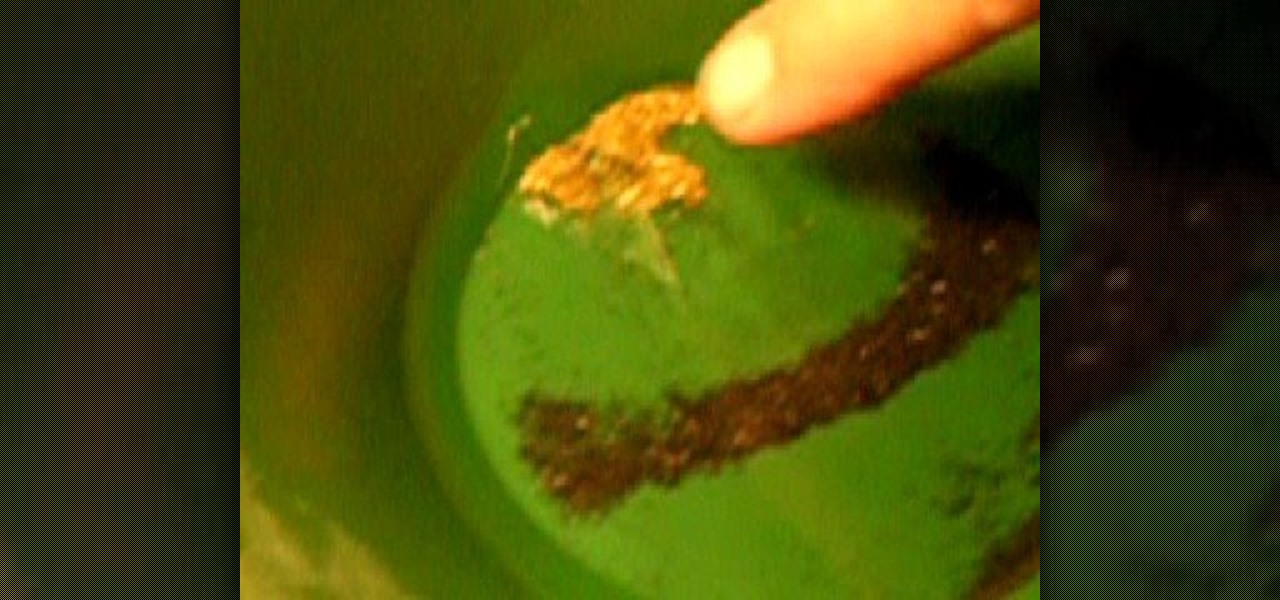
The video shows how to pan for gold using the backwash and tap method. Take about a quarter cup of Georgia concentrate and add to a panning tray (looks like a shallow bowl with ridges). Add some water to cover and gently move the mixture around to wash off the lighter sand and dirt particles (gold is heavier and will sink to the bottom). Resettle the mixture at the bottom and start over, continuing to wash off the sand until you start to see specks of gold along the side. Keep resettling the ...

You will use an old work glove to make the string. First cut the seems of the glove to the finger tips with scissors. Cut out the palm part of the clove. Remove the elastic off of the back with a knife. remove the hem with your scissors. Next, start cutting at the edge up around the shape of the glove. Keep going round until it starts turning into one long piece. Go back around the leather and trim up the rough edges and corners. He ends up with about seven foot of string. It's a cheep free w...

You have to start by placing the handkerchief on a flat surface, you grab the center pull up and you will see all the points dangling dry your hand down and then what you need is to fold the bottom up then if you twist the hand around the handkerchief just to hold it in place . The way it should actually be folded is with the fold in behind and the puff in front but it is easier if u wrap it around your hand. The way it will be placed in the pocket is by simply pushing it down, the edge of th...

Nightcaps are something that will never get old and have been around for years and years. Originally, nightcaps were invented around the Middle Ages and were used as a way to help prevent head lice. As the years passed by they became more useful in other ways, especially when it came to keeping ones head warm. For women, they were also used to keep not only their head warm, but also to protect the hair from any kind of damage. This video tutorial will show you ladies how to make a hair bonnet...

In this how to video, you will learn how to make an Evergreen wreath. You will need pine cuttings, craft wire, a frame, and decorations such as pine cones. Each cutting should be about 8 inches in length and have a firm section that will attach to the base. They should also be very bushy. Wrap the craft wire around the sturdiest part of the pine cutting. Keep adding and attaching pine cuttings over the previous cutting until you go around the entire frame. Once this is done, add the decoratio...

First of all you need to work around the stitch that you have made in the previous row. To make this front post double crochet you have to first loop over the yarn on the hook. Now pass this into the first stitch of the previous row at the bottom. Go around the stitch to the back and from there you have to come back again to the front. Now yarn over and pull it through the loop. Again yarn over and pull it through the two loops as shown. Again yarn over and pull it through the last two loops ...

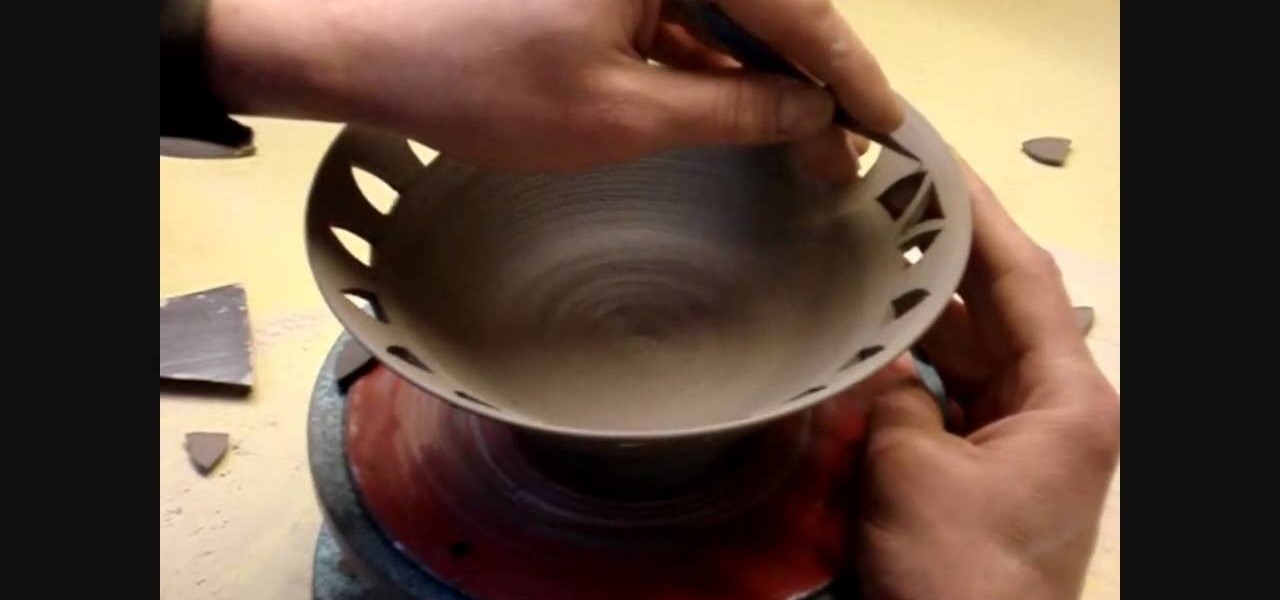
Ingleton Pottery demonstrates how to pierce carve a clay pottery bowl. First, form your bowl on a potter's wheel. Then take a blade to the undried clay bowl and score your design into the bowl using the piercing technique. Gently press out the design so that the clay is removed from the negative space created by the scoring marks. Continue making the design around the bowl. You can make intricate designs around the bowl using the piercing and scoring technique. Be careful not to damage the bo...

How to grow sweet potatoes

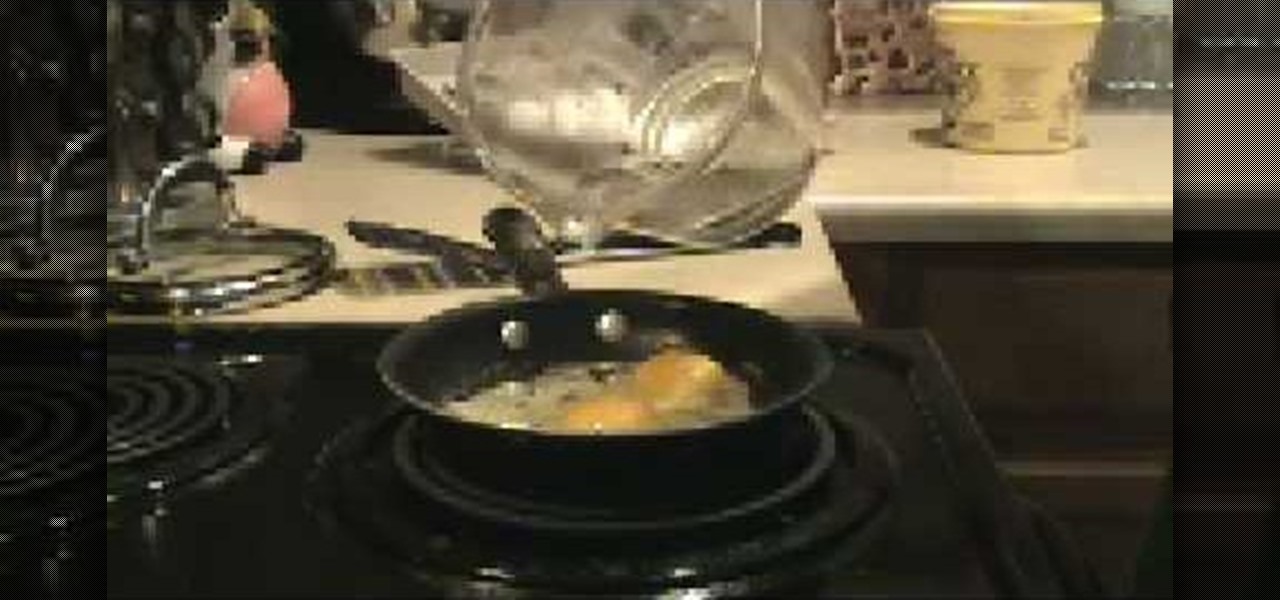
In this video, we learn how to make eggs over easy. You will need butter, a small cooking pan, eggs, a spatula and a little bit of water. First, put your pan on medium heat and put a tbsp in the pan while it's heating. Once the butter is melted, pick up the pan and swirl the butter around until it's gotten to all parts of the pan. Next, crack your eggs and let them fall out into the pan (without cracking the yolk). Now, pour a small amount of water around the edges of your eggs. After this, g...

In this video tutorial, viewers learn how to tie a karate belt. Begin by putting the belt on your left hip. Then wrap it around all the way to the front, keeping it flat. Now wrap it around one more time to the front, on top of the other piece. Then tuck the top piece underneath the two layers of the belt, make the tips even and then pull on them to tighten the belt. To help children tie the belt, only hold one side of the belt and do not wrap it for them. Give them the instructions. This vid...

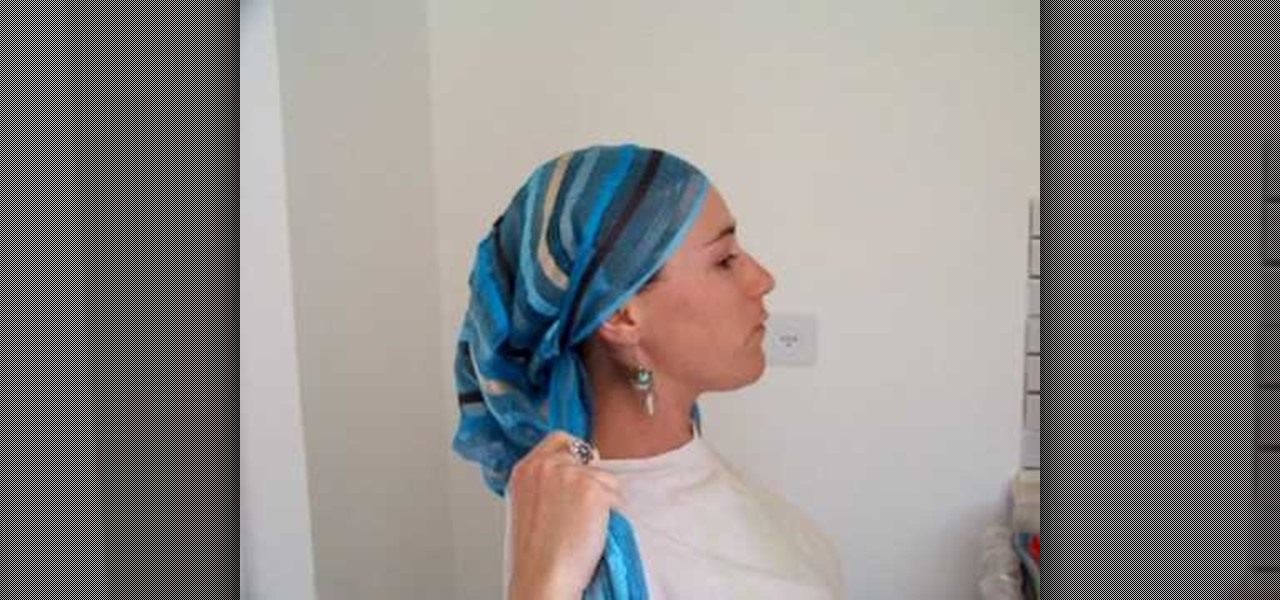
This how to video is for people looking to learn how to tie a scarf attractively. Get a long scarf for your head and place the middle of it on the top of your head. Gather each end in the hand closest to it in the middle. Turn it around by pulling it behind your head and tie the ends over each other. Next step tuck the scarf behind your ears if you like it that way. Then twist the left end around your head. Create a bun with your hair and the scarf in the back using the final side to tie it up.

The instructor talks about a technique called white knuckles. White knuckles means creating tension with your hands. You'll squeeze the bar as hard as you can to create tension, and you'll see white knuckles. To learn how to do this take a jump stretch band and wrap it around your wrists. Now you'll have to spread your hands out and hold the bar as hard as you can so that your hands don't slip on the bar. This will also teach you to pull your hands apart to engage the last. Lie on the bench w...

In this how-to video, you will learn how to tie a slipknot on micro braids. First, braid the hair to the desired length. It is good to braid it close to the end, unless the hair is permed. Now, hold the braid and fix it so that it can be nice and neat. Take a few strands of hair and tie it around the rest of the hair. Now loop it around the finger holding it and put your thumb inside. Make sure to tie it up. Do the same thing about three or four times. Once this is done, take part of the same...

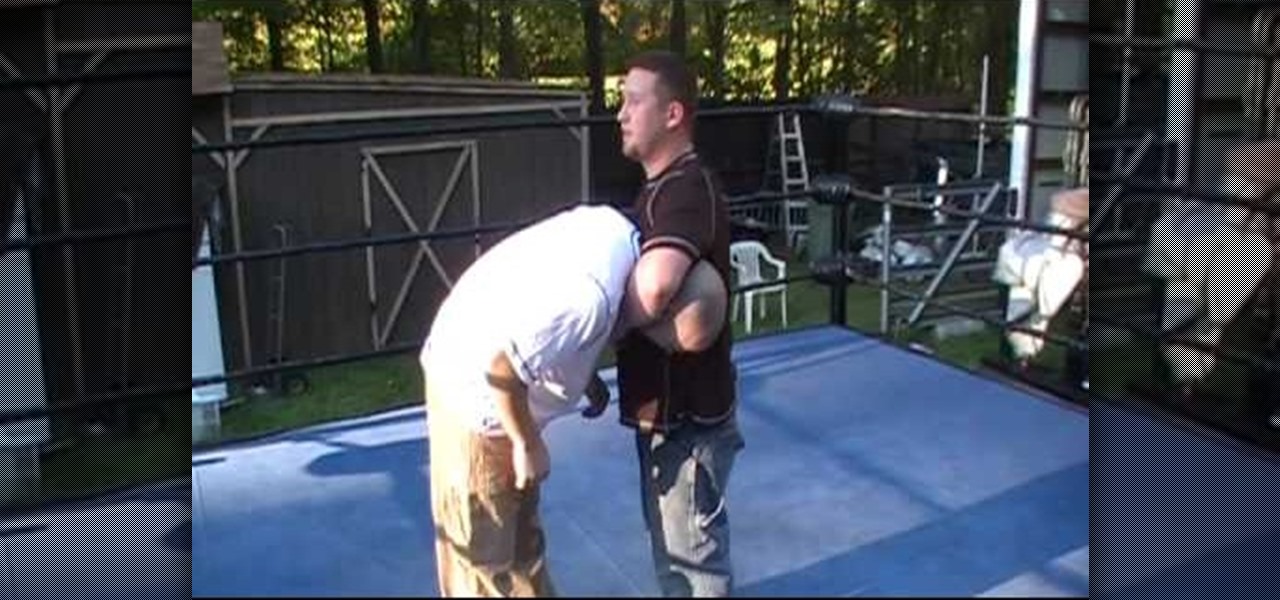
In this video tutorial, viewers learn how to perform the vertical or regular suplex wrestling move. Begin by setting up the move with a toe kick to the opponent and then wrap your arm around the opponent's neck with a light grip. Then put the opponent's arm loosely around your neck. Grab the opponent's attire as they hold onto your hip. Then both you and your opponent need to crouch together and push up. This video provides a visual demonstration for viewers to easily follow along. This video...

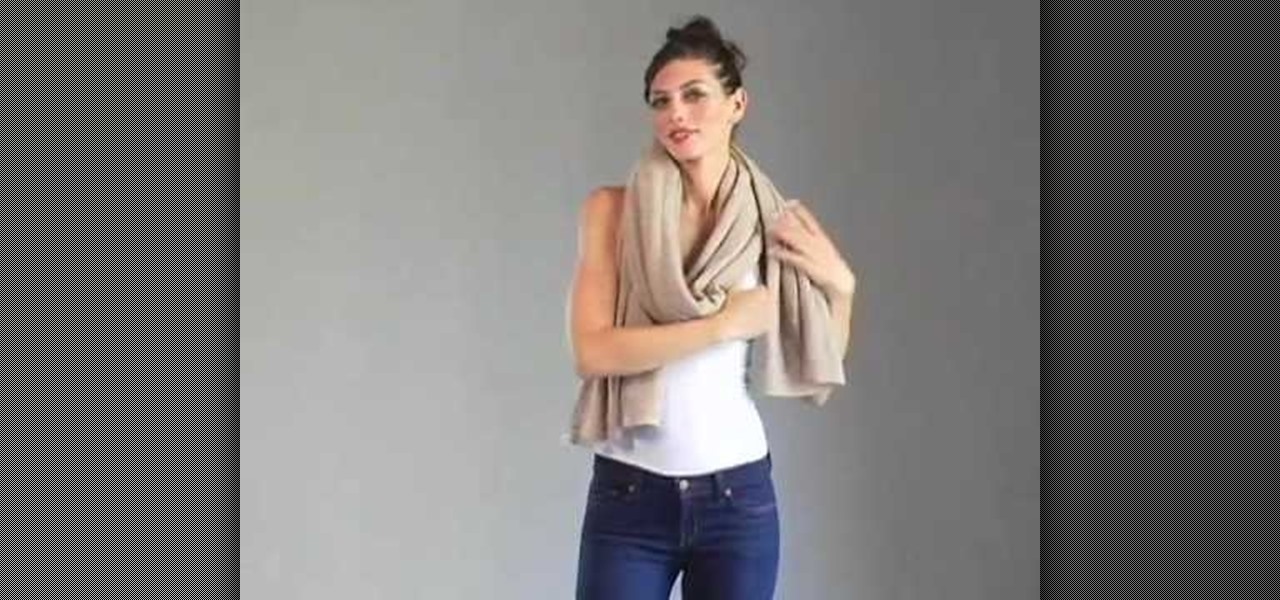
In this video, you will learn how to wear your White + Warren Cashmere Travel wrap. There are four different ways to wear this wrap. The first way involves placing the wrap around your neck. This is similar to a scarf. The second way involves wrapping the cloth around the back of your neck and having the ends go across your chest. Tie the ends behind your back. The third way involves a fancy loop and knot, similar to a fancy scarf. Lastly, you can wear the cloth behind your neck with the ends...

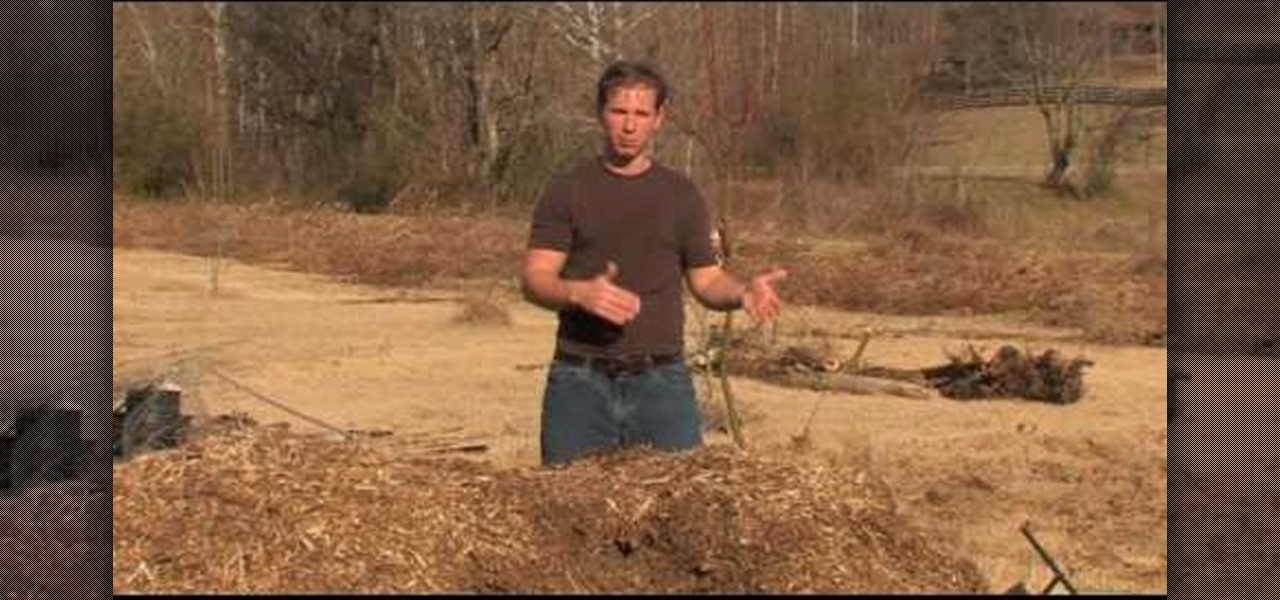
An associate from Garden Years discusses the danger frost poses to small, outdoor plants. Since you don't have a lot of control over the weather, there are a few tips you can follow to try an avoid any unwanted damage to existing plants. The host examines a peach tree to identify when a plant is blooming and thus very delicate. If a plant is fully blooming, then any temperature below freezing (32 f) can damage the blossoms. Aside from putting cloth over the plant, mulch is also very helpful i...

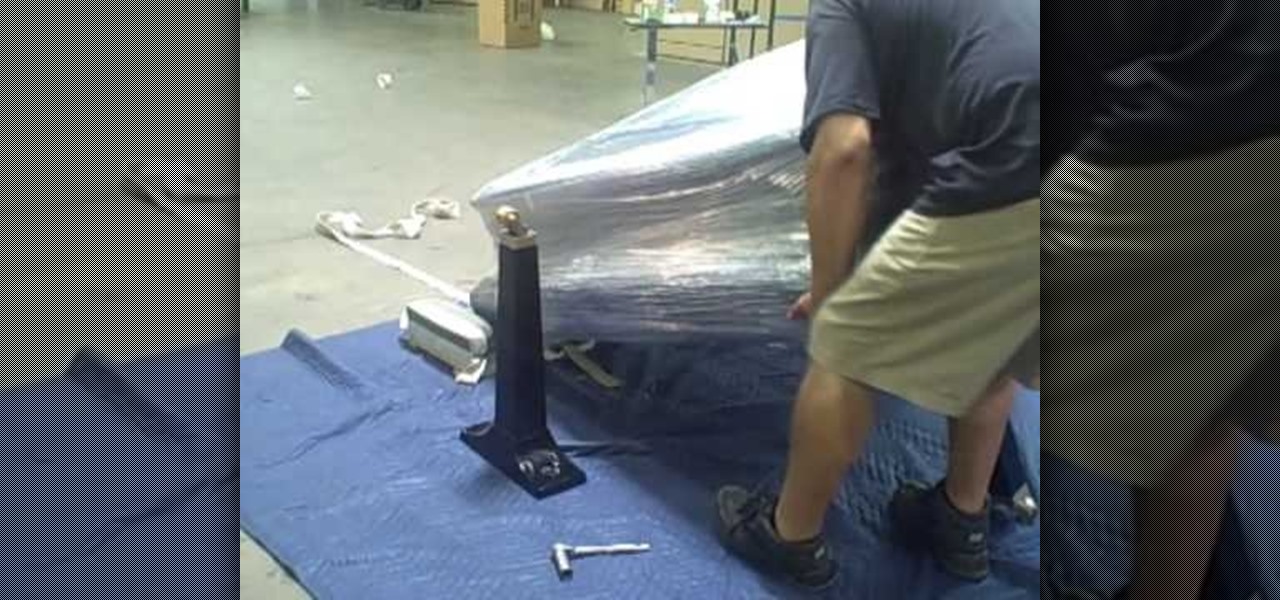
This video demonstrates how to move a piano in one minute. First, cover the top of the piano with tarp. Then wrap cellophane tape around the top, cover and all. Remove the foot pedal. Set aside. Then, remove the first leg of the piano. Rest the corner of the piano body carefully on the floor. Continue to remove the piano legs one at a time. Lifting the piano carefully, wrap 2 straps around the broad top of the piano and lock the straps tight. Draw another strap through the other two straps to...

In this how-to video, you will learn how to tie a single Windsor knot. This will be useful if you need to wear a tie at a formal event. First, place the tie around the back of your neck. Next, cross the bigger side over the smaller side and then pull it up through the loop. Next, bring it underneath the knot and around the front of it. Bring it through up through the loop one more time. Pull the end through the knot. Make sure to adjust the tie so that it is at the desired length. By viewing ...

To achieve Taylor Swift's hair start off using a heat protectant spray and brush evenly through your hair. Part your hair the way you want to wear it letting your hair down in little sections. Use the wrap around method to curl you hair. This should create a nice spiral curl. Make sure to curl away from your face, do this all over your head. For the top layers use should hold the curling iron above your head while continuing to use the wrap around method. For the hair framing the face you sho...

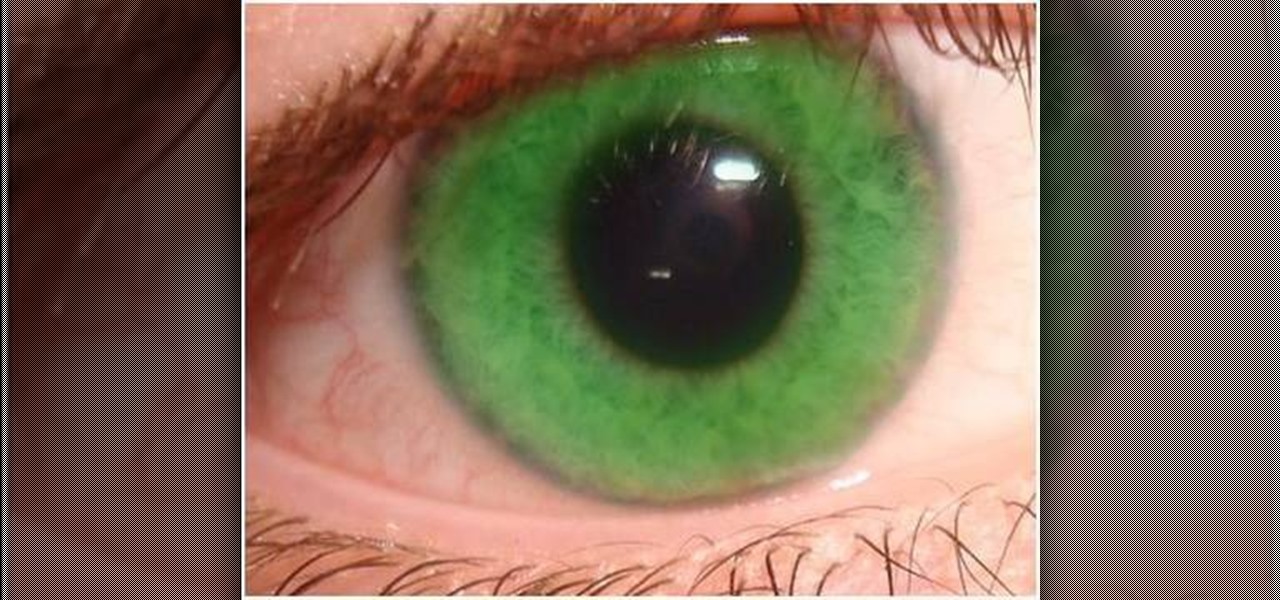
Stevmay09 will be teaching you how to digitally modify your eye color for free using GIMP. First you need to zoom in on the eyeball then click on the free select tool. Then start on the corner of the eye and make your way around the entire eye. Once you have the area around the eye selected you need to create a new layer. Make sure its filled with transparency then select the color you would like the eye to be. Then get the paint brush tool and select the icon shown then increase the scale an...

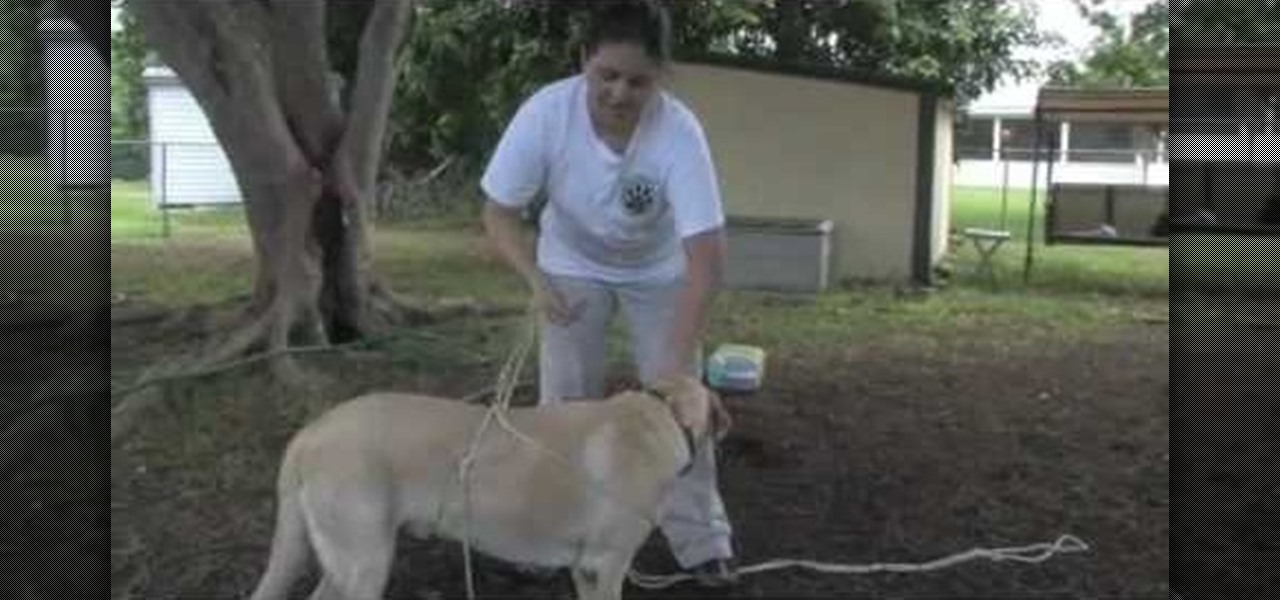
To teach your dog to pull a weight you will need a harness. If you don't have one available you can fashion one out of a rope making sure to tie it around the dogs chest, which is very strong, and around his stomach. Make sure that the ropes pulling area is on top of him so your dog can harness all of his strength to pull forward. Start off with a weight light enough so it won't hurt your dog. Don't make him pull on the weight immediately, have him tug on the weight to get the sensation and t...

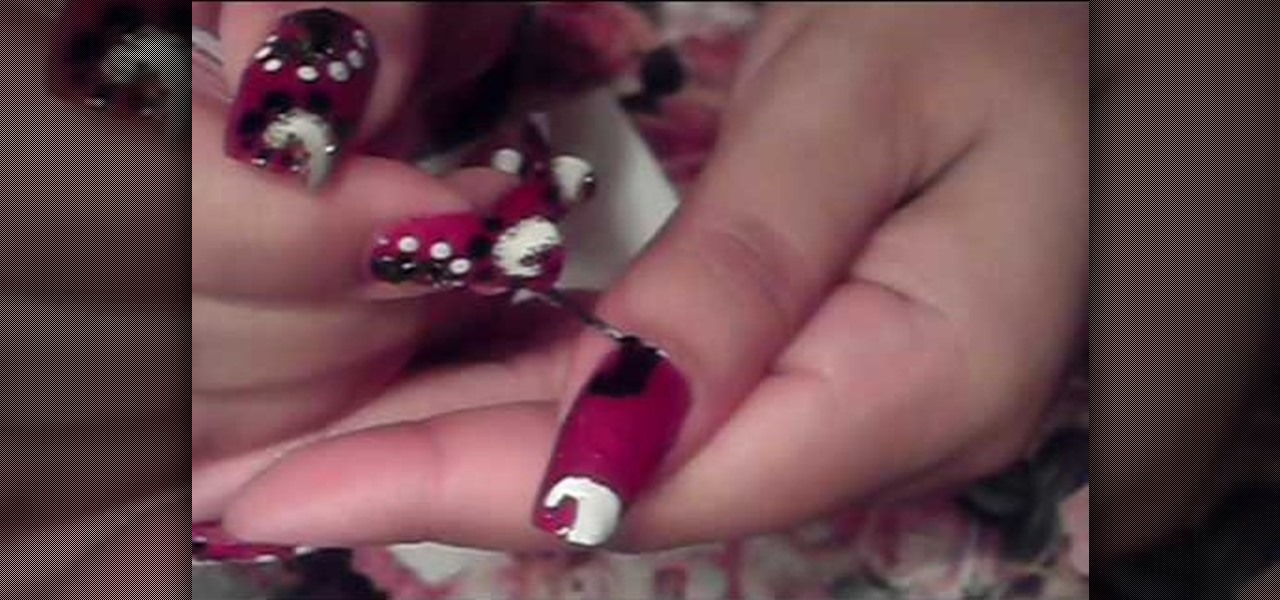
Love4Nails demonstrates a nail design consisting of black and white swirls and dots on a red background. She has already applied a base coat and two coats of red polish. The first step in making the design is the white swirl on the tip. Using the pointed end of a nail dotter, she dips it in the white polish and draws the outline of the swirl, and then fills it in. Next she does the black swirl at the bottom in the same manner.

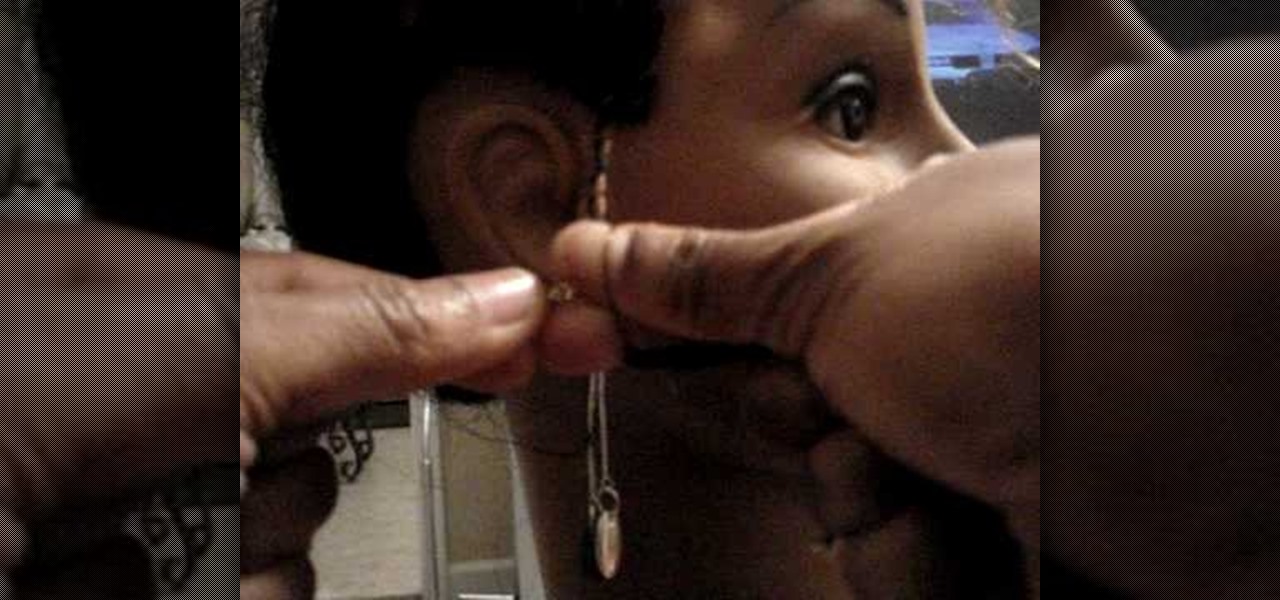
To make mini cupcake earrings first take a piece of sculpey and make a cylinder. Make vertical indentations around the cylinder, similar to those an the edge of a quarter. this forms the bottom of the cupcake. Next take another small piece of sculpy and role it into a line like a piece of yarn. starting at the edge of the top of your cylinder coil the line of sculpy around the edge and up, similar to a piece of novelty poop. this forms the cupcake. stick a earring finding through the top of t...

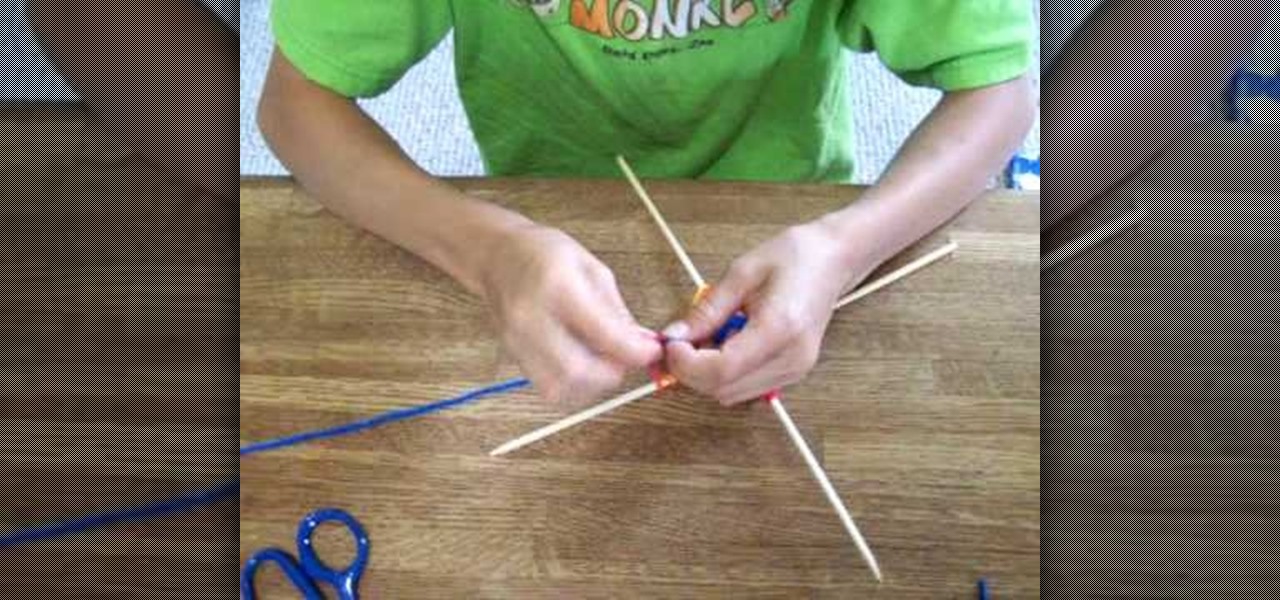
In this video and boy and a woman are showing you the steps to create a "God's Eye" or "Evil Eye". The materials that you will need are 2 sticks, yarn of your selected colors, and scissors. First, you take 2 sticks and use the yarn to knot around the middle wrapping diagonally to form a "t" shape. Then you take another piece of yarn, hold the end in the middle, and start wrapping around each stick going over one and under the next. Continue this pattern until you are done or unless you decide...


