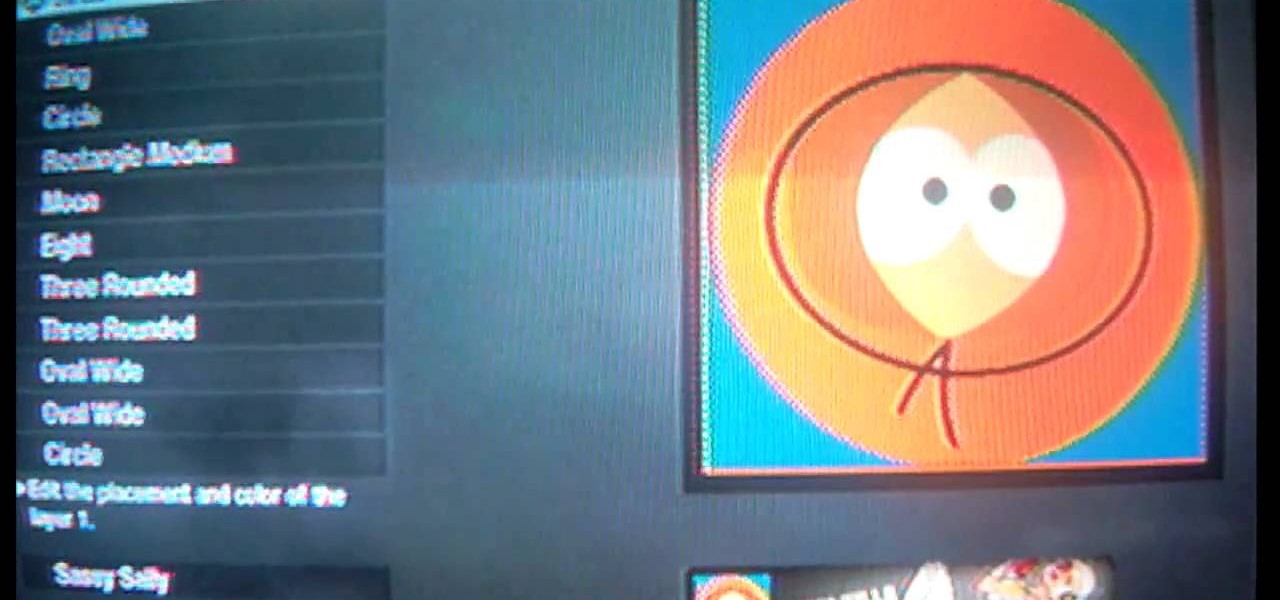
Love South Park in general and Kenny in particular? Show the world by using Kenny as your Black Ops playercard emblem! This tutorial presents a complete, step-by-step walkthrough of how to draw it in the Black Ops Emblem Editor.

Learn how to use the classic Superman "S" logo as your Black Ops playercard emblem! This tutorial presents a complete, step-by-step walkthrough of how to draw it in the Black Ops Emblem Editor.
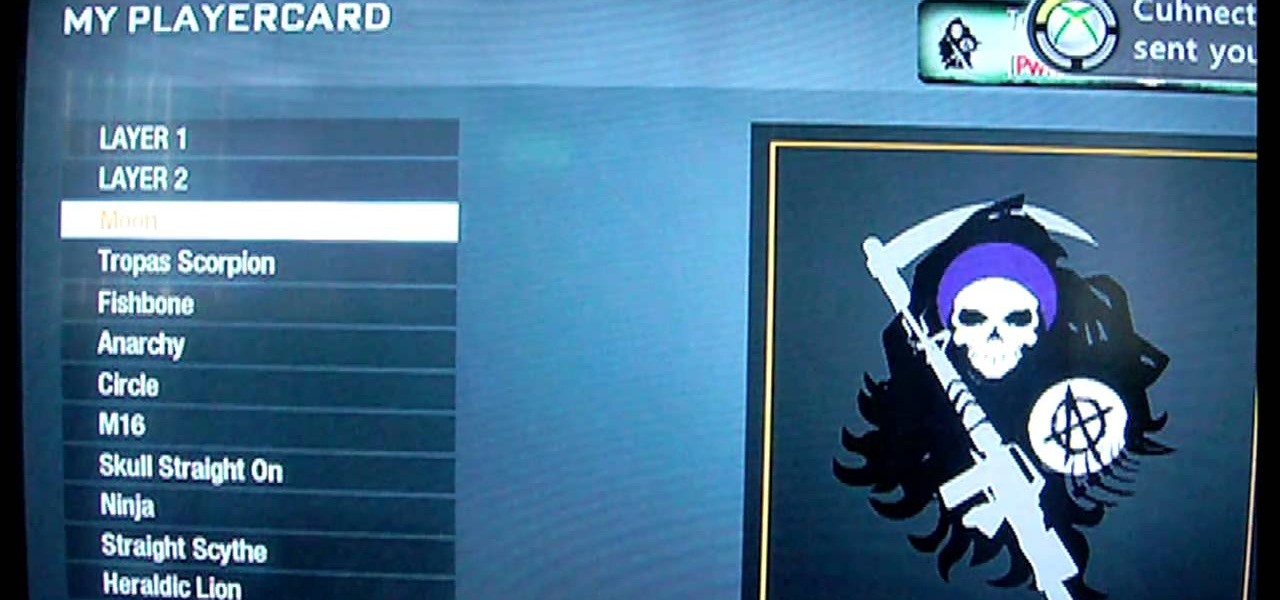
Love Sons of Anarchy? Show the world by using the SoA logo as your custom Black Ops playercard emblem! This tutorial presents a complete, step-by-step walkthrough of how to draw it in the Black Ops Emblem Editor.

Love Nintendo in general and Pokémon in particular? Show the world by using a Pokéball as your Black Ops playercard emblem! This tutorial presents a complete, step-by-step walkthrough of how to draw it in the Black Ops Emblem Editor.

Interested in using the Playboy logo as your Black Ops playercard emblem? This tutorial presents a complete, step-by-step walkthrough of how to draw it in the Black Ops Emblem Editor, bowtie & all.

Love Nintendo in general and the Mario Brothers in particular? Show the world by using a Mario mushroom as your Black Ops playercard emblem! This tutorial presents a complete, step-by-step walkthrough of how to draw it in the Black Ops Emblem Editor.

Love Zelda? Show the world! Learn how to make a Triforce playercard emblem in Call of Duty: Black Ops! This tutorial presents a complete, step-by-step walkthrough of how to draw the winged Triforce logo using the Black Ops Emblem Editor.

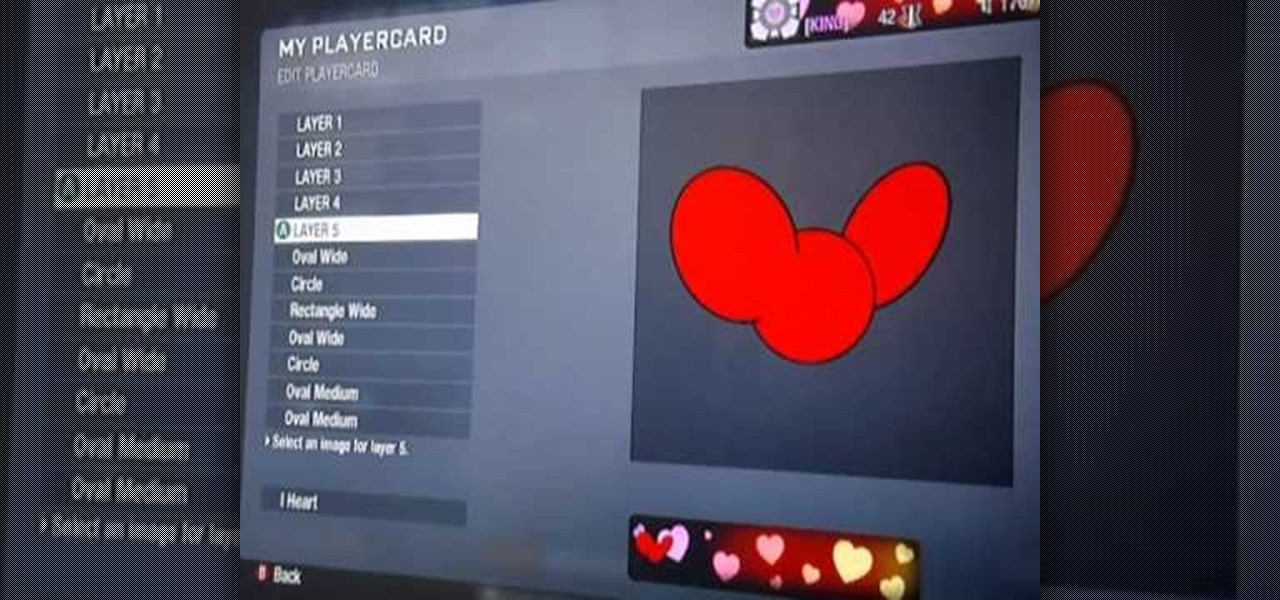
Learn how to make a Deadmau5 playercard emblem in Call of Duty: Black Ops! This tutorial presents a complete, step-by-step walkthrough of how to draw the Deadmau5 logo using the Black Ops Emblem Editor.

Learn how to make a Smurf playercard emblem in Call of Duty: Black Ops! This COD Emblem Editor tutorial presents a complete, step-by-step walkthrough of how to draw a Smurf using the Black Ops Emblem Editor.

Love Nintendo? Learn how to use an 8-bit-style Mario as your Black Ops playercard emblem! This tutorial presents a complete, step-by-step walkthrough of how to draw Mario in the Black Ops Emblem Editor.

Love Pac-Man? Learn how to use Blinky, Pinky, Inky or Clyde as your playercard emblem in Call of Duty: Black Ops! This COD Emblem Editor tutorial presents a step-by-step walkthrough of how to draw an 8-bit Pac-Man-style ghost in the Black Ops Emblem Editor.

Learn how to use Batman's spotlight logo as custom Black Ops playercard emblem! This COD tutorial presents a complete, step-by-step walkthrough of how to draw it in the Black Ops Emblem Editor.

Looking to beat Mission 6: The Defector on the Veteran difficulty setting of Call of Duty: Black Ops? Learn how with this gamer's guide, which presents a complete walkthrough of Mission 6 in the single-player campaign of CoD: Black Ops.

Out to beat Mission 5 of Call of Duty: Black Ops on the Veteran difficulty setting? Learn how with this gamer's guide, which presents a complete walkthrough of the "S.O.G." mission on Veteran in the Black Ops single-player campaign mode.

Want to beat Mission 4 of Call of Duty: Black Ops on the Veteran difficulty setting? Learn how with this gamer's guide, which presents a complete walkthrough of the "Executive Order" mission on Veteran in the Black Ops single-player campaign mode.

This video covers the best way to kill zombies in Call of Duty: Black Ops. Bonus! They're Nazi zombies! A surround sound headset will let you hear zombies sneaking up on your flank, and also make sure you have the best zombie-killing weapons to hand.

In this tutorial, we learn how to paint nails with a black and gold fading effect. First, polish a sponge and dab this onto your nails. Then, apply black on the bottom of your nail and gold on the top of our nail. Apply a gold glitter polish to the top of the nail and wait for it to dry. Next, you will apply gold rhinestones onto the gold and the black from the top to the bottom of the nail. When all of the polish has dried, apply clear gloss to the nail and wait for it to dry to finish this ...

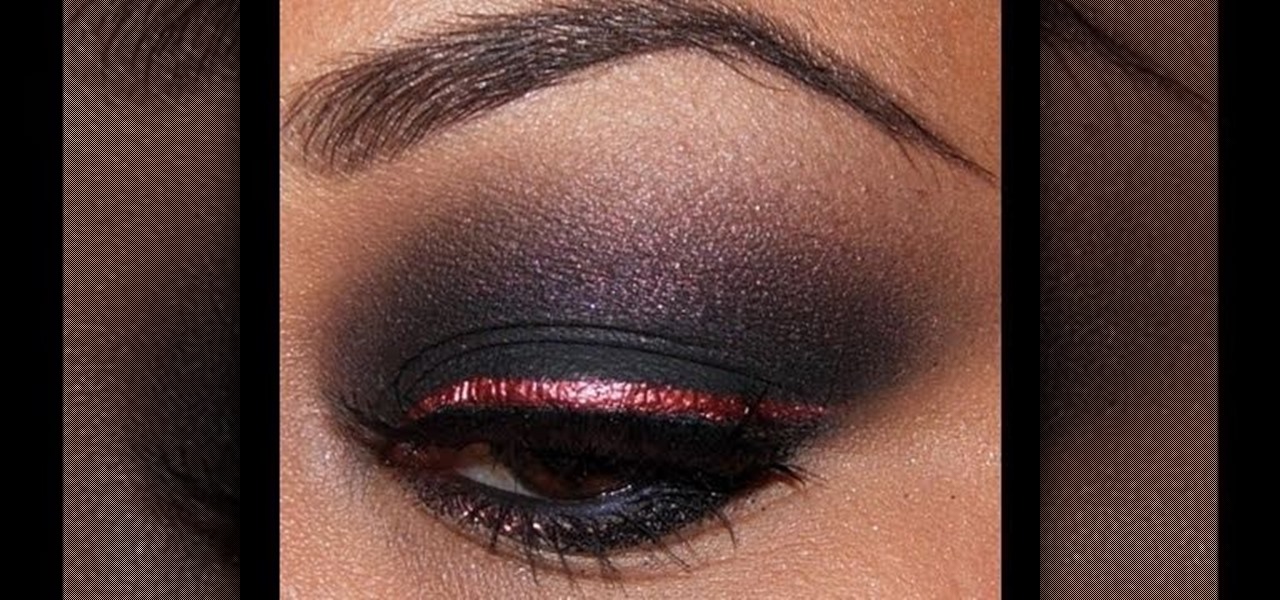
Smoky eyes are all the same, right? Wrong. While it's true that 99.9% of smoky eyes consist of some form of smoked out black, brown, silver, and sometimes purple, you can make your smoky eye interesting by adding an unexpected pop of color.

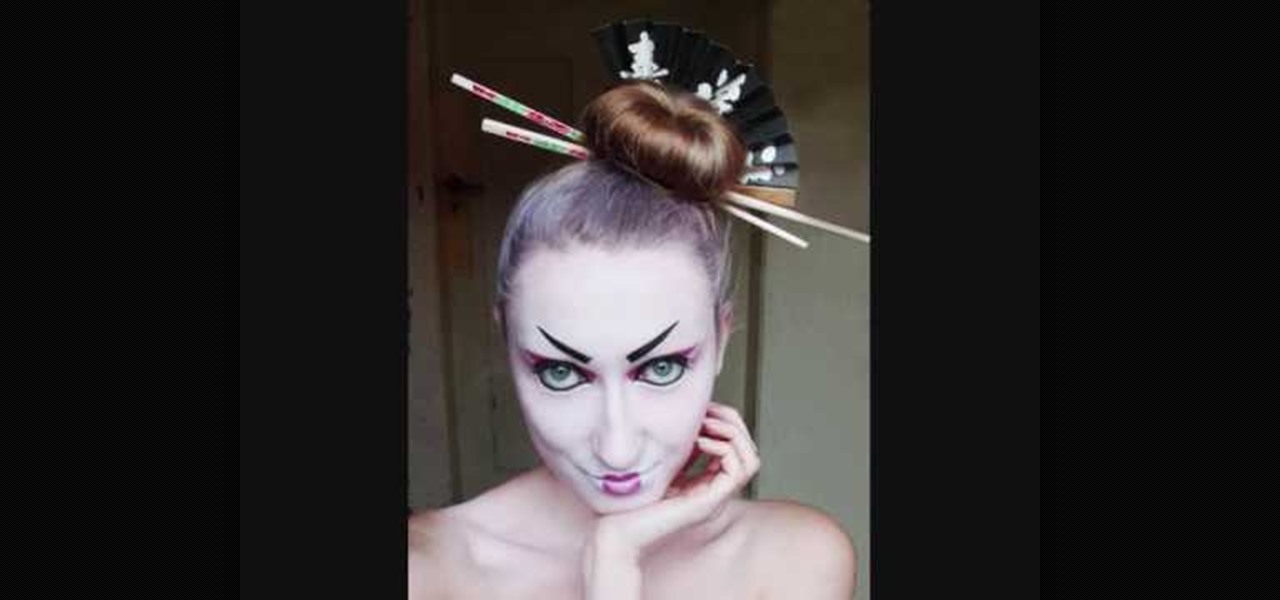
Geishas were high class courtesans who mixed business with pleasure - or, rather, whose business was pleasure. And seduction was an art to them, down to the very makeup they wore.

In this tutorial, we learn how to draw the Black Queen of Chess. First, you will need to draw the outline of the character using a light pencil on paint or another drawing program on your computer. After this, use a dark blue pencil to draw the outline of the body on darker and to make it more detailed. Next, add in the details to the drawing all over the entire body. Make sure to draw on the clothes after you do this. Once finished, you will need to draw on the facial features and the hair, ...

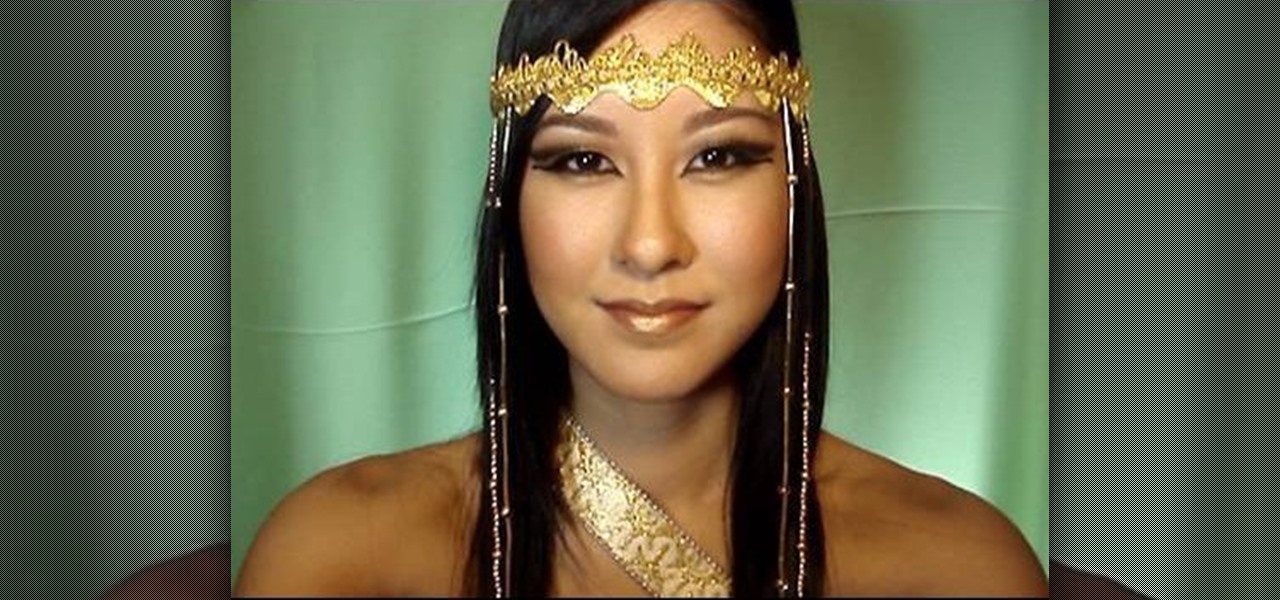
In this video, we learn how to create an Egyptian queen makeup look with a headdress. Start by padding gold shadow all over the lid, avoiding the crease area. After this, take a black eyeshadow and place it into the crease, not making it a v-shape, cutting it from the bottom of the eye. After this, apply black eyeliner to the top of the lid, going out to the side underneath the black shadow. Next, apply a silver shadow underneath the brows as a highlight. Apply black eyeliner to the bottom of...

In this video, we learn how to get a black and white costume makeup look. First, apply white cream makeup to the eyelid and then underneath the eye. After this, line your crease with black eyeliner and end it with a tail. Then, line your lower lid doing the same thing as you did on the top of the eye. Blend black eyeshadow in with the liner after this on the top and bottom to make the line thicker. Now, apply a white powder makeup over the white and connect them together in the crease of the ...

In this tutorial, we learn how to paint your nails with blue glitter and black nail polish. You will need: blue nail polish, clear nail polish, blue and black acrylic paint, chopped thin brush, glitter, dotting tool, and a small flat brush to do this. First, paint the tips with blue polish, then use the small brush to stick the glitter onto the nails, patting it on thick. Next, add a clear coat and let the nails dry completely. Now, put the chopped brush into black acrylic and make a swirl de...

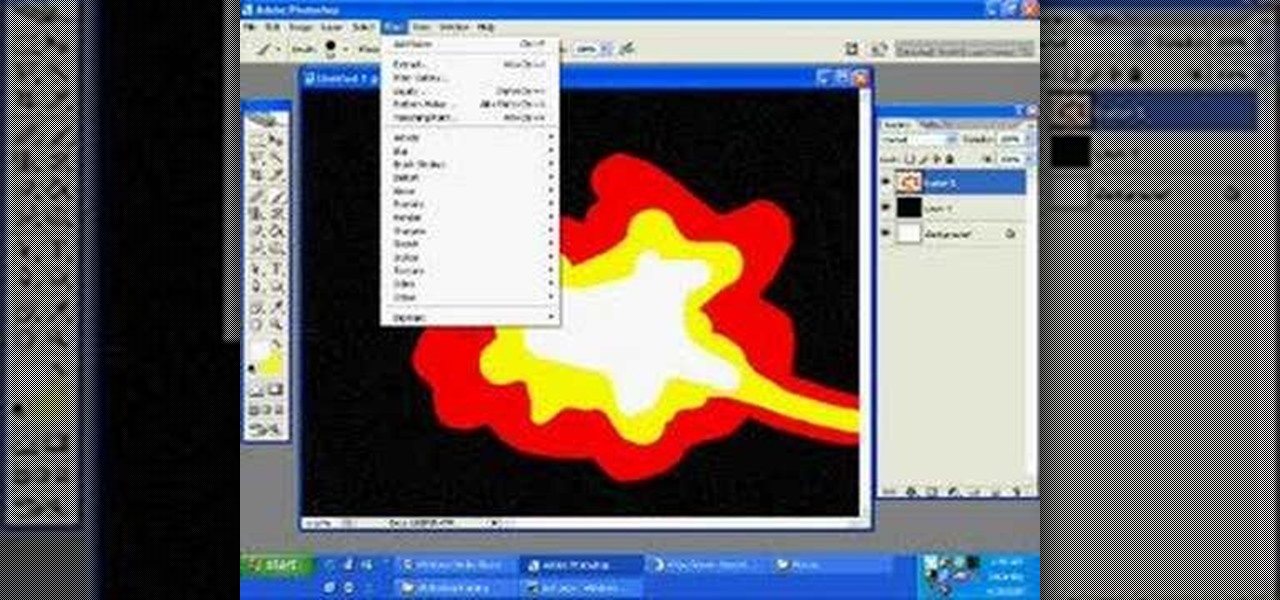
In this tutorial, we learn how to draw a galaxy in Photoshop. First, open up a new project and color the background black. Next, create different lines and circles inside of the black, and then blur out the image. Now, it will look like a galaxy in black space. Next, color a new background black and white with spots and mix it into the galaxy image that was made. Continue on to change different settings on the picture as you prefer, changing the opacity and different settings as you wish. Whe...

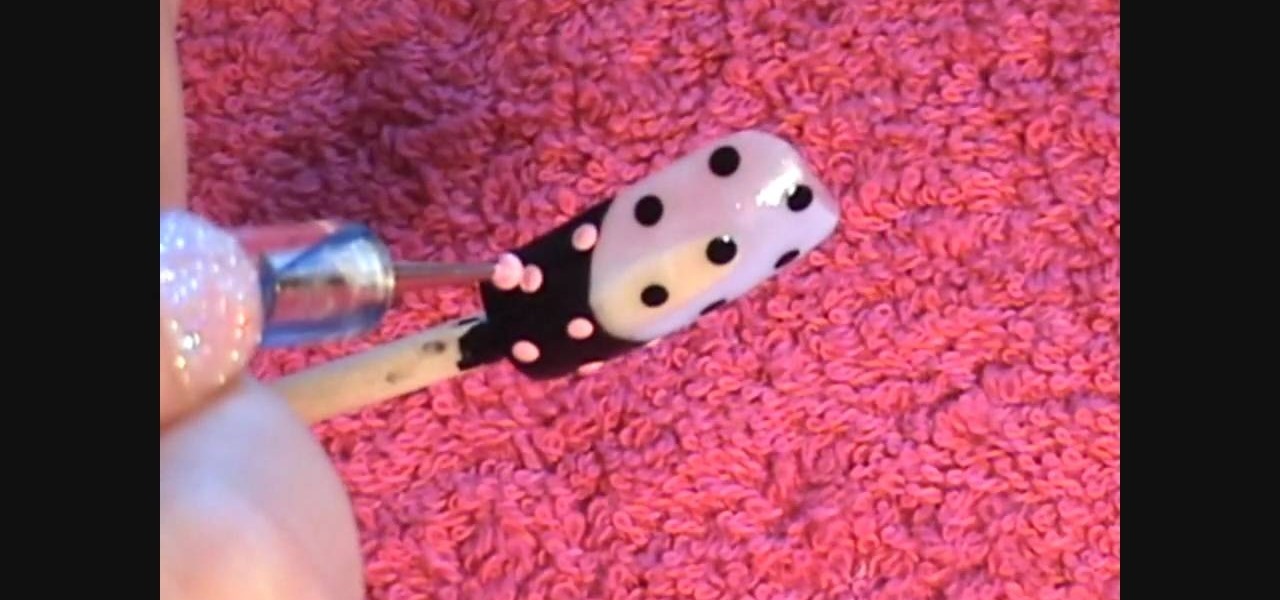
In this Beauty & Style video tutorial you will learn how to create cute polka dot acrylic nails. For this you will need acrylic paint and acrylic nails. First paint the lower part of the nail with black paint in a curved manner. Then you put three black polka dots in the unpainted area along the centerline of the nail. Now put two more black dots on either edges of the nail. Then you put light pink dots over the painted area in line with the black dots. Paint the smile line and the bow with l...

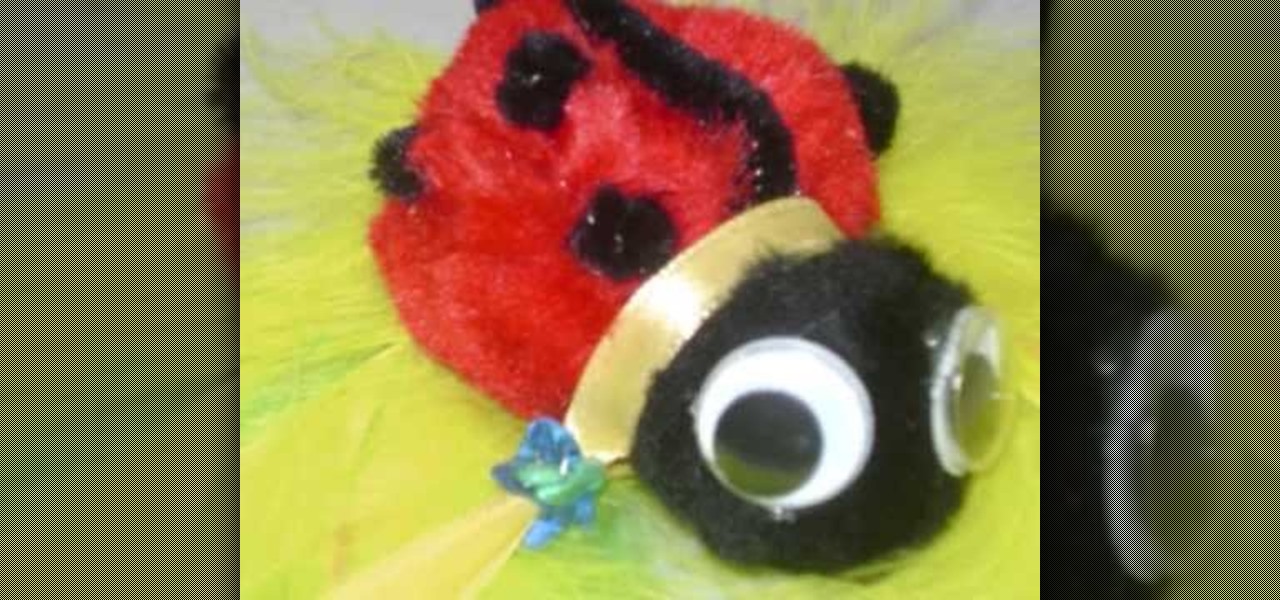
In this tutorial, we learn how to craft a pom-pom ladybug with your kids! The materials you will need are: 1 large red pom pom, 1 medium black pom pom, 1 pipe cleaner, 2 googly eyes, and one piece of lace. Start off by gluing the black and red pom pom's together with a hot glue gun. Next, use a hot glue gun to glue the googly eyes onto the black pom pom. Now glue black pipe cleaner around the red pom pom to make a stripe on the back of the ladybug. cut the pipe cleaner into little round shape...

In this video, we learn how to turn a photo partially black and white using PhotoShop. First, open up the program and open up the picture you'd like to change. Now, click with the right key above the layer and choose duplicate "layer". Now click above the eye icon to hide the layer, then select the layer. Now you can go to image, adjustments, then black and white. Now make the second layer visible and select the eraser tool. Wave your brush over everything but what you want to keep colorful. ...

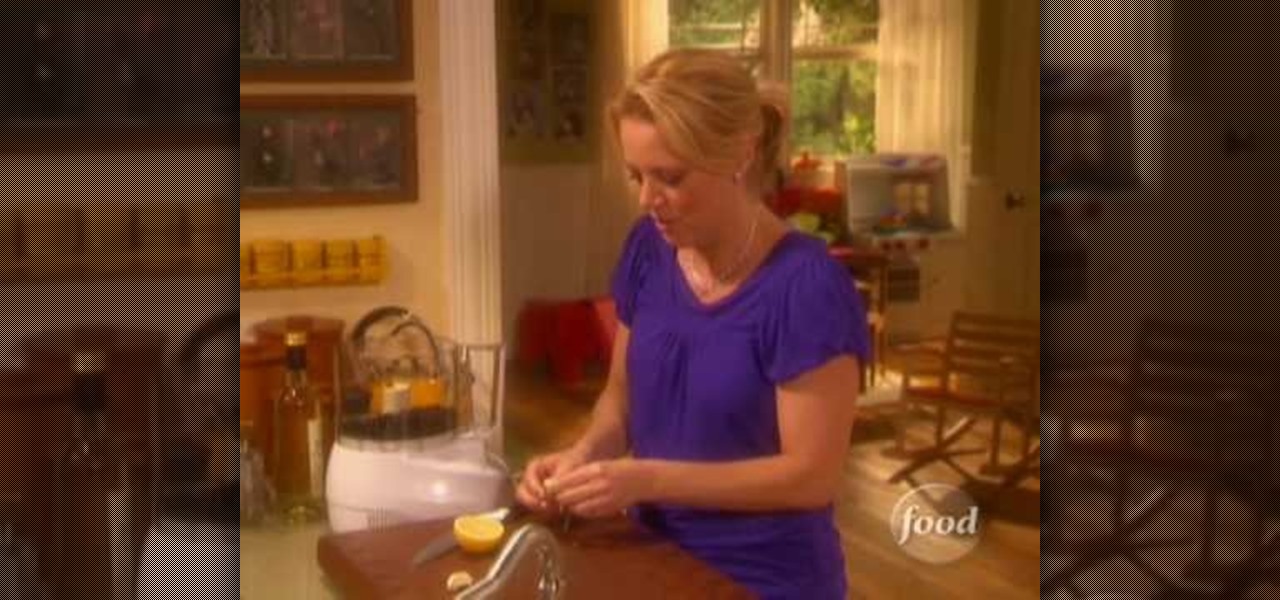
This video describes how to make an easy-to-prepare black bean hummus. One cup of black beans is first added to a food processor. Next, a lemon is cut in half and the juice of half of the lemon is squeezed into the food processor. Some white winer vinegar is then added to the food processor as well. One clove of garlic is then crushed and peeled before being given a rough chop and being added to the food processor. Salt and black pepper are next ground into the food processor. The final ingre...

This video shows us how to turn parts of a color photo into black and white and keep the colors for the parts we choose. Start by choosing the polygonal asso tool in the tool box. Now create borders for the parts of the image that you want to keep the colors. Hold the ALT key while clicking to draw borders around a second or third object. Once all the borders are created, right click on your selection and click "select inverse". Now go to "image menu, highlight "adjustment", and then click "b...

In this Magic & Parlor Tricks video tutorial you will see how to do the black and red cared trick. This video doesn’t teach you how to do the trick. It merely shows you the trick. It displays a deck of cards, which the presenter says is a normal deck of playing cards containing 52 cards. He then shows the other side of the deck where the cards all mixed up. He shuffles the deck a few times and shows that the black and the red cards are all mixed. Then he shuffles one more time, puts the dec...

Mac OSX offers an easy solution to increasing the contrast of your display, and switching the screen from black on white to white on black. In the Universal Access section of System Preferences, under the large "Display" label, you will find a set of controls. Switching from black on white to white on black will invert the colors on the screen, making it easier to read for some people. There is a toggle to the right of that control which switches your display from color to grayscale. Below th...

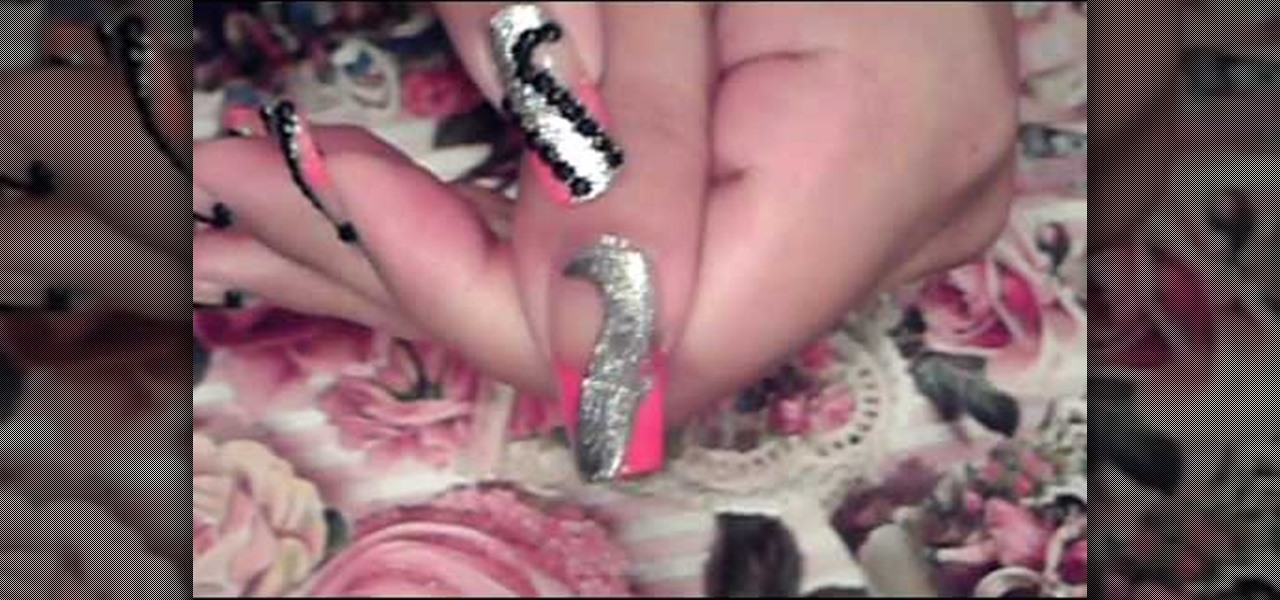
Love4Nails starts off with pink, silver, and black nail polish. First choose one of your colors to create a French tip manicure. She next takes the silver polish, starts at the bottom and creates a swirl around the nail. Swerve the silver in a way that it covers the French tip part of the nail. Then get the pink glitter and apply only on pink polished area. Place black rhinestones on the swirled area of the nail. Because you're using the pink glitter polish, if you choose not to add rhineston...

This video illustrates how to paint the nails with a neon pink and black design. Here are the following steps:Step 1: First of all remove any previous nail paint applied.Step 2: Now apply primer on the nails for the nail paint to stay longer.Step 3: Now take neon pink paint and apply it on the nails and let it dry.Step 4: Take black paint and apply it in in geometrical design over the pink nail paint. Let it dry.Step 5: Apply polka dots in black over the nail paint. Here you are ready with th...

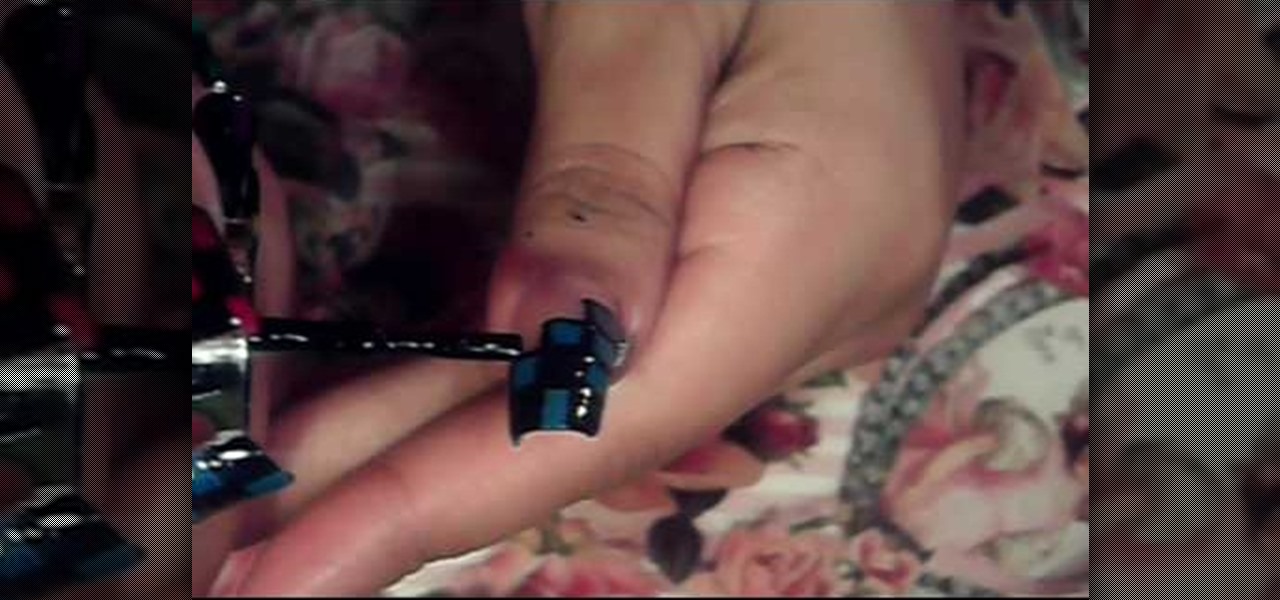
This video is about how to paint your nails with a colorful checker art design. The first thing that you will have to do is to apply the hydrating base coat on your nail. After putting the hydrating base coat on your nail, get a piece of paper for you to place the black nail polish. After placing the black nail polish on the paper, use the dotting tool and place a series of zigzags on the nail. The next step is to fill in the zigzags depending on the color you want. After filling in, make a s...

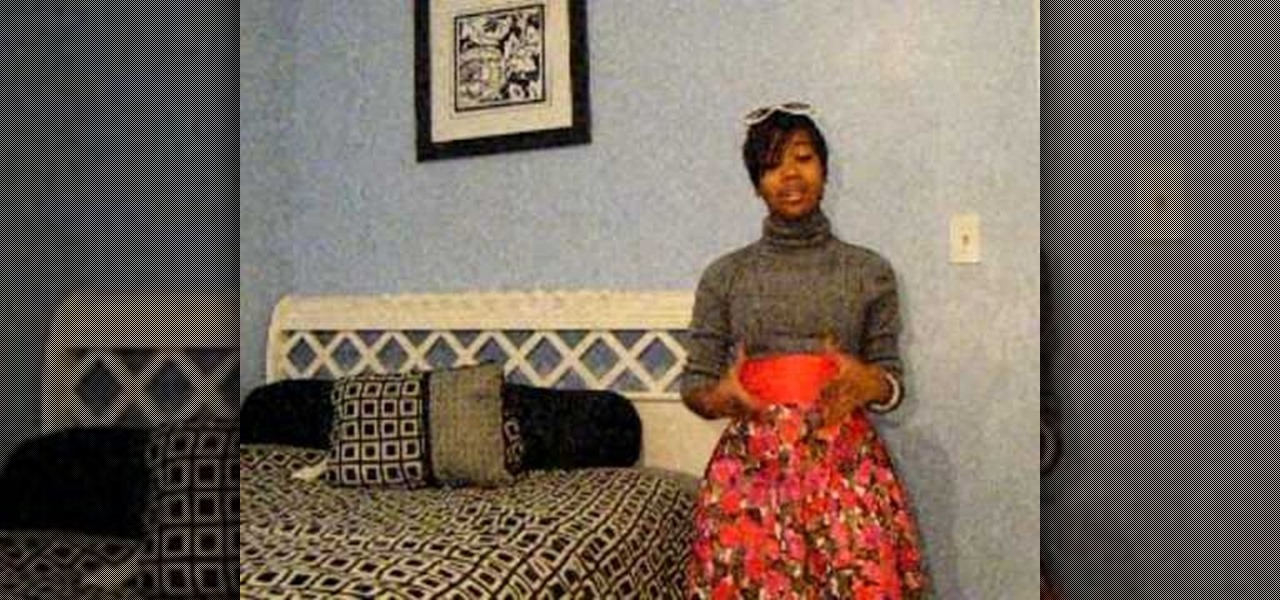
In this video, you will learn how to wear a bold flower print skirt in three different ways for going to school, a job interview or going out to a club.

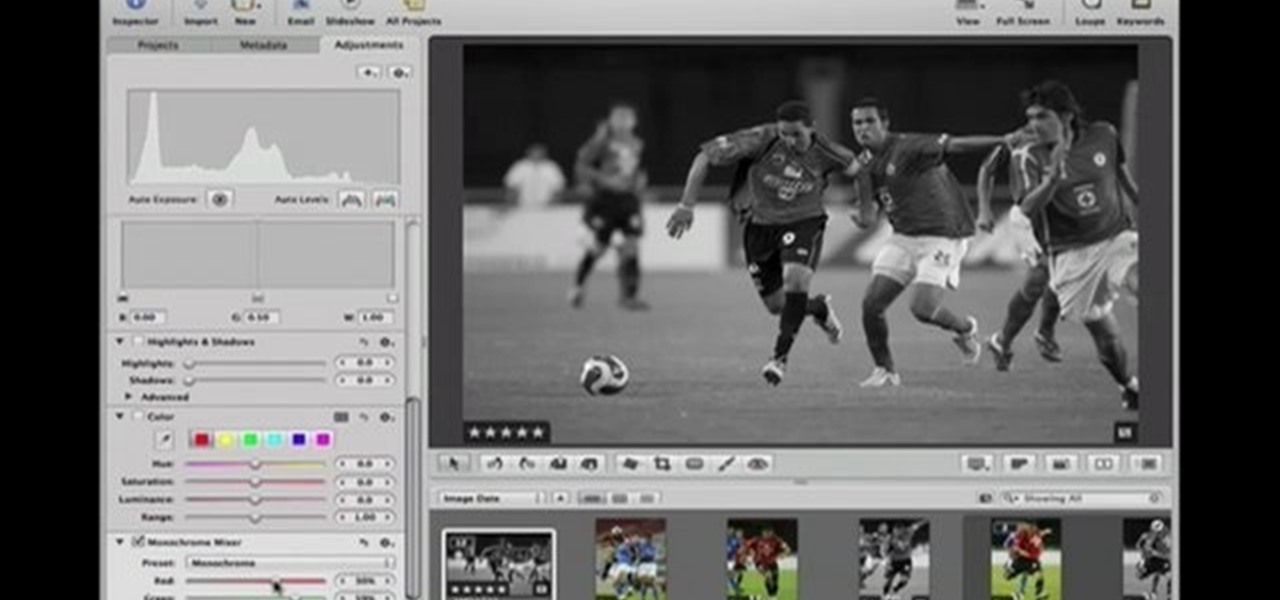
This Software video tutorial shows how to convert color images to black and white in Aperture. Scott Bourne presents this video. Open up ‘aperture’ program and select a color photo that you want to convert to black and white. Now move from the ‘projects’ page to the ‘adjustments’ page by clicking on it. Then click on the ‘+’ sign and select ‘Monochrome Mixer’. When you do this, the picture instantly turns to black and white. It’s as simple and easy as that. For editing the picture further, on...

In this art tutorial, you will learn how to draw and then paint an orchid. You will need a Chinese paintbrush, a plate for the paint, water and paper. For paint colors, you should make sure you have red, yellow, black, green, blue and purple. First, dip your brush into the water and then mix yellow, red and black, dabbing some of each color onto the brush. When doing this, do not actually mix the colors on the brush. You want the red on one part of the brush, the yellow on another part, and t...

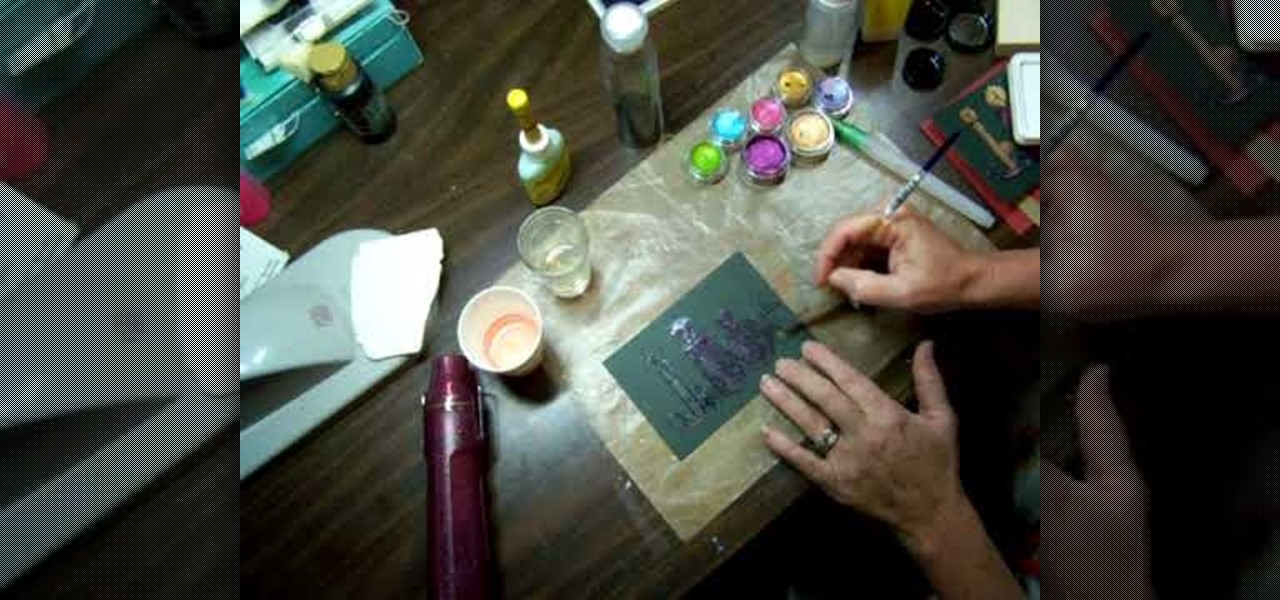
This video tutorial is going to show you how to bleach paper to make the color pop. First take a piece of black paper, apply a bit of bleach and see what color it turns. Because, different cards change color differently. Next you will need a stamp, embossing ink and black embossing powder. Apply embossing ink on the stamp, stamp the black paper and put black embossing powder on the paper and dust it off. You then need to heat the paper. Bleach out the portions that you want color. Follow the ...

If you're looking to do a cool photo with some special old effect then you should make it white an black.

Make a fun decorative design with this video tutorial. To create black and white with decorative swirls and dots:


