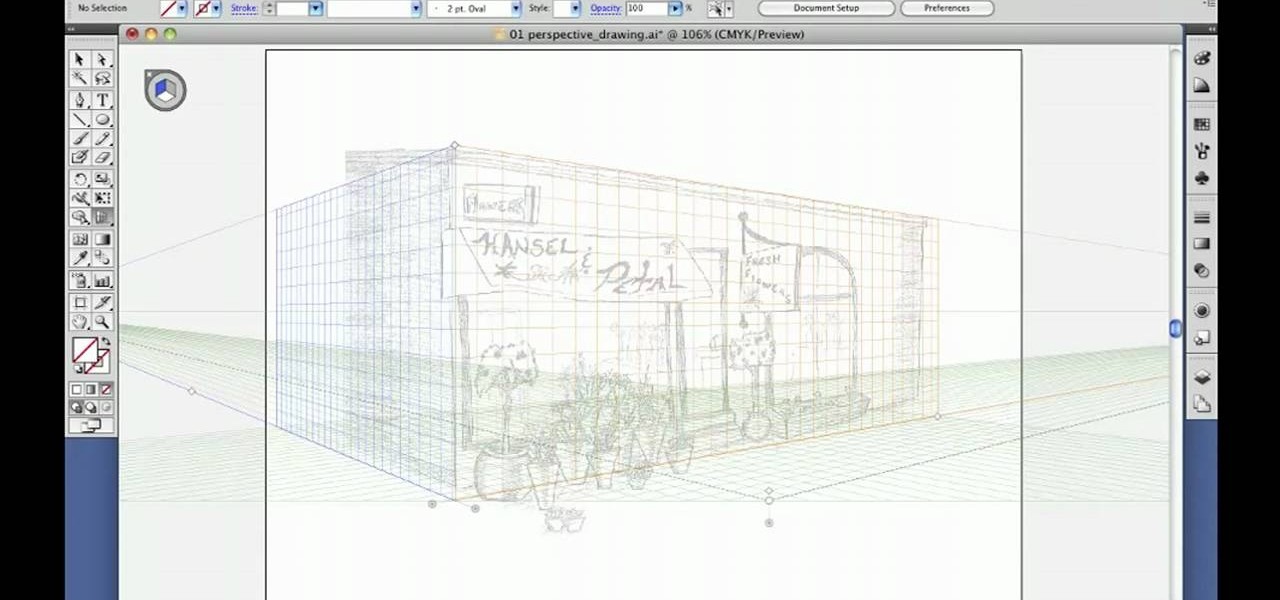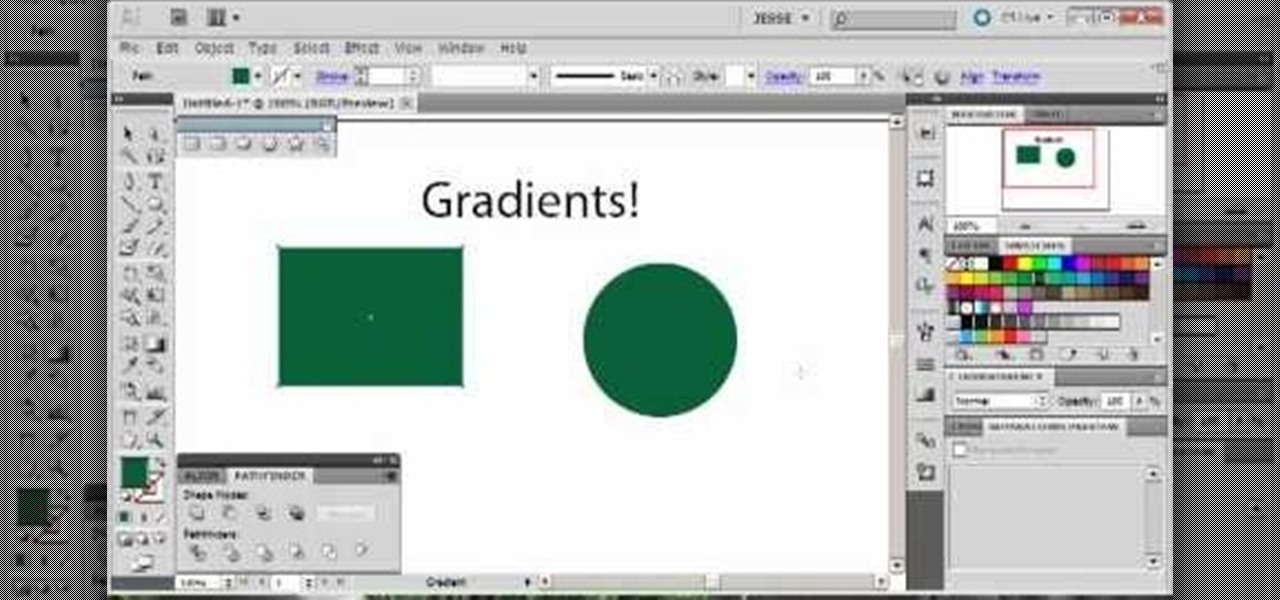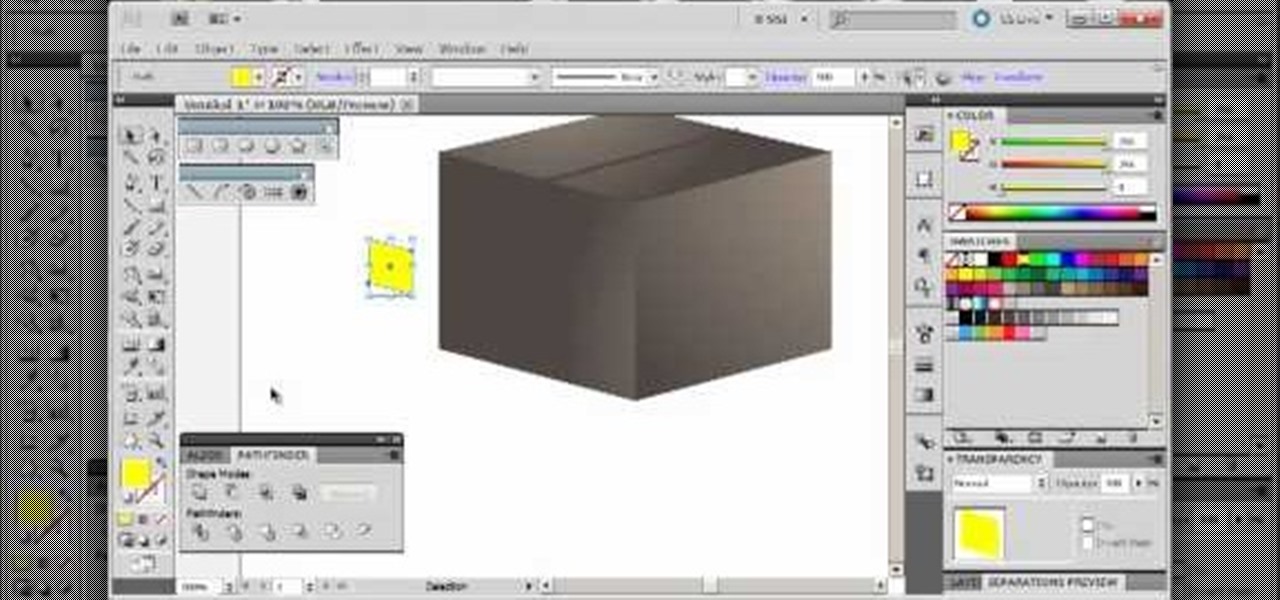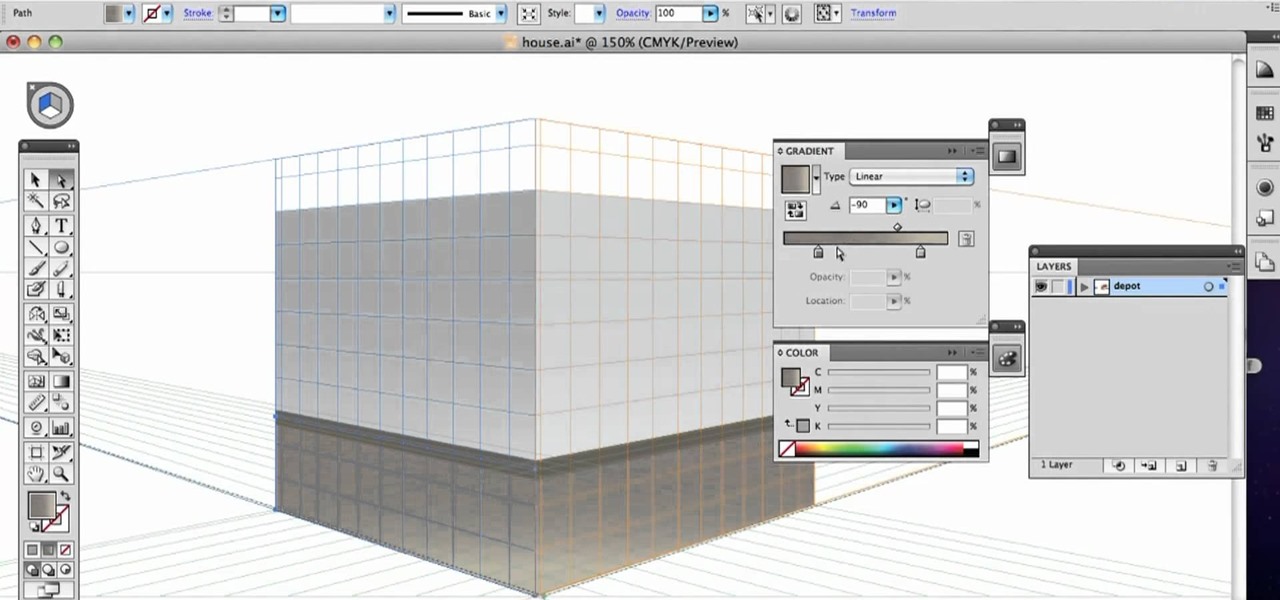
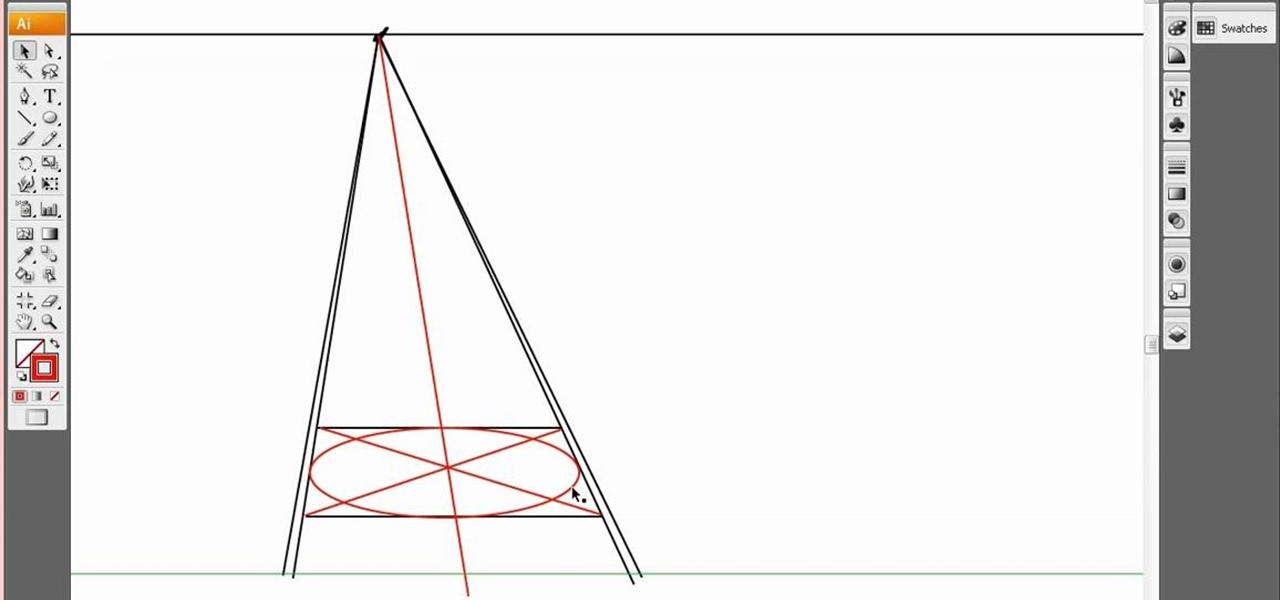
Whether you're new to Adobe Photoshop or a seasoned graphic arts professional after a general overview of CS5's most vital new features, you're sure to be well served by this official video tutorial from the folks at Adobe TV. In it, you'll learn how to draw shapes and scenes in accurate 1, 2, or 3-point linear perspective with the new Perspective Drawing tools in Illustrator CS5.
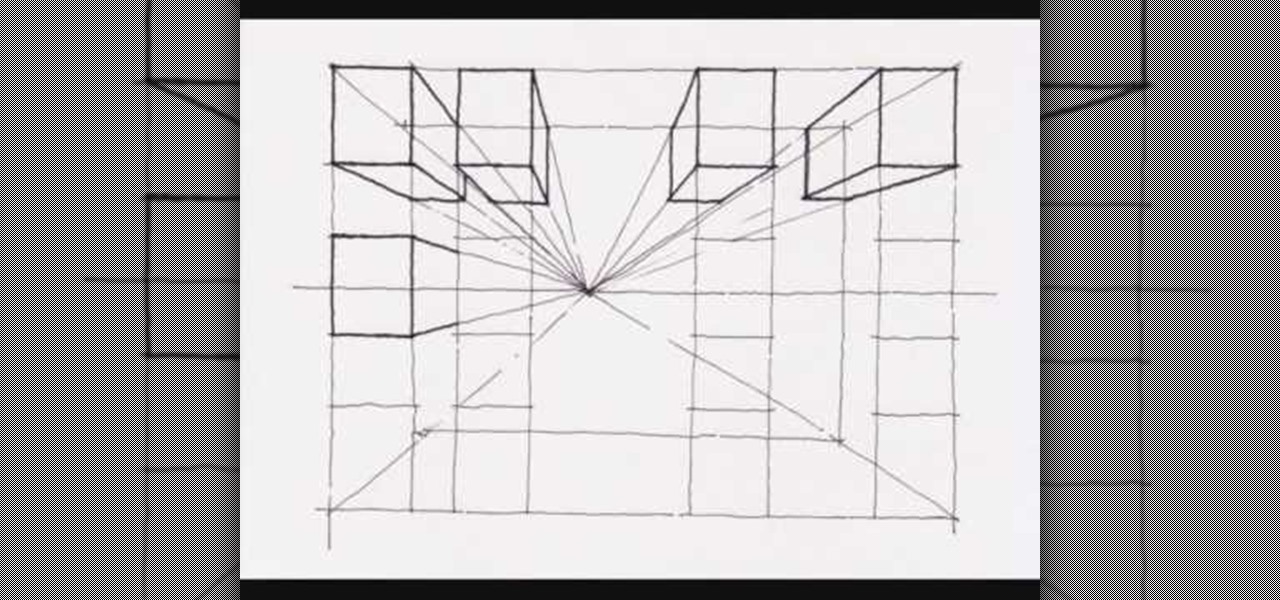
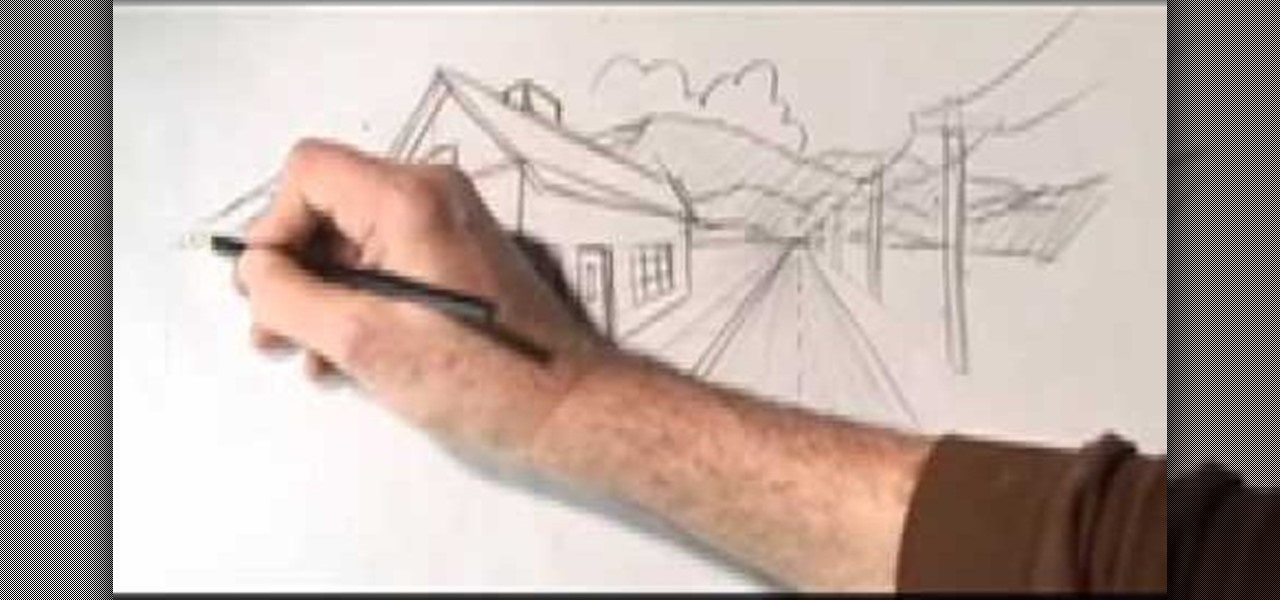
If you want to accurately represent objects in three-dimensional space, then it's vital that you have a good grasp of perspective. This three-part, three-dee drawing lesson presents and overview of drawing with single-point (or one-point) perspective.
Perspective drawing takes skill and practice. Get expert advice on how to draw people in perspective in this free art lesson video series on figure drawing for experienced and novice artists.

A good fashion illustration depicts the human face and body in a stylized form. Learn fashion illustration tips for drawing faces from a designer in this free fashion illustration video series.
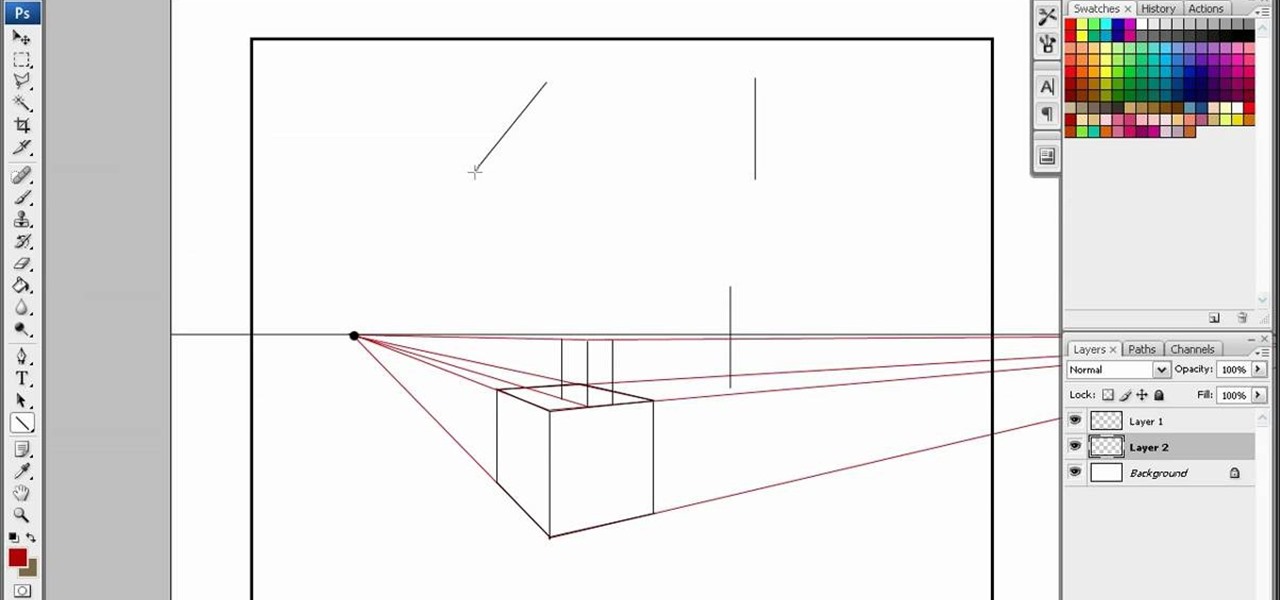
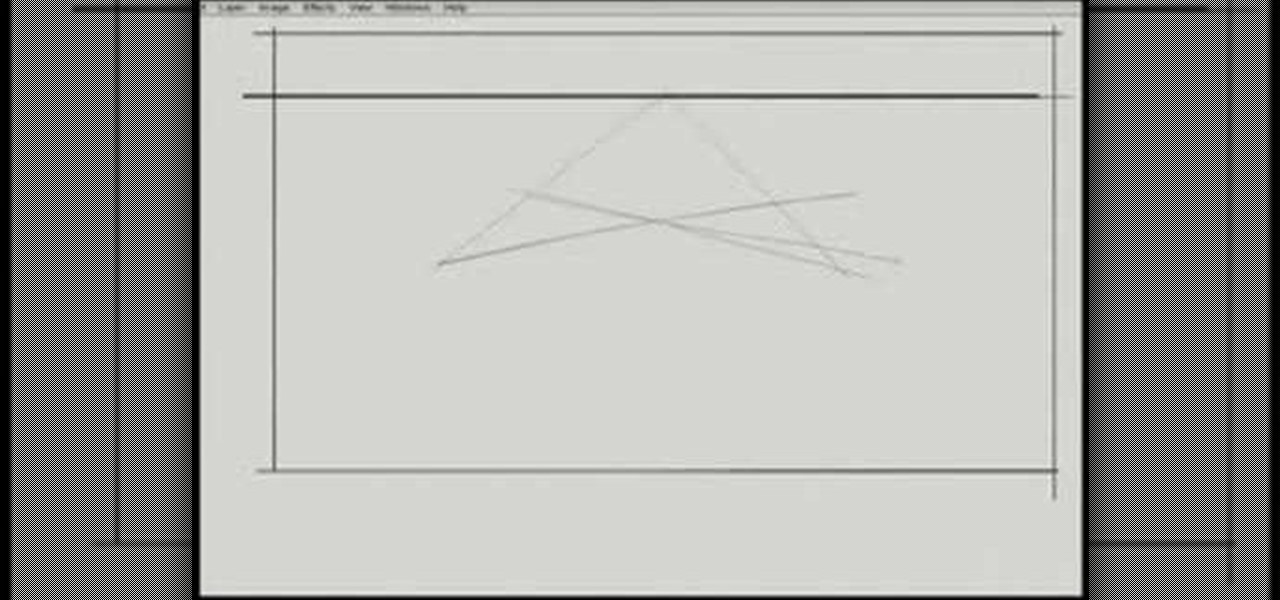
In this video, learn how to use perspective in your drawings. You will discover how to use Photoshop to draw an image with a two point perspective. This process is not difficult and in this three part series you will get expert advice on how to achieve it.
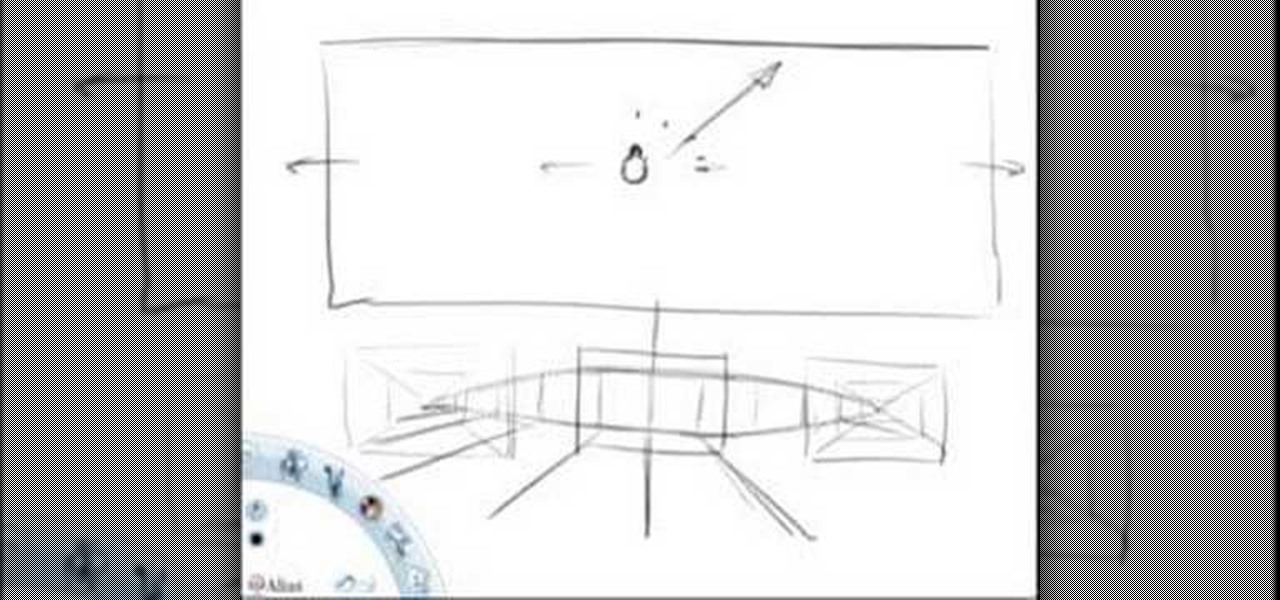
This tutorial will attempt to explain the perspective principle of Field Of Vision. Learn how to draw perspective with a more realistic method than a classic one point perspective practice. This instructional drawing video demonstrates how to draw using a technique that focuses on field of vision, based on the human eye. Your drawing will take on a fish eye effect as you mimic the effect of looking up and down as you draw.

This Photoshop tutorial goes over the basics of using vanishing point. Learn how to setup a perspective grid and clone in 3D space, also place graphics in a perspective correct environment.

Practice drawing in perspective with simple doodling exercises. Add texture to flat looking forms by drawing patterns on the surface of objects. If you can doodle in perspective, then every line you put down can be a line drawing in perspective. Watch this instructional drawing video to doodle simple shapes with multi-dimensional form.

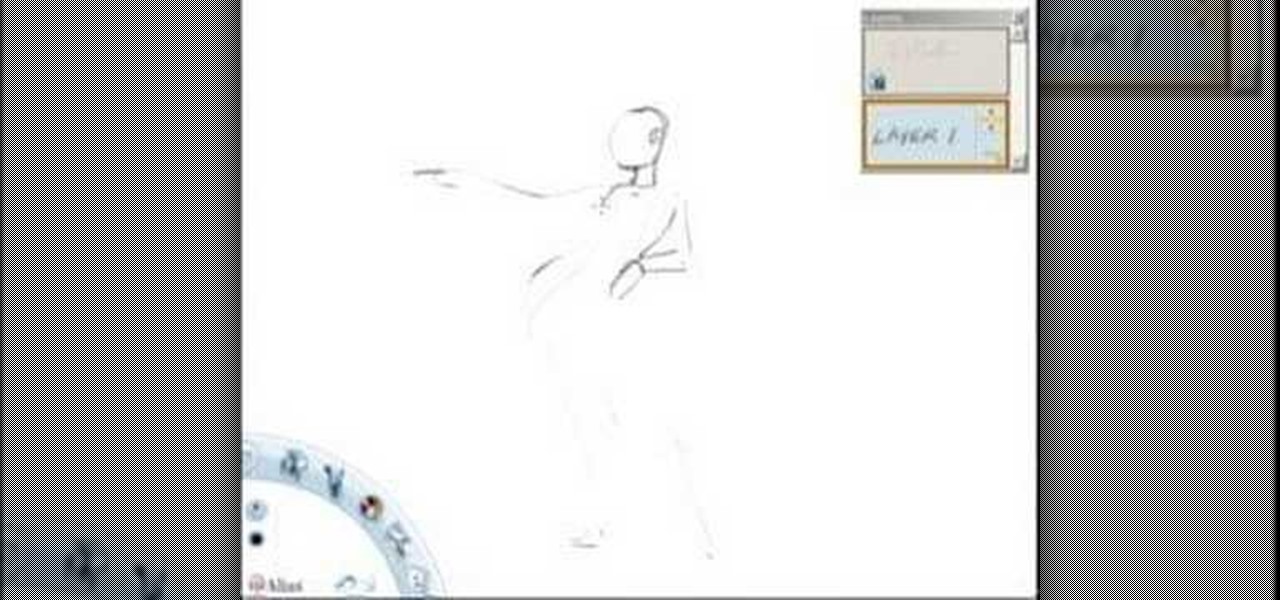
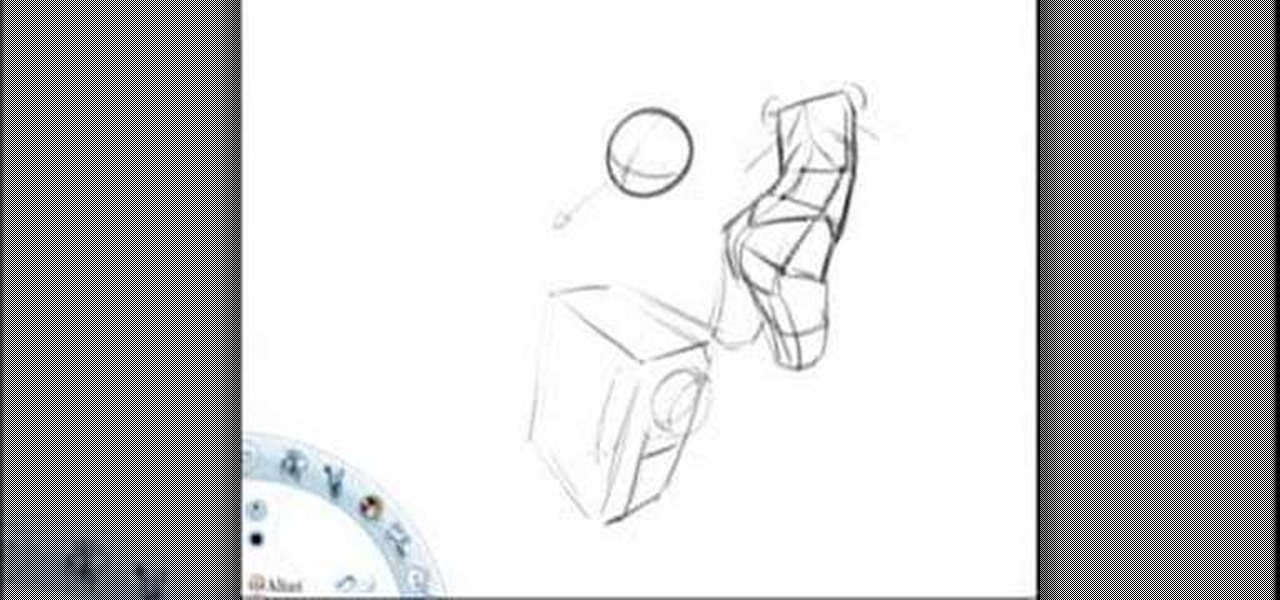
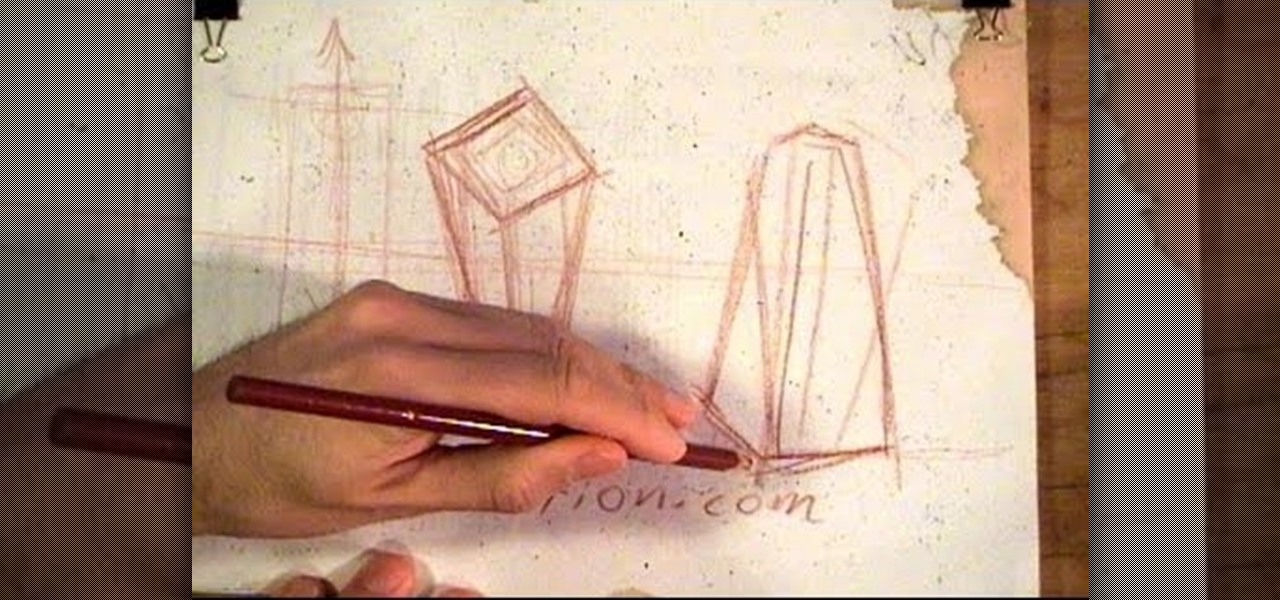
Use everything you've ever learned about drawing inanimate objects to draw the human figure. You will need to use efficient lines and accurate perspective to draw a number of basic shapes that will come together in the shape of a human body. Watch this instructional drawing video to begin drawing figures in perspective. Even if you are not an expert at anatomy, you can calculate what simple shapes look like in perspective and carve back into the basic forms.

One of the great things about Photoshop is the ability to fake perspective and make things look 3-dimensional. In this tutorial Bert goes over using perspective and vanishing points.

Learn how to draw with a concept of perspective based on a camera's field of vision. This instructional drawing video demonstrates how to draw with an awareness of objects as they exist within space. How will an object change, in the camera's of vision, as you slide it back and forth? It's important to draw things as they appear rather than how they might actually exist.

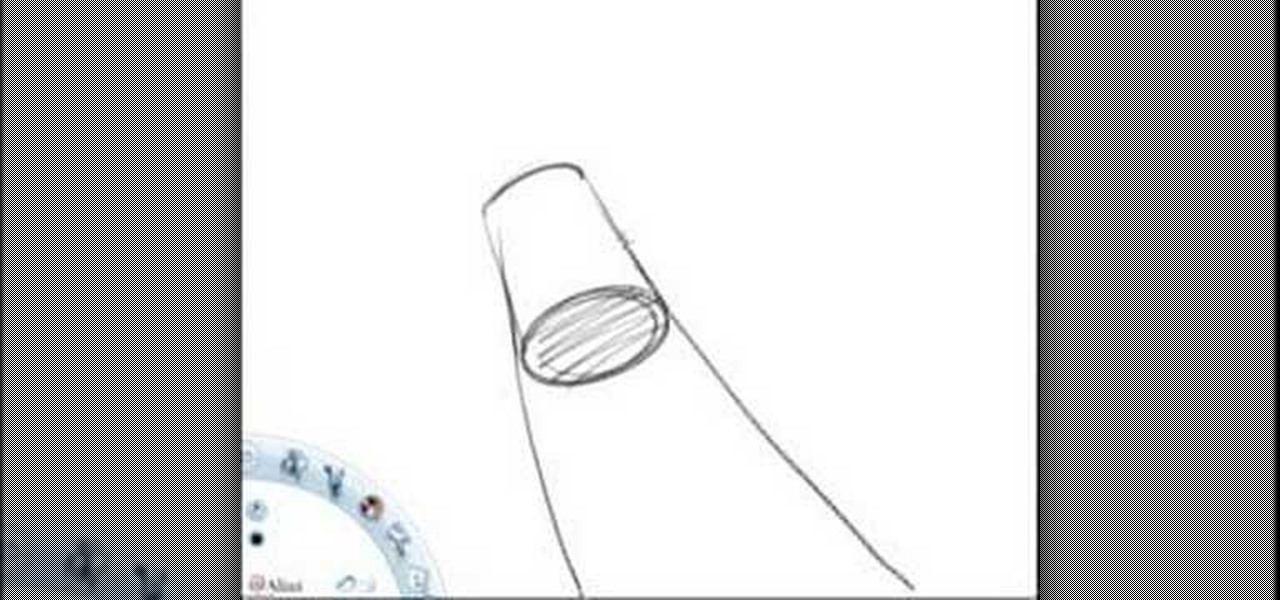
Check out this video to learn how to draw wheels in perspective. Learn the easy way of drawing or painting wheels or arches in perspective. This video shows you a simple way to get them upright and vertical - and looking right - first time, every time. No complex measuring or calculations required!

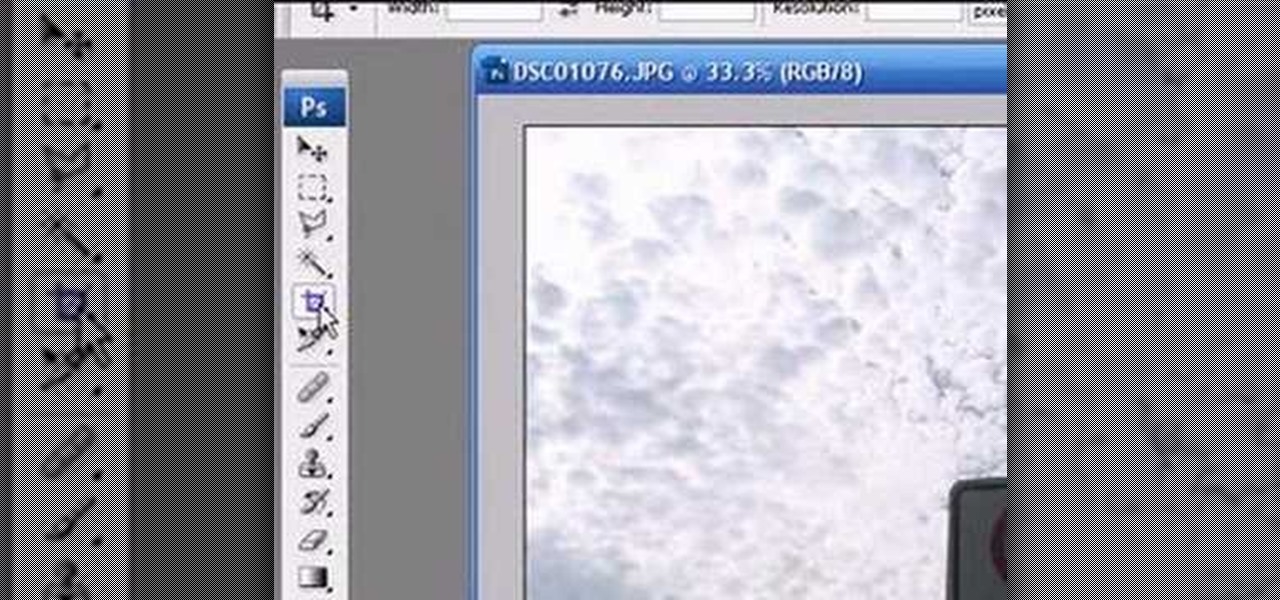
How to do Perspective Cropping in Photoshop to change the angle and perspective of an image or part of an image.

In this two part instructional video, you will learn how to draw and design anything at all using perspective. This technique is great for adding backdrops and objects to your comic books and drawings. You will receive step by step tips on how to get your drawings to look realistic, while sketching them in a computer program like Photoshop.

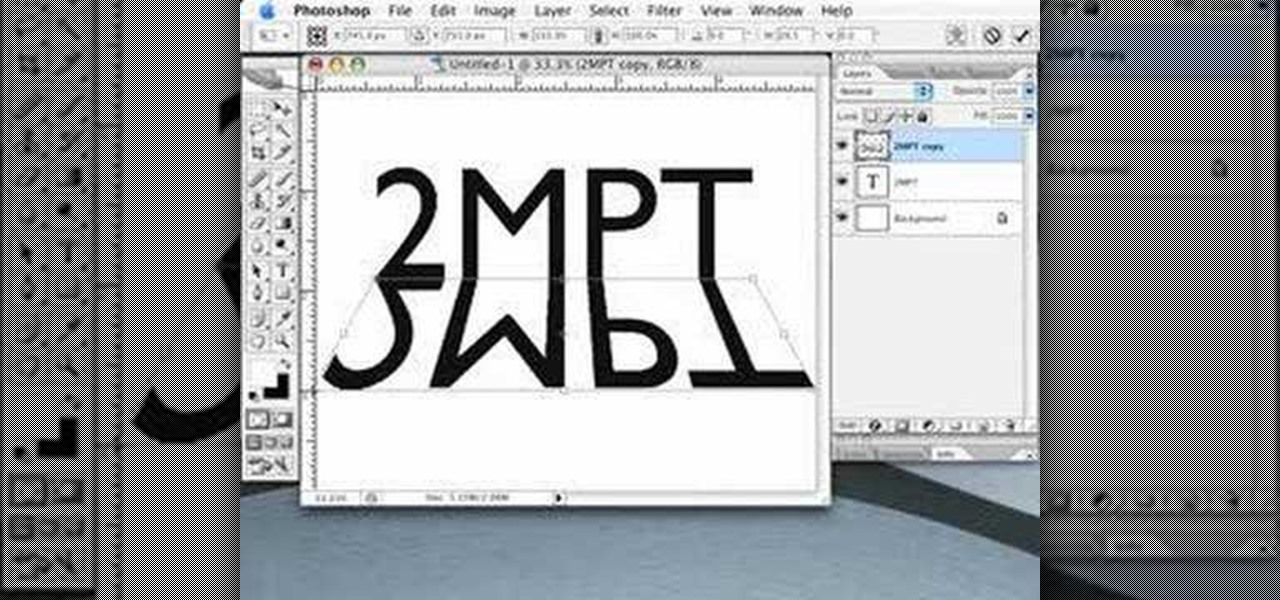
Even people who are new to using Photoshop will be able to understand this simple tutorial. Take a piece of text (a single word, a heading or even a whole line) and then apply a series of effects to the text to give a perspective look. Then apply the drop shadow effect for a little greater depth. This is a great look for a logo or any piece of text you want to draw attention to!

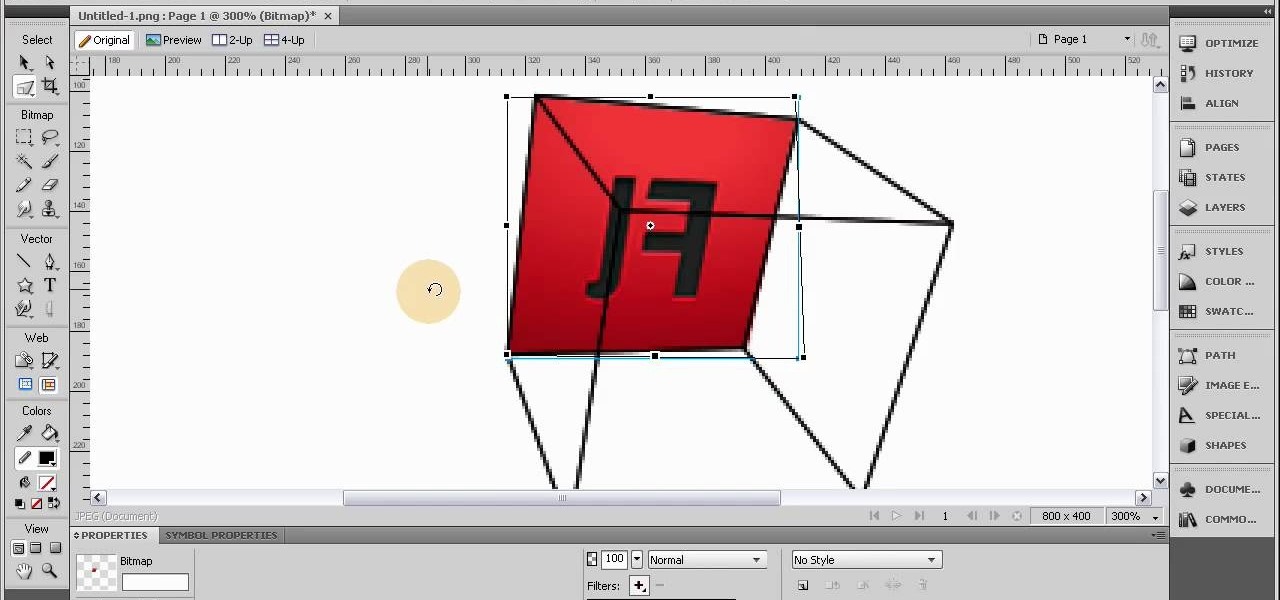
This tutorial shows you a very basic process in Adobe Fireworks - how to make a 3-D perspective box. The steps to complete this simple procedure are clearly outlined in this tutorial. Once rendered, you can even animate your little box and have it dance across the screen!

Whether you're new to Adobe's Creative Suite or a seasoned graphic design professional after a general overview of Adobe Illustrator CS5's most vital new features, you're sure to be well served by this from the folks at Lynda, which presents a detailed, step-by-step overview of how to draw artwork in perspective in Adobe Illustrator CS5.

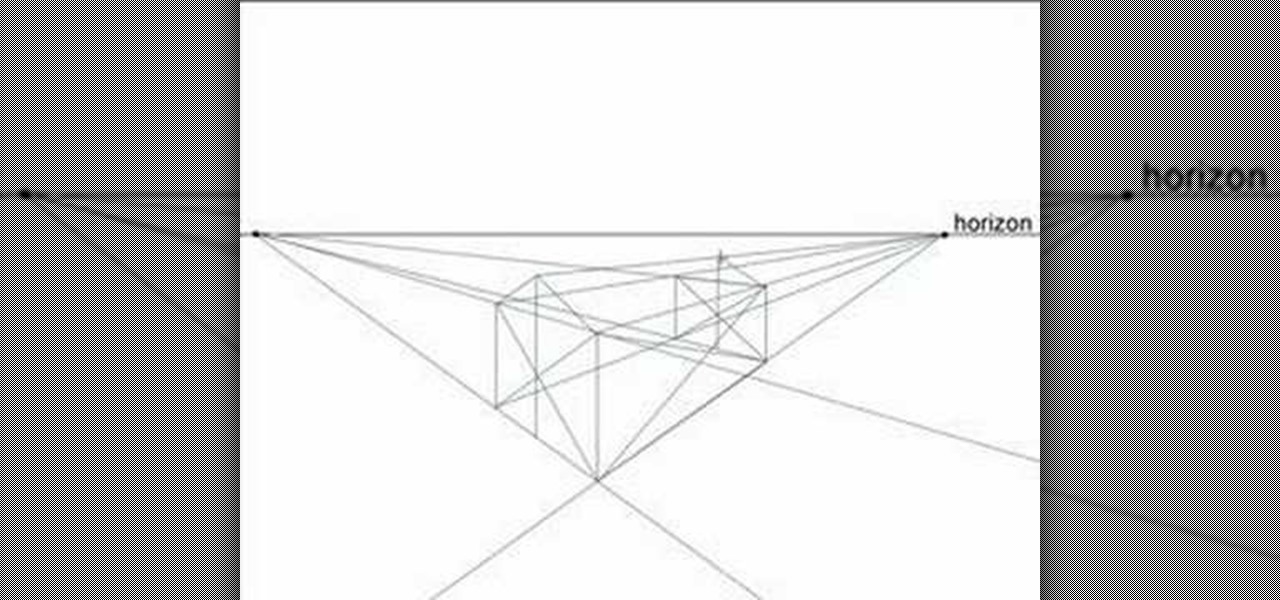
Basic 1pt and 2pt perspective drawing. This is a CAD video, but it is designed to teach you how to hand draw everything. The draw three dimensions, off the paper and in the Z plane, one must have a very good idea of how the setting appears.

The foundation of most fine arts educations begins with the drawing of the human figure. These human figure drawing tutorials are brought to you by Cy Porter of solomation.com. Search WonderHowTo for more figure drawing tutorials by Cy.

Without perspective, drawings would never look realistic and would instead be flat, remedial depictions of reality. Luckily, the discovery of perspective during the Renaissance lets us simulate reality if we know the mathematical principles behind it.

Learn how to draw with a humanistic concept of perspective based on a realistic field of vision. This instructional drawing video demonstrates how to draw with an awareness of objects as they exist within space. How will an object change, in your field of vision, as you slide it back and forth?

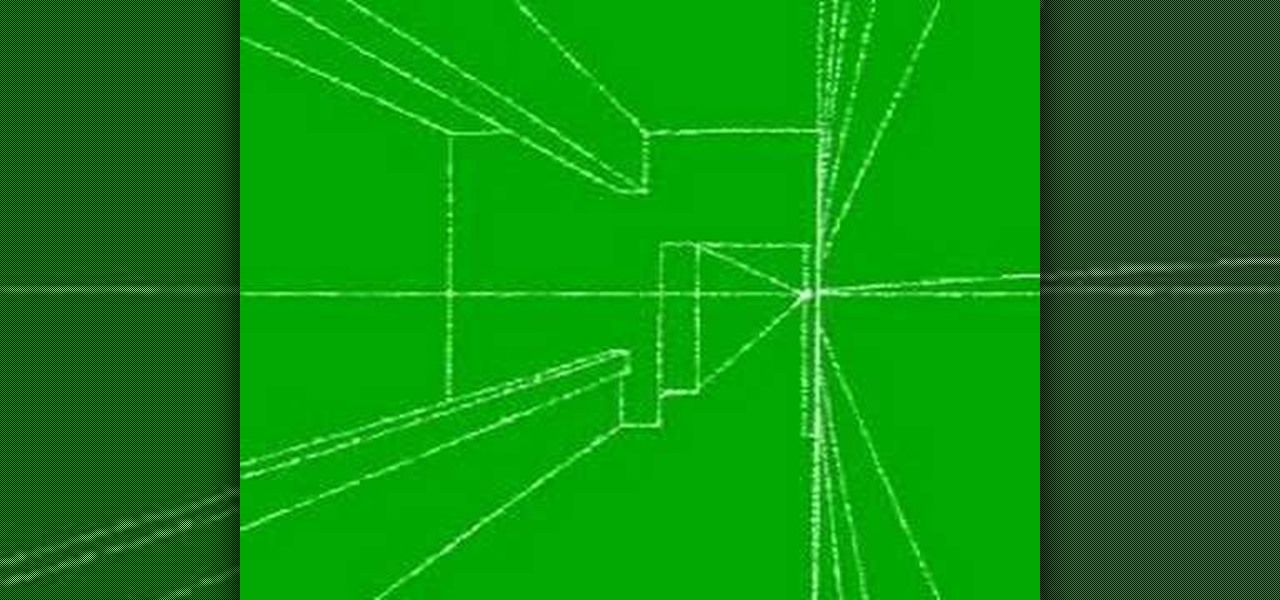
The video shows how to draw a multi- point perspective by drawing it in easy to view steps. It shows how to draw the subject in the simplest form possible to achieve the finishing results. It starts out with a single horizontal line then the line is divided in half with a vertical line and the remaining lines drawn are on an angle and rectangles which are worked in to the video to achieve the final results of a multi- point perspective.

If you're trying to give your images a 3-D feel when designing them using Adobe Illustrator, it's critical that you know how to use the perspective grid. This handy tool will also help you if you're working with images that have depth, like outdoor shots.

Start with a square and then use your perspective grid in Adobe Illustrator 5, part of the newest Adobe Creative Suite. Then you can transform this basic square into a 3-D box. You can even add logos or printing onto your box.

In this clip, you'll learn how to use and work with the Perspective tool when doing design work in Adobe Illustrator CS4 or CS5. Whether you're new to Adobe's popular vector graphics editing software or a seasoned professional just looking to better acquaint yourself with the program and its various features and filters, you're sure to be well served by this video tutorial. For more information, including detailed, step-by-step instructions, watch this free video guide.

When vanishing point perspective was first discovered in the early Renaissance, artists were astounded by how the draftsman tool was able to transform a flat, 2D space (that until then always looked like a flat, 2D space without perspective) into a believable 3D image. We've been using vanishing point perspective ever since, and architects would die without it.

It's difficult to maintain a sense of perspective when drawing smaller forms. Watch this instructional drawing video to draw using a technique called landmarking. Draw marks on the surface of a three-dimensional objects to note how an "X" will change as it moves along the surface of a sphere. This will help you to give form to an object even when drawing small shape.

Are you a little stumped when you look at a blank page? Here's how to regain the sense of perspective you lost when you looked at the paper. This instructional drawing video demonstrates how to draw three dimensional space with the help of a Google drawing program.

Donnie Hoyle puts it all in perspective. Use vanishing point to construct a perspective for trains.

In this Two Minute Photoshop Podcast you will learn to create perspective shadows with your text. This effect makes it looks as if there's a bright light source behind your text. You will learn how to use the Transform tool.

Jordon Schranz brings you this tutorial on drawing. Search WonderHowTo for Sessions Online School of Fine Arts for more drawing tutorials. The technique & craft of drawing isn't necessarily about inherent talent, it is something that comes with lots of practice. It is all about being able to accurately record what you see.

Once you've learned to draw sculptural forms in perspective you will naturally want to begin placing several objects within a common space. You would like to draw a background. The trouble is, when drawing in perspective, there is no flat background. It helps to map out the space using halfway points to make note of significant objects. Watch this four part instructional video to draw several objects against a single background.

This video demonstrates how to create a one point perspective drawing. You begin by making a horizon line across your paper and adding diagonal lines from the corners which will all converge at a single point along your horizon line. You can then create boxes by creating squares or rectangles around the lines extending from the central point. The outer edges of your rectangle can further be connected to your single point in order to create a 3-dimensional shape for the boxes and cubes which y...

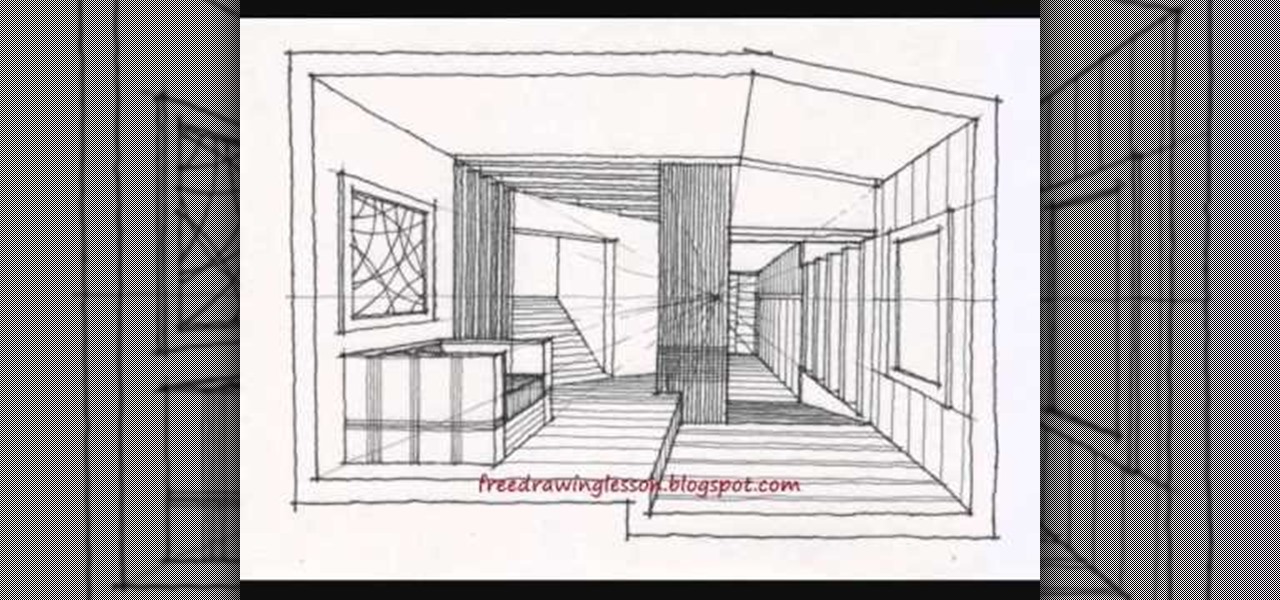
In this tutorial, we learn how to draw an interior perspective of a room. First, draw a horizontal line, then start to draw squares around it, then add in the back doors and the shelves, counters, windows, and more. Add in details using vortex lines as your focal point. You can use this technique to draw several different perspectives of different rooms. You can draw kitchens, mudrooms, living rooms, bedrooms, and more. You can also add in the little details, including couches, artwork, thing...

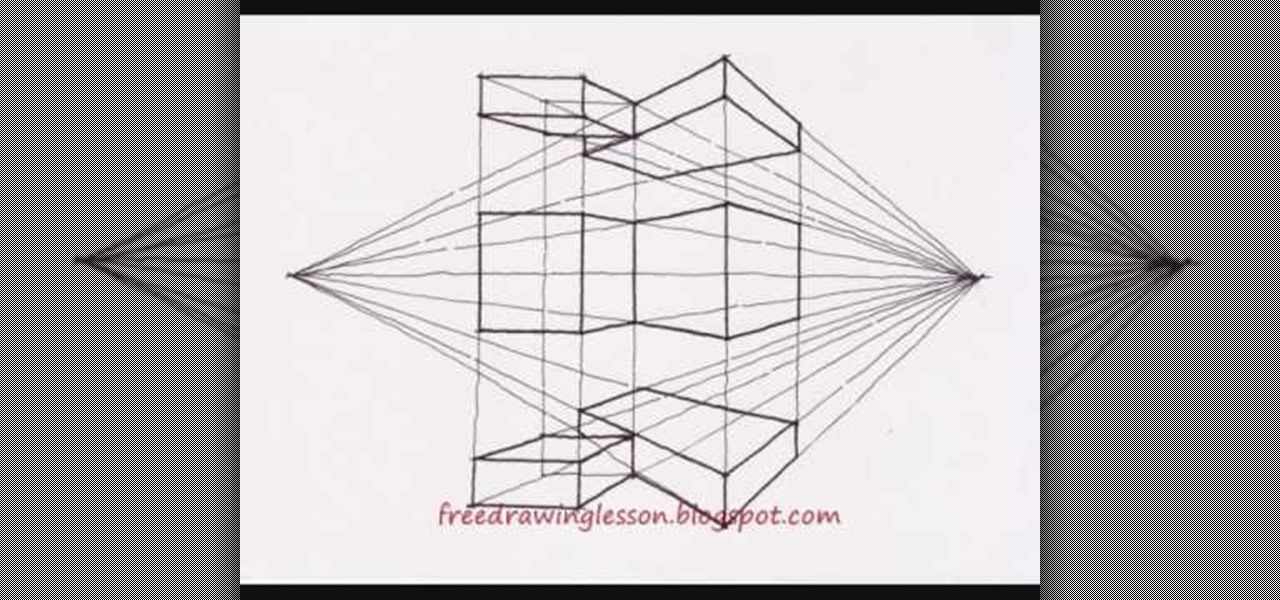
Miandza teaches you how to draw a two point perspective concept. You start with a horizontal line. Draw a vertical line in the middle and starting from that, create a rhombus. Add more vertical lines at equal distance from one another. Also create a smaller rhombus in the middle and add parallel lines to the diagonal ones. Start creating boxes when the lines intersect and use a darker color to make them visible. Continue to add parallel boxes in all directions, using the lines as help. In the...

Check out this video to learn to draw an anime face in side and 3/4 perspective for manga and comics.

A very important thing to keep in mind when you're creating images from scratch or even putting things into existing images is the concept of perspective. Bert goes back to basics to teach this concept, starting with a horizon line and adherence to the rules of mother nature.

Use the Xara Web Designer 7 Premium Mould tool to mould, re-shape and change perspectives of objects. The Xara Web Designer Mould tool will allow you to create some very interesting effects to make your website stand-out and have depth. Even the thumbnail shown for this web design video tutorial was created with the envelope tool. If you have ever seen the software boxes shown on various those are usually created with an envelope tool to give the box its perspective.

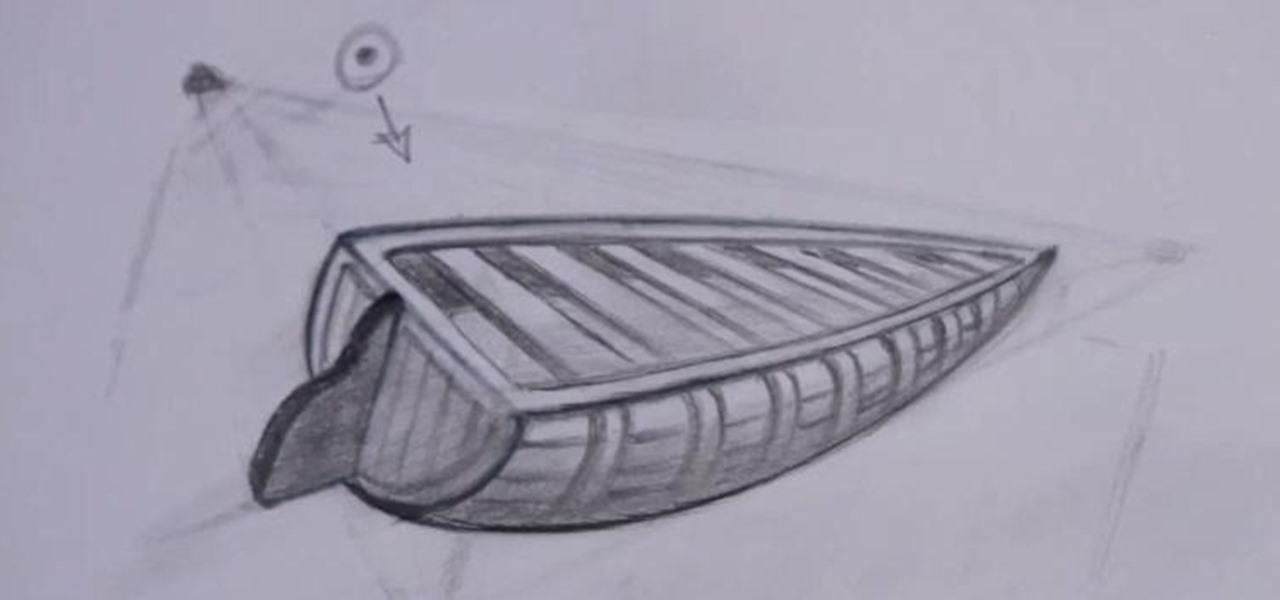
VCAD instructor Glen Kennedy, who has worked for several large studios throughout his career, including Disney, Universal Studios and Marvel Productions, introduces fundamental drawing techniques to encourage young artists to develop and hone their drawing skills. In this five-part drawing series, viewers can follow along with Glen to learn how to sketch a boat in two-point perspective.

In this video, we learn how to draw two point perspective. Start off with a horizontal line on your paper. After this, draw a small point on the line where your drawing will focus to. From here, you will start to draw lines coming out of this. Next, you will design the rest of the picture around the main focal point you started out with. Add in lines to create lots of detail and make sure to use shading to show depth. Erase any background lines you don't need. Then when you are finished, you ...


