Emerald City Elegance Paper Crafting with Joann is really very interesting to watch. It takes us through the process of making a beautiful paper cup mini album. It explains us to properly cut the edges of the paper cup, to stick first the color page in the folded paper cup, making ready the plain album pages and punching it altogether. Finally embellishments are also done to add beauty to the mini album. Now the album is ready. After watching this video, any viewer develops the art of creativ...

In this tutorial, we learn how to crochet a left handed streamer hat. For the first round, you will chain four, then double crochet through the loop. After this, repeat nine times from the beginning then slip stitch to join the beginning chain 3. For round 2, attach contrasting color of yarn, then chain 2. Single crochet in the previous chain 1 then go over the double crochet. Work 2 single crochets in the next crochet 1 then work a single crochet in each space. Slip stitch to join with the b...
Teen pop star Miley Cyrus is not one to shy away from taking chances - in life and in fashion/makeup endeavors. Cyrus enjoys flaunting her bright eyes with shimmery shadows of gold, silver, and bronze, which contrast with her eye color in the most flattering way.
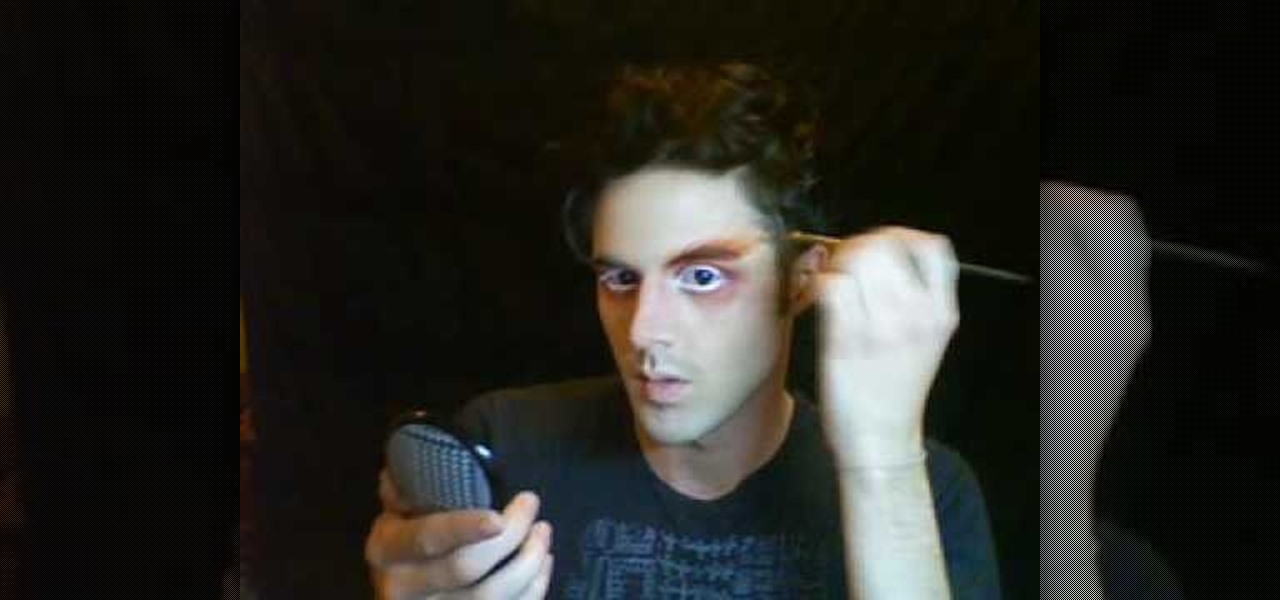
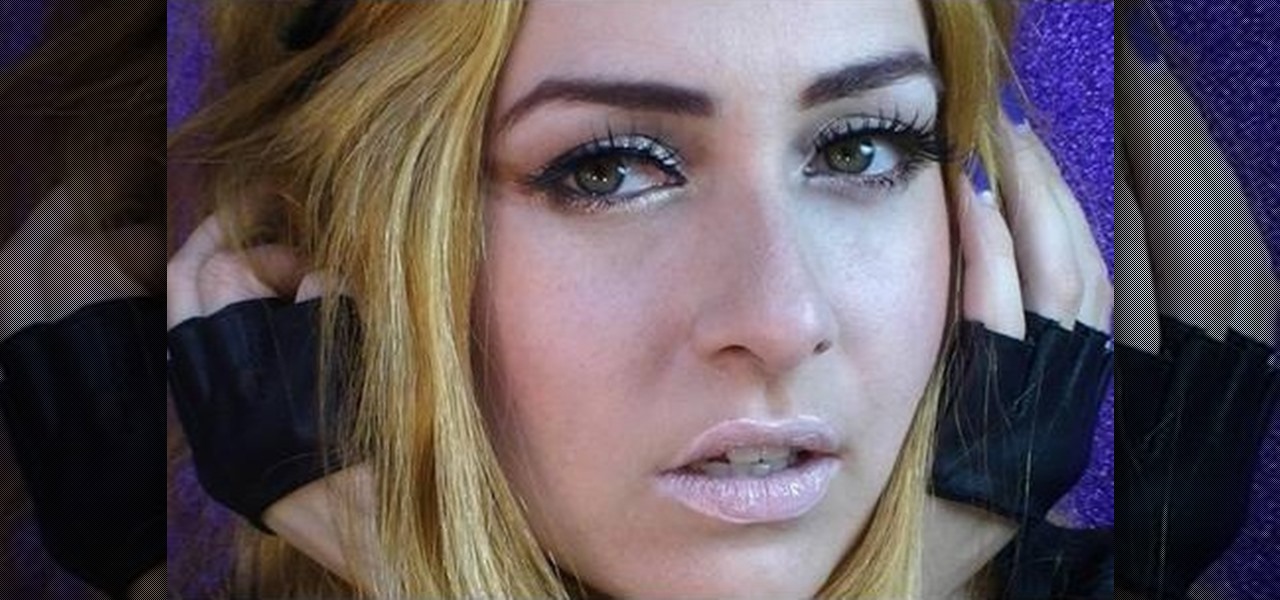
Part of the beauty of summer is the stark contrast between day (hot, sunny, bright) and night (chilly, starry). While loads of makeup tutorials can be found that will teach you how to get the "summer glow" and infuse your face with more bronzer than Mr. Armani has ever encountered in his lifetime, gorgeous summer nights are often neglected as a beauty inspiration.

Oh, Adriana Lima. Men want to be with her and women want to be her. At almost six feet with neverending legs, a perfect olive complexion, buxom lips, and contrasting hazel eyes, Lima is one of the most gorgeous women in the world. Which, of course, is why Victoria's Secret recruited her to be one of their famous Angels.

In this video, we learn how to make a floral arrangement. Start off with the biggest flower you are going to use, and build around that. If you have a white flower, pick a bright colored one to go next to it. Remember to use different flowers and colors to mix and match and make beautiful bouquets. You will also want to remove the bottoms of the stems and tuck smaller flowers in between the bigger ones. Creating color contrasts can help make an eye-popping floral arrangement. You can start bu...

The way to wear hijab shown in this demonstration with a simple wrap around the head, securing the hijab with bobby pins at the back of the neck. The ends of the hijab are pulled forward to the chest. Then a thin scarf in a contrasting color can be wrapped around and tied at the nape of the neck as well. A portion of the hijab is pulled forward over it and pinned over the ear. Then one of the ends is pulled under the chin to the opposite ear and pinned to the head. The other end is wrapped ar...
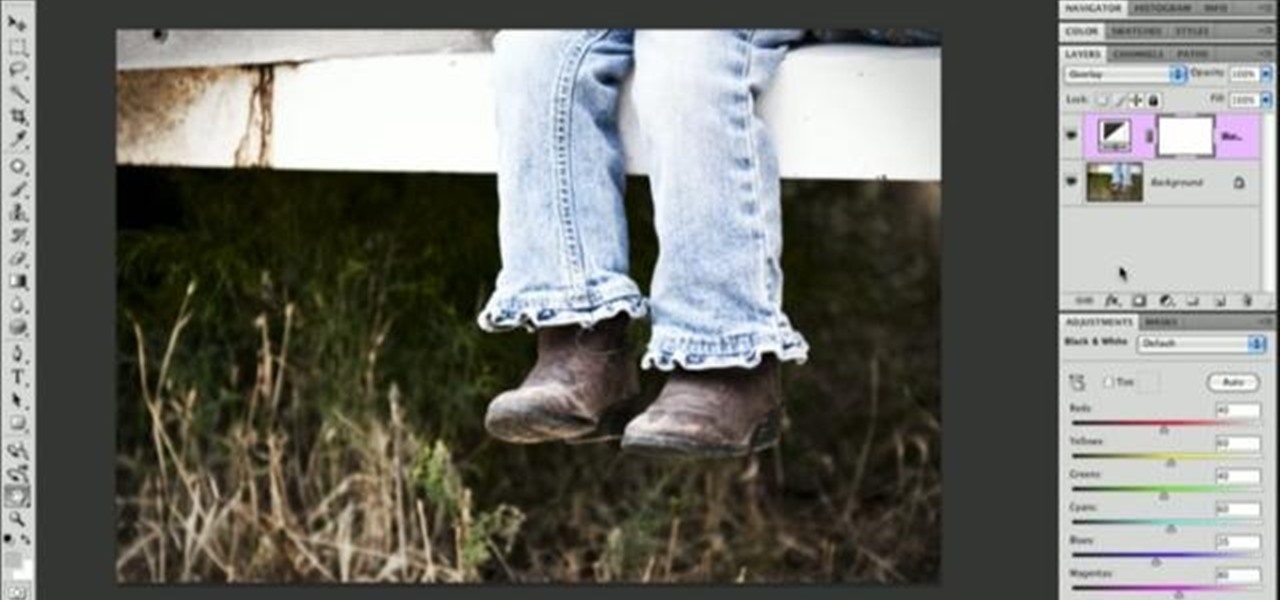
In order to add a nice contrast punch to an image using Photoshop, go to your adjustment layer and click on the black and white adjustment layer. Then go to your "blend modes" and change it to "overlay". If you find that the effect is too harsh you can adjust your opacity settings or you can switch your blend mode to "soft lights". In "overlay" using the black and white adjustment panel you can change your settings to meet your preference. If you are using a previous version of Photoshop that...
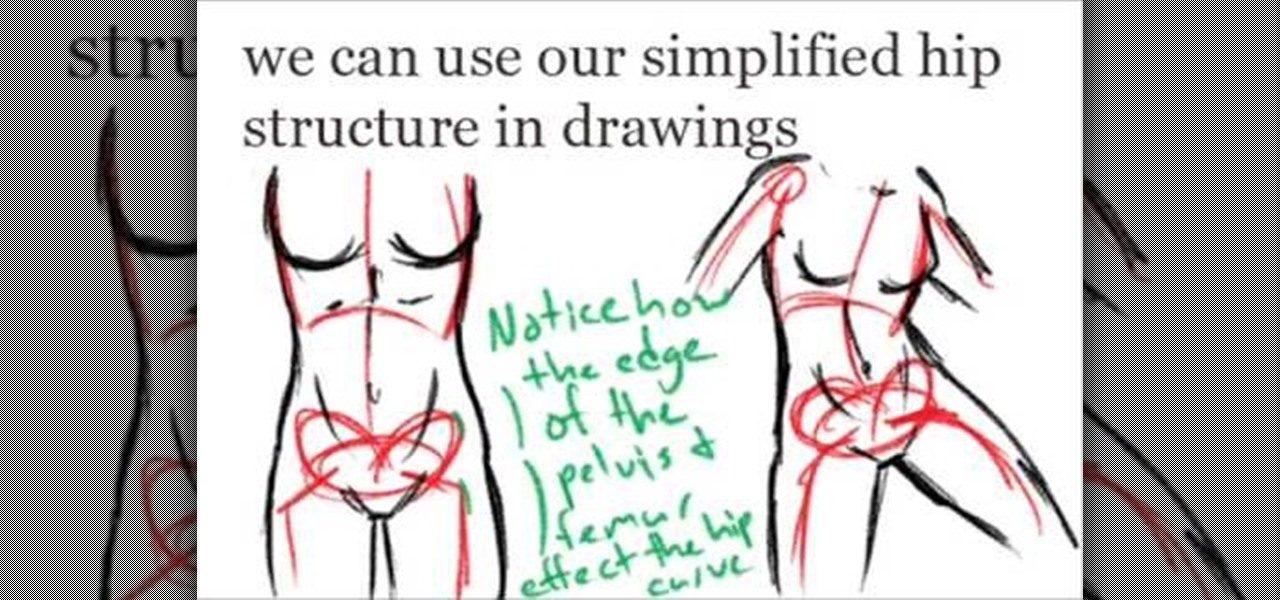
This video, which gives tips on drawing realistic hips, is helpful to people learning to draw the human form. The video starts by showing examples of bad drawings of hips and explains that these are how you should not be drawing them. It then shows a realistic black line picture of the pelvis bone on which the presenter has drawn a simplified version of it in a contrasting red color. He gives a simple description of his drawing, saying it is like an oval with butterfly wings coming from it. H...
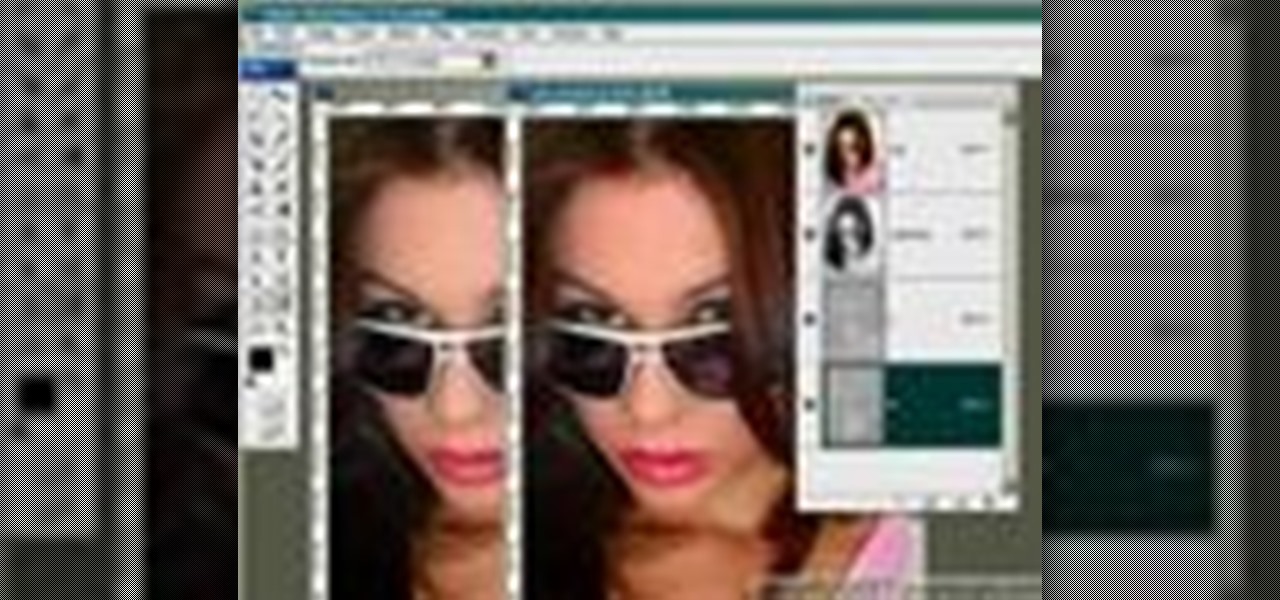
This Adobe Photoshop CS3 tutorial teaches you how perform slight photo retouching to supersaturate a photo without the distortion and bleeding. This adds a slight but noticeable saturated look of a photo which enhances the color quality. First the graphic artist adjusts the saturation. Then he creates a version copy using the lab mode versus the RGB mode. He then adjusts the contrast of the Lab mode image. Once you return the photo back to the RGB mode, you can continue altering the photo.
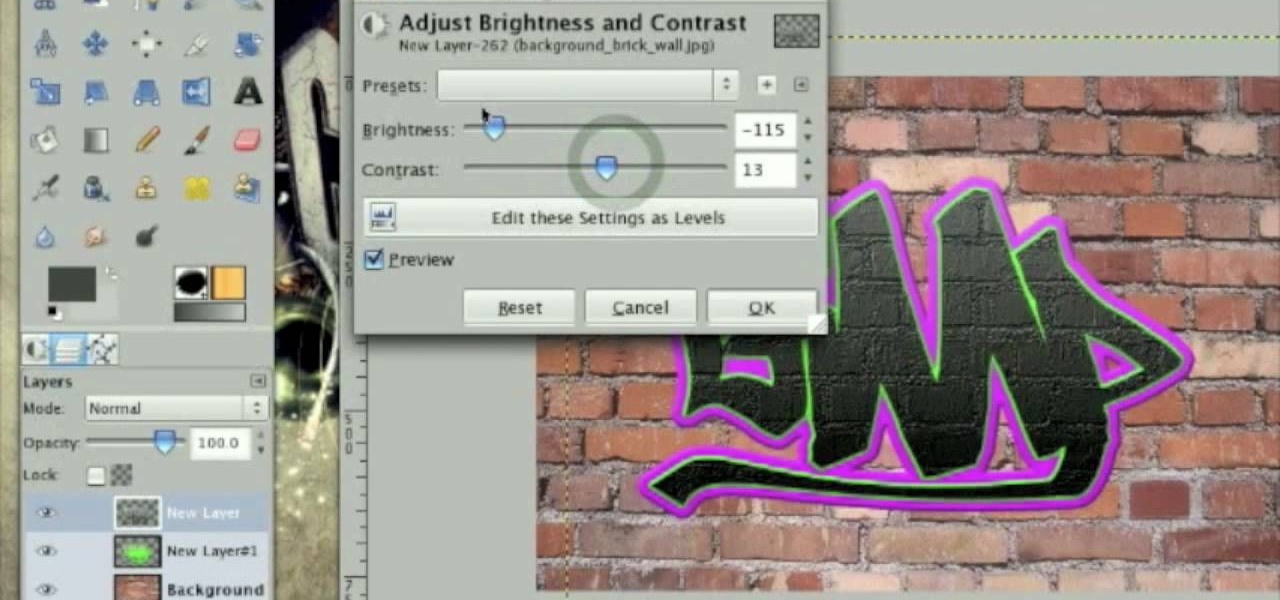
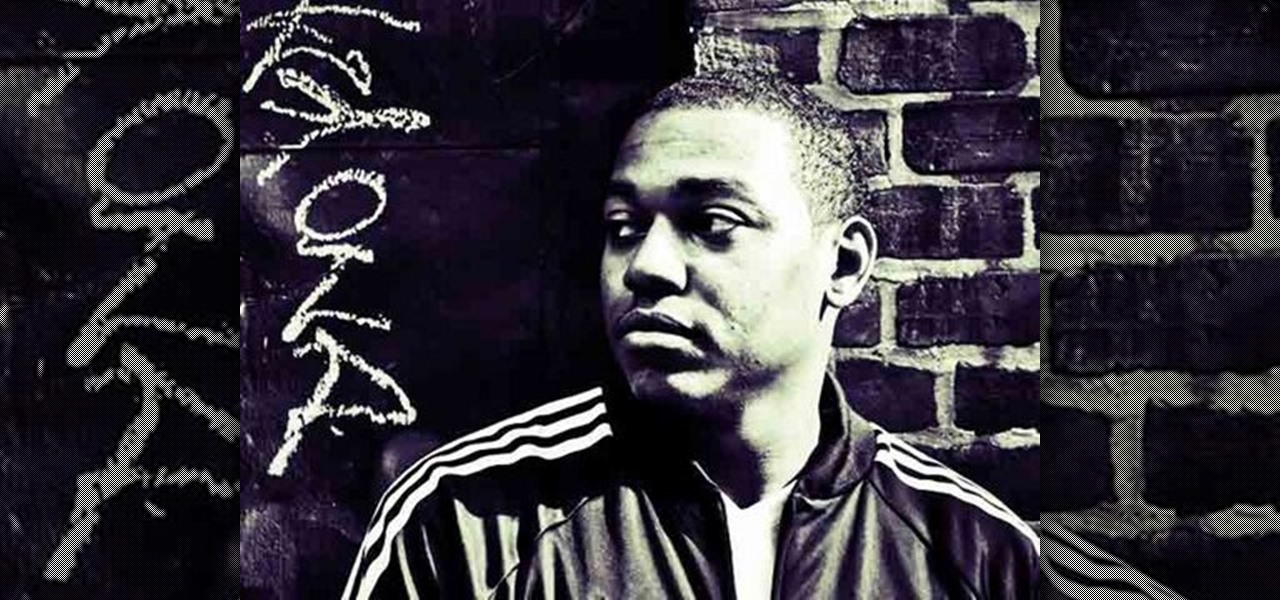
This tutorial describes how to create a realistic graffiti effect in a program called GIMP. You must first make sure that you have the font "writers original" installed on your computer. If not, you must download it to create this graffiti effect. Simply open a brick background on GIMP and put whatever text you want to have. Enhance the text by creating multiple layers and create a multi-dimensional image by creating contrast among those layers. Lowering brightness opposite layers and changin...
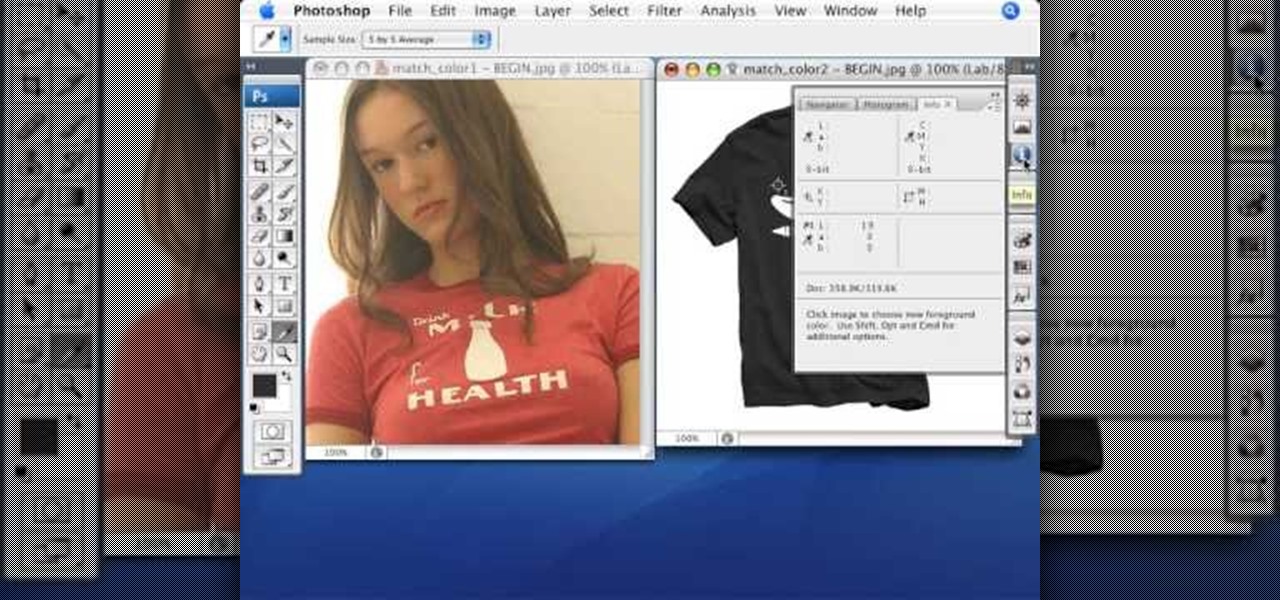
Match the color of objects on Photoshop. Take a picture of your self of one shirt that the shirt is on different color mean while choose the black tea shirt because it the traditionally one of the harder colors, change the image mode to the lab color for both images then use eyedropper tool and expose the info pallet select the neutral part of the image i.e. red. Hold down shift then we can see the icon changes then add contrast to it by hue saturation present in the layer pallet.
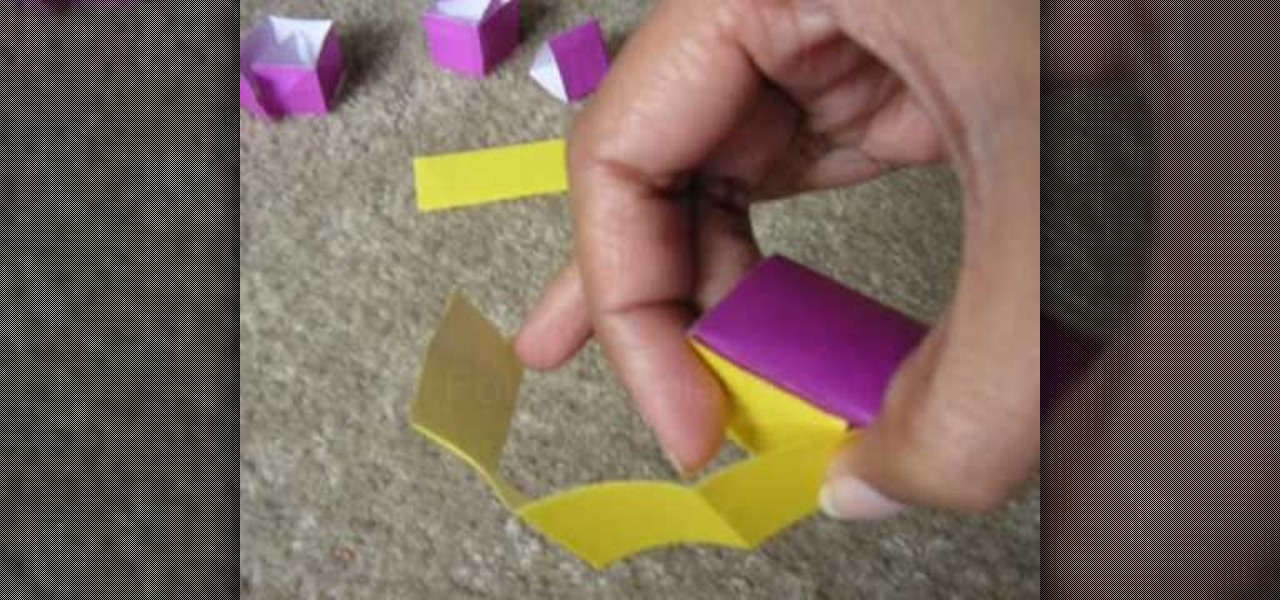
This video explains how to make an Origami Icosahedron (designed by Heinz Strobl) using 50 strips of paper. You need 20 strips of a single color for the triangles and 30 of a contrasting color to connect the triangles.
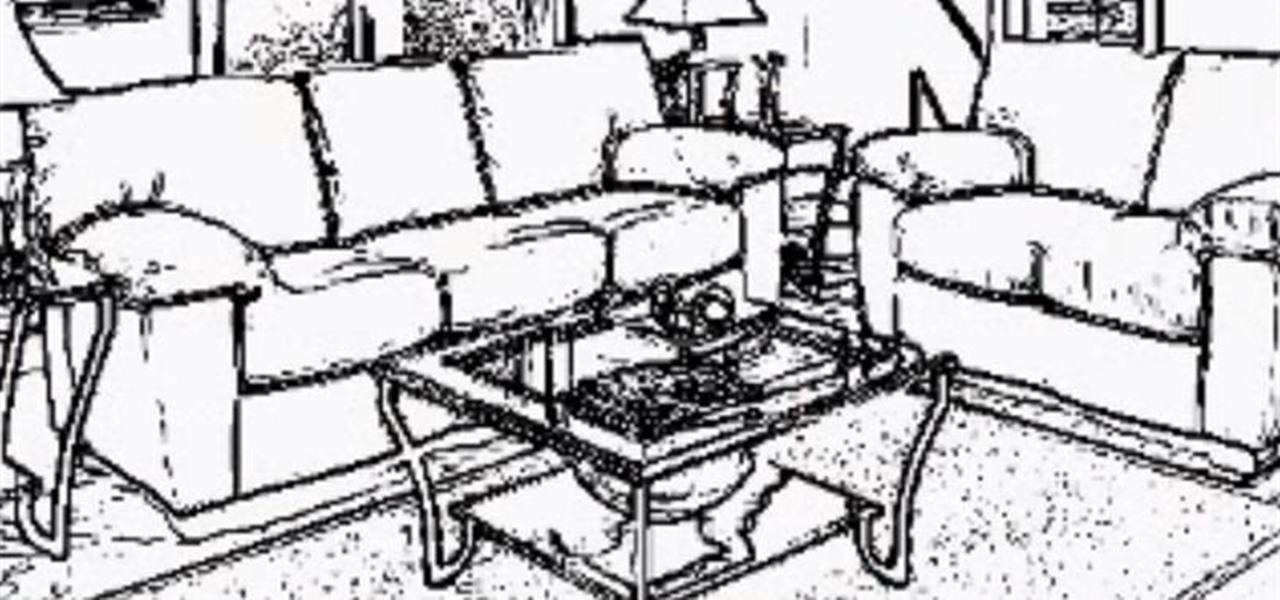
If you're not much of a drawer, you can still get the look of a detailed drawing simply by taking a picture and using Photoshop's tools and filters to transform it into something that looks drawn by hand.
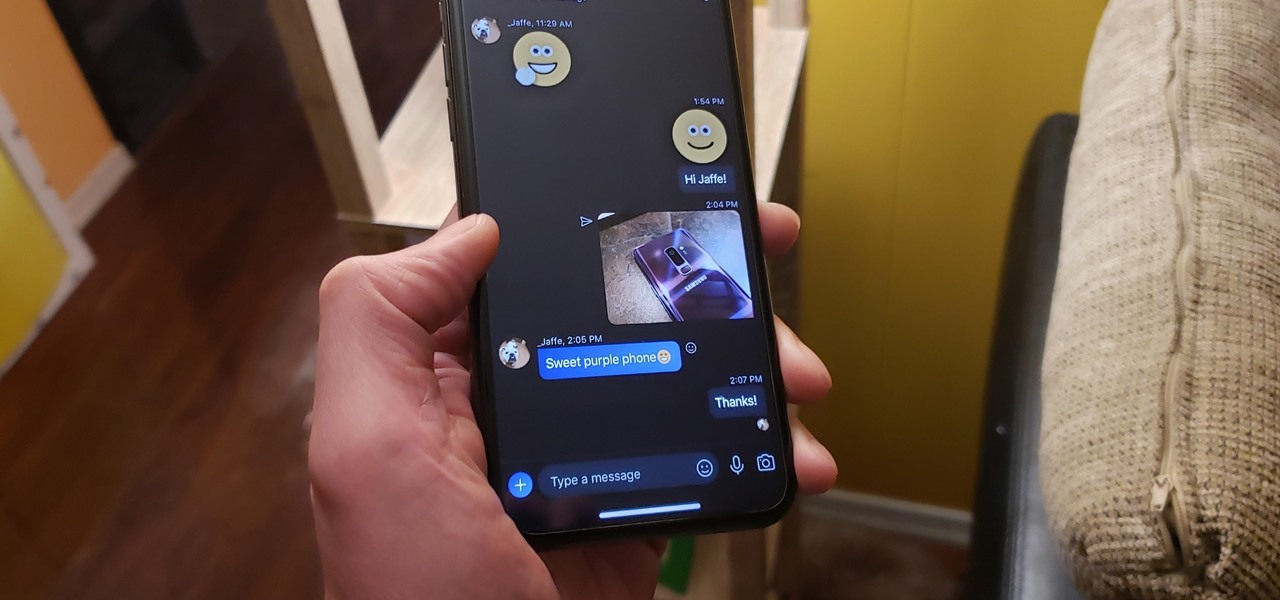
As the premiere app for chatting and video calls, it only makes sense for Skype to provide a dark theme to help prevent eye strain and minimize battery drain. Not only that, it has to also keep pace with popular messaging apps like Facebook Messenger that also have the feature built-in.
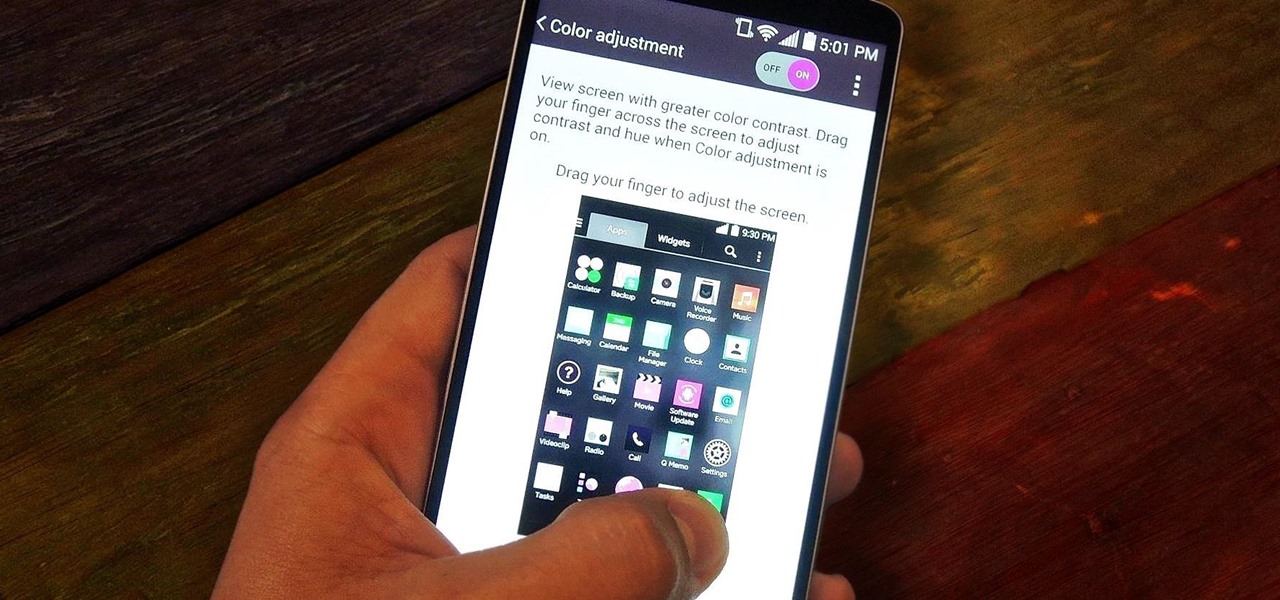
The first thing you probably noticed after turning on your LG G3 for the first time was its gorgeous Quad HD display. The G3 is the first device to offer the soon-to-be standard QHD screen, and it's a beauty. That being said, the colors can look flat and dull, especially when compared to my previous device, the Galaxy S4.
Tired of the Instagram wave? If you're sick of having to view the world through low-contrast and sepia-toned filters, there's a way to get them back to how they're supposed to look, and it's called Normalize, which undoes the magic filtering that Instagram and similar photo filter apps provide. The process of un-Instagramming your (or anyone else's) photos with Normalize is perhaps easier than Instagramming them in the first place. All you need to do is copy and paste them into the app and wa...
In this video, Logan Salter teaches us how to apply Mad Hatter makeup for Halloween. Start out by applying white eyeliner to the tops and bottoms of the eye, then apply it to your eyelashes until they are white. From here, apply orange eyeshadow underneath your eyes and to the tops of the lids. Blend this outward from your face and then add in a darker orange to create a contrast. Next, apply a pink shadow into the crease and under the eyes. Apply the orange shadow to the brows, then brush it...
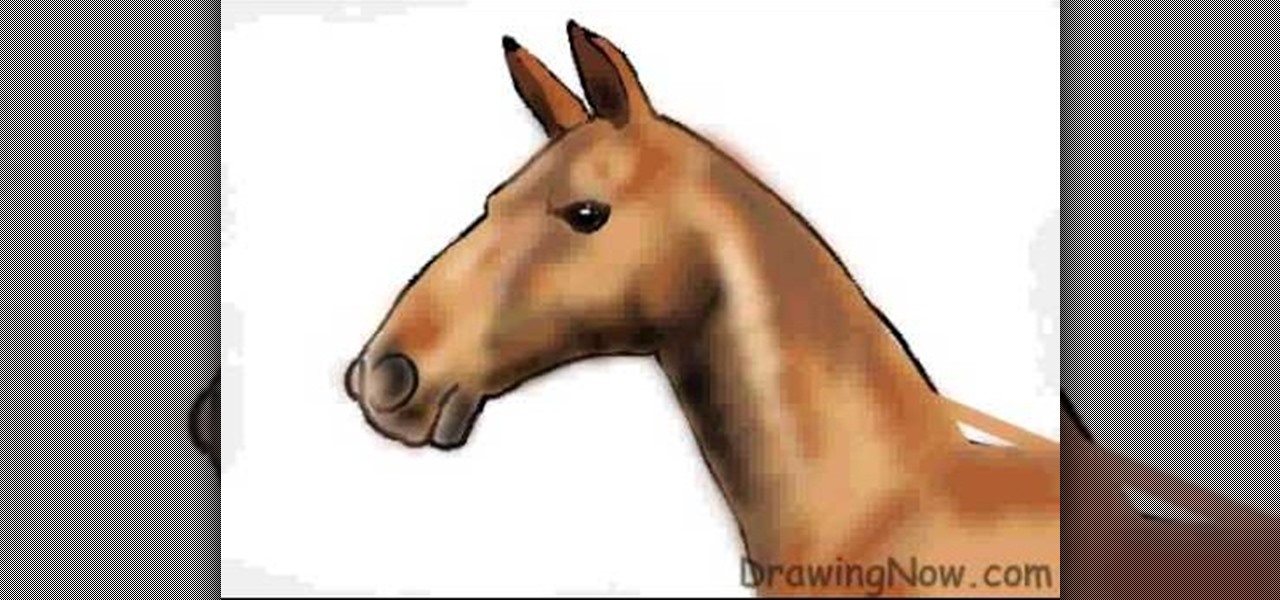
In this tutorial, we learn how to draw the head of a horse. Start out by drawing the outline of the horse's head and the neck. Then, draw in the ears and the details for the nose and the face. Next, color in the horse and then add shading along the sides of the horse and fill in the features with black. Use different colors of brown to show a contrast between the colors on the horse. After this, you will use small lines to create hair on the horse, then add in additional features. Clean up an...
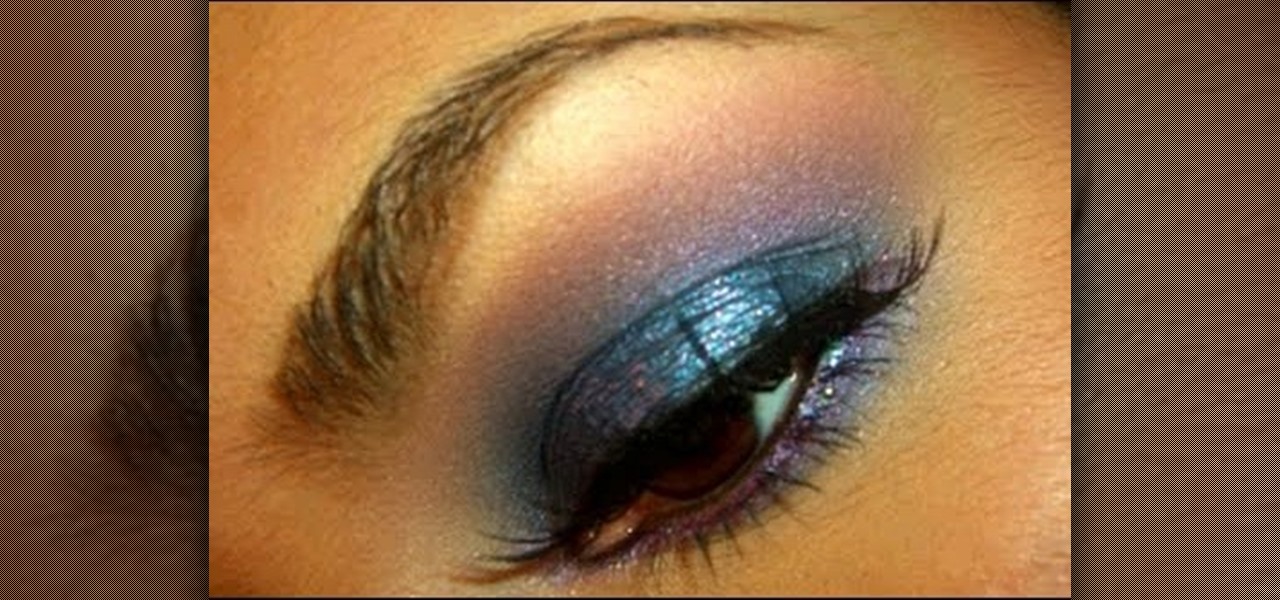
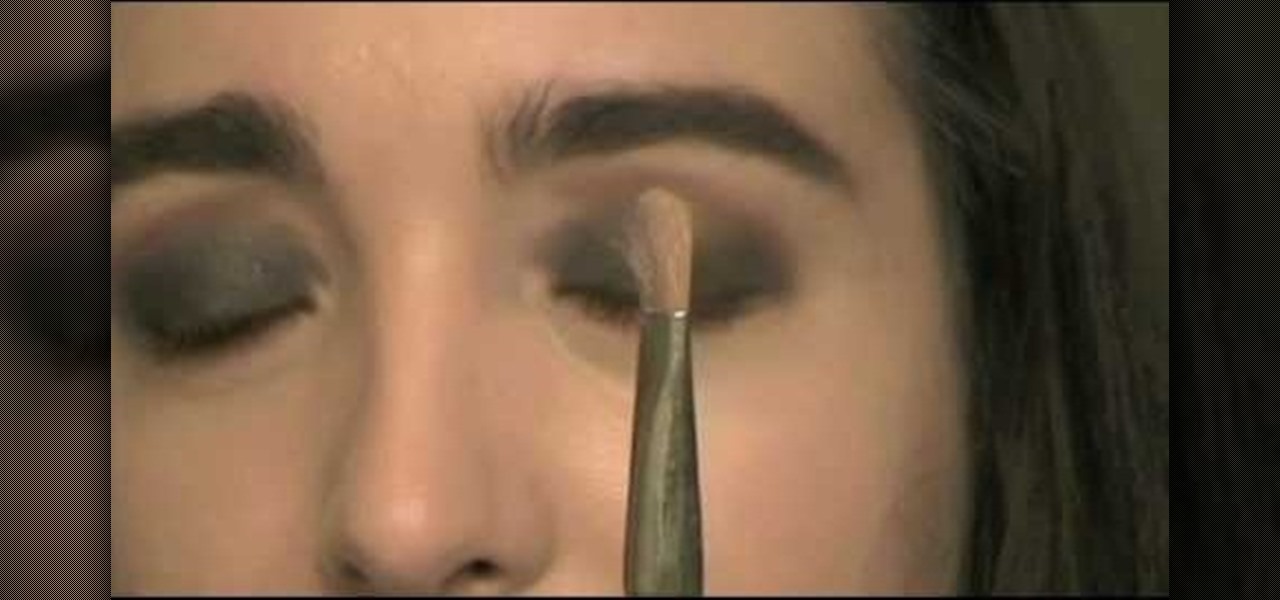
Though it may not seem like it, blue eye makeup is one of the most universally flattering shades out there. We're not talking robin's egg blue or any of the lighter shades of blue; rather, we're thinking a deep, dark navy or an electric, sparkly teal.
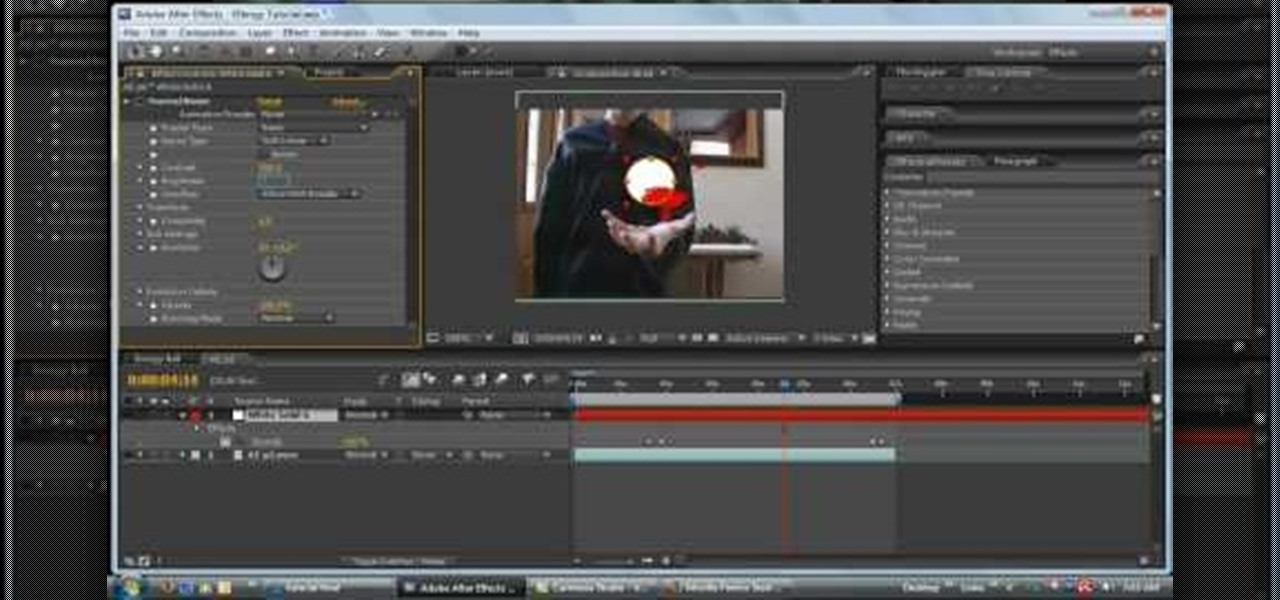
In this tutorial, we learn how to make an energy ball in Adobe After Effects. First, load a movie of someone pretending to hold an energy ball in their hands. After you do this, you will select a new setting and change the color. From here, you will select a round circle tool and add it where the hand looks like it's holding it. Then, change the effect to make the ball move around with the hand. After this, add the tracker to the hand and position it with the hand. After this, change the cont...
In this tutorial, we learn how to create a Lomo effect in Photoshop. This is a contrast that gives the photo a "cool" vibe and change up the effect that you see. First, load up your picture into Photoshop and then go to adjustments, then curve. From here, add a slight s-curve and then add a green channel with the same s-curve that you just created. Go to the blue channel and create the opposite s-channel from the others, then click "ok". Now, go to layer, new adjustment layer, then gradient m...
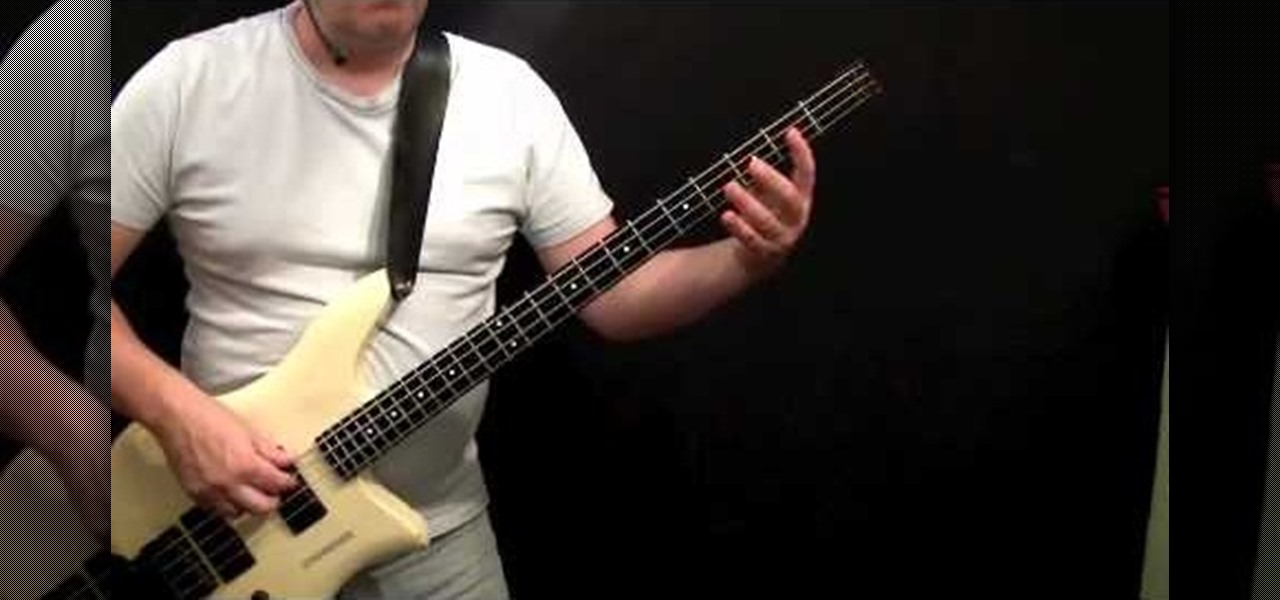
Bass players definitely don't get as much love as guitar players when it comes to glory and mainstream music popularity. After all, the base is the low-sounding, harmonizing complement to the lead guitar's riffs, offering a nice contrast but getting obscured in the process.
In this tutorial, we learn how to draw an eye in GIMP. First, open up the GIMP software and set up a circle, then color it dark blue. Next, add in light to the middle of the eye, so it looks like a light is shining onto it. After this, make a small circle in the middle of the eye, coloring it black. When done with this, create a new layer and then add brightness to the pupil of the eye. Continue to play around with the contrast and colors of the eye, so it looks more realistic and life like. ...
This video tutorial is in the Software category which will show you how to "Photoshop' someone into an image. It is like cutting and pasting one image over another. First open both the images. Ctrl and click the person's image that you want to move over. Drag the cut out image over the other picture where you want to superimpose it. Then click "edit', resize, rotate and position the image where you desire. Then go to "Image Adjustments' and adjust the brightness and contrast to match with the...
In this video, we learn how to change the color of clothing in Photoshop. First, click "enhance", then "adjust color", then "saturation". Now place a magnetic lasso around the shirt color you want to change. You can now use a slider to go through all the different colors, and pick that one that you want to use in the picture. Play around with the saturation, hue, and brightness to change what the color looks like in the picture. If you want to add more contrast, it will look more real like it...
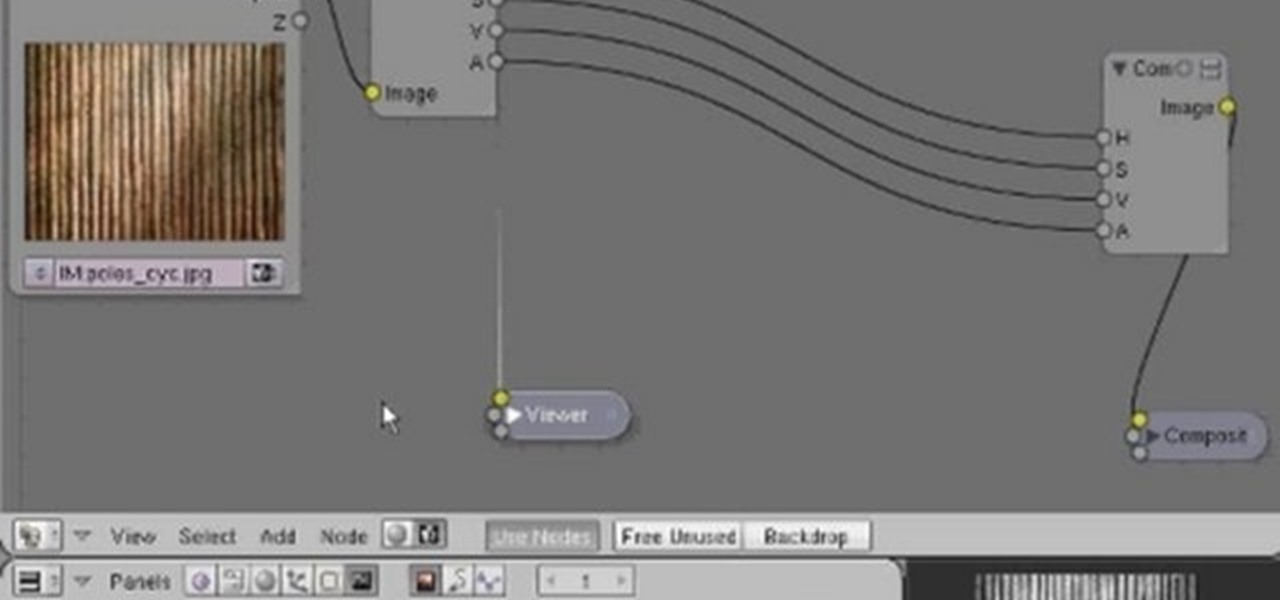
In this clip, you'll see how to construct a pass filter, commonly called a high-gain or band-pass filter. To do this, you'll use the HSV channels to identify what to do, the RGB curve to make an inversion mask, or negative, so that the image is added to itself, thus evening out the contrast and making a very flat image. This image can then be tiled and used as a seamless texture. Whether you're new to the Blender Foundation's popular 3D modeling program or a seasoned graphic artist just inter...
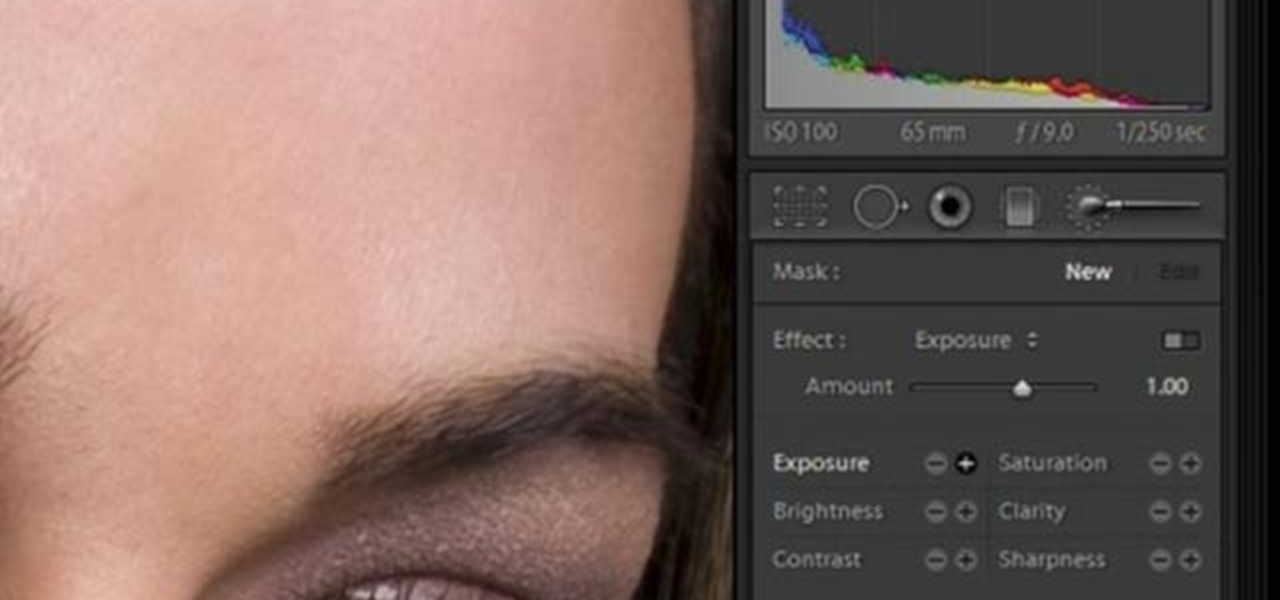
In this software video tutorial you will learn how to soften skin feature in Lightroom 2 in Yanik's Photo School. Select a photo and zoom in to the skin area. Click on the adjustment brush, or ctrl K. Here you can adjust 7 features; exposure, brightness, contrast, saturation, clarity, sharpness and color. But, if you click on the other 'exposure' dropdown menu, you will get these 7 options and additionally a 'soften skin' option. Click on 'soften skin' and it gives you the options to add nega...
The first step is to select a photo of a black, glossy car. Using the Lasso- polygonal tool, select the outline of the car. Once the image outline is complete, the dots animate around the image. The next step is to deselect the areas on the car where the chrome paint is not required. To do this, follow the same procedure as above holding the ‘Alt’ key (a minus sign appears next to the cursor). Once the selections are done, go to ‘Image’ menu, select ‘Adjustments’ and click on ‘B...
In this how to video, you will learn how to create a diagonal sum in Microsoft Excel 2007. First, open the program and make a large selection. Type in =int(rand()*500) and then press control enter. This will create random numbers for the cells in the selection. From here, click conditional formatting and select new rule. From here, type in =column(A1)-row(A1)=$H$1. For the format, choose a contrasting look, such as a purple background and bold numbers. Click okay. If you type -1 or -2 in this...
Placemats are an important piece when it comes to setting the table. Not only can it add a certain sense of style to the table, but it can help keep your table top nice and clean! Usually placemats have only one particluar side where it is going to be used the most. In this video tutorial, you'll find out how to make reversible placemats so you have another option to choose from. Enjoy!
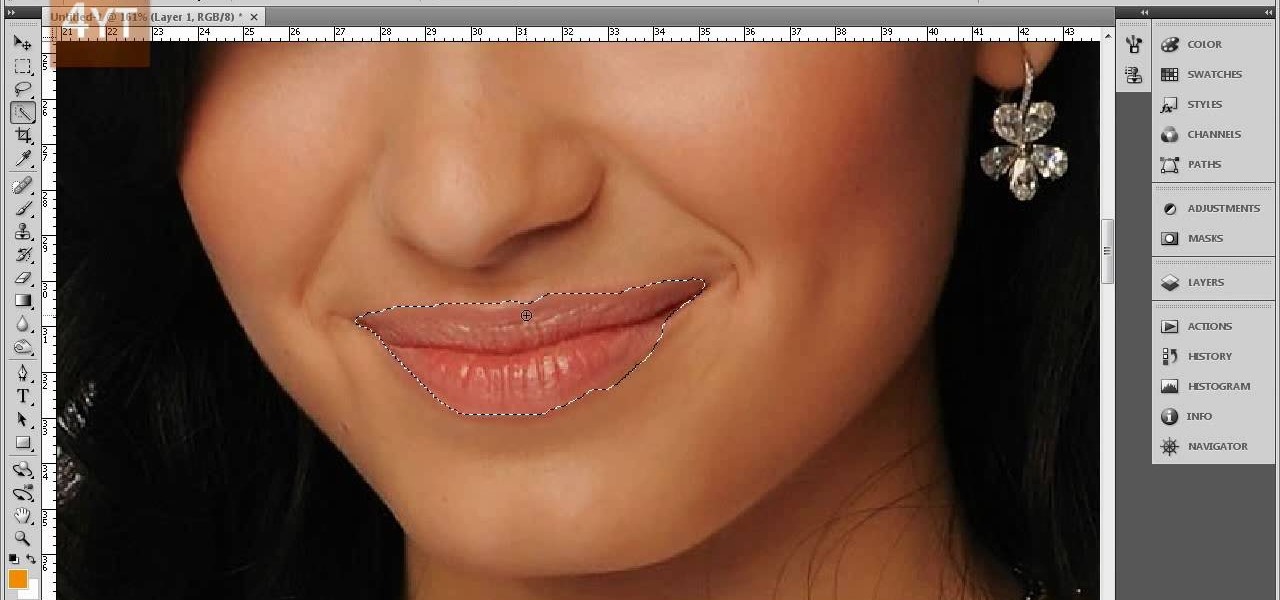
Forget to put on lipstick before a photo? Or perhaps you want to spice up an old photo of someone you love. Well their is a way, as 4YouTutorial demonstrates step by step using Photoshop CS4. First upload a photo or image into Photoshop. Next access your Photoshop layers and delete the default locked layer. After, activate the zoom tool and zoom in on the photo where the lips are located. Next choose the quick selection tool (make sure it's on plus) and drag it over her lips. This process can...
This video illustrate how to knit a thumb onto a mitten. Here are the following steps.Step 1:Take the mitten on knitting has to be done.Step 2:Now at the center take out the contrasting thread and then pass the knitting sticks through the leftover stitches .Step 3: Now similarly pass the other knitting sticks through the other half leftover sticks.Now take two more sticks and pass them in horizontal direction to that of the previous sticks so that the previous leftover stitches overlaps the n...
In this two-part tutorial, learn how to use a stencil on a shirt to create a screen printing effect. Although this does not show you how to do real screenprinting, by using a stencil you will create the look of a screenprinted shirt and be able to transfer your image. Materials you will need include: A blank t-shirt, a high contrast image, acetate, Scotch tape, a sponge, a Sharpie, Exacto knife, some acrylic paint, and glue adhesive. Get your favorite image on a t-shirt you can wear with help...
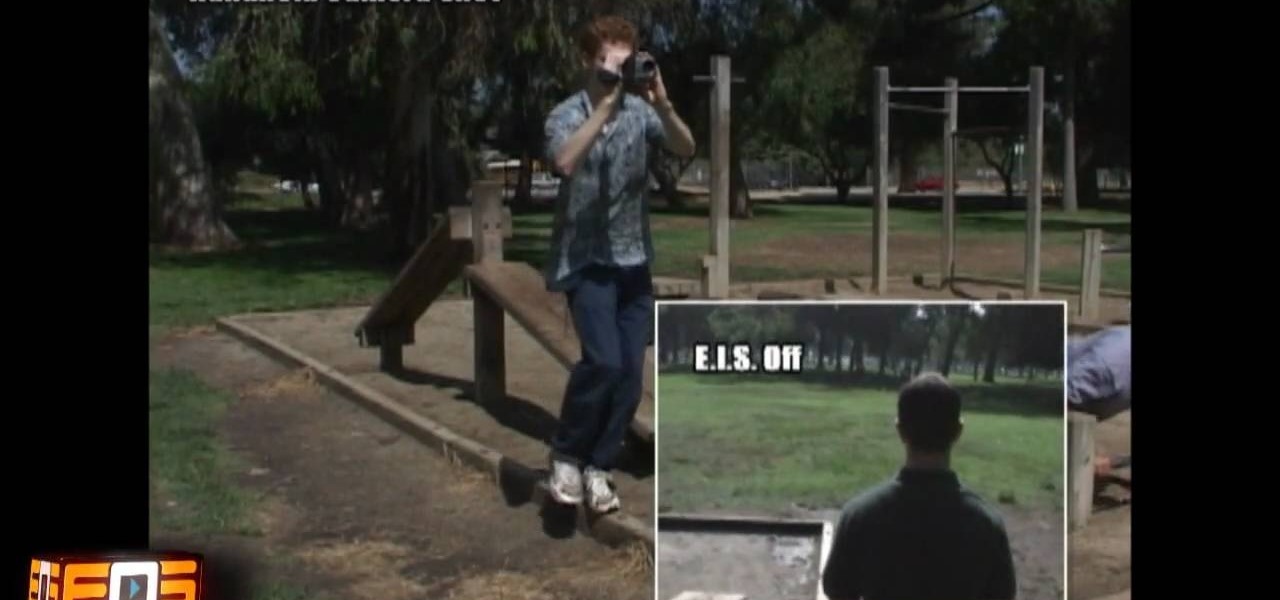
This is a video that is showing its audience how to use the electronic image stabilization or digital image stabilization on their digital cameras. Image stabilization is a good function to have on when movement is involved while taking a photo. The video goes over terms such as image stabilization, shutter speed, and contrast. It adequately defines image stabilization and digital stabilization and goes over the problems that consumers might have with the image stabilization mode on their cam...
The video producer in this instructional lighting video shows the contrast of how to produce a well lit scene. He first makes a cut out of a piece of foam board, then mounts it, placing it just so. He then position the lighting at an angle that appeals to the viewers and compliments the subject at hand. He also shows the difference between the angle of the camera and how the lighting is positioned. He takes us through the process of how to angle the camera and set up the lighting with minimal...
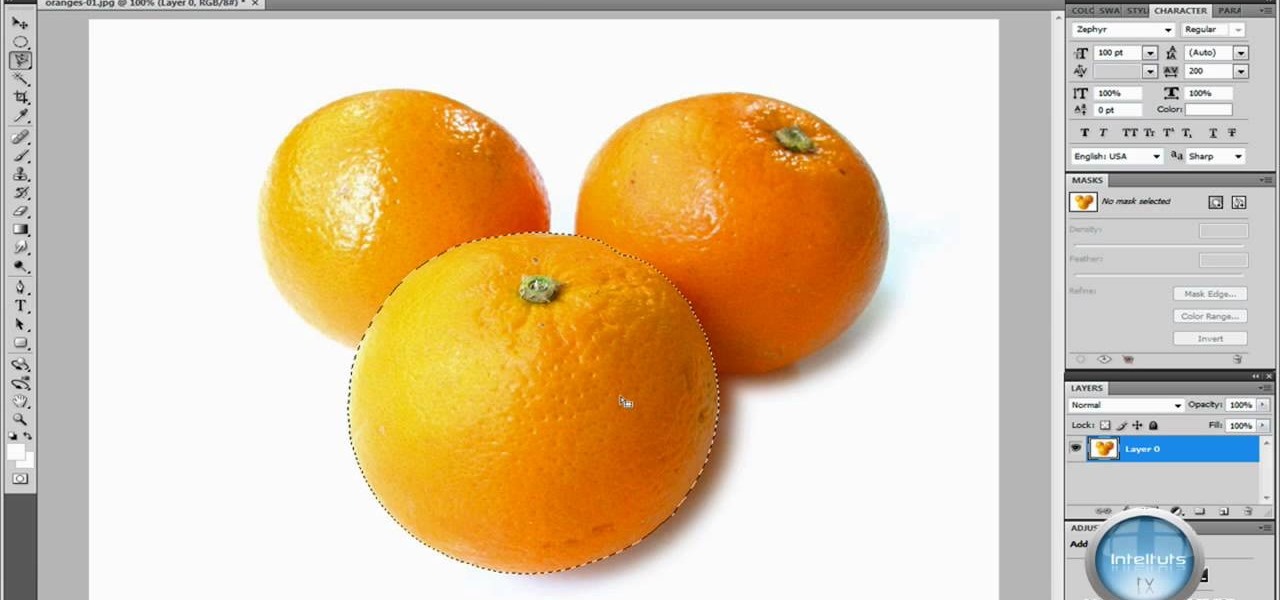
In this Software video you will see how to extract and apply color correction in Photoshop CS4. First select the object and extract it. The tool that you use to extract will depend on the type of image. For example, for oranges, select the Magnetic Lasso Tool from the left hand panel. Take the cursor, click on the outer line of an orange and drag the cursor along the outline of the orange. The tool automatically creates anchor points. You don’t have to click. But, if you want to create an anc...
First thing to do is to create a new pic image called matrix. The next thing you want to do is to change the width and the height of your picture, as well as the resolution. Pick any background color you want, take the paint bucket tool and fill the background. To get the matrix code, go to Filter, Texture, and then finally Grain. You want to set the intensity to 90, contrast to 50, and grain type should be vertical. To get the grain to be green, you press Ctrl+U, press colorize and drag the ...
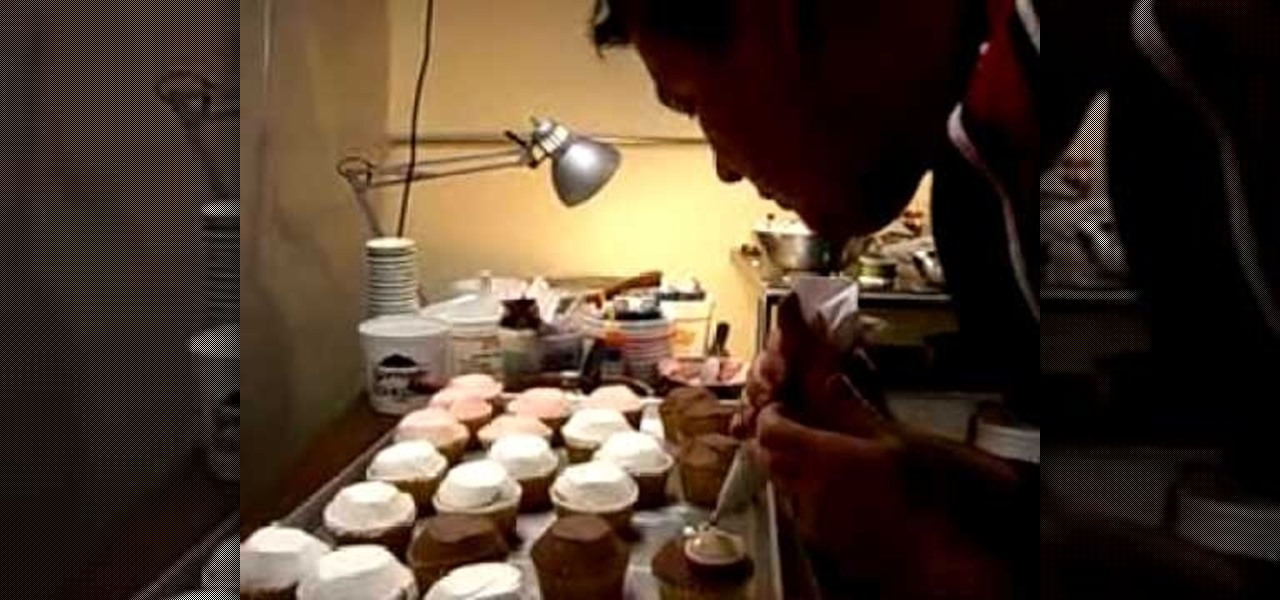
Baker Michael Anderson shows how to make three different festive cupcake decorations. Learn to adorn your cupcakes with either a reindeer, poinsettia, or holiday wreath made of frosting. The reindeer is made using brown, white, and black frosting, complete with a pair or pretzel antlers. For the poinsettia, red frosting is used for the petals, with yellow stamens and contrasting green for the leaves. The wreath uses heaps of green frosting with colorful sprinkles and a pretty red frosting bow...
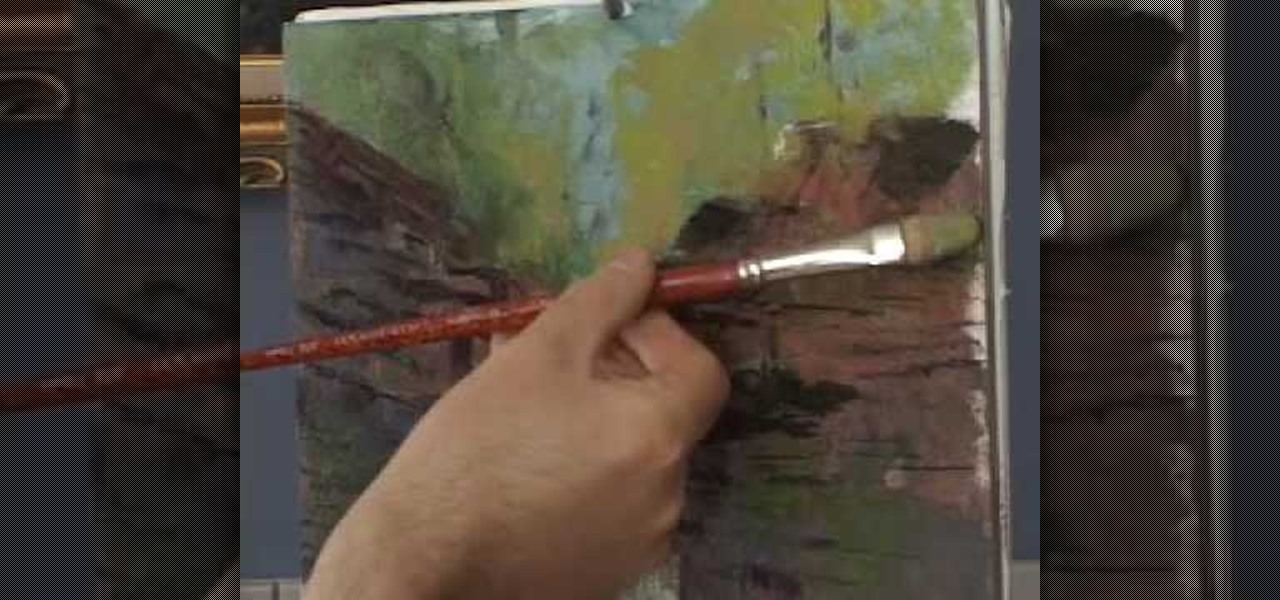
When painting the foliage make sure that you use a dry brush technique and that you use this to break up the harsh rock formations that you have created by simply pressing the brush down against the rock formation. Make sure that you don't segregate the areas in the painting. Make sure that you blend the areas together to make the picture complete. You want to take the warm, more contrasting areas and use them to break up the harsher style of the rest of the picture. You want to layer the col...