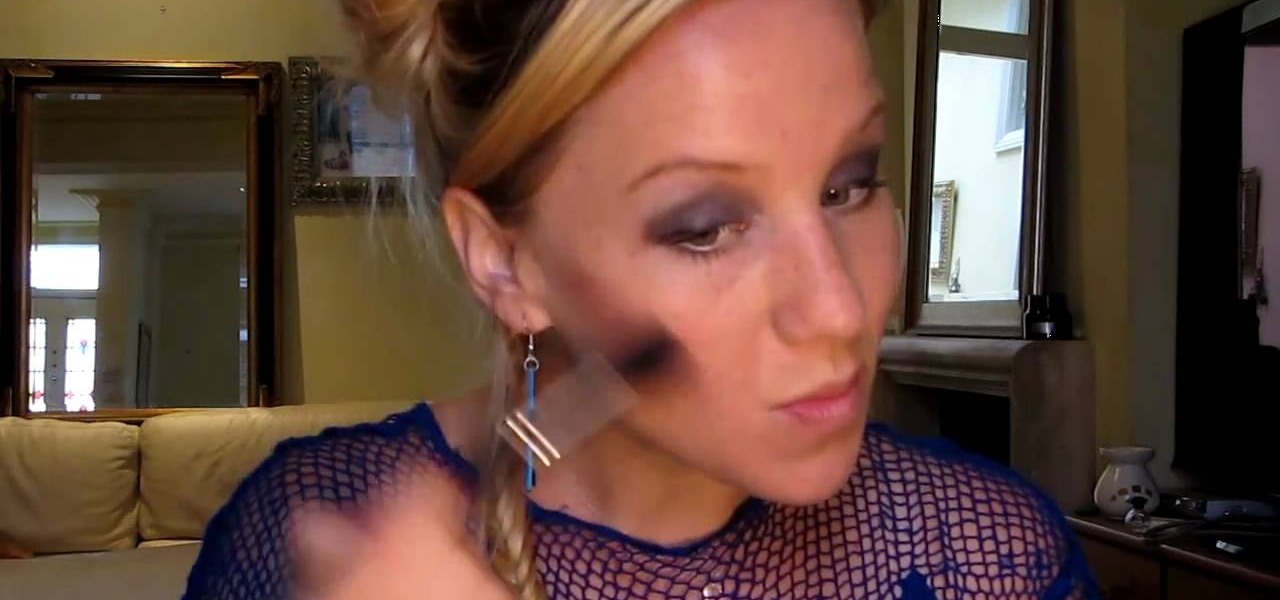
The '80s are back in a big way, makeup included. While we've been told since forever that we can only emphasize one feature - eyes or lips but never both - the '80s are all about experimenting and having fun.
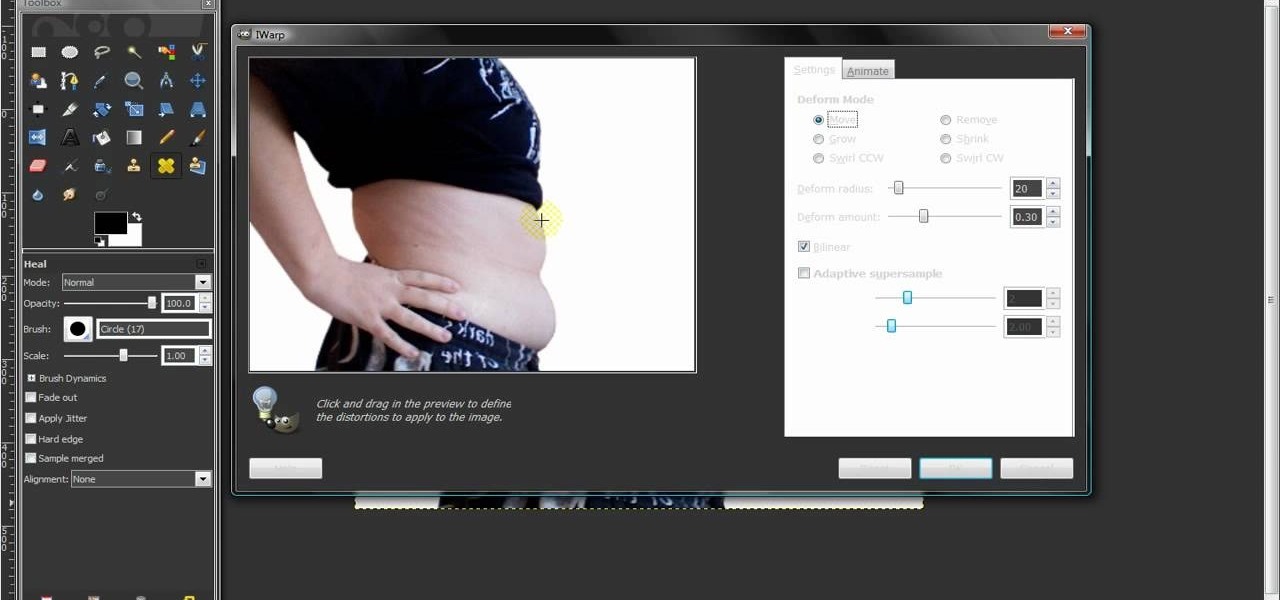
In this video, we learn how to remove body fat or stretch marks in GIMP. First, go to filters, then distort, then warp. When you are in this window, you will be able to see all the different distortions that you can do. To help you remove the fat, use the "move" tool and a proper sized brush. Now, press on the stomach and slowly press down on it until you see the part of the body start to become smaller. Don't do it too quickly, or the picture will look fake. When finished, save your new pict...

In this video, we learn how to paint blue and white corner flames on your nails. First, paint a pearl base on the nail and let it dry completely. Now, grab the black nail polish and paint waves on the nail going from the top to the bottom. Next, grab the white nail polish and do the same thing, making the mark next to the black marks. Let this dry, then grab light blue nail polish and fill it in on the corner of the nail. Let this design dry, then paint white on the blue to make small lines a...
In this Language video tutorial you will learn how to report another person's words. In other words how to restate what someone else said. This video focuses on two aspects. #1. What's the difference between quoted and reported speech? #2. When can we use say and tell? In quoted speech you quote the exact words spoken by a person within inverted commas or quotation marks. It is also called direct speech. Here is an example. Jennifer said, "I like birthdays." Whereas, reported speech does not ...

In this tutorial, we learn how to wear a peer bridal bindi. First, line a pencil with your nose, and mark the points where the points are parallel to the eye on all sides. After this, remove the bindi from the package and place the middle section onto the middle dot. After this, remove the other pieces and place them in the spots that correspond to the other marks. Continue placing these on until you have applied the entire bindi. You may need to use bindi glue to help apply these if you are ...
In this Home & Garden video tutorial you will learn how to install a decorative tile border. Decorative borders add a beautiful accent to any room. Start by setting the "measure right pro' tool. Slide the tool open to cover the entire tile and the width of the border. Next move out one eighth for the wall space and lock the tool. Now place the fill tiles on top of the set tiles. Then you slide the "measure right pro' along the wall and mark the tiles. Write the sequence numbers on the tiles a...

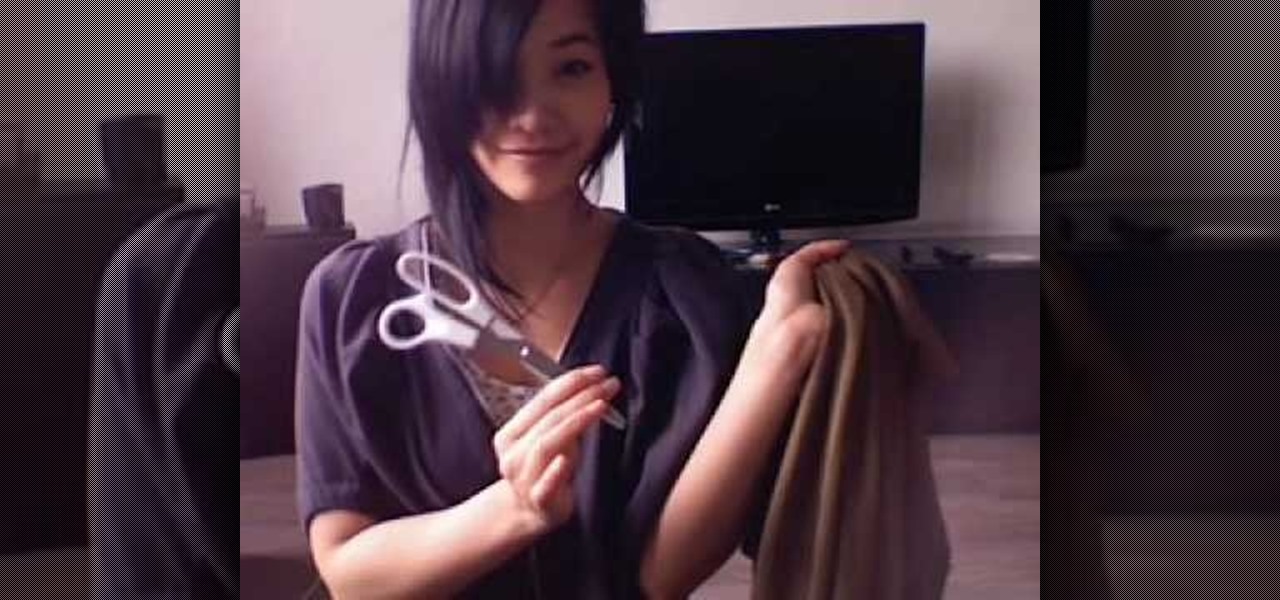
This video shows us how to make a DIY long vest out of a scarf in no time! You will need: a wide scarf, matching thread, other colored thread, safety pins, needles, and scissors. First, measure yourself shoulder to shoulder and add 15cm to that number. Next, measure 30cm on each side from the very middle of the scarf. Now, mark that spot with a safety pin and measure out another 30 cm on both sides, marking those spots as well. Now, bind the last two safety pins and sew from the bottom up to ...
As you might guess, one of the domains in which Microsoft Excel really excels is business math. Brush up on the stuff for your next or current job with this how-to. In this tutorial from everyone's favorite digital spreadsheet guru, YouTube's ExcelIsFun, the 32nd installment in his "Excel Business Math" series of free video lessons, you'll learn how to solve simple markup (mark-up) & markdown (mark-down) business math problems.
In this video, Mark Donovan shows us how to mount a mirror on a door. First, take the mirror and position it the height you want it located. Then, mark the top with a pencil and make sure the mirror lines up with lines on the door and it's in the center. Now, screw in the door attachments in the thickest part of the mirror. Attach the mirror and screw the screws so that the mirror is completely secure. Now, you can hammer in the screws to make sure they are completely attached to the door and...
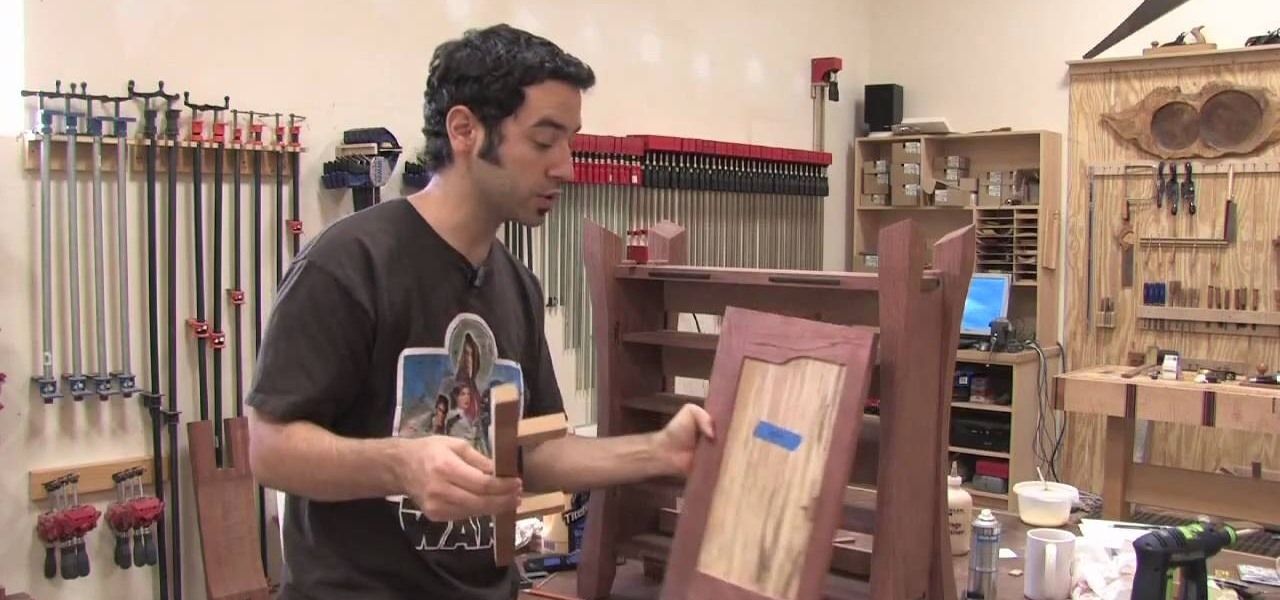
The Wood Whisperer demonstrates how we can install hinges on a cabinet without a tape measure, using relative dimensioning. In this example, we use center lines instead of marking the top and bottom of each piece that needs to line up. Using shims at the bottom and top of the door, we center the door on the cabinet to the desired spot. At this point, it's as simple as marking the center lines where you want your hinges to go on both the door and the cabinet frame. Now we can simply attach our...
In this Software video tutorial you will learn how to make a copyright brush using Photoshop. Open up Photoshop and open a new document by clicking ctrl+N. Create a new text layer on the right side and type in your text. Right click on the text layer > rasterize type. On the left side select the ‘rectangular marqee tool’ and draw a rectangle around the text. Go to edit > define brush preset. In the next box, give it a name and click OK. Then go to file > open and select a picture on which...
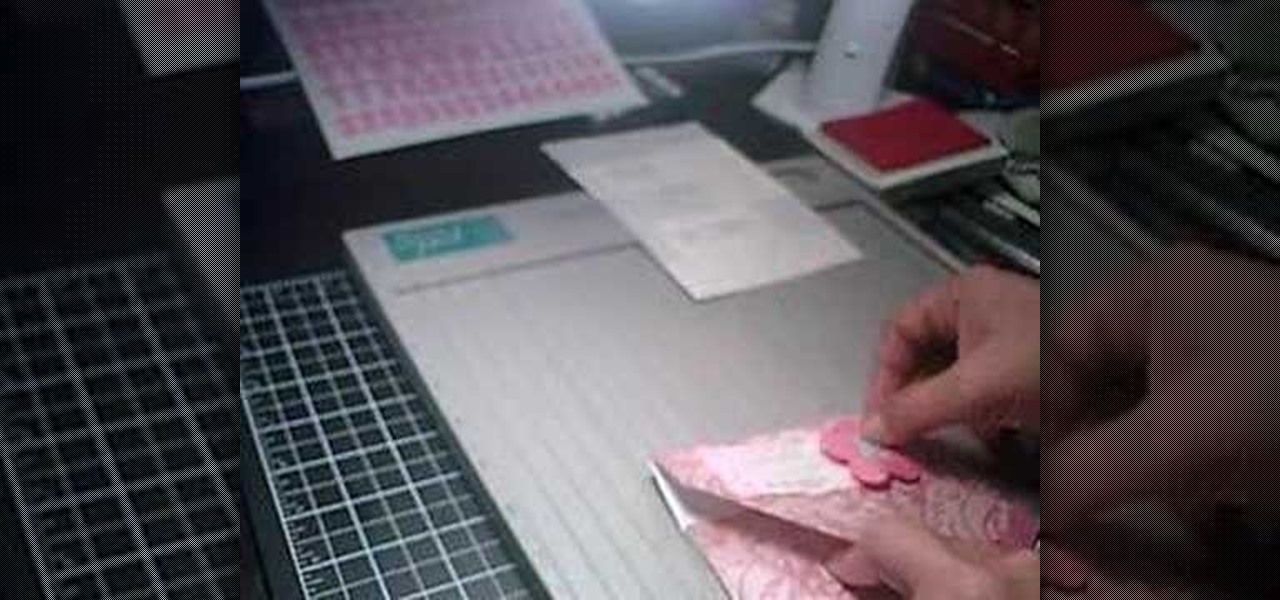
This is a video about how to make a greeting card in circle shape. First take the card and fold it into half. Next take the colluzle and place it on the card. Mark a circle using colluzle on the card. Cut the card on the marking and leave some space at the folding of card. Take the design paper to place on the card. Next cut the design paper in round shape. Make sure that the shape should smaller than the card you have already prepared. Next stick the design paper to card. Next take one ribbo...
In this video tutorial, viewers learn how to stack cut lumber. This process if very simple to do. It will save the worker a lot of time, instead of measuring and cutting each piece individually. The stack cut will cut a number of lumber into the same length. This can be used to cut a single stack or an entire unit. Begin by squaring up one end of the stack. Mark your measurement on top. When you cut, it will leave a mark on the next board. Continue to cut through all the lumber. This video wi...
In this tutorial from Mark the Shark, viewers are shown how to apply a hook to a fishing pole. One such method is using a Fishermen's knot, and wrapping the hook around the line eight times, and then wetting it with saliva, before it is tightened. Then, the user must make sure than the knot comes all the way down to the hook, to make sure it does not rotate. Next, pliers must be used to eliminate excessive line, and then the line must be searched for crinks, or any imperfections. Mark the Sha...
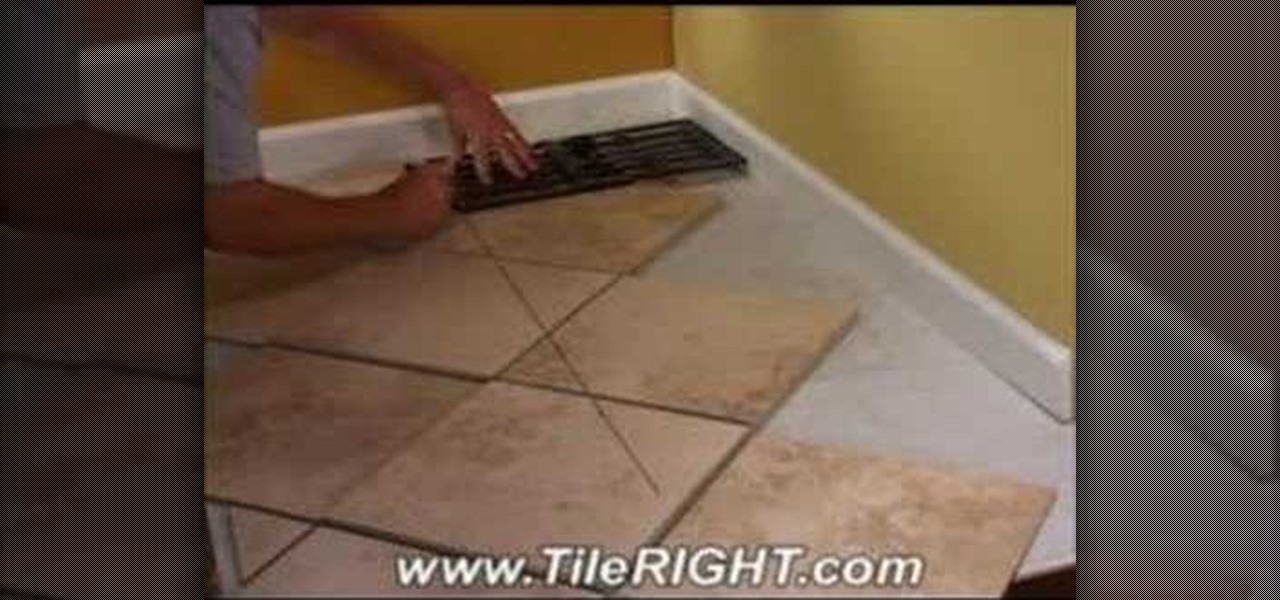
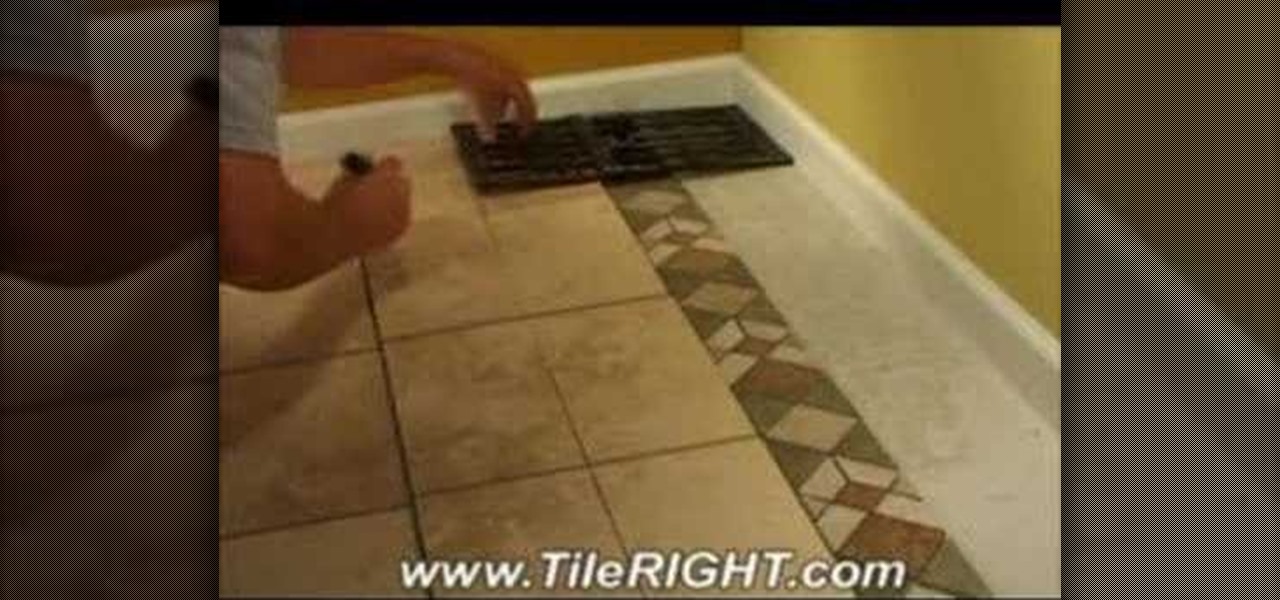
Tile RIGHT demonstrates how to tile a diagonally cut tile. First set the Measure Right Pro to the appropriate setting, extending it from corner to corner along your tile. Account for your grout line and the space up against the wall. Then, lock the tool. Next, place the tiles you're going to use on top of your set tiles. Slide the Measure Right Pro along the wall and mark the tiles. Place the sections in the appropriate place. Then, cut your tiles. Lay the tiles where you've previously marked...
This short tutorial will give you advice on approaching multiple choice exams. A multiple choice exam consists of one question and four possible answers, and only one of these answers will be correct. Make sure you know the layout of the answer sheet, and understand where you must mark your answers. Be careful of the trick answers, as there will almost always be one. read all the answers carefully and make sure you don't mark two answers for a single question. If you don't know the answer, ju...
Learn how to make simple tri-fold cards with these instructions. What you will need: -5 1/2" by 11" cardstock paper -Scorer -Scissors and paper cutter -Pencil and Ruler What to do: -Score the cardstock to 3" by 7 1/4" -Using the 3 3/4" flap, from the corner measure 2 1/2" and mark with a pencil. -Repeat on the horizontal side of the cardstock. -Cut the corners using the marks as your guide. -Round the pointed end with your scissors. -Fold the card at the score line. -Embellish your card as de...
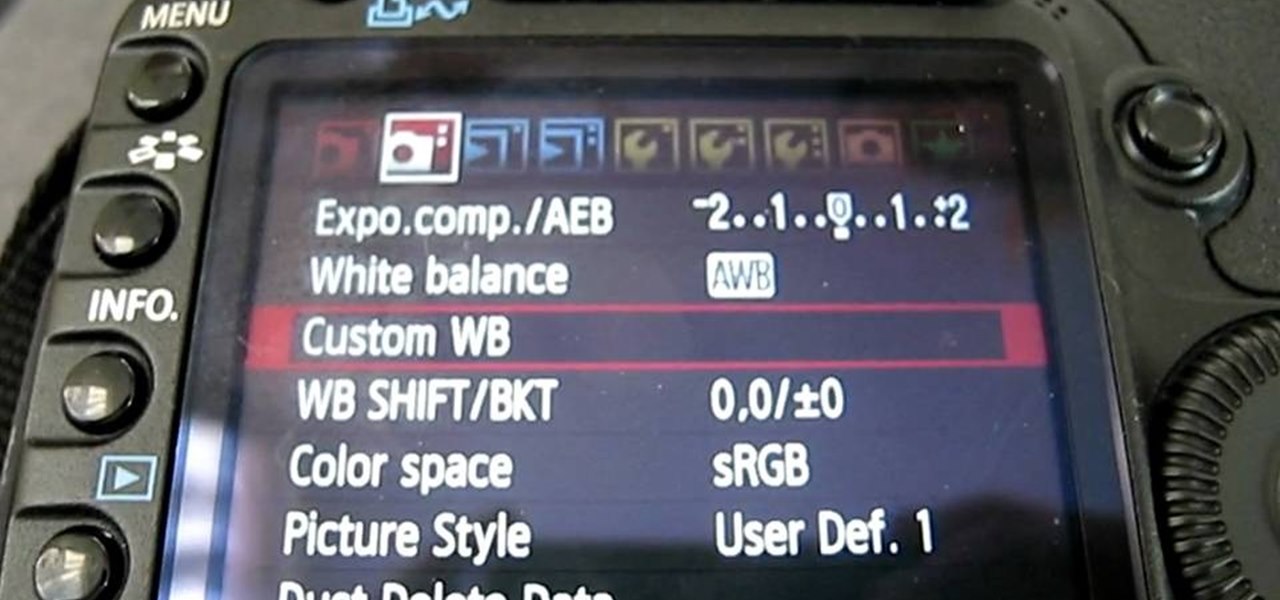
Most DSLR's like the Canon 5D Mark II come with pre-programmed white balance settings: daylight, cloudy, tungsten, fluorescent. But what do you do when you're in a mixed lighting situation and you want to balance between exterior daylight and interior tungsten light? If you set it to daylight, your tungsten light will be too orange. If you set it to tungsten, your exterior light will be too blue. The solution: set a custom white balance to balance the disparate lighting situations.
Plagiarism in some schools and universities is major offense and can even get you kicked out of school all together. Plagiarism occurs when ideas or words that you advance as your own have actually been taken from other people. In this video, learn how to avoid plagiarism and make the words you write, your own.
First of all you have to search for a reputed dealer. Then ask him all necessary questions like what sort of lenses shall fit in your camera, what shall be the size of the lens to fit in your camera. If you are going to purchase it online then you have to ask whether the surface of the lens is scratched and marked in any way. Make sure that three is no mould or scratches on the lenses. You can also hold the lens towards the sun or a light source. Do not hold it directly against the sun. Now y...
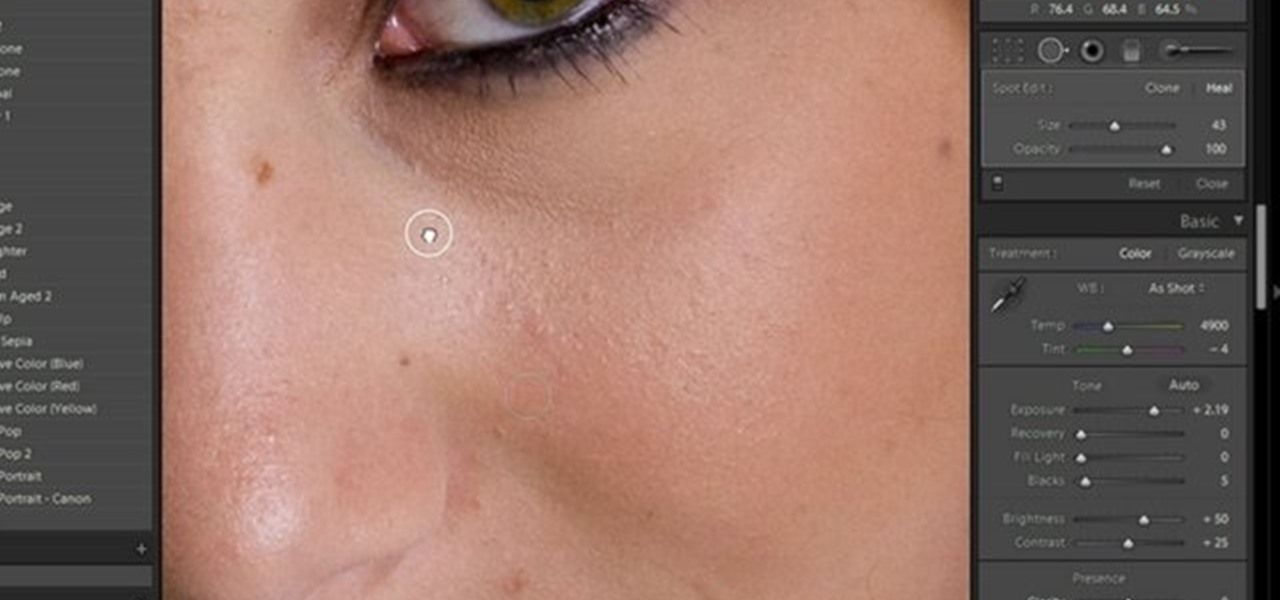
Kerry Garison demonstrates a quick tip of healing tool (Lightroom 2. 0), which is situated on the upper right hand corner of the screen, with the help of lady's image. Click on spot removal tool which can be used for cloning and healing. In order to change the brush size, scroll wheel mouse or left or right rapid keys can be used. Brush size, change in opacity can be changed also by clicking and dragging the bar; from there cloning or healing options can be selected also. After clicking the h...
Ben for Mechanical Mashup demonstrates how to build a barn door halogen light system for a studio and how to establish right triangles and parallel lined without a square. It is quiet expensive to buy a barn doors according Ben, so it could be built by us. These barn doors can be adjusted anyway we want to. So the barn doors are to be fixed to a halogen light. First thing done is to unscrew the frame of the halogen light. The glass is removed by just bending the frame. Next thing to do is to ...
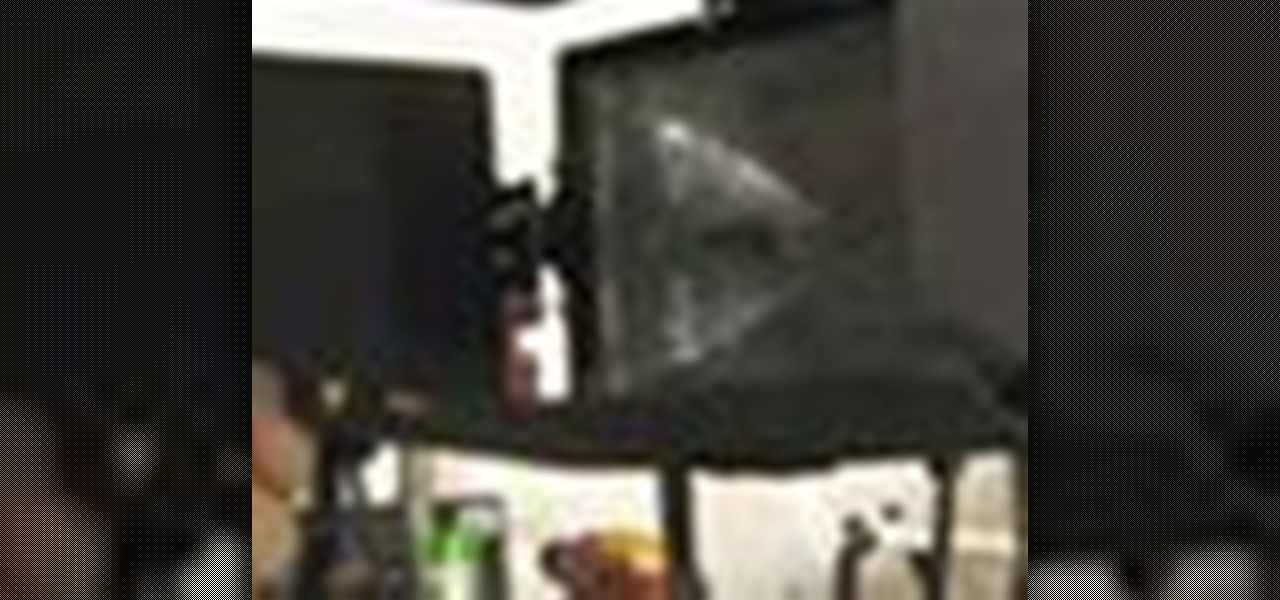
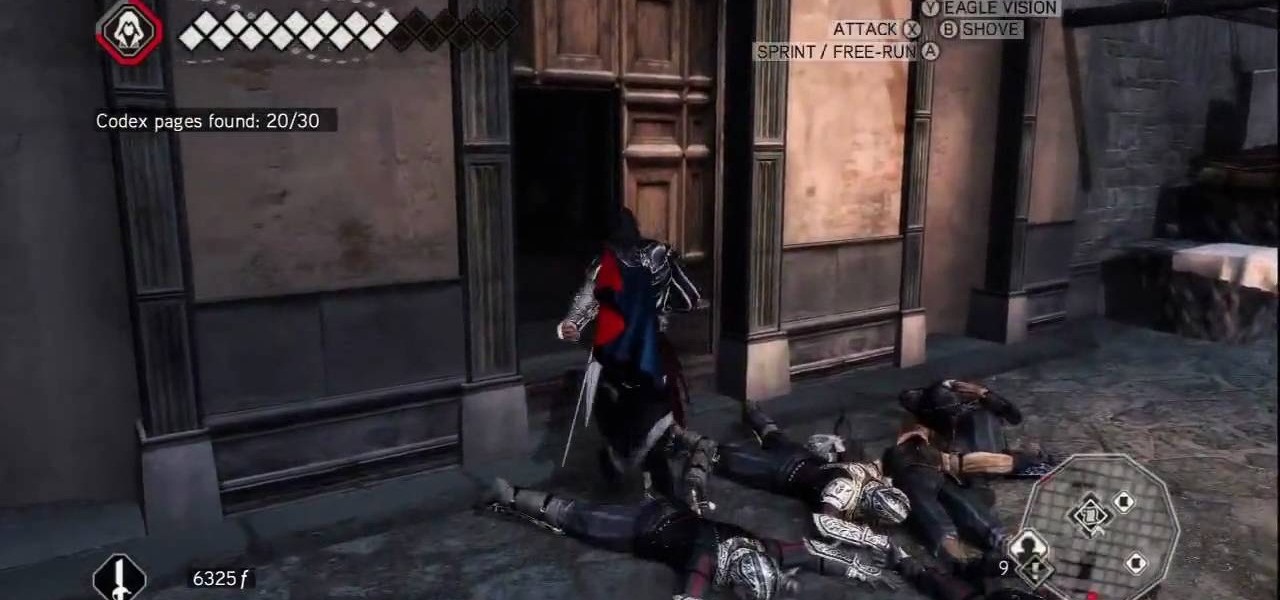
X Marks the Spot: Activate the odd glowing thing and then walk up to the wall of codex pages to bring up a puzzle. Use eagle vision and you can spot the faint red outlines of a picture. You need to rotate all of the pieces around into their correct positions in order to complete the picture. Start by going around the perimeter of the puzzle and arranging the border—it's the easiest. Once you've got the border in place, go for the inner pieces.
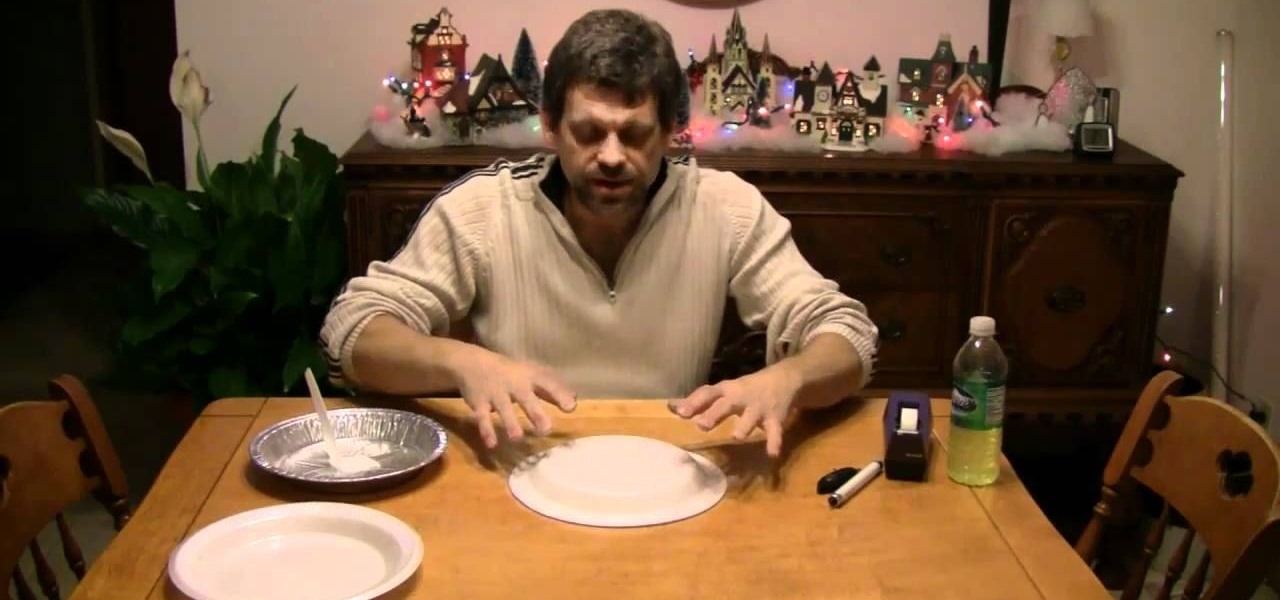
Three hundred people die every year from carbon monoxide poisoning. Don't risk being a part of that statistic.
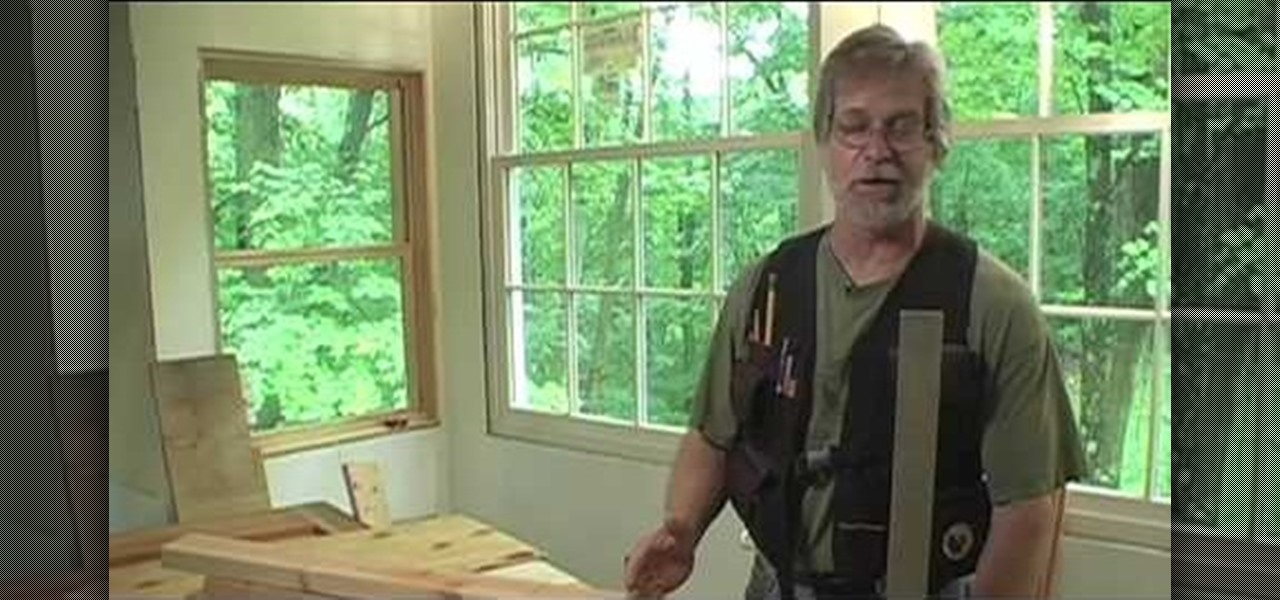
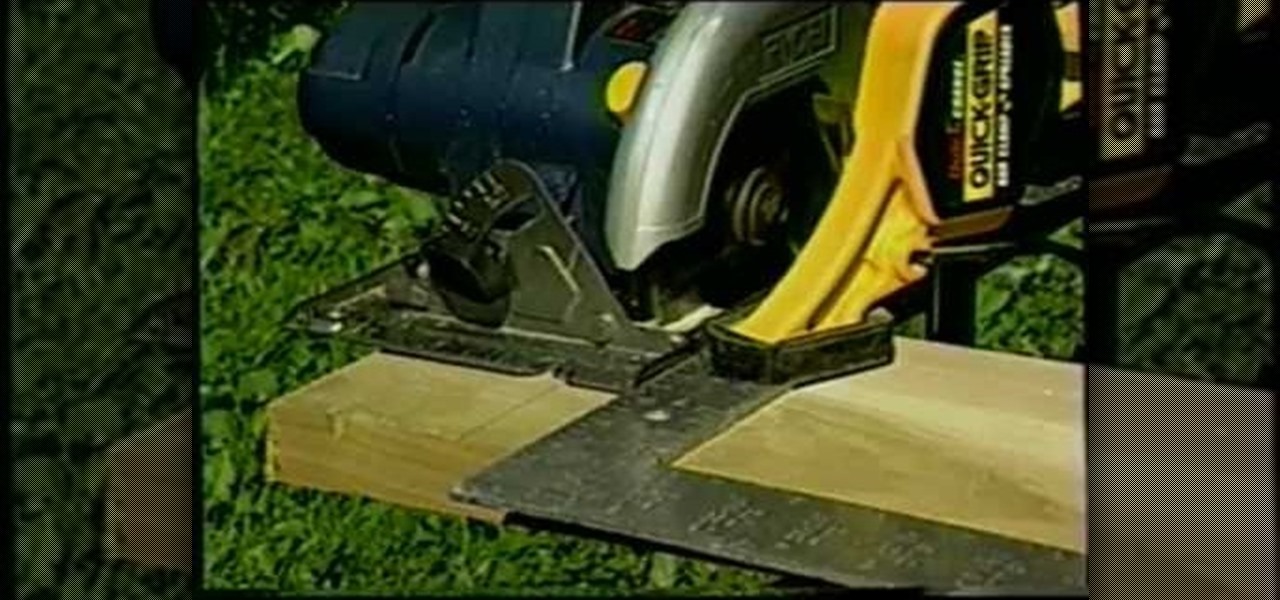
Knowing how to cut a straight line is essential for most projects. AsktheBuilder.com host Tim Carter demonstrates one technique for cutting a straight line. With his tips, you'll have no problem getting perfect cuts every time.
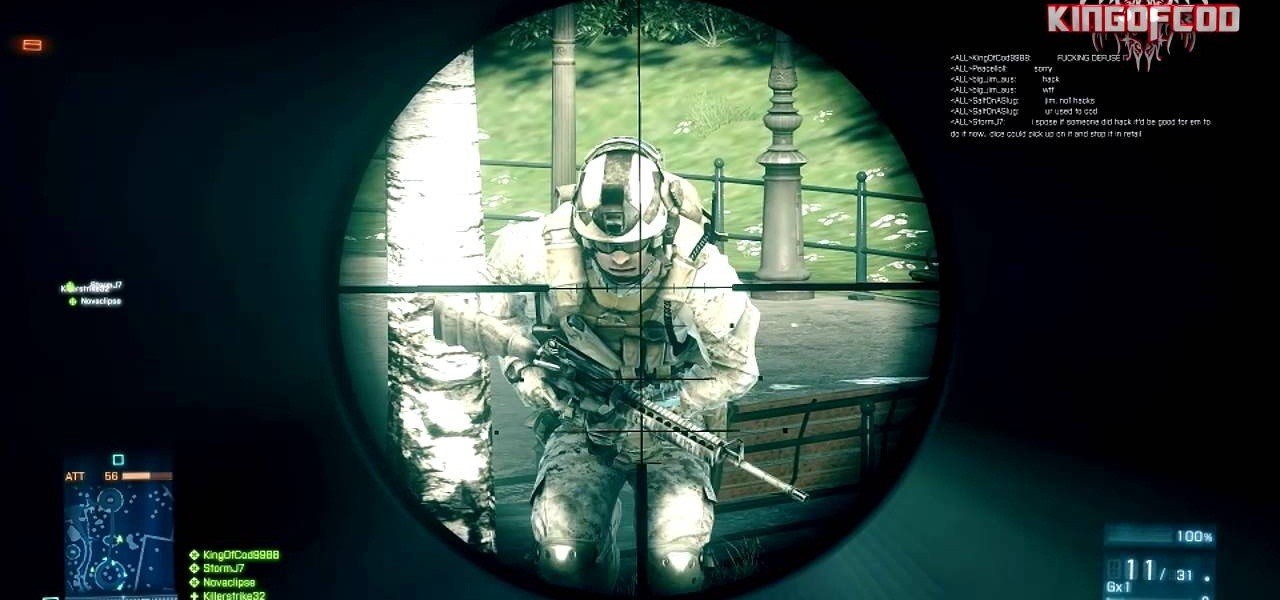
Are you interested in becoming an amazing Sniper in Battlefield 3? This guide will show you which guns are the best for Snipers to use in BF 3, how to drag shot, and more. Be sure to aim for the head!
If you're a fashion designer using Adobe's Photoshop CS5, you already know you can do a host of amazing things. One of the things you'll likely wan to do over and over again is check out your creations in different colors. This quick how to demonstrates what you need to do to go from red to yellow, green to blue, mauve to black and back again. Check it out!
Think you can lift an ice-cube with nothing but a piece of string? In this cool how-to science lesson, Steve Spangler shows us how to do it, and explains what happens when salt is put on ice. We all know that salt is used to melt ice and snow, but do you know why? Leave it Steve Spangler to turn this basic science lesson into an after-dinner trick you'll use to amaze your friends.
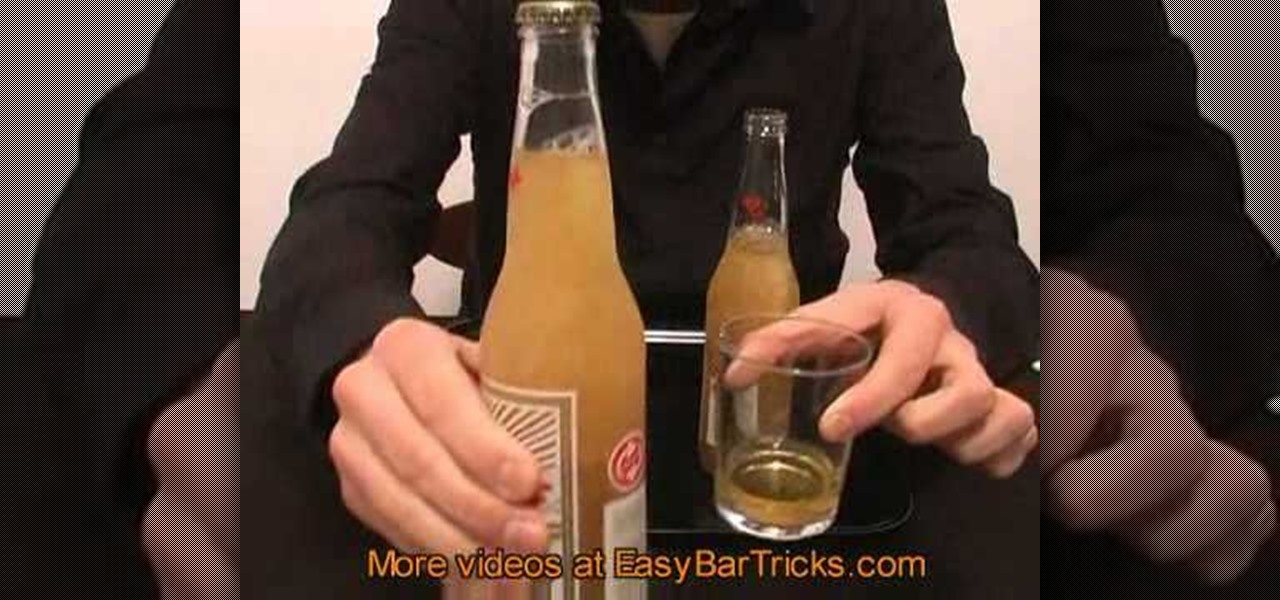
Want to amaze someone and freeze a bottle of beer instantly? You can with this sweet little trick. Your audience won't believe their eyes as you magically freeze a bottle of beer right in front of their eyes. Watch and learn!
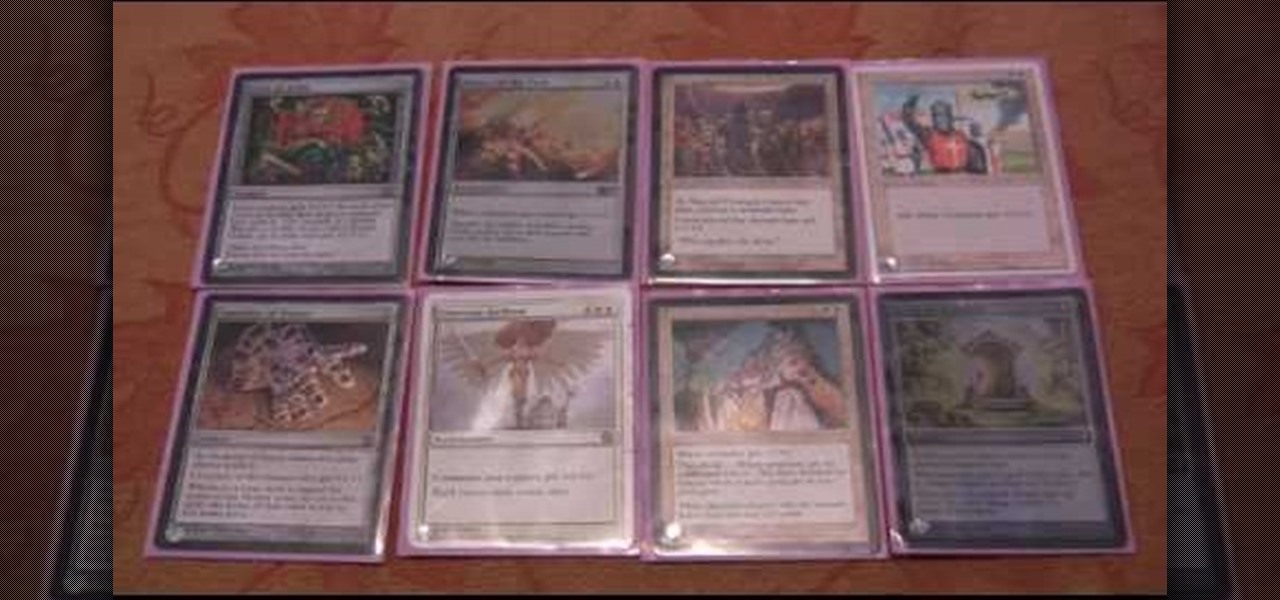
Elder Dragon Highlander is an awesome variation of Magic: The Gathering, and this video will teach you how to build an amazing deck for it. It's a white mono soldier deck based around Darien: King of Kjeldor.
The equipment only does about half the work when it comes to making your shot really stand out - the other half is setting up your shot just so. This is a quick video that gives you some good tips for making your shot look amazing, no matter what you're filming with.
Make lightning and generate tens of thousands of volts in your own kitchen at home using ordinary household objects! Mr. G demonstrates the amazing Triboelectric Effect and explains the electron exchange via adhesion and separation that makes it all possible.
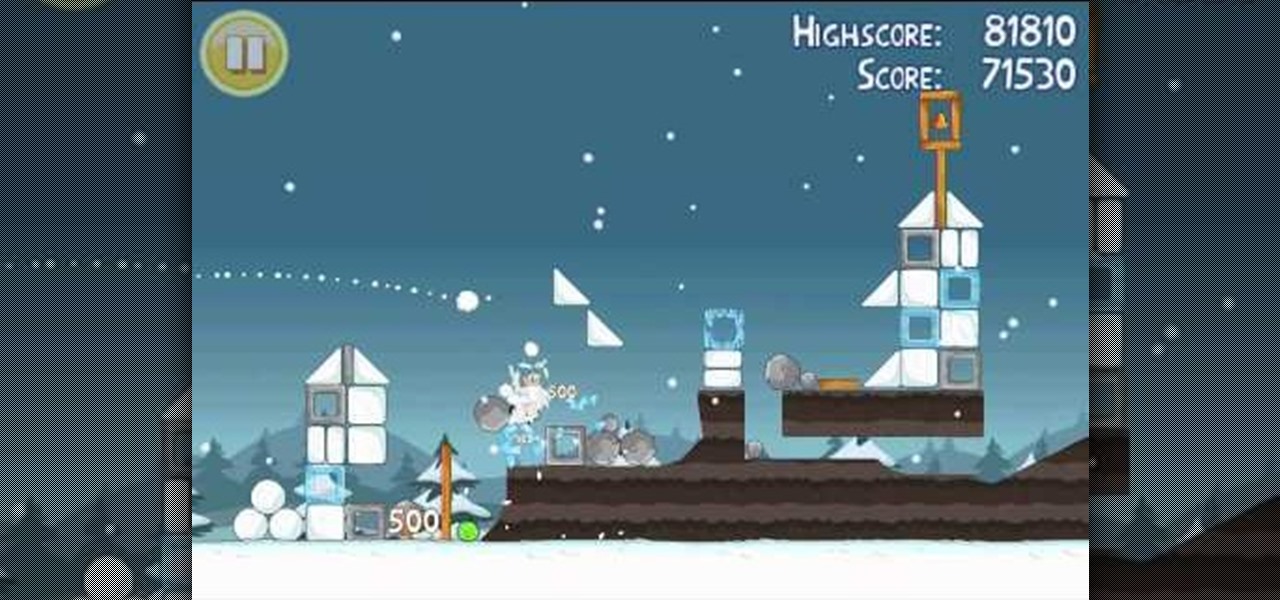
This is an amazing feat if you can pull it off— getting three stars in the twelfth level of Angry Birds Seasons— using only TWO birds! If you thought you needed three birds to compete the task, you were wrong— it can be done with with only TWO slingshotted birds! Check out all of the other videos from 23hathman's Angry Birds Seasons walkthroughs.
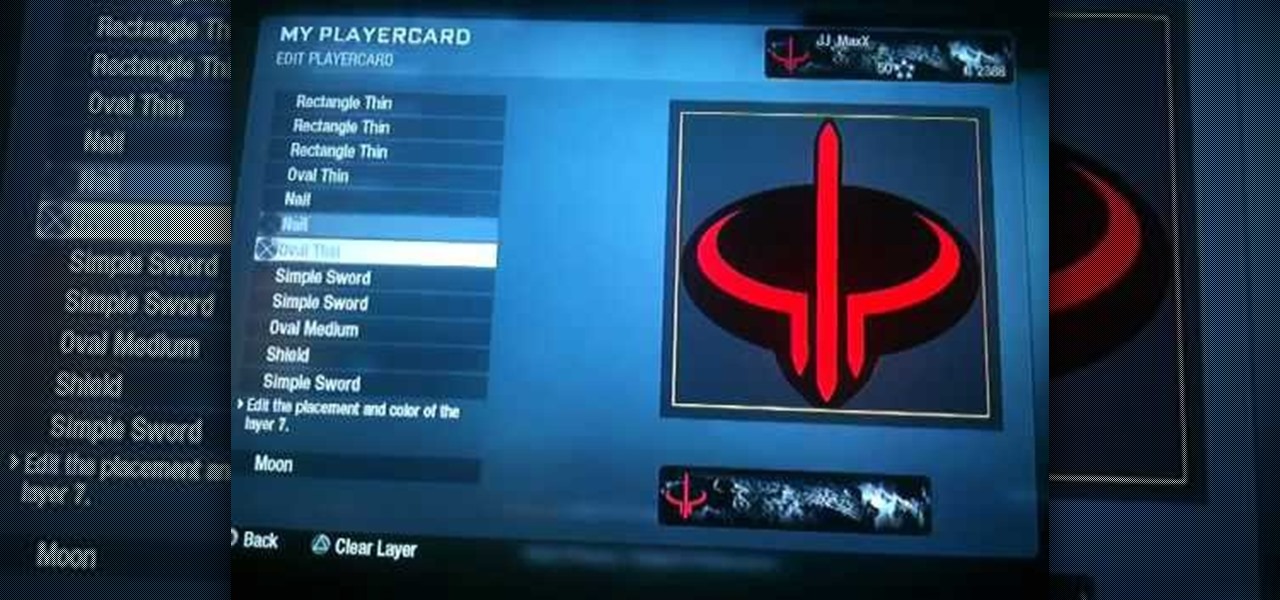
Once upon a time Quake 3 was the equivalent of Black Ops now, sucking in the productive lives of FPS players around the world. Pay respect to this amazing game by watching this video and learning how to make the Quake 3 logo as your player card / emblem in Call of Duty Black Ops.
Hawthorne berries are a fantastic super food that you can find right in your own backyard! (in some areas of the world) Especially in the UK, you can find them everywhere! You can even use the leaves to make a great tea and they're edible! In this video you will learn how to make an amazing Hedge Row Jam/Jelly with Hawthorne berries, Crab apples and Elderberries.
If you've ever been to a wine and cheese party then you know how amazing cheese and fruit taste together. Cheese especially goes well with sweeter fruits like pears and peaches.
The Dark Templar rush strategy is a really great one to use in StarCraft 2. It's an amazing tactic, where you get Dark Templars early and use them effectively as a means of crippling your opponent's economy early in the gameplay. To see how to use this strategy in StarCraft II: Wings of Liberty.
In this amazing, live tutorial (recorded obviously) Nick goes into great detail creating fake 3D text through creating multiple layers (without a script), as well as other great methods! This was a great video and even goes through some minor problems that you'll face when doing this and what you can do to fix those problems.
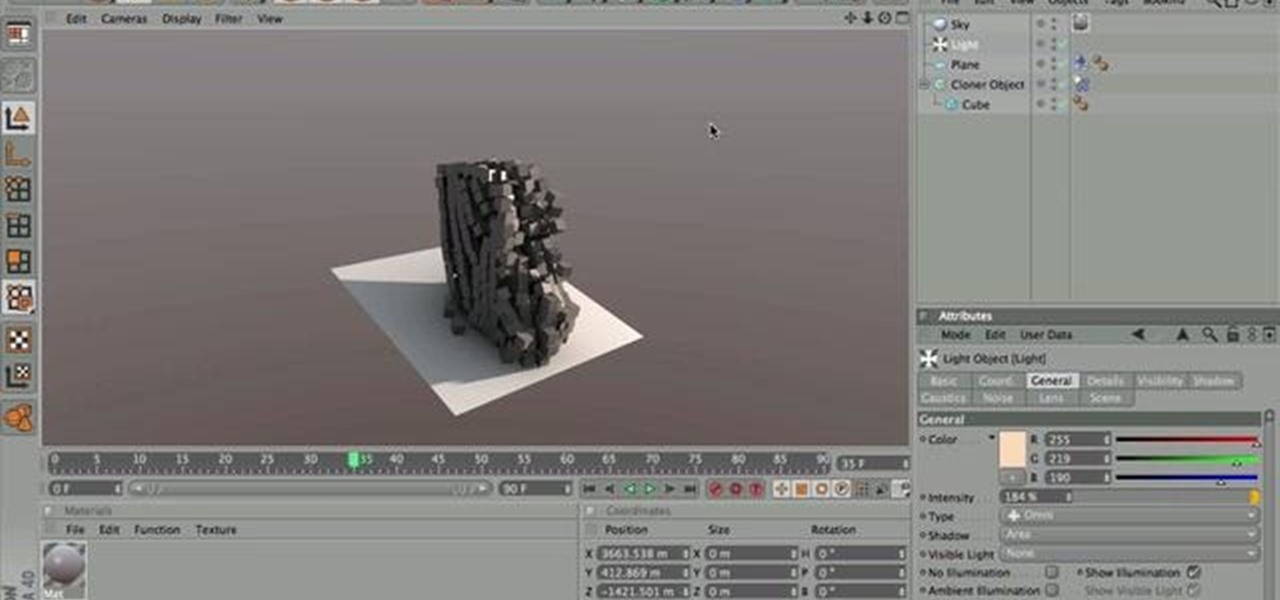
In this amazing video, Nick goes over the various ways of getting your physics and dynamics set up in your simulation for Mograph 2, as well as some trouble shooting for common problems that you may find, and, how to get your simulation ready for render!
Try out these colors for fun - red, burgundy, black and smoke-ish colors for a hot blood-red look. Petrilude walks you through this amazing and gorgeous blood red makeup look. Pair it with a red dress that will leave your date hot with lust and passion.