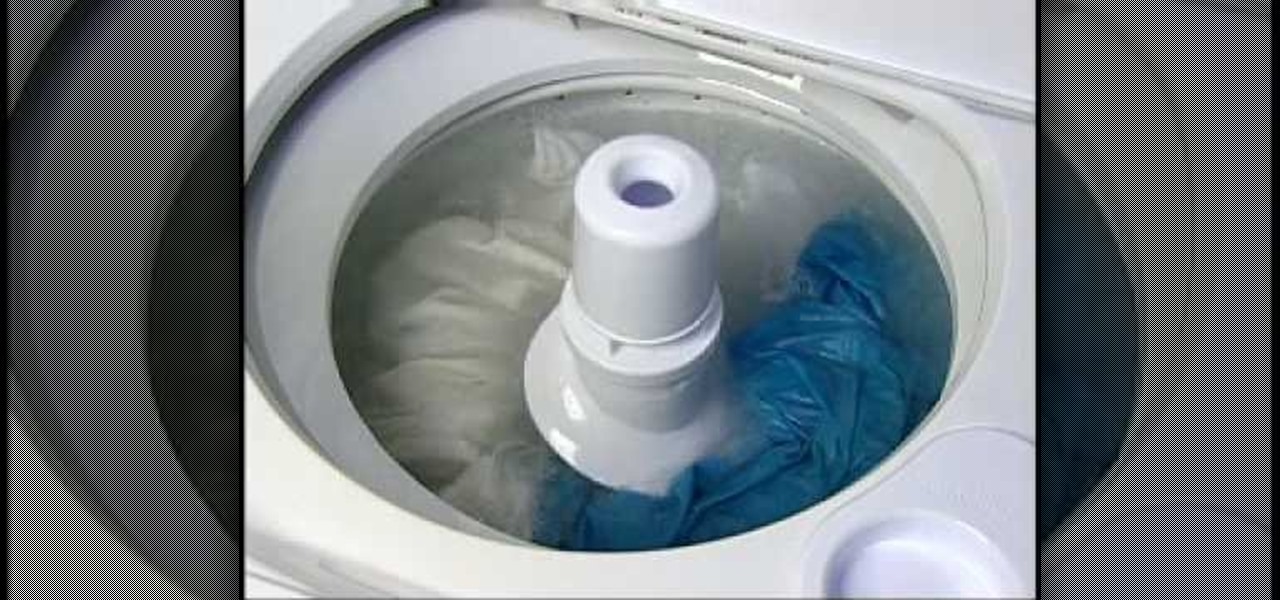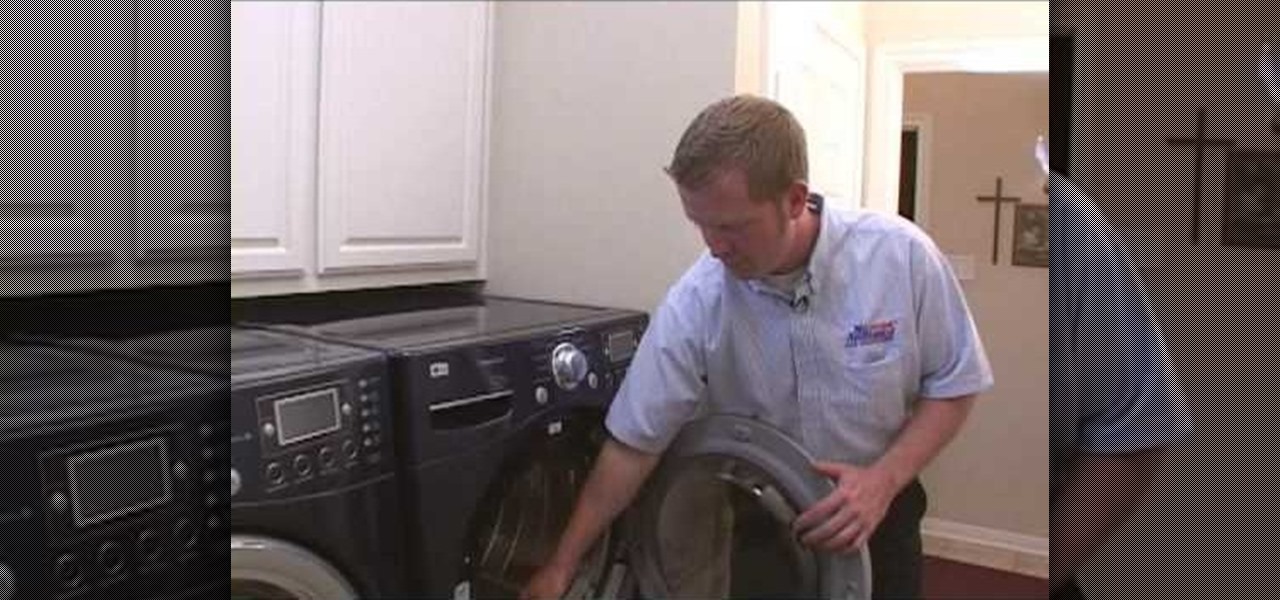
Despite all the great things a washer can do, it's still only machine and can be prone to problems that may need it to be fixed. One issue that can occur is a dispensar that is clogged, leaking, or not dispensing. A dispenser is an important part of your machine and makes it easier to spread detergent around to all your clothes.
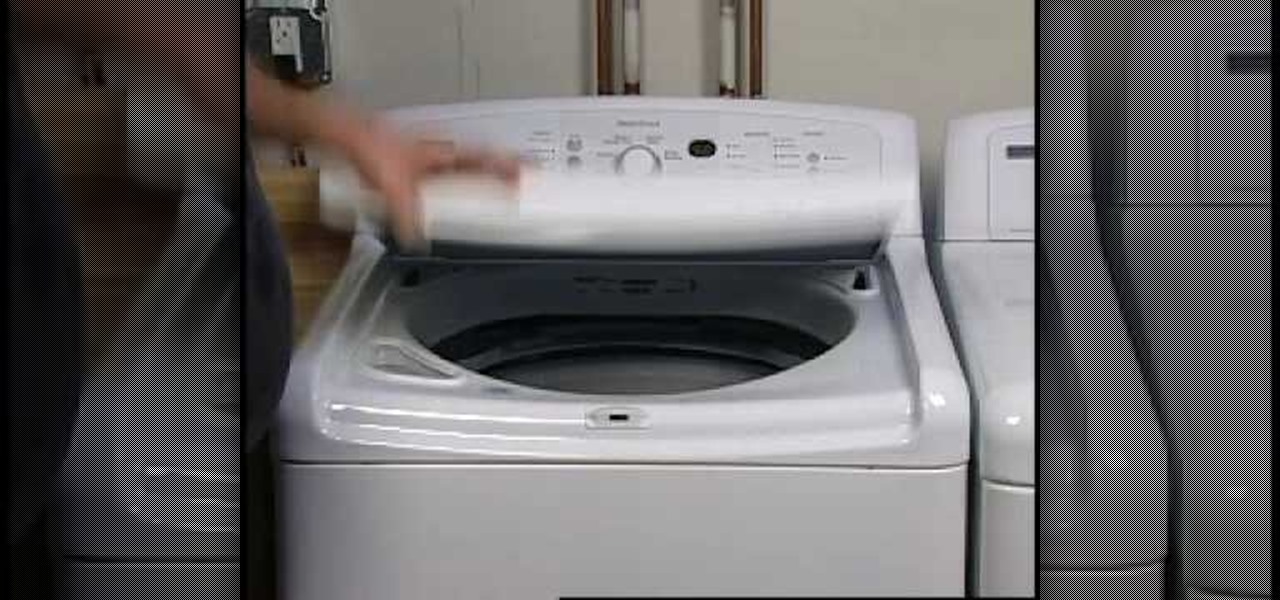
If you've bee washing your clothes and have noticed a faint odor coming from inside of your washer, you may have a problem. Overloading a washer can produce an odor that is warning you to stop adding clothes to an already tired machine. By continually overloading your washer, you're asking for trouble as well as an excuse to spend money on your machine.
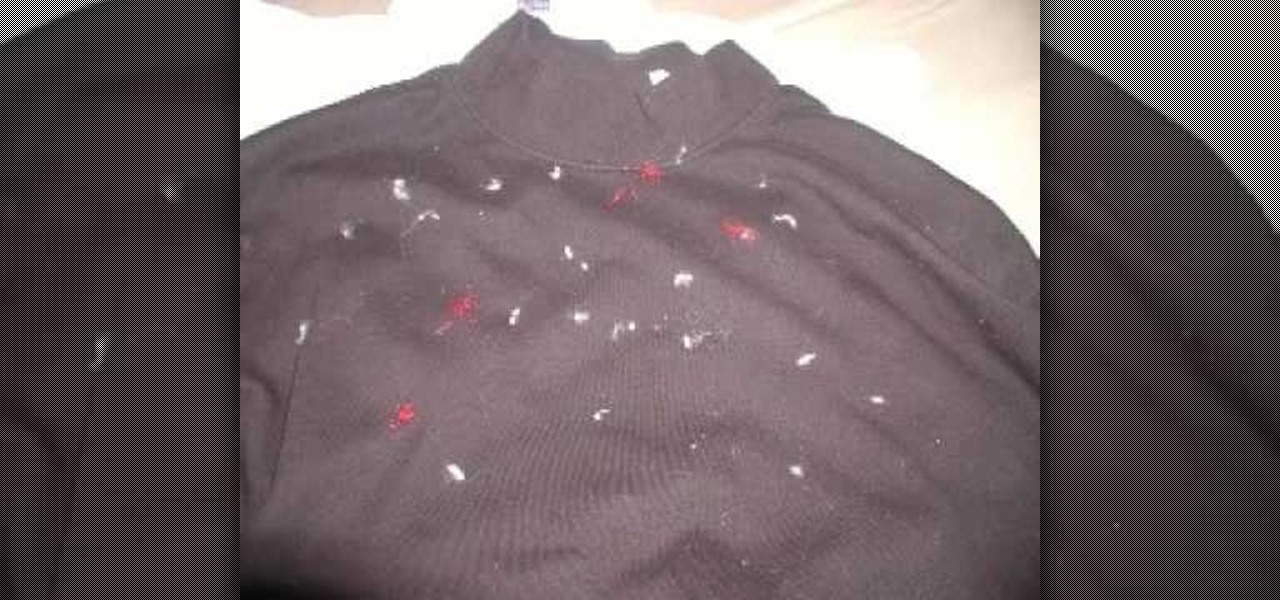
This next tutorial tackles a subject that everyone has been introduced to in some point in their life. Lint. Lint is something that nobody wants to be seen with since it gives off a message that you may not know how to wash clothes properly. There are many ways to help prevent lint from invading your load of laundry and in this tutorial it will cover a couple ways to help make sure you are lint free. It's easy to follow and should be done every time you wash clothes. So good luck and enjoy!
If you've ever taken your clothes out of the washer and have seen white or blue residue on any of your clothes, you may have a problem with detergent residue. This can be a problem since it can stick to your clothes, even after you've dried them. It can also cause stains to develop over time and that can be a problem.
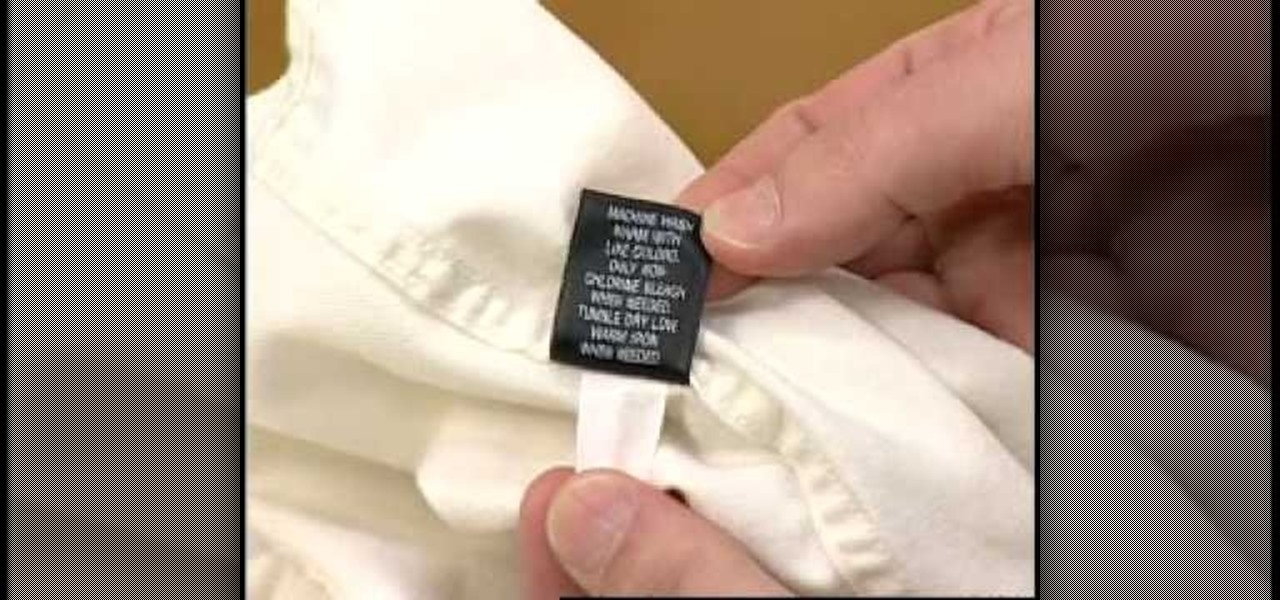
When using a washer, not only are you trying to clean any filth from your clothes, but also take out any existing wrinkles or imperfections as well. But there may be times when the wrinkles stay after being in the wash for a good amount of time.
A common problem that some homeowners face is a washer that won't stop filling with water. This can be a big problem and lead to water damage for floors and can cause people to slip.

If you own a top load washing machine, you may have a problem with tangles. This can be an annoying thing that happens on a regular basis. But there is a way to help make sure that whatever you put in the washer will stay untangled.

If you have a hard time when it comes to cleaning the appliances in your home, you need to try and remind yourself. Cleaning them is an important step in making sure they last for a long time. One appliance that is always forgotten about is the dryer.

This next tutorial, focuses on an appliance that is one of the easiest to maintain, but is always neglected. Say hello to your furnace and air conditioner. Although there are parts that need to be checked by a professional, this can easily be done by anyone in the home.

If it's hot and you need some nice, cool air in your home maybe you should look into buying a window air conditioner. They're easy to set up and require very little time to install in your home. They weigh less than regular air conditioners and can be installed in other areas of your home. So check out this tutorial on how to install one in your home today. Enjoy!

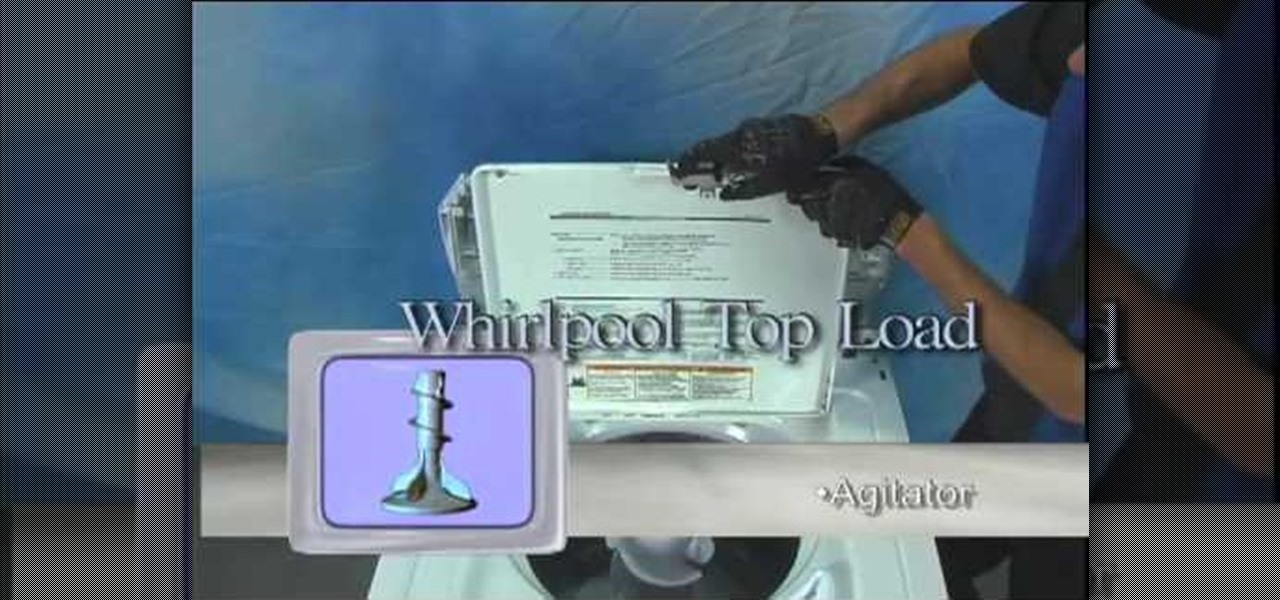
If you're having a problem with the agitator on your washing machine, this video should be able to help. Many people may not realize it, but the agitator on a washing machine, is supposed to go back and forth and not just one way. This can easily be fixed by removing the agitator and replacing a couple of pieces. Check out the tutorial above to see what you need to do in order to repair the agitator on a washing machine. Enjoy!

If you have a broken washer machine and the agitator isn't working properly, this tutorial is what you'll need. In the video, you'll see how an agitator works and the parts inside can easily be replaced. It's a project that can take about an hour or two to complete and will save you hundreds of dollars in repair costs. So good luck and enjoy!

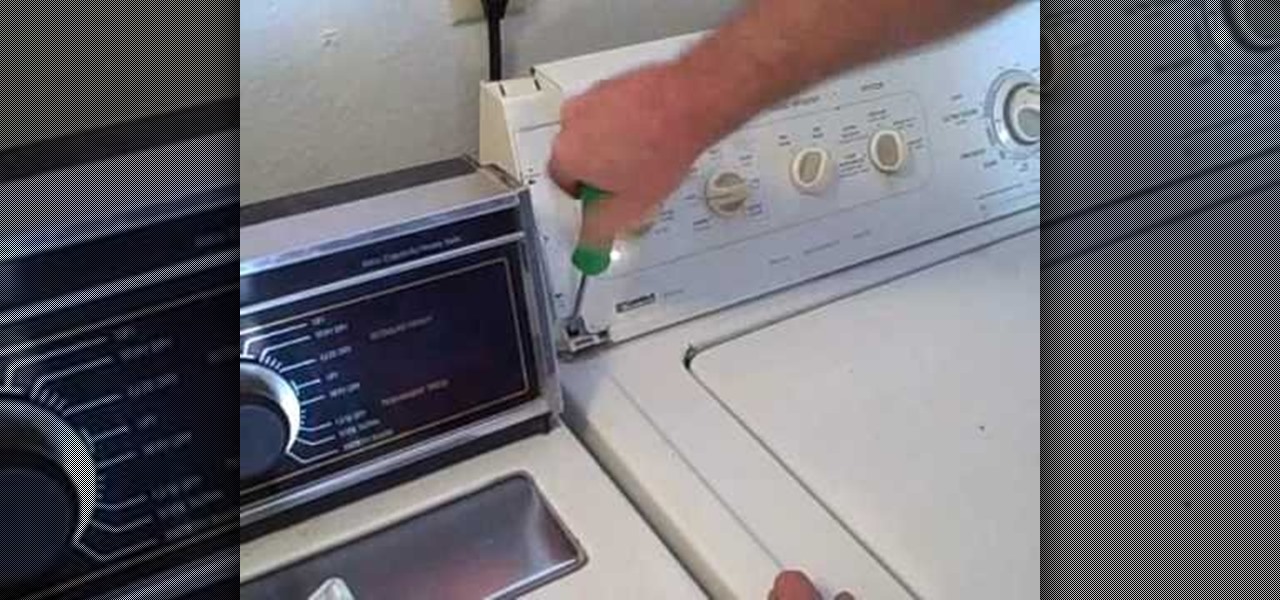
Over time, the lids to a washing machine can become damaged and almost hard to use. This can be a problem especially when most lids are needed to start and stop the machine. In this tutorial, you'll be finding out how to replace the lid to a washing machine. It's pretty easy to do, will only take you a good hour to complete, and will result in a better looking and working machine. Enjoy!

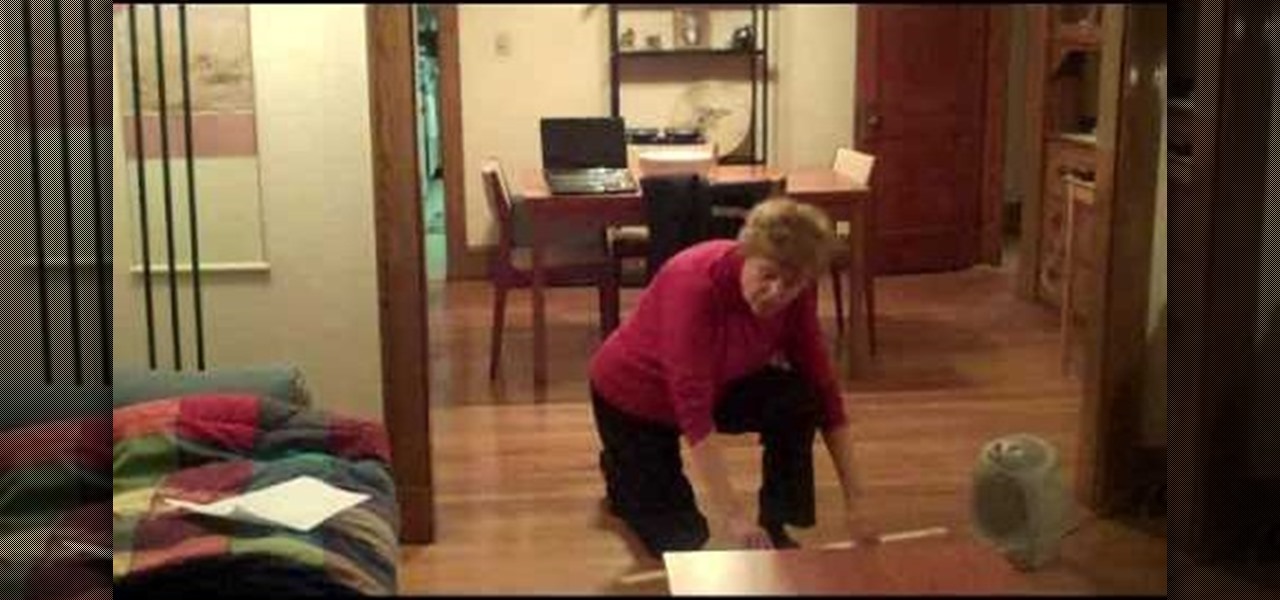
It's that time of the year again! During the long, cold winter months it can be quite annoying when you have to place article after article of clothing on your body. Buying a space heater is an easy way to add some much needed warmth to your living area. So this tutorial will teach you how to safely use a space heater in your home today. Enjoy!

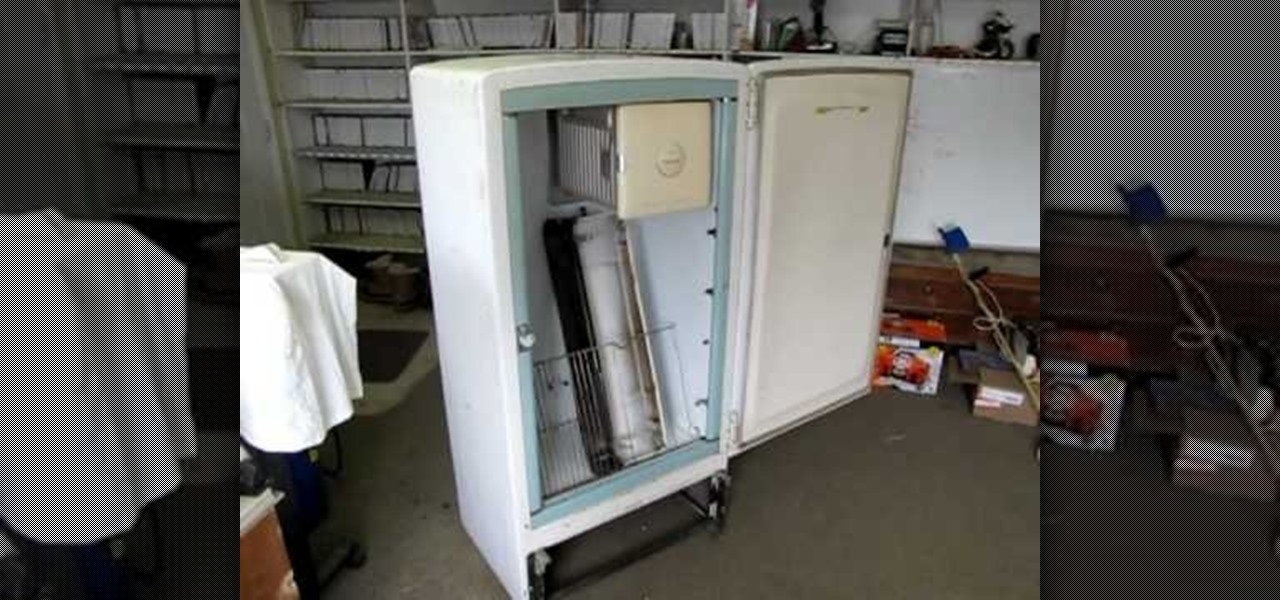
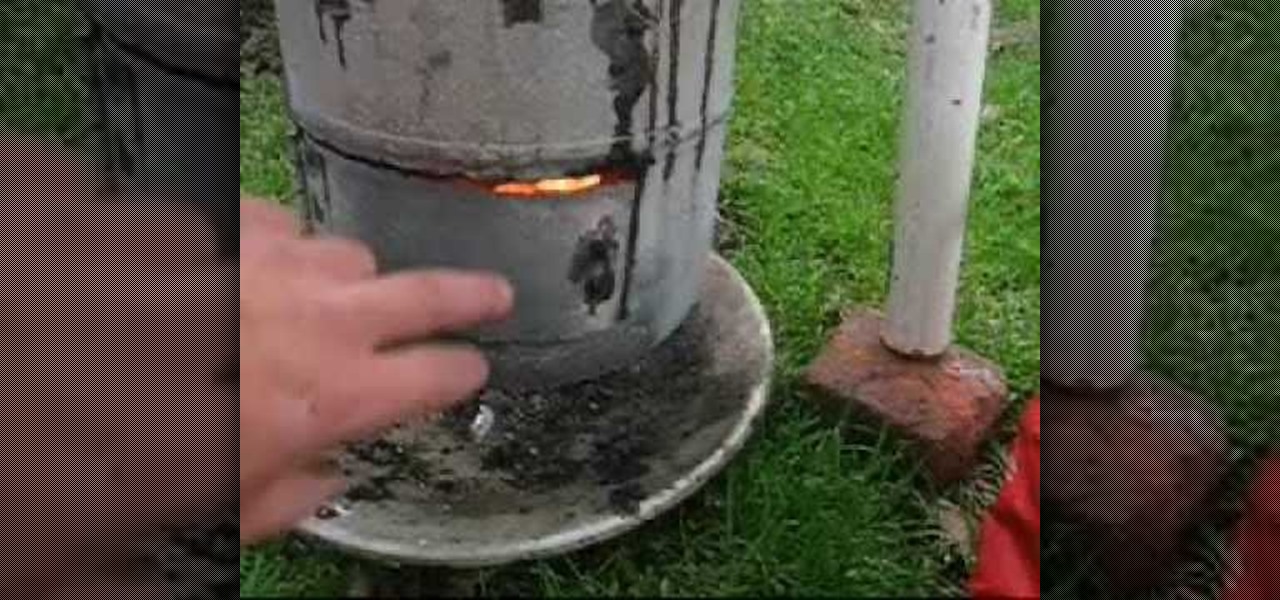
Have an old fridge (or, like the creator of this video, easy access to a scrap metal yard)? Convert it into a meat smoker! This DIY guide will teach you how to repurpose a disused refrigerator for smoking meat. For complete, step-by-step instructions on how to make your own cooker from an old metal-body fridge or freezer, watch this free video tutorial.

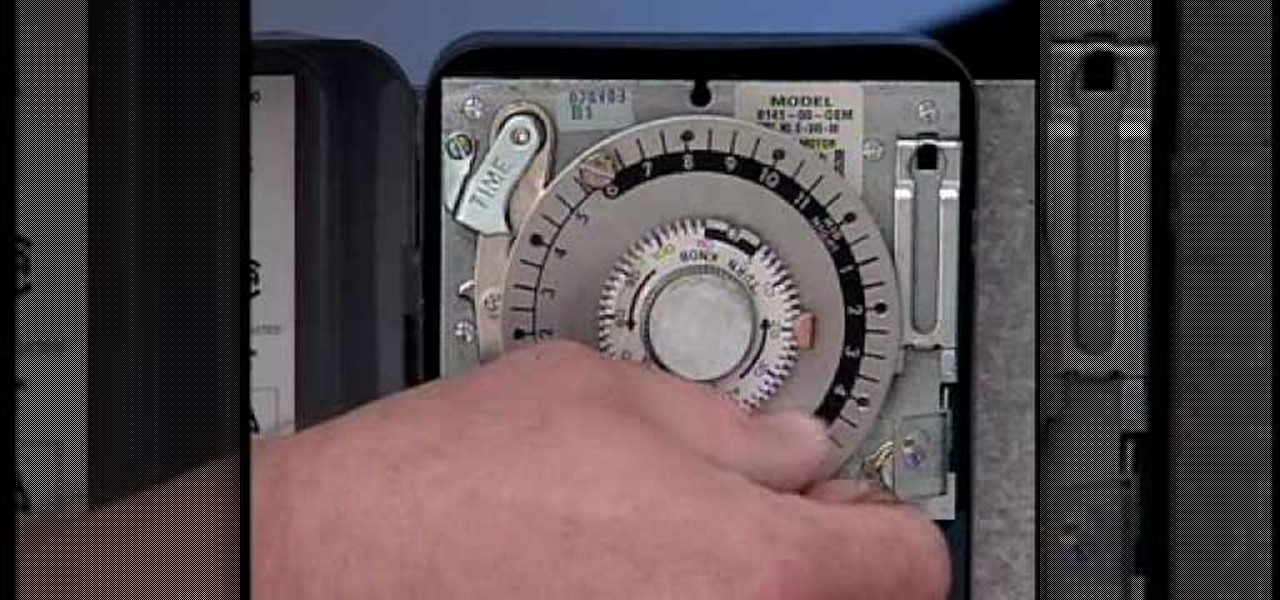
True's Owner Maintenance Video Series shows us how to set the defrost time clock on a True freezer, and also how to cut the shipping band on the compressors of all larger freezers. The time clock is behind the grill at the base of the unit, behind a gray box. There are instructions in the inside of the lid for setting the time clock and for setting the defrost settings, and the video goes through the entire process, as well. Next, the man shows how to remove the shipping band protecting the c...

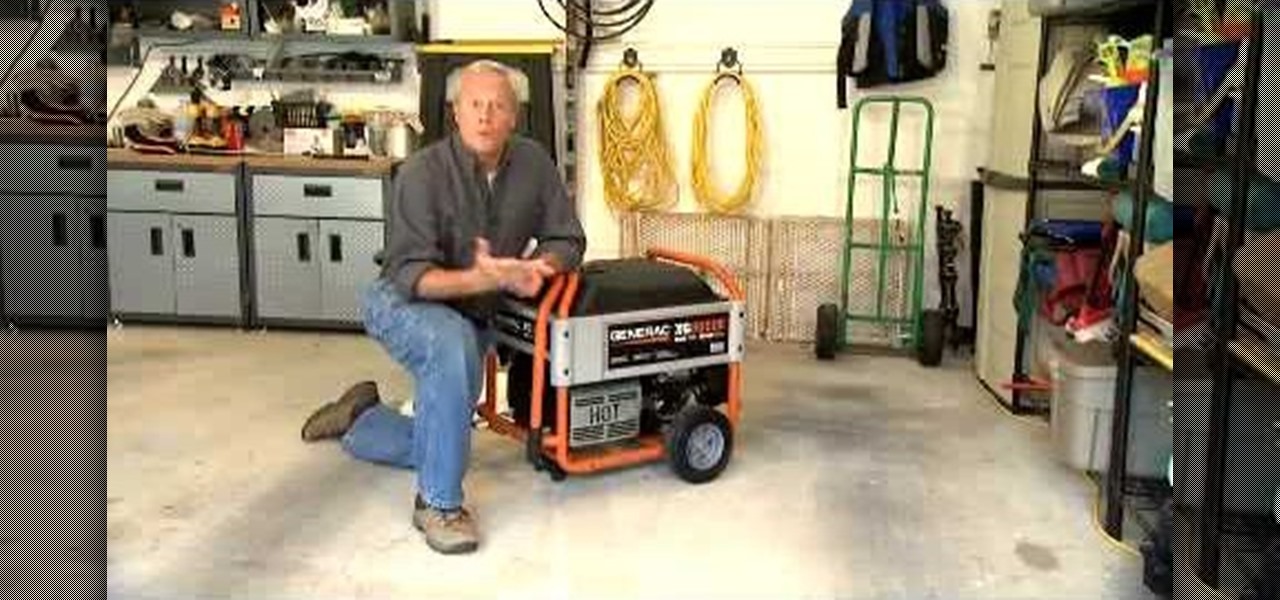
A portable generator is of no utility whatsoever if you don't know how to use it safely. This video tutorial will teach you the fundamentals of safely operating a standy generator. Be sure, however, that you also read the manual specific to your model. Learn how to safely generate back-up power with this free video guide.

Don't worry any longer about calling that electrician, cause with this video you learn exactly what to do to install that ground light switch yourself. Save your money and impress the wife and kids. Here, you'll go step by step on exactly what to do when installing a ground light switch, quick, easy and yourself.

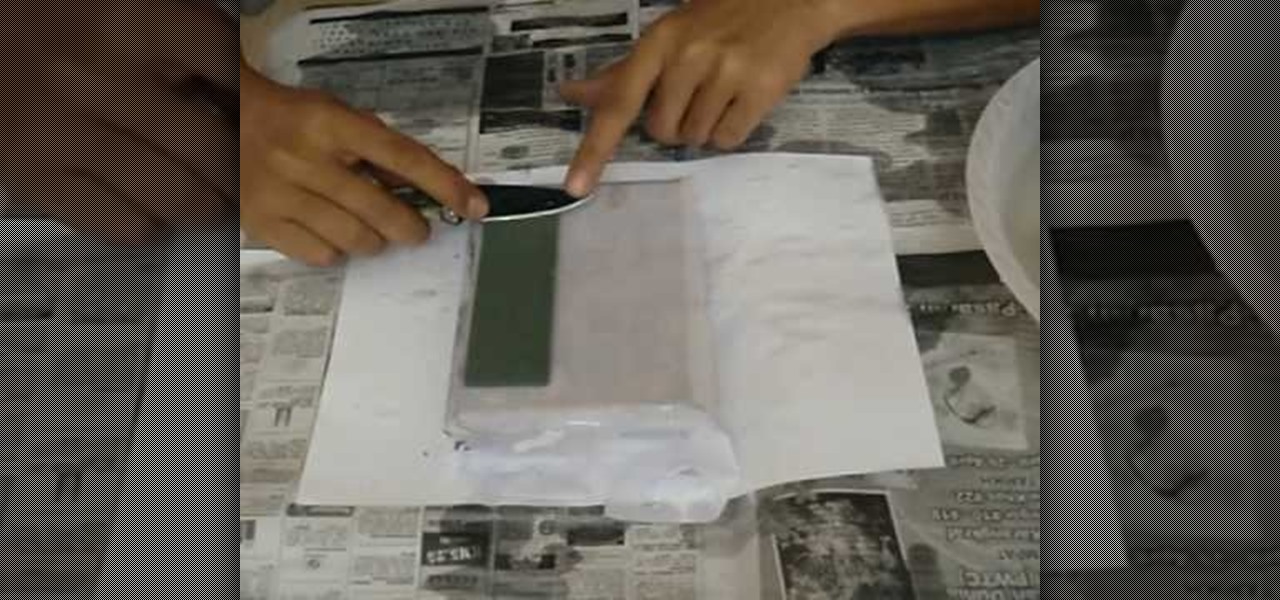
This video by Slokkro shows how to sharpen a knife using multiple wet sharpening stones. The video has no spoken words, choosing instead to have English subtitles, pointing out the various items and techniques for sharpening a blade. Following the directions should enable the viewer to put a nice edge on dull blades, with the technique of using a coarse stone first, then a fine-grained one. The motions are repeated several times in the video, giving the viewer an opportunity to study it witho...

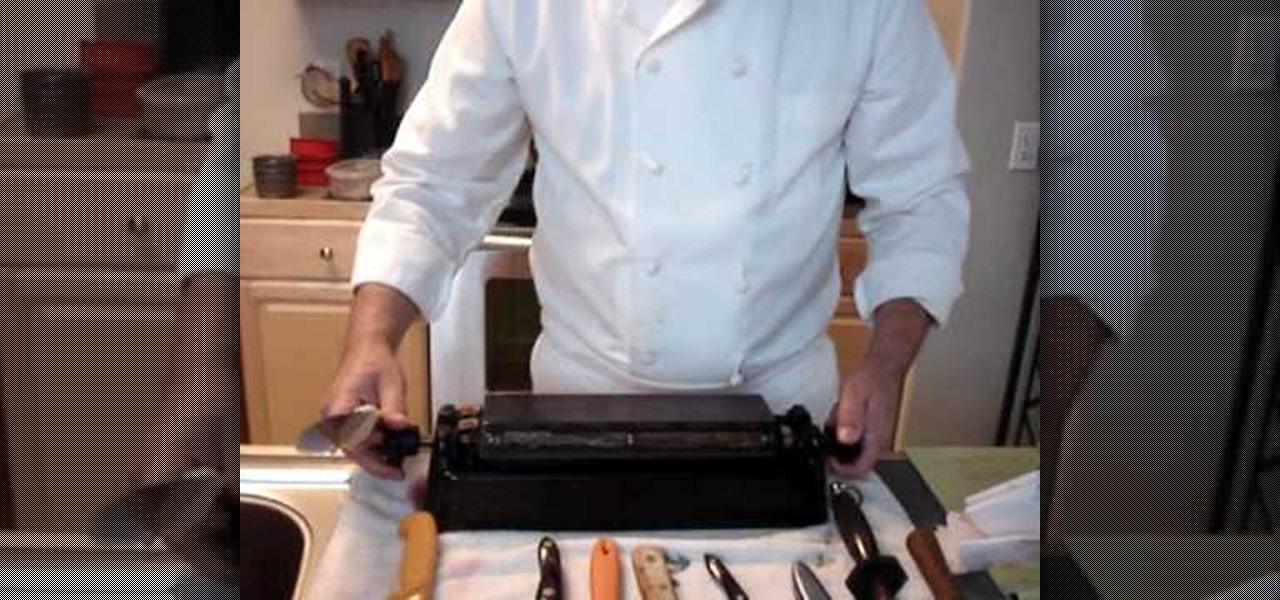
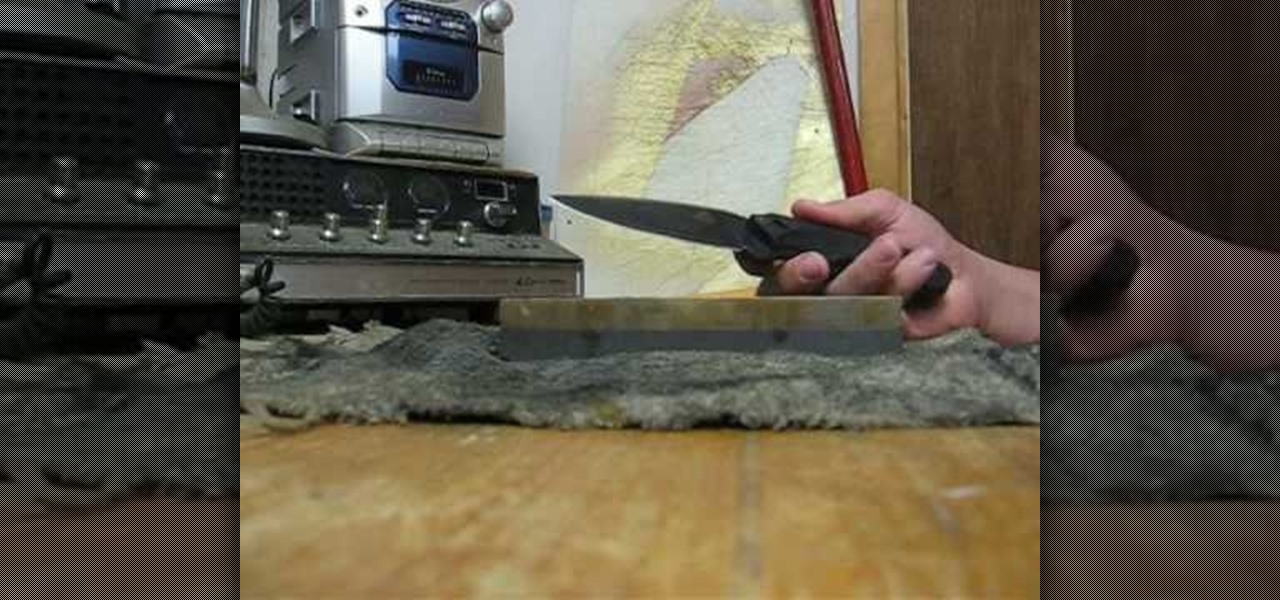
In this instructional video, the host will give you detailed instructions on how to sharpen your blades primarily using coarse, medium, and fine Arkansas sharpening stones. How to oil your stones, how many strokes on either side, and the different angles that can be used are just some of the helpful hints included in this short tutorial. The instructor also includes information on how to sharpen your knives in a pinch using any leather belt, how to align your blade's edge using a steel, and h...

sumaps2 describes how to sharpen a knife using a triple oil stone. The stone itself consists of three stones: a coarse stone, a medium coarse stone, and a fine stone. First, you must place the stone in a reservoir which has been filled with oil. In this example, transmission fluid is used because of its ability to keep metal from binding to the stone. However, you must be extra careful in washing the knives afterwards. All your knives can be sharpened with the triple oil stone, from your pari...

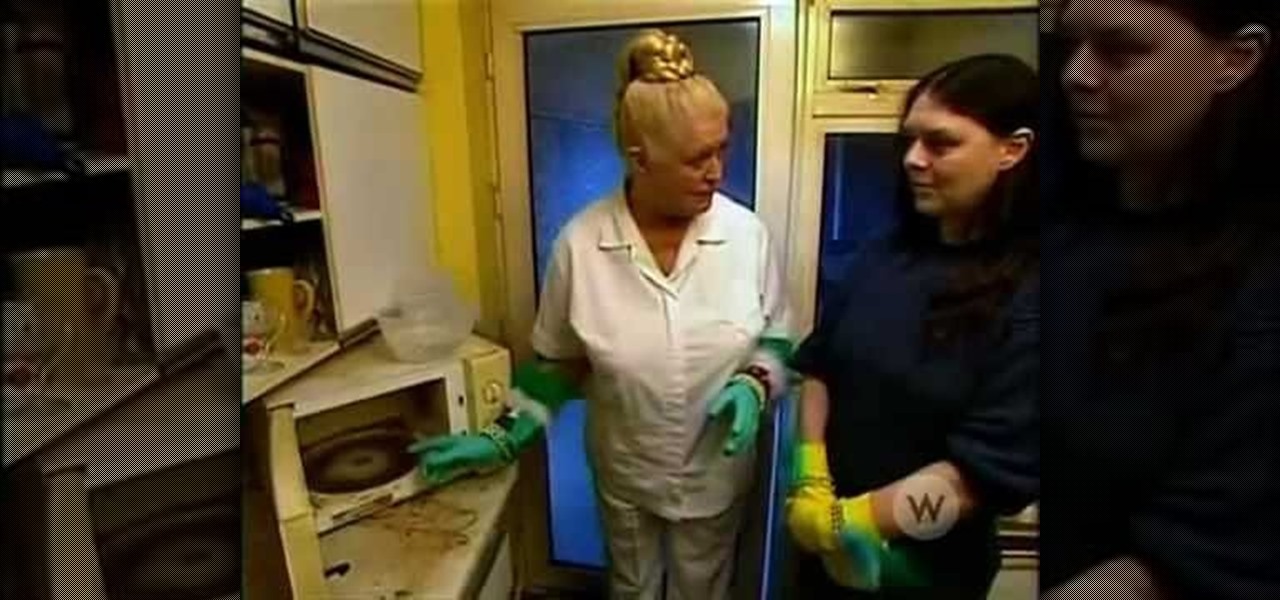
This video demonstrates different ways of cleaning your microwave oven. Cleaning your oven is a very simple and easy task.1.Mix equal parts of baking soda and water. This acts a very mild creamy abrasive and the baking soda helps in deodorizing the oven. Dip a paper towel/rag and rub over the dirt to clean it up.2.Mix 2/3rd water with 1/3rd parts of white vinegar in a bowl and place it in the oven. Heat it up for 5 min so that the mix starts to steam. The steam loosens the dirt and the vinega...

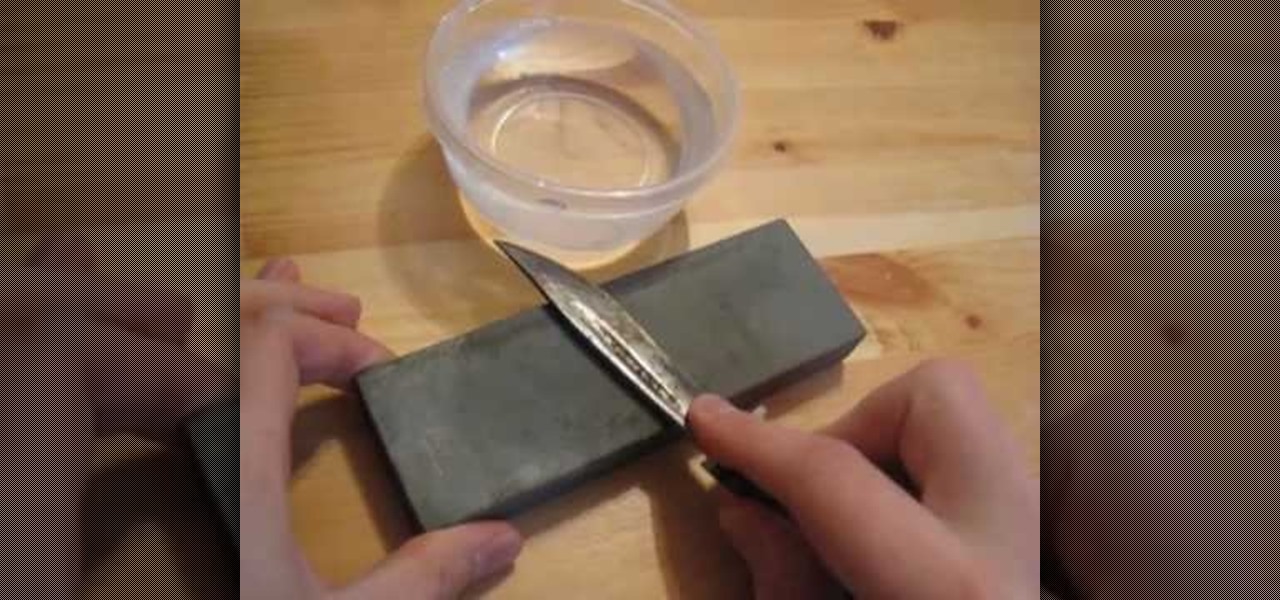
In this video tutorial, viewers learn how to sharpen a knife. The materials required are: water or oil, stone and the knife. Begin by dipping the blade into the water and start grinding with a rolling movement on the rough side of the stone. If it gets dry, add some water. Grind on both the sides of the stone. Now flip over the stone and grind with a pulling movement on the smooth side. Then finish the sharpening with a leather belt. This video will benefit those viewers who need to learn how...

In this Home & Garden video tutorial you will learn how to properly sharpen the blade of a knife. You will need a sharpening stone with two sides; coarse and smooth. You will use the coarse side if the knife has dents. You can use any oil, but Rem oil is the best for this. Spread the oil on the sharpening stone. Hold the knife so that the blade is flat and parallel to the surface of the stone. With the blade facing away from your body, start from the near end of the stone and as you move forw...

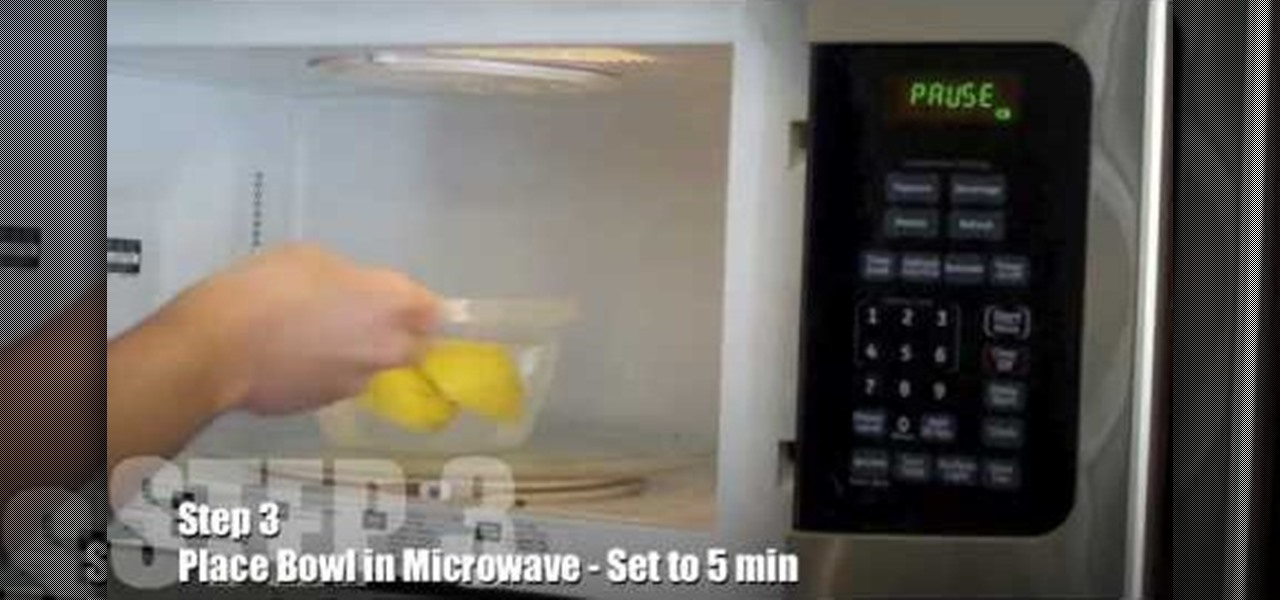
In this video, we learn how to clean a microwave using water and citrus. You will need 1 lemon, 4 cups of water and microwave safe bowl. On a cutting board, slice the lemon in half. Next, place the lemon halves in the microwave safe bowl and fill it with water. When you are done with this, place the bowl into the microwave and set to 5 minutes. Turn on the microwave and when it's done take the bowl and turn table out. Wipe the inside of the microwave out with a cotton towel. If you have stubb...

Danny Lipford gives us tips on setting up and maintaining a portable generator. Set-up usually includes assembly of things like wheels and handle kits. Most portable generators come without oil so you will need to add it. Be sure to check the owner’s manual for the proper type of fuel to use.

Be a DIY superstar and impress your friends with your newfound craft skills by turning simple votive candle holders into a hanging candle tree. You can do it all with simple home supplies and by following the instructions in this video.

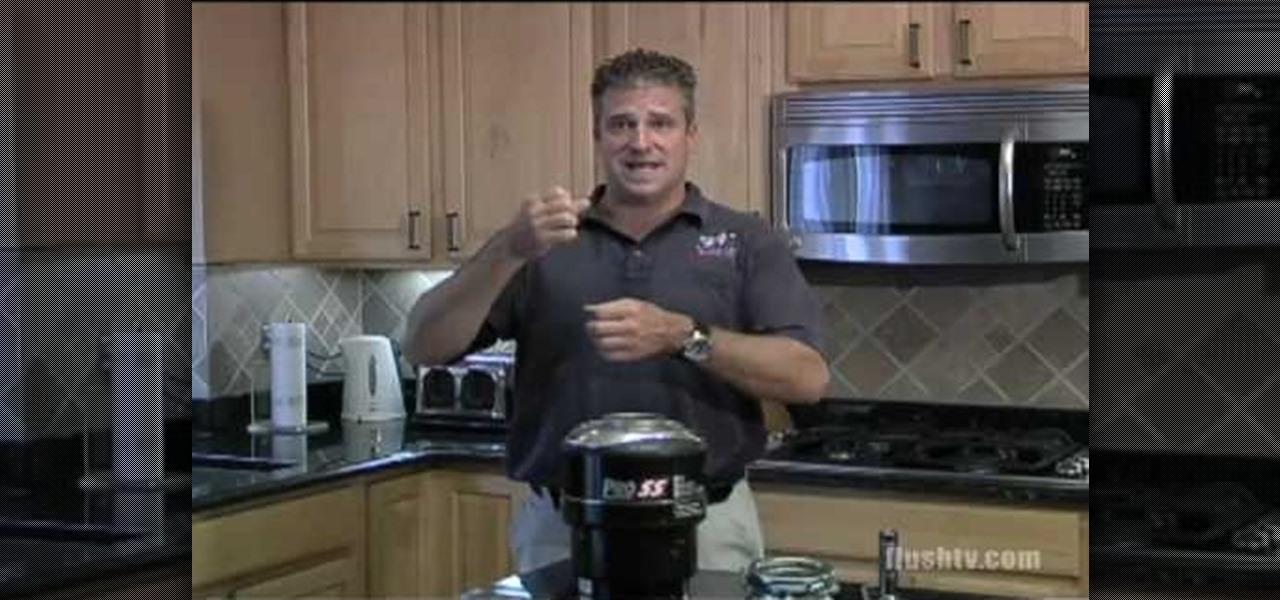
In this video tutorial, viewers learn how to maintain a garbage disposal. When using the garbage disposal, always run cold water before using it. Put the debris one by one. Do not stuff it all in at once. When finished, turn the disposal off and let the water run for a while to wash all the debris down the waste line. Do not grind stringy items. It is fine to grind hard food waste. This video also talks about the common problems that people encounter when using a garbage disposal. This video ...

This video is from AskMeDIY and covers how basement sump pumps work to keep your basement dry. The sump pump fits underneath the basement below the concrete slab. The sump pump in the video pumps 2,000 gallons per hour. The presenter turns the pump off to demonstrate how quickly the water would fill in with the pump off. He contends that the basement would be flooded in only three minutes if the pump would malfunction. The pump is plugged into a GFI protected outlet and the pump outlet flows ...

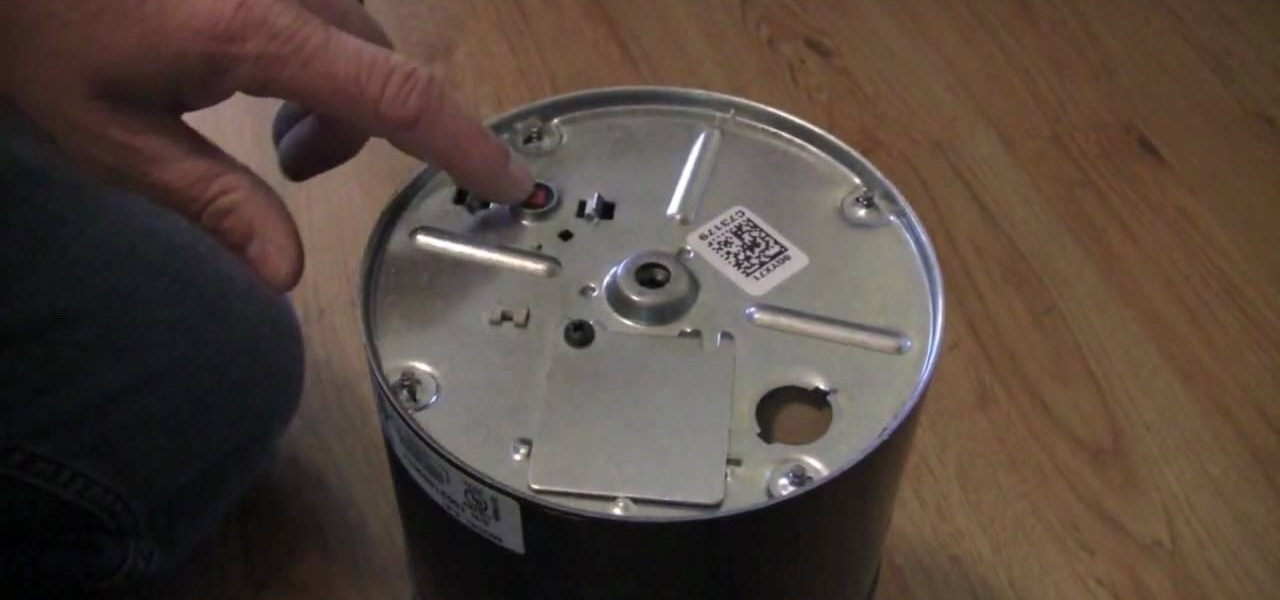
In this video you are shown how to fix garbage disposal jams. Jams or electrical surges in your garbage disposal may make it appear that it is no longer working which is in fact not the case. Many people buy whole new units when that is unnecessary. If your garbage disposal jams, you can take a jam buster, which is basically an Allen wrench, and insert it into the small hole in the center of the bottom of your disposal. Twist until the jam, or whatever is obstructing your disposal, is broken....

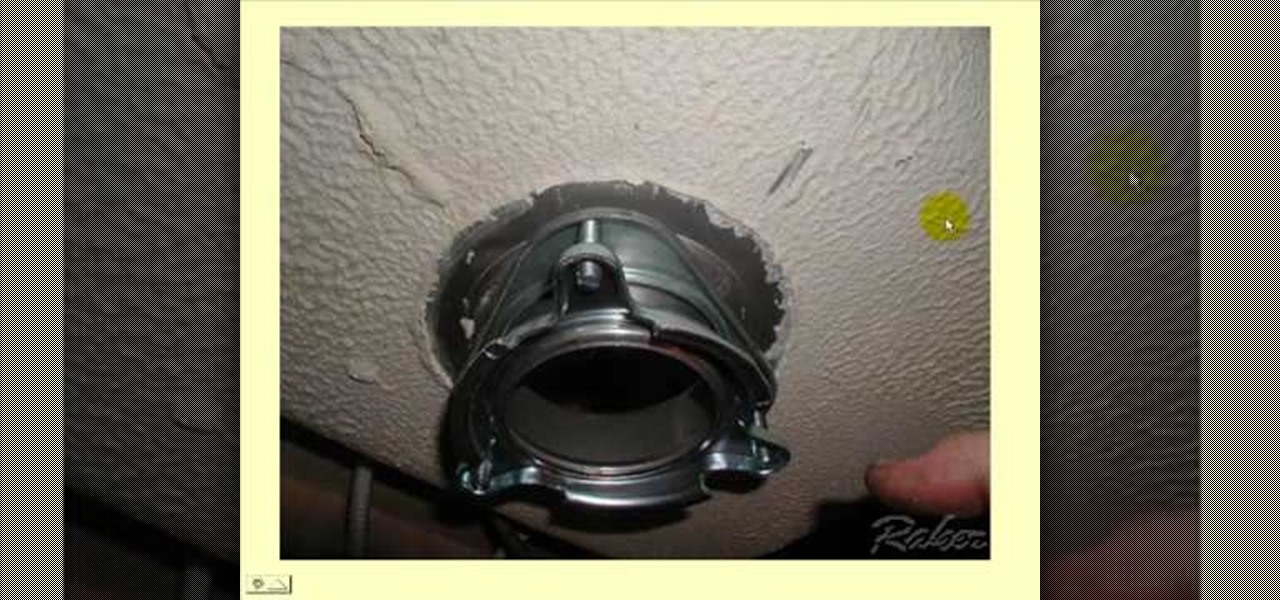
Harry shows ways to fix common garbage disposal problems. First he shows if it hums use a crowbar to break free what is stuck. If you flip the switch and nothing happens it may be the red reset button on the bottom has popped out. He enplanes it may even be a bad wall switch or a bad breaker. He then shows you how to replace the disposal if that is what needs to be done. He shows you what to do if your new pipe is too short, how to properly wire your new one, and how to hook the drain for you...

In this video tutorial from RenaissanceRentals you will learn how to maintain and troubleshoot your home garbage disposal. First thing to do is to keep the water running during garbage disposal. Ensure that the leftovers are cut into small pieces and you put only small quantities for disposal at a time. Things like plastics, glass pieces, rocks and food items like egg shells, starchy foods like pasta or rice should not be put into the garbage disposal system. If you follow these simple tips, ...

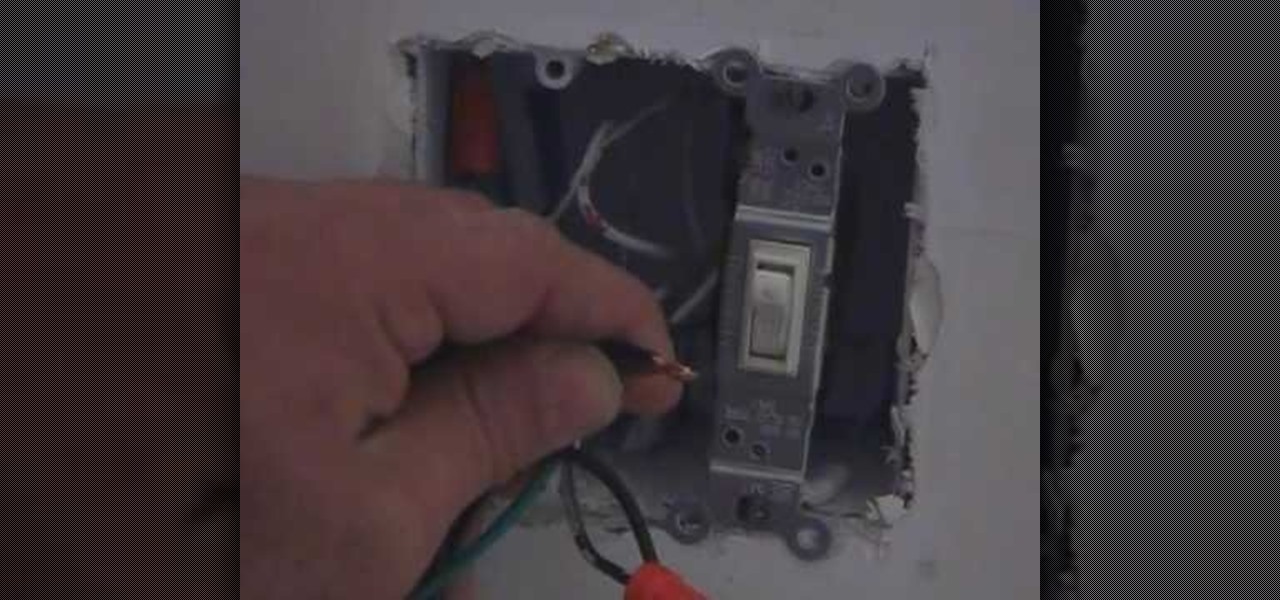
This clip shows you how to replace a regular toggle switch with a dimmer switch on a light. It is easier than you think according to the presenter. There is a box with a green ground wire and two black wires. In dimmer switches, it doesn't matter which way you connect the two black wires; they are interchangeable. Turn the power off. Then unscrew the switch once you have opened the plate. Then you simply connect the two wires to the two wires on the dimmer switch. The presenter shows you exac...

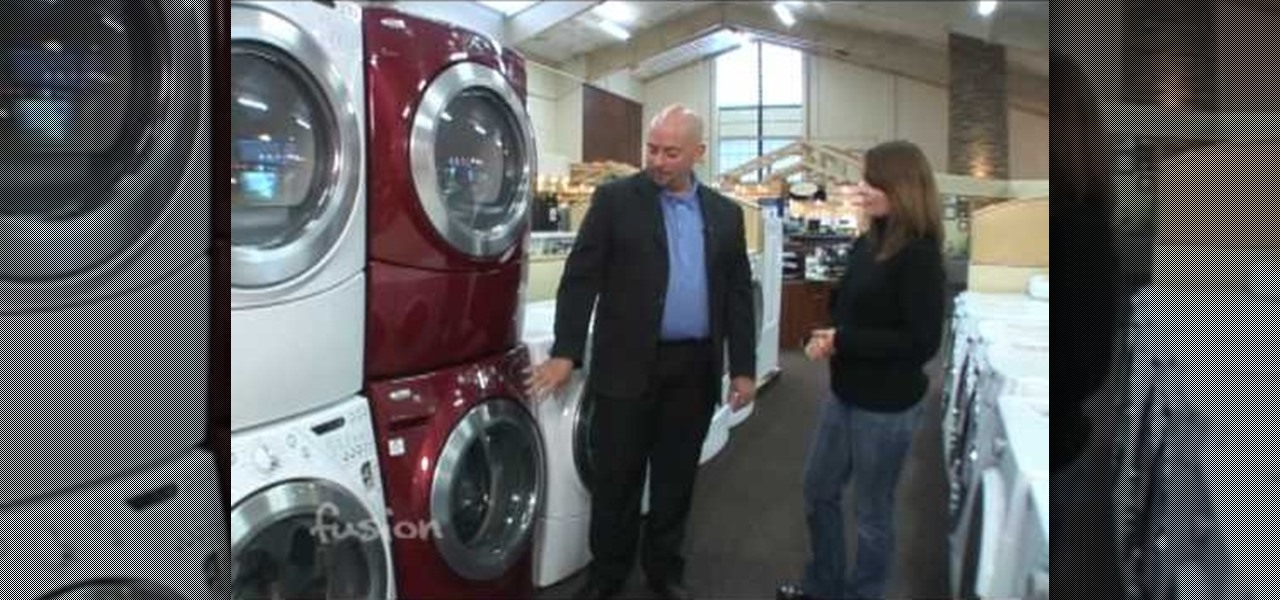
In this video tutorial, viewers learn the differences between a top and front loading washing machine. This video will describe the good and bad factors of each one. The front loading washing machine is energy efficient, uses only 15-18 gallons of water and cleans more efficiently. The only downfall is that the front loading washing machine has a higher costs. The top loading washing machine uses 45-50 gallons of water and does not clean clothes as efficiently. It is not energy efficient and ...

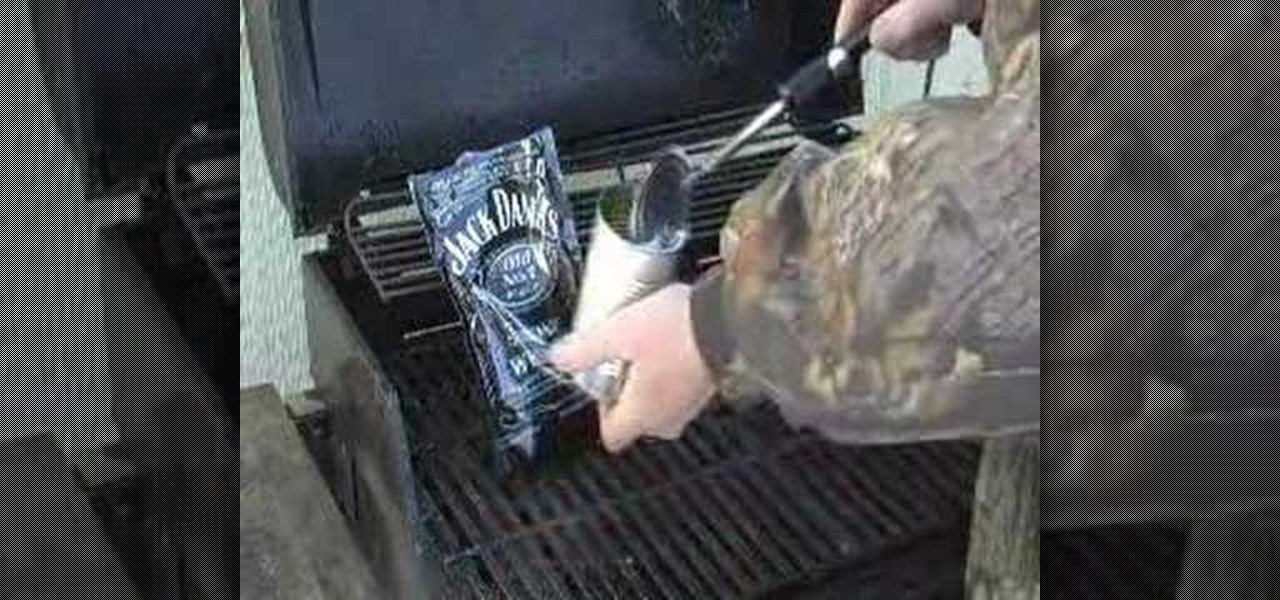
Learn how to build a cold smoker from this video in simple steps . You will need: smoke pellets, a new soldering iron and a empty can. First leave the lid in the can partially attached and cut a hole in it for the soldering iron. Add you favorite smoke pellet to the can and insert the soldering iron through the hole in the can. Now plug in the iron and place the cheese into the grill on top of the can. Finally enjoy some smoked cheddar cheese.

Interested in starting in on the journey of smoked meats? Smoking meat is a slow, but delectibly beneficial process for meats and in this video learn how to save money on expensive smokers & cookers by making your own. This smoker was made with a plasma cutter, arc welder and a couple of spare hours and has been used for everything from fish to turkies, to prosciutto.

This video will teach you how to make a white board at half the cost and a better quality than you can buy and it will last a lot longer. You start with an 8x10 piece of Plexiglass with only surface scratches and spray paint. Try not to touch the side that you're going to paint. Remove only one side of the Plexiglass protecting plastic. Sand any sharp areas and paint in a well-vented area or outside. Paint lightly with the color of your choice and let it dry before adding a second coat. You c...

Patty Moreno shows us how to test your pond's PH, and see if the conditions are right for fish. • First get a freshwater PH test kit.

This video tutorial shows you how to fix a collapsed volcano vaporizer. Replace vaporizer tubes with new ones. Trim them to fit with fingernail clippers. Use zip ties to secure tubes to vaporizer and other tubes to prevent future collapse. In the end, you want the square tube to jab into the side.

Looking to up the ante in the home secuirty department? If you are concerned about the safety of your family and home, consider purchasing a burglar alarm system by following these helpful tips.


