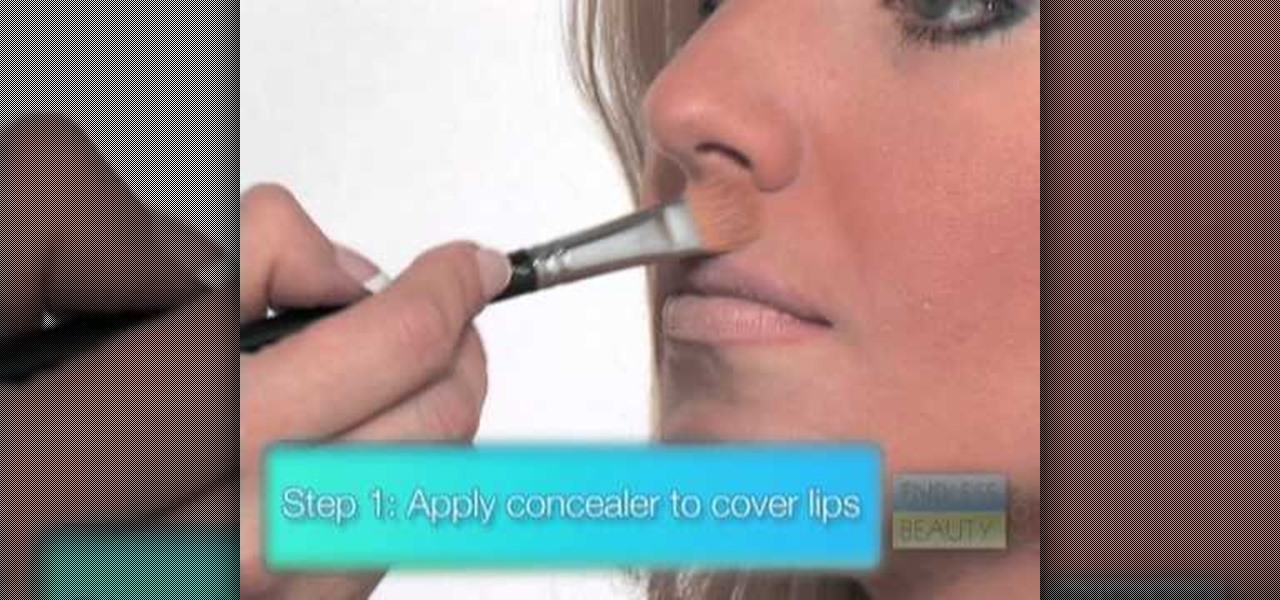
It goes without saying that superstar Angelina Jolie was born a bit...genetically gifted. Natural huge cat eyes, long black hair, a body to die for and those unforgettable beestung lips have made her one of the most beautiful women in the world.
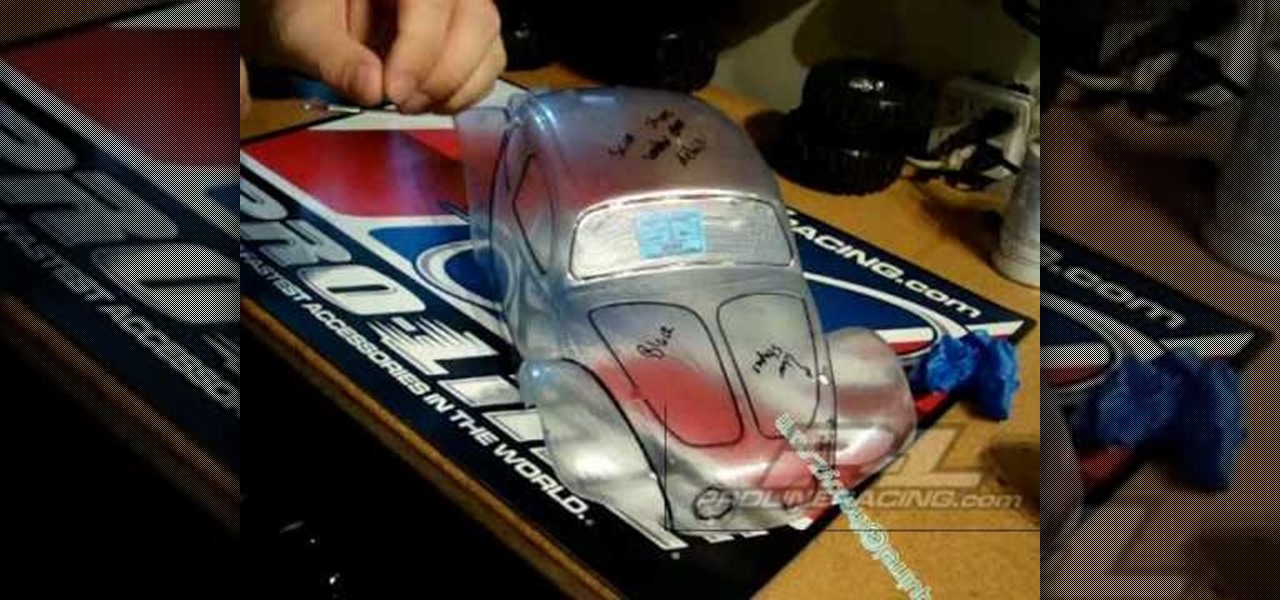
In this video, we learn how to apply stripes and add lines to RV cars. You can do curved lines or straight lines, depending on the look you want. For straight lines, you will take tape and mark from the hood to where you want the tape to end. Use different sizes to create the look you want to achieve. To get the lines straight, place the tape on a straight surface as a guide with the clear top that goes over the vehicle. Once you do this, you can paint around this to form opposite colors. The...
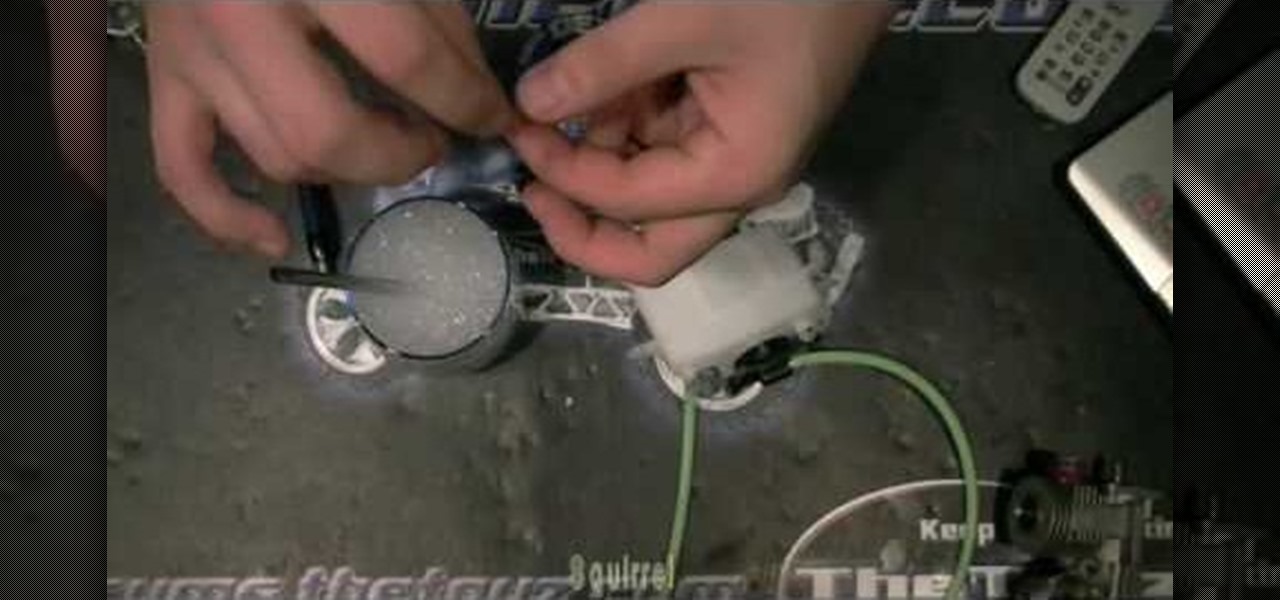
In this tutorial, we learn how to detect an air leak in a Nitro RC engine. Air leaks damage your engine which will take your tuning and completely void it. Now, take some soapy water and apply it to your engine and anything that is connected in between. Block off one end of the host where you aren't going to blow into. Find where you think the leak is, then make sure you don't have a cracked tank. Next, make sure everything is sealed and apply soapy water. Blow in the other end of the valve a...
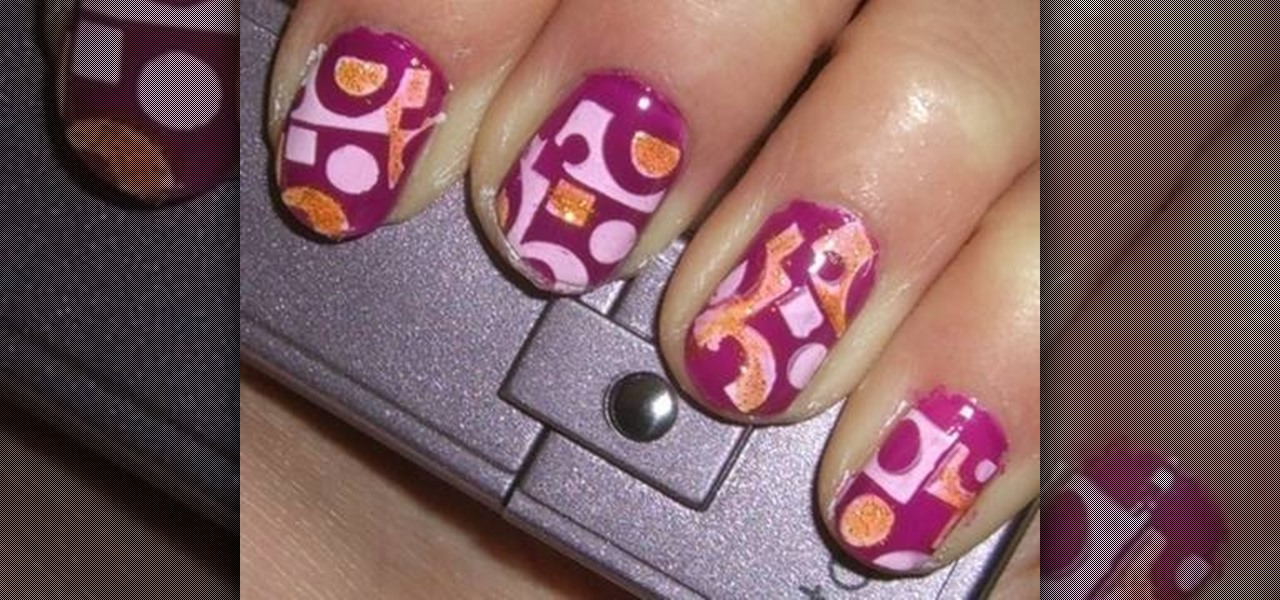
In order to paint nails with funky hot pink design, you will need the following: a base coat, a purple nail polish, a nail plate, stamping nail polish, a stamp, a top coat, gold glitter nail color, and a scraper.

In this video, we learn how to get a black and white costume makeup look. First, apply white cream makeup to the eyelid and then underneath the eye. After this, line your crease with black eyeliner and end it with a tail. Then, line your lower lid doing the same thing as you did on the top of the eye. Blend black eyeshadow in with the liner after this on the top and bottom to make the line thicker. Now, apply a white powder makeup over the white and connect them together in the crease of the ...
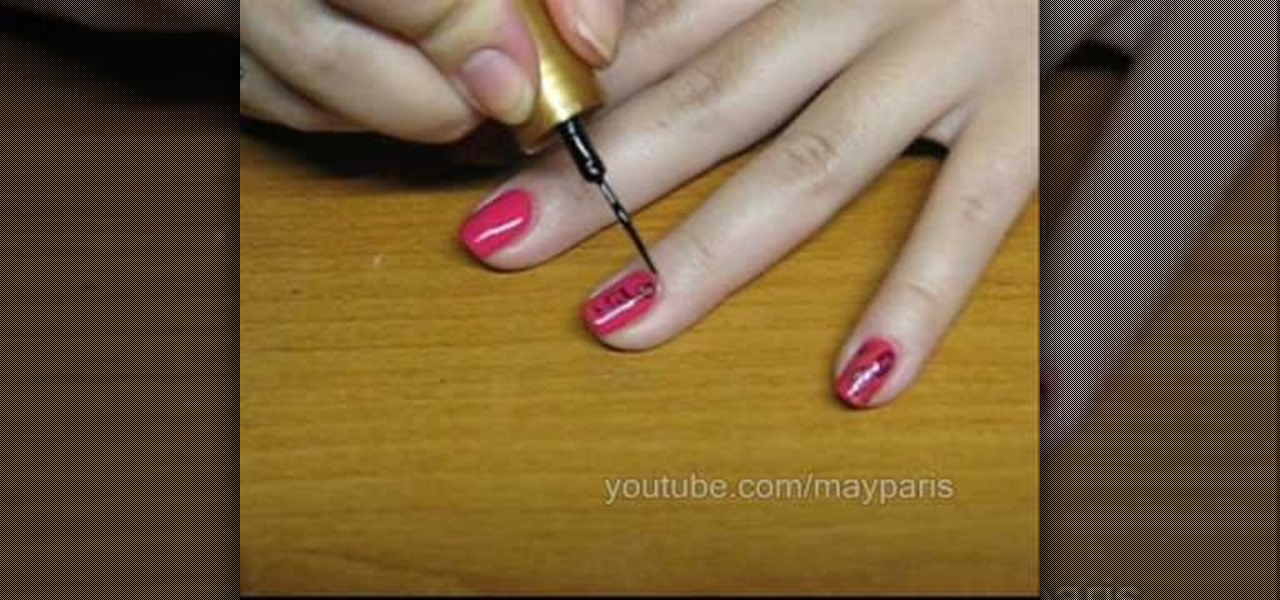
In order to paint a geometric, tribal, ornamental design for your nails, you will need the following: base coat nail polish, hot pink nail polish, a gold/brass/copper nail polish, a dark nail polish, and a clear top coat or a shimmer.

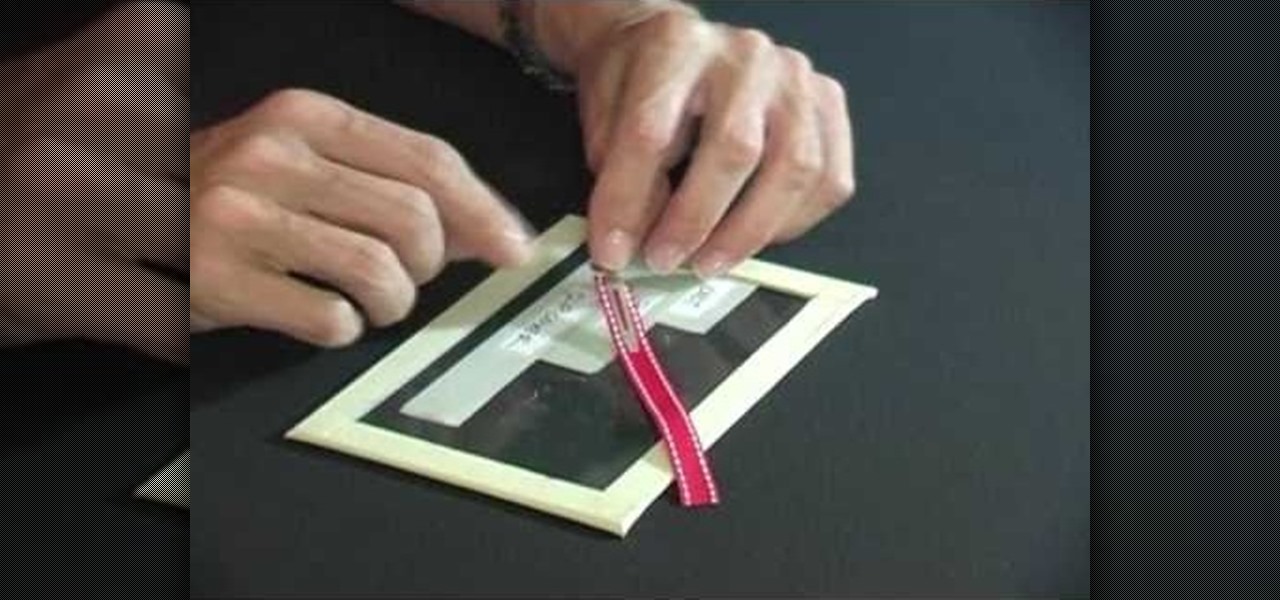
In this video, we learn how to make a jingle bell card using Cricut Storybook. you will need the Cricut Storybook cartridge and Cuttlebug Music Notes folder to do this card. First, you will take a cut out of the word "jingle" that has a bell attached to the bottom of it. You can find this in your Cricut crafting books. Next, apply a checkered green paper over a forest green card stock. Next, grab a holiday embossed white paper and apply a ribbon to it, then glue this onto the checkered paper....

In this video, we learn how to remove blackheads with Lisa Rhodes. Blackheads are a common problem that occur when dirt and bacteria get trapped underneath the skin. The best way to remove these blackheads from your skin comedone extractors, which is a metal stick with a hole at the end. It applies even skin around the blackhead when you are extracting. This is safer than using your fingers, because your fingers tend to damage the hair follicle, which leads to acne bumps or a larger pore. thi...

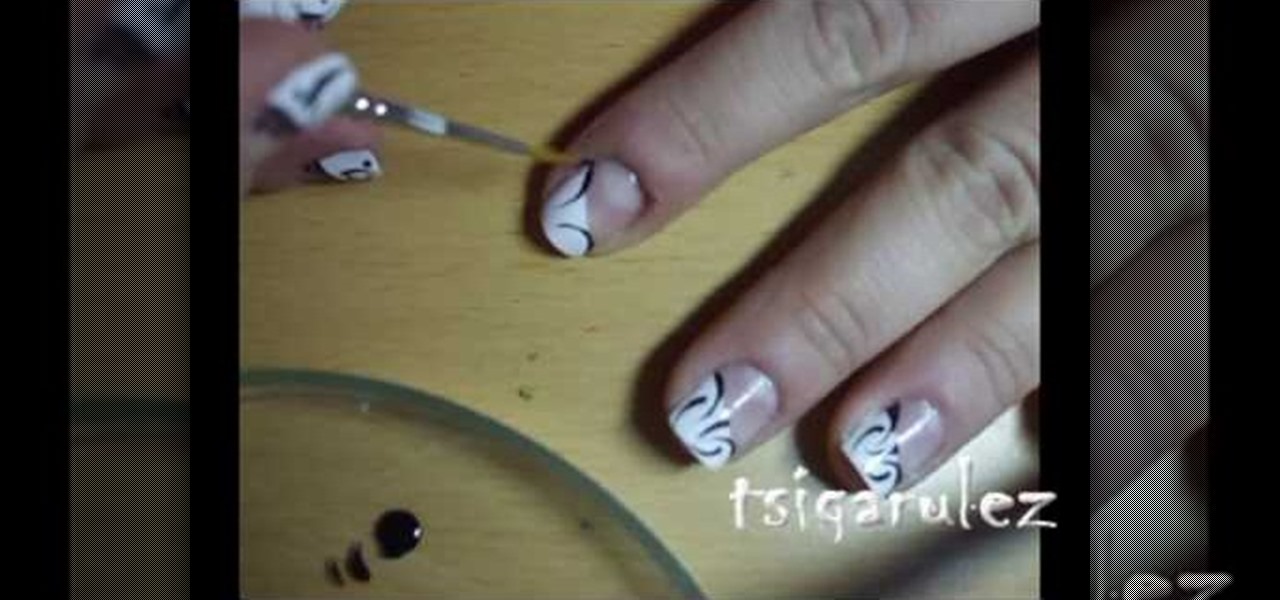
In this video, we learn how to paint a black and white French design for short nails. First, paint a diagonal stripe down the nails with white nail polish. You may need to apply two coats of white polish to get a strong color on the nail. Let this dry, then grab a very fine brush and use black nail polish to paint a design onto the white part of the nail. Apply dots and different lines to make the pattern turn out how you want it to be. When finished, you will have a beautiful nail design tha...

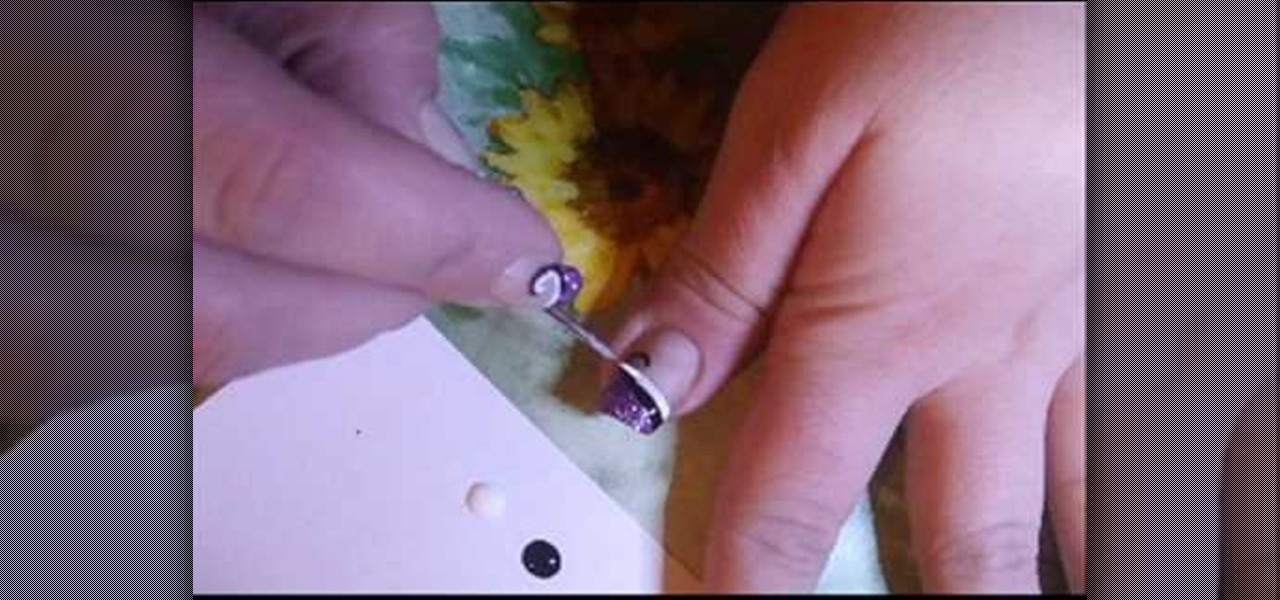
In this video, we learn how to create a white, purple, and black swirl nail art. Start off by applying purple glitter to the side corner of the nail. Next, draw on a black thick line underneath the purple, followed by a swirl at the end of the line. Then, take white nail polish and make the same line underneath the black line. Make sure you let the black dry before you paint the white on underneath it. When all colors are dry, apply a clear coat of nail polish over the designs. Now your swirl...

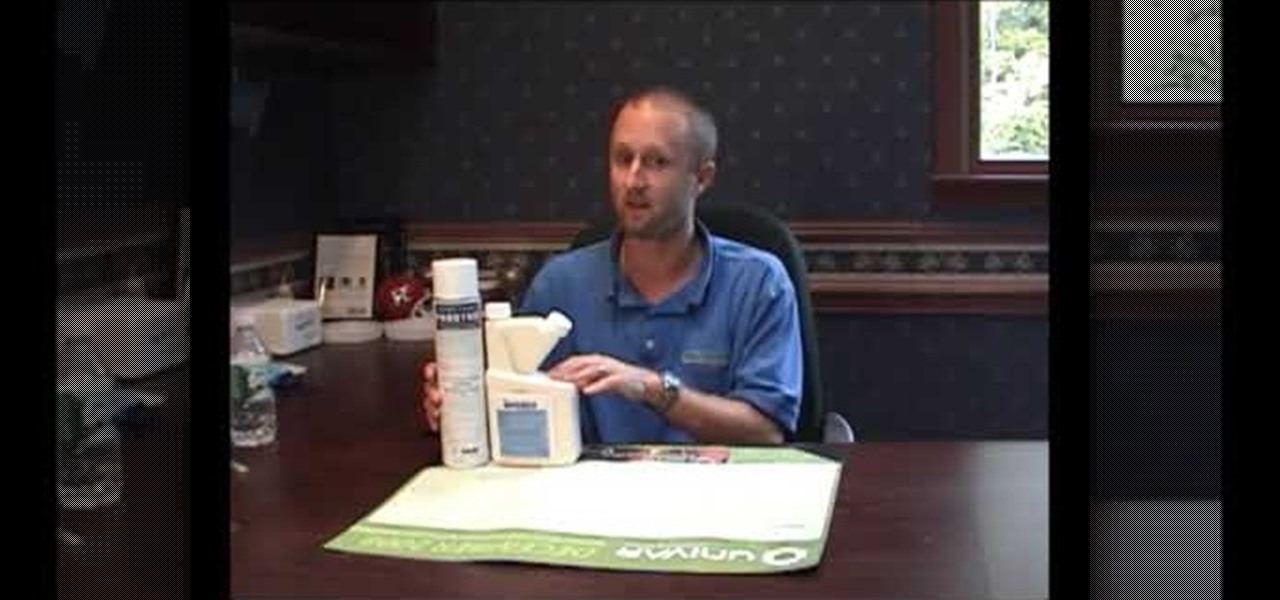
In this Home & Garden video tutorial you will learn about Phantom Insecticide for bed bug control. You cannot buy this pesticide over the counter. You will need a license to purchase this. It is very effective in bed bug control. While evaluating a pest control company, check out whether they use this pesticide. It can take seven to fourteen days to kill a bug after it is exposed to this pesticide. So, if you are bitten by a bed bug after applying the pesticide, don't think that it is not wor...

In this video, we learn how to go from professional to club girl with your clothes. To go to work, you can wear a pencil length skirt with a tank top tucked underneath it. Over this, you can wear a cute and professional jacket that is buttoned up. When you are ready to go out, you can lose the jacket and add on a necklace for a sexy look. After this, apply matte makeup to your face and use dark eyeshadows to give your face a mature appearance and smoky eye. Applying a light lip gloss and masc...

In this tutorial, we learn how to use Fiskars Decorative Edge scrapbook layout. First, you will need to pick out the templates, pictures, and paper that you want to use for this project. Now, place the stencil over the card stock and cut out the stencil shapes you want, stars work best if you are doing a fun child theme. Now, apply these to your base card stock, and arrange a frame over the background. Now, apply the picture to the page and add on the stencils you just cut out. Add in quotes ...

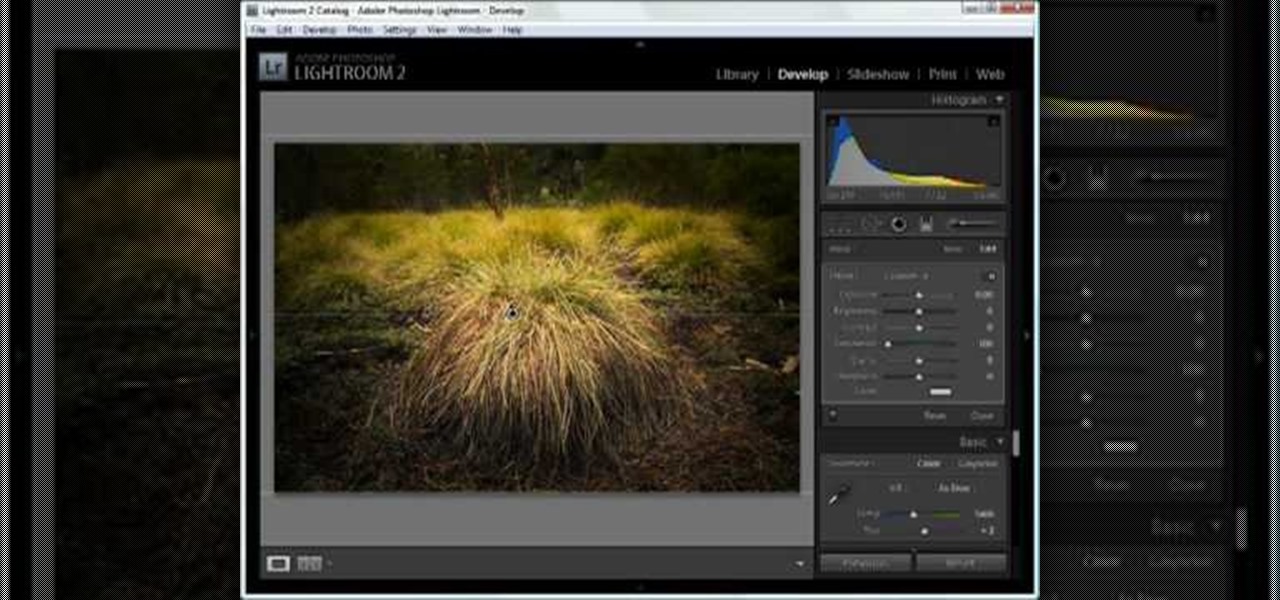
In this tutorial, we learn how to dodge and burn in Lightroom 2. First, open up your image in Lightroom 2 and use the brushes to change the saturation and the colors in the image. You can also use the graduated filter which you can use to apply effects across the image itself. Next, you can add a tint onto the picture and apply a second filter to make the top of the image darker, then make the middle of it brighter. Change the exposure and saturation to make the picture look more realistic. U...

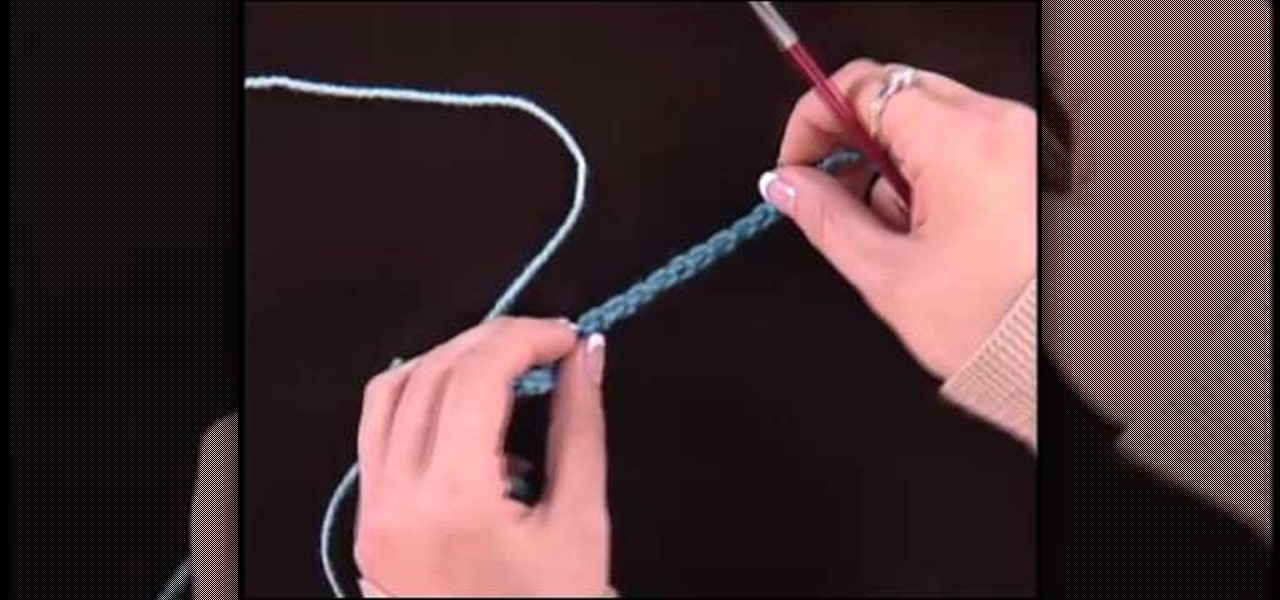
Hard edged cast-ons in knitting are difficult to remove, so it's important to also know how to complete loose cast-ons that easily remove themselves from your knitting project. Loose cast-ons allow you to hold a knit in place so you can return to it later (so, for instance, you want to knit the sleeve of a sweater first and want the chest area, which you are currently knitting, to stay in place).

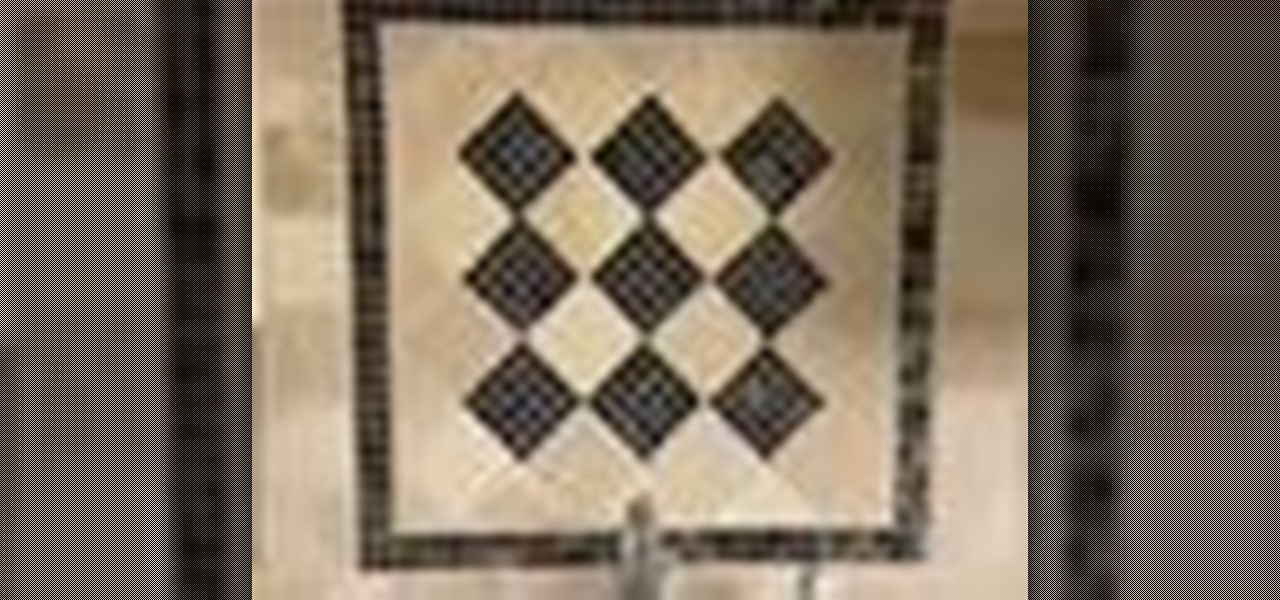
This video tutorial is in the Home & Garden category where you will learn how to install a kitchen backsplash with glass tile accents. A tile can be attached to walls with the help of mastic. It doesn't require mixing and it is stronger than mortar. Before applying mastic, sand the wall surface lightly. Don't sand away the paint. Clean the surface with damp cloth. Layout the tile pattern below the space and measure the dimensions. Do the marking on the wall of the centerline. Apply a thin lay...

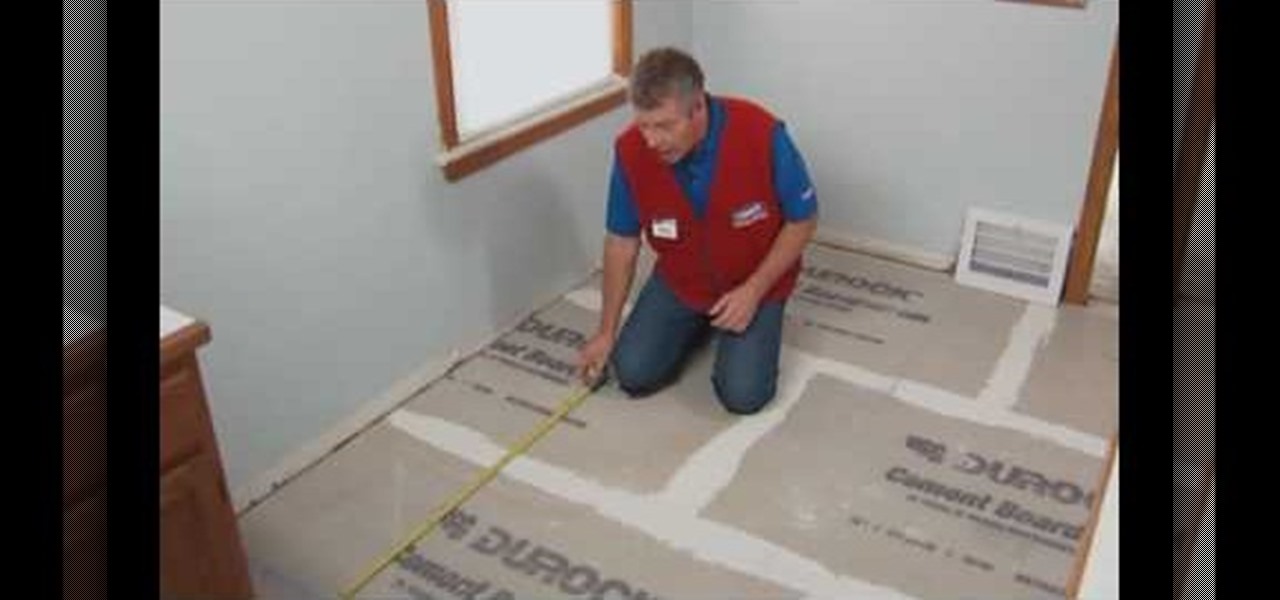
In this tutorial, we learn how to install a ceramic tile floor. Before installing, you need to prepare a solid base. First, you want to take off the trim, then calculate the area of the room. Prepare the floor by inspecting low or high spots. You will want to apply mortar, then set the backer boards into place. Screw these into place, then finish covering the floor with seam tape. Apply mortar over these then let dry. Now, you can start laying your tile onto the top of this! Once you are fini...

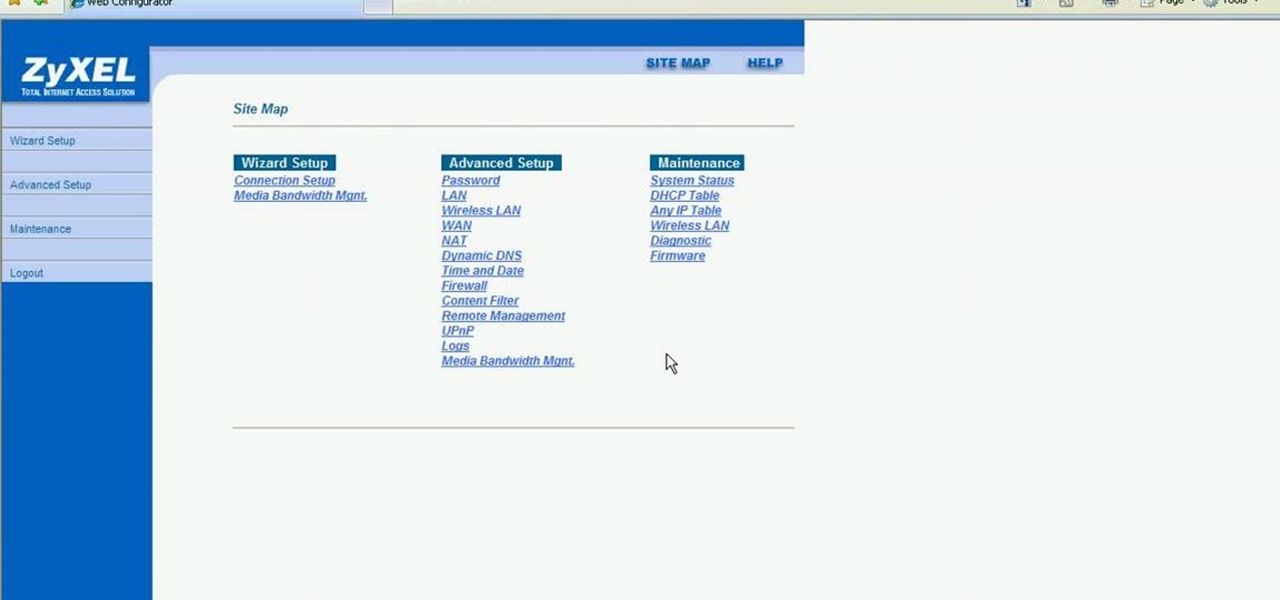
In this Computers & Programming video tutorial you will learn how to easily open your NAT on a ZyXel router. There are three steps involved in doing this. Open your web browser and type in the router IP address which is normally http://192.168.1.1. Then you will get the log in page. The password is either 1234 or admin. It will be written on the packaging of the router. On the next page click on UPNP, then check all three boxes and click 'apply'. Then you click on NAT and set the start and en...

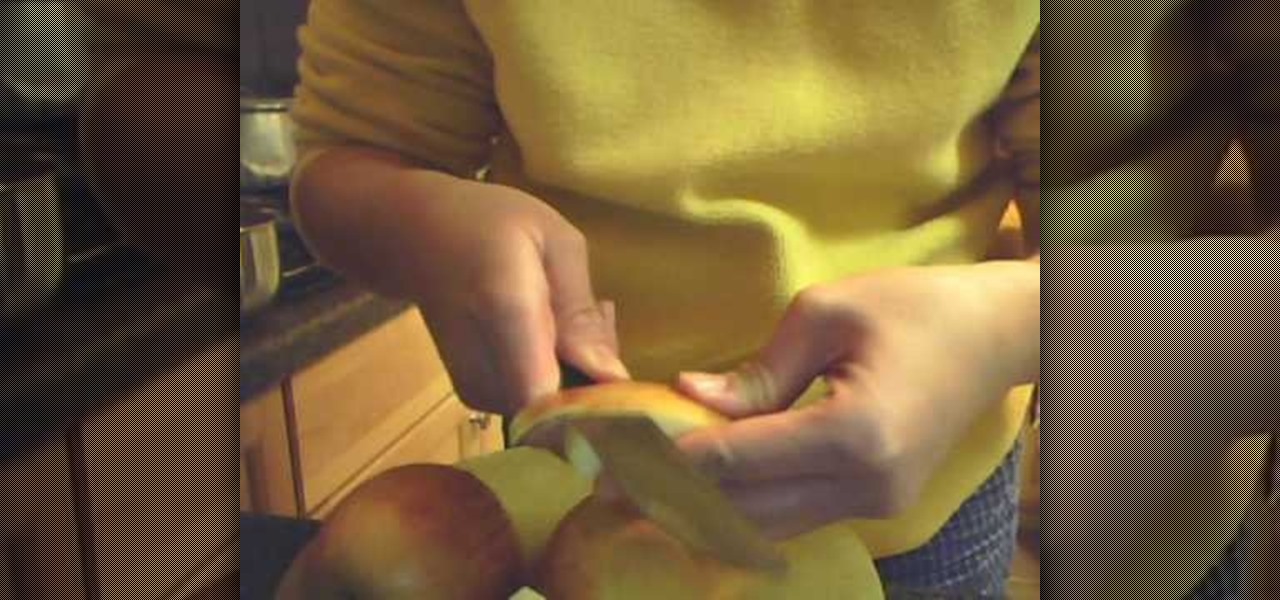
In this tutorial, we learn how to make a bunny shape out of an apple. First, grab your apply and cut it in half using a sharp knife. Next, cut a quarter out of one half of the apply. Now, take that cut quarter and cut out the very middle of it. Next, make a v-shaped cut on the outside of that same quarter. Next, cut another quarter out of that same half and make the same cuts as the one before. Cut two more quarters out of the remaining apple and remove the skins. Place the apples in an ice b...

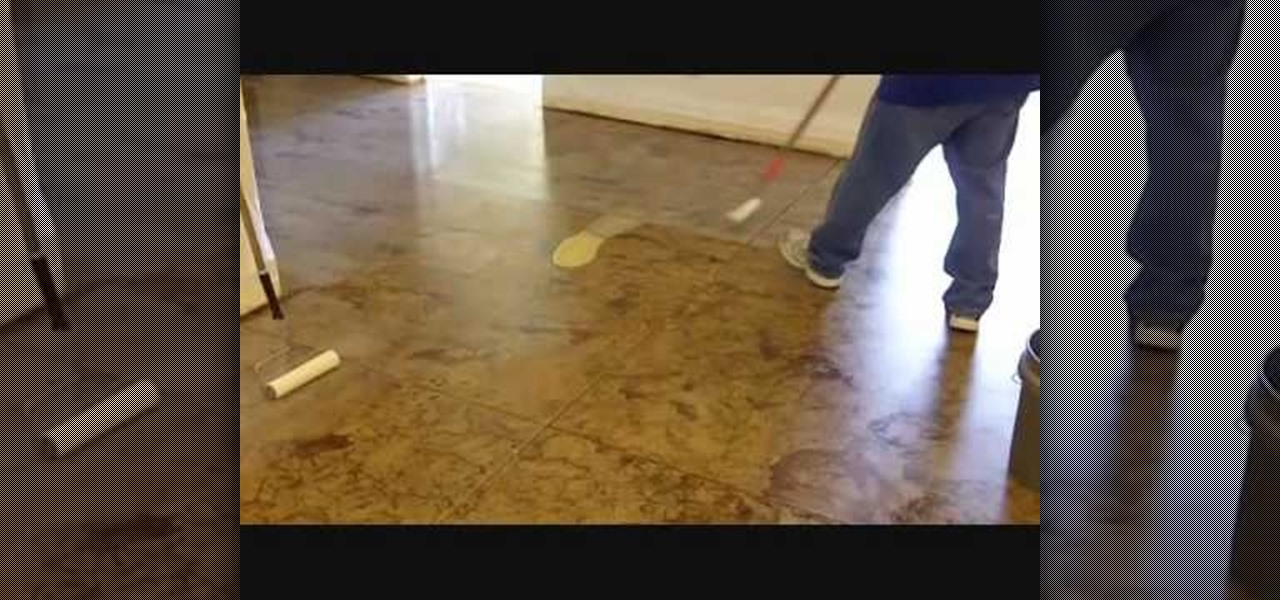
In this tutorial, we learn how to stain a concrete floor. To start, you will need to prepare your floor by cleaning it vigorously. Remove all dirt from the floor, then use detergent and water to wash, when finished dry with a shop vac. You will have to use a hand brush to scrub alongside the walls. After this, wash your floor with a mixture of water and baking soda, then use the shop vac to dry. Next, rinse the floor off with plain water and dry with shop vac once more. To finish, apply faux ...

In this video tutorial, viewers learn how to remove CD/DVD scratches with an apple. This task is very easy, simple and fast to do. The material required for this task are an apple and cotton wool. Begin by butting the apple in half and apply the fresh apply onto the scratches part of the disc. Remember to rub gently on the disc. This should be done for 5-10 minutes. Now take the cotton and wipe the disc dry with it. This video will benefit those viewers who have a scratched CD/DVD, and would ...

In this tutorial, we learn how to get a Kidsongs inspired makeup look. First, you will take a yellow pigment and brush it onto the inner crease of the eye. Now add a green pigment next to the yellow and blend together. Now apply blue pigment to the outer eye and blend it into the crease with the other colors. Apply a pink and red eyeshadow to the bottom of the eye line with a small eyeliner brush. Finish with a purple color on the end of the eye. Line your eyes with black eyeliner and use fak...

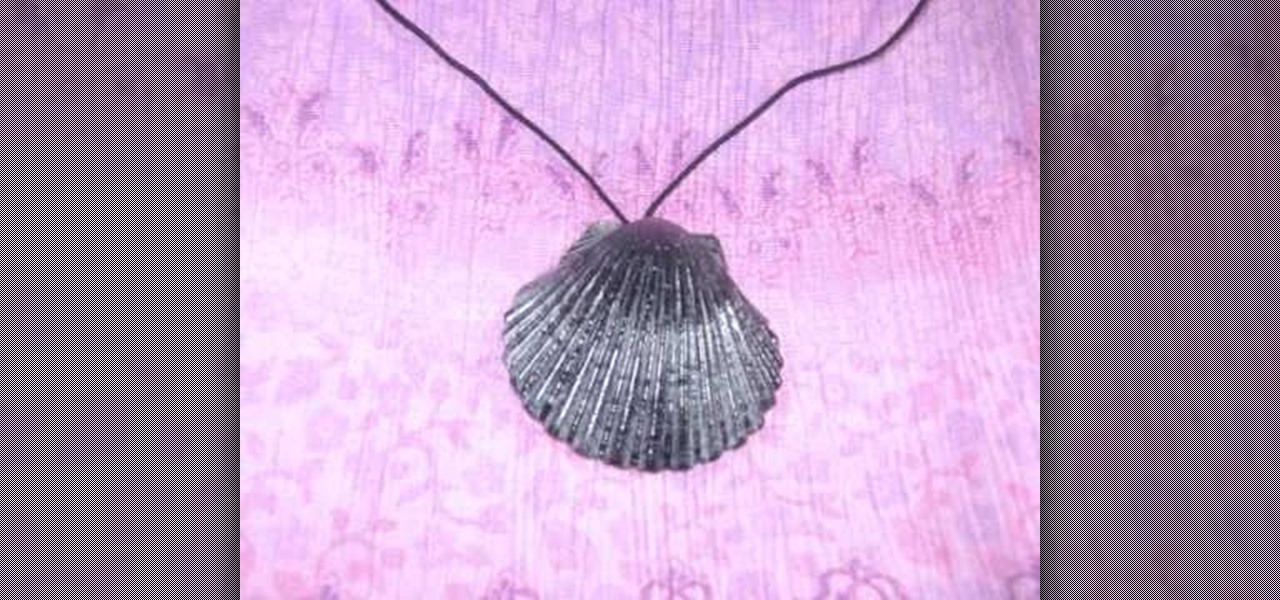
In this tutorial, we learn how to make a simple shell necklace with your kids. To make this, you will need: a sea shell, a hot glue gun, and a necklace string. First, tie your string into a knot at the end of it. Next, grab your shell and apply glue with the hot glue gun to the inside base of it. Now, press the knot that you just made onto the glue in the shell. Let this set up until the glue is completely dried, and you're finished! You can apply more glue to the top if you want a more secur...

In this tutorial, we learn how to work with memory wire to make jewelry. This is a coil material that remembers its shape and comes in a variety of different sizes. First, decide how thick you want your jewelry piece to be, then cut the excess wire with wire cutters. Next, apply a drop of superglue to one end of the coil followed by a Memory Wire end cap and let dry. Now, string your beads onto the wire. When finished, put a bead stopper onto the wire and apply glue to the very end with anoth...

This video tutorial is in the Computers & Programming category which will show you how to set startup programs in Windows XP. To begin click on the start button and go to the 'run' command, type in 'msconfig' and click OK. On the next window click on the 'startup' tab and here you will see all the programs that can run when you start up your computer. Here you check the programs that you want to run at start up and uncheck the ones you don't want to run. Then click 'apply' and in the next win...

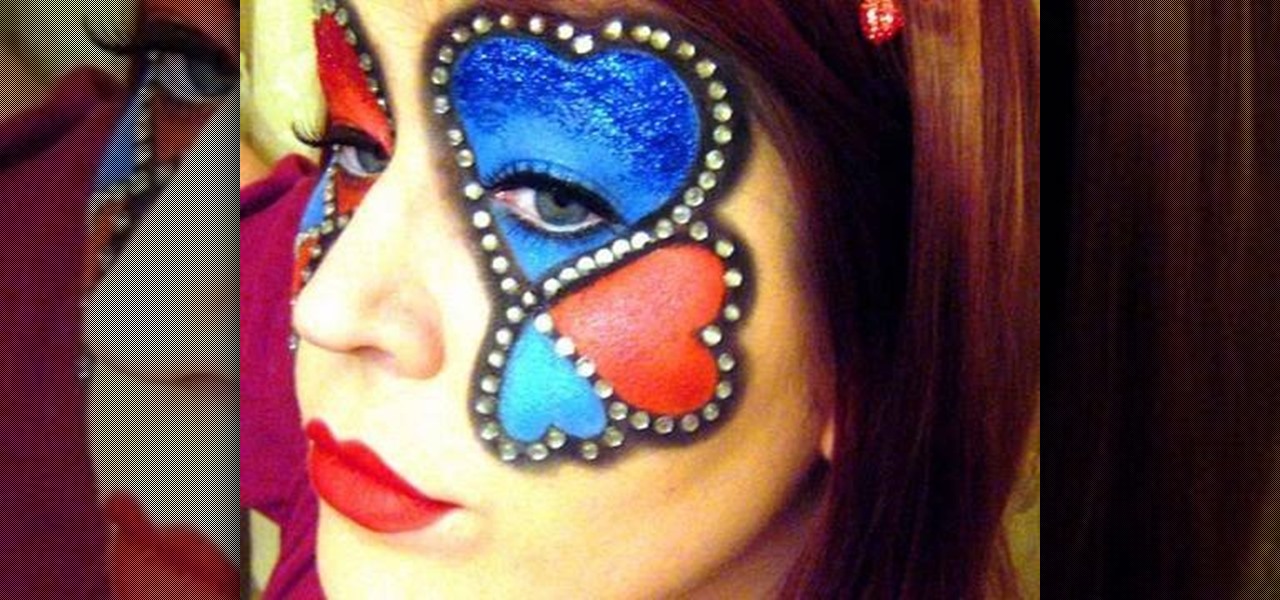
In this tutorial, we learn how to apply Queen of Hearts inspired makeup. First, you will need to draw out where the hearts will go on your face, with a wet eyeliner. Next, fill in your eyes with red on one side and blue on the other, filling in your lid with the middle of the heart and the bottom right underneath the eye. Pack on dry eyeshadow onto the eyes so the makeup won't crease while you're wearing it. Now, repeat this action for the other hearts, all hearts on the face should be connec...

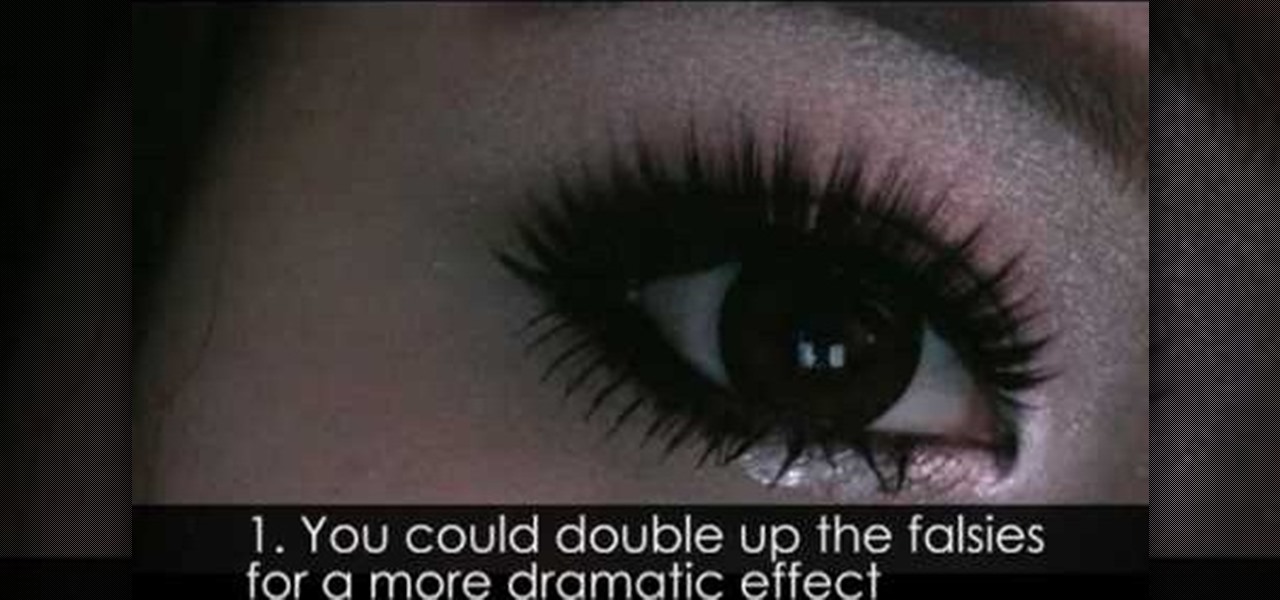
It may seem weird at first to glue someone else's hair onto your eyes and show them off as your own, but sometimes, when your wimpy lashes need a little VTEC, false eyelashes are the best way to go to beef them up.

Some people may not realize it, but epoxy can do wonders to a garage floor. Not only does it make it more sturdier, but it makes it much safer for people to work in by offering a slip free finish. This tutorial will show you how to apply an epoxy sealer to your garage floor today. It can be an easy project to complete, but requires time and dedication. So good luck and enjoy!

It's obviously important to look better than everyone else on your wedding day (sorry, but you know it's true), but even more vital to look great in wedding photos since you'll be looking back at them 10, 20 years down the road and you want to know you looked your best on your special day!

Piping cones are indispensible when applying flowers, leaves, and frilly trims on cupcakes and cakes, and cones with particularly fine points can be used to apply henna in intricate patterns.

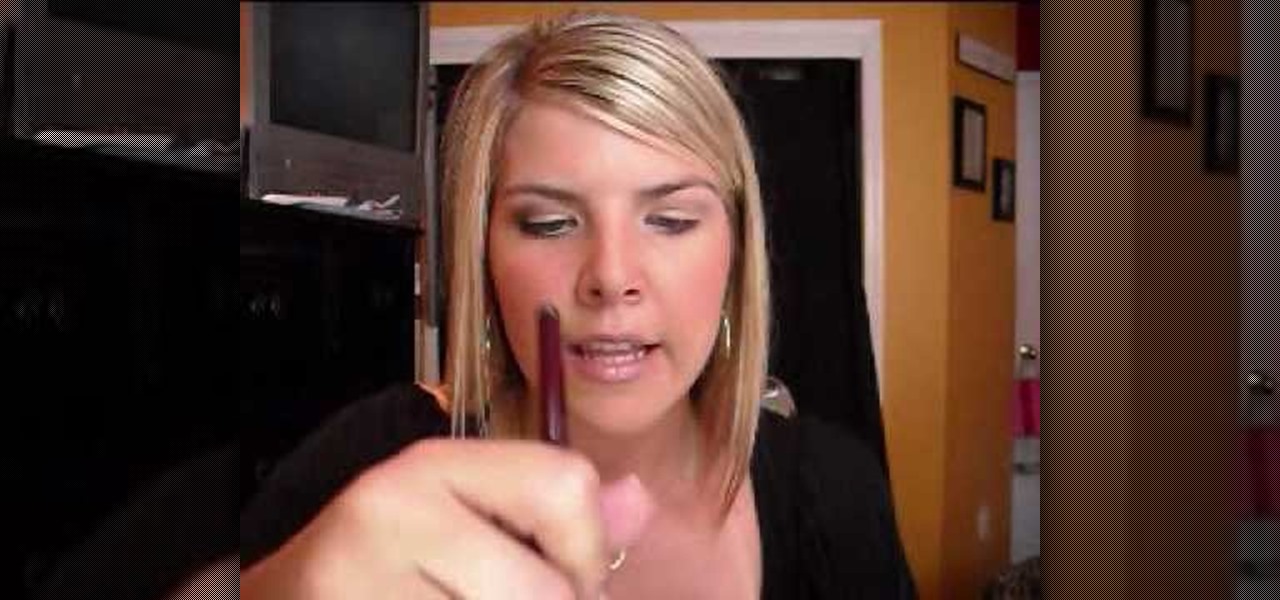
If you've ever caught yourself waking up late and finding that you have a short amount of time to prepare for work, this can suck. But with the help of this tutorial, you'll find out how to make one part of your daily routine much easier. In the video, you'll find out how to apply makeup in the morning quickly and easily. So check it out and maybe it will help ease your worries. Enjoy!

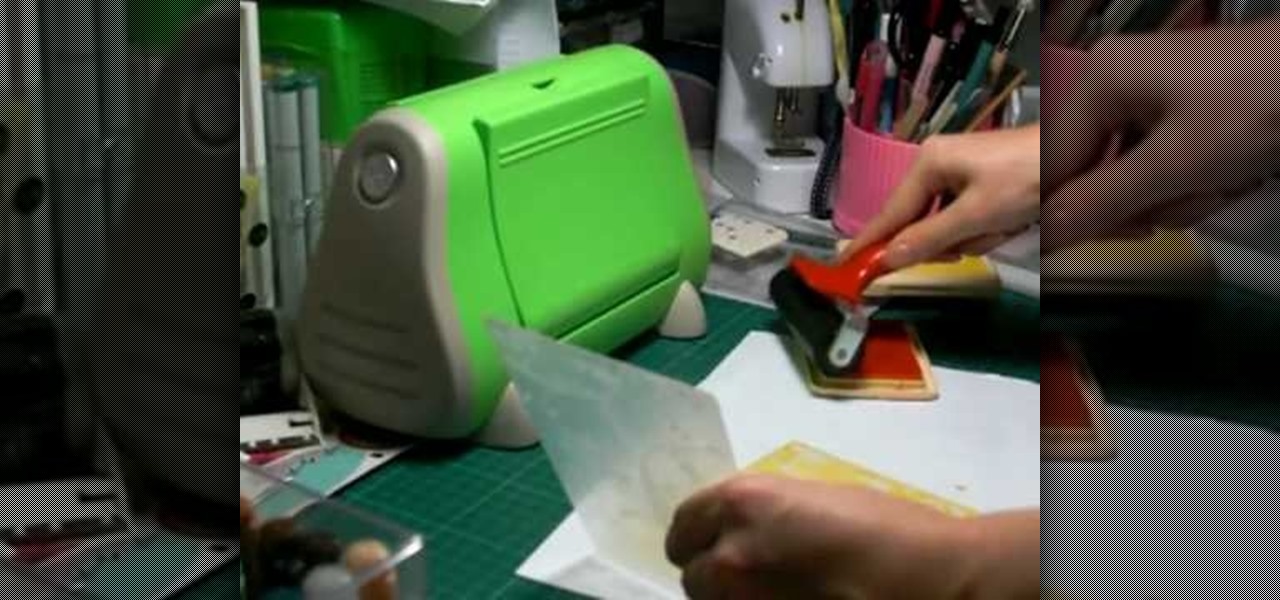
In this Arts & Crafts video tutorial you will learn how to do the Cuttlebug 'smoosh' technique. For this project you will need a brayer, ink pad, an embossing folder and a Cuttlebug. Ink the brayer well and with it apply the ink on the embossing folder. Make sure the ink is applied thoroughly on the whole surface. Get the Cuttlebug ready, place the card stock inside the embossing folder, place a couple of ‘C’ plates in the Cuttlebug, put the embossing folder with one more ‘C’ plate ab...

In this video tutorial, viewers learn how to make a ribbon covered pinch clip. The materials required for this hair clip are 4 1/2" x 3/8" of ribbon, glue gun and an alligator clip. Open the pinch clip and place the ribbon inside it. Align it to the clip so that it is straight. Then apply some hot glue onto the surface of the pinch clip and then fold the ribbon to glue it. Alight the ribbon to the top of the clip and flatten the ribbon. Now apply some more glue on the ribbon and push it into ...

In this video, Deana teaches us how to distress furniture. You will need the furniture you want to distress and then paint over it with green furniture paint in the parts you want to change. Apply the paint thinly and let it sit for 10-15 minutes, or until dry. Now apply your stain onto the green paint, then add distressing to any parts you want to change, then wipe off with a rag. Buff off all excess oil you have leftover and you're finished! You can use this technique to distress any of you...

This video shows how to curl very straight hair using "hot sticks." Wash your hair and let it air dry partially. Apply some leave-in conditioner before drying with a blow dryer. Leave the hair slightly damp. Apply some heat control spray to your hair. For loose curls do not use anything else, for tighter curles you can use some hair spray before using the hot sticks. When the hot sticks are warm you are ready to start. Take chunks of hair and wrap around the hot sticks and fold the hot stick ...

In this video tutorial, viewers learn how to make a shimmer mist mixture for cards. Begin by filling a small spray bottle with rubbing alcohol. Now add about 1/2 tsp-tbsp of Champagne Mist shimmer paint into the spray bottle and shake it to mix it. Users can also use frost white or platinum shimmer paint. To apply the shimmer mixture on a card, spray the mist in the air and wave the card stock into the mist. The alcohol will help dry the paint faster. This video will benefit those viewers who...

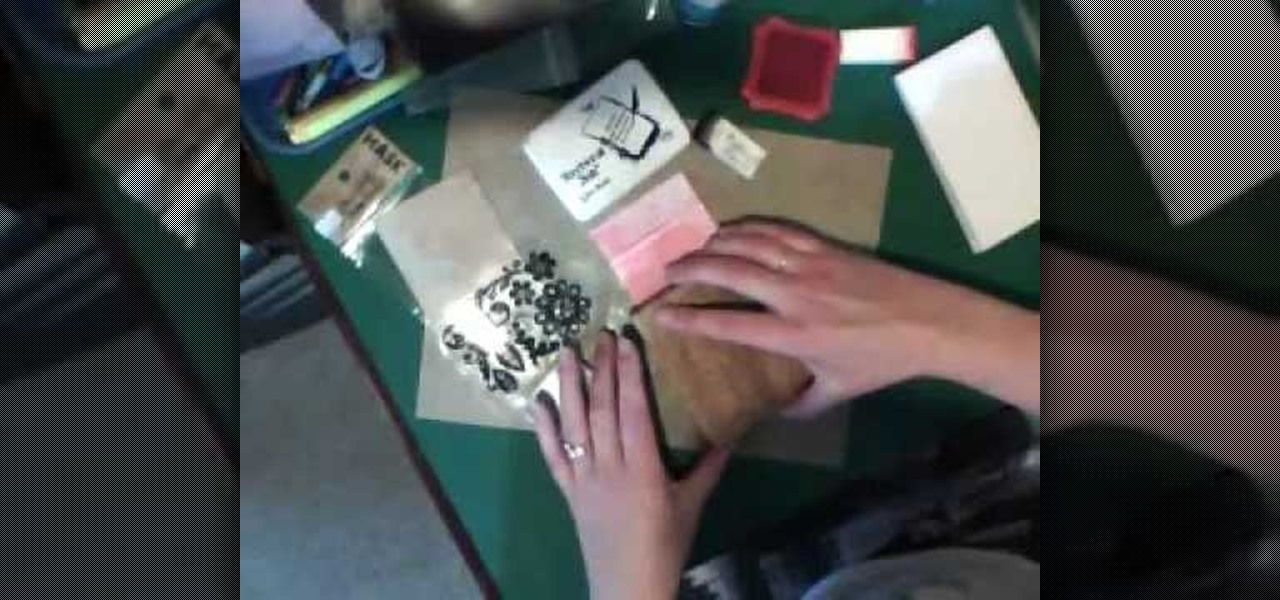
In this Arts & Crafts video tutorial you will learn how to make a stamped notepad cover. Put the note pad on the edge of a bigger sheet of paper, draw the outline and cut the paper along the lines. The paper should be longer than the notepad. Put the note pad on top of the paper aligned with one end and fold the other end of the paper. Remove the paper and crease it properly along the scoring lines. Depending on the theme you want for the cover, apply the required ink with sponge on the paper...

This video shows how to secure a wirelees internet connection on your Zyxel P-660hw-t1. For this, first click on Start button and open Internet Explorer(or any other browser). On the address bar of the browser, type in the IP address of your router. On the next page, enter your password and on the next page, either change the password or ignore. On the next webpage, under Advance setup, click on Wireless LAN. On the next page, click on 8021xWPA. Select authentication required and then click a...

In this video tutorial, viewers learn how to create a red carpet look with the undone bun hairstyle. Begin by bringing all your hair to one side and apply a band around the bun to secure it. Then take a clip and randomly pin it to the ends of the ponytail. Continue doing this for the rest of the ends of hair in the bun. Users may use up to 30 pins. Make sure the pins don't move and don't overdo the pins. This video will benefit those viewers who are interested in beauty and fashion, and would...

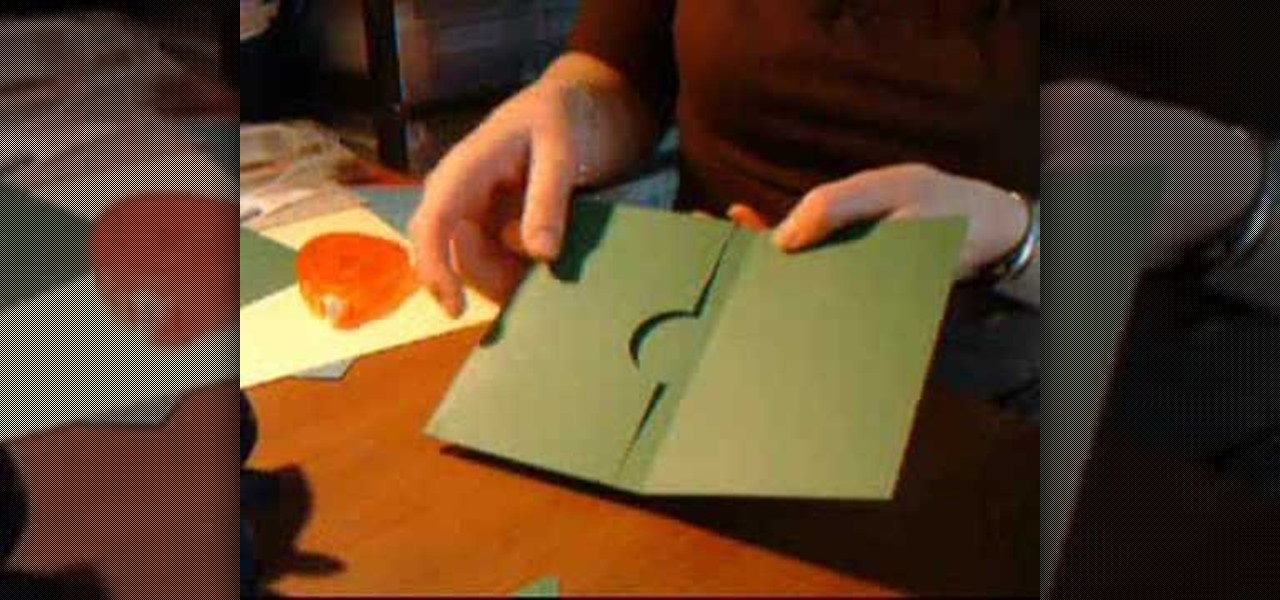
This how to video shows you how to make a pocket card. You will need a trimmer with scoring blade, fiskars corner boarder punch, circle squeeze punch, 3 pieces of 12" x 12" card stock, small pieces of patterned card stock, tape, and embellishments. First, score the stock at 4" and 8". Next, trim about 1/4" off. Now apply adhesive down to the sides of the card. From here, use the circle punch on the edge of the card stock. Fold the stock together to create a pocket. Next, trim unwanted strips ...


