When you clean the carpet in your home or apartment, it seems like that dirt just comes right back the next day. It's never really clean. Well, that could be changed with a deeper clean. Deep-cleaning your carpet can offer benefits including getting rid of dust mites and allergens. Not to mention dirt.
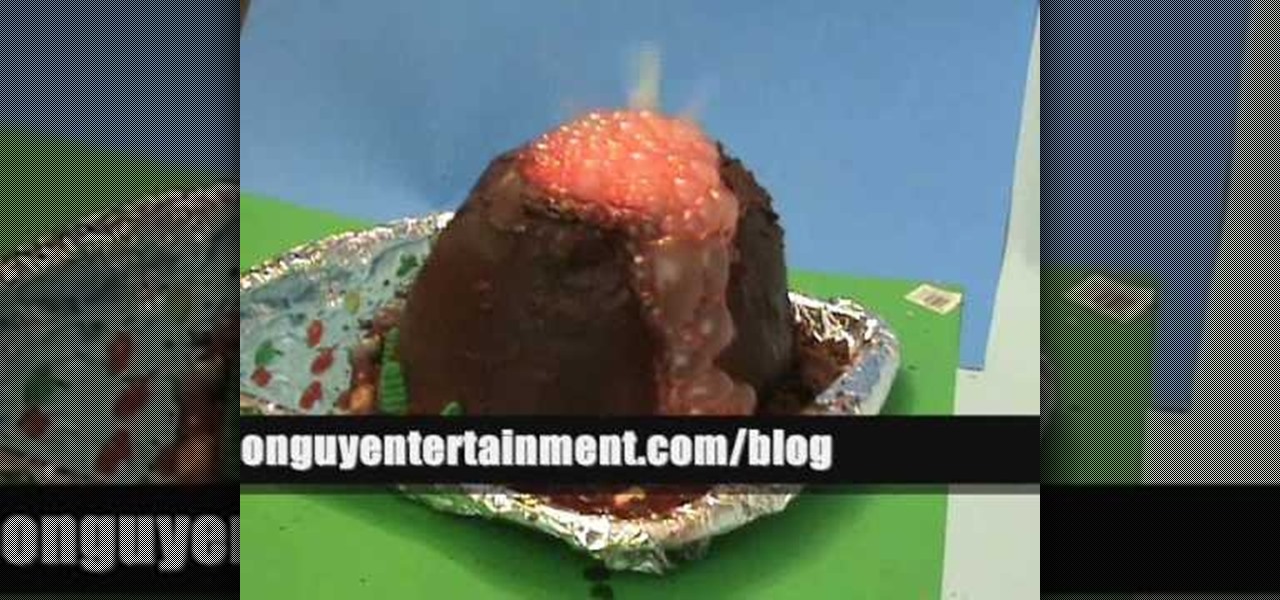
In order to prepare an Erupting Volcano Cake, you will need the following ingredients: 3 angel food cake, a disposable plastic cup, jars of ready made frosting, strawberry gelatin, dry ice, and water.
Dying leather is a great option to revamp or change the look of an existing leather piece. Choose a dye that provides the qualities you are looking for, be it flexibility or depth of color. The possibilities are endless.
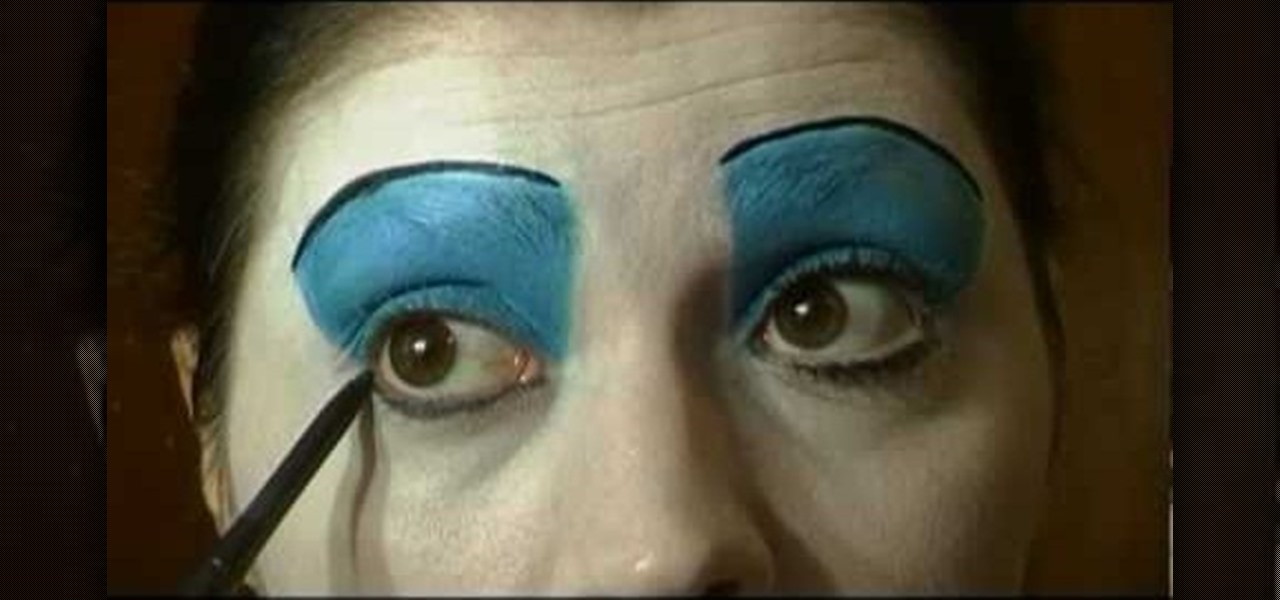
This video gives an awesome makeup tutorial for the Queen of Hearts from Tim Burton's version of "Alice in Wonderland". In Burton's film, Helena Bonham Carter plays the vicious Red Queen, a character not to be messed with. Even at Halloween. Also, you'll get some costume ideas to help compete your Queen of Hearts costume. See how to transform yourself with all of the following products:
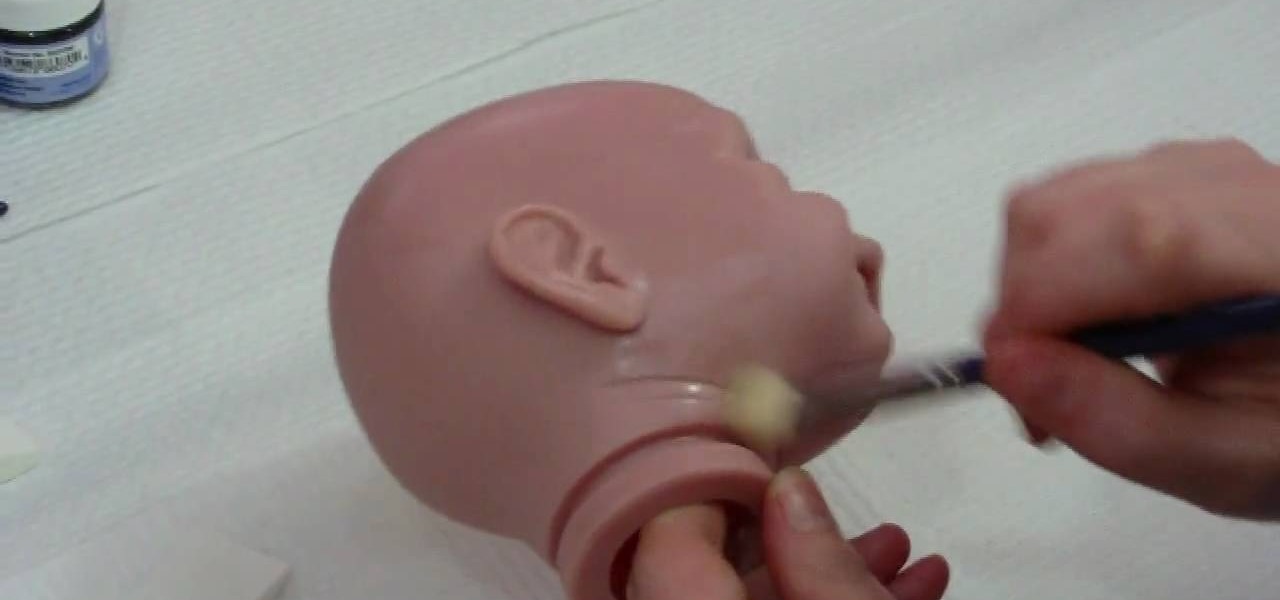
In this tutorial, we learn how to apply flesh coat number 08 to a reborn baby doll. Start out by adding thinners and paint to your mixing tray. Then, grab your small brush and add in the flesh colored paint to the tray. Add in just enough to color the water just completely. Now, brush this color onto a white sponge until you have the right color. Next, brush this flesh color onto the limbs of the baby doll. After this, use your sponge to dab the paint onto the vinyl evenly. Repeat this for al...
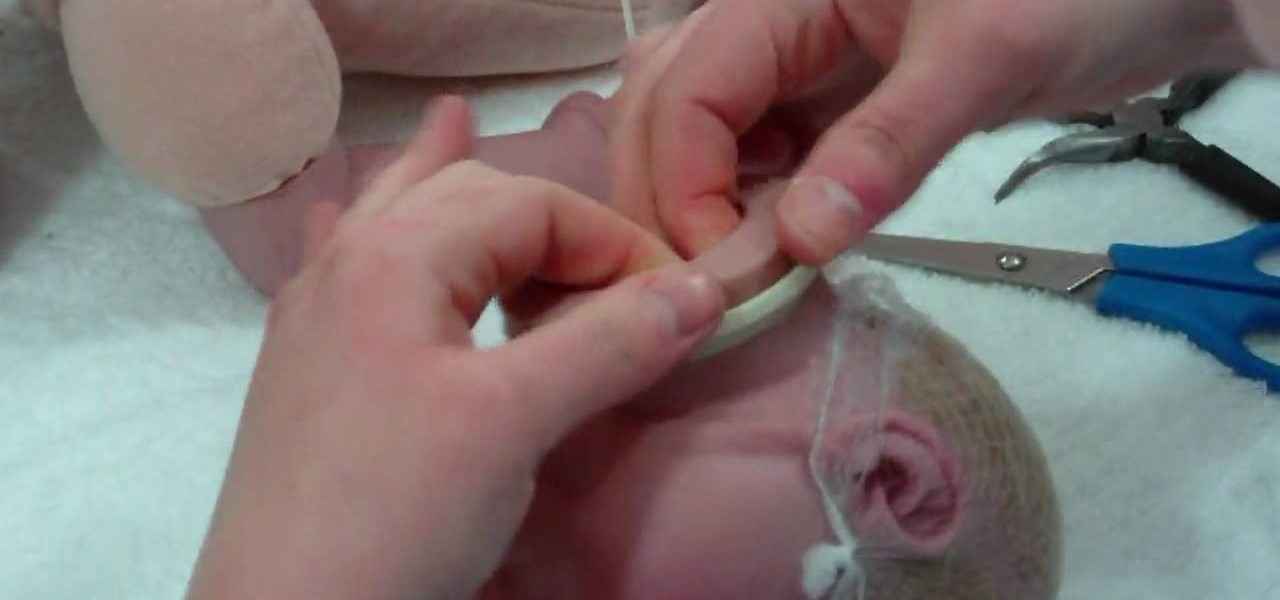
In this tutorial, we learn how to apply a neck ring and plug on a reborn baby doll. First, attack the neck ring to the doll head by pulling the vinyl onto the lip using your fingers. You will need to use your hands to push the inside of the neck through the ring. This will take a lot of pushing and pulling. After this, you will need to attach your plug. First, place it into the neck of the head to make sure it fits. After this, stuff it with cotton and then push it back in. Now you will be ab...

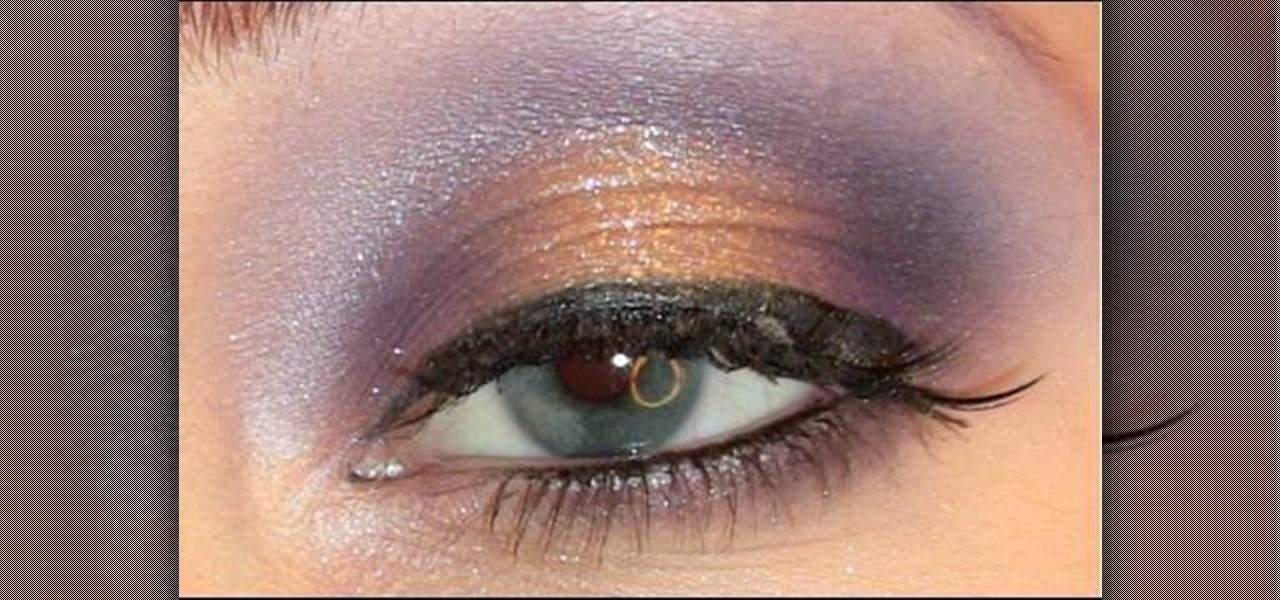
In this video, we learn how to use a Stila Jewel Palette to make a shimmery eye look. First, you will need to brush a nude color onto the lid, then grab a shimmer gray color and brush it onto the outer edge of the eye and into the inner corner of the eye. Next, grab a gold color and brush it onto the middle of the eye and nowhere else. Then, take the black color again and brush it into the crease of the eye and on the sides to create a contrast. After this, take the purple color and brush it ...

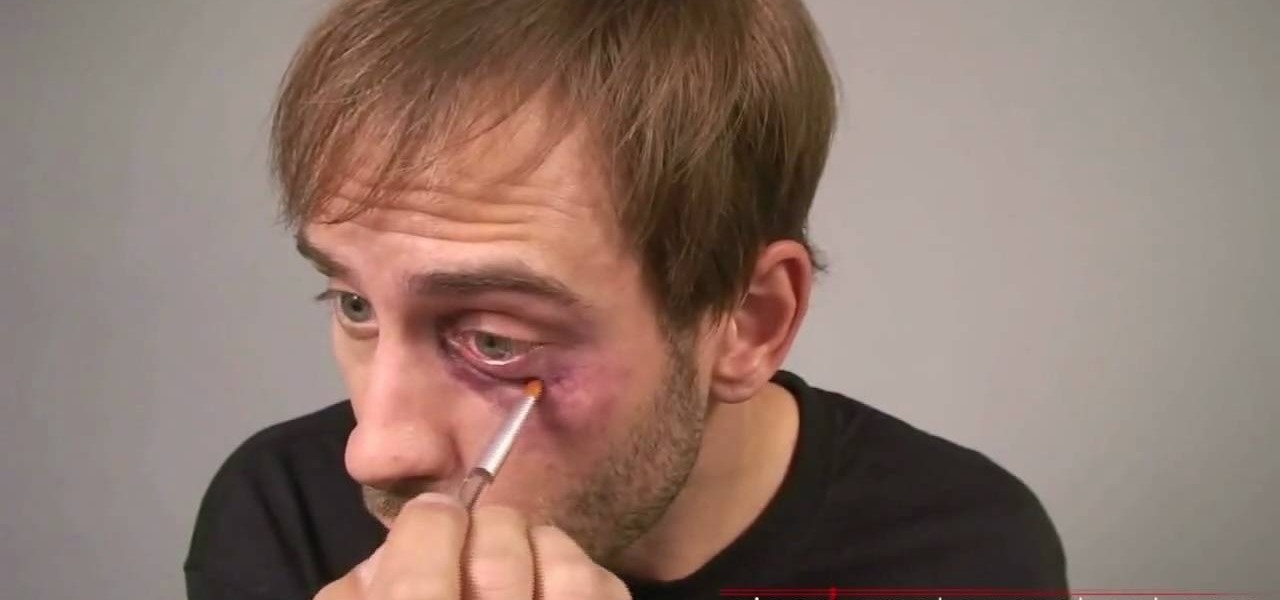
In this video, we learn how to create a black eye with cinema makeup. First, you will need black makeup, black eyeliner, and a sponge. Start out by applying purple shadow with a flat brush on the sockets on the bottom of the eye. Apply this down until you reach the top of the cheekbone. Start to pat on a light dusting of black eyeshadow on the same area. After this, start rubbing purple and pink colors into the cheek area and dark brown on the top of the eye. After this, rub the purple on the...

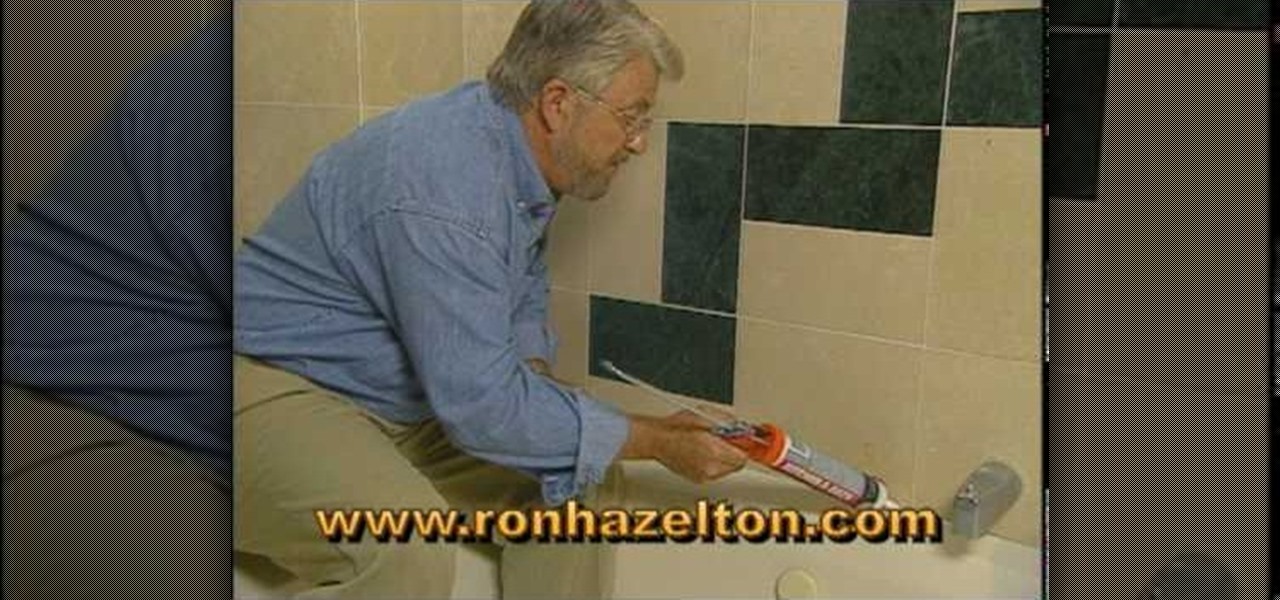
In this tutorial, we learn how to replace bathtub caulk. First, fill your bathtub halfway full with water, then grab your caulk and caulking removal tool. After you have done these steps, apply your caulk remover. Next, scrape it with the remover tool. After this, use bleach and a toothbrush to remove any excess. Now, use rubbing alcohol on a towel to clean the edges of the bathtub. After this, apply mold resistant caulk, then smooth it evenly. Next, wipe the excess caulk with a clean washrag...

In this tutorial, we learn how to create an everyday contoured look. First, apply a full coverage foundation to your face. Mac is recommended, using a color that is a match to your skin. Blend this on the face using a foundation brush. Next, apply a loose powder over your skin with a brush to settle the foundation onto your skin. After this, you will brush a bronzer of your choice onto the cheek bones, followed by a blush brushed onto your cheekbones. After this, you can also brush the bronze...

In this video tutorial, viewers learn how to replace caulk on a bathtub. Begin by placing a fresh blade into a utility knife. Then use the knife to cut out the old caulk. You want to make 2 cuts. The first cut with the knife plying flat on the edge of the tub. The second cut with the knife tip up at about a 45 degree angle. This will allow most of the caulk to come out in one piece. For any remaining caulk, take a razor blade and scrape it off. To remove any remaining mildew, apply 6 ounces o...

Applying foundation is the absolute most important step in obtaining a flawless makeup look. After all, makeup artists agree that good makeup starts with good skin (even if that good skin is faked).

Nude lips are tricky to get right. If you make them too light, you will look like you have toothpaste or powdered donut stuck to your mouth. If you make them too dark, you look bizarre and if you make them too similar to your actual skin tone, you can look like a zombie. If you are having trouble figuring out how to apply the right type of nude to your pout, follow along with Petrilude as he shows you exactly how to select and apply this sort of look. So, what are you waiting for? It's time t...

Learn what happens during an aircraft rollout from the National Aeronautics and Space Administration, more commonly known as NASA. They spill the goods on Newton's three laws of motion and how they affect the rollout phase of landing airplanes. Learn from the master of space exploration -- NASA!

The powerhouse of space exploration, NASA (National Aeronautics and Space Administration), sheds light on Newton's laws of motion as pertaining to drag force on aircrafts. This is a great source for any aeronautics major. The infamous government agency breaks drag down for you.

Join NASA (National Aeronautics and Space Administration) as they give the basics on the concepts of weight and balance as applied to aerospace. There's no better place to learn about aviation theory than NASA, the United States government's most infamous agency--the powerhouse of space exploration.

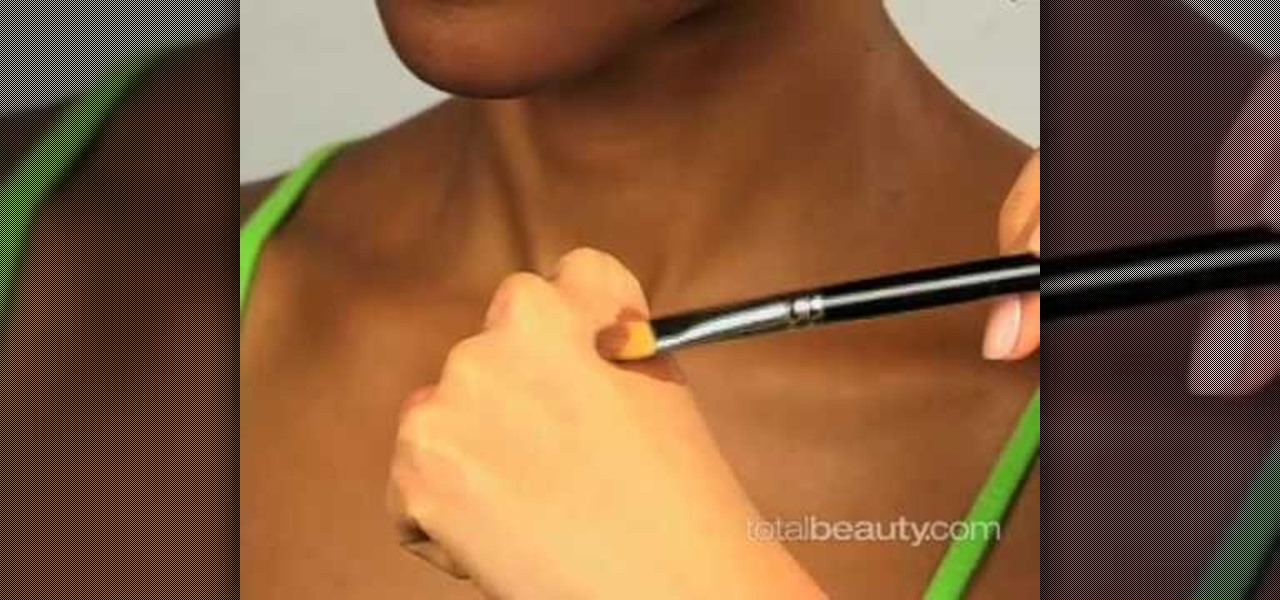
The first trick to concealing acne spots on dark skin is to find a concealer with a lot of pigment. Test the concealer on a vein or freckle to make sure it covers completely. Using a synthetic brush, dot the concealer over the pimple, lightly feathering around it to blend in the makeup. You can set the concealer by applying pressed powder with a makeup sponge. When you apply your foundation, be sure to add it lightly, otherwise you may create unwanted smudges.

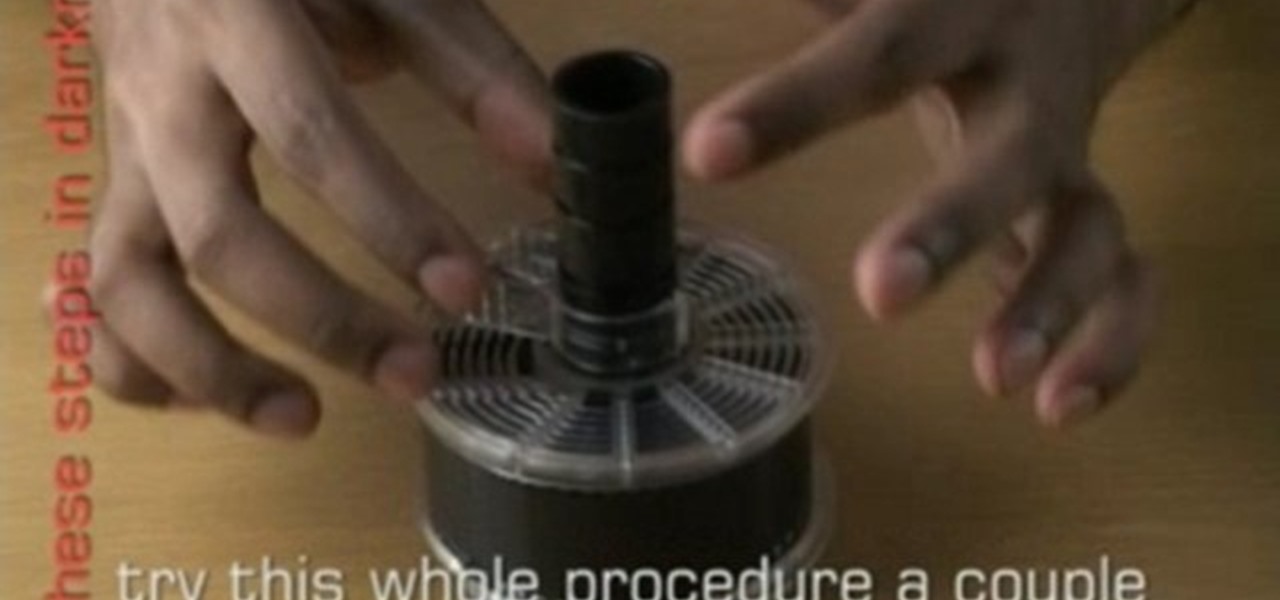
Give a new look to your photographs! Use coffee! This video tutorial will show you how to develop film with coffee and washing soda, along with a little vitamin C.

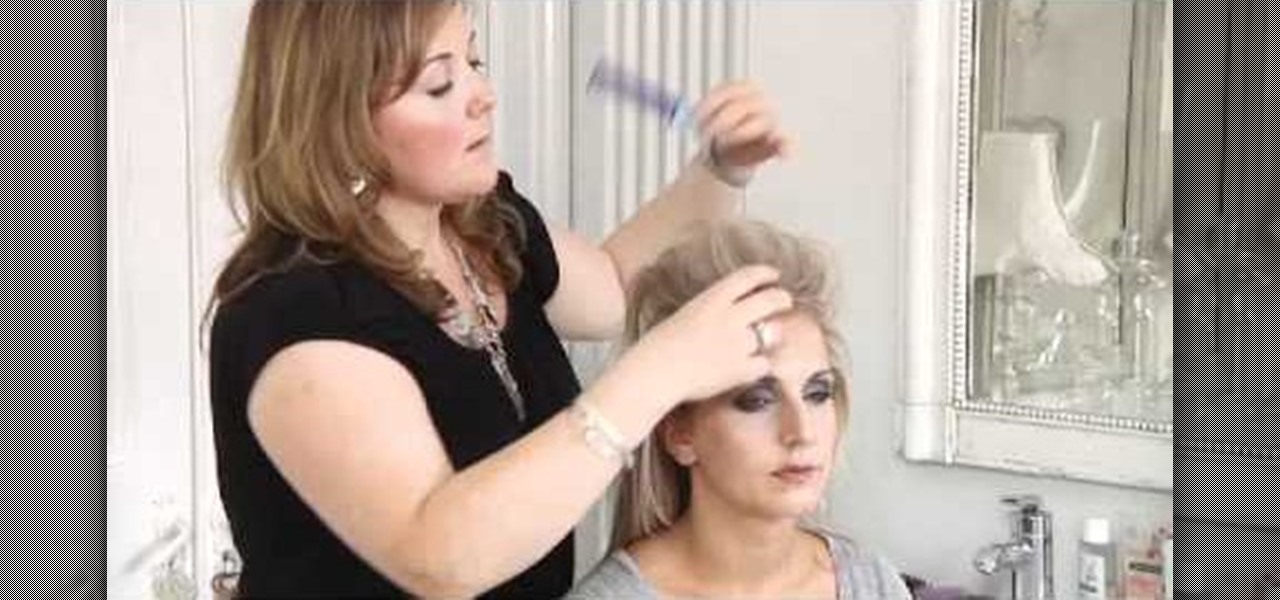
Ponytails, who doesn't love them? And the only thing better than a small one, must be a big one. This video will show you how to use dry shampoo with oat milk and a back brushing technique to achieve that big ponytail look. For this you'll need long hair, the aforementioned product, a brush and a mirror helps as well. Come on, bigger is better! Go for it! If you have short hair, this is not likely the right hairstyle for you.

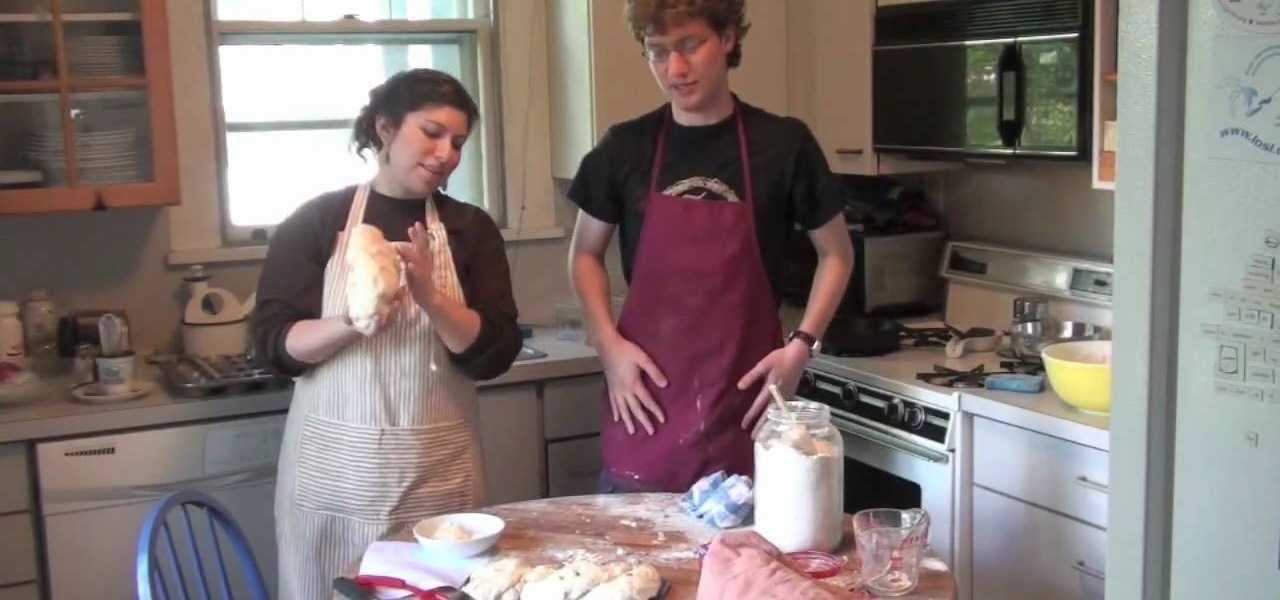
Nothing is quite so tasty as home-baked bread! It's not even as difficult as you might think. All you need is some flour, water, salt, a little bit of sugar and some active dry yeast (which you can find in most grocery stores).

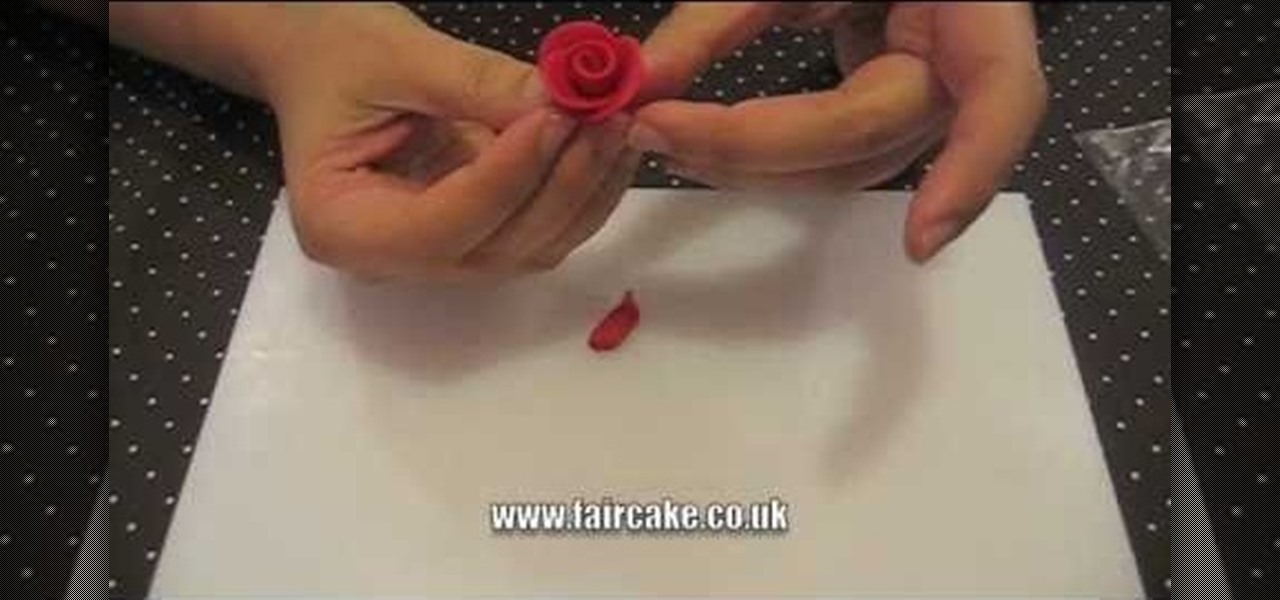
One of the fastest ways to turn a boring, white fondant-covered cupcake or cake into a beautiful, impressive work of art is by adding roses. And you're even better off if these roses are edible.

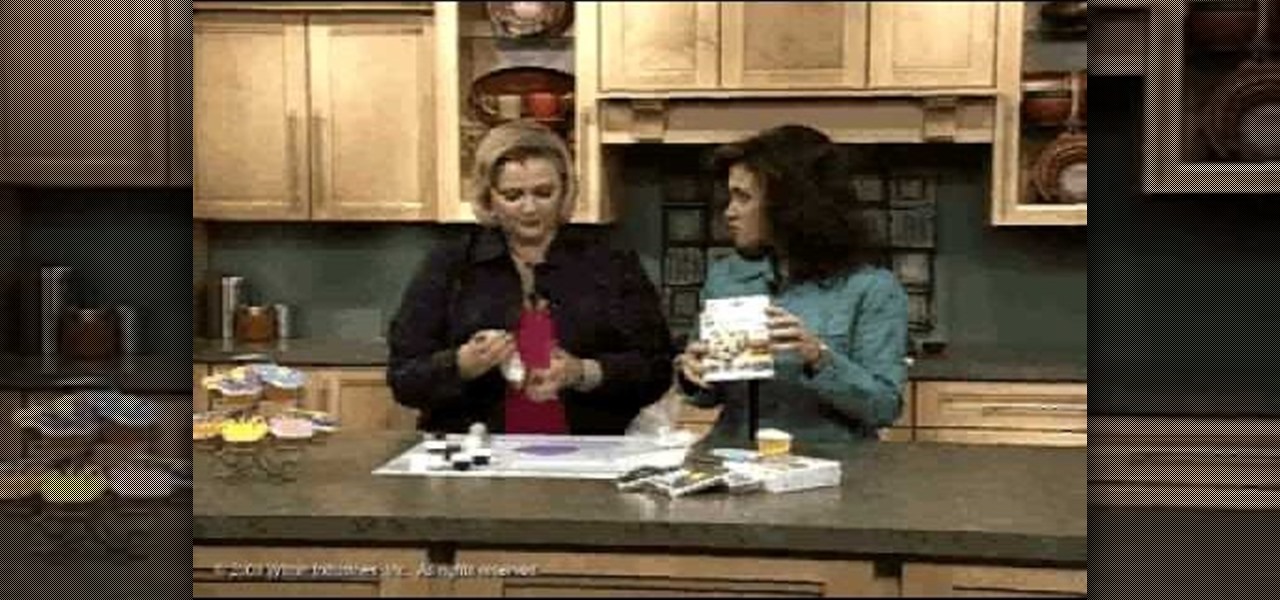
In this video, we learn how to make & decorate puffed-up petal cupcake. Start off by placing the food coloring inside the fondant and then rolling it with your hands. After you roll this out in one color, then cut it into thin strips. Pinch the sides together and then let them sit to keep their shape. From here, you can combine these together to create a beautiful flower on the top of your cupcake! These should dry overnight, then you can stick on the cupcake for a very unique flower that's u...

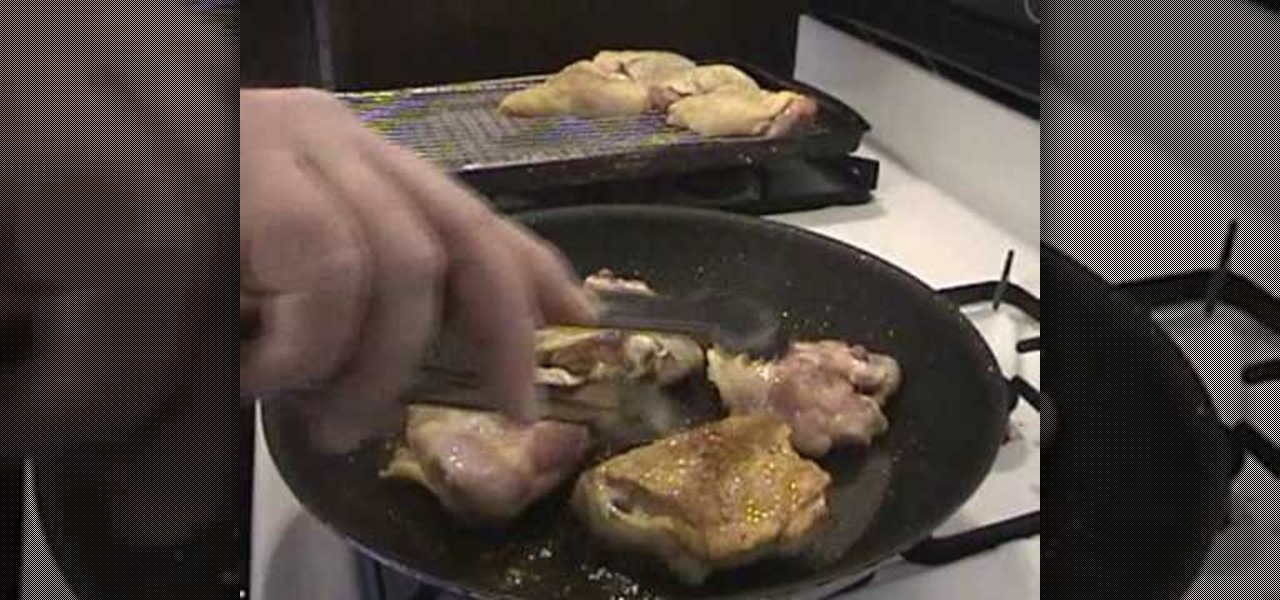
In this tutorial, we learn how to make crispy chicken thighs in a cherry-pear sauce. To make this, you will need: 8 chicken thighs, 1 1/4 c dried Bing cherries, 1 1/4 c chopped Bosc pears, 4 diced leeks, 2 c Marsala wine, and 1 c cream. First, you will bring the leeks, cherries, pears, and wine to a boil. After this, remove from the heat and then cover, allowing them to plump. After this, fry the seasoned chicken in oil, skin side down, on high heat until golden brown. From here, fry the leek...

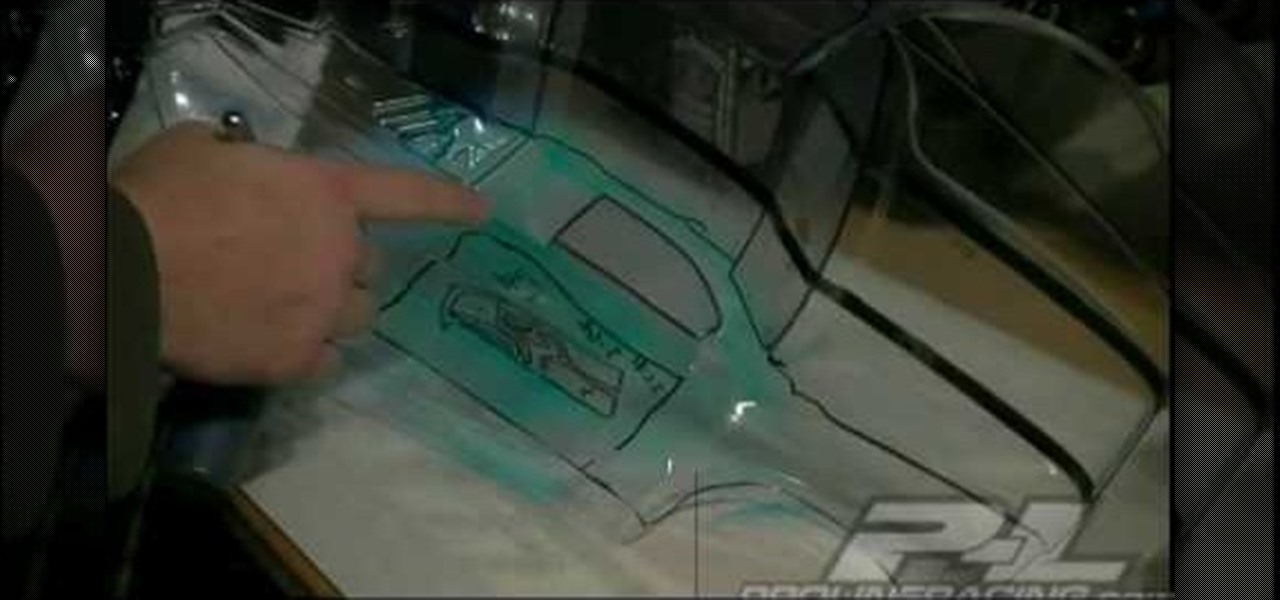
In this video, we learn how to paint your favorite sports team logo on a racing shell. First, you will take your shell and trace out the logo on it with a Sharpie marker of your choice. Use tape to cover the areas that you don't want marked, so the lines come out cleaner and straighter. After you have done this, paint the logo onto the racing shell with small brushes and your choice of paints. Leave the tape in place until all of the paint has dried. Then, remove the tape from the shell and y...

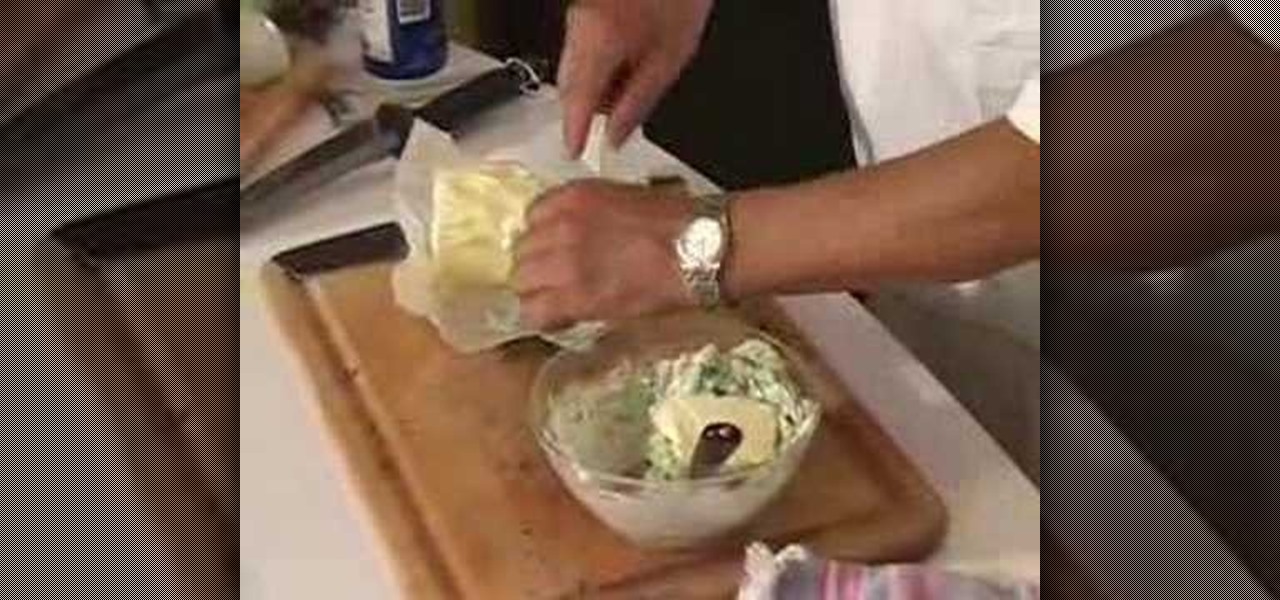
In this tutorial, we learn how to make garlic parsley butter. First, wash your parsley and then chop it up. Make sure it's completely dry before you chop it. Then, combine this with unsalted butter and mix together well. Sprinkle in some salt to the bowl, then sprinkle in some fresh pepper. Add in some minced garlic, then continue to mix together until combined. Try the butter to make sure it has enough ingredients, then continue to add salt if necessary. Place the mixture into foil, then rol...

In this video, we learn how to make a Necronomicon prop from the "Evil Dead" series. First, gather all of your materials together so you can make this prop. After this, cut up piece of cardboard into the desired shape, then tape them and make sure it's able to open and close. Next, you will use tape to make it look like creases in the skin and create the face by rolling it together. Use masking tape to connect these and make it look like it's all part of the same skin. Next, mix red, yellow, ...

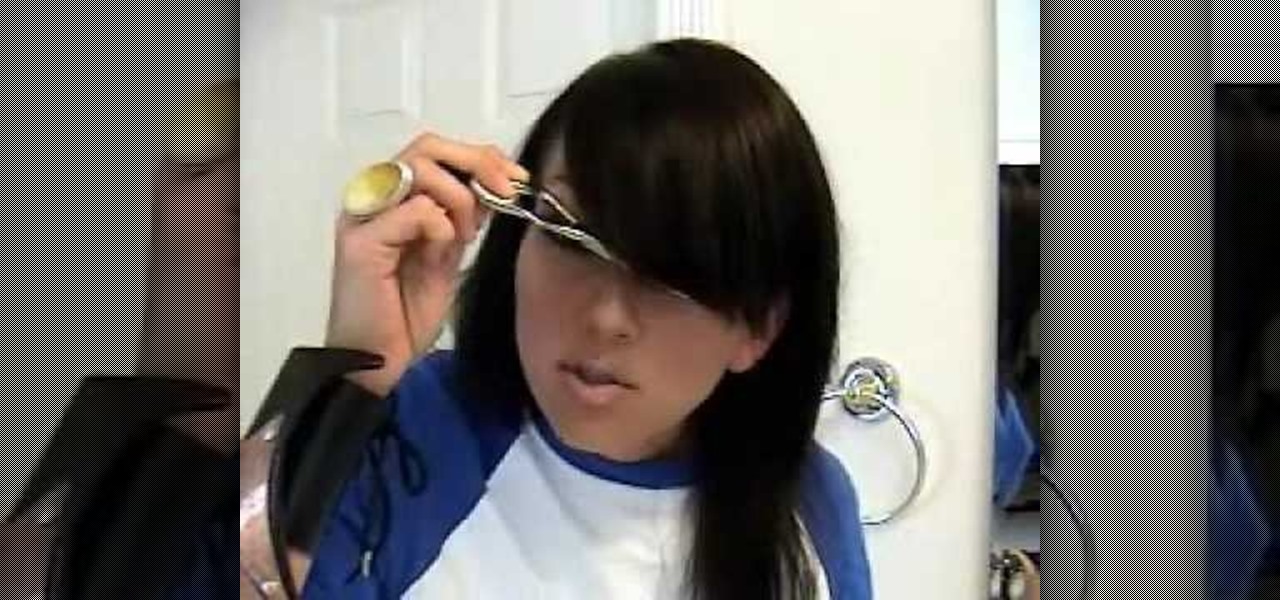
In this video, we learn how to cut side swept fringe bangs. To do this, you will either need hair scissors or a razor that is meant for cutting hair. Start off by having dry and straight hair. Next, you will curl the bangs so they are to the side of your head, using your blow dryer and a large round brush. Next, decide where you want your bangs to hit on your face. Then, brush your bangs down with a comb and use your razor or your scissors to cut the bangs to the right length. When you are fi...

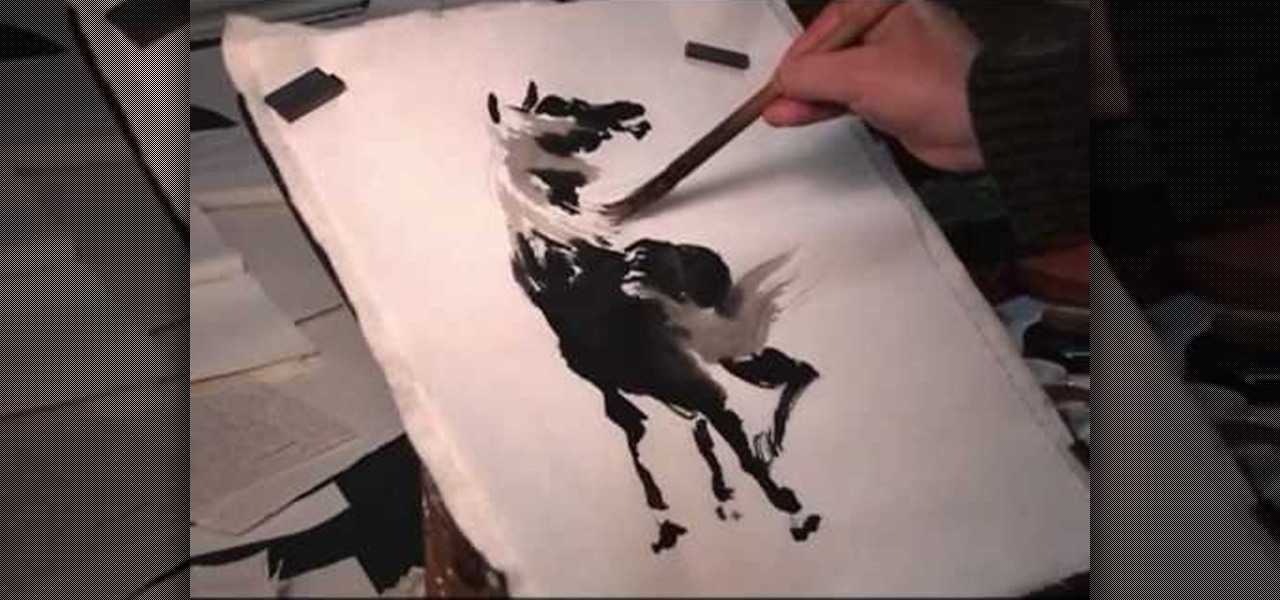
In this tutorial, we learn how to draw the back view of a horse. Start by drawing the tail. Use a horse main brush made out of real horse main hair. Change to another brush to use a darker color for the rest of the body of the horse. Paint around the tail that you made to create the rear end and the legs that are on the horse. Also create the feet and make sure to just use one stroke as you are creating these. Next, creating a neck and then the head along with the main on the top of the horse...

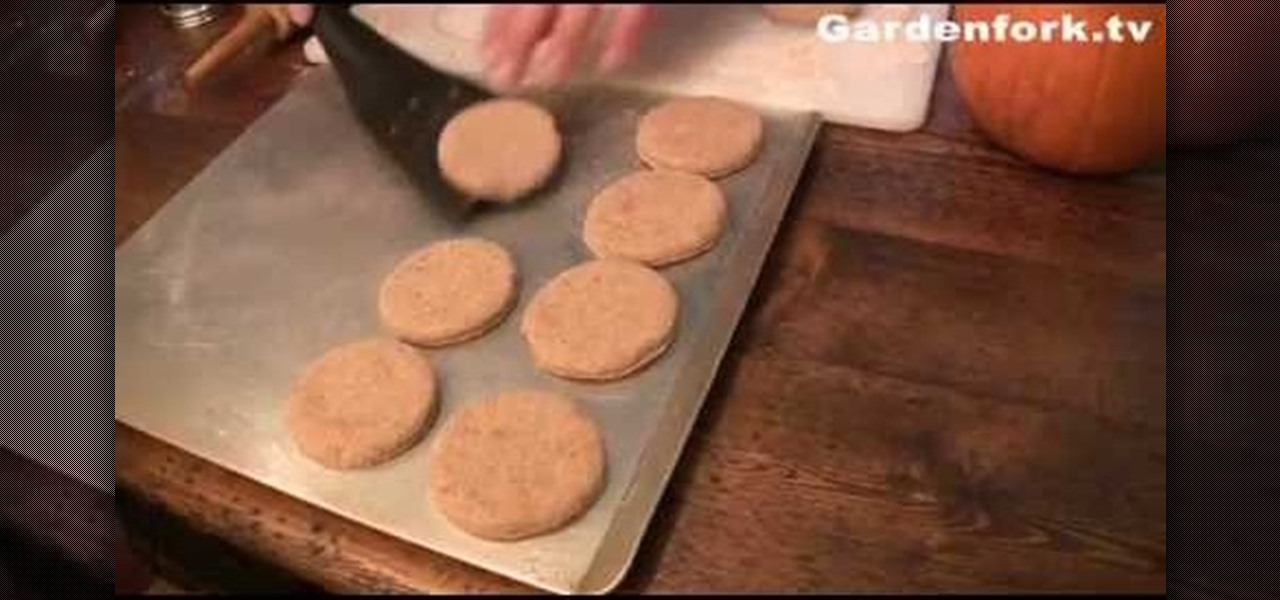
In this tutorial, we learn how to make dog biscuits. You will need: beef broth, whole wheat flour, peanut butter, and baking powder. Now, pour in 2 c flour with 1 tbsp baking powder, 1/2 c peanut butter, and 1 c beef broth. Combine these together using a fork until everything is mixed together completely. Add in more broth if the mixture is too dry, then when finished roll out on a floured surface. After this, cut out biscuits using whatever shape you would like. Then, bake these in the oven ...

We have loads of issues to take up with Barbie (like how the Christina Hendricks and Rosie O'Donnell versions are the same exact size as the usual barbies and are not at all representative of the women's real bodies) but we have to admit we would die for her hair.

Back in our college days we ate like pigs. With a full plate of classes and social activities we were frequently far too worn out to even consider firing up the grill or stove and actually cooking a meal. Let's just say that In'n'out was our best friend.

No sane person likes the smell of vomit. Vomit is especially annoying when the smell lingers and wont leave your carpet. Fortunately, there is a way to get rid of disgusting carpet aromas. It involves the use of baking soda, a vacuum, and a flat tool.

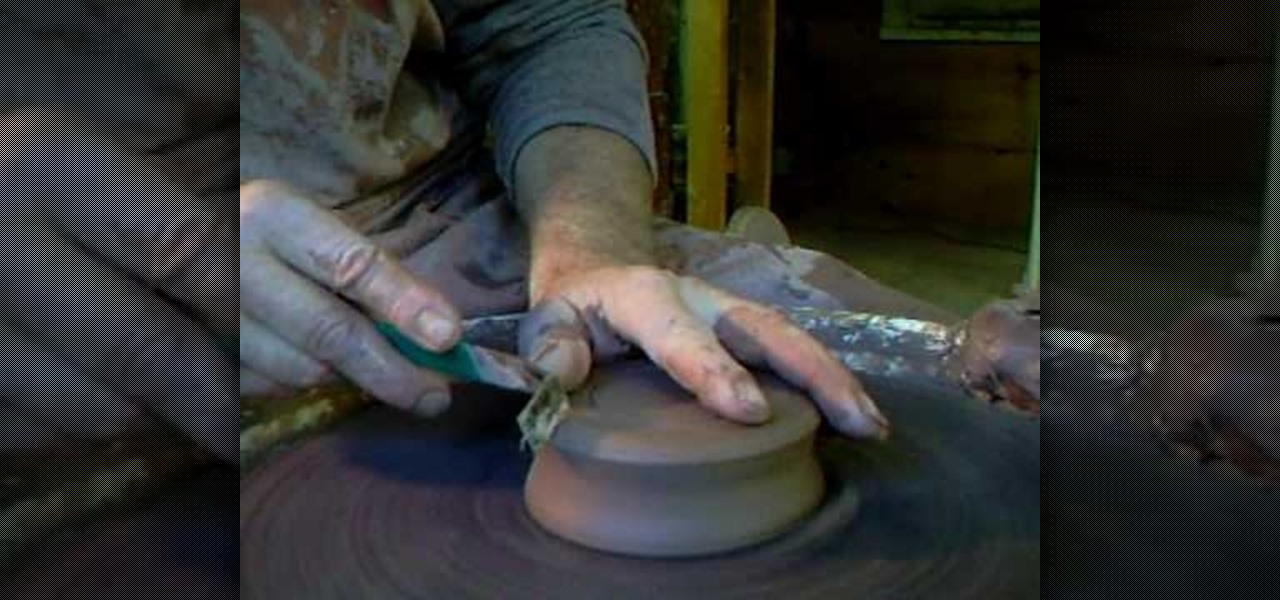
In this tutorial, we learn how to make simple pot stands. Start with your clay on the table and use water and your hands to start to shape it. Press down on the ball until it forms into a low bowl shape. Then, start to add more clay and water to the sides of the pot so that it's thicker on the edges. After this, place the pot stand onto a ceramic drying area, then you will be able to glaze it and fire it. Clean off your spinning table after you are finished, then enjoy your pot and pot stand!

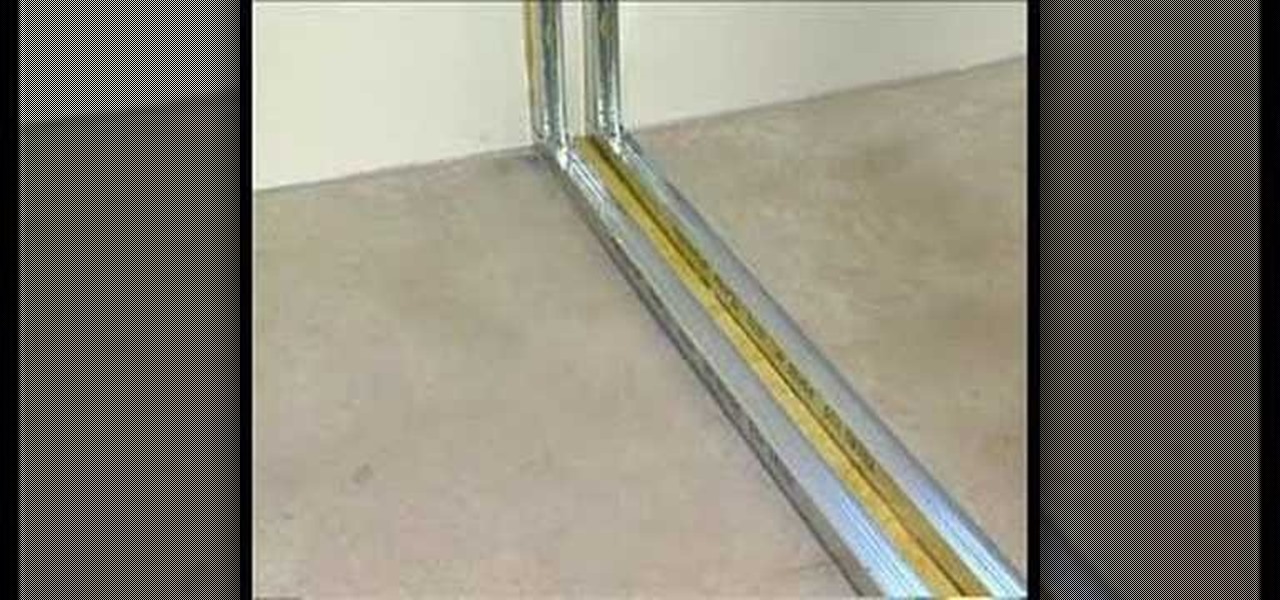
In this tutorial, we learn how to drywall partition with Fermacell. This is a great alternative to plasterboard and is environmentally friendly with no plastering required. First, measure out the floor and mark it using chalk. After this, make sure the walls are level, then measure them out. Mark out doorways and any other special requirements after this. Now, layer a resilient layer between the slats. Then, these are placed into the floors using drills and nails. The rest of the studs will b...

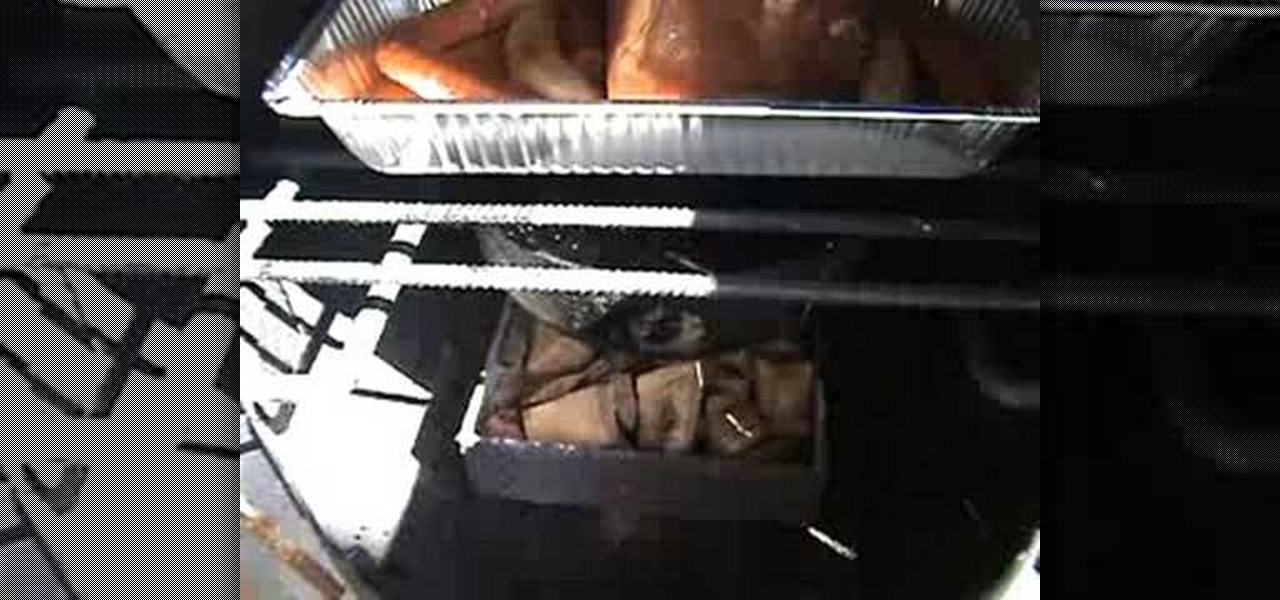
Brisket makes a tasty addition to your next neighborhood barbecue. Start with an apple vinegar brine, then add a spicy dry rub and mango juice. Now your brisket is ready to be taken outside and smoked (use a charcoal grill for even heating). And then you will have a delicious brisket!

A recipe for an authentic brisket, smoked Texas style. Start with a flavorful dry rub, then stock your smoker with hickory wood chips and leave it in for several hours. Halfway through, turn your brisket over and smoke it on the other side. At the end of it, you'll have a delicious barbecue brisket!

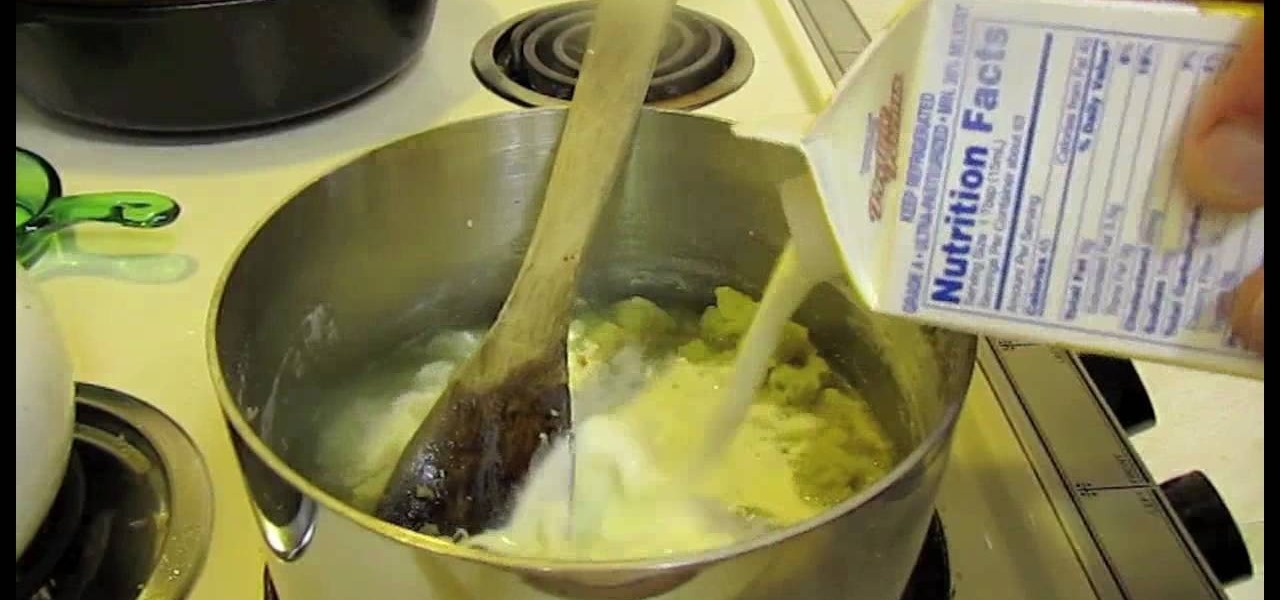
Butter makes everything better, as any Paula Deen fan will tell you, so we're drooling over the copious amounts of the fatty foodstuff in this recipe already. Butter is a major component of the white cream sauce in this pizza, adding delicious thick consistency and taste.

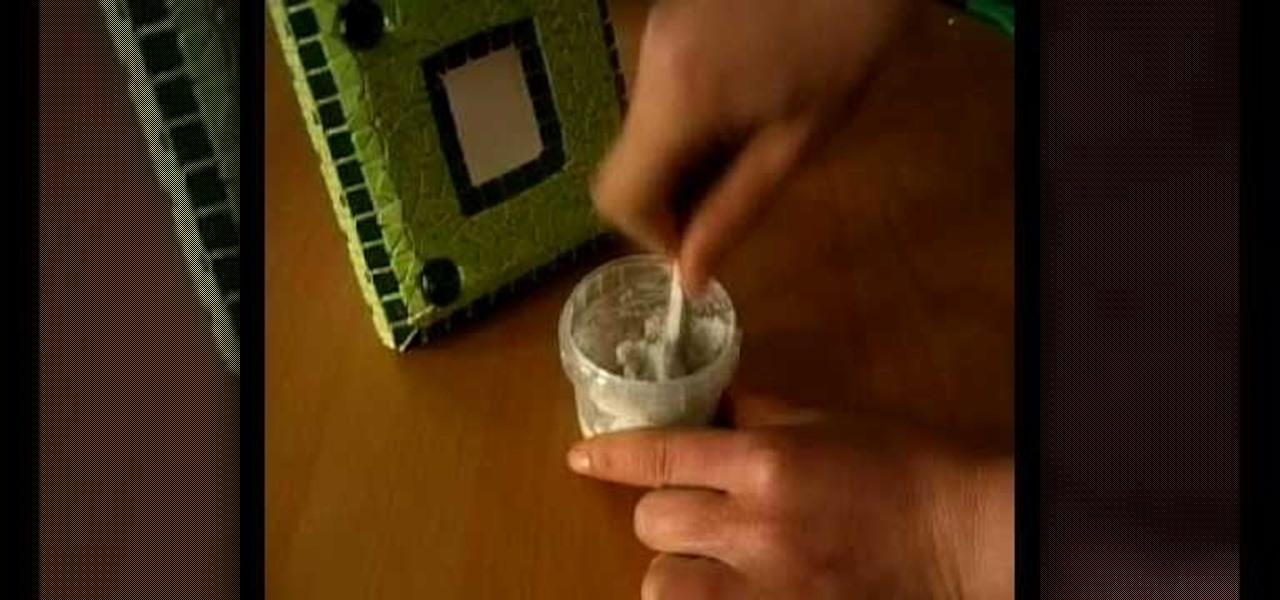
In this video, we learn how to make a mosaic picture frame with ceramic micro tiles. First, glue on the four gemstones. These will go on all four corners of the frame. Next, place the square mosaics onto the base. You will place these around the edges of the frame that are perfectly square. After this, cut the other squares in half and glue them onto the entire frame in the middle of the squares on the frame. Next, let the frame dry for two hours, then mix the powder together with water and r...

This video tutorial is in the Arts & Crafts category which will show you how to make crumpled flowers for scrapbooking. Cut out three circles of 2", 1 1/2" and 1" diameter out of a sheet of paper. Then wet the pieces of paper lightly with water or colored ink and crumple them one by one as shown in the video. Then place the three pieces together and pin them up with a split pin. Now crumple the edges of the paper further to give them the look of a flower. Allow it to dry and your flower is re...

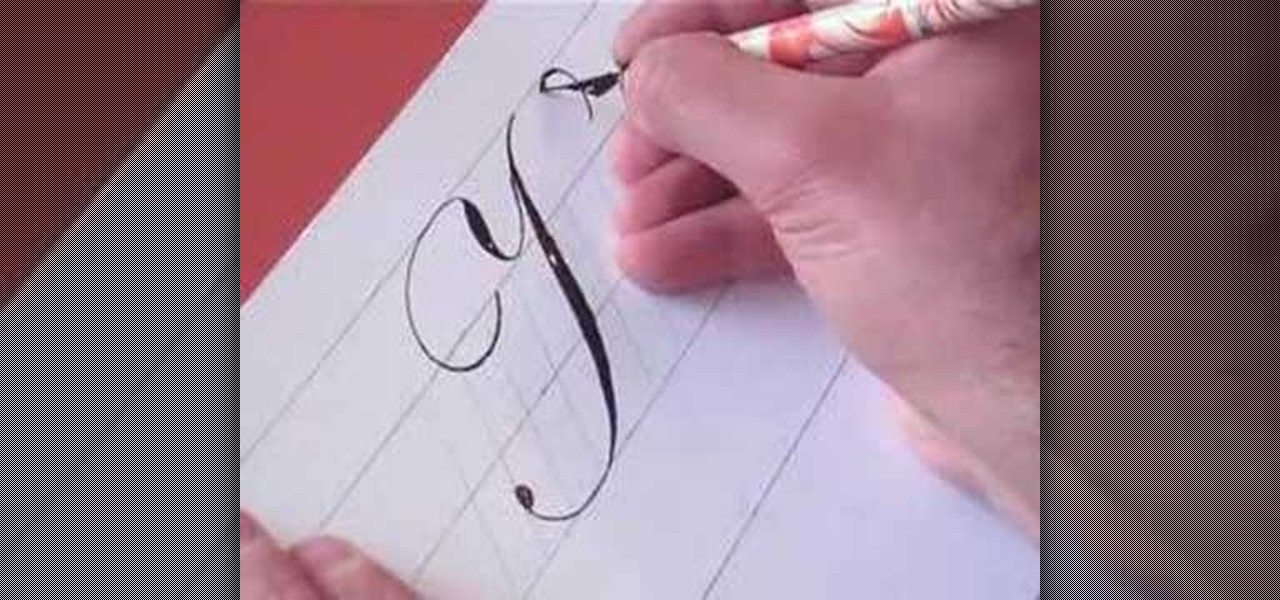
In this video, we learn how to write the letter K in calligraphy copperplate. Start by running your calligraphy pen on the paper going from a thin line to a thick, making a line curved to the left ending with a dot at the end of a small loop. Next, make a loop to drag out across the top on the right hand side and curve it down to make the K letter. Do the same to make the lower case letter, except making a loop for the top of the letter instead. When finished, let the ink dry and you've got y...


