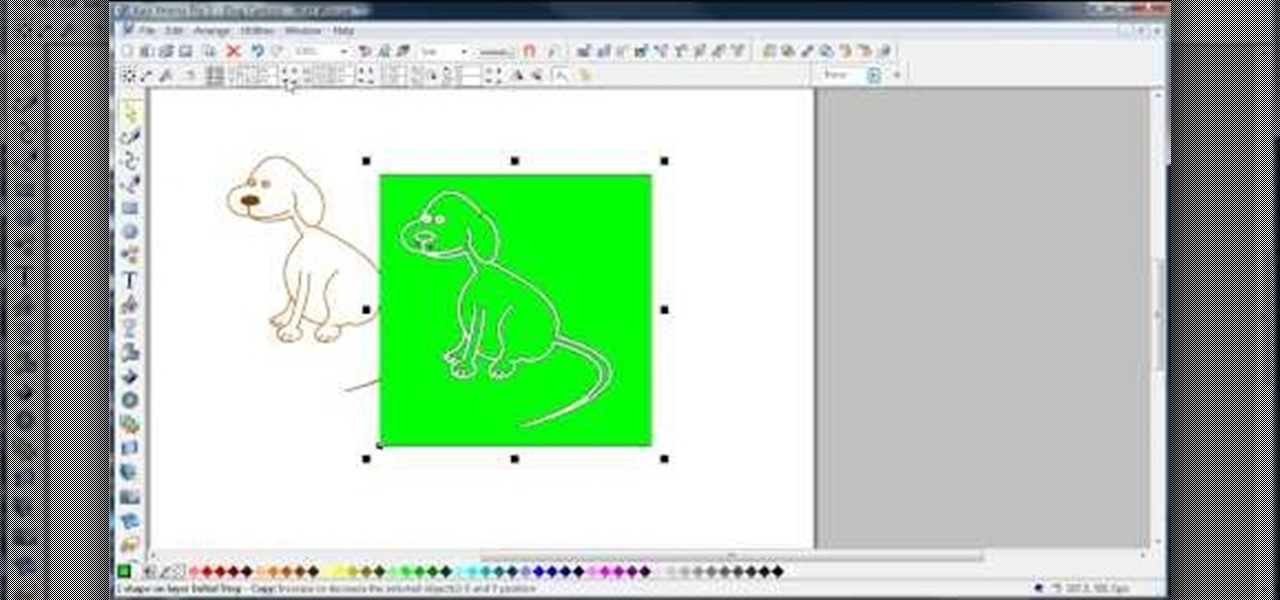
In this video, we learn how to join lines in Xara Xtreme. All the lines in this are independent, but they can be joined together to make an object. First, open up the object gallery and then duplicate the layer. After this, copy the image and increase the line size by four pixels. Then, go to "arrange" and "combine shapes". From here, the shapes will all combine together to make one total image. Make a rectangle around this and then select "subtract shapes". Combine the layers to finish, then...
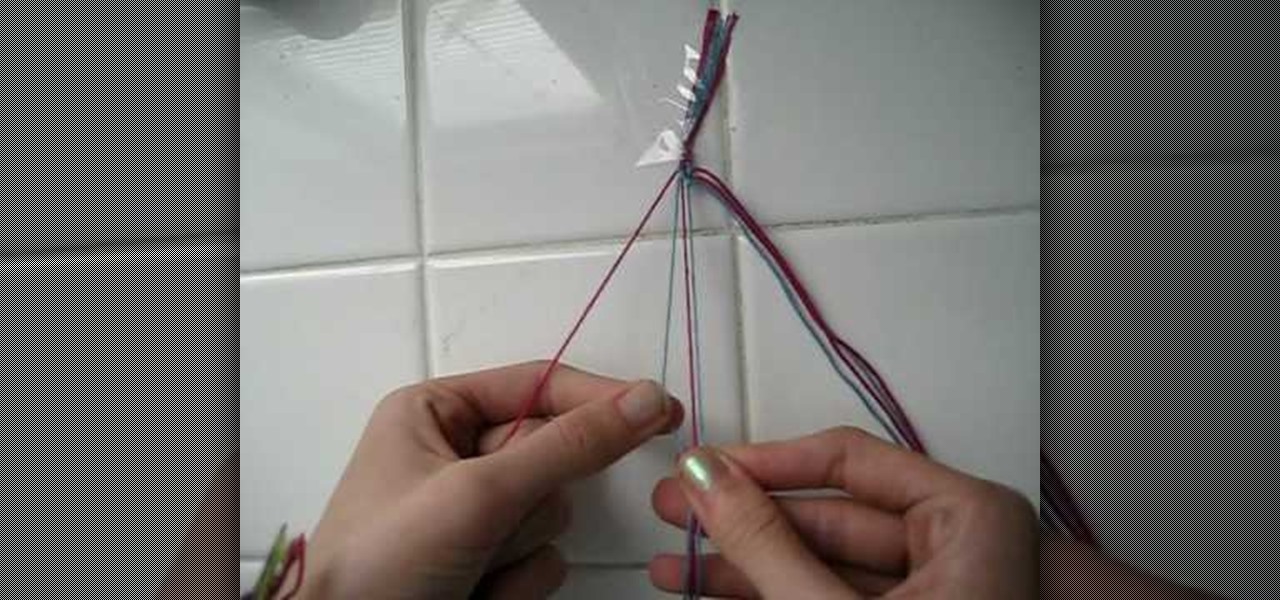
In this video we learn how to make a friendship bracelet with vertical hearts. First, tape your strings to a wall, they should be two colors with four of each. Arrange them so they are alternating colors until you reach the other side. After this, grab the first string and set it aside. Then, take the next two and tie them in a knot at the top. Tie the third string with the fourth at the top as well. Continue to do this until you reach the seventh string. Continue to tie the strings until you...
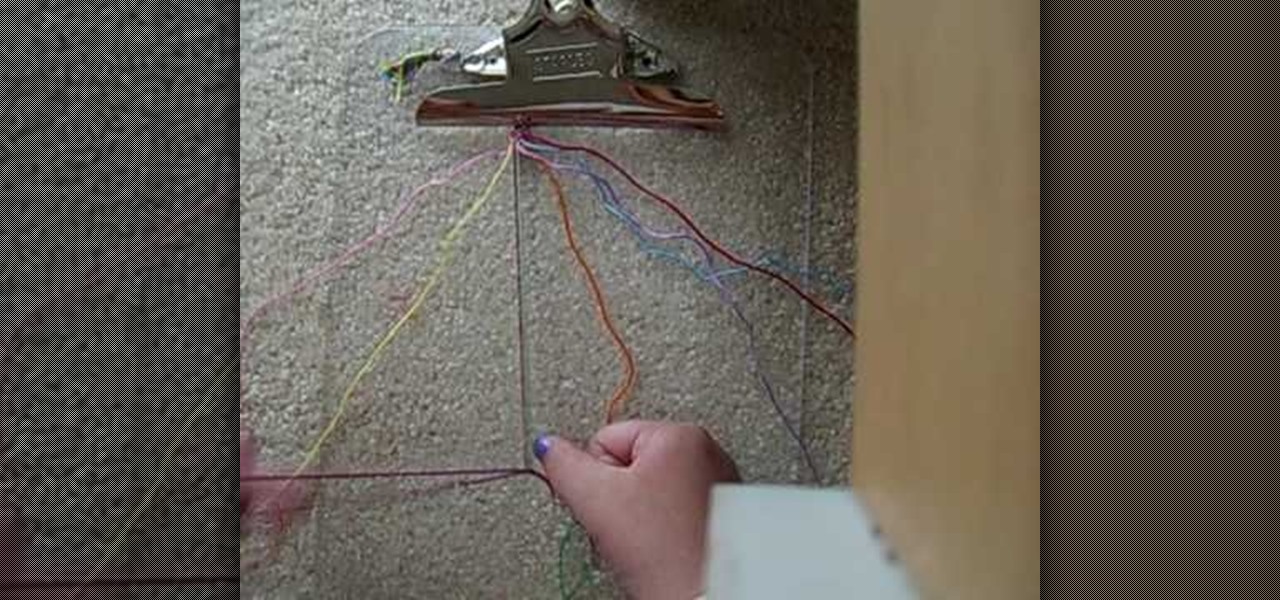
In this tutorial, we learn how to make friendship bracelets: the rag rug. First, grab eight different colors and arrange them all spaced out. Clip them to a clipboard at the top, then take your first strand and make a knot around your second strand twice. From here, you will take your third strand and tie it around your fourth strand. Continue to do this until you reach the rest of the colors that you have twice. Next, take the seventh and sixth strand and make a backwards knot. Then, do the ...

Go to your Joomla admin page. Now go to extensions, module manager. Now on that page, click on new. Now select login button and click on next. Now type the name and set the position, it depends on the template you use like if you have the help file of that template, you can figure it out by checking that but many free template does not contain the help file. So for now, set the position left and click on save. You can arrange the order of your modules just by clicking the up icon or just by e...
In this tutorial, we learn how to build your own lunar city model. You will need: toilet paper tube, bottle caps, CDs, sheets, and scissors. Now, cover your table area with the bed sheet so it's completely covered. Now, star tot arrange your lunar city model. Place the CDs on the table and stack them, placing bottle caps in between. After this, cut the toilet paper rolls in half and lay them flat on the ground. After this, place cups lid down on the table and then add CDs on top of them. Now ...

In this video, we learn how to save time and money at the grocery store. At holiday time, grocery shopping can be extra tough. First, make sure you bring your own reusable bags. Then, place in your soda and water in the cart first so you don't have to re-arrange. Make a list before you go to the grocery store so you don't wander around the store. Also, see if you can place your deli order ahead of time so you don't have to wait around. Have your grocery clerk group like items together so unpa...

In this tutorial, we learn how to make a sauerkraut & pork chop dinner. You will need: 1 32oz jar of sauerkraut (rinsed and drained), 4 (10 oz) pork chops, 1 lb Kielbasa cut into pieces, 1 sliced medium onion, 1/2 lb diced bacon, 1 tbsp caraway seed, 3 tbsp vegetable oil, 3 c chicken broth, and salt/pepper. First, brow your bacon over medium heat, then add in onion kielbasa, sauerkraut, caraway, and chicken broth. Let this come up to a boil, then let it simmer for 30 minutes while it's covere...

In this tutorial, we learn how to use Fiskars Decorative Edge scrapbook layout. First, you will need to pick out the templates, pictures, and paper that you want to use for this project. Now, place the stencil over the card stock and cut out the stencil shapes you want, stars work best if you are doing a fun child theme. Now, apply these to your base card stock, and arrange a frame over the background. Now, apply the picture to the page and add on the stencils you just cut out. Add in quotes ...

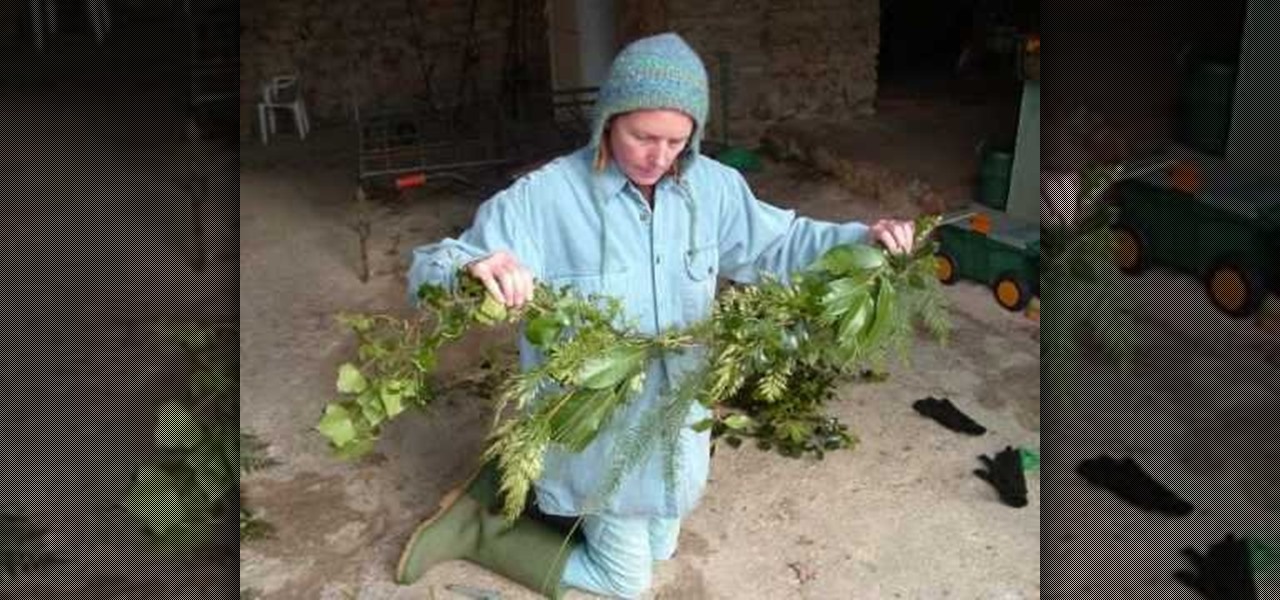
In this tutorial, we learn how to make a festive Christmas garland from fresh greenery. You will need: fresh greenery, wire cutters, floral wire, pruning clippers, and gloves to do this. The base should be made of holly, and then you can use different firs that you can find. You can arrange this garland however you wish, placing them onto the wire and then cutting the wire when everything is hooked together. The great thing about this is that you can be creative and use whatever kind of green...

In this tutorial, we learn how to insert pictures and format text in Fusion Essentials. Start by selecting your image and then clicking inside the text box. Select an image, then it will appear in the text box. From here, click on the picture and go to the alignment section. Choose how you want the text arranged around the image. You can justify it to the left, center, and right. You can also wrap the text around the image. Preview the page after you align it, then see if it allows the page t...

New to Microsoft Excel? Looking for a tip? How about a tip so mind-blowingly useful as to qualify as a magic trick? You're in luck. In this MS Excel tutorial from ExcelIsFun, the 644th installment in their series of digital spreadsheet magic tricks, you'll learn how to create a recorded macro that uses formulas to rearrange a proper data set to one listed in a column.

In this Software video tutorial you will learn how to combine documents into a single PDF in Adobe Acrobat 9. Go to the 'combine' menu and select 'merge files in to a single PDF'. Click on 'add files' and 'add folders'. Now create a new folder and click OK. Then drag and drop files in to the folder. You can then arrange them in the order you want. You can also delete any document that you don't want. You can also choose pages from a document. With all the documents selected, you can go ahead ...

Jewelry making is a fine art, with some jewelers devoting their entire lifetimes to learning how to perfect beading, wiring, sautering, and arranging. But that doesn't mean you can't make a beautiful bracelet if you're a jewelry making beginner!

In this Fine Art video tutorial you will learn how to embellish a sweater by adding a bejeweled collar. This will be a great Christmas gift idea. Take a short sleeve sweater and cut out its neckline on a piece of paper. Take a piece of woolen cloth of matching color, pin the paper cut out to it and cut off the woolen piece. Place the woolen cut out on the neck of the sweater and arrange some jewels on it. Then with a hard glue gun apply hard glue to the back of each jewel and stick it. You ca...

Backpacking sounds like the most basic way to travel but it is actually quite a large undertaking. In this tutorial, learn all you need to know to plan for a backpacking trip, no matter where you're traveling to. This will help you stay safe and prepared for anything. Of course, before arranging backpacking gear for a trip, it's important to make a plan of the trip in order to determine which items are necessary. Learn about bringing backpacking gear that fits the climate and conditions of a ...

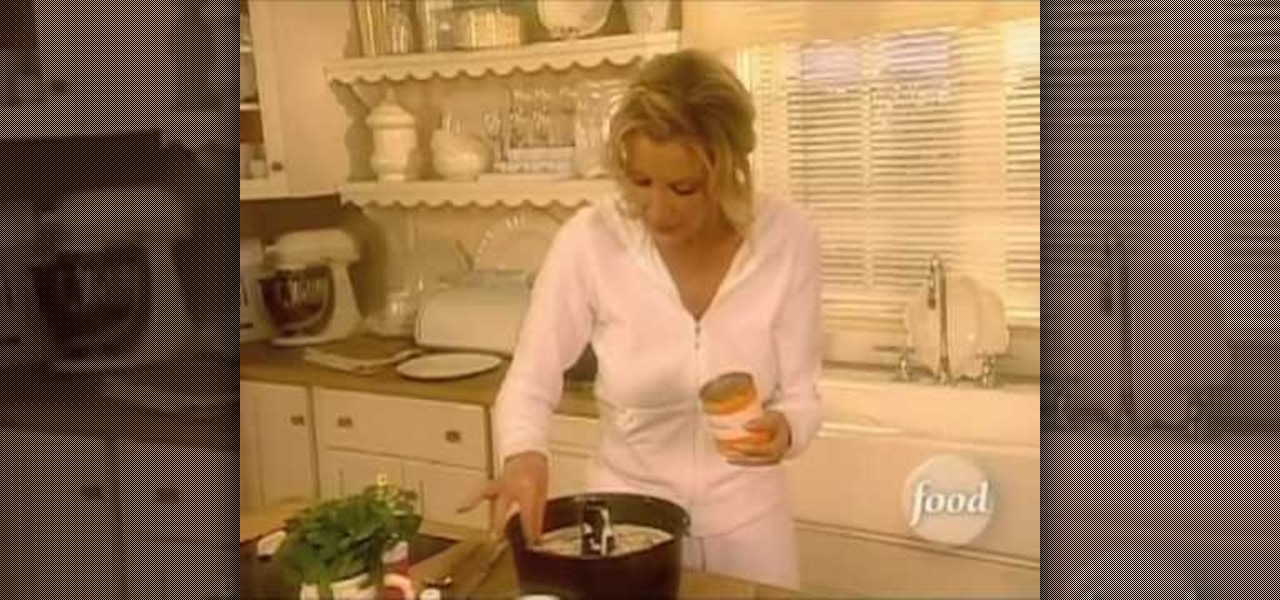
Sandra Lee in this video shows how to make triple orange angel food cake. She takes a pack of angel food cake mix in a bowl and adds the juice of mandarin oranges with water to it. A tablespoon of orange zest is added to the bowl and mixed well. This goes into a pan sprayed nicely and generously with cooking spray. Half a can of the mandarin oranges are popped into the cake batter. This is baked in a pre-heated oven to 350 degrees. The uneven top of the cooked cake is removed. The rest of the...

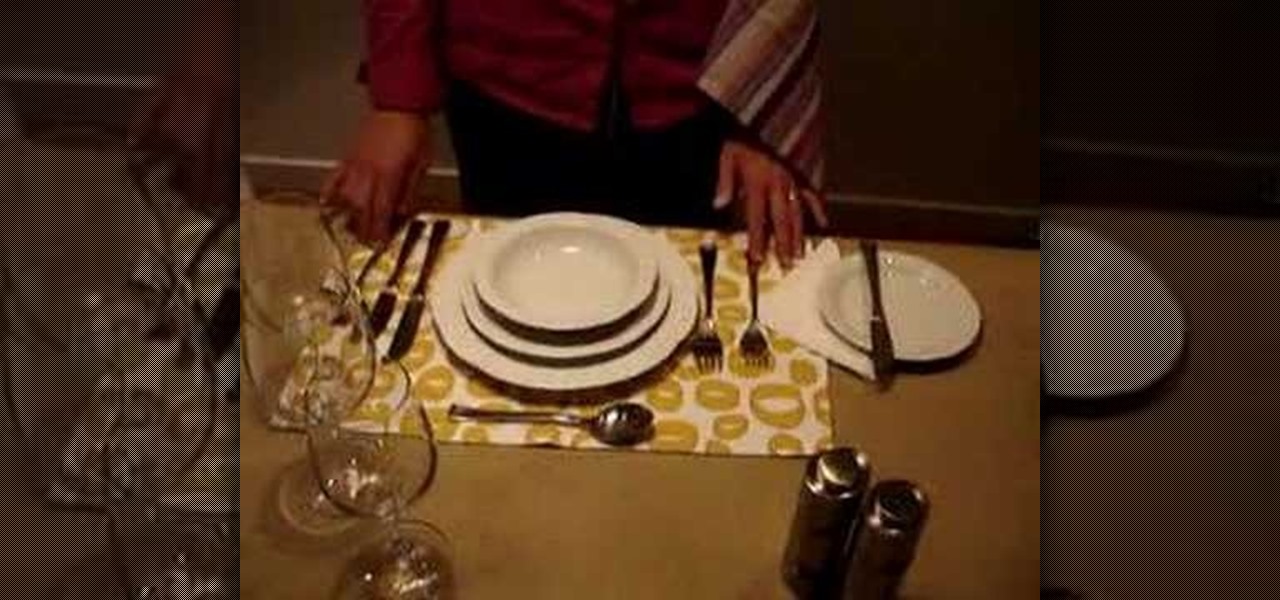
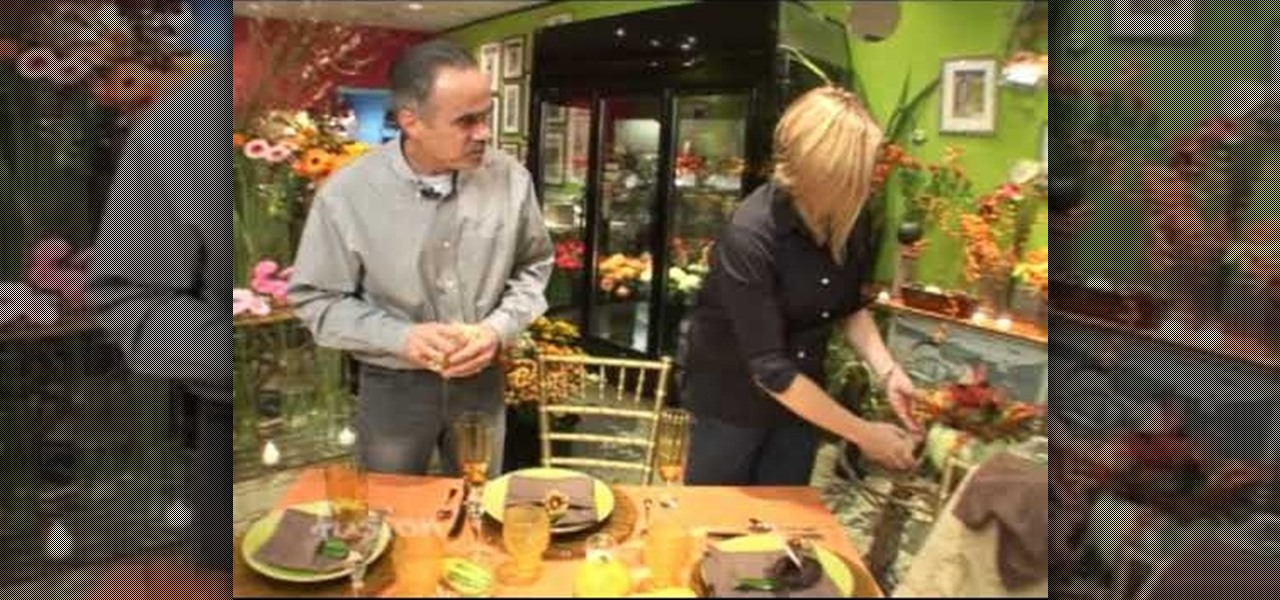
In this video tutorial, viewers learn how to set a beautiful dinner table. The utensils, flatware and glassware is paramount is correct setting. The utensils are arranged in the order that a person uses them. The butter knife, forks, napkin and bread plate are placed on the left of the dinner plate. The knives, spoons and drink-ware are placed on the right of the dinner plate. Utensils and flatware are lined up about 1" from the table. There should never be more than 3 utensils on the side of...

In this how to video, you will learn how to do a T drill in Pool. This is called a T drill because the balls are arranged in a T shape on the table. The point is to take the cue ball and try to run the balls in numerical order without allowing the balls to touch another. You also must be able to make the shots with each ball. Try moving the cue ball so that it lands far away from the balls. The hardest part is shooting 3, 4, 5, and 6 into the pockets. Try shooting 3 and 4 in the same corner. ...

In this video tutorial, viewers learn how to negotiate with a credit card company. There are 3 main items that users can negotiate. The first item is the date of payment. Users are able arrange a more convenient date for payment. The second item is the annual fee. Users are able to work out a way to not have to pay an annual fee for using a credit card, which will help save money. The third item is the interest rate. Users can negotiate and try to lower the interest rate that they must pay. T...

1. Go to Control Panel from the start menu and select Uninstall a program. 2. Start Menu>Control Panel>Uninstall a Program

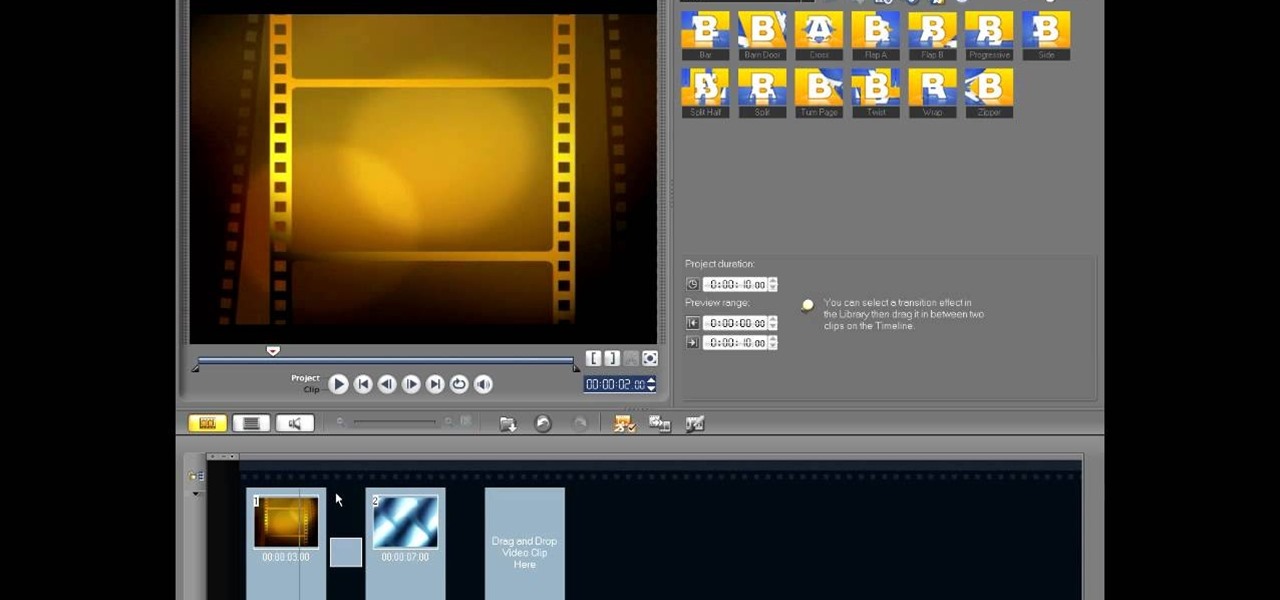
In this video tutorial, viewers learn how to edit in storyboard mode in Corel Video Studio. The storyboard mode is an alternative view for the time line. To switch to storyboard mode, click on the film strip icon above the time line. Storyboard arranges your project by element. To add a new element or transition in storyboard mode, click on the Edit tab and select the element or transition that you want by dragging it to the storyboard. This video will benefit those viewers who use Corel Vide...

Layers are very important component of Photoshop. Without knowing how to use the layers correctly, one can not utilize the maximum what Photoshop offers to designers and digital artists. For a beginner, this video provides a good basic knowledge about Photoshop layers. Layers enable you to arrange different parts of a picture and manipulate them without effecting the content of other layers. Layers are added by using layers panel. Each layer is named accordingly. We can change the order of la...

In this video tutorial, viewers learn how to build a movie from individual clips in iMovie. Using clips in iMovie will easily allow users to create a movie. On the right side of the screen in iMovie, there will be a library of all the clips and images that you have imported. Click on the Clips Viewer to arrange the clips in an order that you would like. Just drag them to the clip viewer. You can change the position by dragging a clip over another. Click on the time line viewer to see how long...

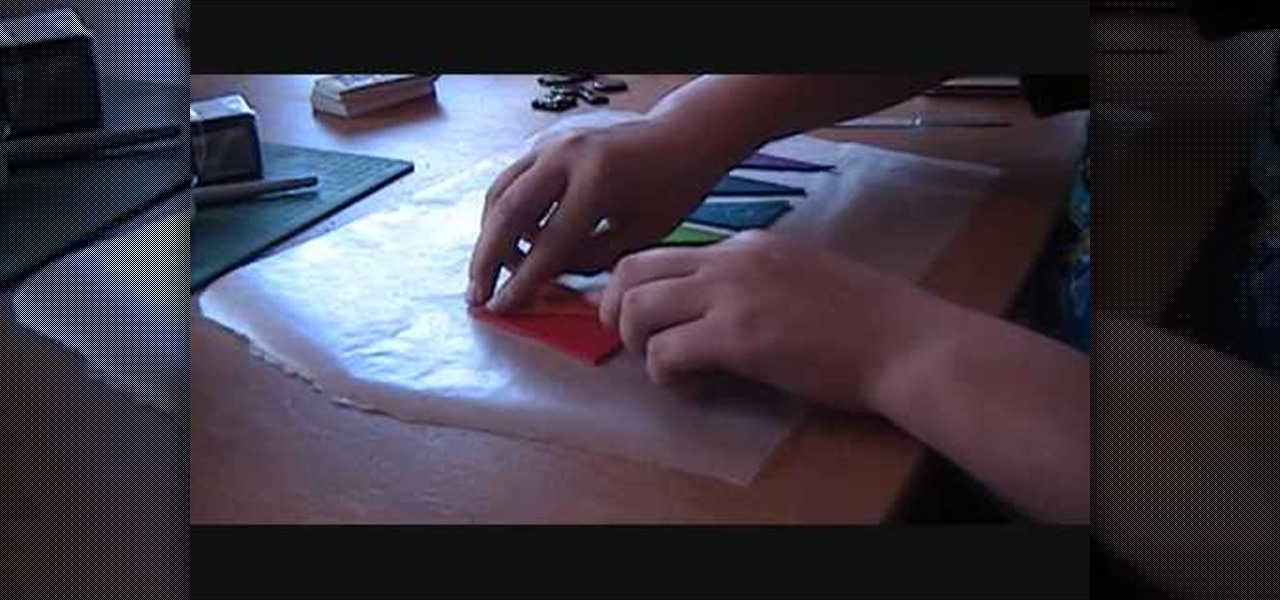
This video explains how to make a polymer clay "rainbow cane," which, amongst other things, can be used to make jewelry or pendants. First, you must run a conditioned piece of each color of clay through a pasta machine. Then, cut each color into a square, and from there cut each square diagonally, creating triangles. Arrange the triangles side by side and attach them together, so that you create a large rectangle of the colors. Run this rectangle through the pasta machine several times, until...

This video demonstrates the making of zebra beads presented by Garden of Imagination. To make zebra beads, take white and black clay. First take the white clay and flatten it and then do the same with the black clay. Arrange them in five flatten layers one white strip and other black strip respectively. Cut it with cutter and fold around (up, down, right, left) the round bead of white clay and roll it in your palm to make it round. To make it as a bead poke it with pokeyard from both the side...

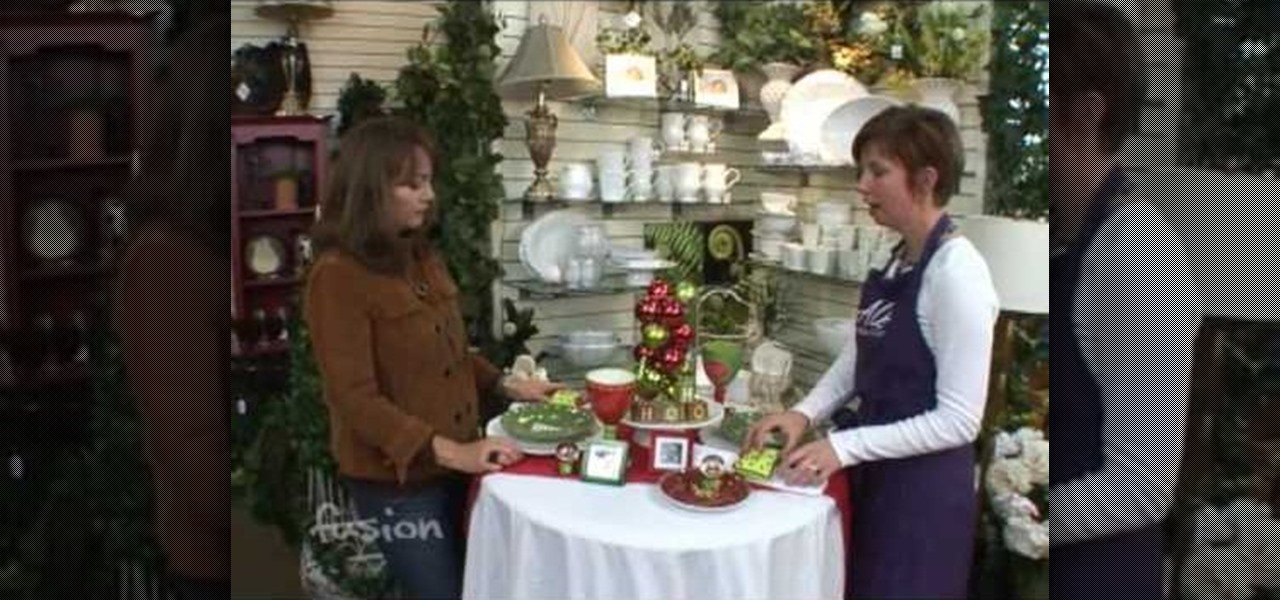
This video helps the holiday table settings add a fun and colorful theme to each holiday. Using white plates and table cloths, along with clear glass settings, will help to bring out the colors and details of the decorative additions to the table. Having scented candles or other types of fragrances will highlight and compliment the holiday table theme you have set. The table decorations you will see don't need to match, they only need to flow in with the theme you have arranged. This video wi...

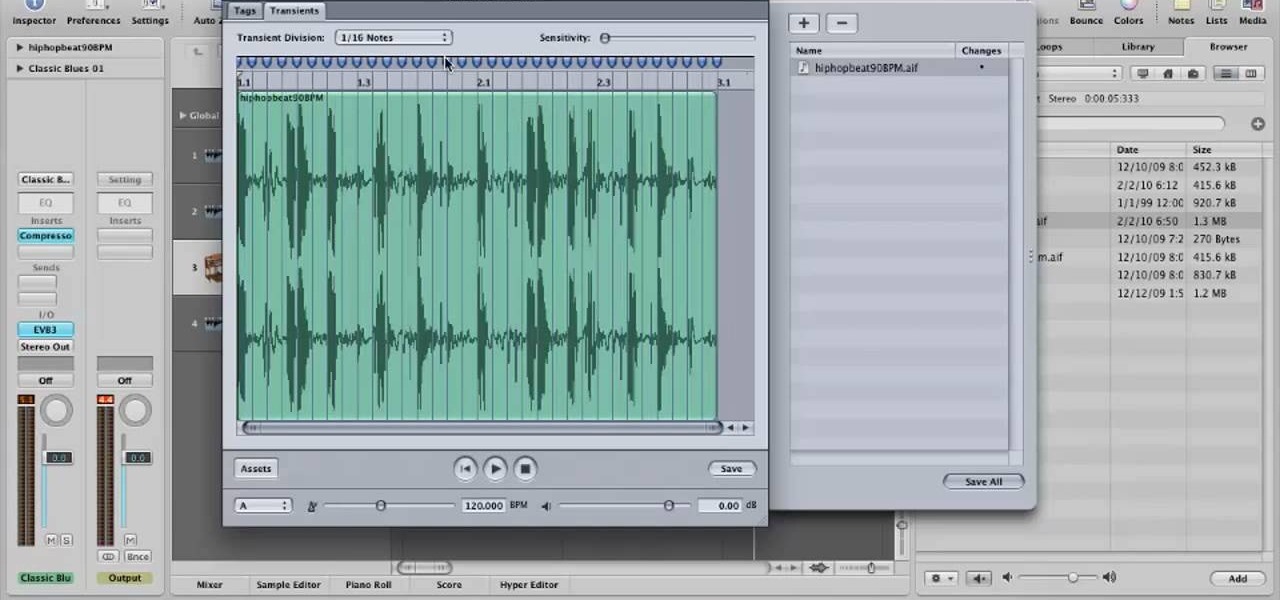
In this video tutorial, viewers will learn how to create their own Apple Loops in Logic Pro 9. Logic Pro is a hybrid 32/64 bit digital audio workstation and MIDI sequencer software application. In this video, viewers will learn how to make any regular audio file into an Apple Loop that can be searched in Logic's Loops browser. This video focuses on setting up a workspace, recording with both live performers and digital instruments, editing and arranging, and mixing and mastering a composition...

Watch carefully as this florist moves quickly and silently through the process, grabbing a tearing different types of flowers, then putting them together in an ornamental arrangement. He starts first with some somewhat colorless bushy flowers and affixes them low within the container. Thereafter, he takes single stems of purple, yellow, and red flowers arranging them at different heights above the low-lying bushy ones. He keeps the variously colored flowers isolated in their own little area, ...

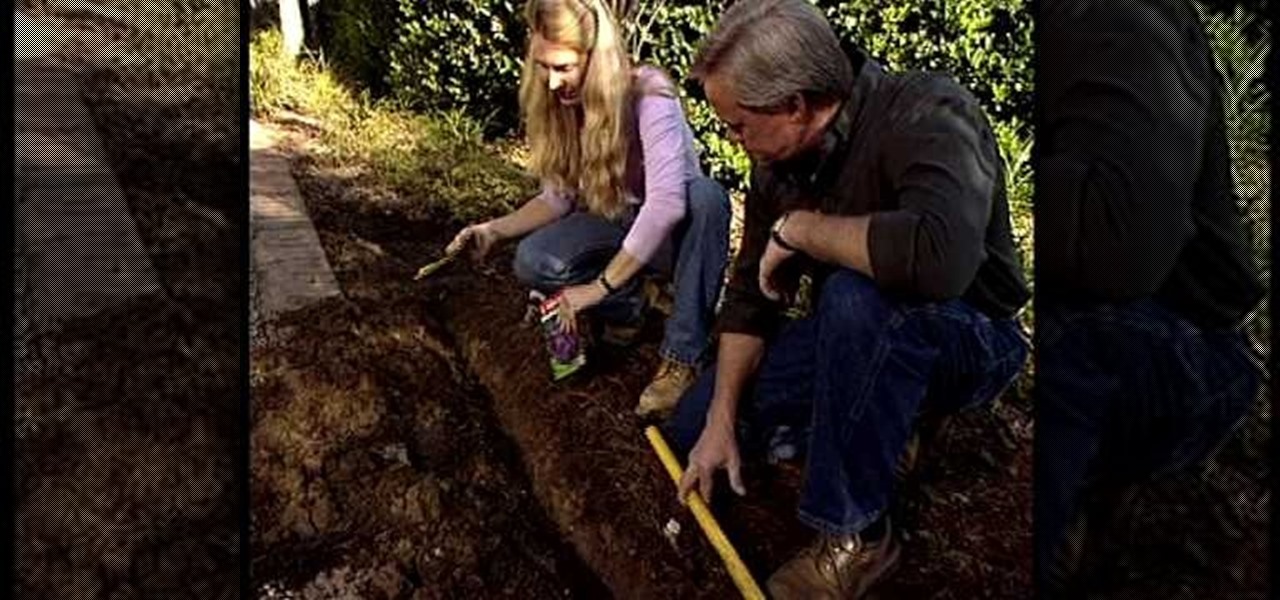
Danny Lipford shows how to grow a more colorful flower garden in early spring when there is not a lot of overall growth. He displays how he plants tulips and daffodils in the fall so that they bloom in the spring. He digs a troth about 6 feet long and 6 inches deep. After sprinkling bulb food in the troth, Lipford plants the tulip and daffodil bulbs, arranging them so each uniquely appears every other bulb. Lipford's assistant advises that he re-plants the tulips every year, since while they ...

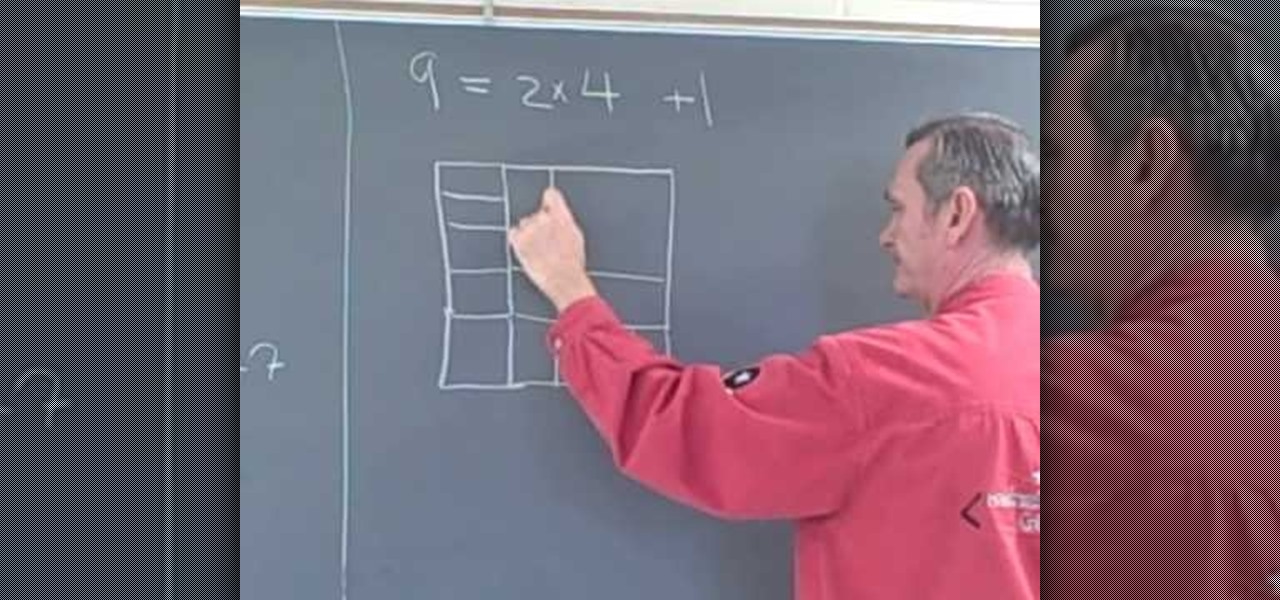
Professor ElvisZap teaches you about adding consecutive odd numbers. You can learn this faster by drawing squares near the numbers themselves. If you are doing 2x2, draw 4 squares. They will be arranged in columns of two. For 9 you will draw 3 columns of 3. 16 are 4 columns of 4. 16 is also 1+3+5+7, which are all odd consecutive numbers. 25 are 5 columns of 5, but also 1+3+5+7+9. If you start counting 1 as the zeros odd number, then 3 as the first odd number, the nth odd number will be (2xN+1).

To make some flowers of geranium plant, the flowers are colorful and beautiful. Put the branches together to the main branch in various designs. Merge three leaves together to form a new design. Now start placing all the leaves to the main branch if you want. You need to make a petal to form the flower. Arrange the bunch of flower in middle of your dining table allowing its fragrance in the entire room. We will put the flowers together .This is very important and necessary step. We will dupli...

This is a short, very fast paced (6x normal speed) demonstration of how to arrange a floral and green head table piece. The 54 seconds shows the designer how to complete an arrangement from beginning to end. It is difficult to see what the shape of the base is, but it is fresh flowers going into the design. The designer places long greens into the center of the base, adding some long white stemmed flowers. Red carnation heads are then placed around the base along with some additional greenery...

She's doing it again; turning the ordinary into the extraordinary! Carolyn Braden is taking sea shells collected from a recent vacation and incorporating them into a decorative wreath. Using a hot glue gun and thick satin ribbon wrapped on a Styrofoam ring, a simple inexpensive wreath can be created with anything you can find attached. Don't be afraid to be creative. Using thick ribbon will help create a lovely pattern behind whatever you choose to glue on the wreath. The other idea Carolyn h...

In this video, the instructor demonstrates how to solve radical equations and inequalities. If you have an equation that contains radicals, re-,arrange the equation so that all the radicals are on one side and the integers are on the other side. To cancel a square root from an equation, square both sides of the equation. The square of the equation cancels out the square root, thereby removing the radical. Even after squaring if you still have a radical left, treat it as a new problem and appl...

In this video tutorial, viewers learn how to throw a cocktail party. This video provides many tips on how to prepare for a cocktail party. To have a cocktail party, you should have enough seats for at least 20% of the guests. Arrange your furniture into a U-shape to allow people to move in and out easily. Set out a variety of food and snacks. You may choose to have candles. Create a music playlist that will lasts the entire party and that everyone will enjoy. Set up trays around the room for ...

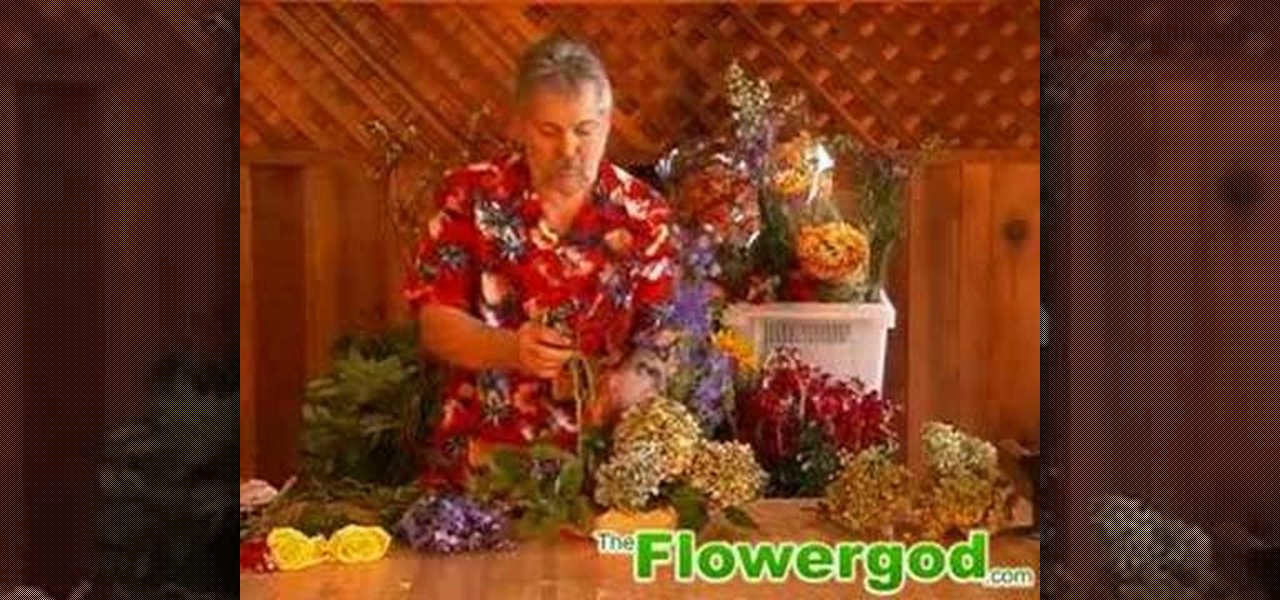
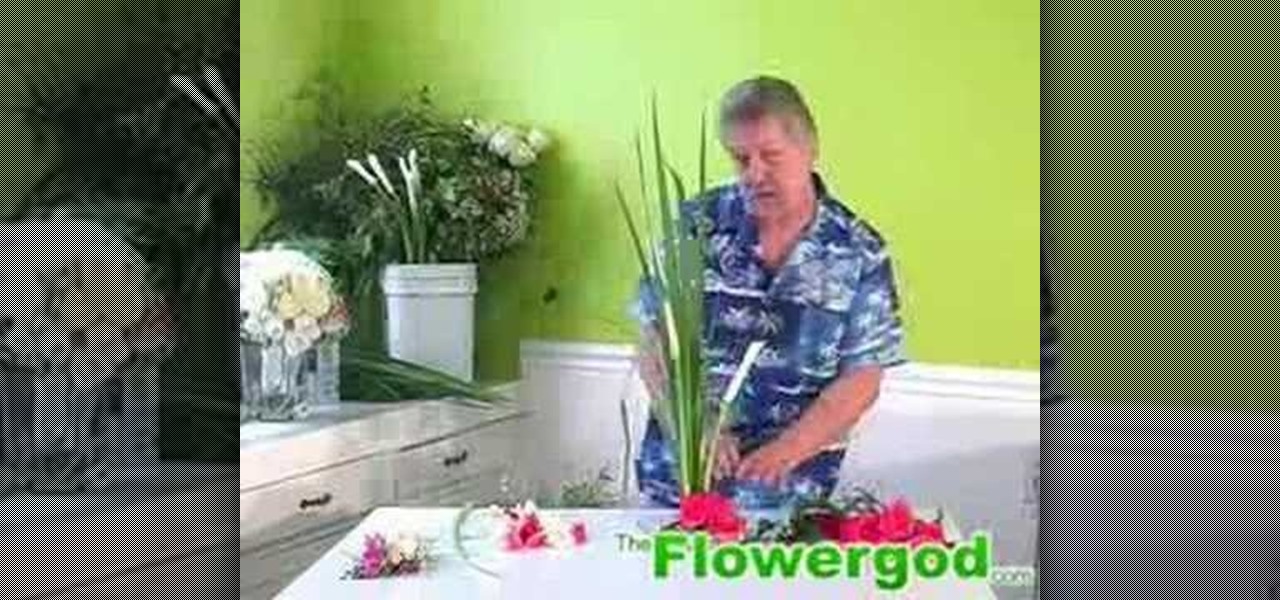
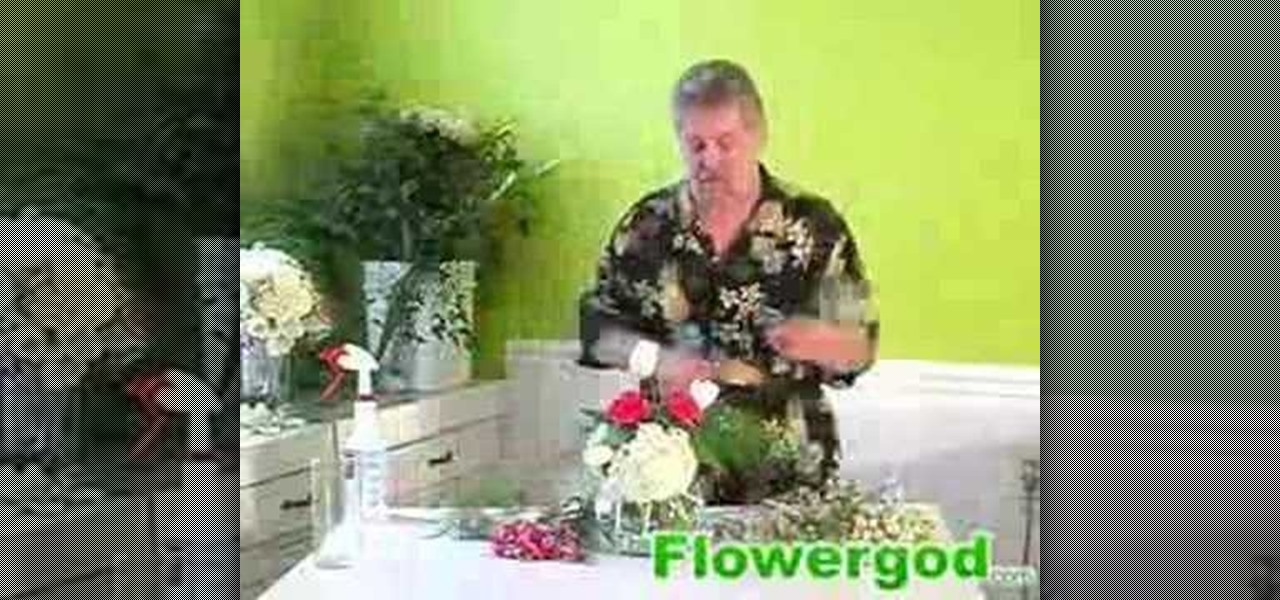
This is a time lapse version of Flowergod episode 28. In this episode the Flowergod designs a bubble bowl centerpiece for a wedding. The demonstration focuses on color and flower choice as it relates to theme, floral depth and composition, and the overall shape and balance of the piece. Flowergod discusses techniques for arranging and concealing stones while emphasizing the bowl, as well as some general do's and don'ts for any floral arrangement. This centerpiece features white hydrangea, whi...

Life and dating coach Donna Barnes discusses dating if you're over 65. There are a lot of people out there looking for companionship, and just because you are over a certain age does not mean there isn't someone for you! Try to find places that arrange activities for seniors, look online and find fun things to do with new people. You don't have to spend your life alone, a lot of people are out there looking to meet someone like you.

Egg Bram teaches you how to create a cut text effect in Xara Extreme. Create a simple colored rectangle and add some text on top. Then select these two objects and go to Arrange - Combine Shapes - Subtract Shapes. Now the two objects have combined into one. Although the text appears to be white now, if you move another object underneath you will notice that the text is transparent. You can also add effects to this new objects, like a contour or a shadow.

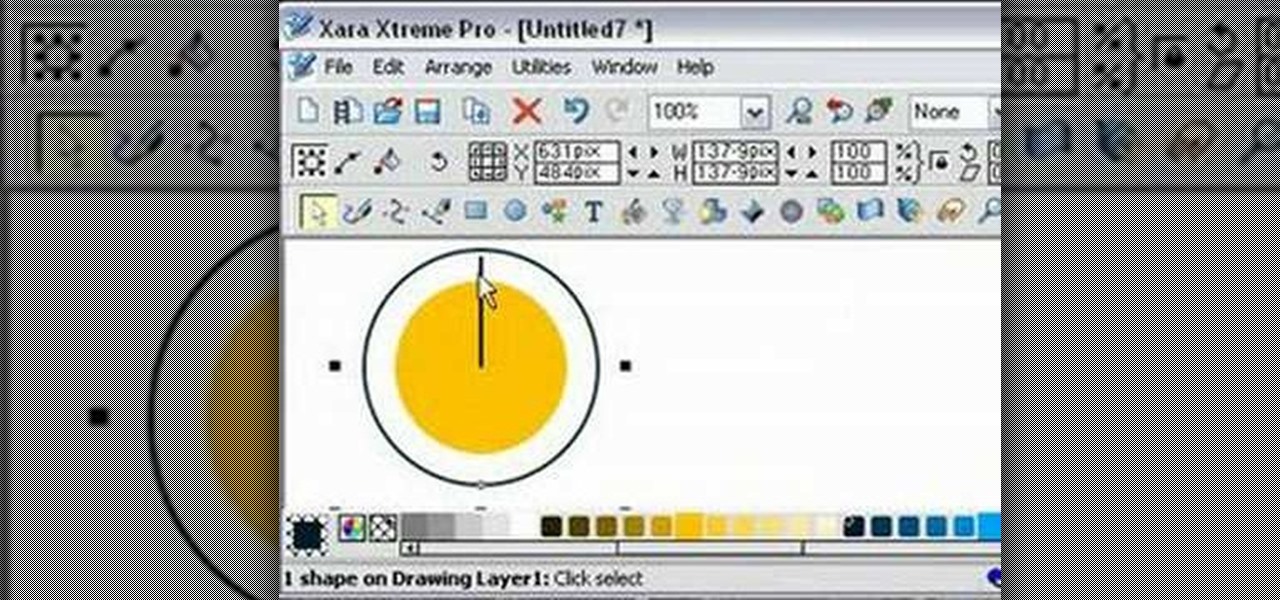
Ever wanted to make a pie chart in Xara Xtreme? This video will help guide you through the process of using Zara Xtreme to cut a circle into a pie chart segments using percentages as angles. After finding the center of the circle using a line and the central alignment tool, you'll begin arranging lines over the circle according to the speakers instructions. By the end of this tutorial you should have your very own pie graph, as well as the knowledge it takes to make bigger and better projects...

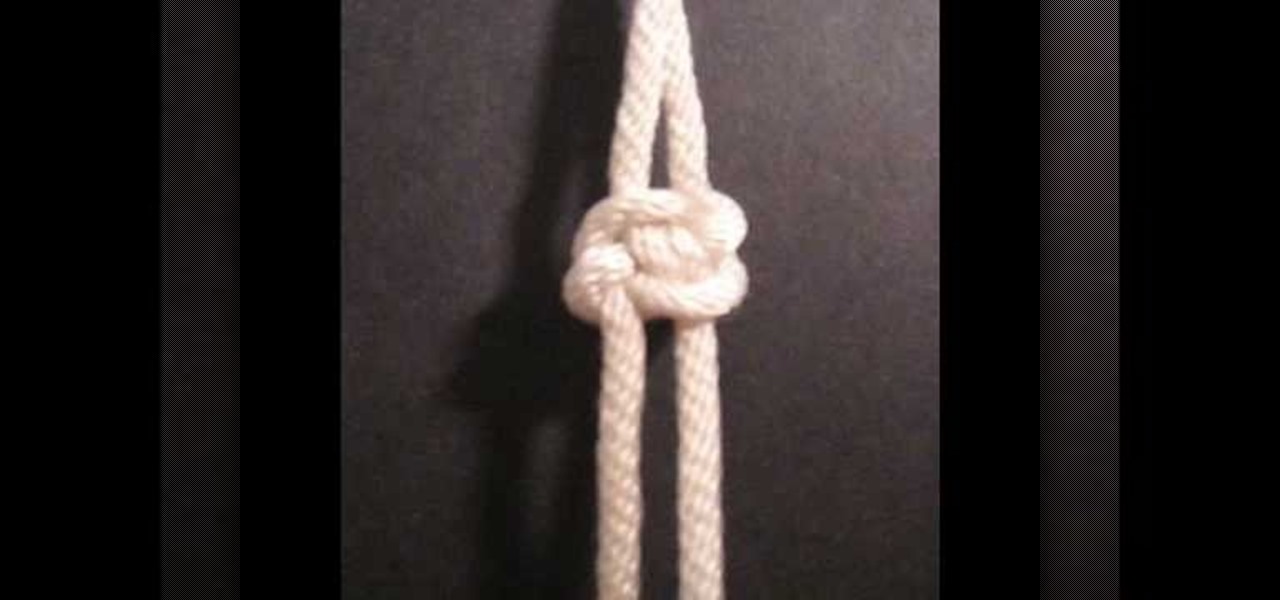
To make a Kinky Lover's knot, first hang or keep the tag on something. Then take the first end. Tie it by keeping a loop. Then take the second end and pass it through the loop by leaving a loop. Then take the second end, which was taken earlier , through the loop made by the first end. Then pass the second end through the loop, which was made by the second end. The knot is ready! All we have to do now is to tighten the knot by pulling the two ends. Make it beautiful by arranging the tag clearly.


