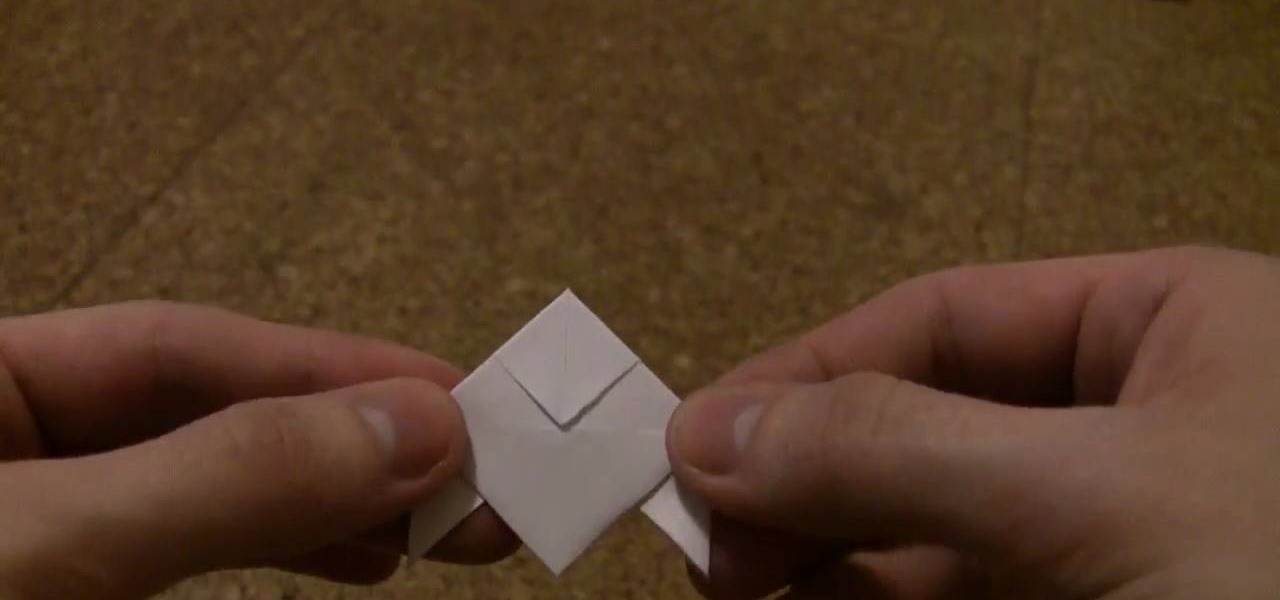
In this Arts & Crafts video tutorial you will learn how to fold a hexagonal, six-point paper star with origami. Take a hexagonal sheet of paper and fold in half from all corners. Then fold each side inward up to the center point. Open up all the folds. Now fold one side up to the center point. Then fold one corner back over itself and fold the next side of the paper up to the center point. Continue like this for all sides and you will now have a smaller folded hexagon. Then lift up each flap ...
In this video tutorial, viewers learn how to make a shimmer mist mixture for cards. Begin by filling a small spray bottle with rubbing alcohol. Now add about 1/2 tsp-tbsp of Champagne Mist shimmer paint into the spray bottle and shake it to mix it. Users can also use frost white or platinum shimmer paint. To apply the shimmer mixture on a card, spray the mist in the air and wave the card stock into the mist. The alcohol will help dry the paint faster. This video will benefit those viewers who...

In this Arts & Crafts video tutorial you will learn how to make a lily flower from folded paper with origami. For this, you need a square sheet of paper. First you fold it in half and then fold it in half in the other direction. Next you fold it diagonally across to form a triangle. Then fold it again across the other diagonal. Open up the paper and push the diagonal folds inwards slightly so that the center point is pointing upwards. Then press the folds in to form a triangle. Take one of th...
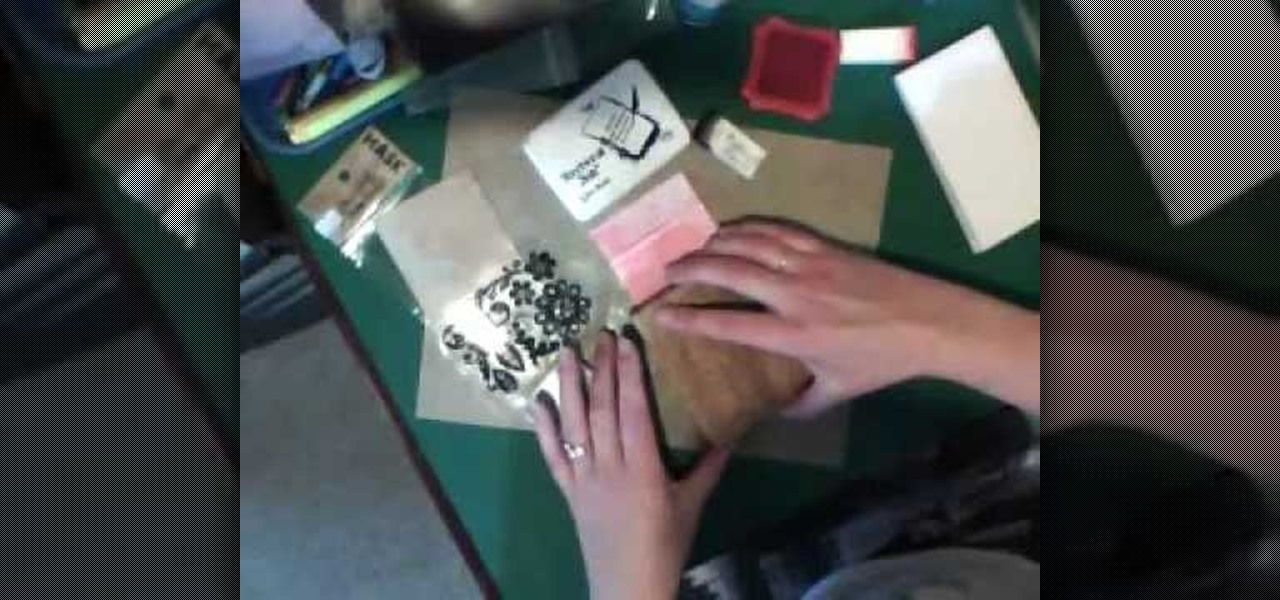
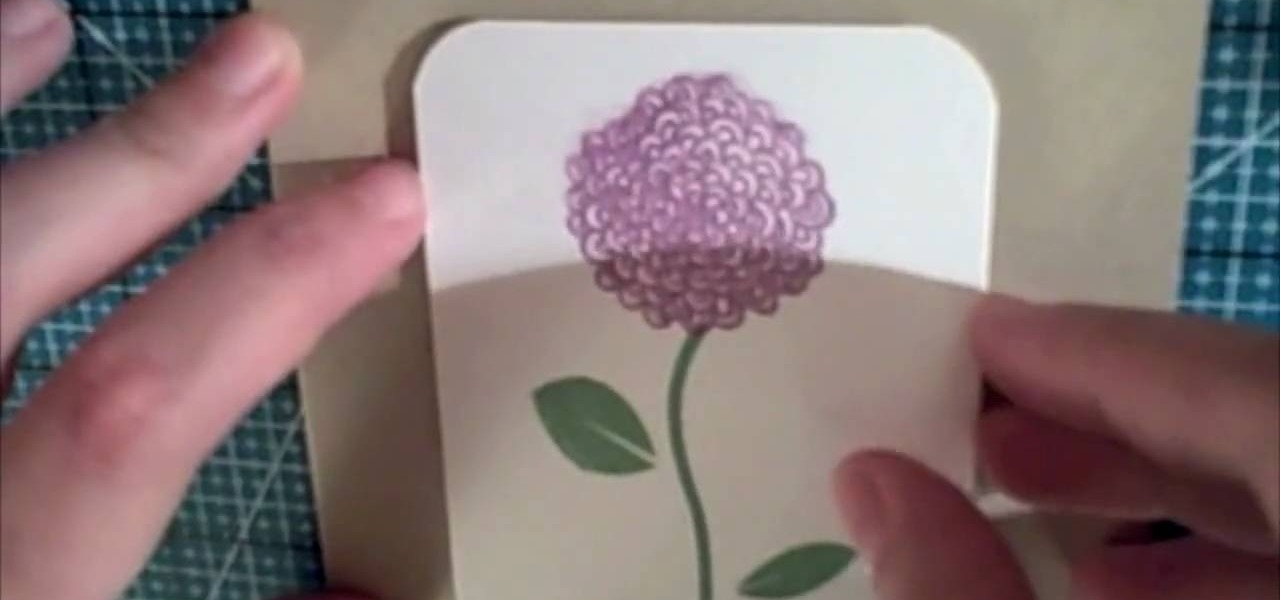
In this Arts & Crafts video tutorial you will learn how to make a stamped notepad cover. Put the note pad on the edge of a bigger sheet of paper, draw the outline and cut the paper along the lines. The paper should be longer than the notepad. Put the note pad on top of the paper aligned with one end and fold the other end of the paper. Remove the paper and crease it properly along the scoring lines. Depending on the theme you want for the cover, apply the required ink with sponge on the paper...
In this Arts & Crafts video tutorial you will learn how to fold a Heavy Rain-style paper origami bird. For this project, you will need a square sheet of paper. Fold it diagonally across both diagonals. Open it up and fold one corner up to the center point of the paper. Flip it over and fold the other three corners to the center point. Now fold all the four corners to the center point. Flip it over and now fold it in half as shown in the video. Then you pull out both ends from the center and w...
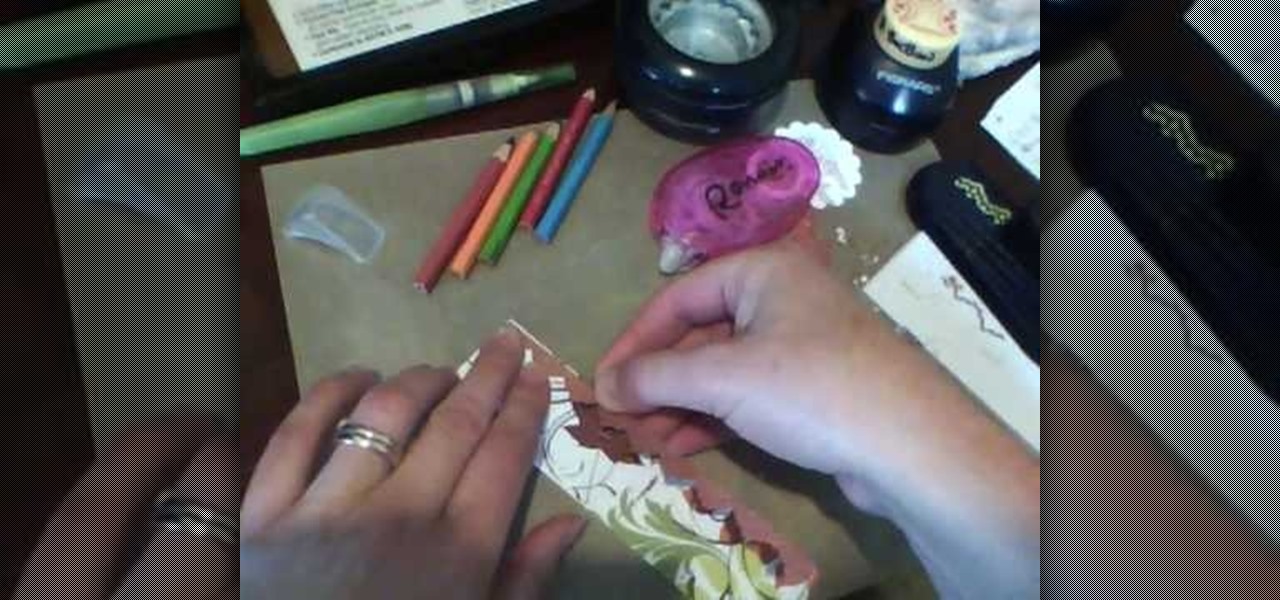
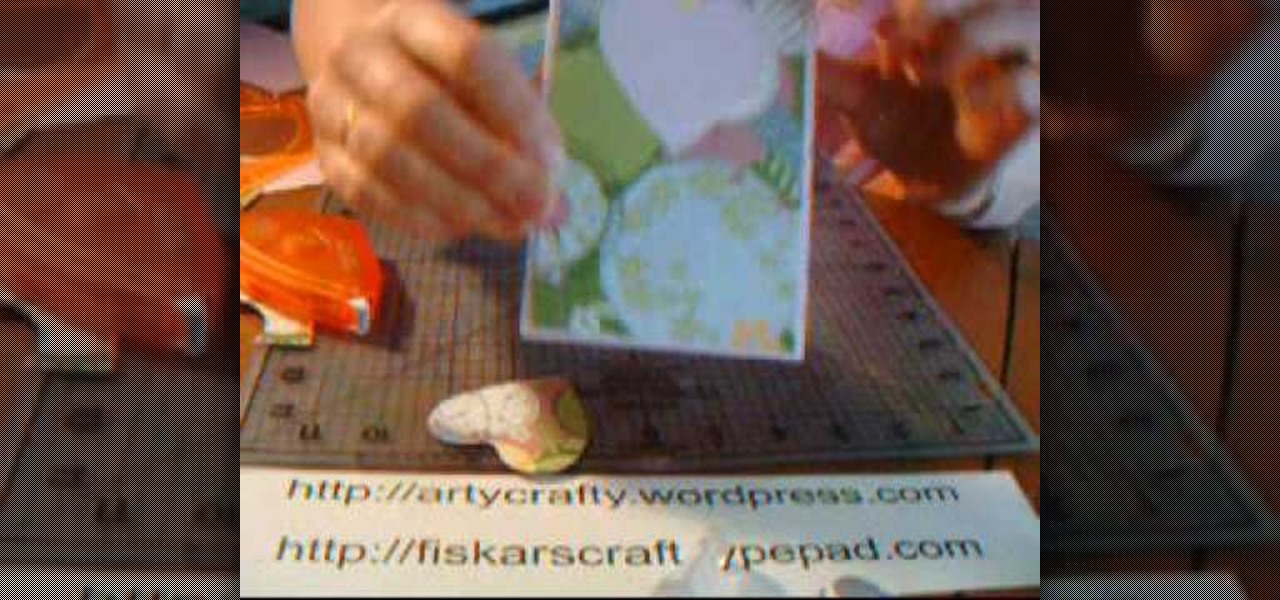
In this Arts & Crafts video tutorial you will learn how to make a vertical Easter greeting card. Take a 6x6 yellow card and fold it in half. Using the Valentrio Fiskars corner punch, you can punch one corner. Cut a 2 1/2” wide metallic cardstock, a 1” wide paper strip, stamp a picture or a design and punch it with Fiskars punch. Punch the 1” wide strip with the Fiskars border punch and glue both the pieces above and below the metallic card stock. Glue the metallic card stock and the pic...

This video shows how to paint your nails with a very attractive red and yellow nail art design. Using a glitter nail polish, dip it in yellow glitter powder. Pat it on the nail, rather than brushing it on. Then apply large glitter shimmers randomly all over the nail, and this forms the background.

In this Arts & Crafts video tutorial you will learn how to create a box to hold a mini album or small cards. Take a shiny card stock 10.5 x 6 inches. On the 6" side, score at .5" and 1" on both sides. On the longer side, score at 3, 3.5, 7.5 and 8 inches. Cut out the corners on the flap side of the card as shown in the video. Do a step cut on the other side of the card as in the video. Round the four corners with a corner rounder. You can do some stamping now if you want or you can also glue ...

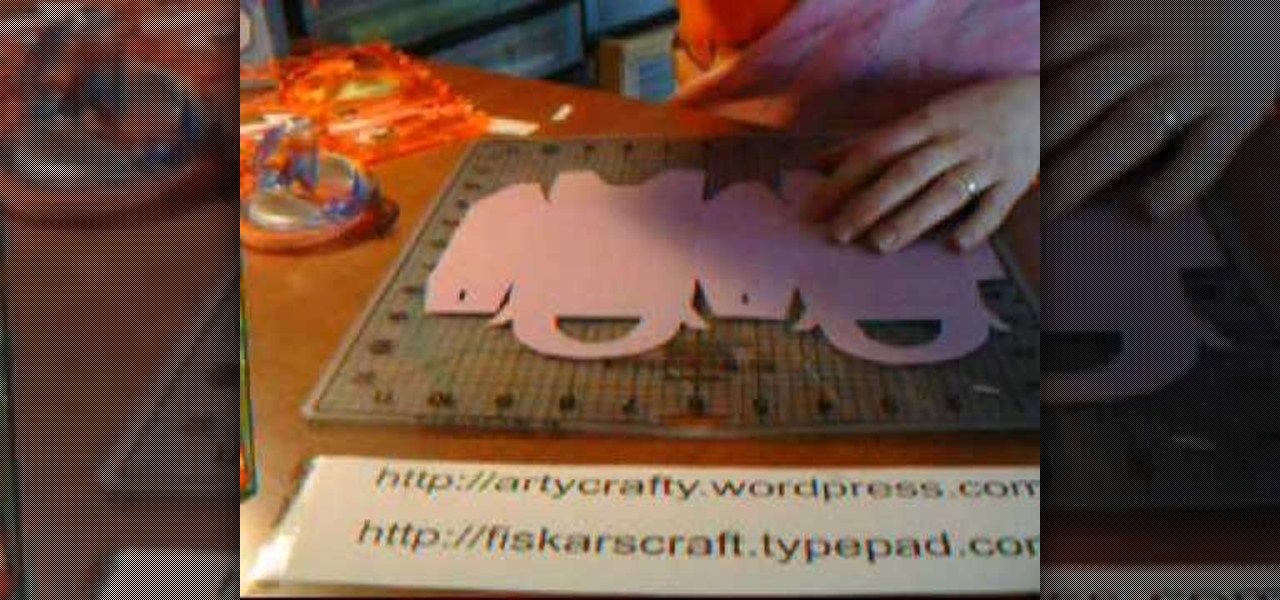
In this Arts & Crafts video tutorial you will learn how to make handmade treat boxes. Materials needed for this project are trimmer with scoring blade, PDF template, cardstock, scissors, Fiskars fingertip craft knife, Fiskars templates, Fiskars ultra shape Xpress, decorative scissors and embellishments. Download the PDF template from http://artycrafty.wordpress.com, print it out on a cardstock on the non-decorative side and cut out the shape along the thick line. Then score along the dotted l...

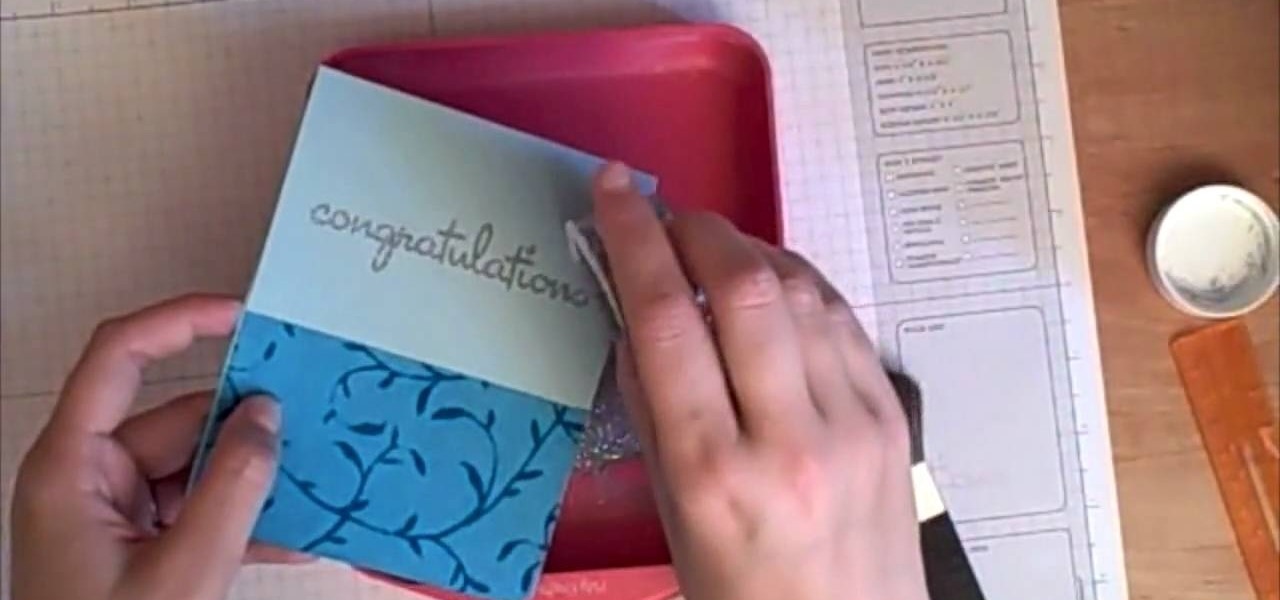
In this Arts & Crafts video tutorial you will learn how to stamp & heat emboss on a card. First you rub in a powder on the paper on which you are going to emboss, because embossing powder is really sticky. Then you select the stamp that you want to emboss and apply sticky transparent ink on the stamp. Make sure you do a through job of this. This will make the embossing powder stick to it. Now stamp the card and press it evenly to ensure that the impression is complete. Then pour embossing pow...

In this Arts & Crafts video tutorial you will learn how to make a folded paper ostrich with origami. For this project, you need a square sheet of paper. First you fold it diagonally across to form a triangle and cut it off in two. Then take one piece, fold it in half to form a smaller triangle, open and fold down along the centerline from the top of the triangle. Open it up and again fold along the centerline from the base of the triangle. Now fold from one of the corners up to the intersecti...

The shape stamp tool in Photoshop is similar to using old fashioned clip art. Shapes are extremely easy to access and you will get the hang of them quickly. These shapes can be used to enhance your existing photos or to create graphics like banners and icons. In this tutorial, you will learn exactly how to access and use the shape stamp tool in Photoshop CS3. You will no doubt have this down pat in no time and will soon be on your way to using stamps - just one of Photoshop's many helpful tools.

In this video tutorial, viewers learn how to make molded paper. The materials required are toilet paper and stamps. Begin by wetting the toilet paper under some water and lay it down. Use about 10 layers of 2 ply toilet paper. Now press the stamp onto the wet toilet paper and then press down on the stamp with a towel or cloth. Remove the stamp and heat dry the toilet paper. Now let the toilet paper dry fully overnight or half of the day. This video will benefit those viewers who are intereste...

In this Fine Art video tutorial you will learn how to make your own duct tape dress form. This video is from www.thunderlily.com. The materials you will need for this project are an old t-shirt, duct tape, strips of fabric to put around your neck and arms and a pair of gloves. Wear the old t-shirt and stand upright. Tape around the chest and waist to keep your shape as shown in the video. Add extra fabric around the neck. Then tape all over the t-shirt and cover the entire t-shirt. Then remov...

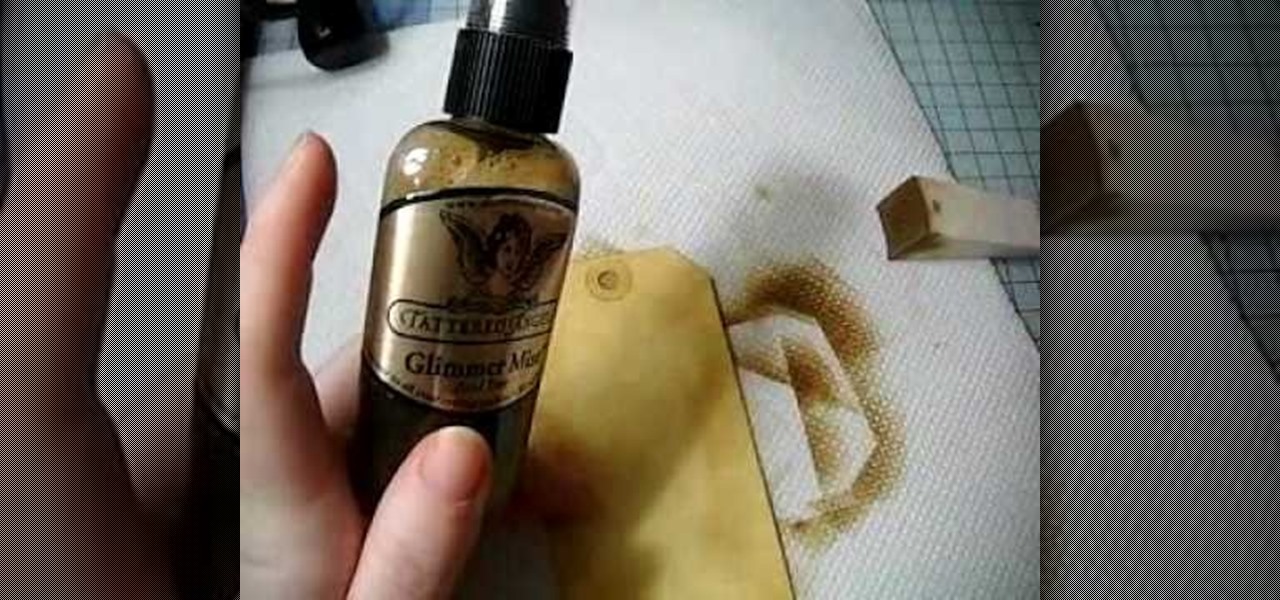
In this Arts & Crafts video tutorial you will learn how to make a distressed scarpbook tag. Take two tags, one red color and one yellow color and strip the threads off. Take a light color ‘Distress’ ink on a sponge and dab one side of the yellow tag with it to give it a light rough look. Now take little darker brown ink on another sponge and dab the edges of the tag with it. Then place the tag in a box and spray Glimmer mist on the tag. Dry the tag with a dryer. Now dab some more brown in...

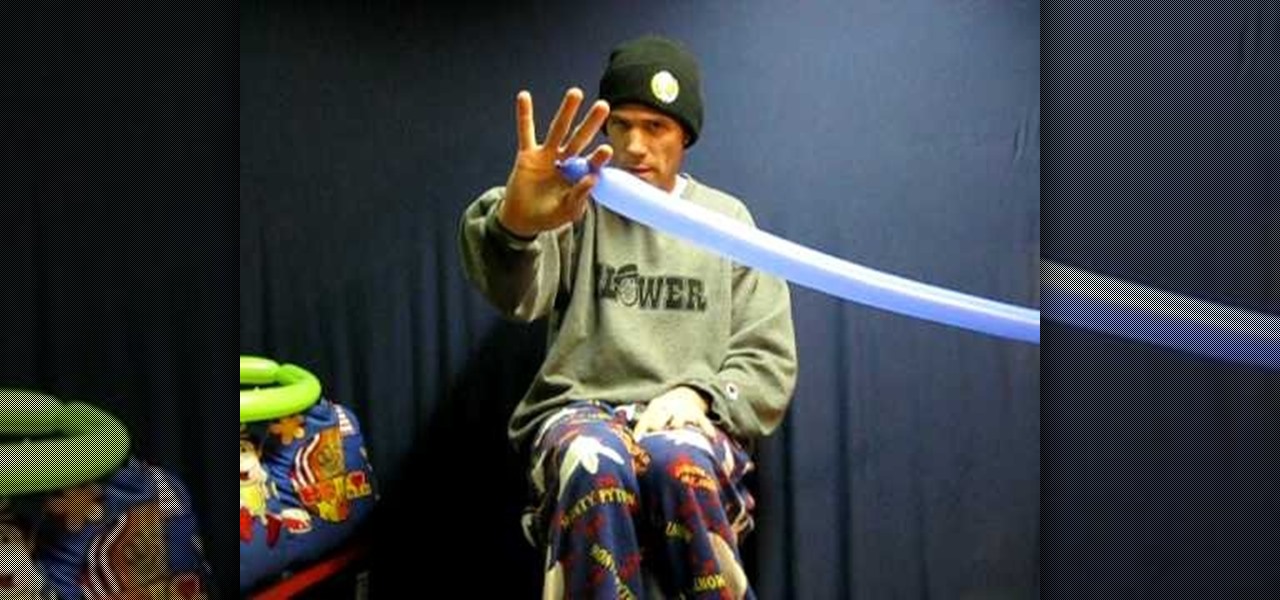
FlowerClown demonstrates the art of balloon folding and shows you how to make a basic aeroplane out of a couple of balloons. The balloon aeroplane is a hit among children and and can be used for entertainment purposes at parties, weddings and family events. Just a pop there, a twist here, a turn there, and you have the basic aeroplane all ready to pop into action, it also comes with a long balloon to help pilot this lean mean flying machine. Although don't expect it to bomb the neighbours ann...

In this Arts & Crafts video tutorial you will learn how to use clear stamps & make a card. You will need acrylic stamps for this project. The products used in the video are from papertrayink.com. The stamps are clear and have a sticky back with which you can attach them to an acrylic base to make the stamp block. Then ink the stamp and stamp it on the paper. Since, it is clear, you can ass and align it properly on the paper. The other cool thing about acrylic stamps is that you can take more ...

In this Arts & Crafts video tutorial you will learn how to make window cards. Supplies needed are trimmer with scoring blade, Fiskars templates, Fiskars ultra shape xpress, glitter, cardstock and embellishments. Take a 81/2 x 6 inch cardstock , score the center at 3‚Äù mark and fold it. Take a colored paper about ¬O‚Äù smaller than the card, cut out a 2.5 heart with the help of the template and glue it on the card. Then open the card and cut out a 1.5 heart from the center of the 2.5 heart. N...

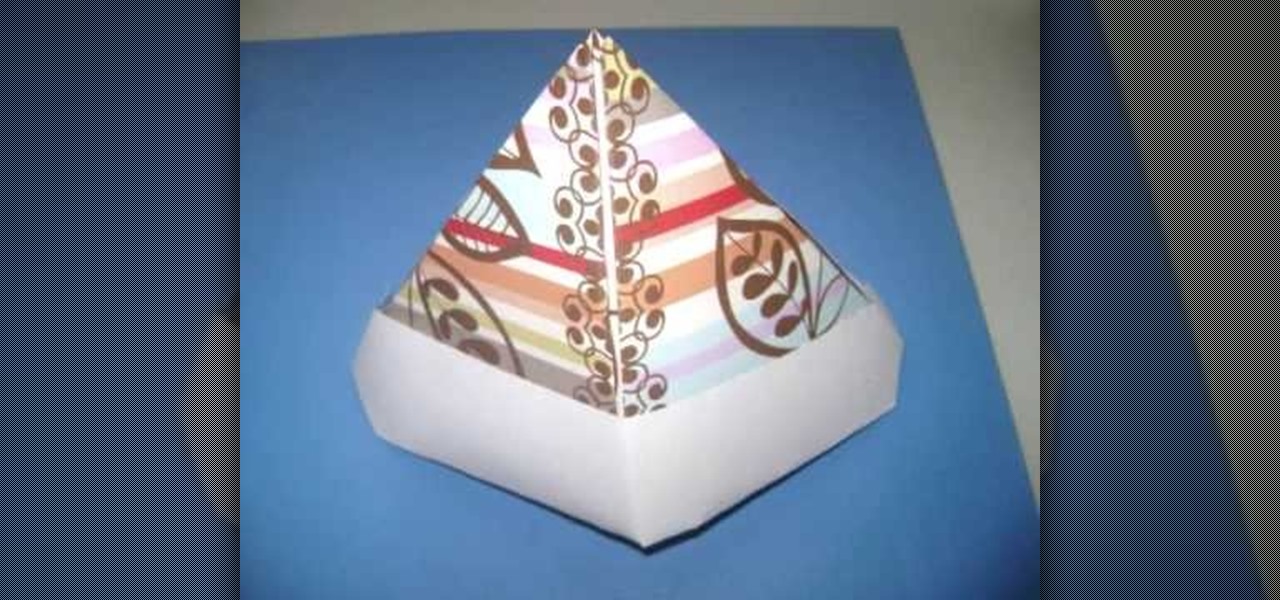
Looking for a fun activity for your kids birthday party? In this tutorial, learn how to origami a paper hat with your kids. The benefit of using these hats is two fold! Not only do they make great party favors, they also provide an arts and crafts project to keep the kids entertained for a while.

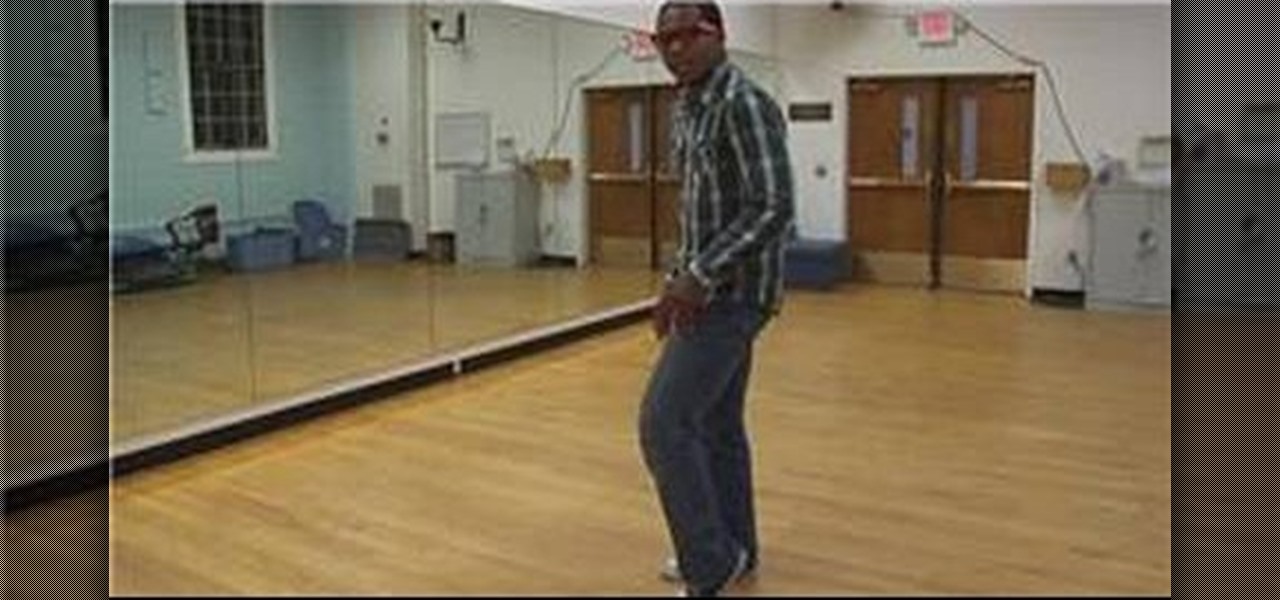
If you're hoping to blow away Michael Jackson's moonwalk, you better be prepared for practice! In this video, learn from one expert how to dance the moonwalk like the King of Pop. Master the moonwalk dance with guidance from this video.

One of the biggest perks of having a flat panel television is that you don't have to take up any space in your living room with it! In this tutorial, learn how to buy, install and mount a TV in your living room. By mounting your boob tube, you will save tons of space and also create a very cool piece of 'art' for your bare walls. So, make sure you have the right mounts for your TV and any tools you may need and get started. You will love the new look of your room.

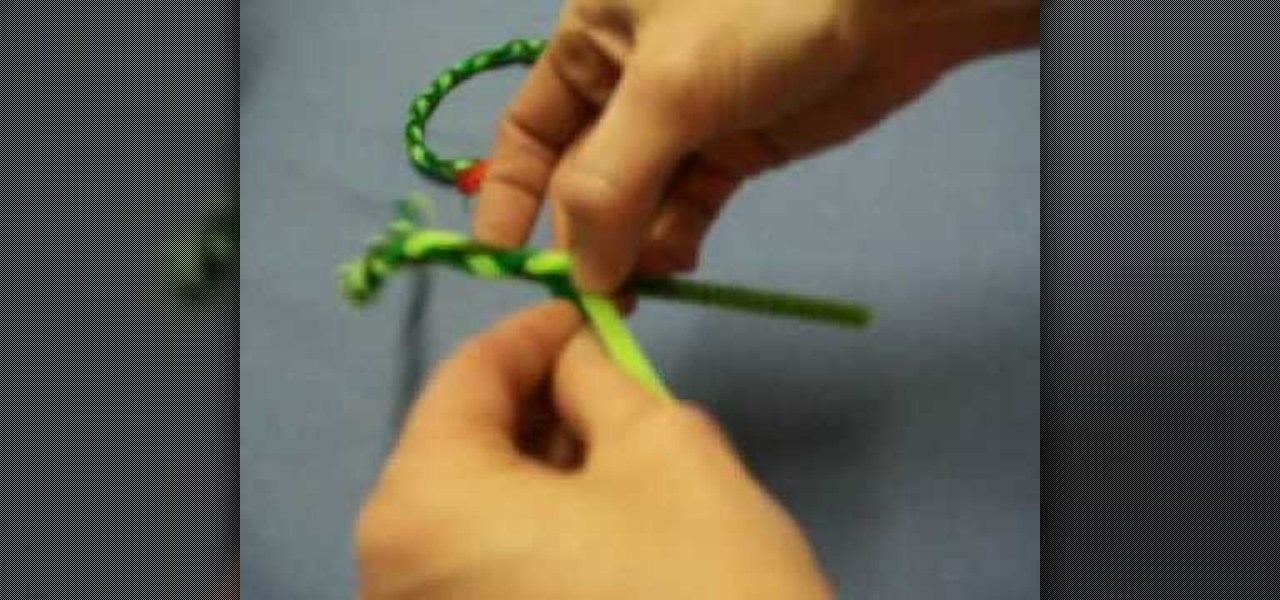
How to make mini Christmas wreaths out of pipe cleanersIn this video we are about to see how to make mini Christmas wreaths out of pipe cleaners. To start with we get colors of pipe cleaners. Now take them of equal length and twists their ends together so that they don’t come off. Start braiding from the attached ends. The art of braiding is very easy. Just take the middle over the left and the middle over the right. Repeat the process till the end of the pipe cleaners. Leave out a small port...

Seven easy basic art methods and steps to drawing Anakin Skywalker. The first 1-3 steps illustrates the basic drawing methods for the human head shape, and line placement for a basic human head. The fourth step illustrates basic drawing of the eyes, nose, mouth and ears. Step five illustrates the basic shading around the eyes, nose, ears and mouth. Step six illustrates how to add the shaping and styling of the hair and facial features. The final step illustrates how to shade the hair. It also...

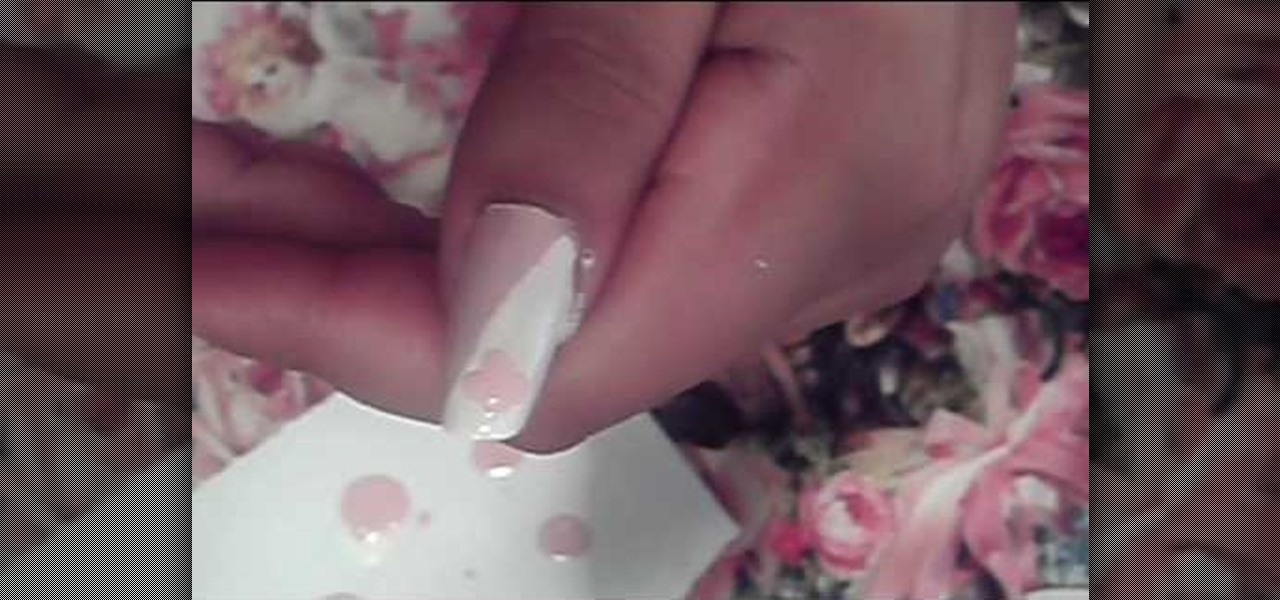
Love4Nails demonstrates how to paint nails with a pink and white sparkly design. First, apply a hydrating base coat. On top of the base coat, apply the color of your choice like a light pink color. Then, create the side swipe which is about half of the nail. Create a straight side swipe in a white color. You may need to do two coats. Then, create a flower with the background color on the white polish. Add a pink rhinestone to the flower. Repeat the technique making a white flower on the pink ...

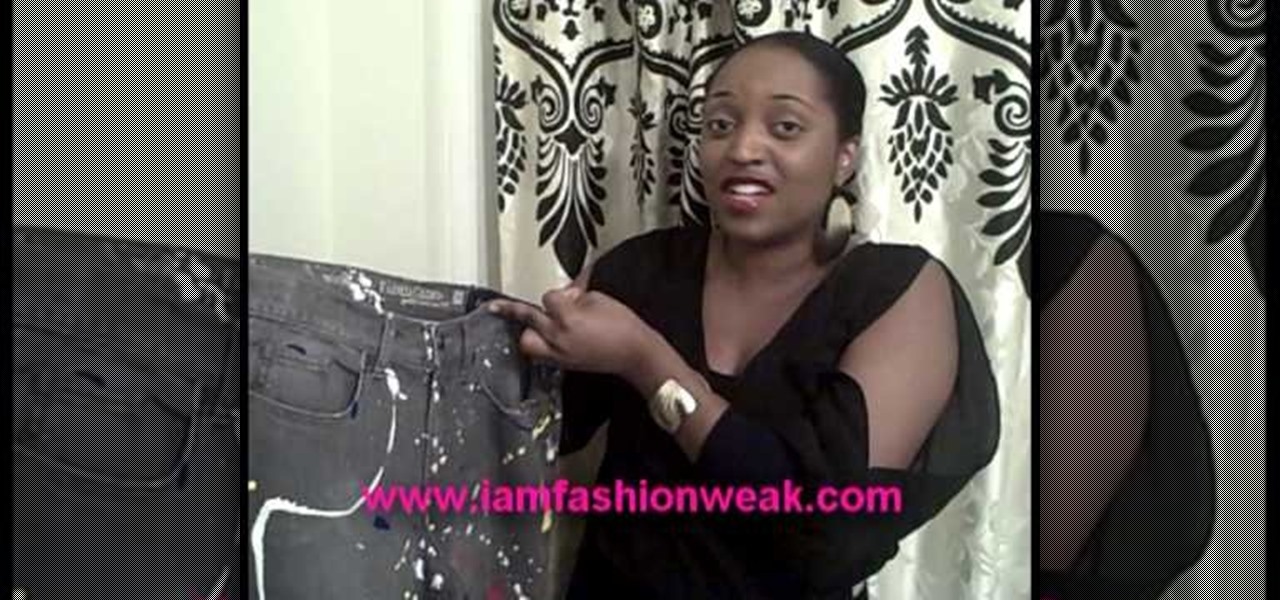
Angela and Shane from I Am Fashion Weak demonstrates how to bleach and paint splatter your own jeans. All you need to bleach your jeans is bleach and a measuring cup. If you bleach black jeans, you can get tan and gray shades. A bathtub is a safe place to bleach your jeans. Crinkle the jeans and pour the bleach over the crinkled spots until it changes into the color you want. After you bleach the jeans, wash them and dry them. You can also use a sanding technique to give the jeans a distresse...

Make sure you nails are already clean and dry. Choose you colors. Add the lightest color first. Using a makeup sponge works great to apply the fading effect. Apply to French manicure area not straight. Reapply pink polish just at the tip of the nail. Apply glitter polish over the pink on the tip of the nail. After applying the shimmer get the nail art polish and make your deign. Make sure your brush is thinned out. Add your design then you can add your gem stones and finish it off with some c...

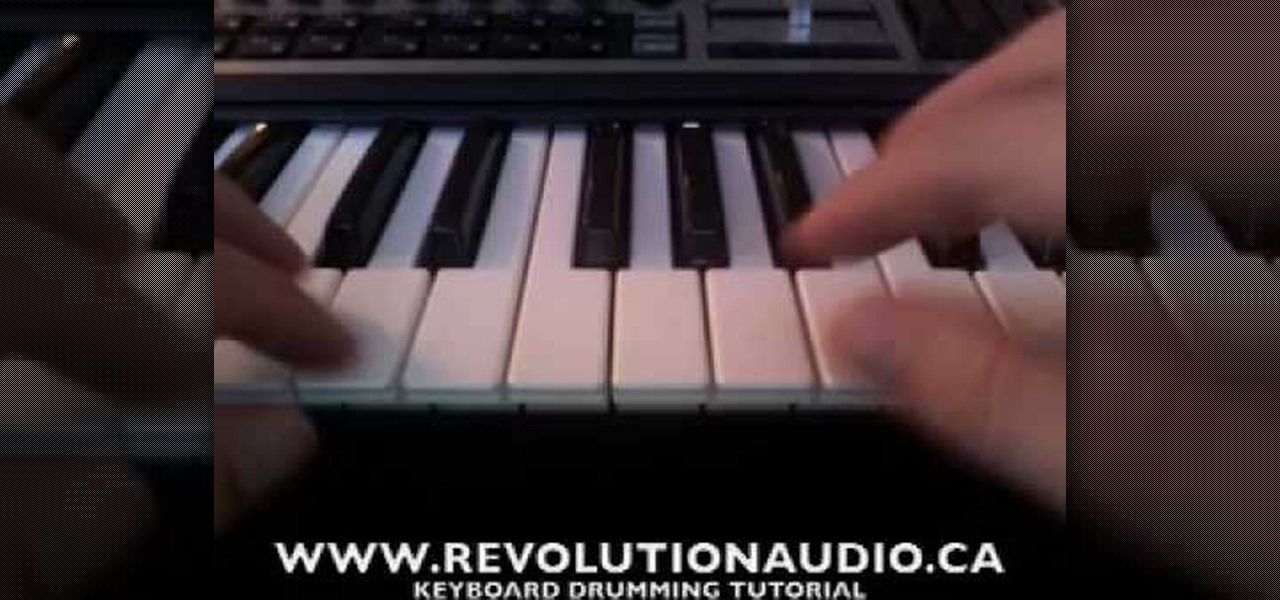
Jason Johnson with Revolution Audio shows us some easy steps to creating a basic midi drumbeat using your keyboard. To start, the kick drum is located at C1, this is in a different location depending on the number of keys your keyboard has. The other drums which are included are left and right snares, the tones, high hat closed, open high hat, and the pedal high hat. There are also the cymbals which include the crash, often used at the end of measures and the ride which is employed often in j...

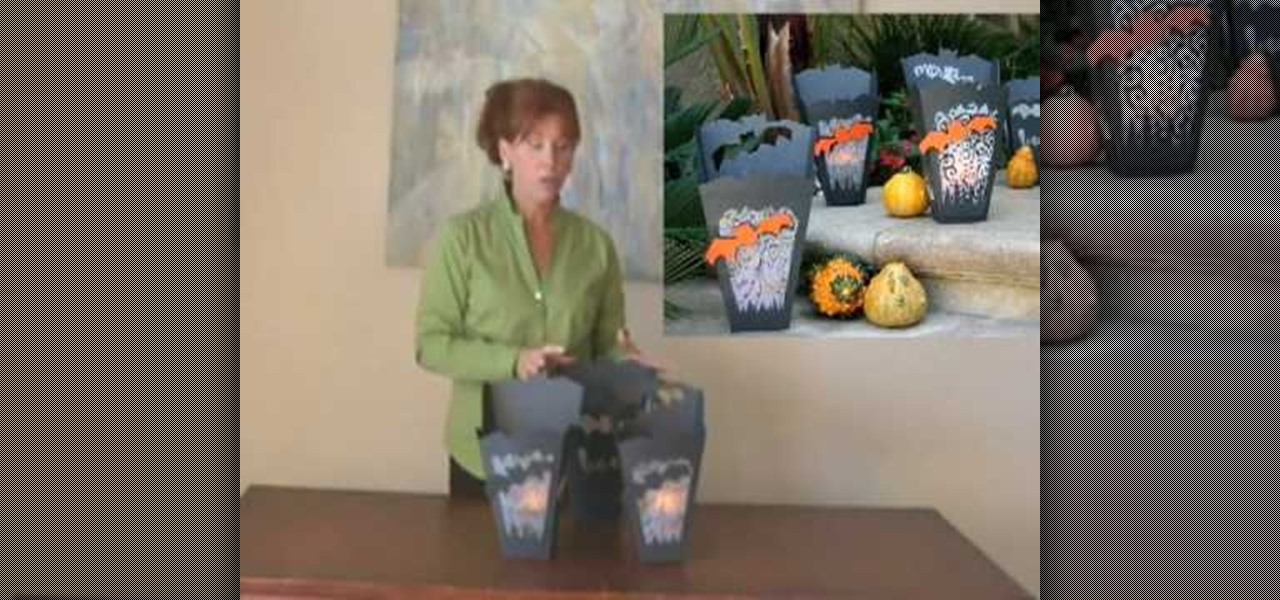
In this video tutorial, viewers learn how to make a Halloween lanterns. Users will need to visit this website: jennadeangeles/] and download the Halloween template. The materials required for this project are: download template, vellum, poster, rubber stamps, metal ruler, glue and orange card stock. Begin by cutting out the lantern with the openings as well. Now stamp the vellum with some black acrylic paint. Finish by closing the lantern with glue. This video i...

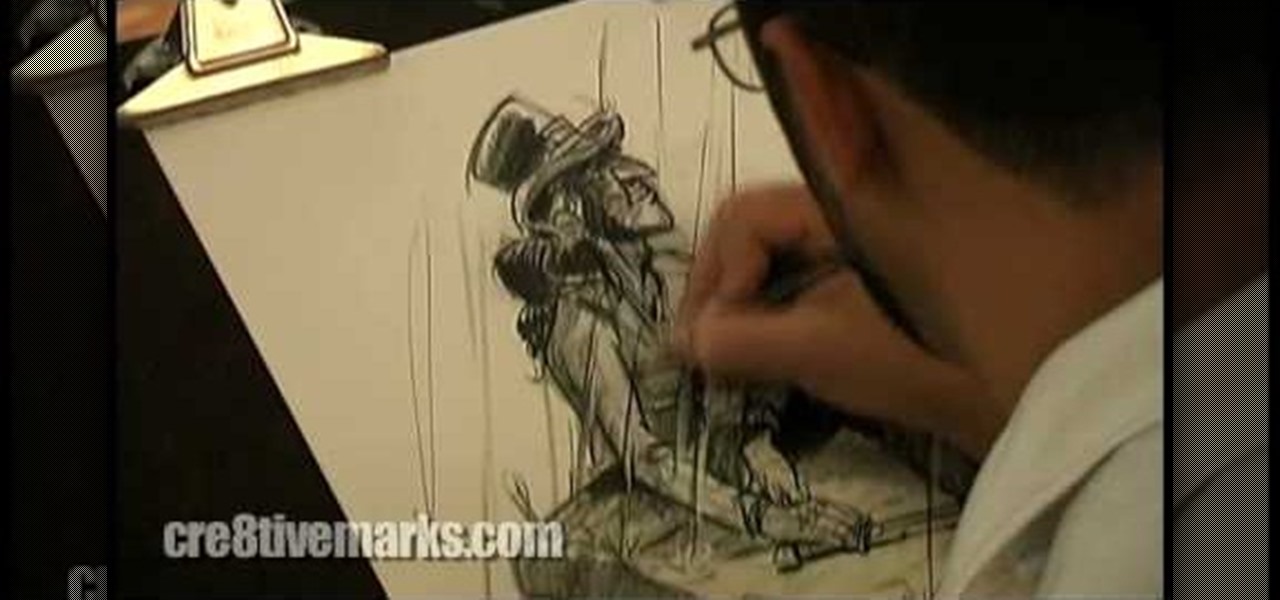
Mark McDonnell with The Art and Feel of Making It Real and Cre8tiveMarks demonstrates how to draw tonal sketches. Costume gesture drawing is a popular technique for artists in the animation and entertainment industries. Use a drawing pencil and a piece of drawing paper to do quick outline sketches of a subject. After the outline is created, fill in the detail and shading with the pencil. Fill in other parts of the drawing as necessary. Use other sketches for reference points on your drawing. ...

This video is a tutorial on how to paint nails with cheetah print and rhinestones. The tools shown by the instructor consisted of nail polish and makeup sponge. The first step taken where to cover the tip of the nail in a white polish with a burnt orange colored finish. A sharpened pencil is used as an art tool to shape round circles onto the corners and center back of the nail made of a dark brown nail polish. The instructor then takes a glittery gold color to make river like patterns runnin...

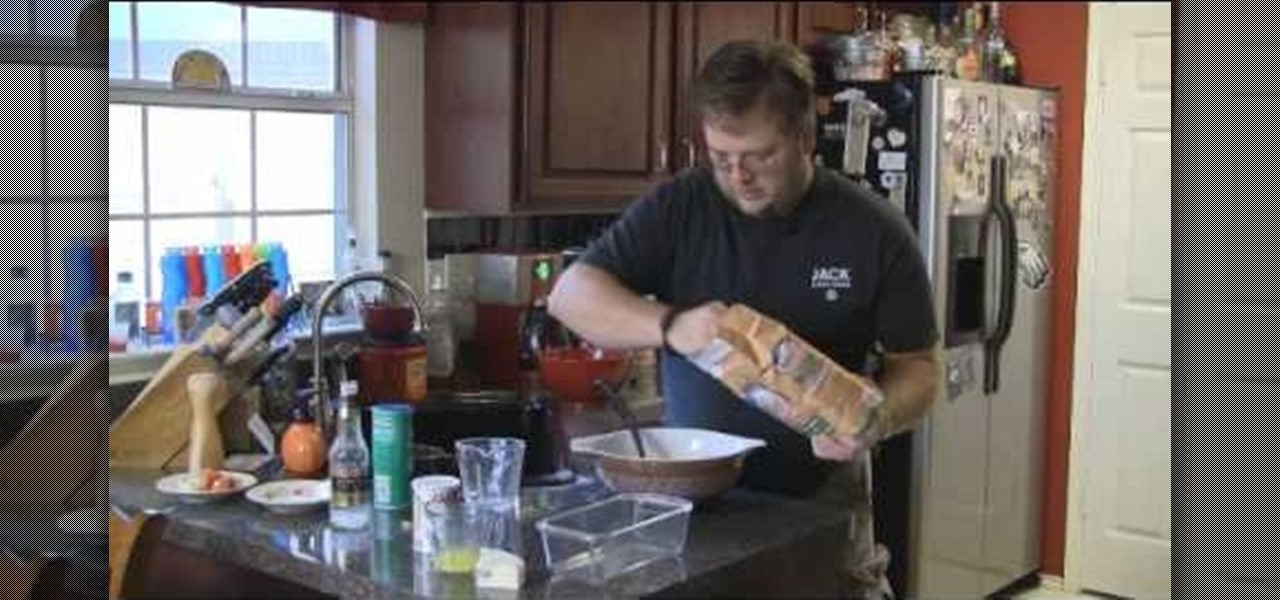
Are you a lover of bread but don't have the extra eight to ten hours it takes to make? Beer bread is a simple bread that you can make quickly at any time, even after work. To make this delicious bread, watch this two-part cooking tutorial on beer bread making. The ingredients and instructions are as follows:

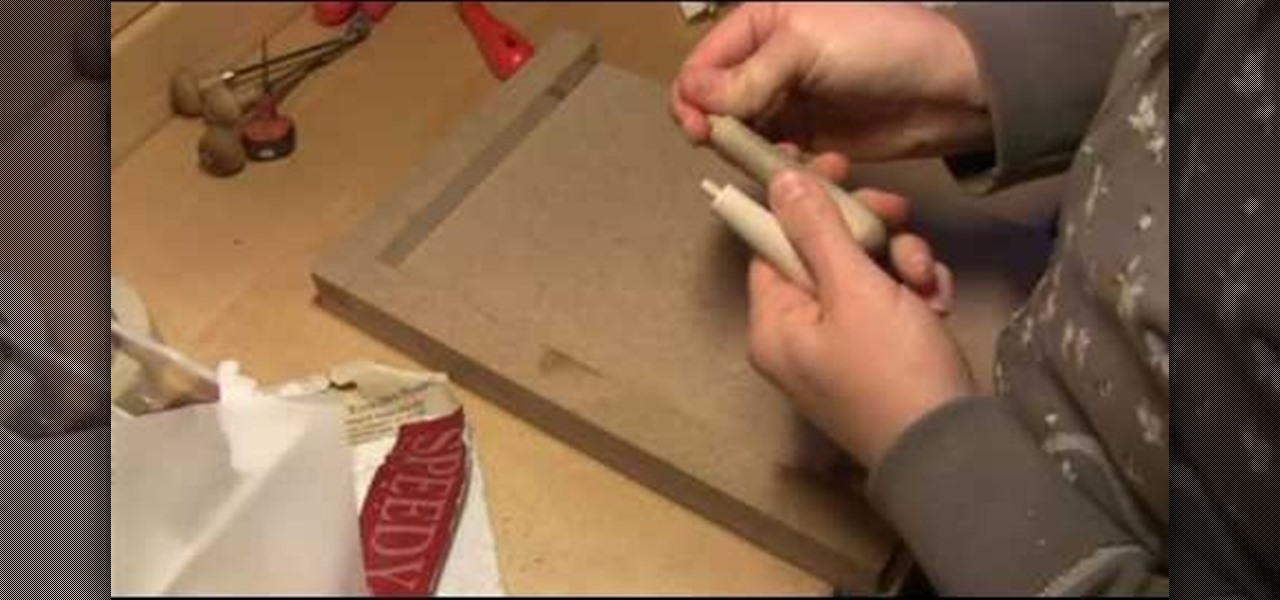
In this seven-part video tutorial, learn how to carve your own stamping printing block for your creative projects. These stamps can be used for anything from scrapbooking to art journaling and make for a wonderful addition to your project. For more information on how to construct these stamps, go here.

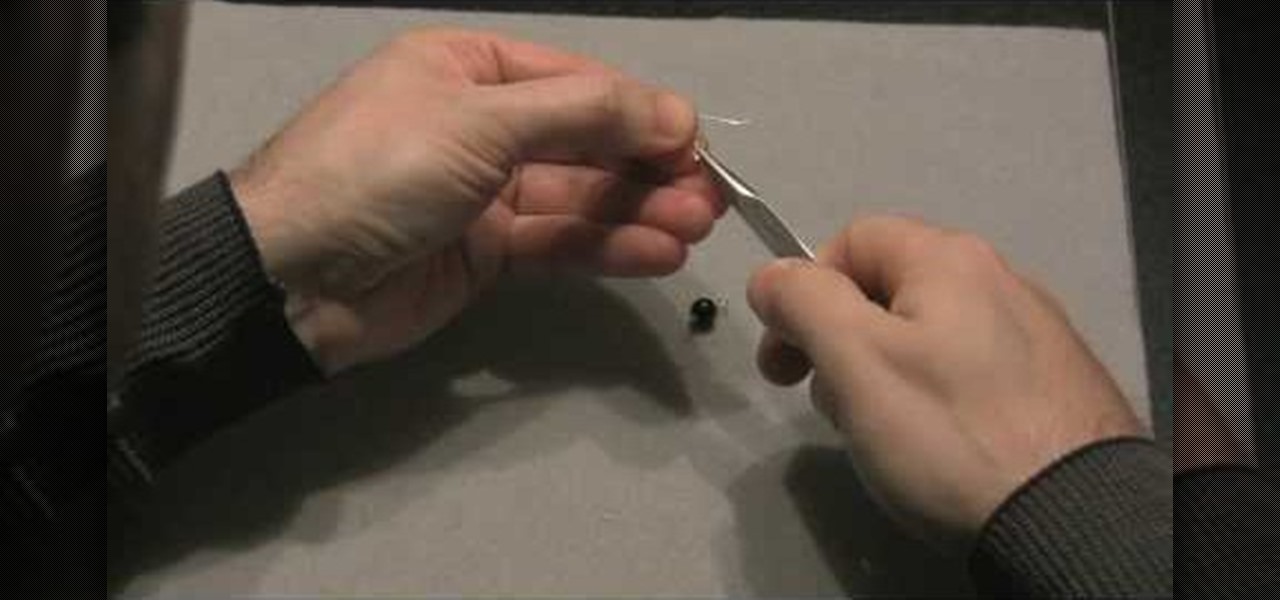
In this Arts & Crafts video tutorial you will learn how to attach an eye pin to a French hook. The video is from Jewelry Making Fun. For this you will need nose pliers, an eye pin and a French hook. One way of doing this is to hold the French hook in one hand. With the pliers twist one end of the loop on the French hook to open it slightly. Then put the loop of the eye pin into the loop of the French hook and close the loop with the pliers. The other way is to open the loop of the eye pin, pu...

Watercolor painting is a great way to get introduced to the world of painting and fine art. The free flowing nature of watercolor allows you to start out simply as you refine your craft. You can make any shape or image that comes to your imagination. In this video series, learn how to paint birds in watercolor.

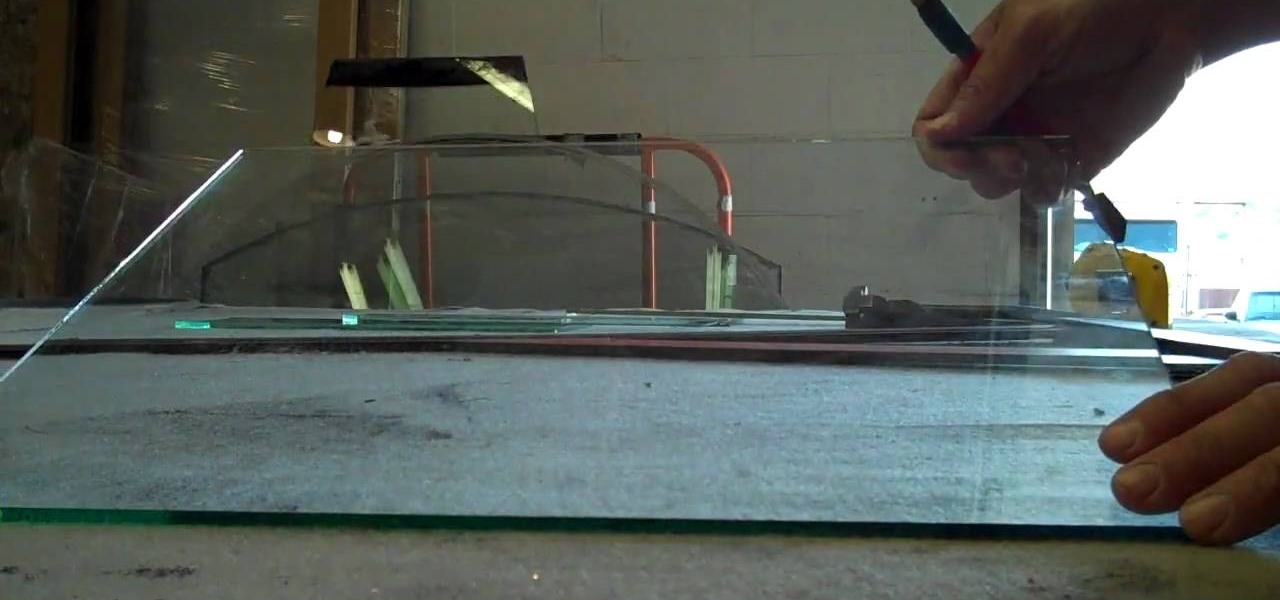
This is a Fine Art video tutorial where you will learn how to cut plate glass. Measure the plate glass and make sure the measurements are correct. Then place the guide along the line of the cut, take your glass cutter and score along the edge of the guide. If the plate is small in size, take the base of the cutter and place it underneath the score mark and apply equal pressure with your hands on both sides of the score. The plate will snap with a nice clean cut. Another way to snap the glass ...

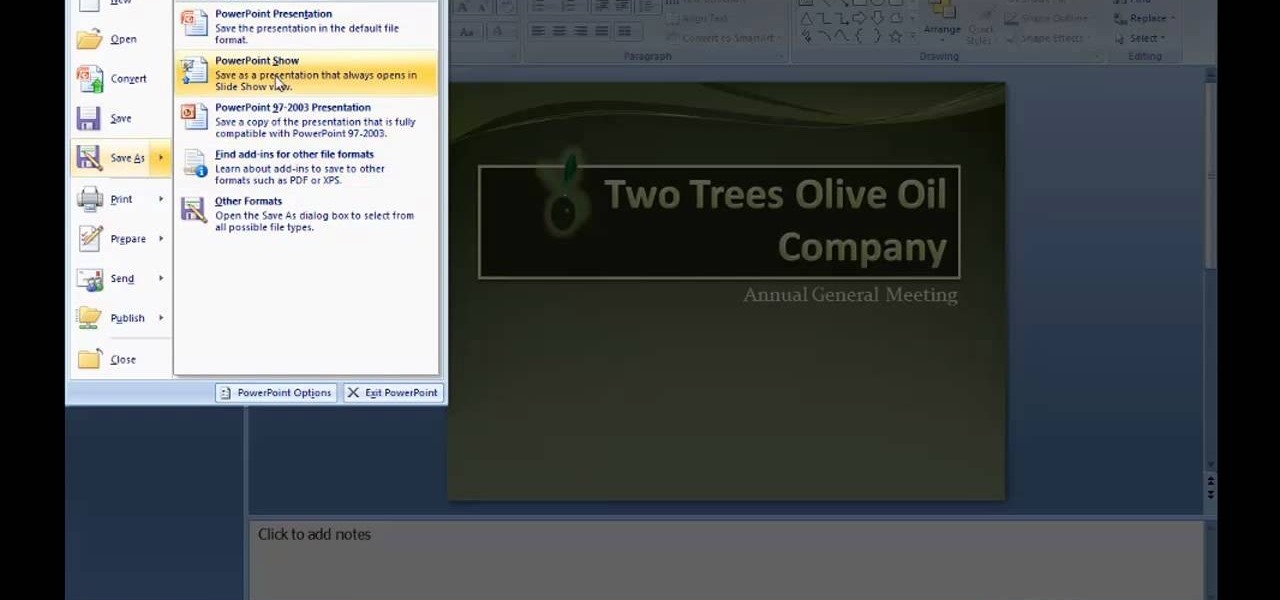
There are many new features which will make you more comfortable in doing your work in PowerPoint 2007 which will force you to switch from PowerPoint 2003 to PowerPoint 2007. There are number of new features in PowerPoint 2007.

This video is in the Arts and Crafts category and you will learn how to make a Victorian-inspired necklace using an old ribbon. This is a very simple and easy way of making a necklace. Take a ribbon of about an arm’s length, tie it around the neck and check that the length should be OK. Then you can take a bunch of beads or a flower or some such suitable item which is fixed on a wire to put on the ribbon. Tie a knot around the wire and then turn the wire around the ribbon and your necklace is...

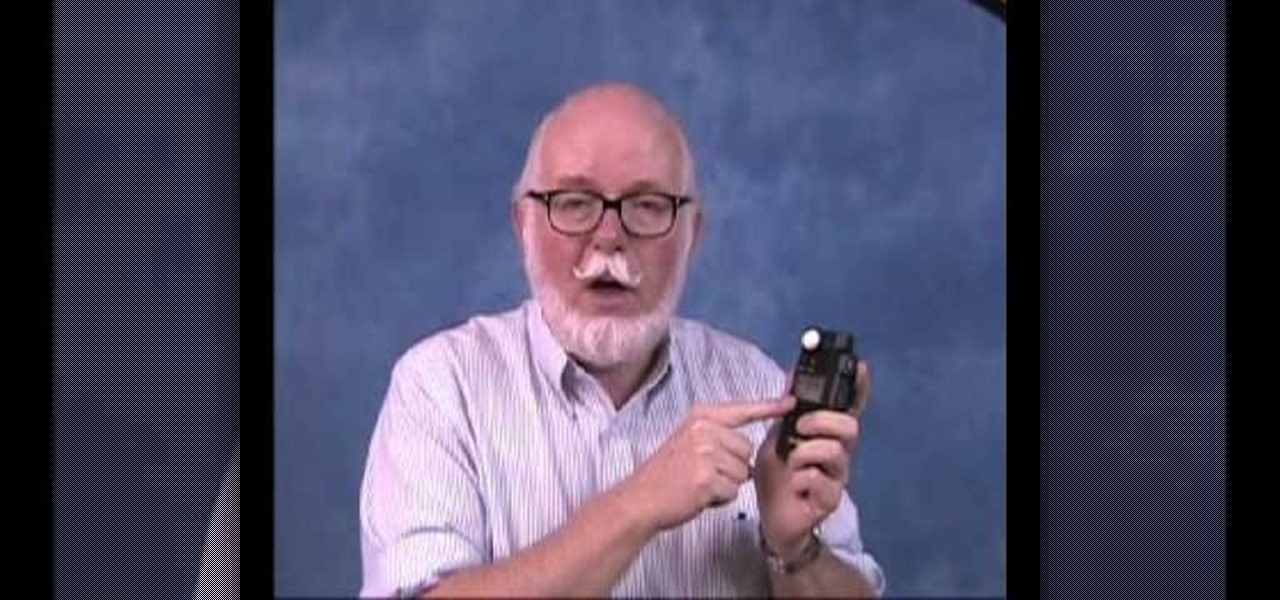
In this Fine Art video tutorial you will learn how to use a Polaris incident light meter. The meter has a power, mode, ISO control and a multi flash exposure buttons. On the side you have the up / down and the trigger buttons. Power on the light meter. Select the mode, say ambient light and then set the ISO by pressing the ISO button and the up/down button. Now using only the up/down button, set the shutter speed. Then place the meter under your chin to meter the light on your face. Press the...

In this video tutorial, viewers learn how to make a simple pair of earrings. This craft only takes a minute to do. The materials required to make these earrings are: 2 large beads, 2 medium beads, 4 small beads, 2 seed beads, 2 earring pins, 2 earring hooks and pliers. Put the beads on the earring pin in this order: small, seed, medium, large and small. Use the pliers to bend the pin to a loop and hook it with the earring hook. This video will benefit those young viewers who enjoy making arts...

In this art tutorial, you will learn how to draw and then paint an orchid. You will need a Chinese paintbrush, a plate for the paint, water and paper. For paint colors, you should make sure you have red, yellow, black, green, blue and purple. First, dip your brush into the water and then mix yellow, red and black, dabbing some of each color onto the brush. When doing this, do not actually mix the colors on the brush. You want the red on one part of the brush, the yellow on another part, and t...


