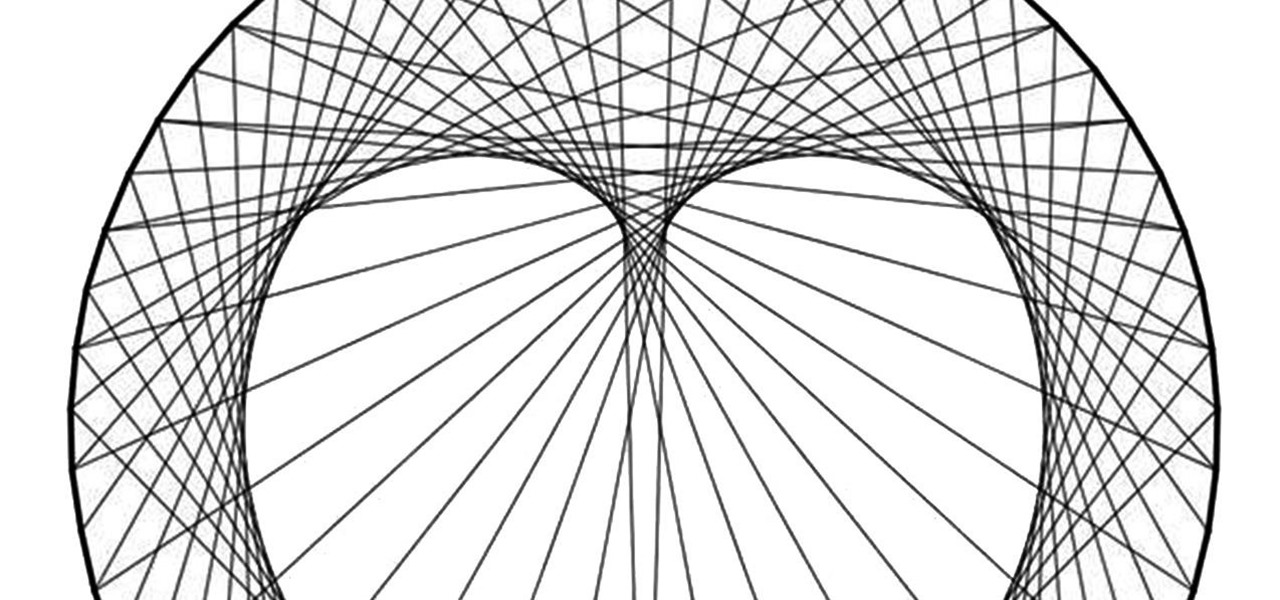
Using only a circle and straight lines, it's possible to create various aesthetic curves that combine both art and mathematics. The geometry behind the concentric circle, ellipse, and cardioid dates back centuries and is easily found in the world around us. From an archery target to an apple, can you name these geometric shapes?
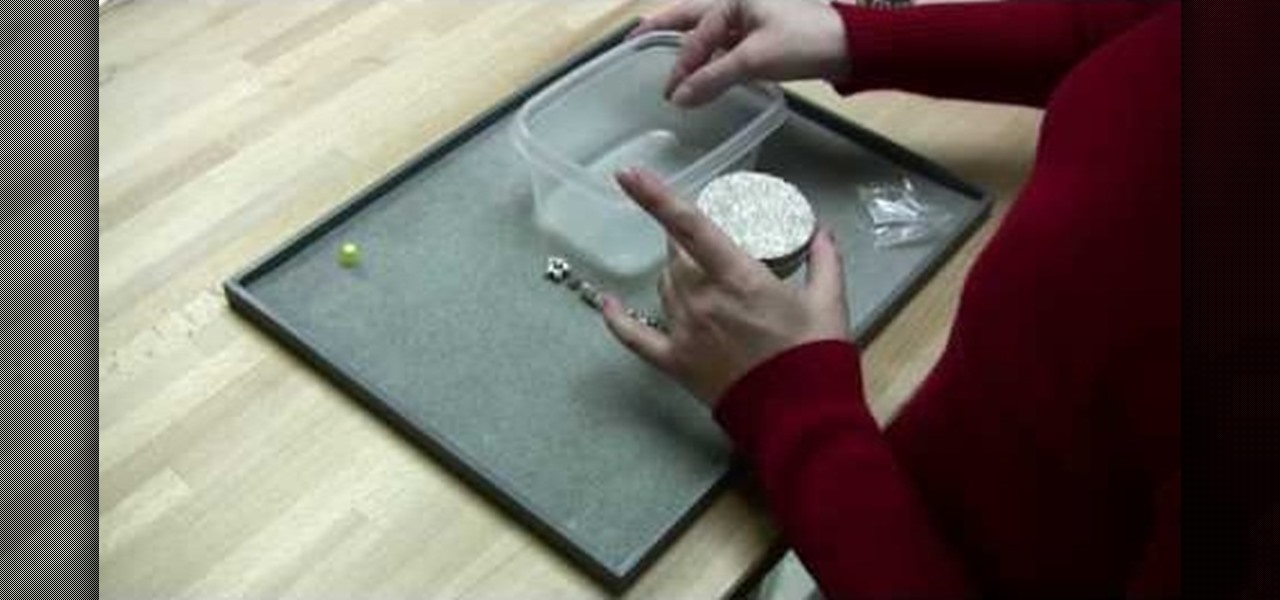
This video tutorial is in the Arts & Crafts category which will show you how to create a floral antique photo stand. The photo stand can be used to place photos or picture cards and it also doubles up as a candle stand. A picture holder measures 4 1/2 inches from top of the ring to the top of the stand. But, you can have different length. Take a lid of a tin and drill a small hole in the center. Place a wire through the hole. Apply generous amount of glue on the outer side of the lid. Sprinkl...
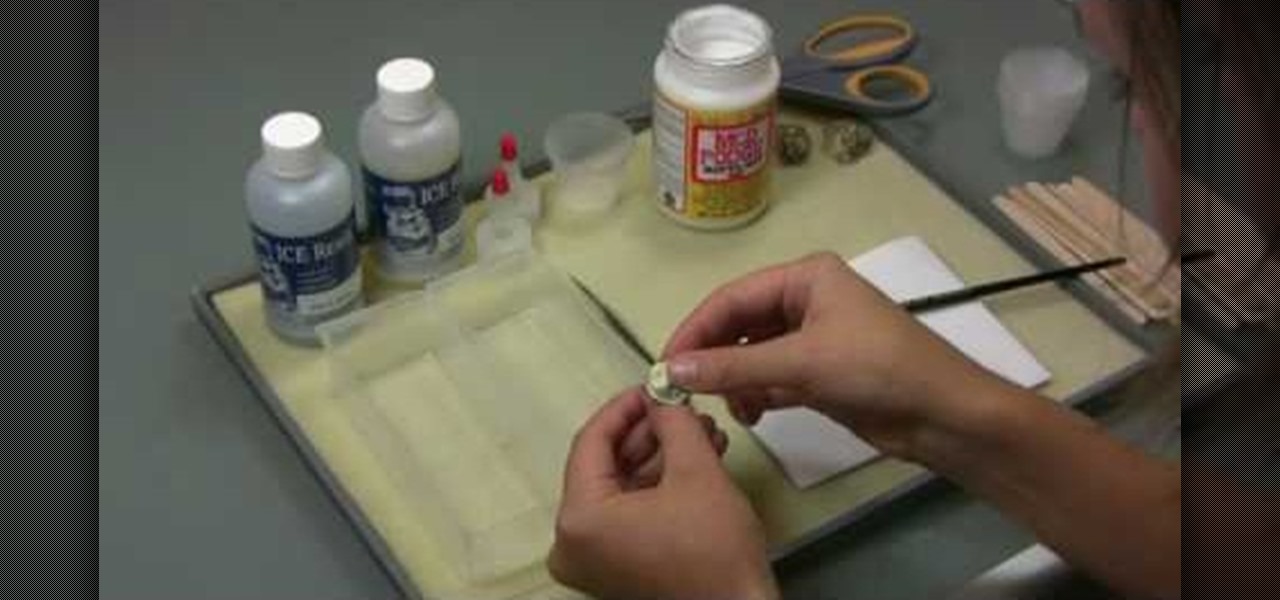
In this Arts & Crafts video tutorial you will learn how to use ICE Resin to make resin jewelry. ICE resin should be used in a well ventilated room and be sure to follow manufacturer's recommendations. The kit comes with mixing cups and sticks. Additionally you will need a paint brush, scissors, sponge and needles. Once you mix the resin and the hardener, you got to use it within 30 minutes. Curing time is 24 hours at 72 degrees Fahrenheit, which is the room temperature. You can make it faster...
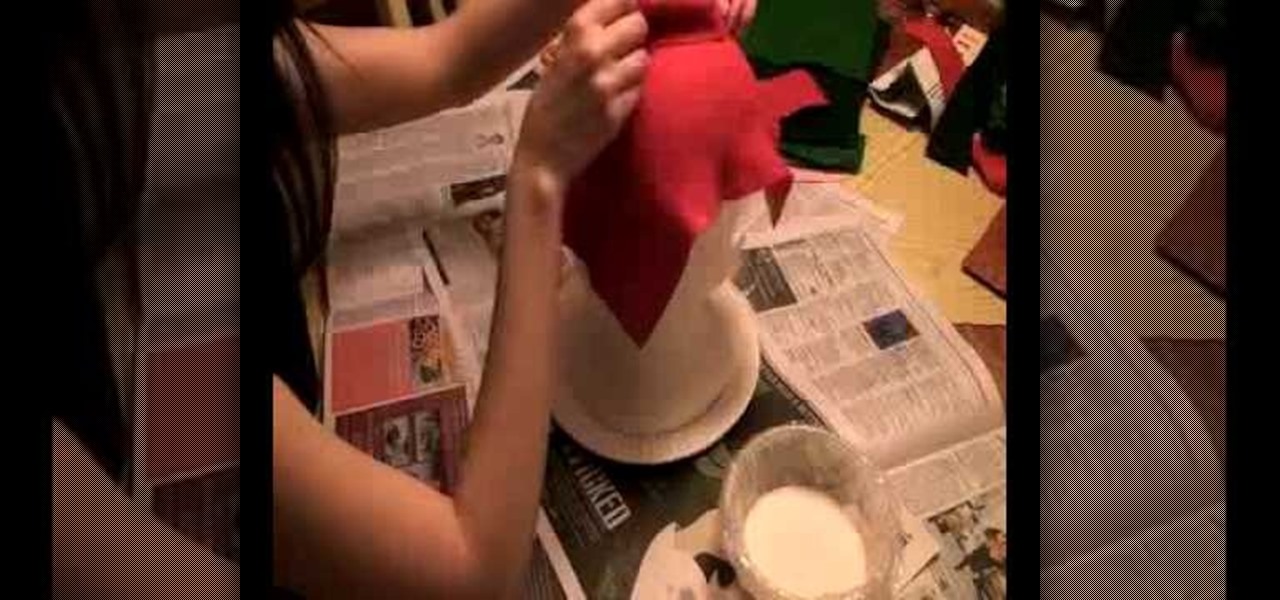
This video tutorial is in the Fine Art category where you will learn how to make a hat out of felt. You will need glue, silver wrap, a plastic bowl, pins, felt and a mold of the head. Take a red felt and cut out a big square piece, a small triangular piece and four curved shapes as shown in the video. Now cut four curved strips from each of pink, light green and dark green felt. Pour glue in the plastic bowl, add equal quantity of water and mix well. Take the square piece of felt and dip it i...

This video tutorial is in the Arts & Crafts category which will show you how to fold an Origami bell flower. Take a square piece of paper and fold it to make a rectangle. Crease, unfold, fold it in the other direction and unfold. Now fold it in half to make a triangle, unfold and fold in the other direction. Unfold it and fold it again in half into a triangle, but on the other side of the paper. Now pitch in the two sides and squash down the other sides as shown in the video to make a smaller...
How many stitches does your crochet art have? How can you tell? Why would you even want to know how many stitches are in your crocheted sweater or crocheted hat? Knowing how to count your stitches is a fundamental step in learning to crochet – assuming you want your finished product to be the right size and shape.

The Fennec Fox is a beautiful animal native to Northern Africa. This video art tutorial from Drawing Now demonstrates how draw a cartoony, adorable little example of on yourself. Here are the artist's instructions:

Drawing Japanese schoolgirls is one of the staples of manga-style art. Here, the drawing instructors at Drawing Now demonstrate how to draw Konata, one such character from teh manga series Lucky Star. Here are step-by-step instructions from the artist:

This tutorial from Drawing Now demonstrates how to draw a bridge, one of the most common items in landscape drawing and one for which proper use of perspective is crucial. Watching this is sure to improve you art skills.

This video tutorial shows you how to paint an interesting design on your nails using pink, white, and blue polish. Begin with a base color. Pink polish is used here. Next do a side swipe using blue. This swipe starts about halfway down the nail and comes up to the top of the nail. Then add a little blue shimmer to the blue polish. Next use white polish with a thin brush to outline the blue. This line can be a little thicker. Then add a shimmery dark blue line next to the white line. Now place...

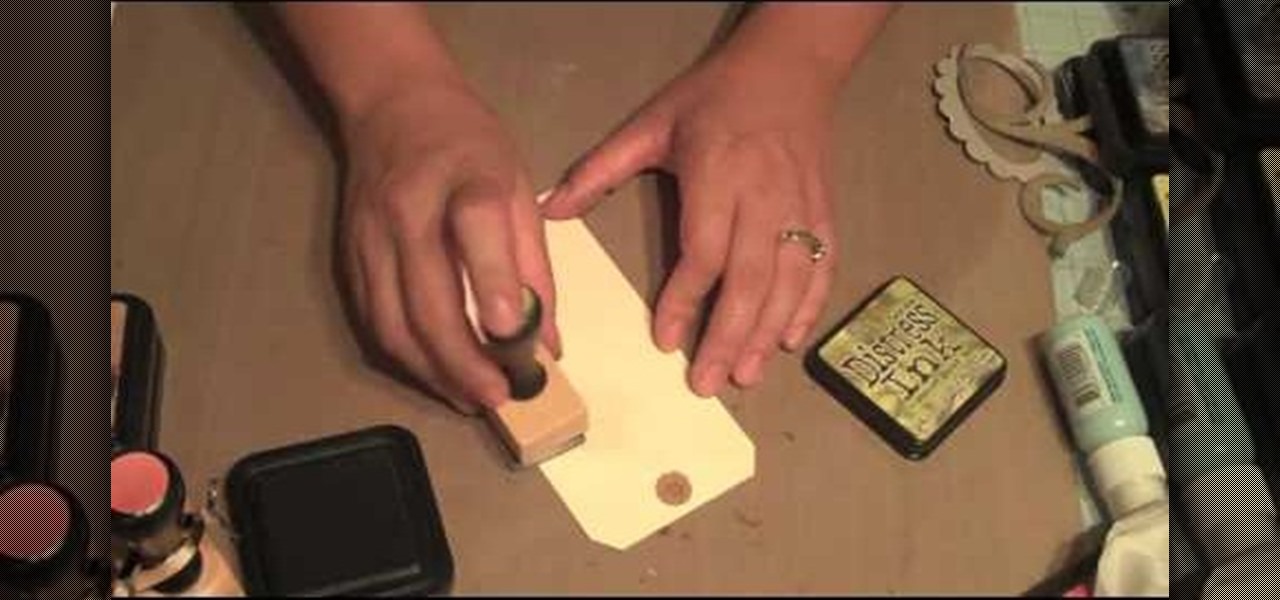
First of all you have to arrange for materials like ink blending tool, ink blending foam, some tags to be used as practice surface and a distress ink pad. The tutor advises that you must not use a blending tool like a stamp and never make a lot of impressions using it on any surface. Instead of stamping the ink on the surface like a stamp you have to be careful while using it. Use a blending tool in such a way that the whole ink goes slowly onto the tag. Start by working the blending tool on ...

In this Arts & Crafts video tutorial you will learn how to make an 18-unit curler kusudama with origami. Kusudama is a Japanese paper ball that is made out of a large number of smaller shapes glued together. This video will show you how to do this without the need to sew or glue to join the pieces. Take a small piece of square paper and fold it diagonally across both diagonals. Then fold it in half from both sides. Now fold in from the center as shown in the video. Then curl up all the four c...

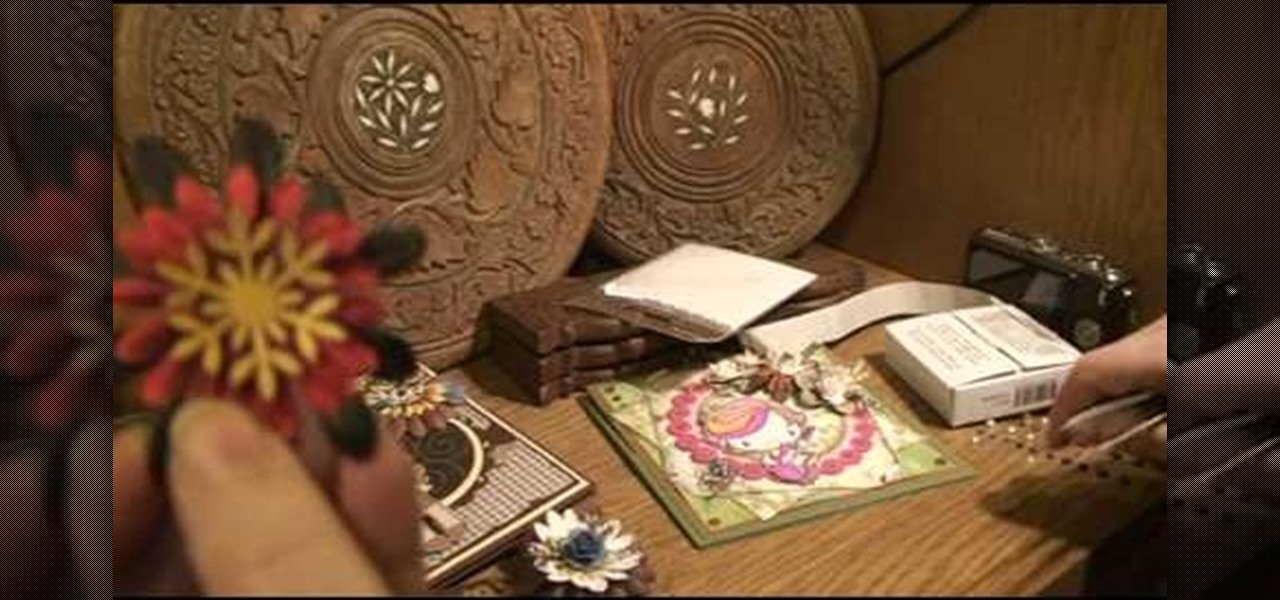
In this Arts & Crafts video tutorial you will learn how to make flower arrangements on a card. To make this you will need punched out pieces of flowers, snowflakes and leaves of different shapes, sizes and color. You will also need some small size paper flowers, glue dots and cards. To make flowers, you can take a rose and twist the wire stem around a paintbrush to give it a curly shape. Then put a glue dot below the rose and attach it to a punched out snowflake. Take some punched out branche...

If you want to get tiger style nails first you need to paint a clear base coat on your nails. Now, you should take a vinyl shine nail polish that is a gold-ish color and pant this on each nail as a single coat. You should try to get a nail polish that dries fast - so let this coat dry. Now, get an orange nail polish and dot this color on your nails in random spots. You do not have to do this in any particular design. Now let this dry. Next, with a black Art Deco nail polish, paint and draw th...

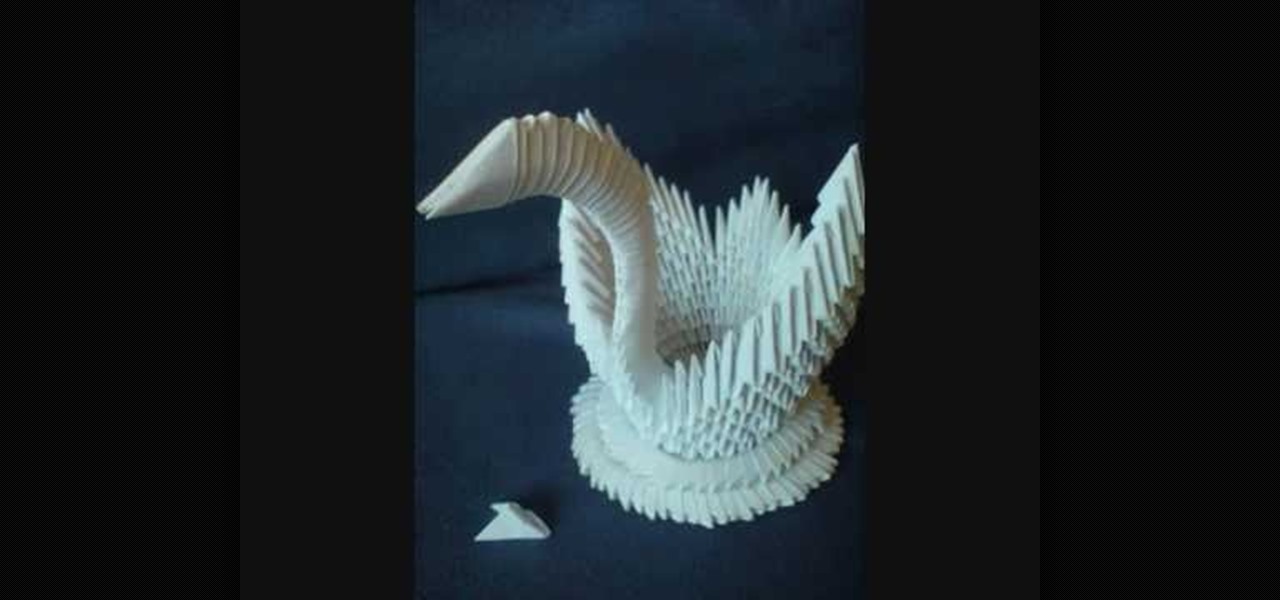
In this Arts & Crafts video tutorial you will learn how to make a 3D origami swan from 484 paper triangles. For this you will have to cut up 16 sheets of paper in to small rectangles. One rectangle is 1/32 of an A4 sheet. Take a small rectangle, fold it in half lengthwise and again fold it the other way. Open up the last fold and fold the closed edges from the center down the centerline. Flip it over and fold in the lower corners of the extended pieces. Then fold the extended piece over the t...

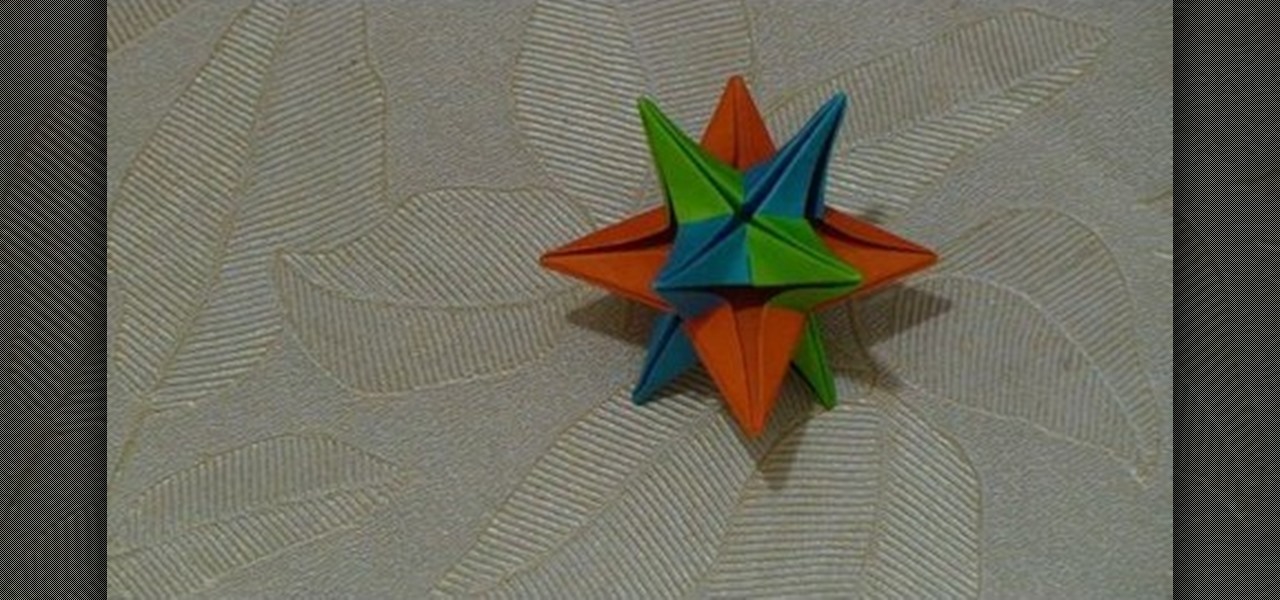
In this Arts & Crafts video tutorial you will learn how to make a six-sheet 3D paper star with origami. Take three pairs of paper; each pair of different color or take six pieces of paper of the same color. The paper should be square size. Fold the paper in half, open the fold and fold one half up to the center line. Repeat this step for the other side also. Open up the paper and repeat these steps by folding the paper in the other direction. This will divide the entire paper into 16 squares....

In this Arts & Crafts video tutorial you will learn how to make a ring from folded paper with origami. For this, you need a square sheet of paper. First you fold it diagonally across to form a triangle. Then fold it again across the other diagonal. Open it up and fold two corners up to the center point. Fold them in once again so that each side is divided in to four. Open up all the folds and fold one corner back up to the center point. Now fold this triangle twice over in a manner as shown i...

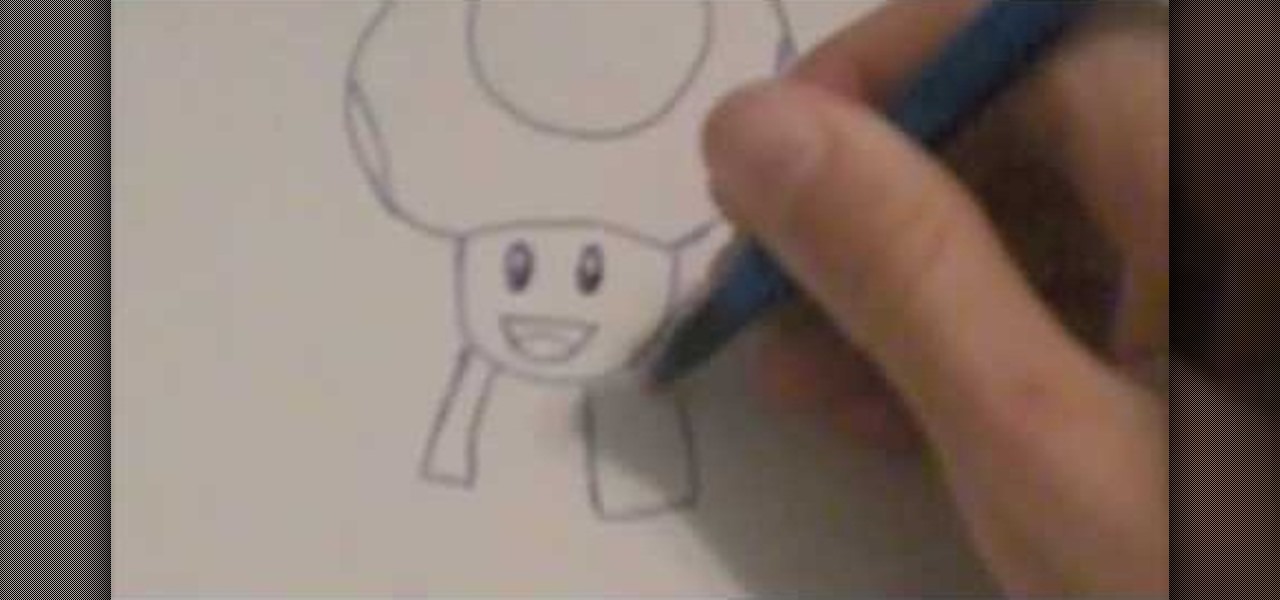
Learn an easy way to draw a ‘Toad’ by watching this art tutorial from Super Mario. The artist begins by drawing a mushroom first. A 3/4th circle is drawn and closed at the bottom with a slight curve. A full circle is drawn inside the mushroom, near the top. Slight curves are outlined on either sides of the mushroom, to reveal part circles. The face of the toad is drawn next by outlining a semi oval at the bottom of the mushroom. Two ovals are drawn for the eyes, with the pupils facing down. T...

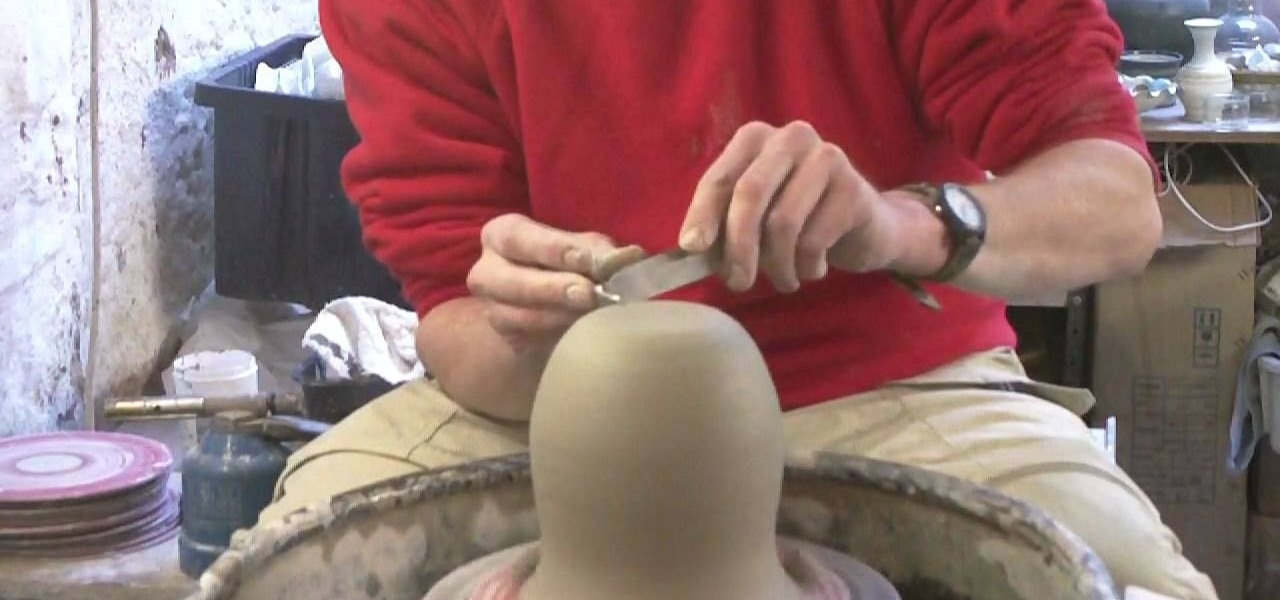
IngletonPottery demonstrates how to create a giant clay pottery novelty goblet in less than eight minutes in this video. The goblet can be used as a decorative piece or it can be used to drink from. The choices are endless for this giant piece of art. The giant goblet begins as a big blob of clay. A portion of the clay is wet and the spinning table begins. While the clay is wet it is placed on the spinning table and then the molding process begins. To mold the clay requires concentration and ...

This video tutorial in Arts & Crafts category will show you how to make a homemade hoodie out of an old t-shirt. Katia is presenting this video. First you cut out a T-shirt shape out of an old newspaper. You can do it freehand also. For the front piece, take the neckline down a little bit. Then draw a hood shape. To draw the neckline of the hood watch the video. So, you now have the back, front and the hood pattern pieces. Now take your t-shirt and cut it open from the side. Place the back an...

Decorate a Cardboard Sun Mirror- Acrylic Painting Project- Art and Craft

This video from Educational Art Institute shows us how to repurpose old CDs for use as Christmas ornaments. There are many different ways to do this. One idea is to use glue applied onto the CD in any pattern or design and add one or more colors of glitter. If you don't like the mess of glitter, then glitter glue is a great alternative. They come in many different colors and are easy to apply. In both of the above cases you can also add sequins for more decoration. If you are going to decorat...

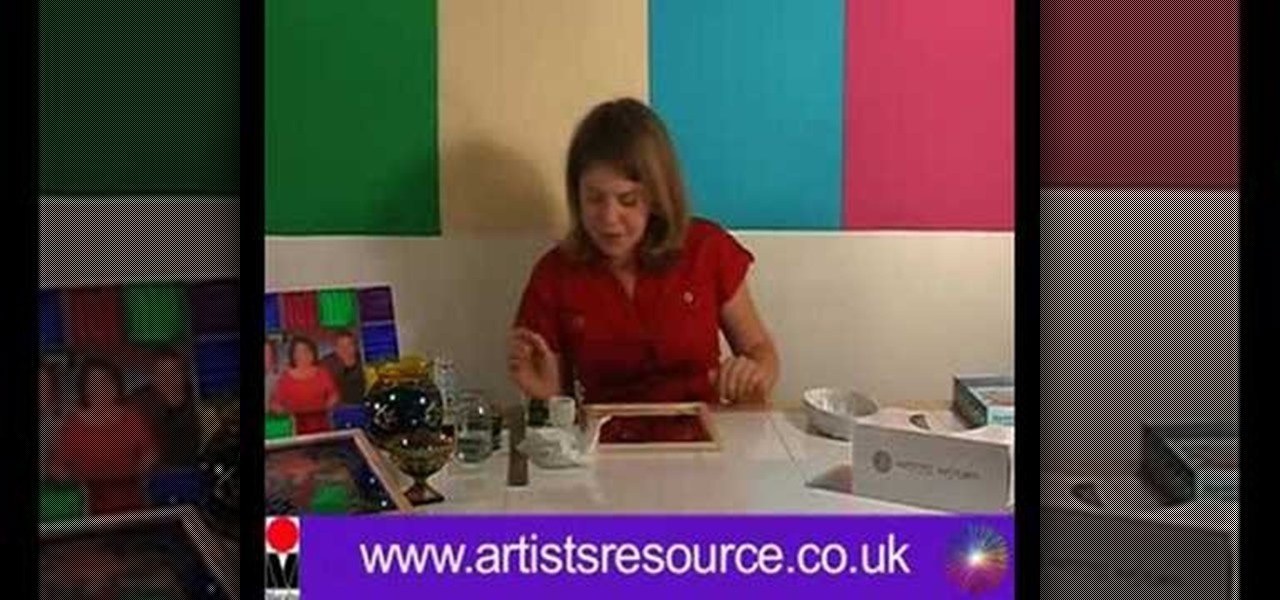
In this Arts & Crafts video tutorial you will learn how to make a stained glass mirror. This video is from Artists Resource. You will need a Marabu GlasArt kit, some spirit, a china graph pencil, scissors, a ruler, masking tape, a container to mix your paint, an object to draw an oval shape, Marabu outliner paint, a mirror and peel off dolphin stickers. Take a few dolphin peel offs and stick them on the face of the mirror; on the edges, to form a design. Place the oval shape object in the cen...

In this Arts & Crafts video tutorial you will learn how to make a stained glass picture frame. This video is from Artists Resource. You will need a Marabu GlasArt kit, some white spirit, a china graph pencil, scissors, a ruler, sheets of scrap paper, lead tape and a picture frame. Take the frame and remove the clips. With the ruler and china graph pencil mark off and draw 6” squares. Rub off the center lines with a tissue. This is where the photo will fit. Next you fill the squares with the g...

This art and craft video shows you how to create a bunny head out of polymer clay. You start it by creating a round ball for the bunny head. You can then make it into a bead by using a small screwdriver (if you wish it to be a bead). You then take some additional clay and shape it into flat ears, fold them over to make them look floppy and attach them onto the round ball (head). The presenter then shows you how to add eyes, by pressing beads onto the face of the bunny using a needle. You can ...

When it comes to making miniature things for doll houses or whatever else, it can be considered an art form. This tutorial is a simple project that anybody can perform and is perfect for beginners.

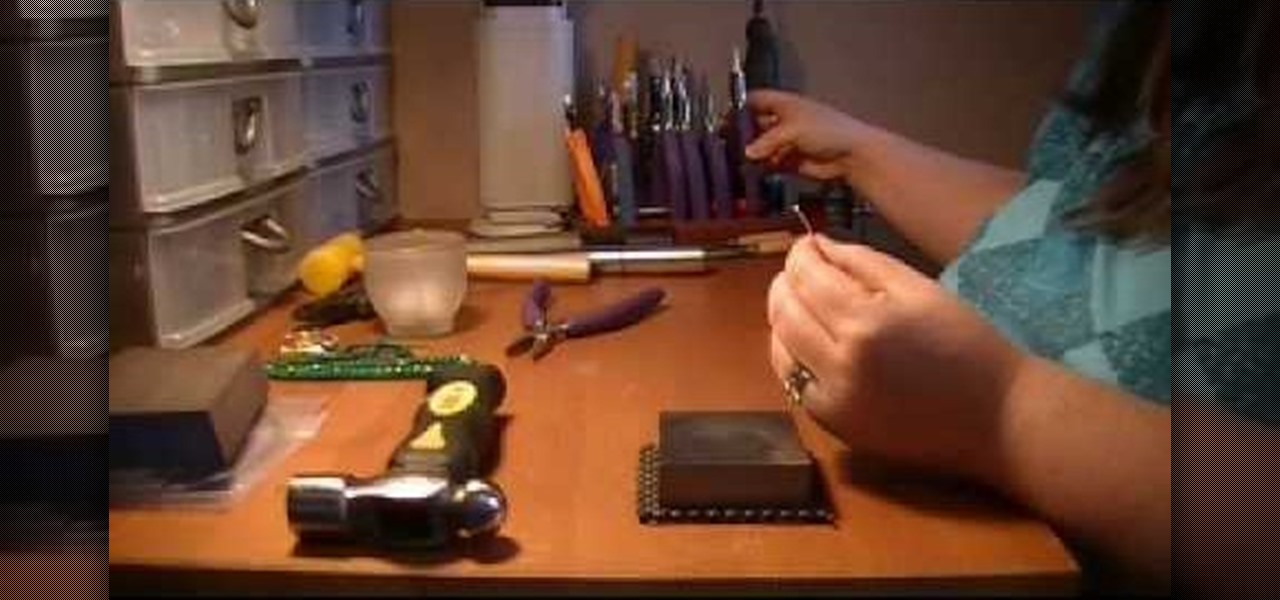
The video helps us to make sterling silver hoops earrings. It is one the popular style of earrings. These earrings can be made of different sizes, shapes, forms whatever we like. This art and craft work is shown by Natalie.

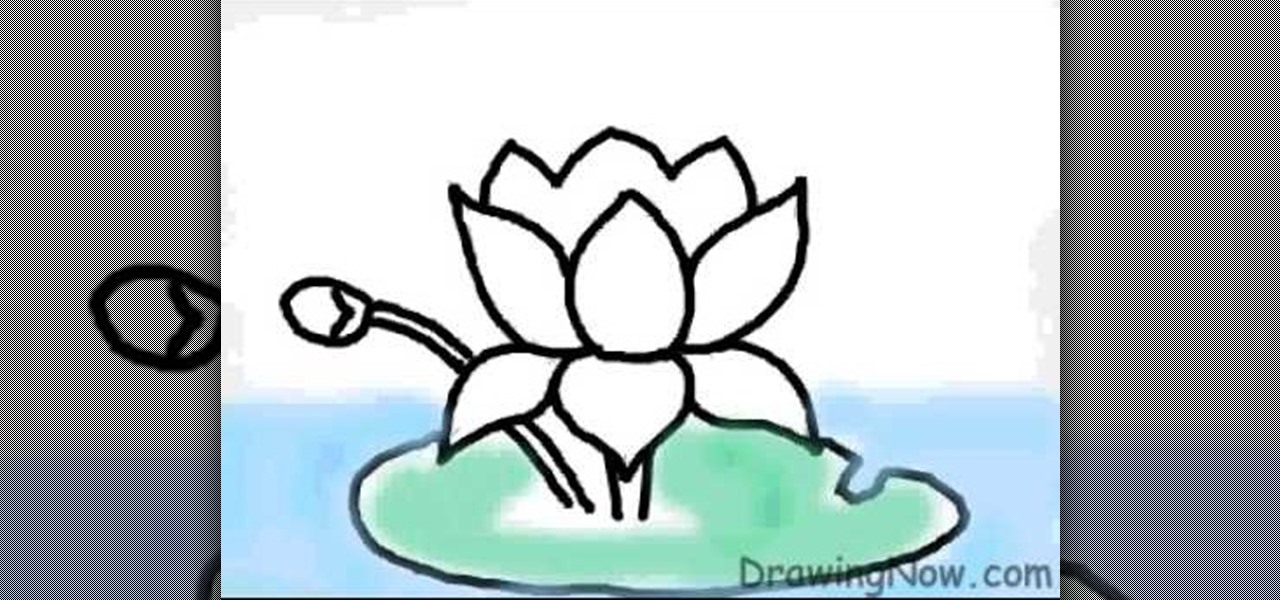
Learn the art of drawing a ‘Lotus Flower’ on your computer, by watching this video. Begin by drawing a faint outline of the flower at the outset. This is done by drawing an oval shape first. Then a straight line is drawn below the oval, along the center. A semi-circle comes next, touching the extreme ends of the oval shape. Similarly, a mirror image of the semi-circle is drawn, below it. The petals of the lotus flower are then outlined in dark, from the center and on either side symmetrically...

Building a frame for your paintings can save you money and provide one more creation of which to be proud. Normally recommended for abstract paintings, basic float frames offer a professional feel to your art. This video demonstrates how to build a very simple float frame, which compliments a modern, contemporary, abstract painting rather nicely.

The Art of Crochet by Teresa explains how to sew together crochet ribbing. Thread a tapestry needle and align the edges of the crocheting project. Sew the first stitch together and secure with a knot. Sewing through the top of the stitch on the edge will help prevent distortion and create a neater look for the ribbing. Pick up the back loop and align it with the stitch on the opposite side. Continue all the way across, sewing through the same stitch. It will push the top of the stitches up, c...

Create a photo frame out of an origami paper or any art paper in minutes! 1) Lay the paper down on a flat surface. 2) Fold the paper in half with the shortest ends together. 3) Fold in half again so that you get quarters. 4) Unfold step#3 and with the first fold at the top, fold the top corners down along the center fold. 5) Unfold the corner flaps, open up the original fold and fold the corner flaps inside, now close the original flap. 6) Fold the lower edge up as far as it will go, do the s...

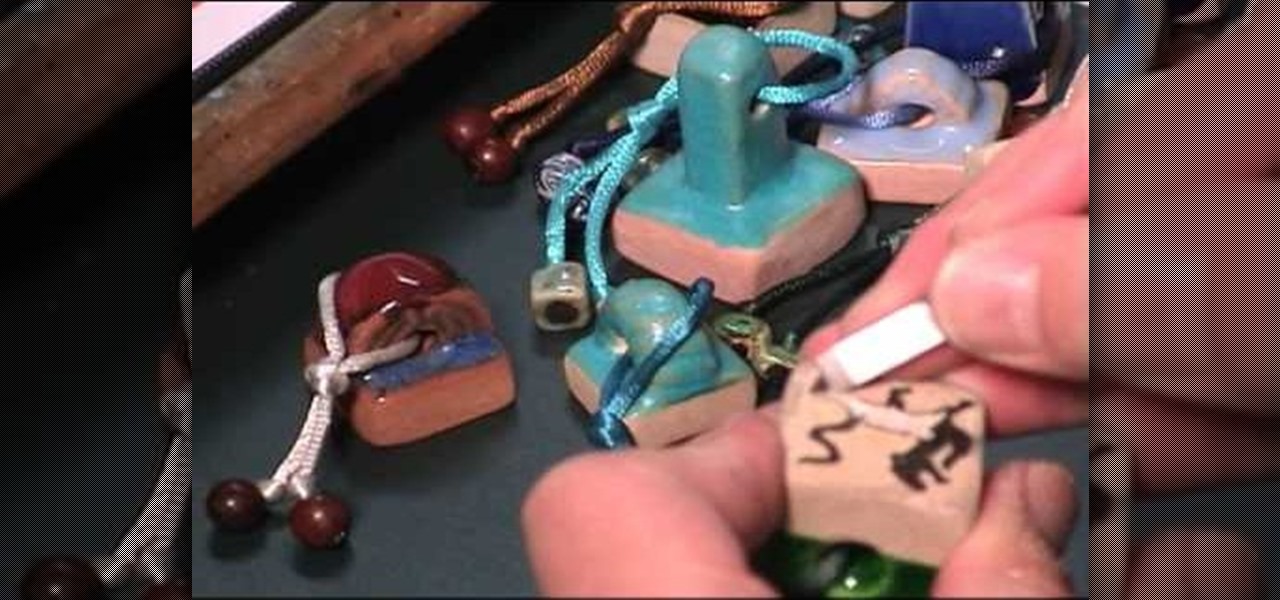
Henry Li from Blue Heron Arts shows how to carve a tiger design stamp onto a pottery seal for use with Chinese seal engraving. This technique shows how a pottery seal can be made without having to use a kiln. You will need a pen, pencil, marker, charcoal, knives, and soapstone. The first thing that needs to be done is to create a design. In this tutorial, Li uses a Hahn Dynasty tiger design, which must be flipped by using the computer. The charcoal is then used to duplicate the image onto the...

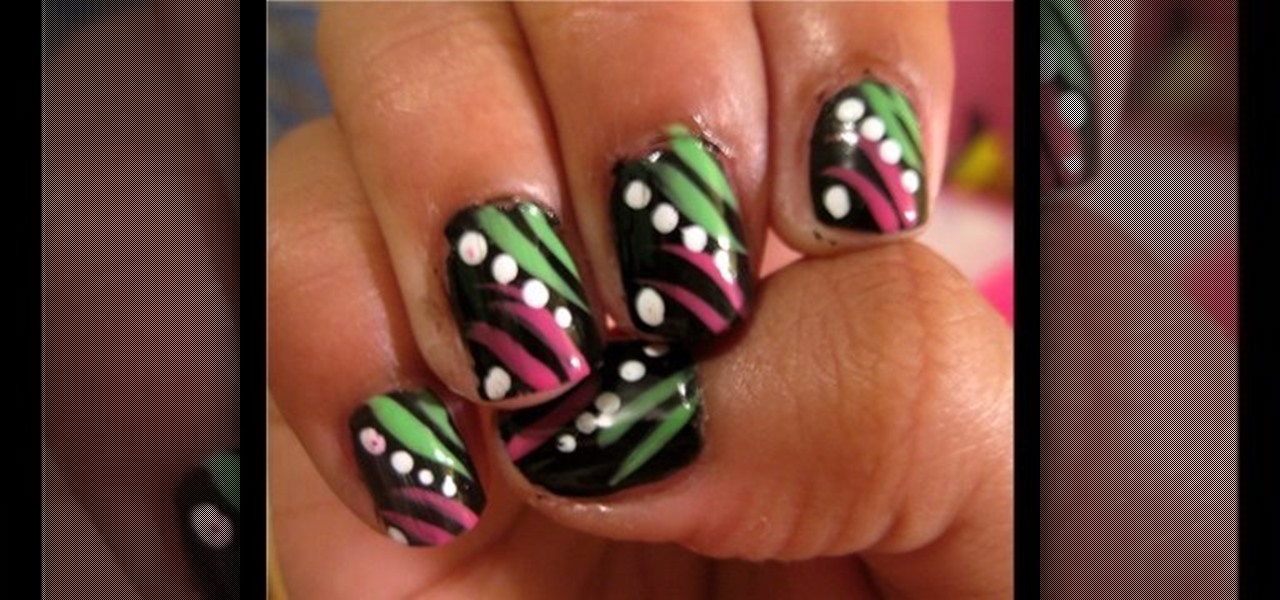
This video shows the viewer how to create a funky neon nail look. This is done by first applying a clear base coat to each nail. After this the nails were completely covered in a matt black finish. This was allowed to dry. Then 2 diagonal lines were made going from the top left corner to the left hand side of the middle. These lines were done in a bright pink color. The 2 other lines were made in parallel to these starting in the bottom right hand corner. They were done in the same way so tha...

In this arts and crafts video tutorial learn how to make a paper piercing using a paper piercing template with June Campbell. The template comes with pre-made holes in varying designs that you will poke through. You will also need a paper piercing tool to create your holes as well as a craft knife to cut out larger holes. In addition, you will also need a piece of paper. Use a hard surface, such as a plastic tray to protect your table and then place a styrofoam sheet on top of that for furthe...

Making a Martini Zing with Cilantro. There are many herbs that can make interesting martinis. Cilantro is one of the best to create a really unique drink. The ingredients you need are: vodka (the video uses Gray Goose), gin, simple syrup made from equal parts sugar and water boiled until dissolved; fresh cilantro, one fresh lime, and a fresh piece of ginger root. First, put some crushed ice into your shaker. Using a grater, grate a teaspoon of fresh ginger into the shaker. Chop up a large han...

Looking to brighten up your hairdo? Add pizzazz to your hair by giving yourself highlights—at home. In this video, learn how to give yourself the perfect highlights.

You have many great memories to share. Why not collect them all in one book? Learn the fun and meaningful craft of scrapbooking. In this video how-to, learn how to get started on your scrapbooking adventure.

With the growing popularity of digital downloads, it's important for aspiring musicians to have some sort of download available of their music. If you're an unsigned musician, selling your music on iTunes might seem daunting, but it's actually very easy! Learn how to do it in this video.

Are you a novice artist looking to up the ante in your drawings? Introduce depth and realism to your drawings with shadows. It all starts with “seeing the light.”

Looking to appease your creative side? Paint with oils! You Will Need:


