In this tutorial, we learn how to curl your hair with perfect curls using a flat iron. First, pull your hair up so you are just left with the bottom area of the hair. Next, take a small section and place the straightener into the top of the piece. Wrap the hair around the iron and then pull the iron straight down to the root. Repeat this for all of the sections of your hair, until you have curled all of the different pieces. Take the top section down and then curl that. From here, you will be...
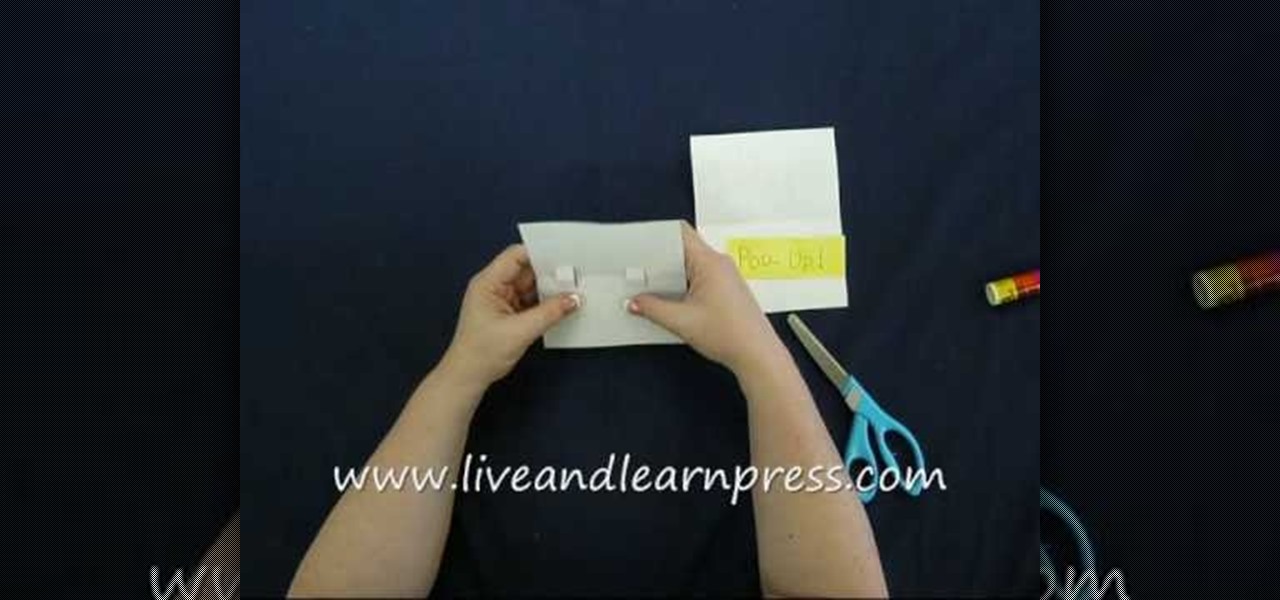
In this tutorial, we learn how to make a pop-up book. First, take a piece of paper and fold it in half. From here, take another piece of paper that is the same size and fold it in half. Then, cut small slits in the middle where you folded it. Then, fold these slits into the middle and pop them out from it. Then, fold the paper again and it will be a stand for the middle. Add glue to the middle and then place what you want to pop up onto this. Let it dry and then fold it down. Then, glue the m...

Got a bunch of old mismatched (or just plain fugly) necklaces and bracelets lying around? If you're like us, your first thought is "ew" and your second thought is to toss them, fast. But there's more fashionable potential in these jewelry pieces than you think.
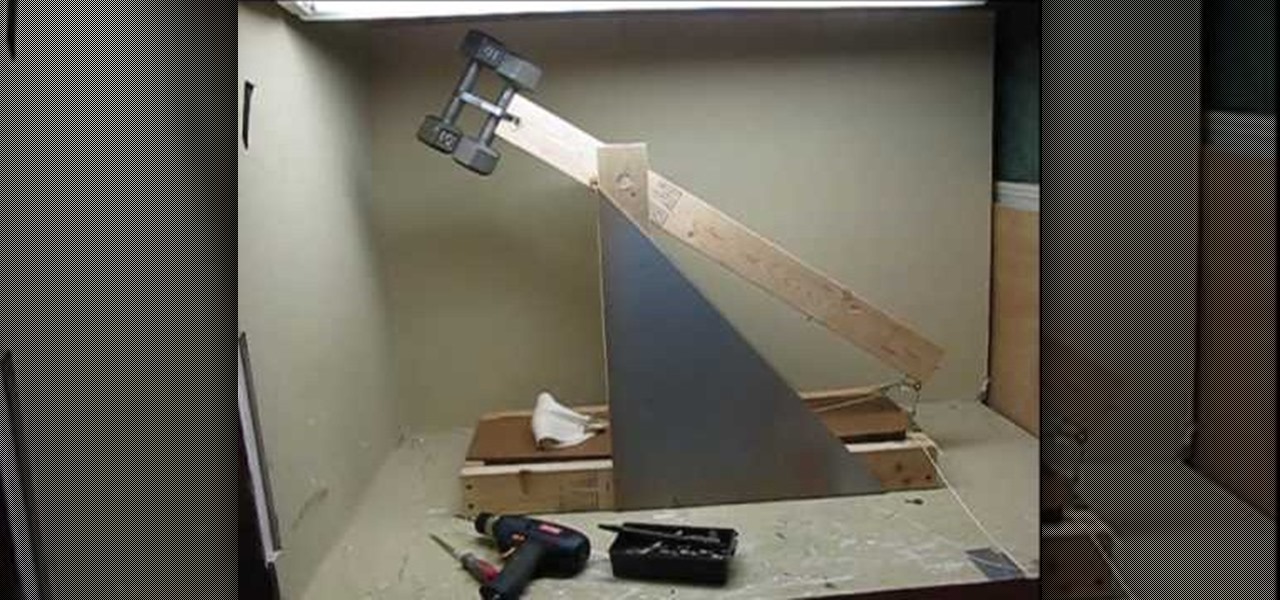
In this tutorial, we learn how to make a fast and easy tennis ball trebuchet. This tool will throw tennis balls easily so you can hit them without having a partner around. This only needs a few pieces of wood and 2x4's along with dumbbells. There isn't a whole lot to this, it's very simple to build. Use two 10 lb dumbbells clamped with a hose clamp onto the top of a 2x4. Use a dowel to go through this, so it will help it rotate. Down at the bottom is the release mechanism and on the sides wil...
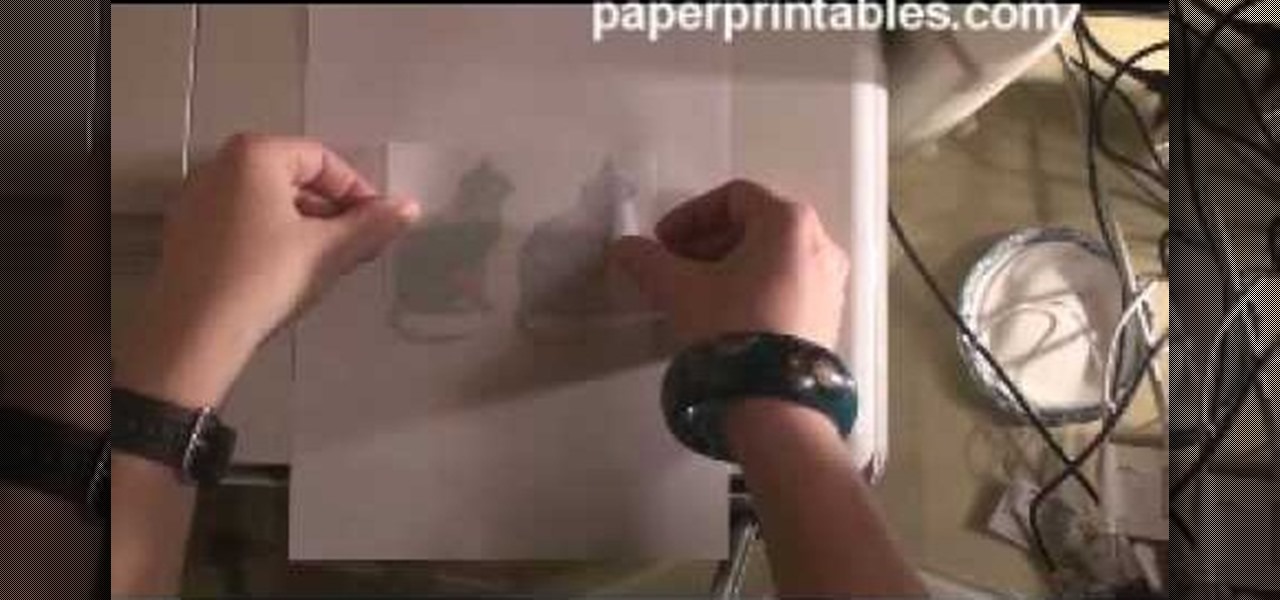
IN this video, we learn how to use your inkjet to print on a shrinkle. To start, you will grab the paper for the shrinkle. Then, you will print the outline out on a normal piece of paper. From here, stick the shrinkle over, frosted side up, on the paper. Then, feel the piece of paper back through the printer and print exactly the same image over again. Don't print anything too dark, or it will bleed out on the back. From here, you can peel off the shrinkle and then cut it out. This will finis...

In this video, we learn how to make rock salt animals with your kids. You can use any kind of animal including a snake or alligator. To start, cut out the shape on a piece of white construction paper. After this, you will need to mix up some water color in a shallow dish. You can make this by mixing up water with some food coloring. Now, dissolve the rock salt into it and then let the child brush the mixture onto the top of the piece of paper. Let this dry overnight, then when finished it wil...

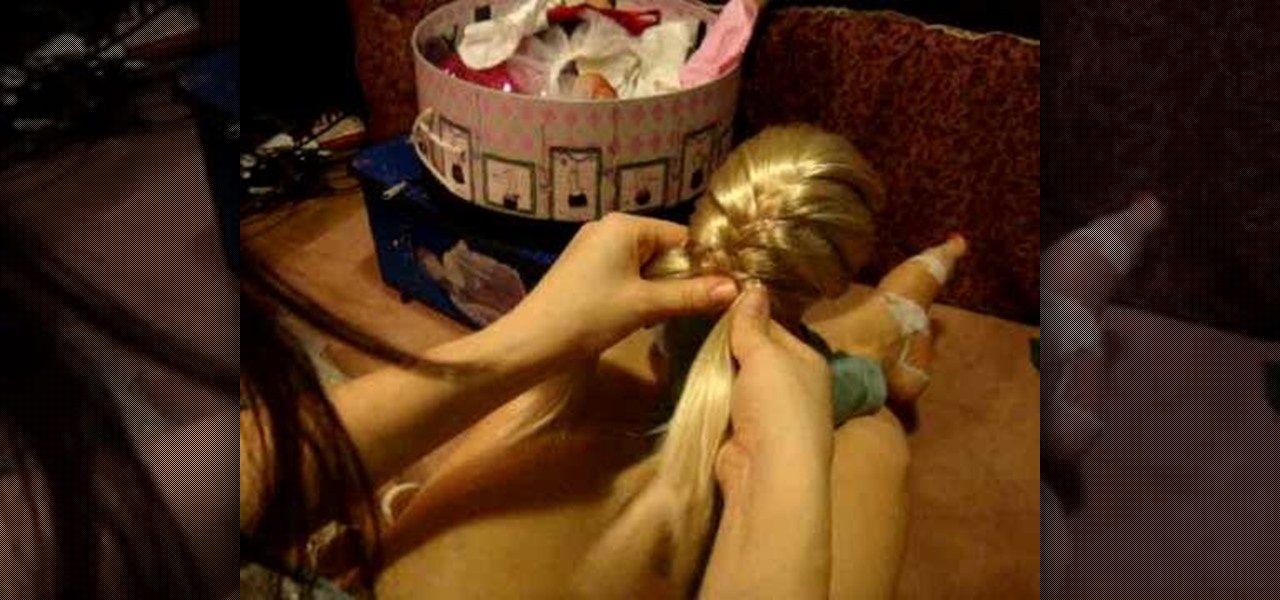
In this video, we learn how to do a fishtail variation on your American Girl doll. First, brush the hair out so it's smooth and then take a section from the top right side and top left side. Cross these together on the back of the head and then grab another piece of hair. Start to braid these together and push them from side to side. Alternate grabbing pieces of hair from each side of the head, making them as big or little chunks as you want to. As you continue to cross the hair, you will rea...

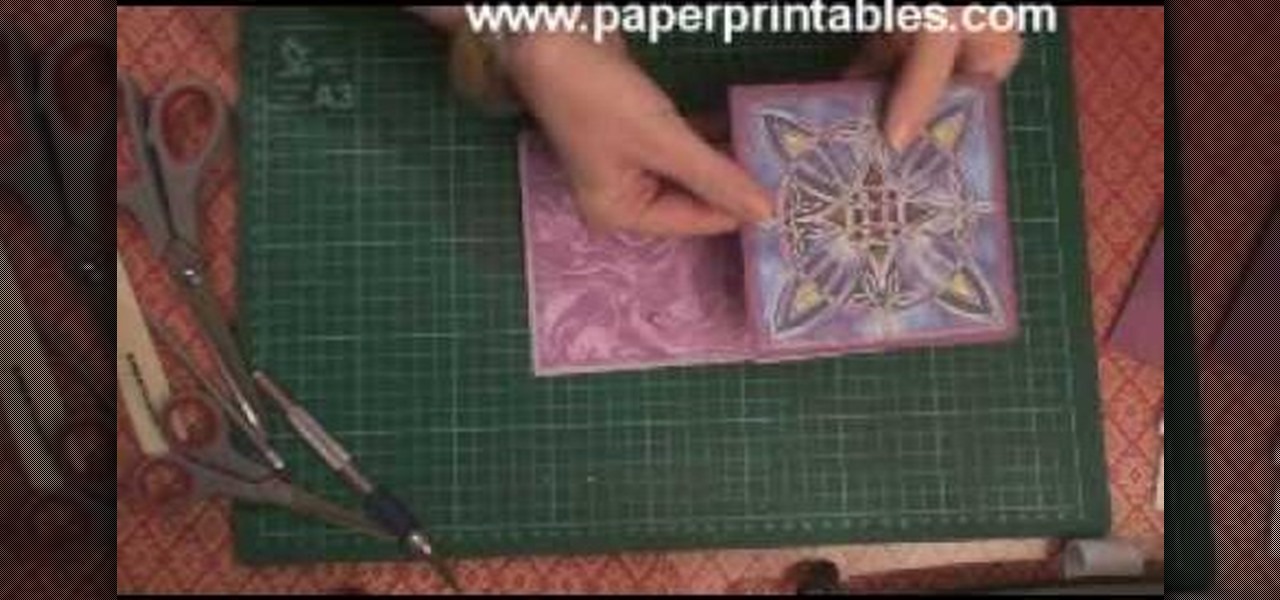
In this tutorial, we learn how to make a half/quarter easel card. First, grab several pieces of colors of card stock that you like. After this, fold the main one up into a square. After you have folded this, fold the edges into the middle and push the creases down. From here, you will glue the bottoms of the other pieces and glue them onto each other so they are backgrounds. After this, you will create a border around the front main picture. When finished, fold this up and then you will have ...

In this tutorial, we learn how to cheat on a test in a short sleeve shirt. First, take a piece of paper and cut out a circle from it. Make sure it's small so it can fit in the palm of your hand. After this, write down all the answers or information that you need onto this piece of paper. Once you're finished, take the paper and stick it into the palm of your hand. Make sure the writing is facing out towards you. Then, when you need the information you can simply open up your hand, then close ...

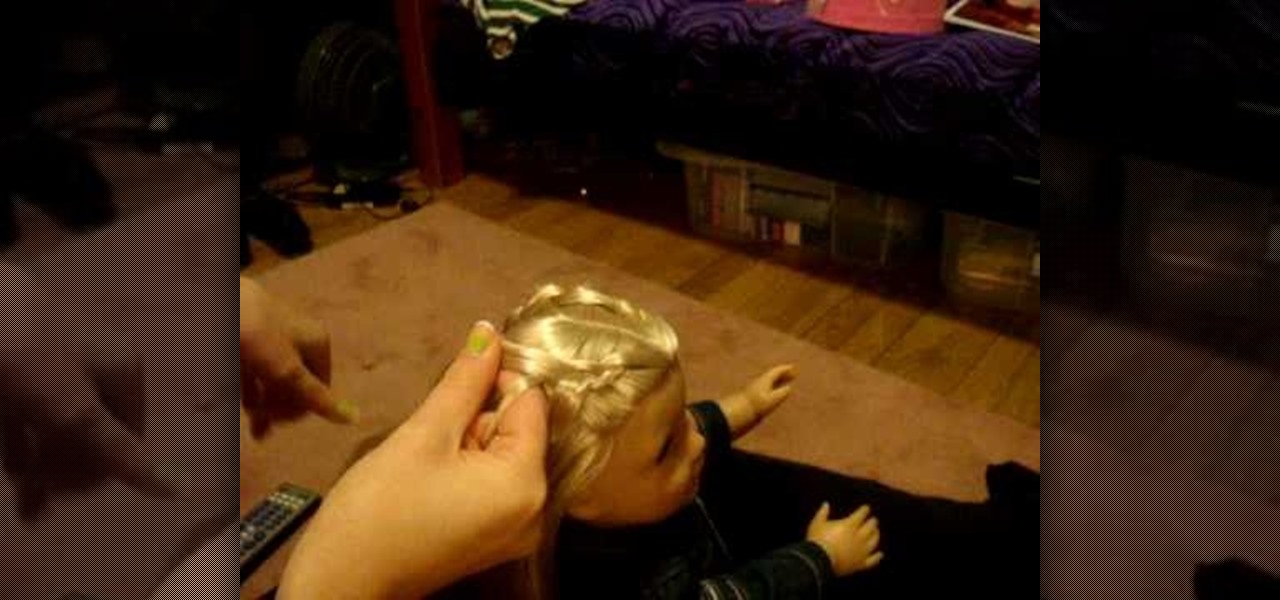
In this video, we learn how to do a reverse French braid on your American Girl doll. First, part the hair in half and put one half to the side. Then, take a piece of the front on one section and split it into three. From here, you will go under the hair instead of over like a regular braid. Then, start to pick up pieces from the sides on the left and right. Put it underneath the whole braid and then go under with it to the other side. Continue to do this until you reach all the way down the h...

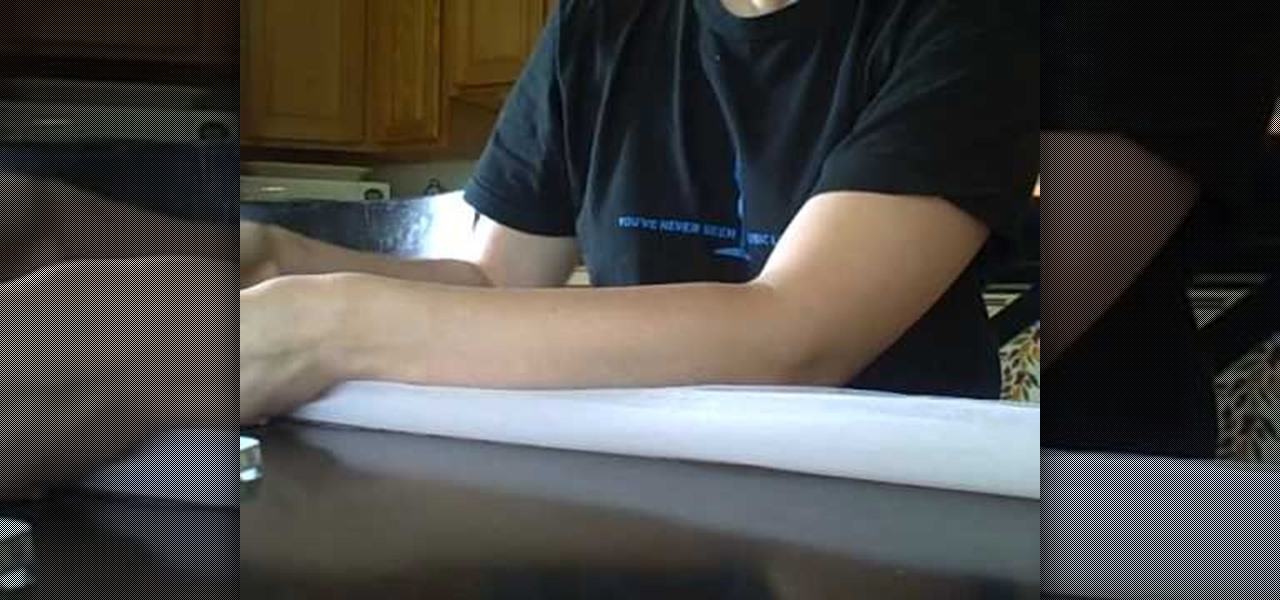
In this tutorial, we learn how to cheat on a test wearing a long sleeved shirt. First, you will need to take a white piece of printer paper and see how large you can cut it so it fits comfortably in your hand without being seen. After this, cut the paper to the size you want it. Then, write out the information that you need onto the piece of paper. From here, you can place the paper inside of your long sleeve, with the answers facing up. Then when you need it, simply pull it out from your sle...

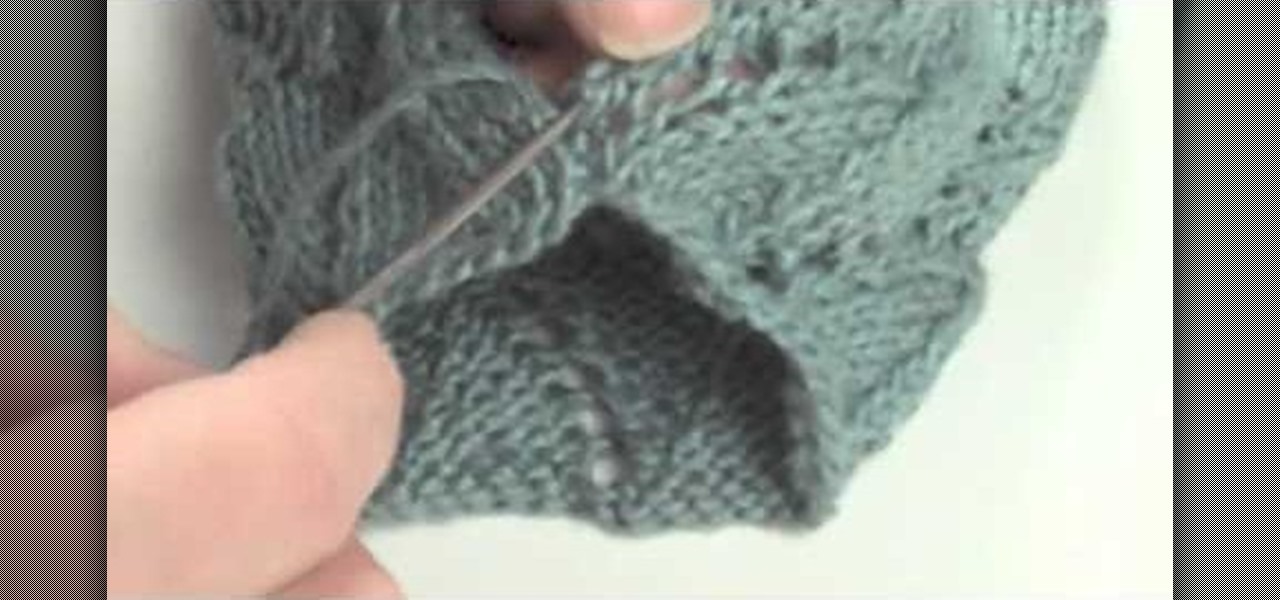
In this tutorial, we learn how to install a zipper into your knit. The first way you can do this is to take it to a tailor and they will do it for around $15. To do this by hand, grab your piece that needs a zipper and then steam the edges. After this, take a sewing needle and start to sew the zipper underneath both sides of the edges of the piece. You can also use pins to place into these so it stays in place. Do a backstitch also, to help make the zipper more sturdy and stay on longer.

In this tutorial, we learn how to do the mattress stitch. First, lay the pieces flat and thread yarn tail onto the needle. Next, you will anchor the yarn to the bottom edge of the opposite piece. Then, go back through the side and find the tunnel of horizontal bars, one stitch in from the edge. Continue to do this around the stitches to combine them together. Keep alternating sides and just do one bar at a time to get the best results. You can do two bars at a time if you are comfortable with...

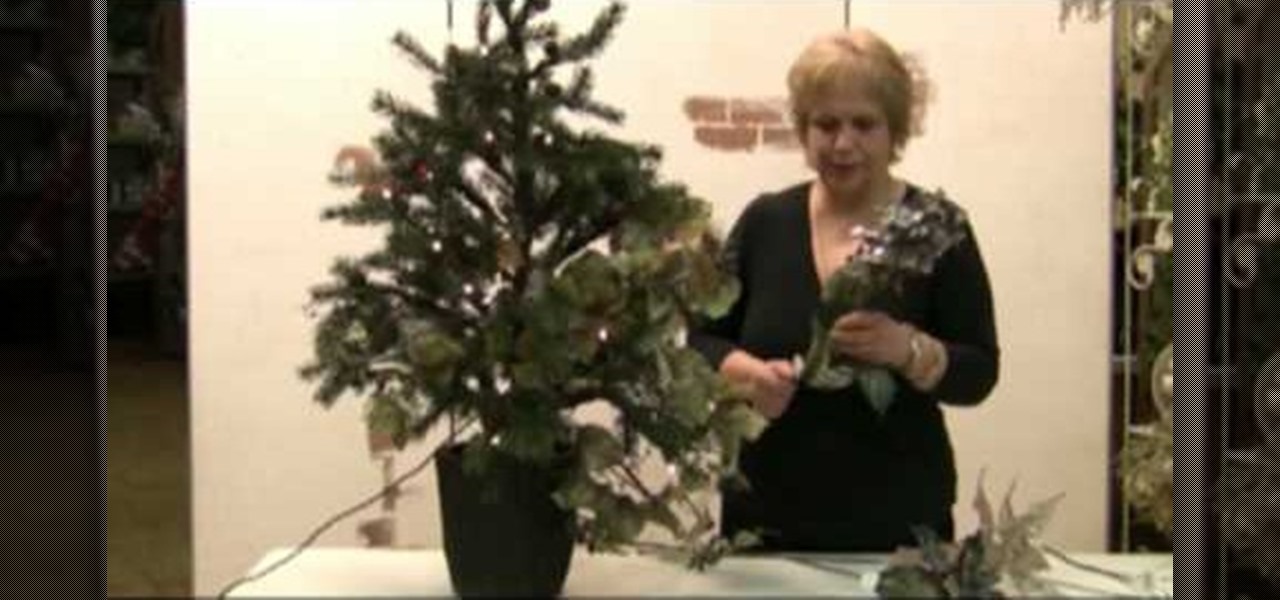
In this tutorial, we learn how to decorate your Christmas tree like a pro. Before you do anything else, put something together that is going to look good that you can place in your tree. Put in different types of flowers, bushes, and garland to make a pretty piece to place inside of your tree. Once you do this, you can shape the branches in the tree around this, then continue to place the elements from the main piece all around the rest of the tree. Add in a long string of matching ornaments,...

In this video we learn how to fold a very simple paper football. First, take a piece of paper and cut out a strip from it or fold it into a strip. After this, fold a triangle in the strip of paper. Once you have this, fold up to create another triangle and keep folding up until you reach the top of the strip. There will be one small piece of excess paper left on the strip. You can either cut this off or tuck it into the pocket that you made while folding the triangles. Use this to pass the ti...

In this tutorial, we learn how to make your own summer dress. First, take a tank to and measure it out on your chest. Then, mark the shirt and cut it. Then, take another color tank top and cut off the opposite area that you just cut on the other tank. Take another piece of fabric now and measure it out to fit your body. Then, attach this to the bottom of the dress and sew all of the pieces together with a sewing machine. Try it on when you are done and then enjoy wearing your new homemade sum...

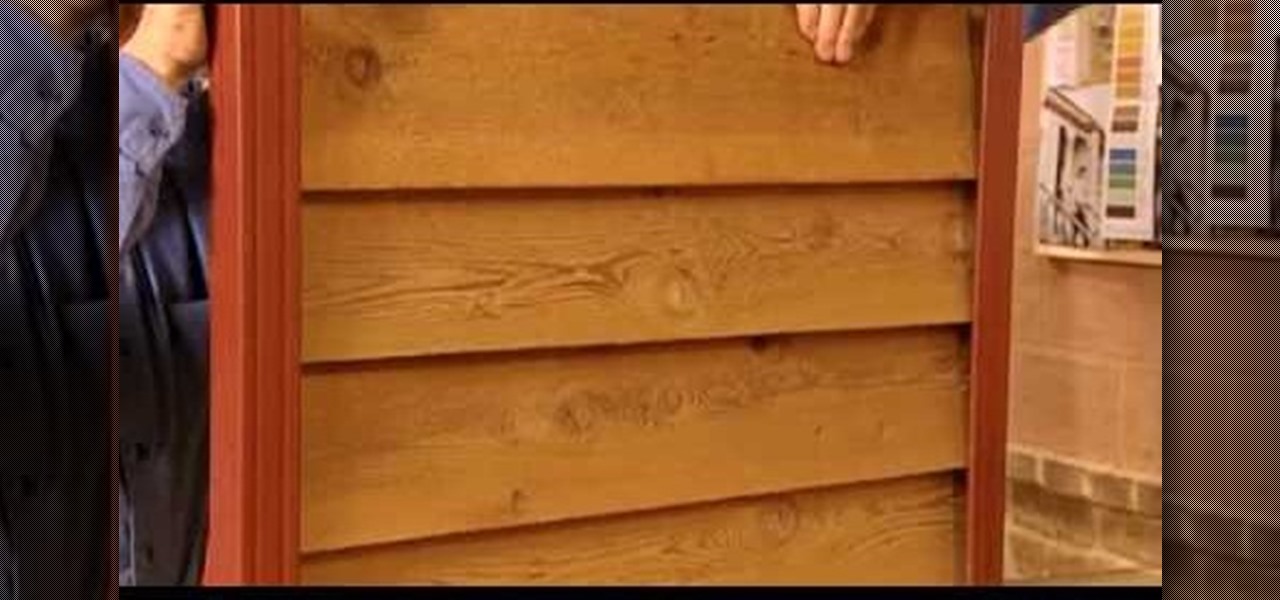
In this video, we learn how to repair small cracks in wood projects with Bob Schmidt. Even though the cracks are small, they may catch your eye when you walk into the room. You can minimize this with just a little bit of work with a screwdriver. First, grab your screwdriver and rub the middle of it on the corner of two pieces of wood. This will rub out the two pieces without changing the stain on the wood. If you have a missing crack on baseboard, you can do the same thing, which will lessen ...

Sometimes a good looking accessory can be made by using simple things and a little bit of your own ingenuity. This video is a perfect example of the same.

Skinny and Mini teach us how to make delicious guacamole dip in this video. First, take a ripe avocado and scoop the middle out into a bowl. After this, use a fork to mash up the avocados and get rid of the big pieces. Now, take some onions, tomatoes, peppers, cilantro, and any other types of items you want for the dip and cut them up into small pieces. Now, throw them all inside the bowl and mix everything up together. When finished, pour this into a serving dish and enjoy with chips or a de...

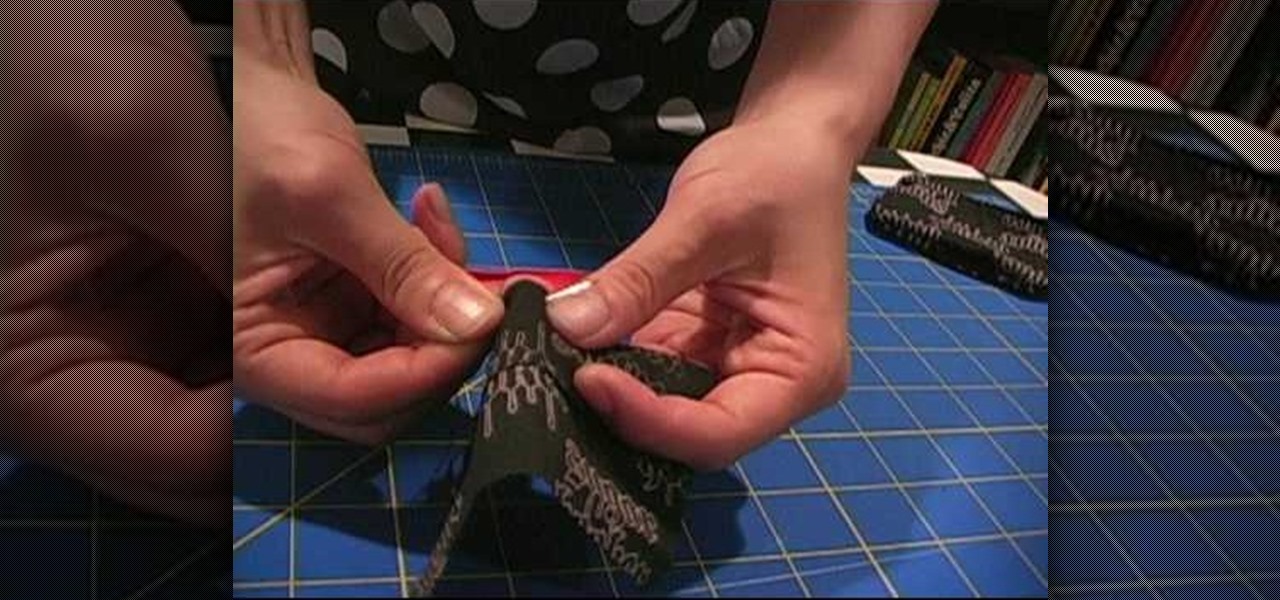
In this video we learn how to make a zipper purse or mini fanny pack for your belt. First, fold a bandanna in half and cut out a rectangle. Then, cut a rectangle out for the belt loop too. Next, take one of the bigger rectangles and cut it about 1.5 inches from the top. Then, sew these two pieces together using a needle and thread with white thread. After this, pin down the zipper to the back and sew up the sides. Then take the other piece and stitch it to the front side of your other rectang...

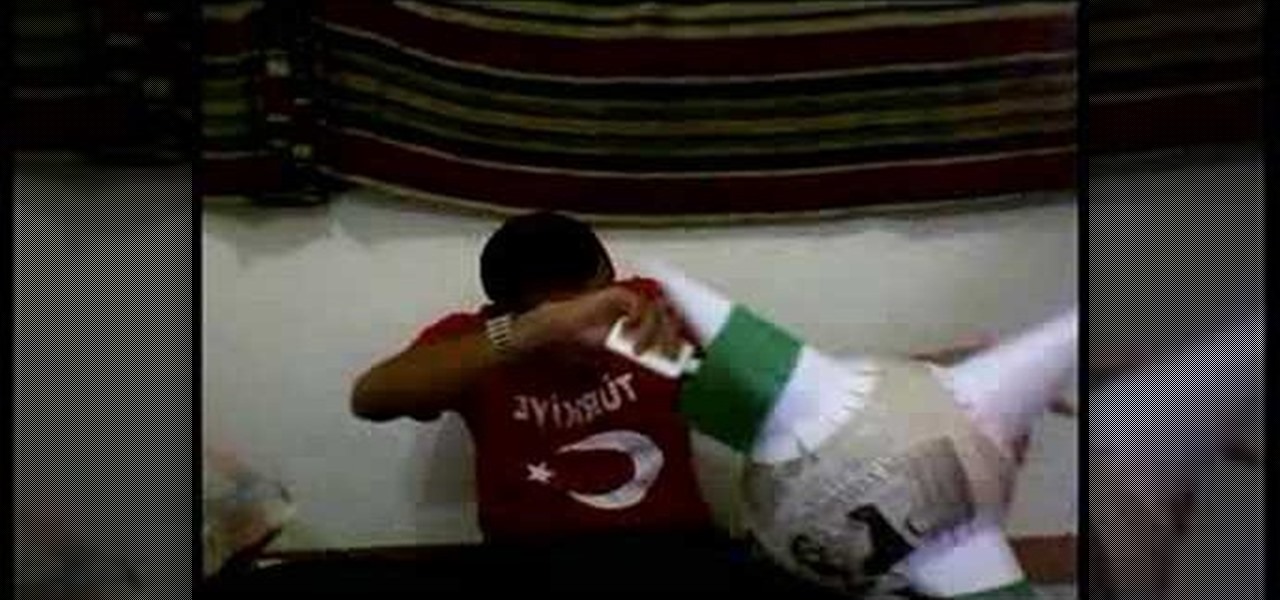
In this tutorial, we learn how to make a simple spiky pi–ata. First, you will need to blow up a balloon and grab some pieces of newspaper. After this, cut out pieces of the newspaper then use paste to stick them onto the balloon. Make a thick wall of this newspaper throughout the entire balloon. After this, add the spiky parts of the pi–ata and then allow it to dry. Once finished, paint the entire pi–ata the colors you would like. When the paint is done drying, fill the pi–ata with candy and ...

In this video, we learn how to make the best paper snowflakes. First, take a dark blue and white piece of paper and fold it up into a square, then fold into a triangle. Next, grab a pair of scissors and start to cut along all of the sides of the paper. You may have to do this a couple of times to get the shape right, it will be helpful to use a diagram to show you where to place the scissors. When you are finished, open up the piece of paper to see your snowflake! String this with other snowf...

In this tutorial, we learn how to laminate stairs. First, you will need to grab your laminate and measure out the stairs. Then, cut out the nosing to the stairs. After this, you will need to cut out the laminate with a chop saw to place it on the front of the stairs so it looks nice and is fully covered on the stairs. You will need to place down glue on the laminate then press it down on the stairs and allow to dry. Behind the front piece you will place another piece of laminate and glue it d...

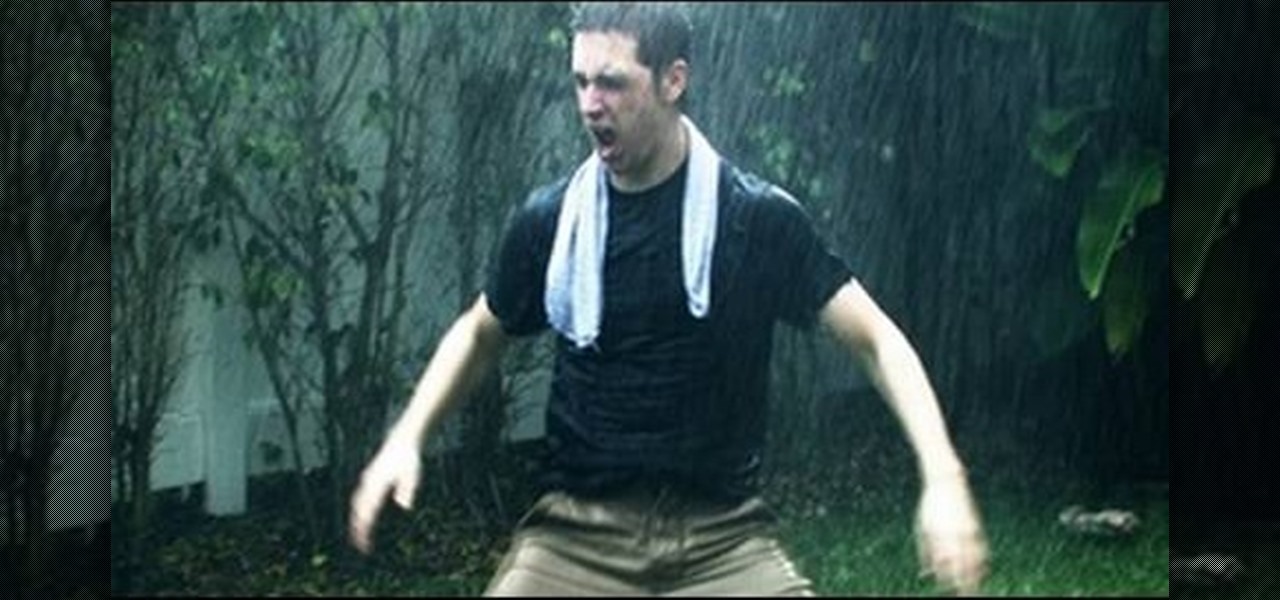
In this tutorial, we learn how to make movie rain without getting wet. First, you will need to get a garden hose that has a spout on it and few pieces of PVC pipe. Connect the pieces of PVC pipe together, then stick the head of the hose to the pipe. Keep in mind that you will want to cut the pipe a bit shorter so it's easier to hold. Now, have someone hold up the pipe while you are taping and make sure to stay opposite of the way the wind is blowing. After this, you will have taped rain in a ...

In this video, we learn how to make a tutu for Halloween. First, take your pink fabric and lay it out flat. Next, use your scissors to cut down a folded edge on the top of the fabric. Now you will have two pieces. Next you will roll the fabric down until you reach the end, then you will cut strips out of the fabric. Now, take your elastic piece and tie the strips of fabric onto it. You can use any colors you would like to make this. You can use pinks, oranges, blacks, whites, and any other co...

In this tutorial, we learn how to create a crafters tool caddy for your desk. First, you will need to gather a few pieces of chip board coasters and cut them to the specifications you would like your caddy to be. After you have done this, put your caddy together by locking them together using cut lines inside the middle of each of them. Once you have finished this, place additional pieces of chip boards inside to create different sections of the caddy. Once you are finished, place in your mat...

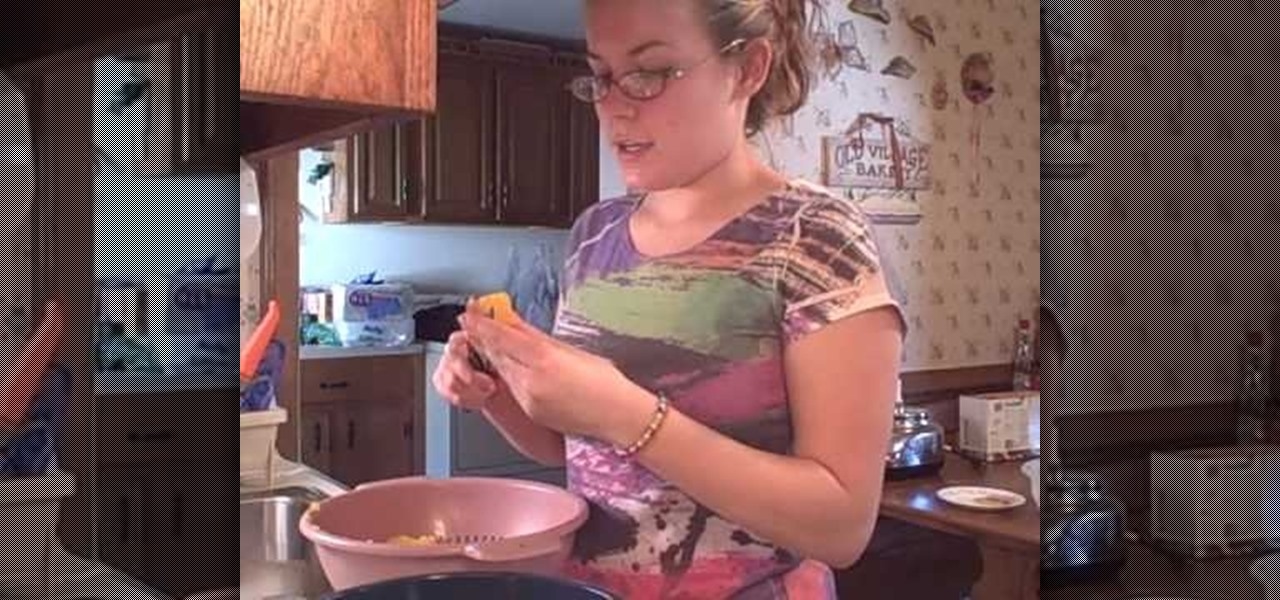
In this tutorial, we learn how to make a pumpkin pie with fresh pumpkin. First, take your pumpkin and cut it in half. After this, take out the middle of the pumpkin, then cut it into several large cubes in a large bowl. After this, place the pumpkin into boiling water and cook until they are soft. Once finished, take the filling from the middle and peel the skin off the pieces. Now mash these pieces up using a food processor and add together with the other ingredients for your pumpkin pie. Po...

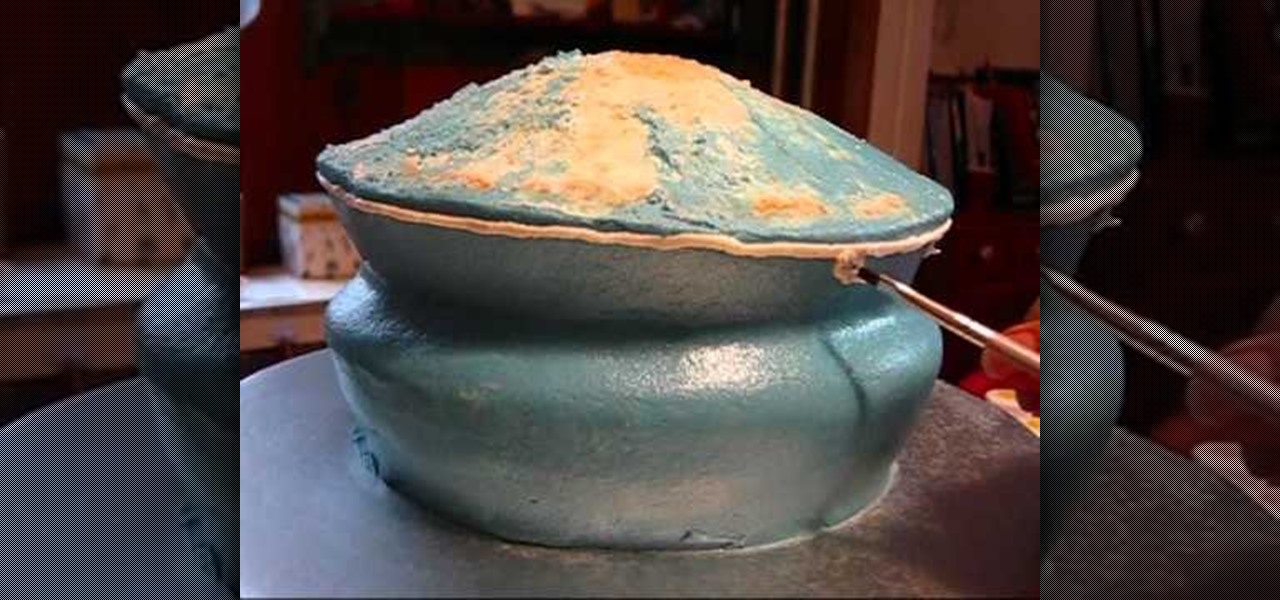
We've seen lots of interesting inspiration for cake decorating, including trees, purses, and polar bears, but never a vase. In this video tutorial you'll learn how to craft an impressive cake inspired by Wedgewood pottery.

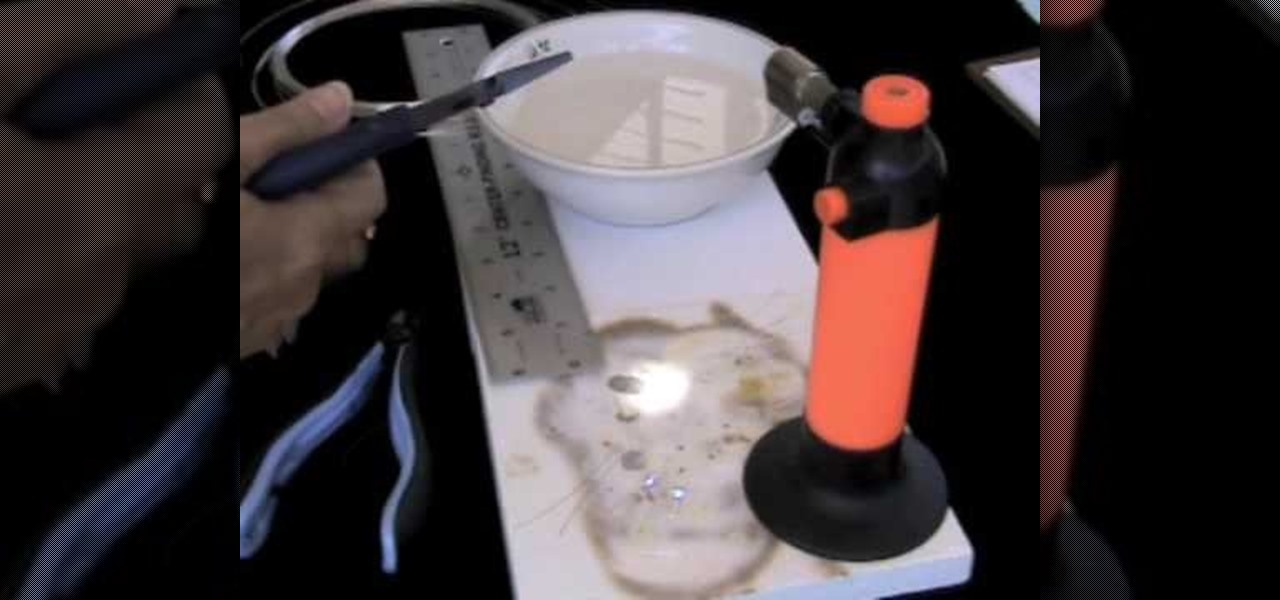
In this video, we learn how to make your own sterling silver headpins. You will first need a torch (one from your kitchen will work fine), a heat protected surface, bowl of cold water, and fine silver. Next, cut out two inch pieces (or longer if that suits you best). Put on safety glasses and turn on your torch. Now, pick up one of the piece you cut and put it into the tip of the flame. Quickly, the silver will ball up at the end of the pin. When it has balled up, place it on the cooled surfa...

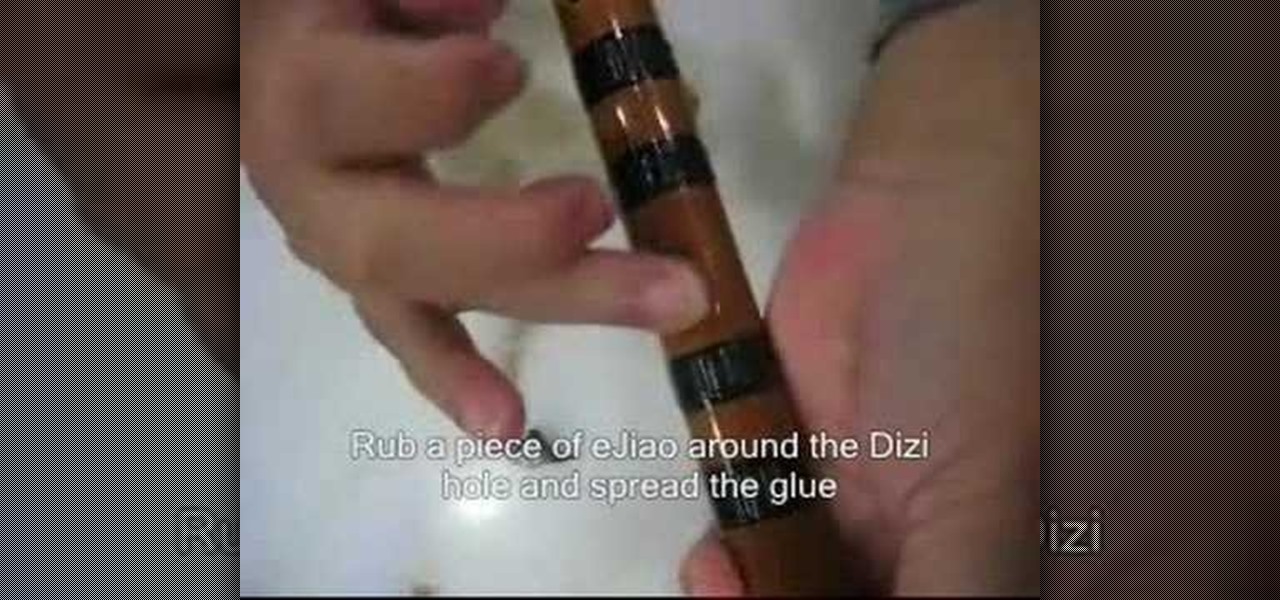
In this video, we learn how to fix dimo flute membrane. First, slice open a tube of dimo and cut a piece big enough to cover the dizi hole. Next, crumple and crease the dimo for better sound. Now, wet the area around the dizi hole with water and rub a piece of Jiao around the dizi hole. After this, spread with glue and paste the dimo over the hole making little creases that run perpendicular to the dizi hole. After this, try it out and see how your dizi sounds, if it sounds dull, press lightl...

In this video, we learn how to trick your trick or treaters on Halloween. You will need strong tape and a glove to do this trick. First, loop the tape and place it on as much surface area of the glove as you can (on the palm). Now, put the glove on your hand and wait for the trick or treaters to come. Now, take one piece of candy from the basket, making sure it's touching your hand. After this, place your hand in the bag and push it off, picking up other pieces of candy. Once you do this, you...

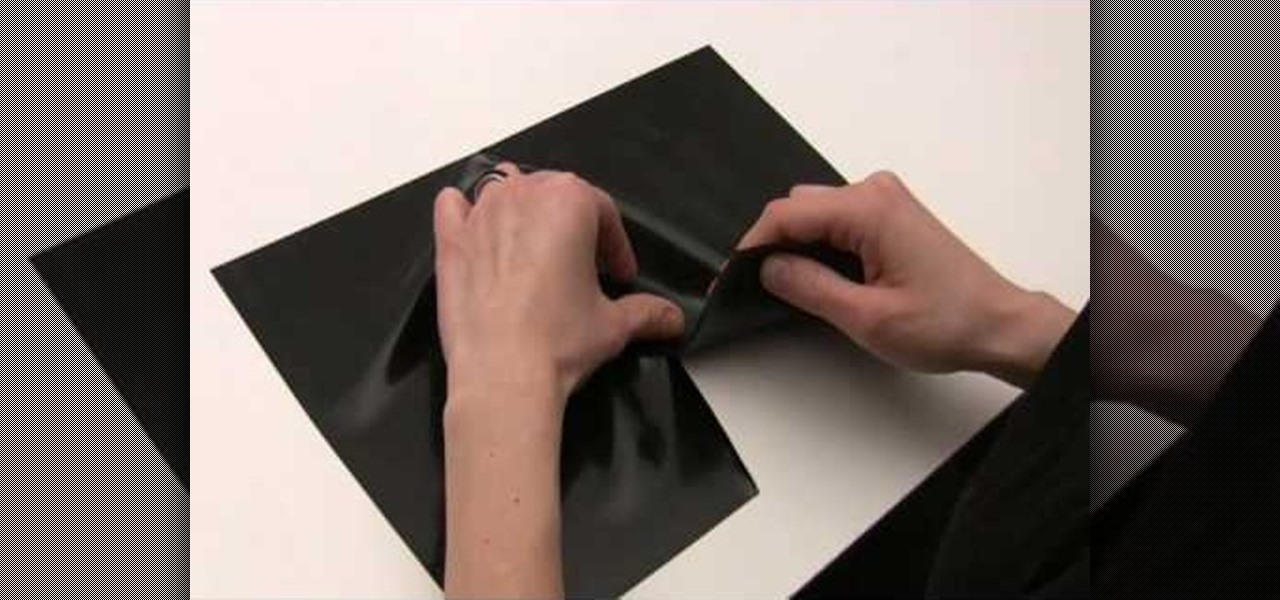
In this tutorial, we learn how to glue straight and curved latex seams. First, press each piece of latex down so it's just touching in the middle. After this, use your finger to press down on the middle, then take a roller and roll over the middle until it's perfectly straight. Now, stretch out the latex to make sure that both sides are stuck together. To glue curved latex seams, place the pieces together slowly, pushing your finger down in the center as you go to make a curved effect. Once y...

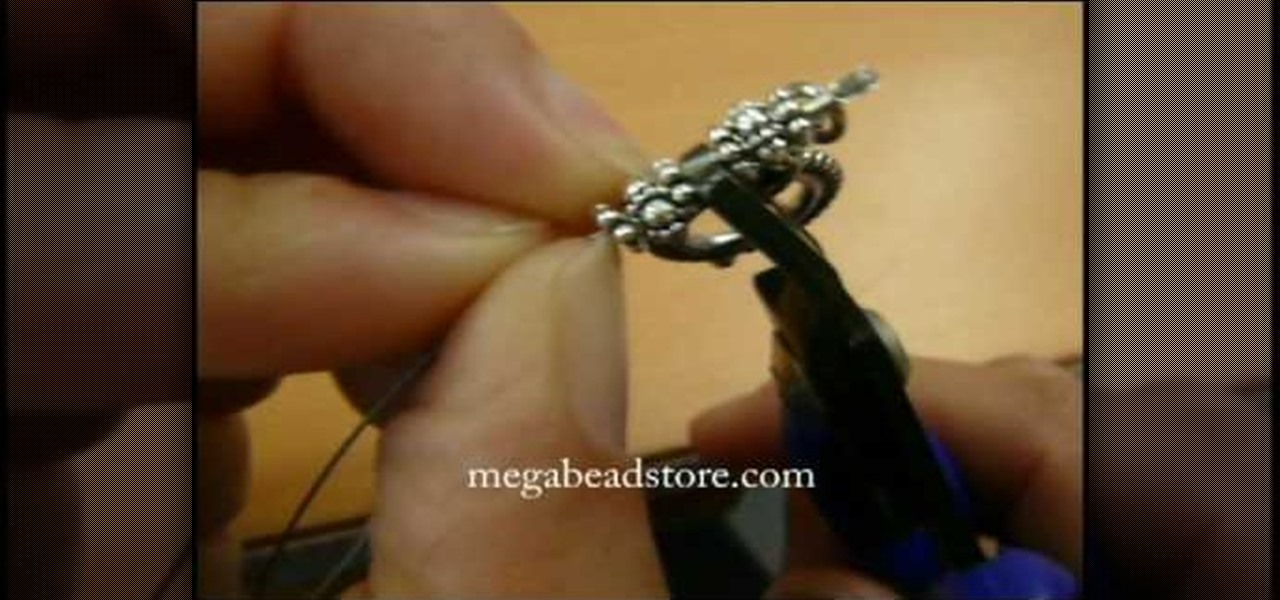
In this video, we learn how to hide a crimp bead with a crimp bead cover. First, string your spacer followed by a crimp bead and another spacer. At the end, you will have the end piece with the wire protector next to it. Then, bring the piece of jewelry through the crimp bead twice, then through the spacer once more. Now the spacers and crimp beads will be pressed with the crimping tool tightly. Pull on the string to test it out, then slip in your crimp bead cover so it looks like another bea...

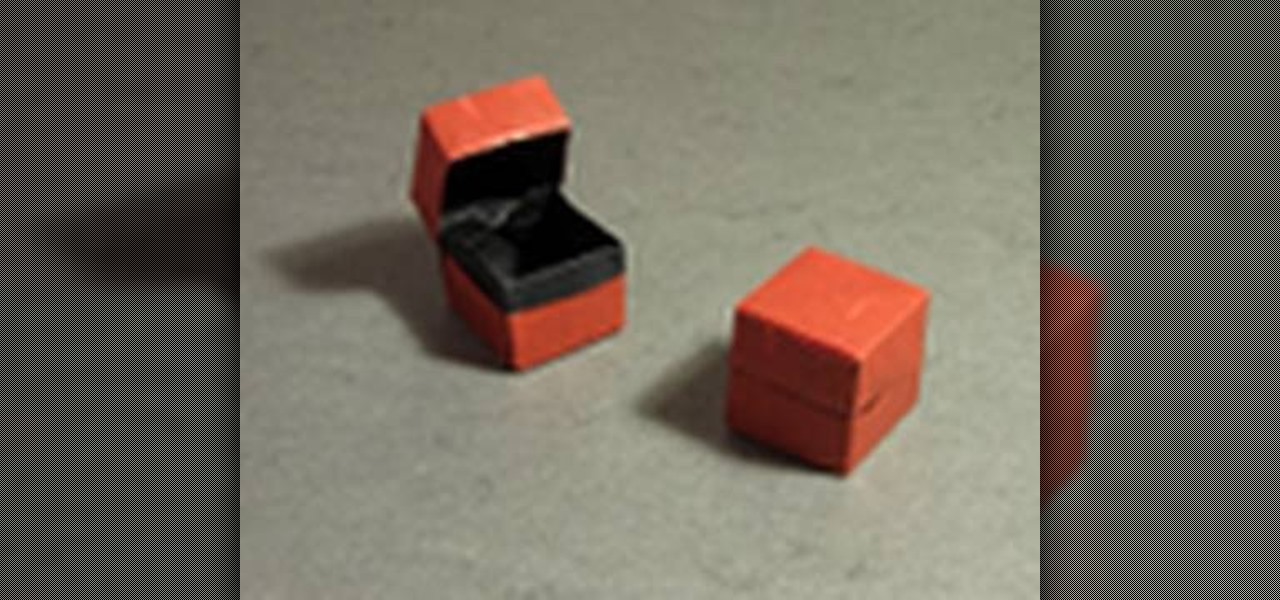
The origami version of a box and lid may seem like one of the simplest origami projects out there, but you should consider this origami box and lid the hard mode version of an otherwise beginner origami craft. Rather than use two sheets of paper total - one for the box and the other for the lid - this origami project only involves one piece of origami tissue paper.

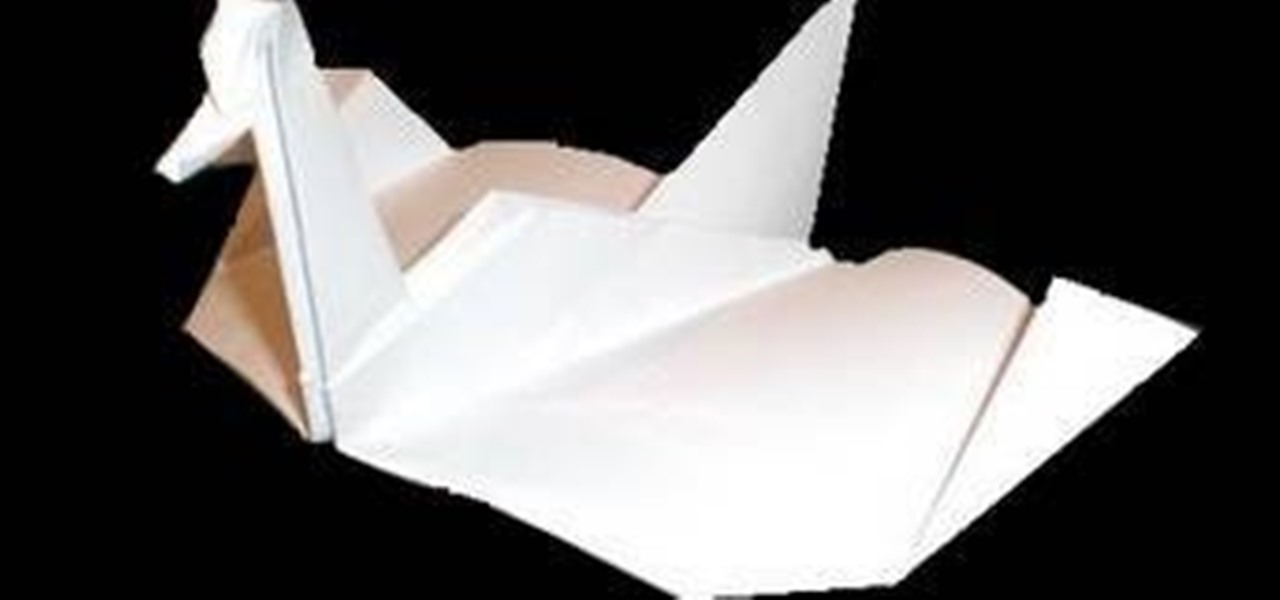
Watch this origami tutorial and in no time at all you'll transform an ordinary piece of paper into a fabulous, beautiful swan, unsuspectingly reenacting the classic gratifying story of "The Ugly Duckling." All you need are two hands with more or less dexterous fingers and a piece of white origami tissue paper or printer paper.

When we were five years old, there was nothing better to do at recess than to whip out a bag full of popsicle sticks of all sizes, some glue, and then piece together the pieces as if solving a puzzle. We'd make forts, bridges, and even stick people.

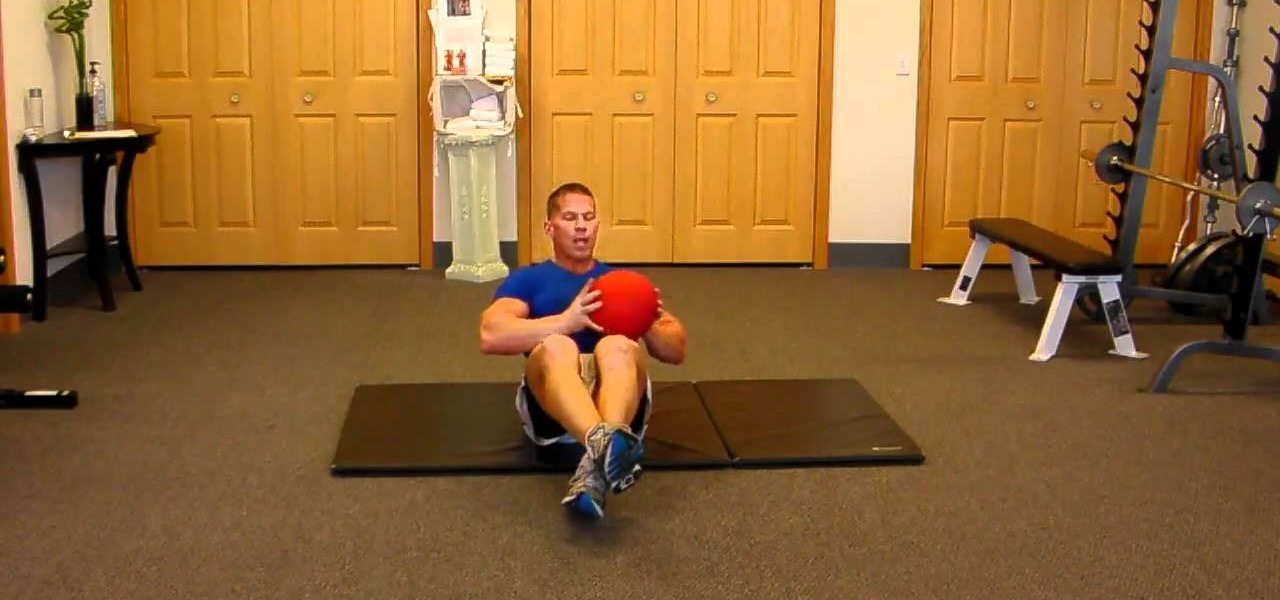
We don't usually think that you need exercise equipment in order to work out effectively. In fact, most of the time you can achieve comparable results to going to the gym simply by using your own body weight (doing push ups, for instance, or the Warrior 3 yoga pose).

In this video, we learn how to use your Cricut to save money on scrapbook paper. First, place the mini monogram cartridge into your Cricut machine. Then, place your paper onto the 12x12 cutting mat. Now, load your paper into the machine, then press the scalloped circle and the fit to page buttons. Then, press cut and let the machine do all the work. Once it's finished, unload your paper from the machine and remove the outside portion of the image. Now, adhere it to the white piece of scrapboo...

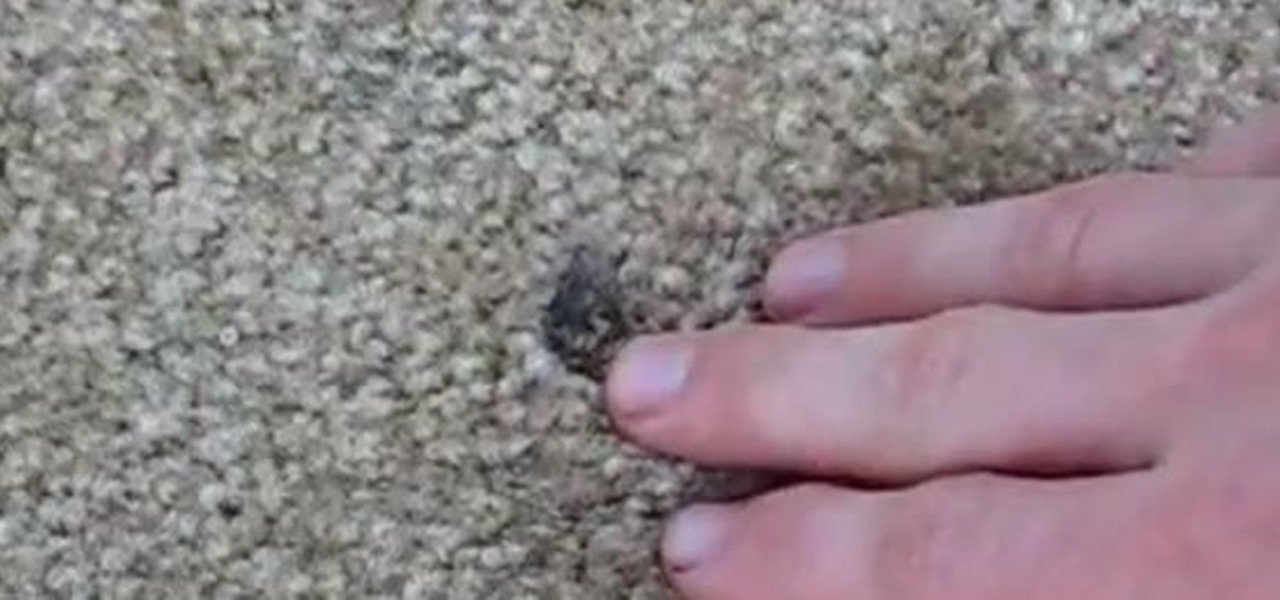
In this tutorial, we learn how to repair carpet burns. First, take some tongues and ruff up the surface to break up the burnt pieces that are inside the carpet. Next, take some Resolve and spray it onto the spot, then brush it with a handheld brush. After this, blot the area with a towel until it's nice and dry. Next, cut out a small piece of spare carpeting and then open up the area that was burnt. Cut it out with scissors, then replace this with the new carpet.

In this tutorial, we learn how to build an outdoor dog house. Start off by making all the measurements for your dog house and cut out your wood. After this, use a metal frame piece to drill into the wood and this will be the base of the house. After this, connect all the metal pieces on the dog house to make the basic outline of the house. When you are finished with this, place wood on the frame of the house and drill it into place. When you are done with this, you can paint the house if you ...


