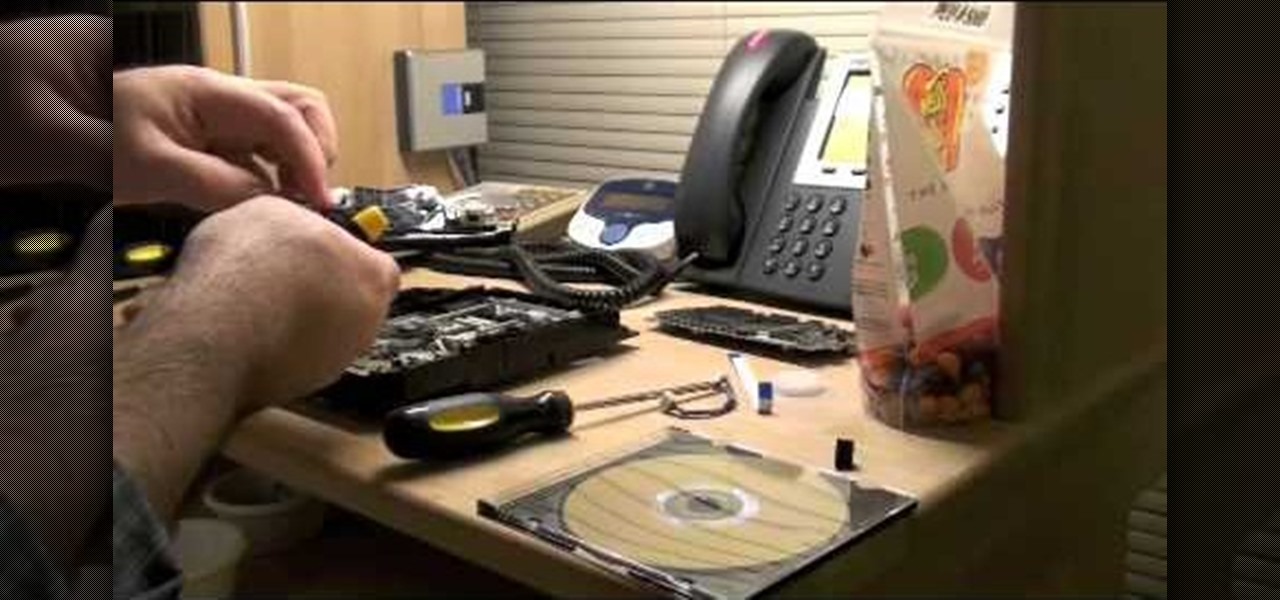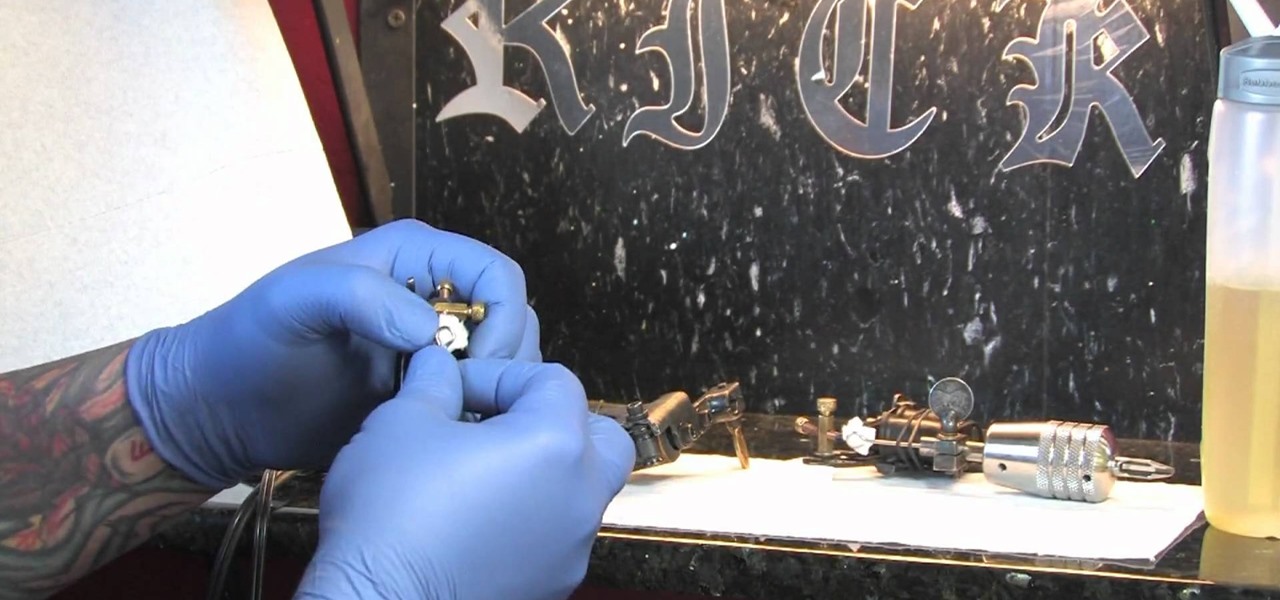
Putting together a tattoo machine is not a matter of life or death, but it just as well may be, since you're aggregating tools for sticking a big fat needle into a person's back. And each customer, depending on his/her selected tatoos, will require a different assembly. So check out this video to learn how to assemble a tatooing machine.
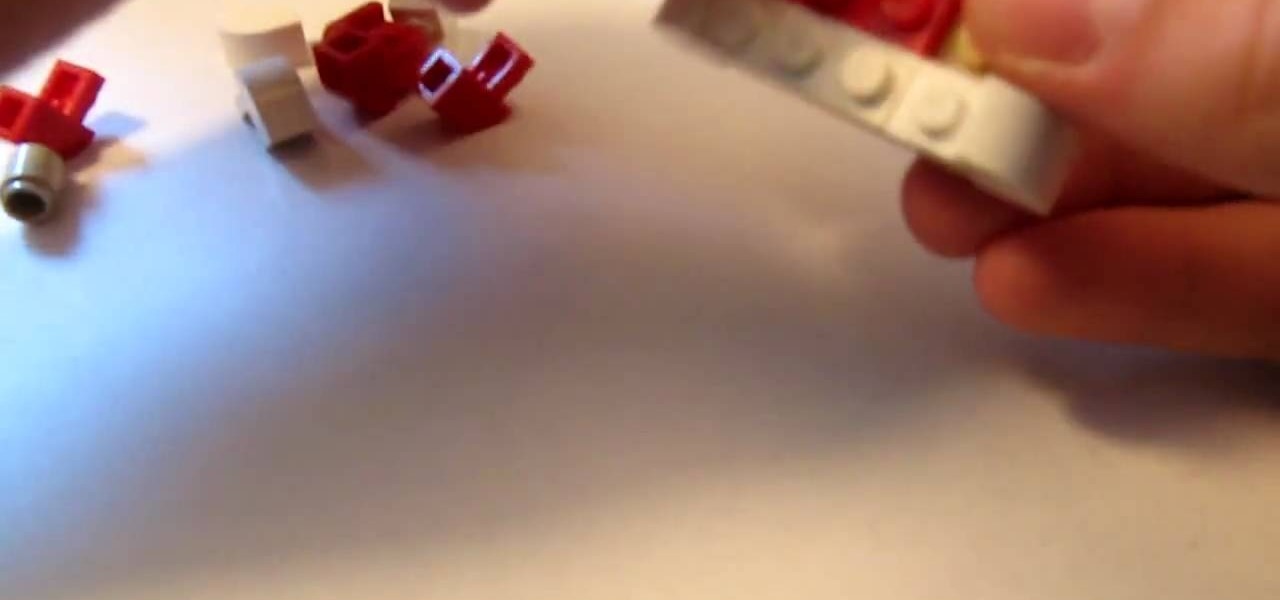
When you're making a restaurant, or a house, or any other somewhat modern Lego model, one way to make the interior (or exterior for that matter) come to life is by making furniture, and what better way to start than with a table with a striped table cloth on it? In this great video you will find out what parts he uses and then go through the assembly process all the way to the final project! Pay close attention though as the placing of some of the bricks are absolutely crucial to the model co...
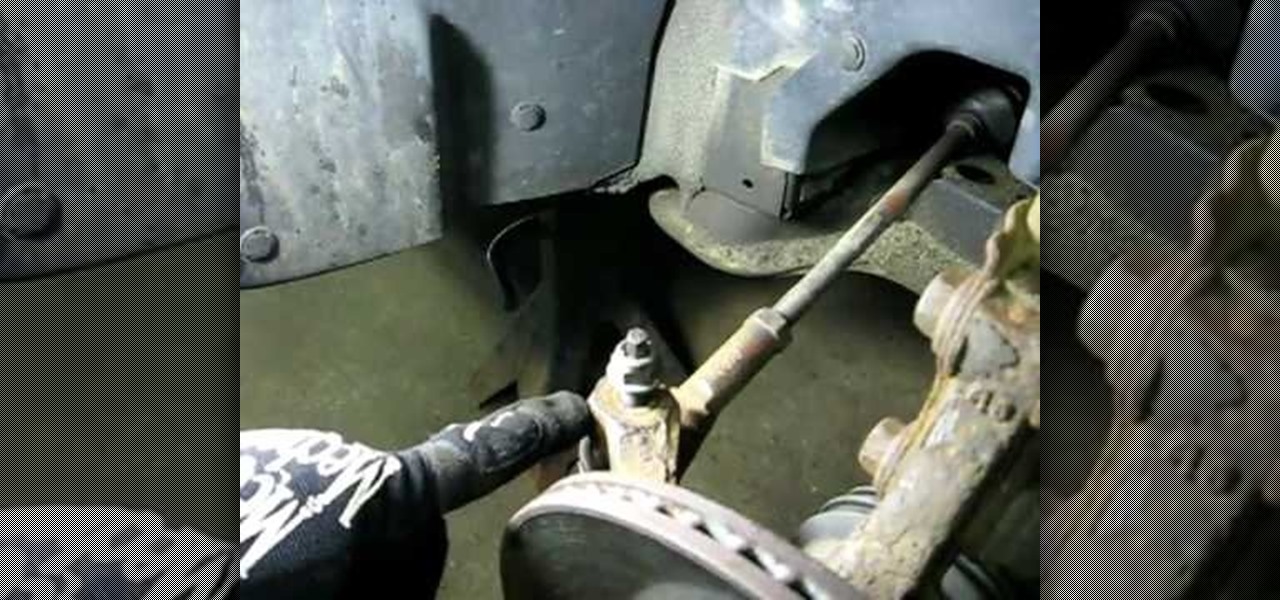
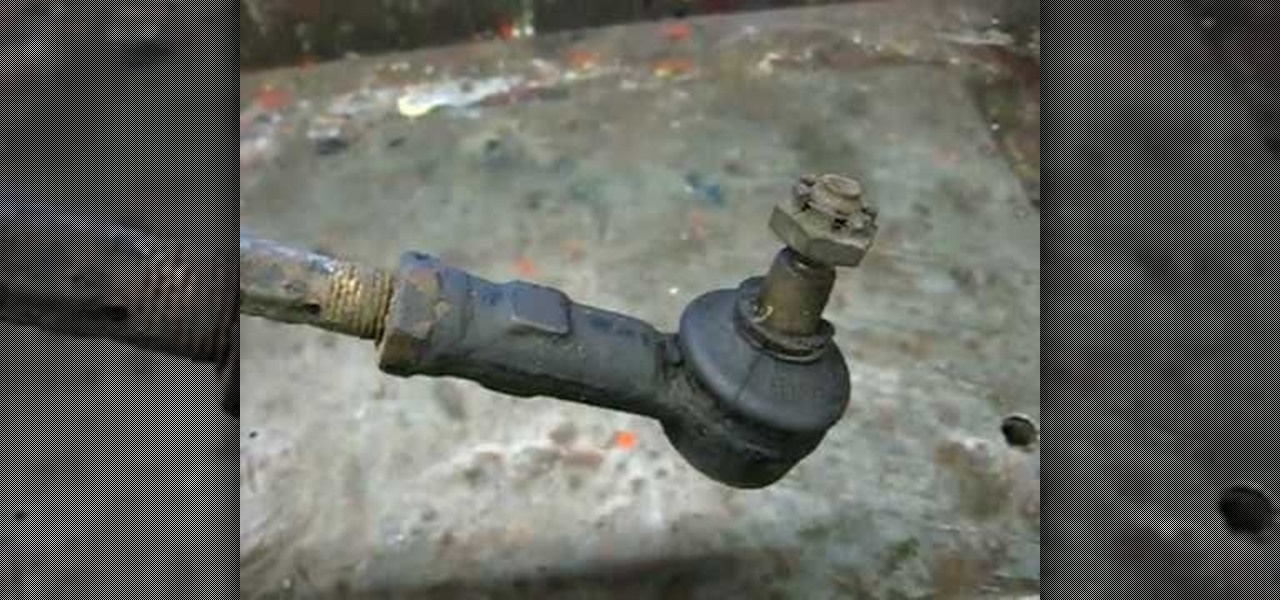
In this video, Rich Pin teaches us how to replace an outer tie rod end on a vehicle. First, get the vehicle in the air supported on jack stands, and remove the tire wheel assembly. Next, put a mark on the top of the tie rod shaft so you know where to line it up when you replace it. Next, loosen the jam nut from the rod, remove that and the nut. Remove the tie rod end after this by shocking it with a hammer. When it is removed, replace it with a new part and then attach all the bolts and nuts ...
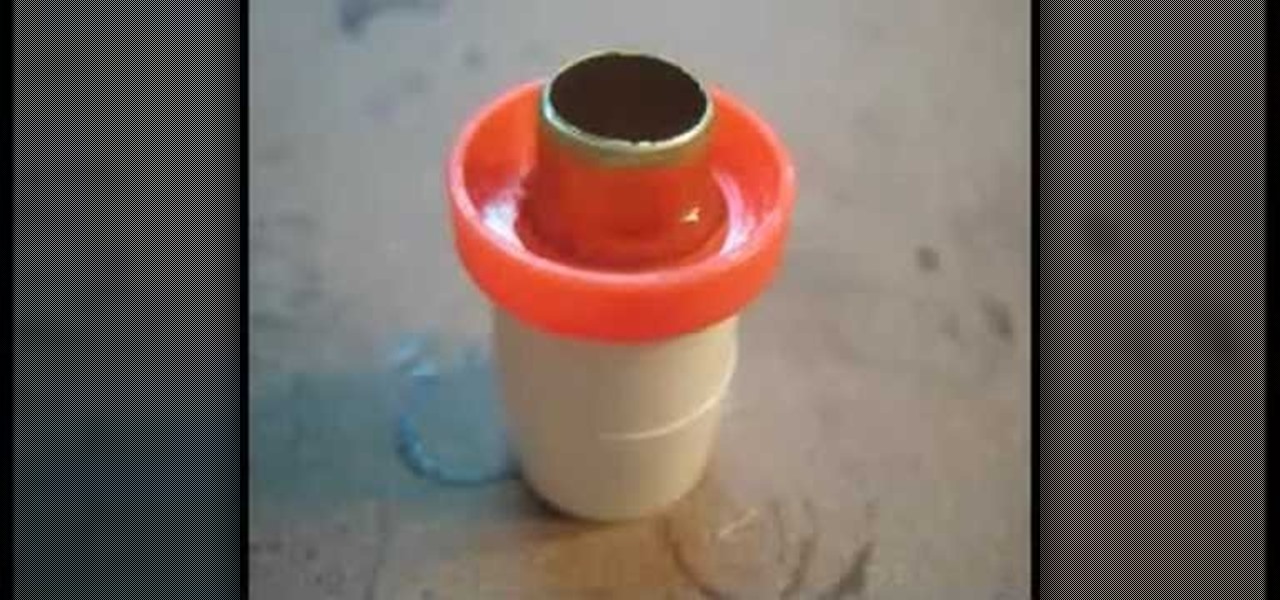
This is a video tutorial describing how to modify a nerf nite finder toy rifle. The first step is to take the nerf nite finder toy rifle out of the box and unscrew all of the screws on the gun. Then unscrew the light in the gun and then unscrew the back wiring and pry the metal out of the back. Next pull out the plunger tube assembly by unscrewing the two screws. Next add a pvc pipe to the connector piece from the gun, connect it to a piece of brass. Then add springs to your gun, and add a pi...

This video teaches you how to replace a LCD screen for the 5th generation iPod. The tools you will need are a soft cloth, a mini screwdriver, a plastic or metal putty knife, and of course your iPod. First, pry your iPod open with your putty knife. Place the knife in between the metal base and white case and pull the knife around the iPod, to undo the clips holding the case together. Once open, lift up the hardware, remove the headphone assembly, and take out the screws on the side. Take the e...
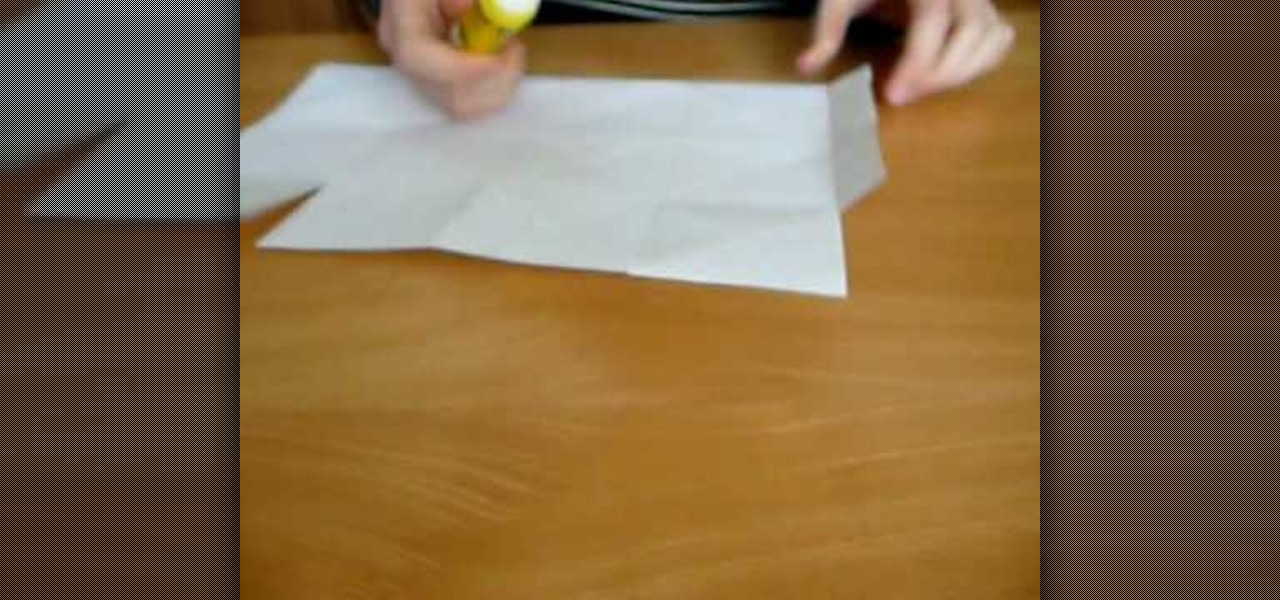
YouTube contributor, Sommerwetter, demonstrates how to make a paper lantern (also known as a luminaria or farolito) using only scissors, a glue stick and a standard sheet of paper (and a candle or the recommended tea light, of course.) Multiple symmetrical folds in origami-like construction and some well-placed slices in the paper create decorative cube or accordion style lantern. She notes that the process is very easy but you must follow it exactly. The author notes that the last several se...

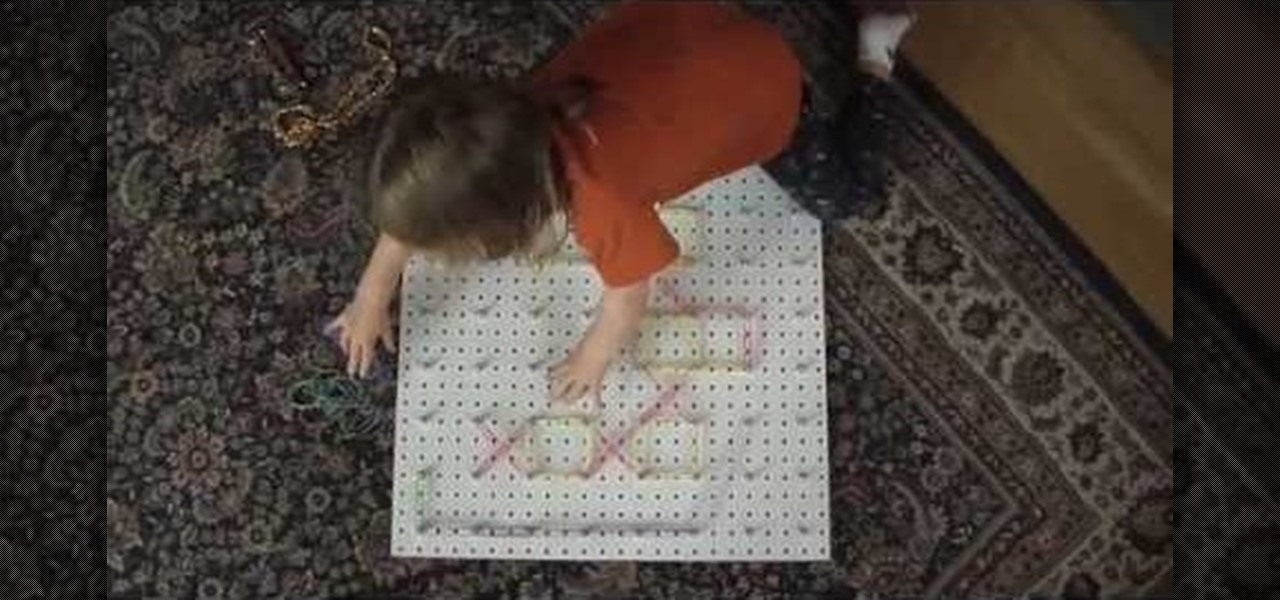
Geoboards are fun tools to teach your child the basic concepts of shapes and how they work in math; any kid would love a gigantic one! Firstly, you need to obtain a pegboard (what they hang merchandise on in hardware and similar stores). They usually come in 4x8' sheets, so you may need to ask an employee to cut one into fourths for you. The fourth piece should have 64 holes in 8 rows of 8, which means you need 64 nuts and bolts to make the board. Assembly is a no-brainer; you and your kids s...

1. First remove the Electrical connections by release the button to unlock them without pull them harshly. Gently remove the Bolts to make loose and take out the spark plug coil.

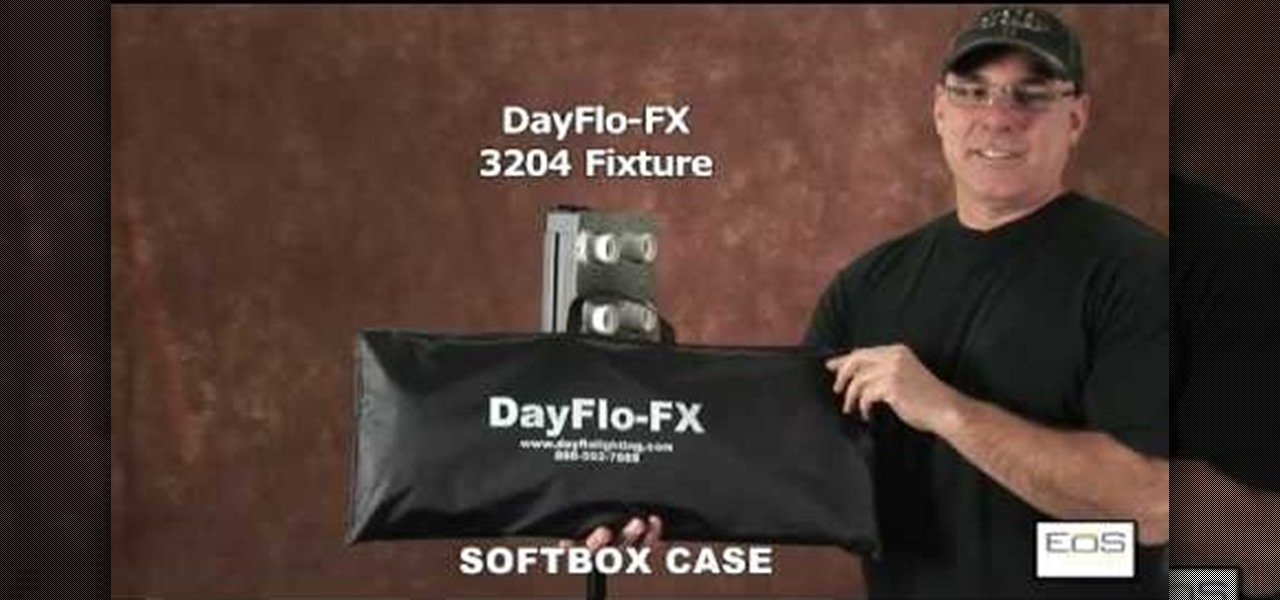
This video is a tutorial on how to assemble a DayFlo-FX 3204 Softbox. The instructor begins the video by showing what the DayFlo case looks like before assembly. The first part installed are the diffuser panels, it is also noted that you must remove the protective film from the front panel. The instructor notes that there are holes drilled into each side of the fixture. The next step is to insert the fat tipped ends of the rod into the corner holes and install the rods into the top two corner...

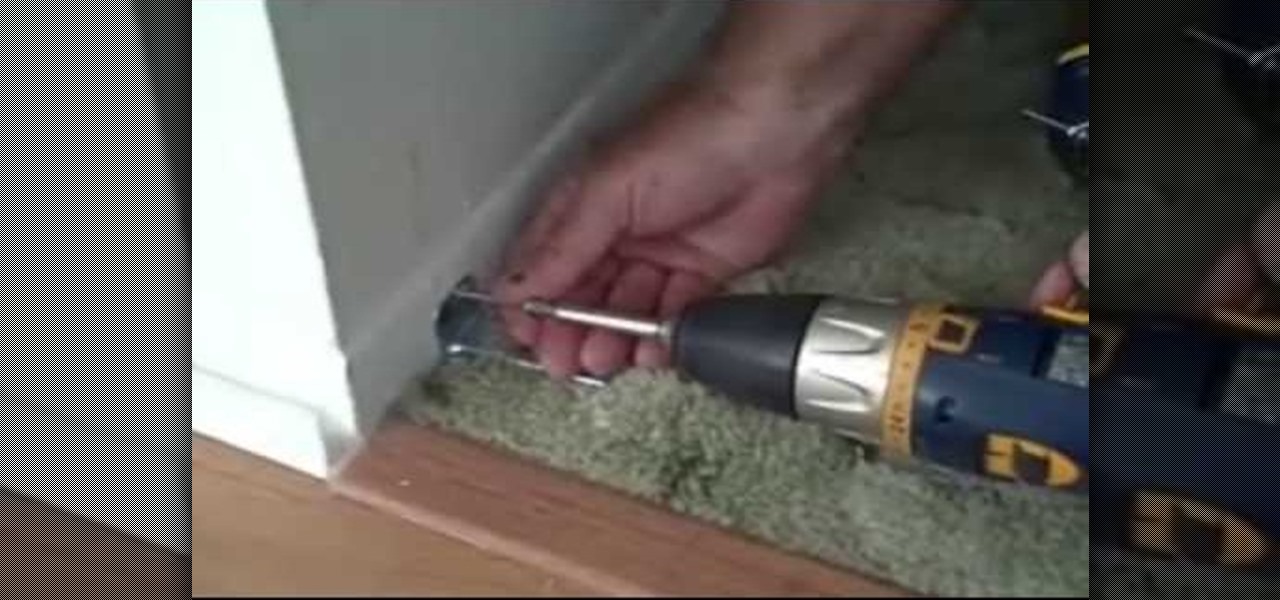
This video shows the method to install bifold closet doors. The doors are of two sizes. They include a thirty inch and a twenty four inch door. The video first demonstrates the installation of the thirty inch door. This is then repeated for the other door. The middle line of the upper part is drawn over the opening. The middle line is extrapolated to the sides to put the bottom support. The tracks are installed on the top. The floor bracket is fitted at the bottom. The top glides are installe...

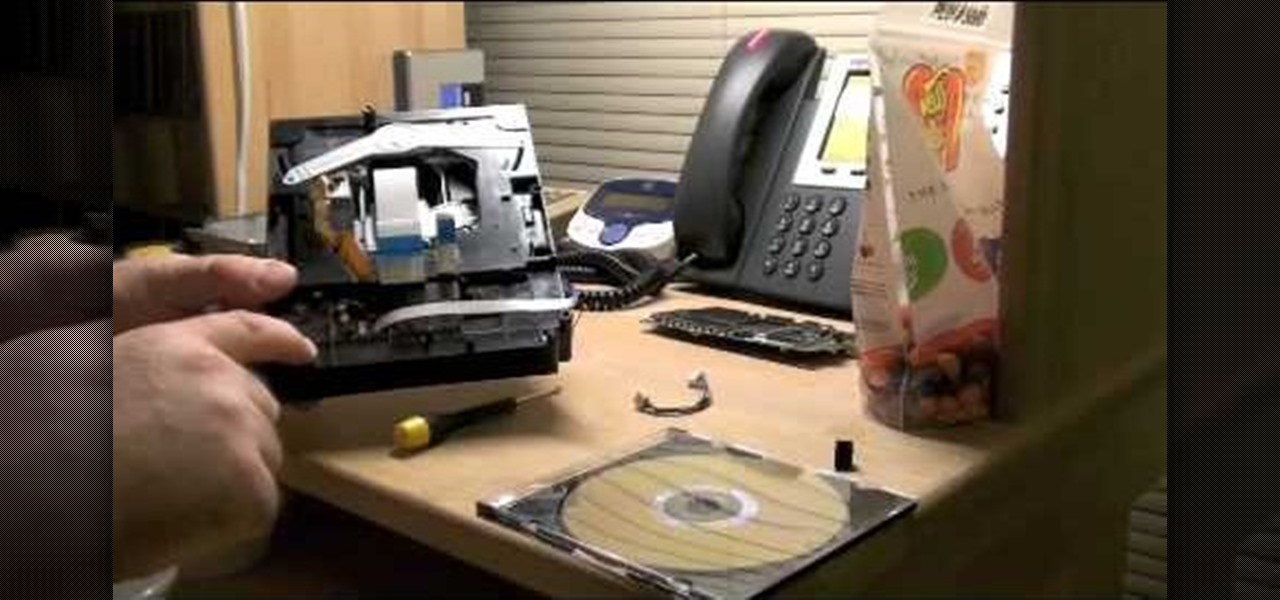
After you've already taken your PS3's Blu-ray Disc drive apart and fixed anything necessary (or maybe nothing at all), you going to have to reassemble the drive (obviously). This video teaches you how to do just that.

This video contains instructions for disassembling the Blu-ray Disc drive in your PlayStation 3. If you've never attempted to take apart the Blu-ray drive, then you must watch this, or you may possibly damage your PS3 for good! See how to teardown the Blu-ray player, all the way down to the laser transport. This is very useful if you need to replace the drive and want to save about $70-$100.

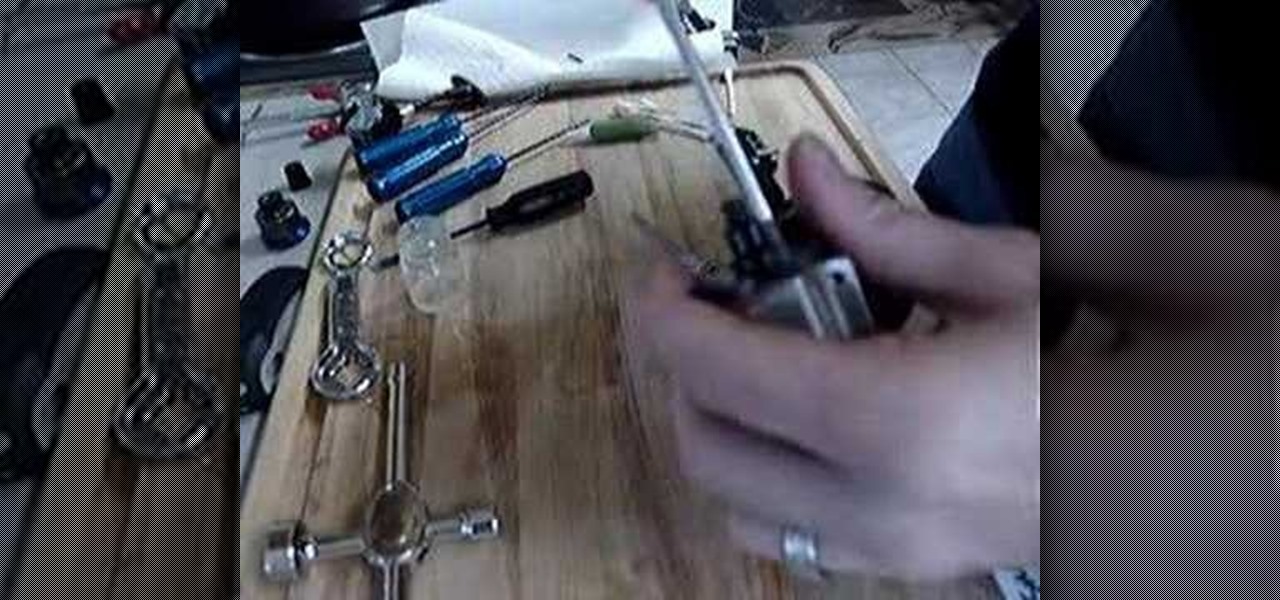
See how to set up a new radio controlled engine from disassembly, cleaning, sealing the engine, and clutch bell assembly. This will show complete tear down, cleaning to avoid metal flakes in the engine, reassembly of the engine, and then sealing the entire engine. This can be used on any SB or BB engine (small block and big block) from OS, Picco, TRX, HPI, Axial and also any engine size.

Bring a little joy and festivity to this holiday season, check out this do-it-yourself video to see how to make a festive holiday wreath, perfect for creating that festive atmosphere around your house during Christmas. At home on your front door or in a hallway, this cheerful Christmas wreath decoration is a cinch to make and sure to liven the Christmas spirit.

This video explains part of the final assembly of a motor when you install the camshaft. You will need all of your cam bearings installed first. You will need moly lube on the distributor drive gear and all of the lobes of your cam. To avoid a mess only do one section of lobes at a time and rest the cam on a journal to lube the next section. It should be freely rotating after installation.

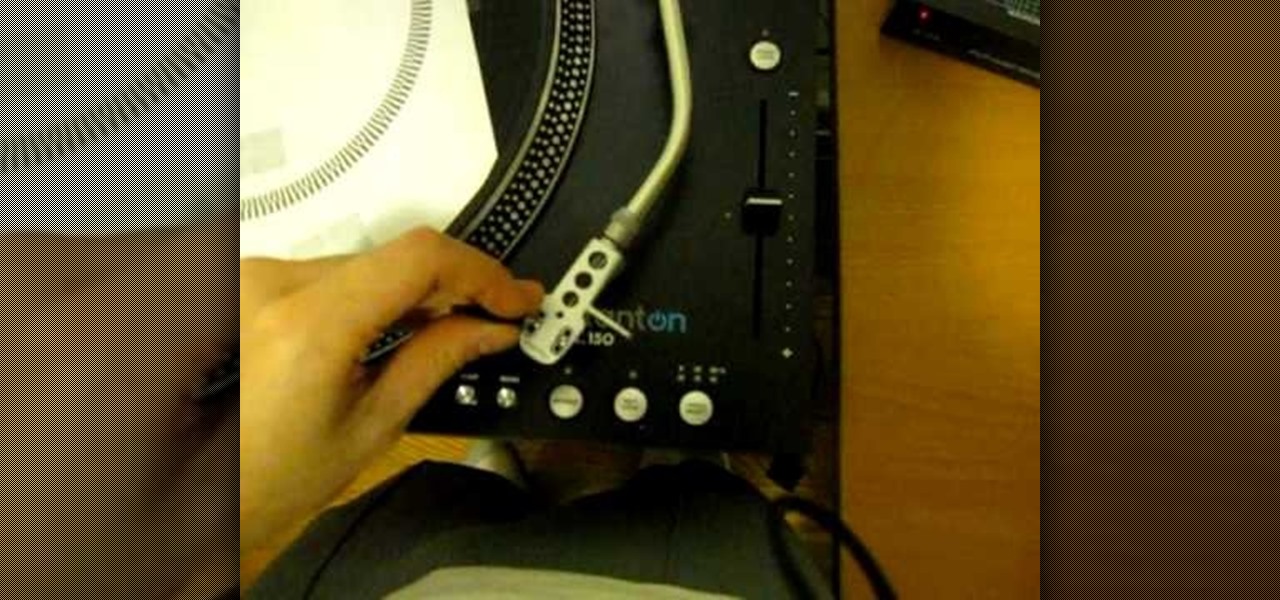
Paul demonstrates to viewers how to properly set up a turntable. Each turntable has the same basic parts, so this tutorial should work for most users. There are several components: the platter is the part that spins and it has a slip mat on top. The tone arm is to the right and it has a head shell and stylus cartridge (needle) mounted on the end. The queueing lever is at the base of the tone arm and it raises and lowers the tone arm base. There is also a VTA (Vertical Tracking Angle) adjustme...

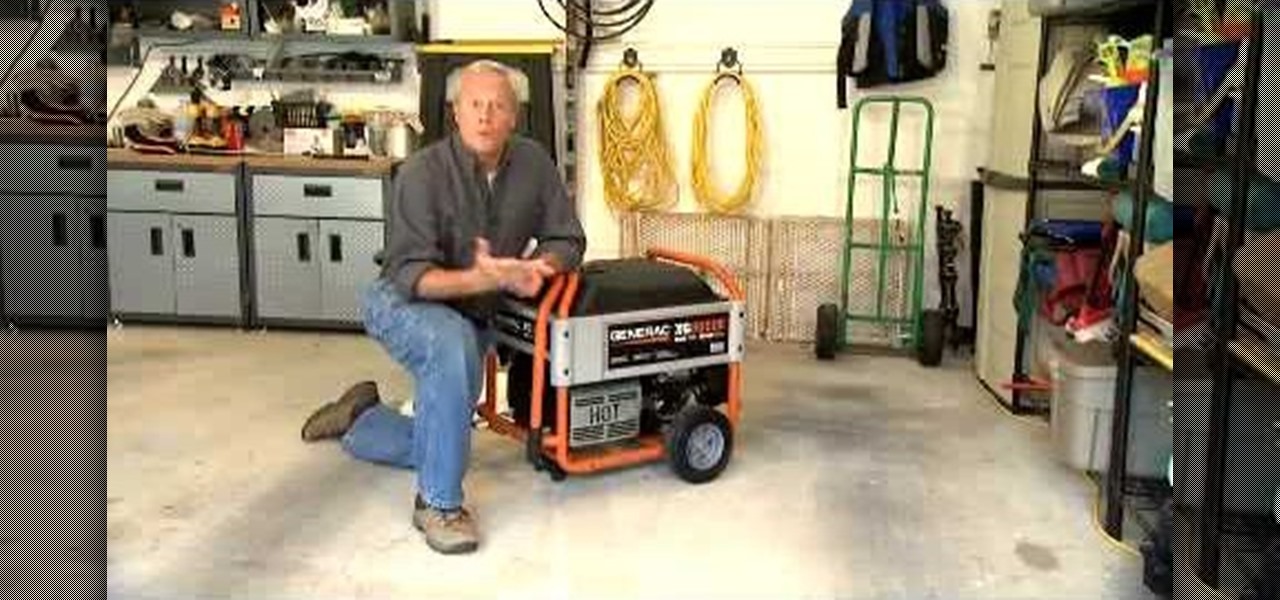
Danny Lipford gives us tips on setting up and maintaining a portable generator. Set-up usually includes assembly of things like wheels and handle kits. Most portable generators come without oil so you will need to add it. Be sure to check the owner’s manual for the proper type of fuel to use.

Richpin demonstrates how to remove the inner tie rod end on an automobile. First, get the car up in the air and support it by jack stands. Remove the wheel assembly.

Eagle Lake Woodworking, hosted by John Nixon, offers great do-it-yourself guides for building your own furniture, especially in the American Arts and Crafts style, and turning your garage into an amateur woodshop. Search Eagle Lake on WonderHowTo for more carpentry tutorial videos. From Eagle Lake Woodworking on this specific lesson:

Eagle Lake Woodworking, hosted by John Nixon, offers great do-it-yourself guides for building your own furniture, especially in the American Arts and Crafts style, and turning your garage into an amateur woodshop. Search Eagle Lake on WonderHowTo for more carpentry tutorial videos. From Eagle Lake Woodworking on this specific lesson:

A little planning is all it takes to decorate your dorm with style! You Will Need

Why justify the cost of buying a corsage from your local florist? Make an affordable corsage yourself that reflects your personal style.

There are tricks to putting together jigsaw puzzles that will make them more fun to do. You Will Need

A CNC router machine is probably the most useful tool a hobbyist can own, but the price for a CNC machine on the market is way more than the average hobbyist is willing to spend. You can build your own CNC with very basic tools, little knowledge of machinery, mechanics, or electronics, but be warned, these machines are inherently dangerous, so wear the proper protection and use common sense. At the very least, read the instructions and precautions on every tool you use.

A CNC router machine is probably the most useful tool a hobbyist can own, but the price for a CNC machine on the market is way more than the average hobbyist is willing to spend. You can build your own CNC with very basic tools, little knowledge of machinery, mechanics, or electronics, but be warned, these machines are inherently dangerous, so wear the proper protection and use common sense. At the very least, read the instructions and precautions on every tool you use.

A CNC router machine is probably the most useful tool a hobbyist can own, but the price for a CNC machine on the market is way more than the average hobbyist is willing to spend. You can build your own CNC with very basic tools, little knowledge of machinery, mechanics, or electronics, but be warned, these machines are inherently dangerous, so wear the proper protection and use common sense. At the very least, read the instructions and precautions on every tool you use.

Is your hobby remote controlled vehicles, specifically RC airplanes? Well, check out this video tutorial series to see how to assemble the Micro Scout R/C model aircraft from Plantraco. Yes, These planes are small - with a wingspan of only twelve inches, but believe that...

Is your hobby remote controlled vehicles, specifically RC airplanes? Well, check out this video tutorial series to see how to assemble the Micro Racer P-51 R/C model aircraft from Plantraco.

Covers installation of BMW X5 Subwoofer system for X5 00-06 (E53). Part 1 shows removal of original subwoofer (if present). Part 2 shows accessing the OEM amplifier and battery. Part 3 and 4 show amplifier connections. Part 5 shows amplifier power and ground for the subwoofer system. Part 6 shows fuse install, first amp sound test and amp mounting. Part 7, the final part, shows rear hatch assembly and final amplifier tuning.

If shaky home videos are making your audience seasick, it's time to steady your hand. Watch this video to learn how to make a camcorder stabilizer.

A CNC router machine is probably the most useful tool a hobbyist can own, but the price for a CNC machine on the market is way more than the average hobbyist is willing to spend. You can build your own CNC with very basic tools, little knowledge of machinery, mechanics, or electronics, but be warned, these machines are inherently dangerous, so wear the proper protection and use common sense. At the very least, read the instructions and precautions on every tool you use.

Stop guessing if you need to take your RV into a service center, answers are here in this tutorial video. Learn how to maintain the water heater on your RV.

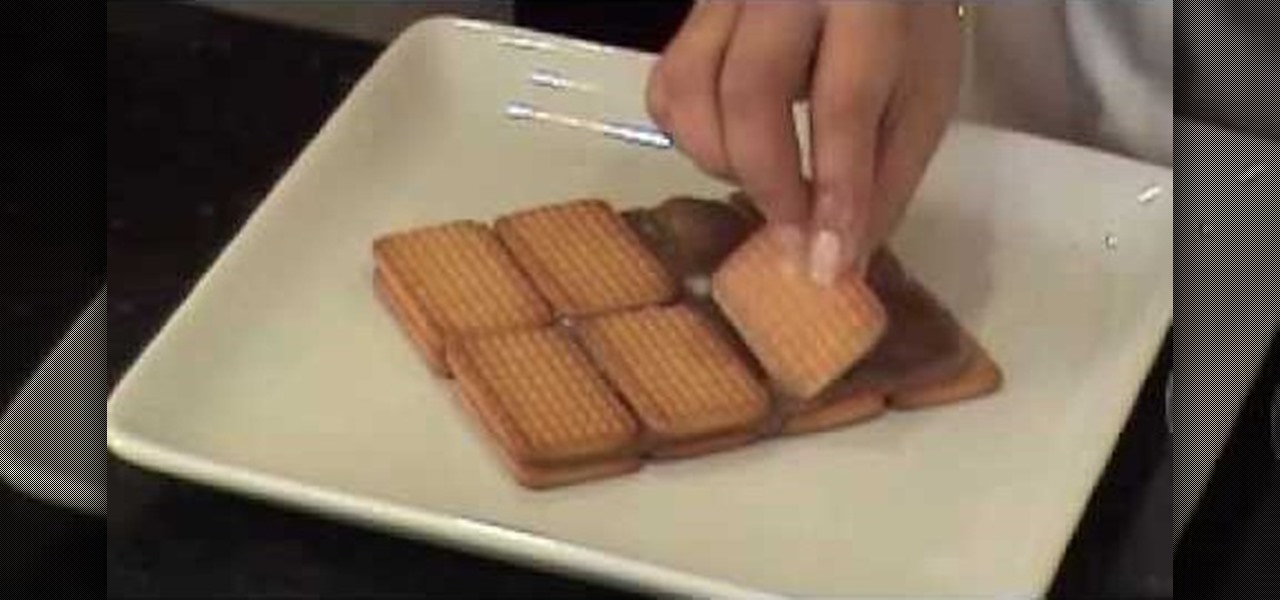
Here is a cake type of chocolate cake, it uses biscuit cookies. You will probably have to fight the kids off just because you want it all to yourself. The best part is that there is no baking required and it is very simple to make. The only thing you need is patience - just enough to make it and allow it to chill before you dig into it. Watch this how to video to learn a quick recipe for a chocolate biscuit cake recipe.

What if the code you are trying to reverse engineer is obfuscated or somehow corrupted? What if no way is left? Here comes what I like to call (wrongly and ironically) the "brute force of reverse engineering".

This may just be the most in-depth guide out there for replacing ball joints on trucks, so be prepared. You'll be learning the full details on replacing both the upper and lower ball joints on a 2-wheel drive, full-sized vehicle. To begin, grab all the necessary tools below, then proceed to watch all 31 parts of this repair video walkthrough.

What a week for iPhone rumors. Monday saw an intriguing photo leak on Reddit of what could be the final designs for the iPhone 8, 7S, and 7S Plus (highly suspect, of course). Today continues the intrigue — iPhone assembler Wistron told reporters in Taipei that Apple's newest smartphones will be waterproof and feature wireless charging.

Today's post is a small go-to guide for beginner programmers in Null Byte. With many of our community members picking up programming from our Community Bytes, it only makes sense to lay out a one-stop guide for your reference. Hopefully this guide will help you make an educated and thoughtful choice on what programming languages you want to learn, and how you want to learn said languages.

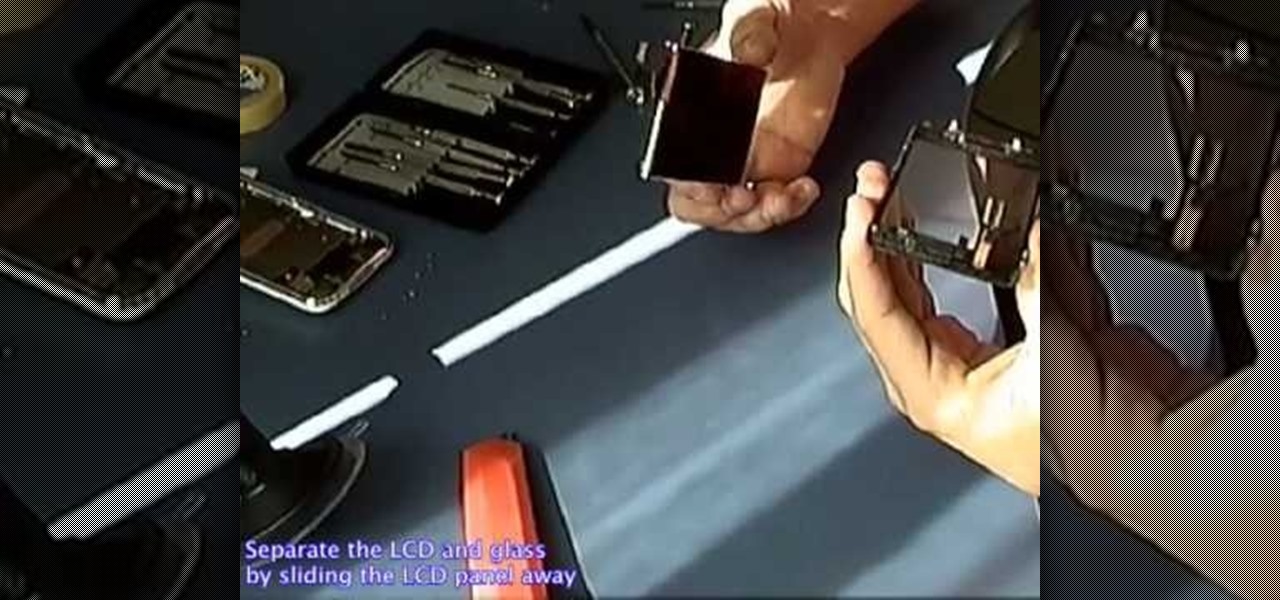
In this Electronics video tutorial you will learn how to repair and change your iPhone 3G touch screen. Remove the 2 Phillips #00 screws from the dock connector end. Use a suction cup to gently pull up the display assembly. Use a spudger to disconnect the black ribbon cable labeled 1, 2 and 3. Remove the screws of the display assembly. Peel up part of the black tape and remove the screws under it. Gently rotate the spudger, lift the LCD from the glass and separate it. Heat the top left of the...

Check out this instructional RV video that demonstrates how to fix your motorhome refrigerator. Learn what to look for when fixing your RV refrigerator along with simple steps to keep your RV out of the dealership repair bays. Here are a few simple do it yourself repairs that just might save you thousands.

In the last tutorial, we learned how to make functions and how they work on the high level. This time, we will take a peek under the hood again, stare deep into its soul and see its ugliness face to face to see how it works in the lower level.


