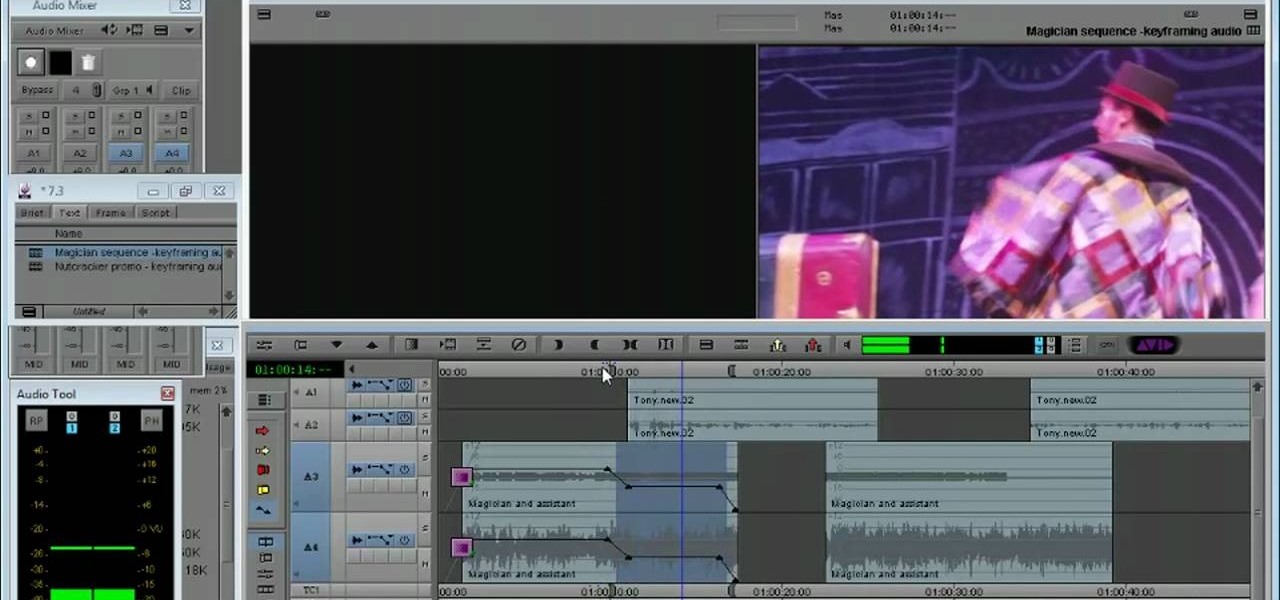
Need to know how to keyframe (or key frame) audio within Avid Media Composer 5? Never fear: this guide will show you precisely how it's done. Whether you're new to Avid's popular non-linear editor (also known as "The Avid") or are a seasoned digital video professional just looking to better acquaint yourself with Media Composer 5, you're sure to enjoy this free software tutorial. For detailed instructions, and to get started using Avid 5 yourself, take a look.

If you are watching the World Cup live and the vuvuzelas are driving you slowly (or quickly) insane, this video isn't going to help, sorry. However, if you are recording the World Cup or working with someone else's recordings of it, it is possible to almost completely eliminate the sound of the vuvuzelas while mixing in Garageband or another audio editing program. This video will show you how to create the proper parametric EQ's and mute the vuvuzelas while preserving the rest of the audio tr...
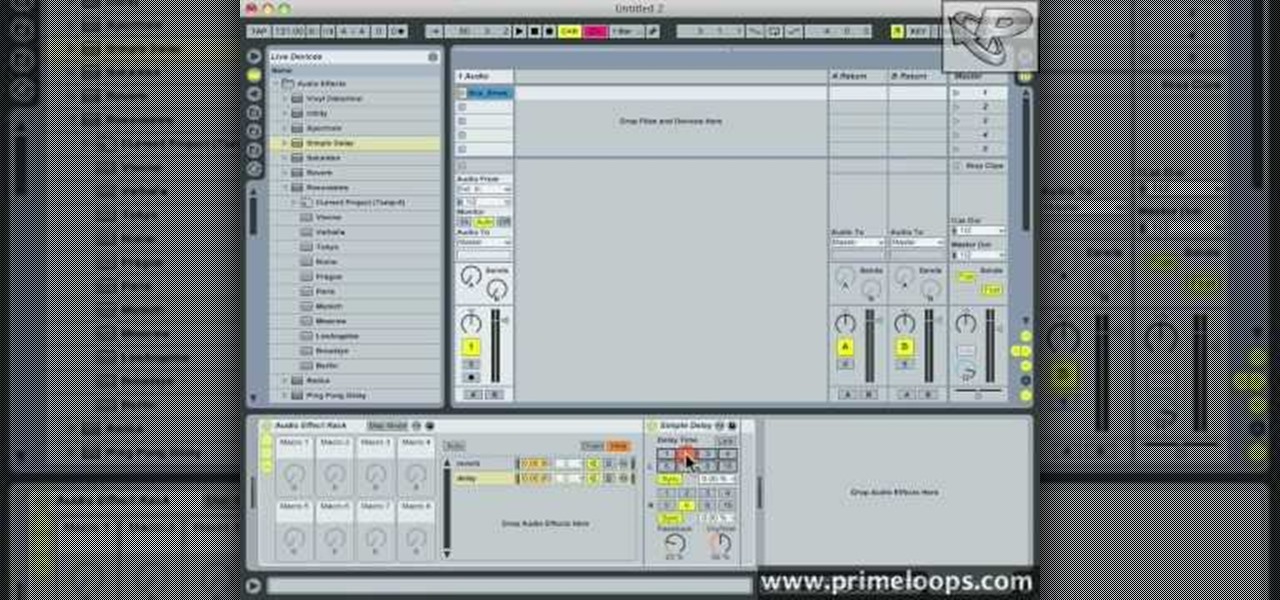
This video is a tutorial for a music producing software program called Ableton Live 8. In this tutorial he shows you how to apply effects to effects to audio using the audio effect rack function. The way this function works is by being dragged into the bottom of the program and being applied as a place to hold various effects. Using the effect rack you can modulate and manipulate the sound waves in the effect. This is a very convenient tool to have in Ableton because it allows you to have mor...
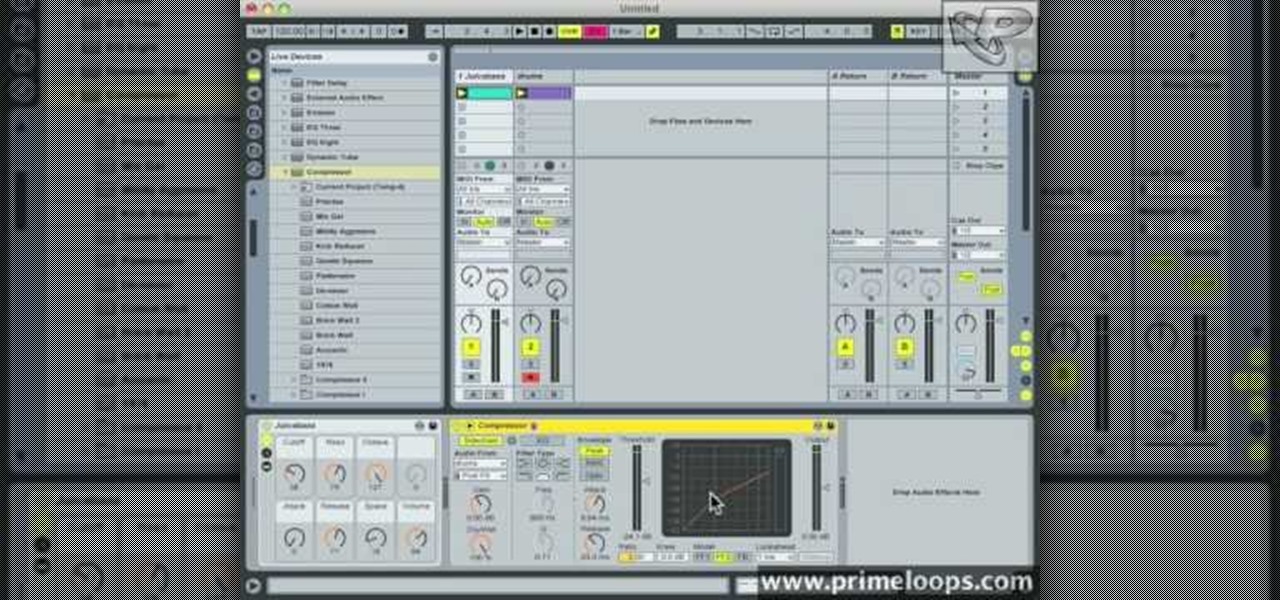
This video shows how to do audio side chain compression to improve your production audio mix. Side chain compression is an easy way to balance the base and the drums. Using a compressor, you can cause your base to drop in volume when the drums are hitting so that one is not over-powering the other. This video walks you through step by step instructions for configuring your compressor to balance based on threshold level, the attack time, and release time. This is an excellent source of audio p...

Donnie Hoyle sounds off on his return home. See how to not suck at Photoshop with Annotations in this Adobe Photoshop video tutorial.
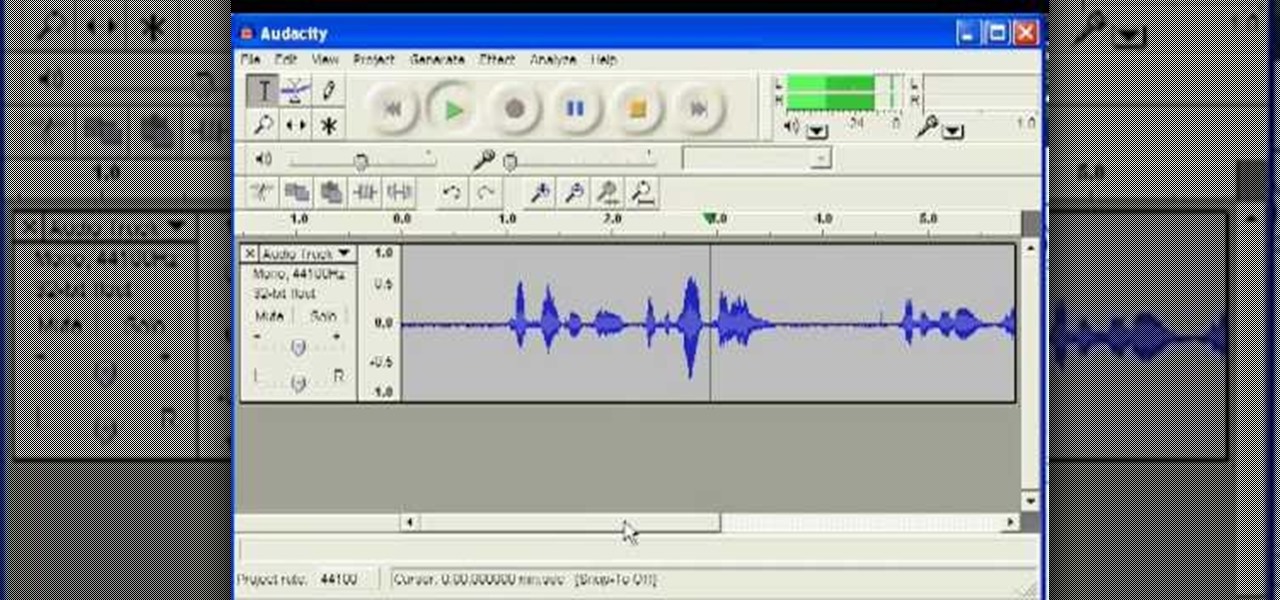
A short tutorial on how to use Audacity to record a poem to submit to CloudyDayArt.com poetry contest.

This audio production tutorial shows you how to simulate a live crown in FL Studio. Use a microphone or your audio output to trigger cheering or laughter in real-time with 5 easy steps in FL Studio. There's a little formula usage involved, but it's easy. See how to use fruity formula controllers for crowd simulation and reactions.
Take a look at this instructional video and learn how to reduce quality on audio tracks to make it sound as if it's coming from a phone.
Audio filters help you create a credible soundtrack. They can remove distracting noises, like the hum of an air conditioner, and add atmosphere, like an echo. Filters are accessed in the effects tab of the browser and organized into two categories: those provided by Apple and filters that come bundled with Final Cut Express. Drag a filter into the timeline and doubleclick it to edit it in the viewer.
Do you have an old PC sitting around somewhere in your garage? Want a dedicated audio server that will play back MP3s, Internet radio, and other digital music files over your home stereo system? This CNET video teaches you how to convert your old PC into an amazing server!
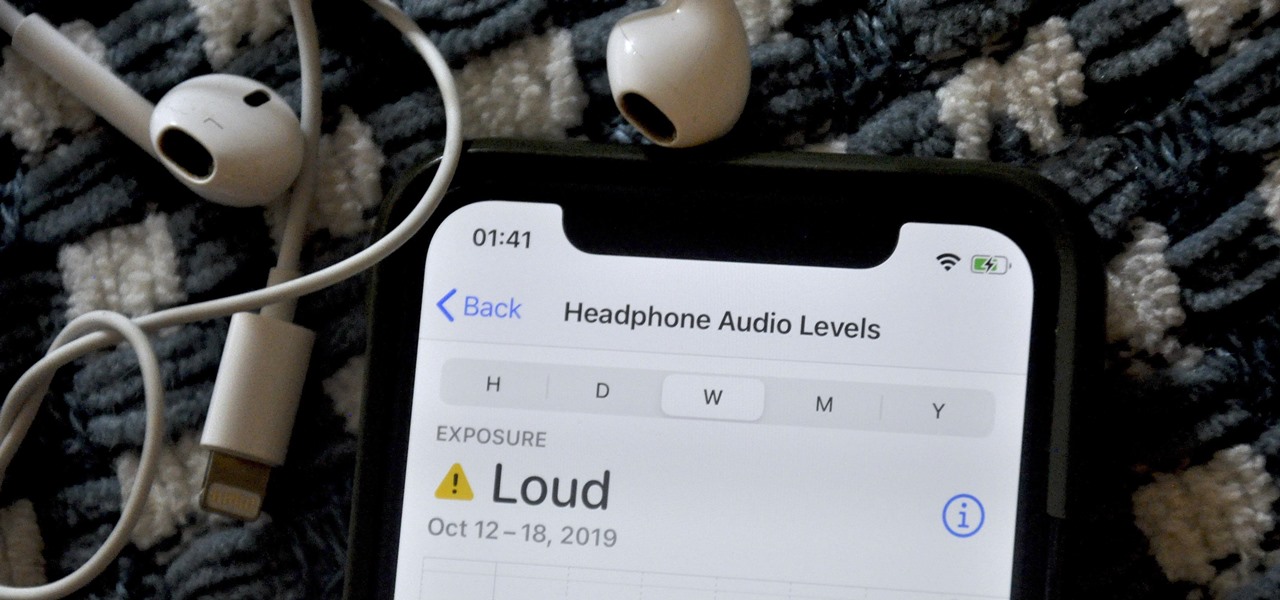
Although the Health app mostly focuses on fitness, Apple has slowly added features to help with other aspects of well-being, including hearing. In iOS 13, there's now a headphones volume tracker in Health that monitors audio levels and lets you know when your music, podcast, movie, or whatever else is too loud.
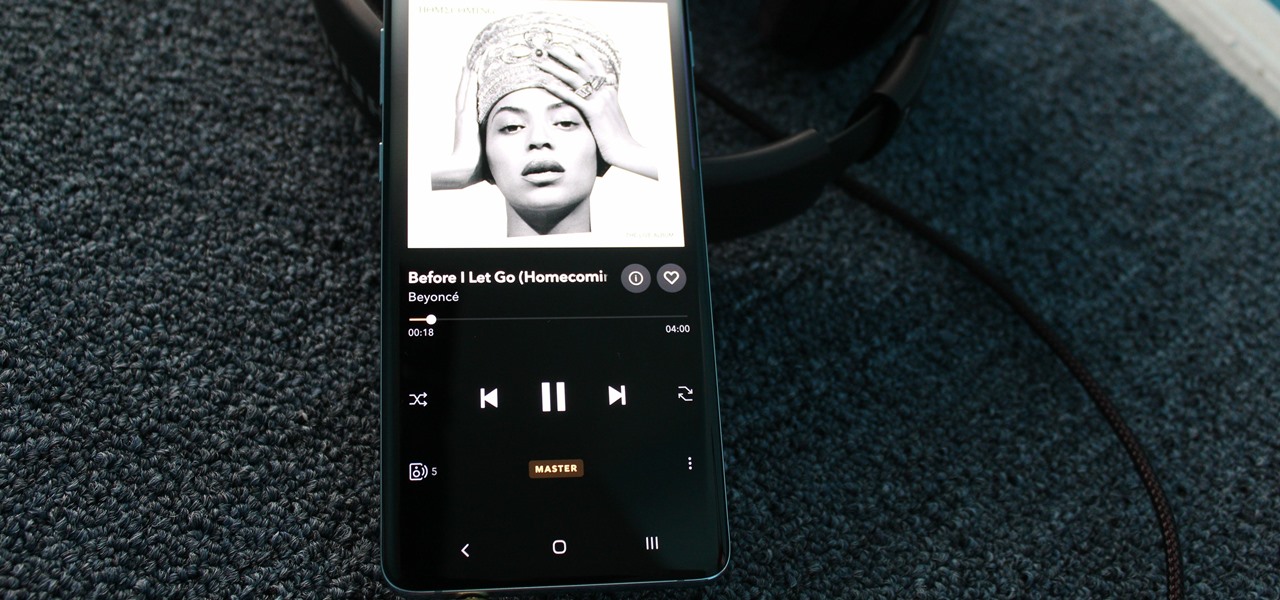
As you might know, Tidal differentiates itself from the competition with its audio quality. Unlike Spotify and Apple Music, it aims to give its subscribers studio quality audio from any device. However, before you sign up for Tidal, be aware there are few steps you need to take in order to stream such high-quality music.
Let me paint a picture for you. You're on a long flight home, and while listening to music on your Samsung Galaxy S10, a great song comes on. You want your friend to hear it too, who's also listening to music using a pair of Bluetooth headphones. Thanks to Dual Audio, you can easily share your experience.
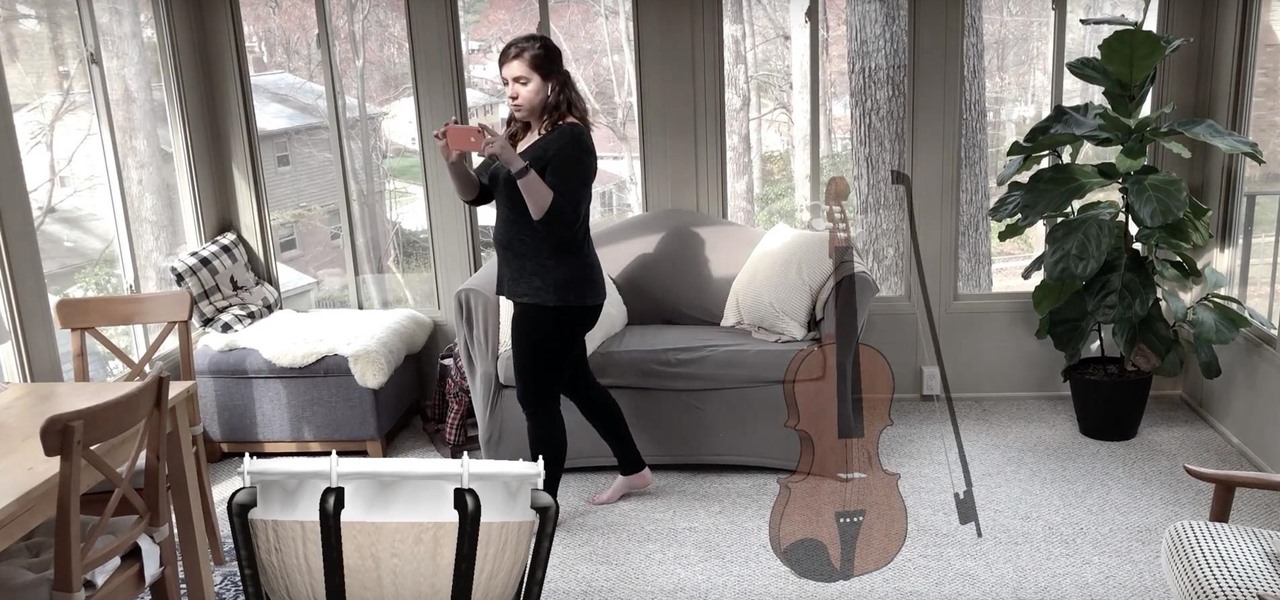
It may take practice to get to Carnegie Hall, but a new mobile app gives the average iPhone or iPad owner the experience of walking on stage with a live orchestra.
Many Samsung fans were excited when the Galaxy S9 kept the 3.5 mm headphone jack. While this is a rare delight in 2018, you also have the option for high quality audio playback over Bluetooth. When used with compatible headphones, the S9's new Bluetooth audio codecs can greatly improve audio quality.
When you think of high quality music, your phone isn't the first thing to pop into your mind, even though 68% of US smartphone owners stream music on a daily basis. Most of us tolerate the audio quality from our devices simply because music is something we can't live without — but we shouldn't have to put up with poor quality, and as it turns out, we don't.
If you already have speakers that you love, you don't need to ditch them for an expensive wireless set for convenience's sake. With products like Chromecast Audio, you can turn any set of wired headphones or speakers into wireless versions for much less, and stream music or audio to them from pretty much any device connected to the same Wi-Fi network.
The front-facing stereo speakers on the Nexus 6 certainly pump out some awesome sound—but it could always be better, right?
Tired of your Android phone's boot screen? Watch this video and learn how to change it to this
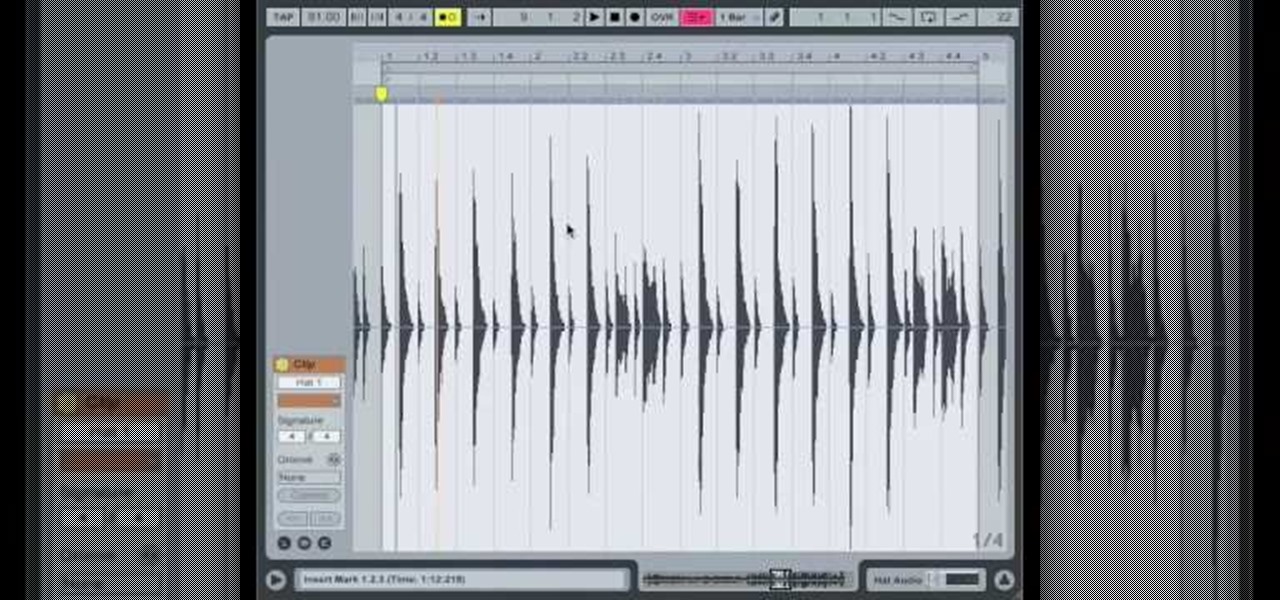
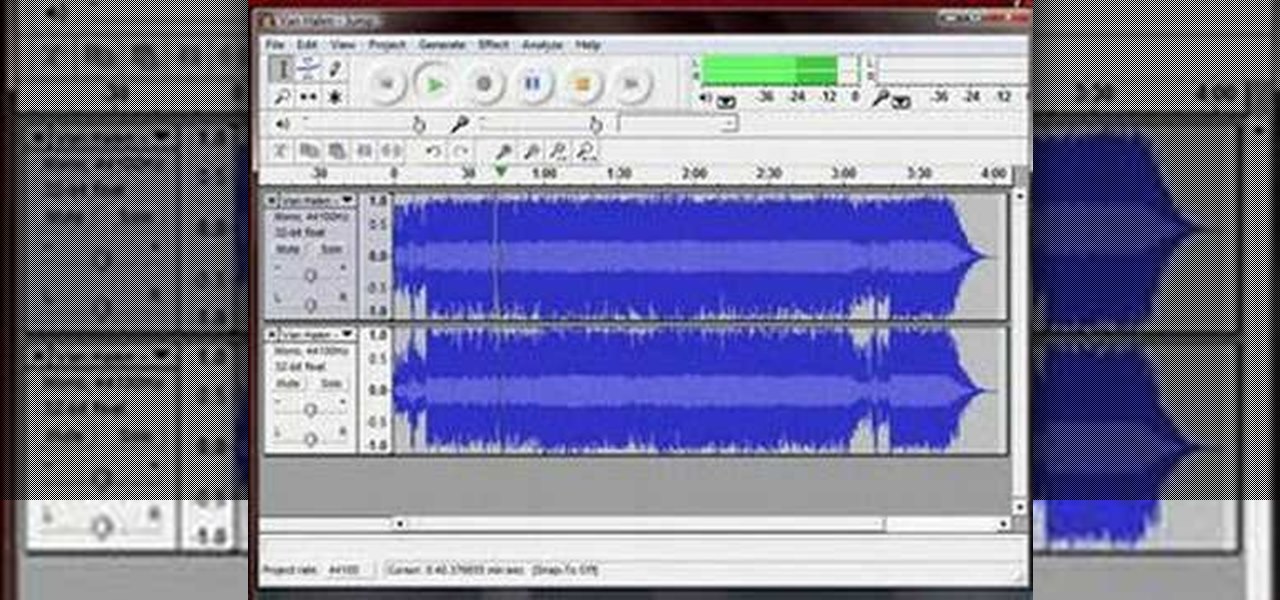
This tutorial covers the basics of manipulating audio in Final Cut Pro by using keyframes. Add fade outs, fade ins, adjust the volume up or down, and even edit out the sounds of breathing or other small flaws in sound.
In this video we learn how to make a scary voice effect on Adobe Audition. First, record an audio that you made and open up Adobe Audition. From here, open up any other audio that you want to hear for the beat. Then, go to "generate" and then "silence. Put this to 1.5 seconds, then go to the end of your sound and do the same thing. This will make a good effect when you are editing and adding in echo. First, reverse the audio by going to "effects" and then "reverse". This will make it a lot ea...
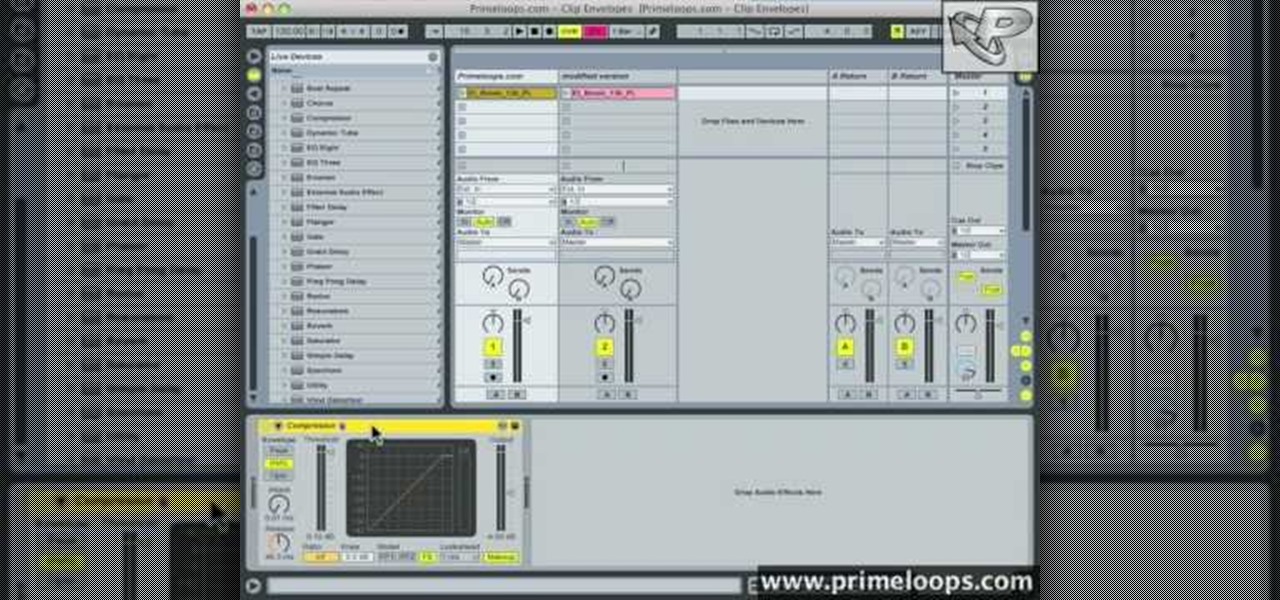
In this tutorial, we learn how to use clip envelope modulation in Ableton. This allows you to change parameters over time. You can access this by selecting your audio clip, then hitting the "E" button in the lower left hand corner. Now, you will see the envelope section where you will be presented with drop down menus. These will allow you to choose parameters and modify the tuning or position. This is an easy way to do extreme tuning changes in your audio. Continue to play around with the cl...
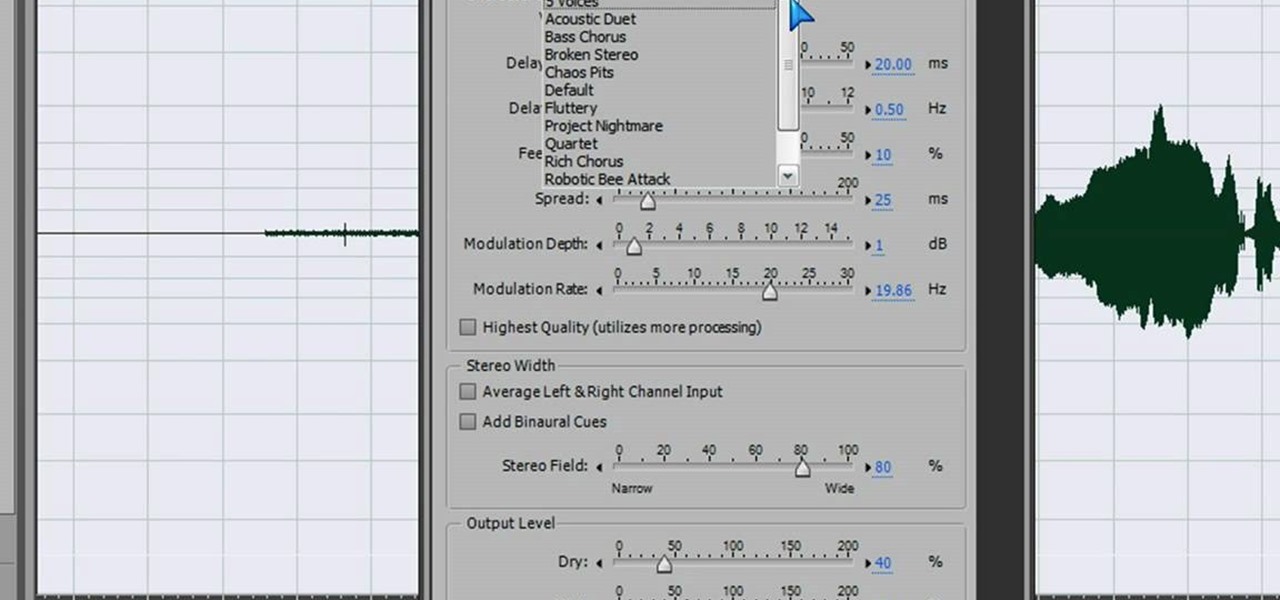
Learn how to a create a fancy, dancy multi-band rhythmic gating effect in Logic Pro. Whether you're new to computer recording, new to the Apple Logic DAW (digital audio workstation) or just looking to pick up a few new tips and tricks, you're sure to benefit from this free video software tutorial from Next Step Audio. For more information, including detailed, step-by-step instructions, take a look.
In this video, we learn how to use Ableton Live 8: Quantizing audio. To find the bars you want to use, find the up and down arrow keys. These will jump the loops back and forth based on the width of the loop race itself. Press play to search around for the best four bar section in your music. Now, set your first attack in your loop by zooming in on the hit. Hover over the audio and create a warp marker to drag from each of the bars. Label it as the beginning of your clip to the end, then save...
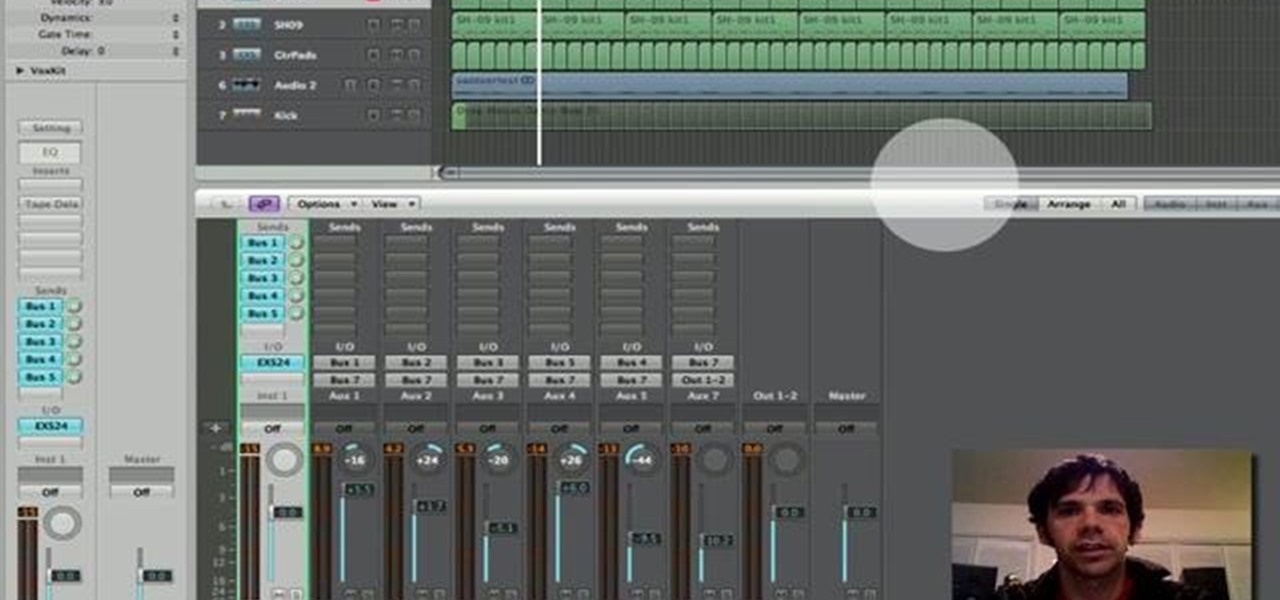
Want to selectively adjust the timing of an audio region? Whether you're new to Digidesign's Pro Tools digital audio workstation (or DAW) or just want to learn how to take advantage of Pro Tools 8's new features, you're sure to benefit from this free video tutorial from the folks at Lynda. Specifically, this software tutorial provides a complete overview of how to use warp markers to manipulate timing in your Pro Tools projects.
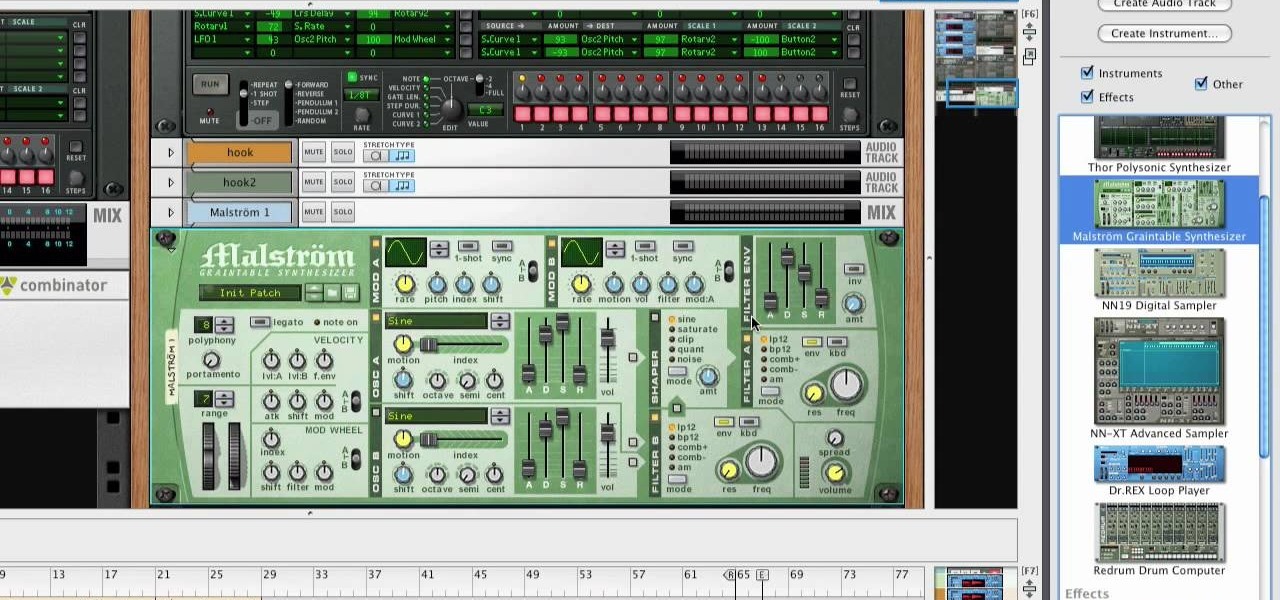
The video describes how Audio Editing Software, Record, and Reason can be used together on the same computer. Once all the three are installed on the same computer, they can be merged to form one large audio editing program on the same account. After installation of both of these, ensure that the program Record recognizes the installation of program Reason. By merging these two audio editing programs, the users will be able to access the features of both programs as if it is one large editing...
Reversing audio files can create some cool sonic effects. This Apple Logic Pro 8 tutorial show you how you can reverse files in Logic, using the Sample Editor.
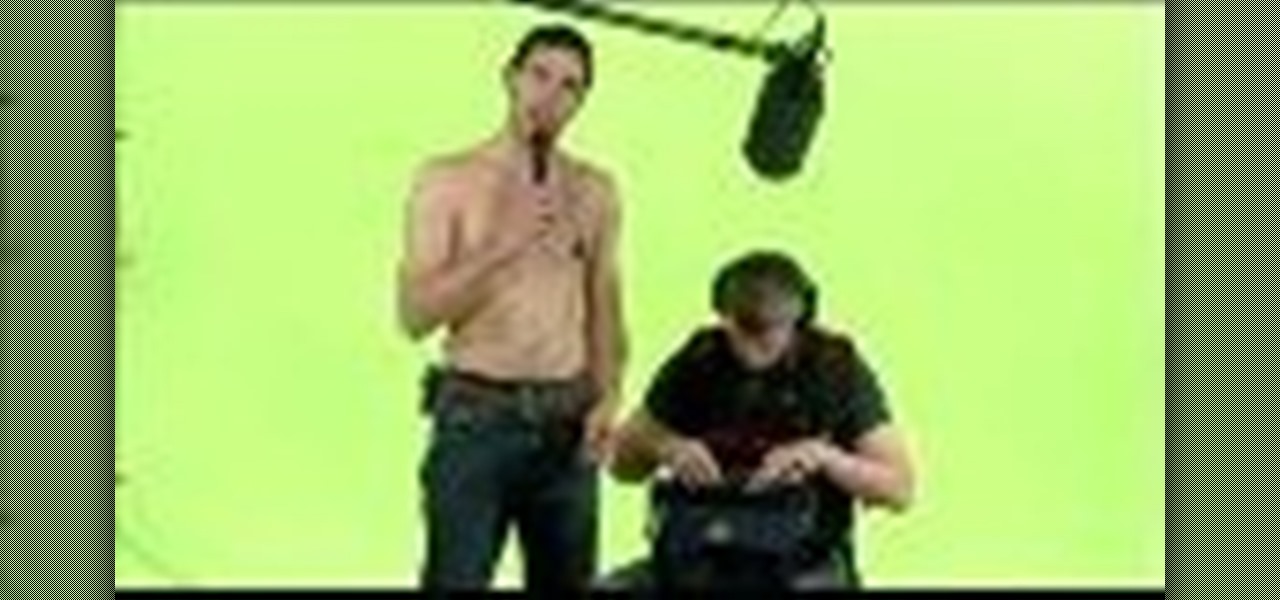
In this riveting episode of The Shirtless Apprentice, Matt discusses recording audio for your internet video and podcast.It all begins with your camera, microphone options, surroundings and the inherent sexiness of your voice.
Learn how to record audio from video files (even Flash .flv files or Youtube videos) using the Windows sound recorder. All of the software used in this tutorial comes bundled with Windows.
Cassettes take up quite a bit of space, and can sometimes start showing wear, which can affect the sound. This video shows you how to take this information from your cassettes, and move them on to a CD. Detailed instructions, and photos in this video, will have you transferring analog information into a digital format within just minutes. This allows you to be able to use the audio recording on your computer, as well as being able to listen to it in a regular CD player.
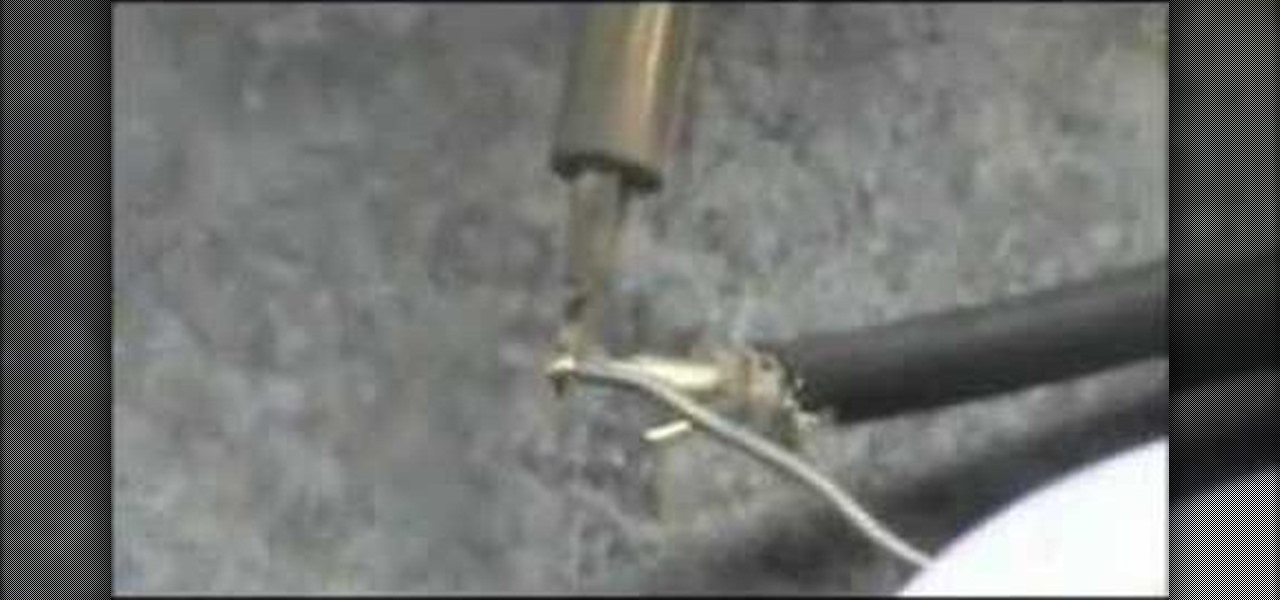
Elemental Designs shows you how to make your own custom RCA cables which are sometimes necessary when installing car stereo or audio systems and components.
Interested in sharing your DJ mixes online via YouTube? This clip offers some useful instructions on how to get the best audio on your YouTube DJ mixes. Because it's difficult to show off if people can't hear what you're doing. For complete details, and to get started improving the sound of your own YouTube mixes, watch this guide.
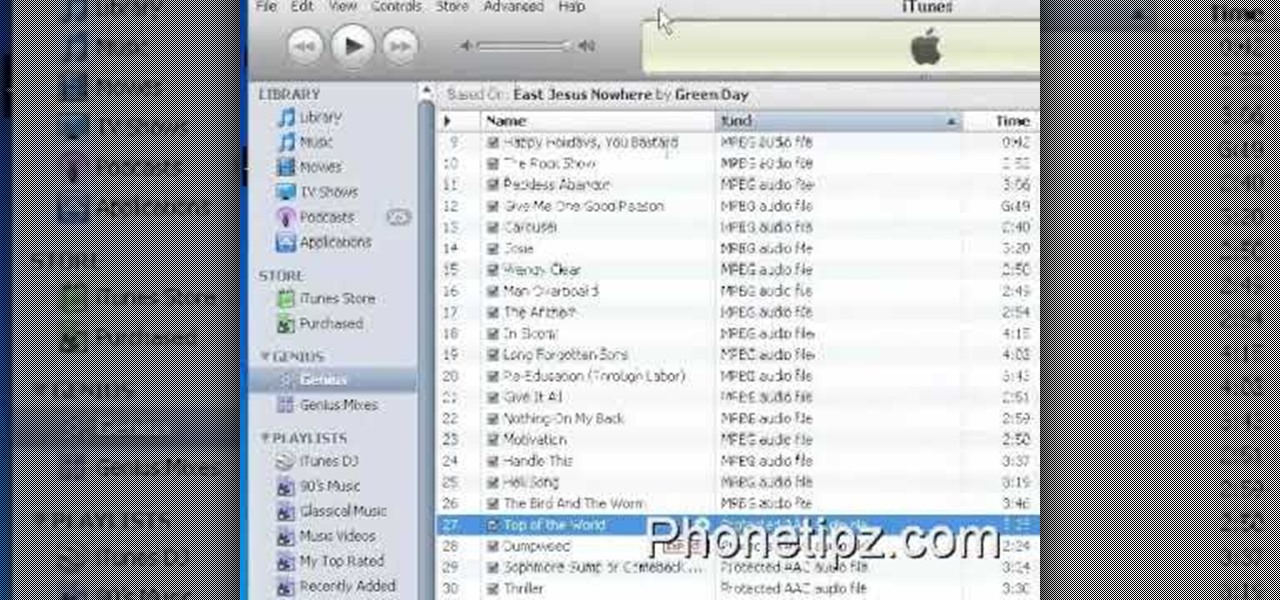
1. First of all you need go to the 'view' button at the top bar menu. From the drop down click on 'view options'. Then click a 'check mark' against the 'kind' and then click 'ok'.
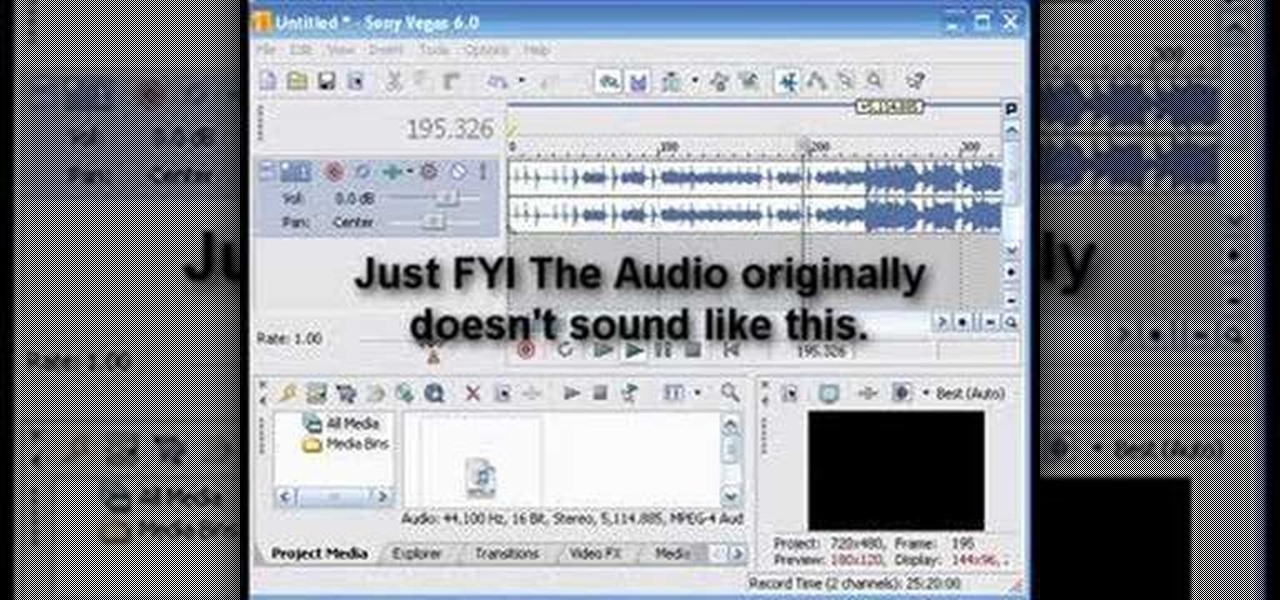
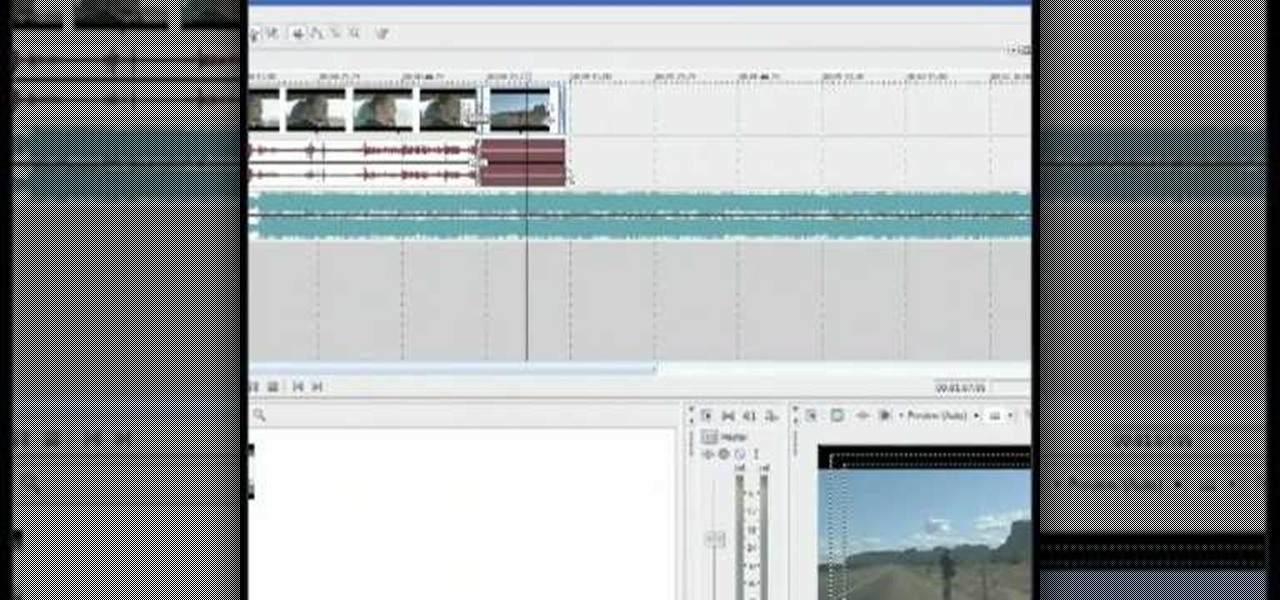
This tutorial shows you how to add an additional track for background music, voice over or any other audio assets when you already have existing audio in Sony Vegas 7.
This video demonstrates how to record audio in Windows and attach it to a movie recorded in CamStudio. The video walks you through recording a video, recording the audio, and putting them together.
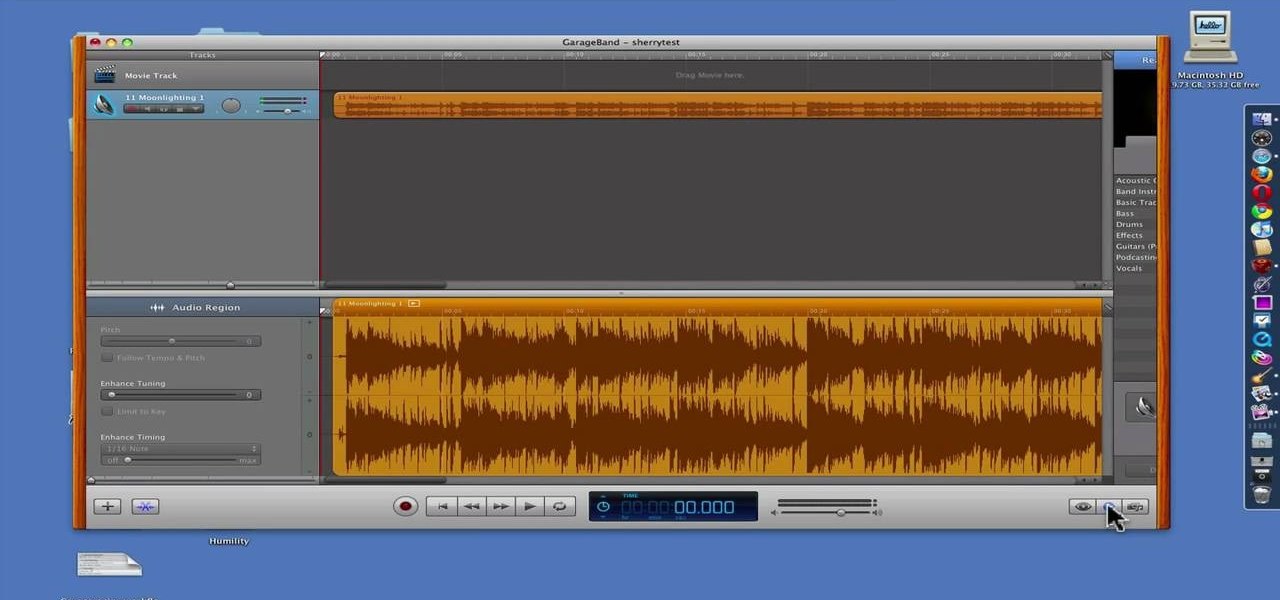
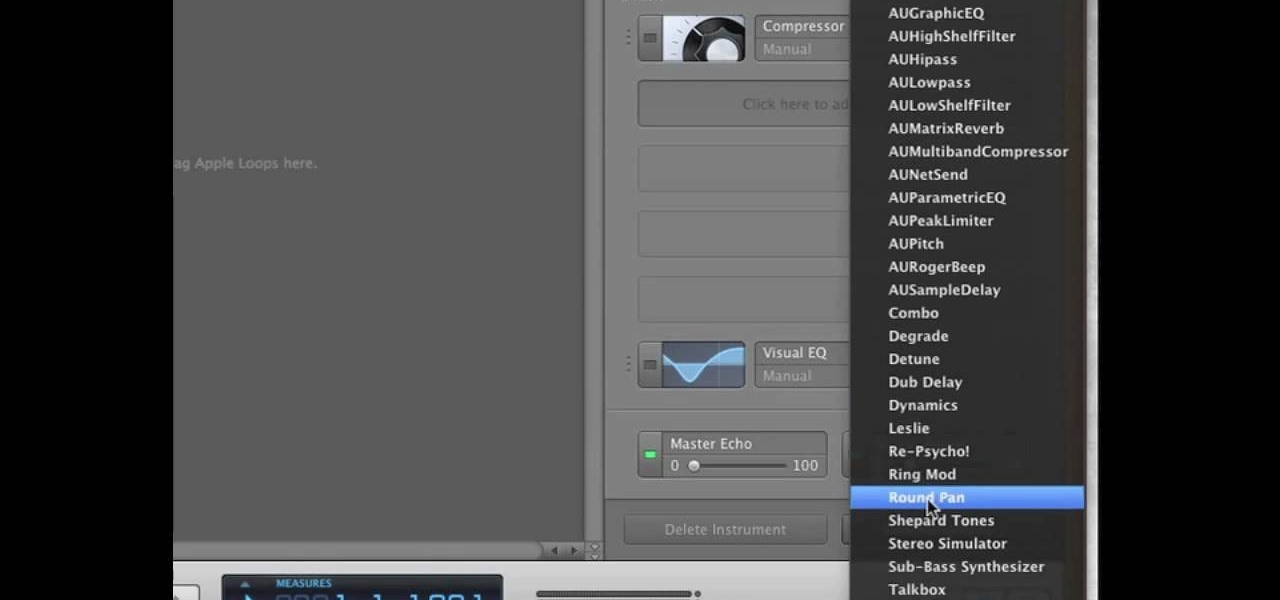
GarageBand is a powerful tool for Mac OS X that lets you edit and tweak audio tracks. One of the many audio editing capabiltiies of the program is the ability to reduce the vocals in a song. Take a look at this guide on how to edit the song's vocals so they aren't so loud using the AUGraphicEQ tool.
Edit your audio using the invert effect in Audacity. Once you follow this tutorial on applying a minus one to your track, you'll be good to go! You can download Audacity for free by going to this website. Enjoy!
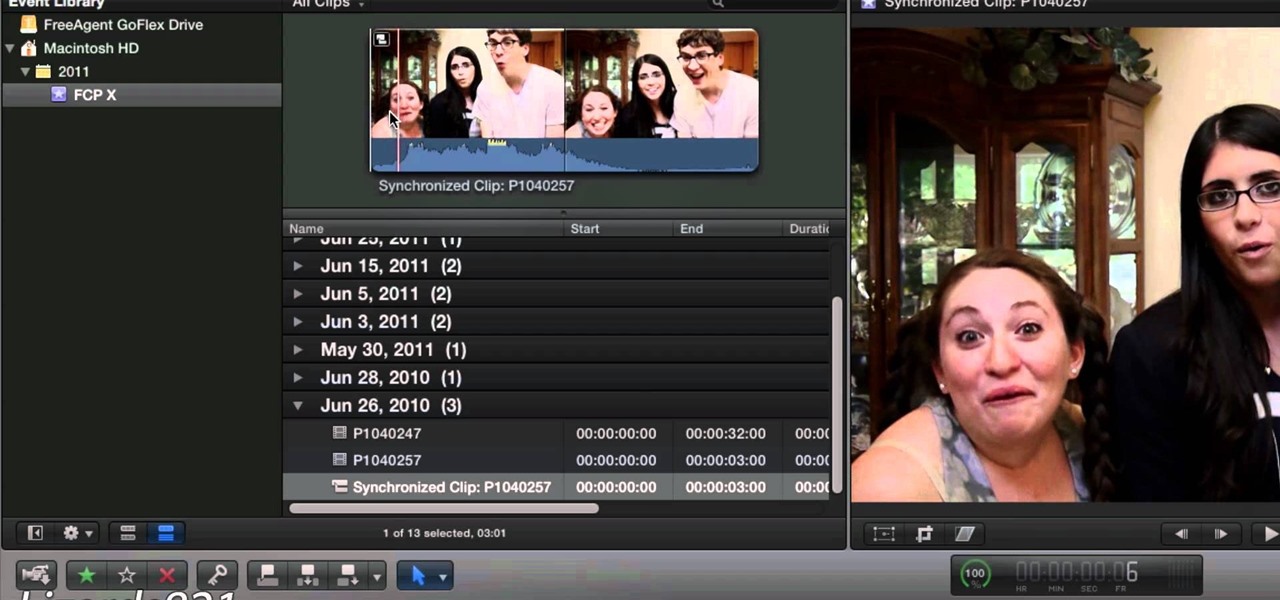
If you're shooting with a camera that doesn't have a built in microphone, you'll want to watch this video and learn how to use the automatic audio sync feature of Final Cut Pro X. Do video editing right on your Apple.
You'll need to be running Garage Band on a Mac to be able to run these plugins. If you are, then you can download the audio units (like dubs and other synthesizers) and install them as plugins to your copy of Garage Band.
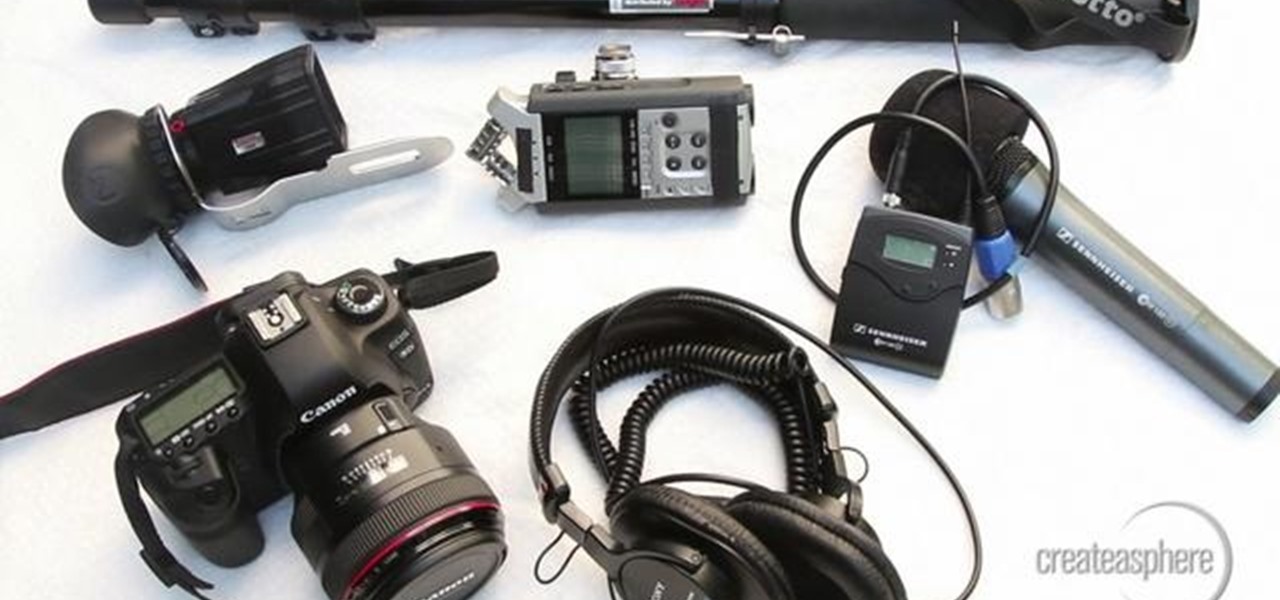
Many professional videographers record their audio separate from their video. This tutorial shows you the best equipment to make your finished clips and film as professional as possible. Make sure you have a post production program like Final Cut Pro which will allow you to sync up your tracks.