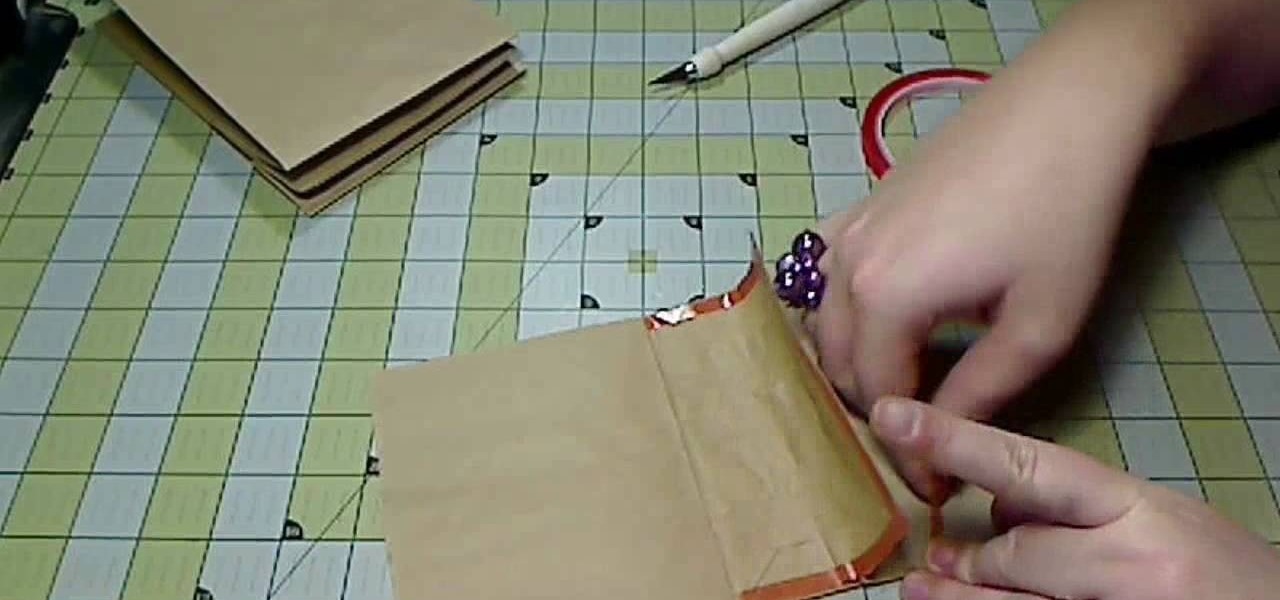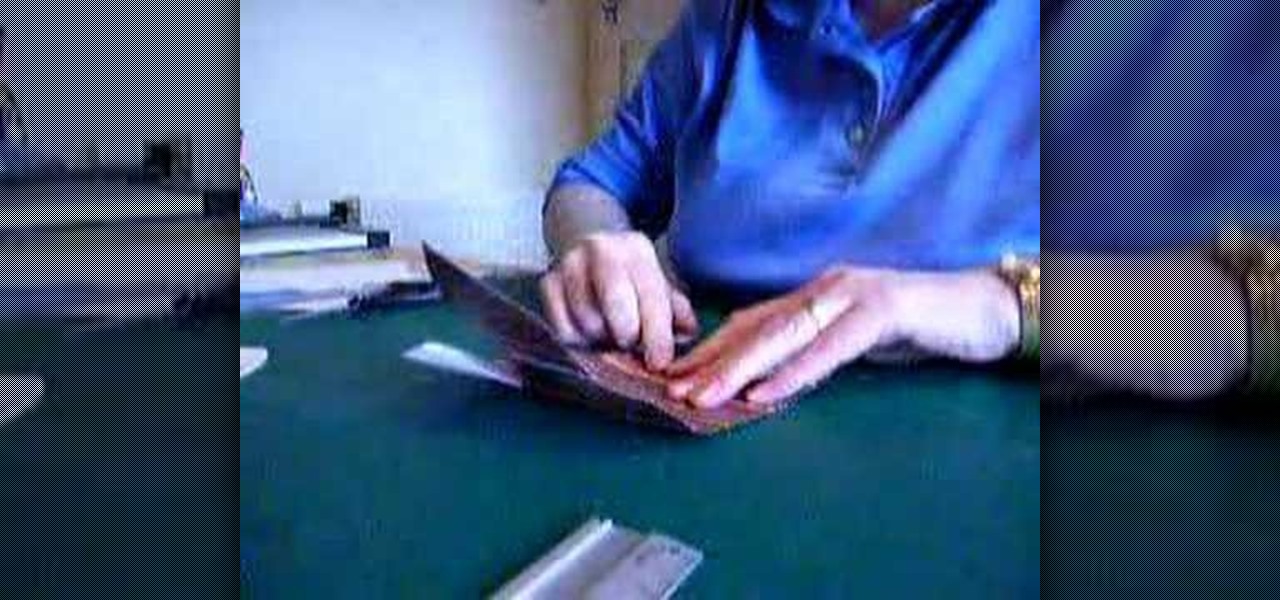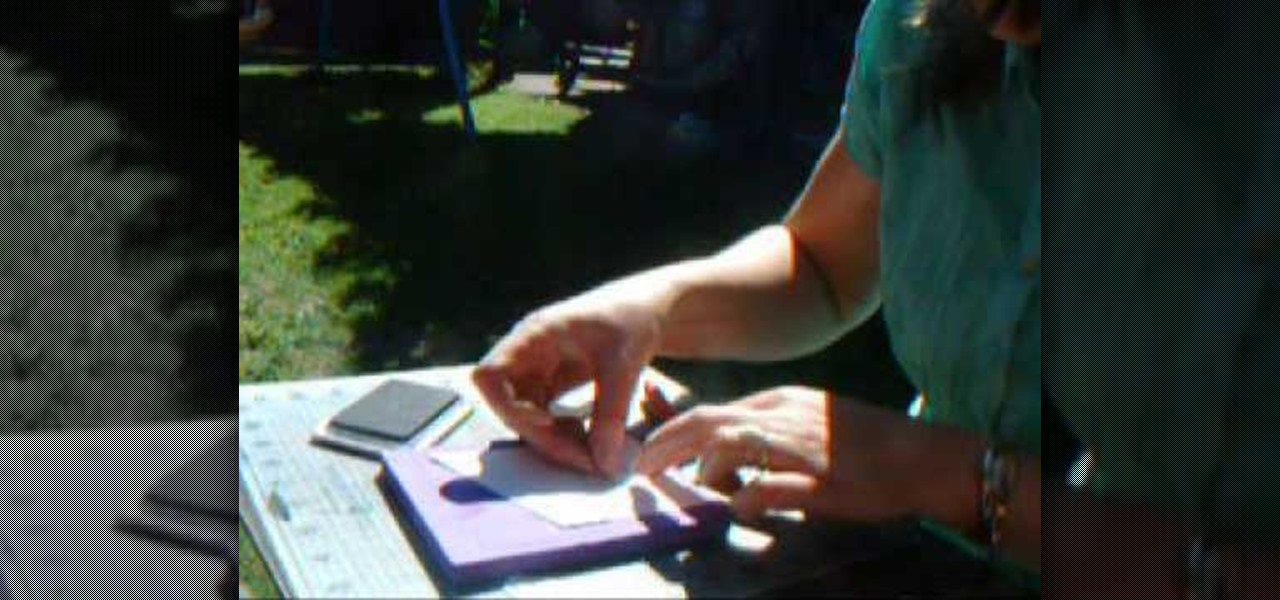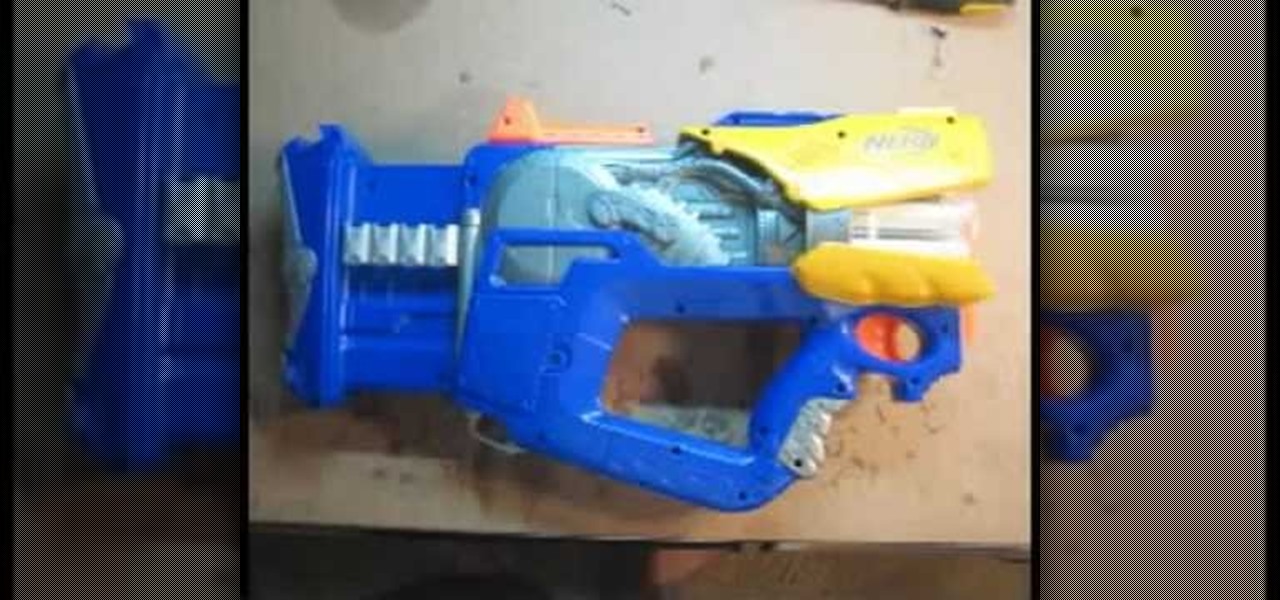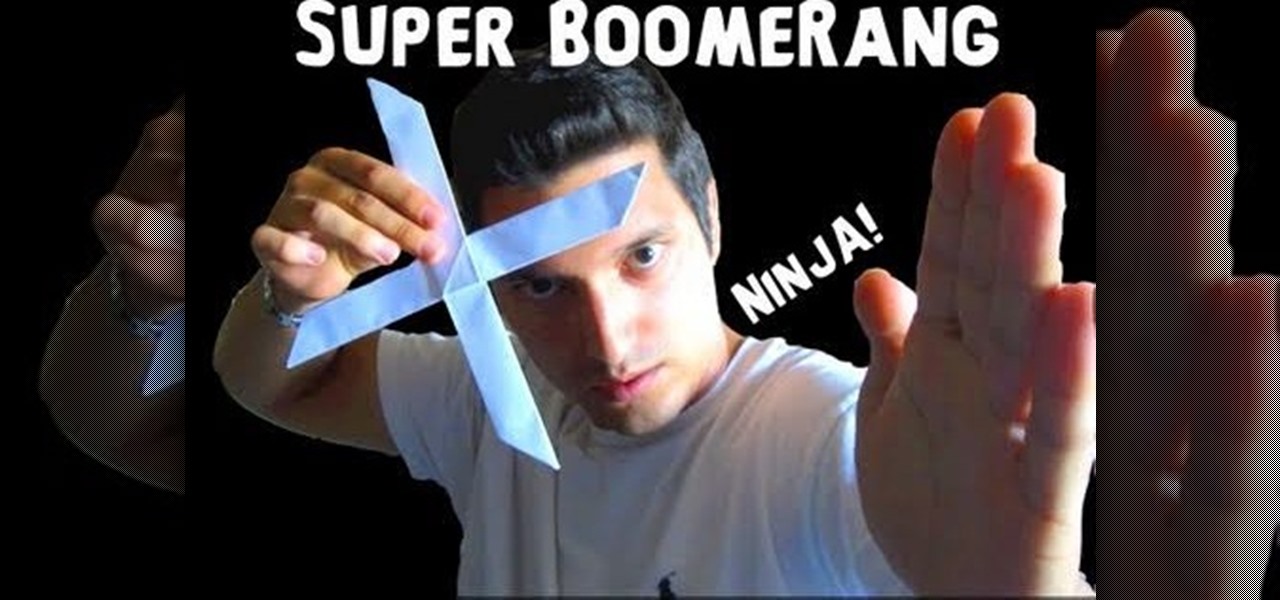
What's better than one origami boomerang that comes back to you all cool-like? Two origami boomerangs taped together, of course! Now of course you're thinking, "but that's not a boomerang at all and it won't come back to you!," but check out this video and you'll see there's a way to put together two boomerangs so that they'll create a super large and sexy boomerang.
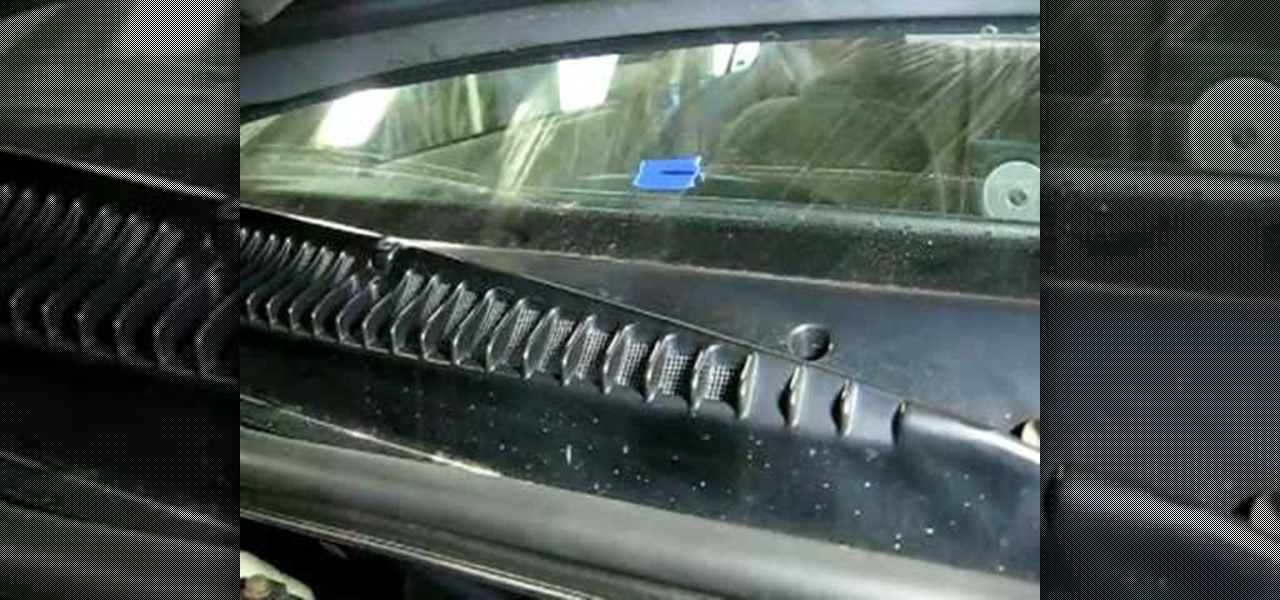
In this video, we learn how to replace a windshield washer nozzle. First, use tape to mark where the wipers were at so you know where to replace them. After this, remove the wipers from the vehicle by using a wrench. Now, pop the hood of the car and remove the screws that are on the front of the car surrounding the nozzles. Once you get the top area removed, you will find the nozzle and hose underneath it. After this, replace the old nozzle with the new one and then put it back. When finished...

In this tutorial, we learn how to do an Arabian peacock makeup look. First, add primer to the eyes, then apply yellow shadow on the inner crease of the eye. Then, take a lime green color and apply it next to the yellow, blending in on the edge. After this, apply a turquoise eyeshadow and pack it in to eliminate fall out. Blend this outward, blending with the other colors. Apply a piece of tape on the outer corner of the eye to create a cat eye. After this, apply a dark purple to the crease of...

This video made by a loving wife while her husband is at work outlines three fun, safe, easy ways for families to prank each other without risking damage, injury, or rage. She starts by taping the laser on the bottom of her husband's mouse so it won't work. Then shut puts toothpaste under the light switches in dark rooms so that her hubby will get a sticky finger when he turns on the lights. Lastly, she put flour on the inside of his beloved window fan so that it will shoot out when he turns ...

Once you've removed your old faucet, it's time to install the new one. Many single handle faucets allow you to install them as either a single-hole mount or as a three-hole mount using an escutcheon plate, which fits into the two outside holes. This video from Lowe's and Delta shows you how to install the faucet with the three-hole mount. You'll need a channel lock pliers, adjustable wrench, thread seal tape, silicone caulk and a wrench.
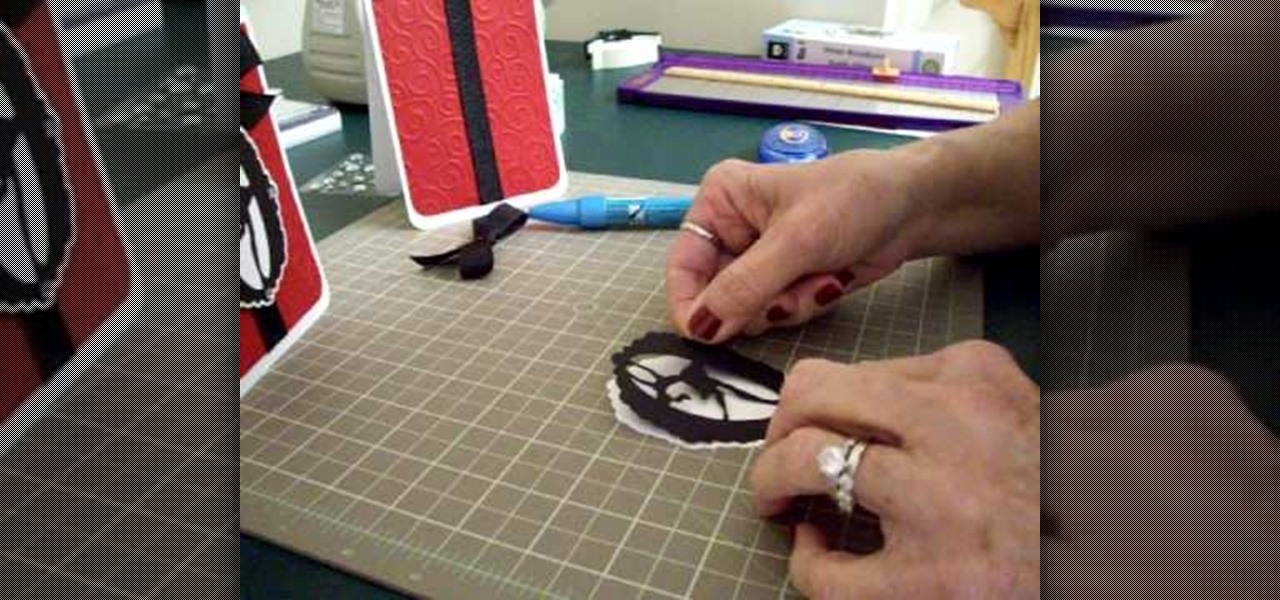
Make a simple, elegant card using Winter Woodland. Go to page 50 of manual. Cut tag and skater at 3 inches. Use 8 1/2 x 11 cardstock and cut vertically to 4 1/4 inch. Fold from top to bottom. Round corners of cardstock and red matte. Make red matte 4x5. Run red matte through cutter bug using swirls folder. Insert between two plates and run through. Place black grosgrain ribbon down the center. Stick to front of card. Glue skater to background. Place square crystals around skater. Create and p...

In this tutorial, we learn how to make a Freddie Krueger glove. You will need: a saw, sandpaper, silver spray paint, black paint, brown paint, old glove, tin from a can, plexi glass, shiny cardboard, and a hot glue gun. Start off by using your paper roll to cut off a strip of it that will start on the joints of your hands, then cut this in half. After this, make a cut in the top of it and on the sides of it. Do this again for the four fingers, then wrap it around the glove fingers. After this...

In this video, we learn how to make chocolate dessert cups for an event or party. First, tape a cupcake pan and paint pink colored hot chocolate into a shape at the bottom. Next, add in melted chocolate to the individual cups. After this, place in the refrigerator for 10 minutes, then push the cups out of the trays. Then, you can place icing or cream into the middle of them and serve to guests. These only take a short amount of time to make, and everyone will love them. It's a great way to ke...

In this video, we learn how to make a "puppy love" box for Valentine's Day. To key to creating this box is a thin strip of paper that has teeth (pointy spikes) at the end of this. Turn this into a heart shape, then tape it around the heart to make a perfect box. It will be easier to find your center and cold it in half, then place it on the box. Glue the heart onto a black card stock to situate it, then tie a cute ribbon along the edge of the heart. This is very cute and a great idea for Vale...

In this video, we learn how to make a gift Christmas jar with Stampin' Up! First, take any type of jar you want to collect money in. After this, rinse out the inside and remove the labels off of the bottle and measure them. Now, take a piece of card stock and cut it out to make the length of the label from the bottle. Now, decorate the bottle with different Christmas decorations and then tape it onto the jar or bottle. Next, add on different types of felt cut outs to the jar as well. To finis...

In this video, we learn how to make friendship bracelets adjustable. First, tape both sides of your bracelet onto a flat surface. After this, bring both ends into a circle shape at the ends. Now, take any color of string and make a loop with it over the ends of the bracelet. Now, put one end over the other and then put it through the bracelets and into the loop. Then, pull the end of the thread and put the bottom over and under the top piece. Then, put it through the bracelet and tighten it. ...

Brown paper bags aren't only for storing your PB&J sandwich for lunch. In fact, in the craft world they're heralded and used frequently because they're cheap and give projects a whimsical homespun feel. Just take this kraft paper bag album, for instance.

In this tutorial, we learn how to install a ceramic tile floor. Before installing, you need to prepare a solid base. First, you want to take off the trim, then calculate the area of the room. Prepare the floor by inspecting low or high spots. You will want to apply mortar, then set the backer boards into place. Screw these into place, then finish covering the floor with seam tape. Apply mortar over these then let dry. Now, you can start laying your tile onto the top of this! Once you are fini...

In this tutorial, we learn how to make a file folder organizer. First, you will need to apply double sided tape to paper, then apply a thicker cardboard paper over it. Now, cut most of the excess paper off, except around 1/2". After you have this cover made, apply tacky glue to some manila folders, and stick them into the cover you just made. After you complete this, you will be able to apply the backing to the folder as well. When you are finished, you can add different decorations to your f...

In this tutorial, we learn how to make mini paper square boxes. First, grab a piece of paper and fold two ends in so they touch in the middle. After this, fold the bottom up so it covers the triangles and they meet at the middle. Crease the edges, then cut down the edges on both sides where the crease is. Next, fold the sides in so you have a shape that looks like a sword. After this, fold the sides up, then fold the other sides in. When finished, push the creases in and you will form a box, ...

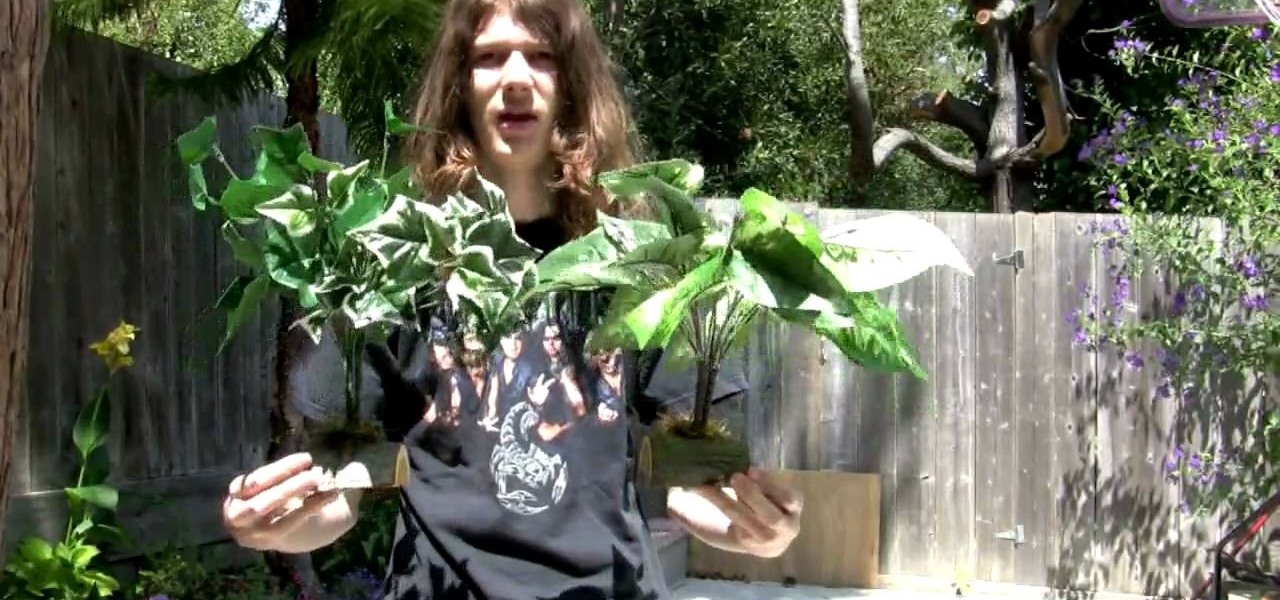
Reptiles come from a variety of biomes, but certain reptiles, like snakes and lizards, do prefer a wet, tropical environment with lots of tree and bush cover. Because they feel more at home in this kind of environment, you must try to simulate their preferred surroundings when you take one home as a pet.

In this video tutorial, see how to transform a cheap goose neck lamp into a flexible camera holder. It's very cheap and easy to do... you'll love the results of this flexible camera tripod.

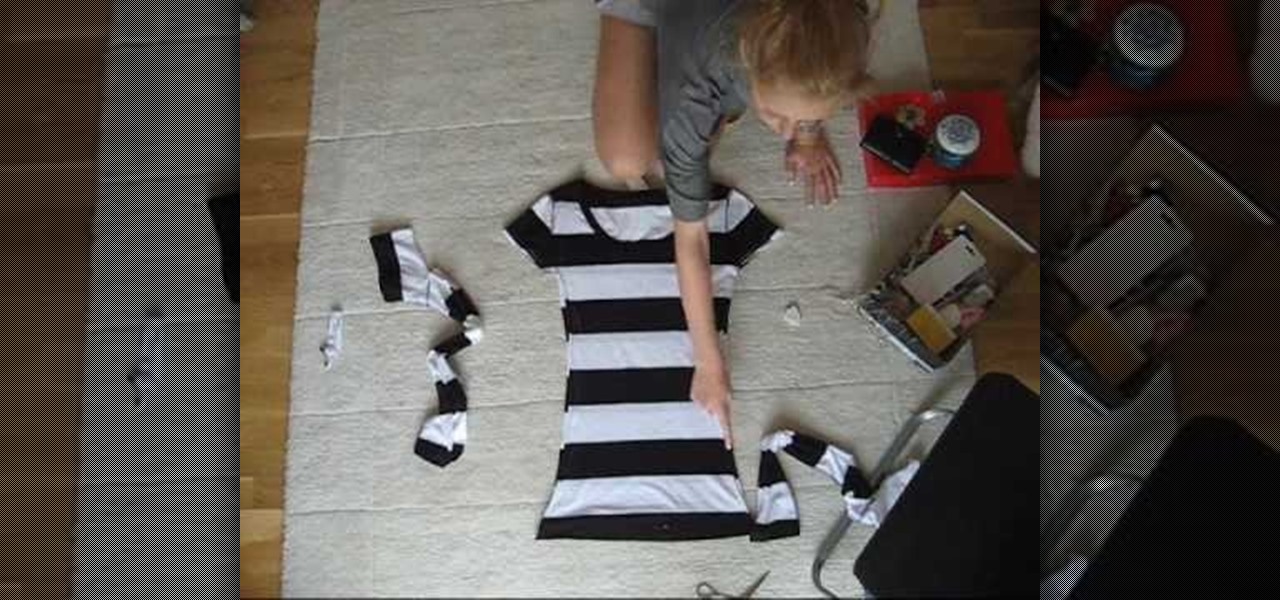
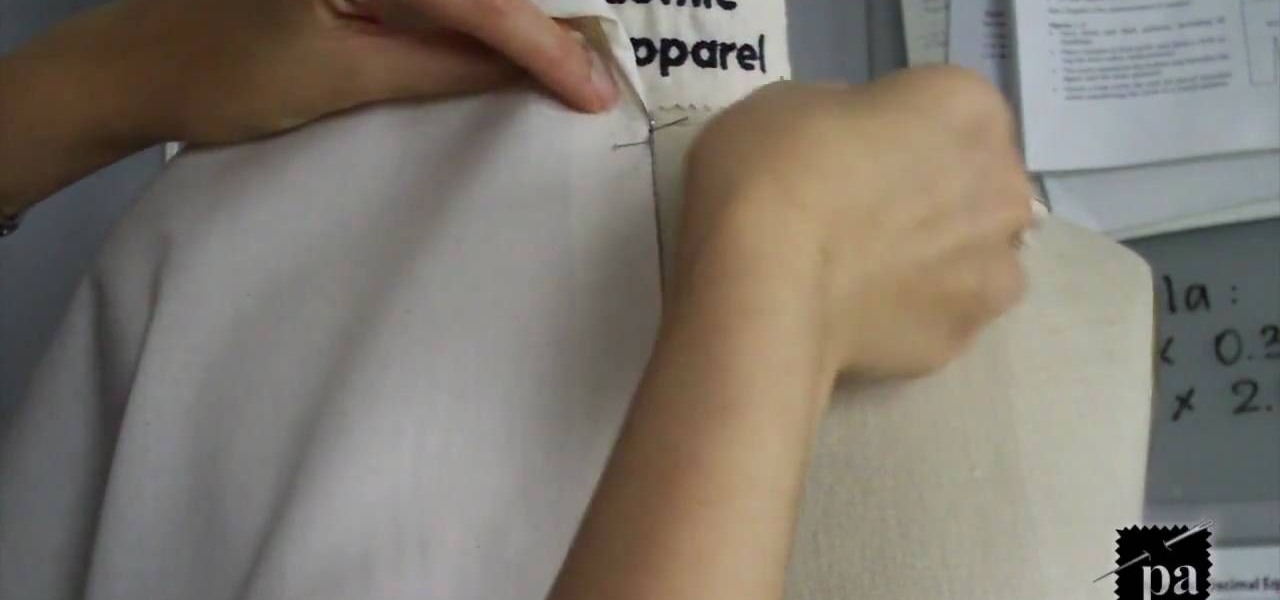
In this tutorial, we learn how to make a t-shirt. First, measure around your waist and your bust, as well as around the hips. Now, take your old boxy t-shirt and flip it inside out. Now, place your measuring tape on the shirt and pin it where your measurements are. Draw out your measurements so you know where to cut. Once you have the new shirt drawn out, Cut out an inch out of the lines and toss the rest of the cloth in the trash. After this, sew the shirt on all the open sides. To finish, t...

In this tutorial, we learn how to convert a halogen lamp into a makeshift ring light. Instead of pointing this light straight at the person you are photographing, you can use a ring light to make the halogen light less harsh. The prices for ring lights are very expensive, so making this yourself can save you a lot of money. First, go out and buy a round metal mesh object wherever you can find one. You will also need tin foil, a plastic cup, and wire cutters. First, set the metal bowl on top o...

This video tutorial is in the Home & Garden category where you will learn how to install an interior door set on a pre-bored door. For this you will need a tube latch, straight plates, door plates, two knobs, two sets of ring guides and a spindle. You will also need a tape measure, ruler, screwdrivers, a drill and safety glasses. A pre-bored door has a face and an edge bore. First install the tube latch through the edge bore ensuring that the angle side of the tube face is towards the door ja...

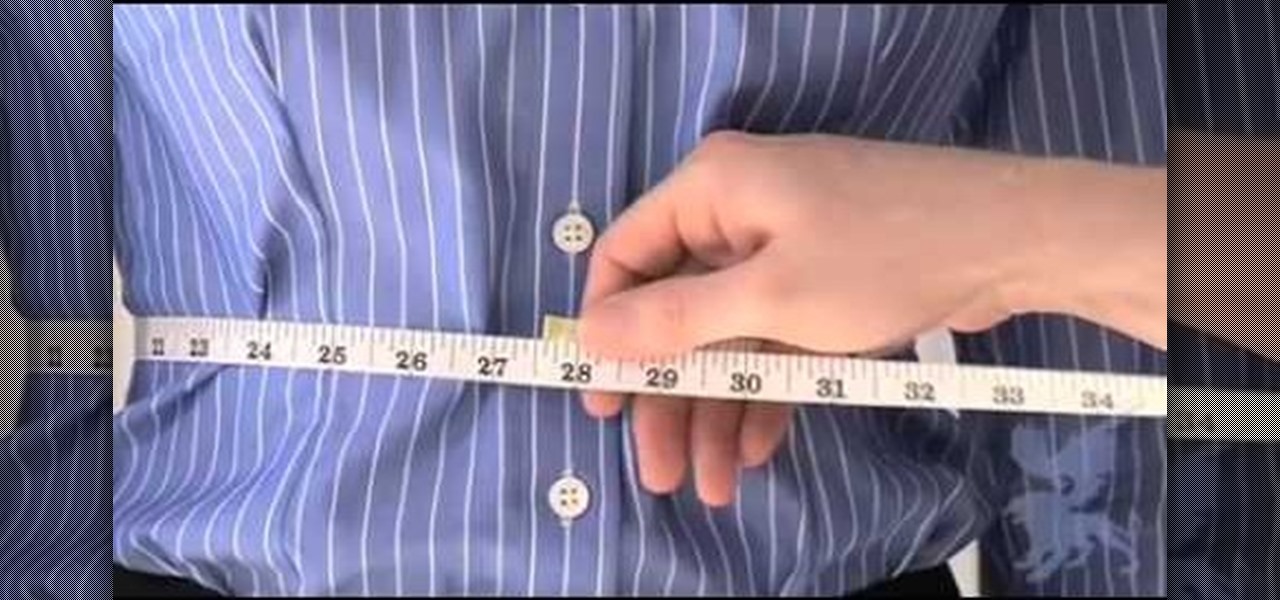
In this video, we learn how to calculate your waist to hip ratio using a tape measure. First, measure your waist round your belly button and write down what number it is. Next, measure your hips around the largest part of your butt, and then write down what number you get for this. After this, divide your waist measurement by your hip measurement. A healthy ratio for women is .8 and under and a healthy ration for men is .95 and under. It's important to watch the weight around your waist, beca...

In this video tutorial, viewers learn how to draw curves like an architect. The first way is to use circle and oval shaped templates. When using the template, push down on it firmly and carefully picking the template back up to not smear the pencil marks. If the template does not come with a raised backing, use some built-up tape for leverage. Never use permanent markers with the template, work with dirty hands or cut with the template. Users can also use French curve templates and compasses....

For beginners, sewing can be a confusing a difficult hobby that requires patience and the right tools. Whether you're adding a button on a shirt or creating a dress from scratch, being detailed and precise is important.

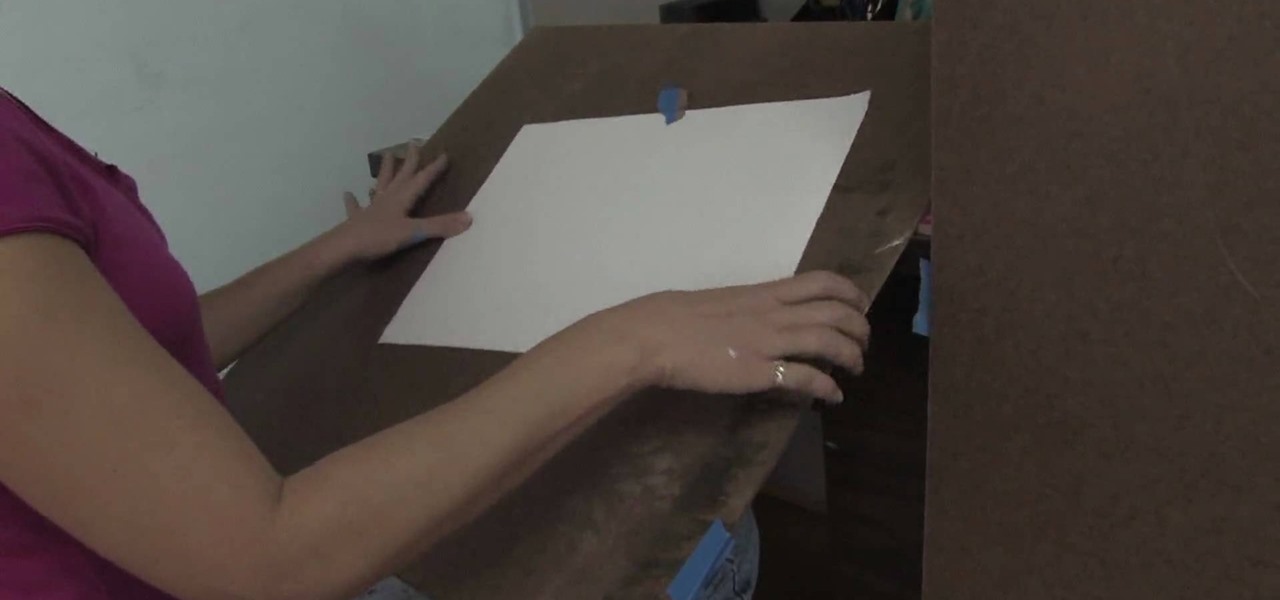
In this video tutorial, viewers learn how to create a drawing space. A good drawing table has an incline and plenty of space for drawing on. But if you can't afford or don't have enough room for a drawing table, buy a piece of Masonite from the hardware store. Then simply lean the board on a desk or table. To hold the paper onto the board, use some tape and stick it onto the board. This video will benefit those viewers who are interested in art and drawing, and would like to learn how to crea...

We've all come up with lame excuses for not working out: Gym memberships can get really pricey, you don't have enough room in your living room to follow a workout tape, you're too tired, etc. But have you ever considered simply hitting up your local high school track field?

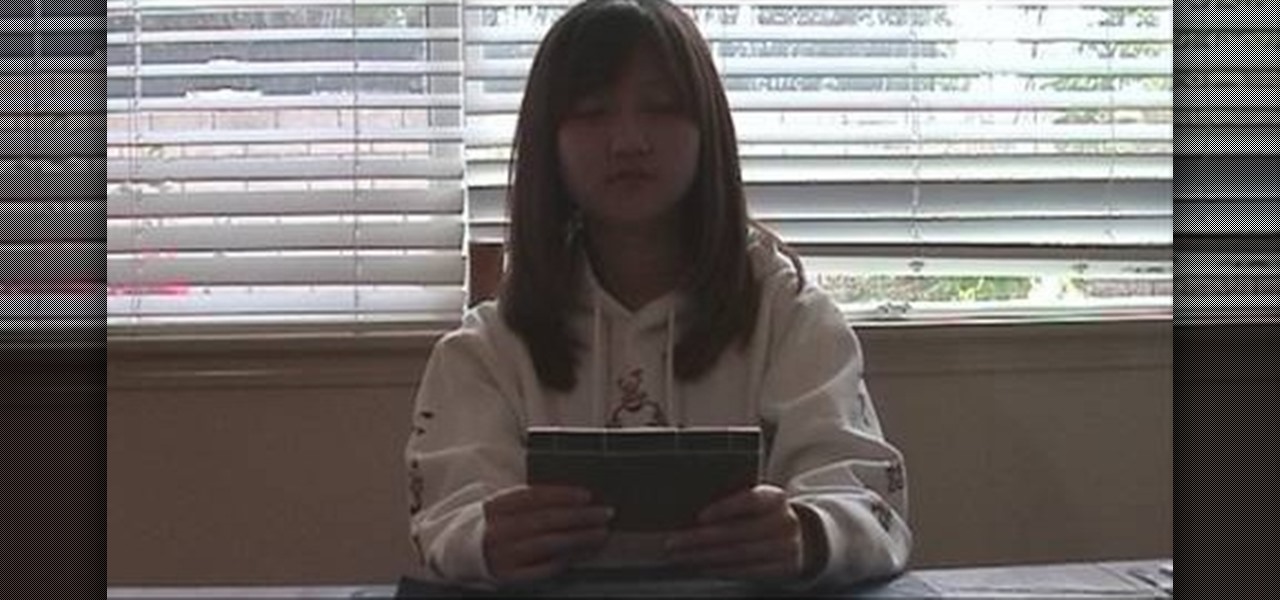
This two-part video demonstrates the ancient Chinese book binding technique called stab binding. If you do a lot of calligraphy, you can use this technique to put all of your sheets together into a really attractive and traditional book. Make sure you line the pages up correctly!

To prepare a bedroom for walls to be painted, remove as much furniture and objects from the room. You can leave the larger furniture in the center of the room, covered. Fill in any holes or cracks in the wall with a patch. Also, remove any hardware or outlet plates from the wall. Next, place masking tape at the base boards so you can paint below the carpet level. Tim suggests using a drop cloth rather than a plastic cloth to cover the floor. Drop cloths last much longer and are more convenien...

When being fitted for clothing, it is important to get a true measurement of your waist. On a woman, this can be confusing, as our waists are actually inches higher than where we typically wear our trousers.

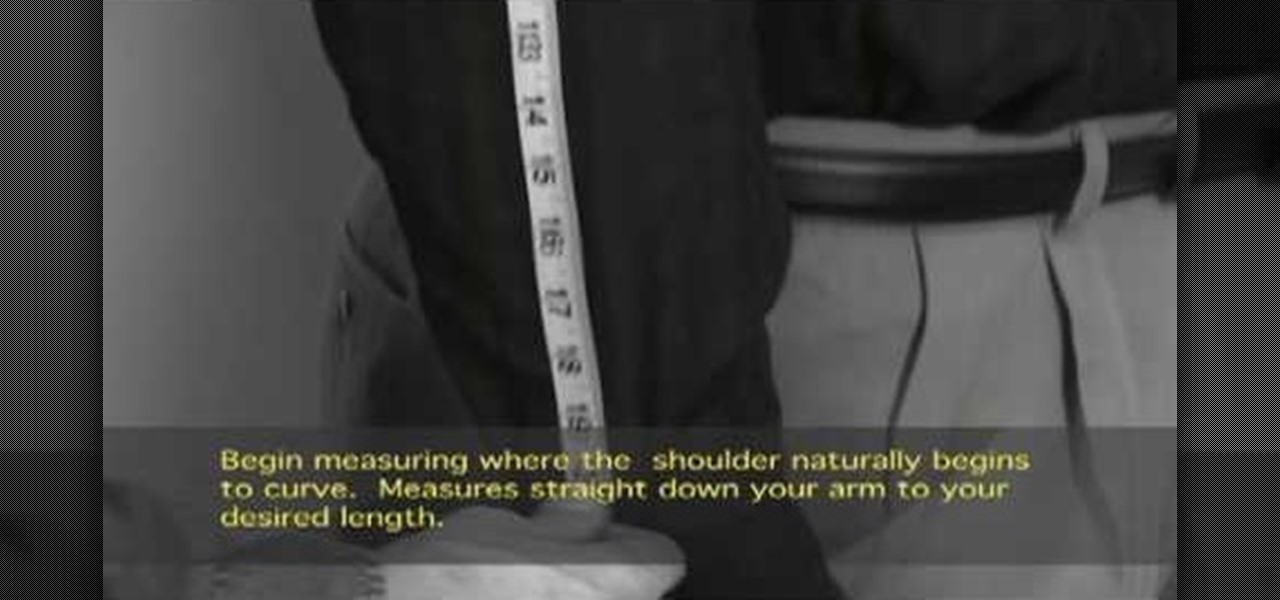
You will need to measure your arms if you are being fitted for a suit or dress shirt. In this tutorial, learn how to take a fast and accurate measurement of your arm using measuring tape.

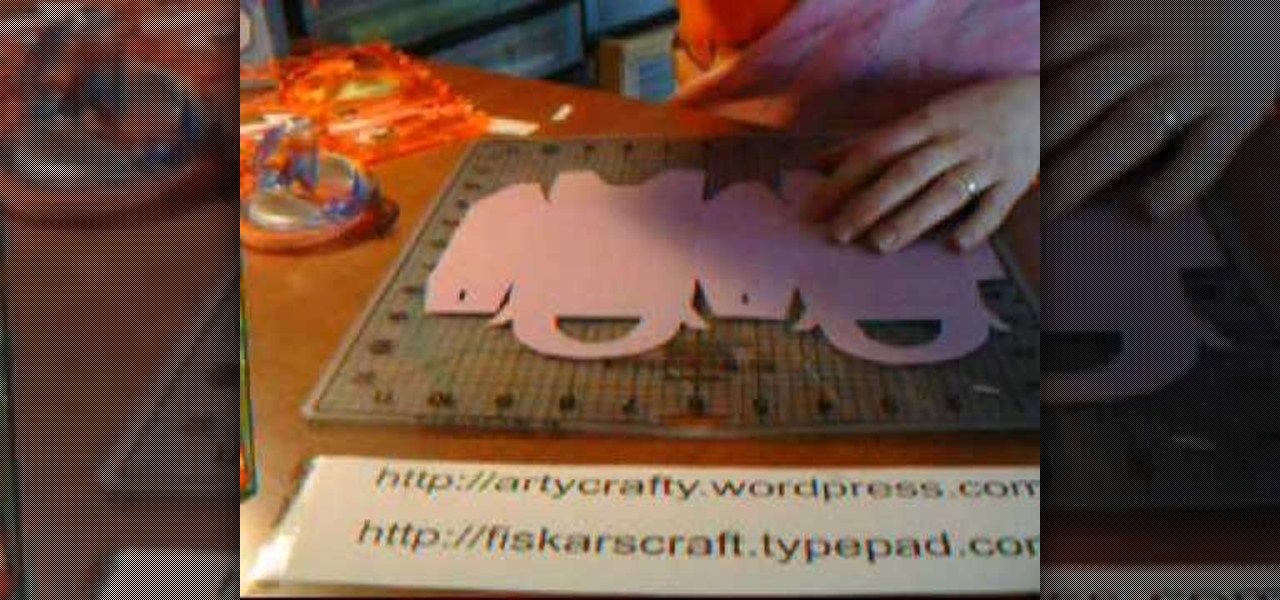
In this Arts & Crafts video tutorial you will learn how to make handmade treat boxes. Materials needed for this project are trimmer with scoring blade, PDF template, cardstock, scissors, Fiskars fingertip craft knife, Fiskars templates, Fiskars ultra shape Xpress, decorative scissors and embellishments. Download the PDF template from http://artycrafty.wordpress.com, print it out on a cardstock on the non-decorative side and cut out the shape along the thick line. Then score along the dotted l...

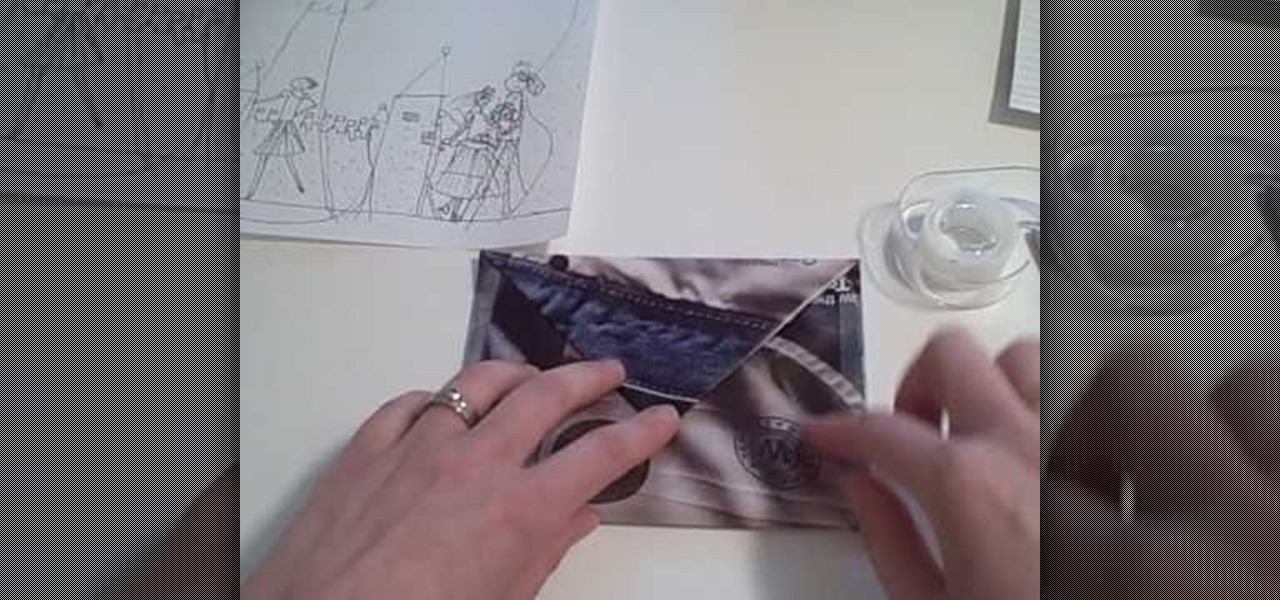
Everyone loves the personal touch of a homemade greeting card, so why send such a beautiful gift in a plain white envelope? To maintain the crafty beauty of your card, why not make a custom envelope to go with it?

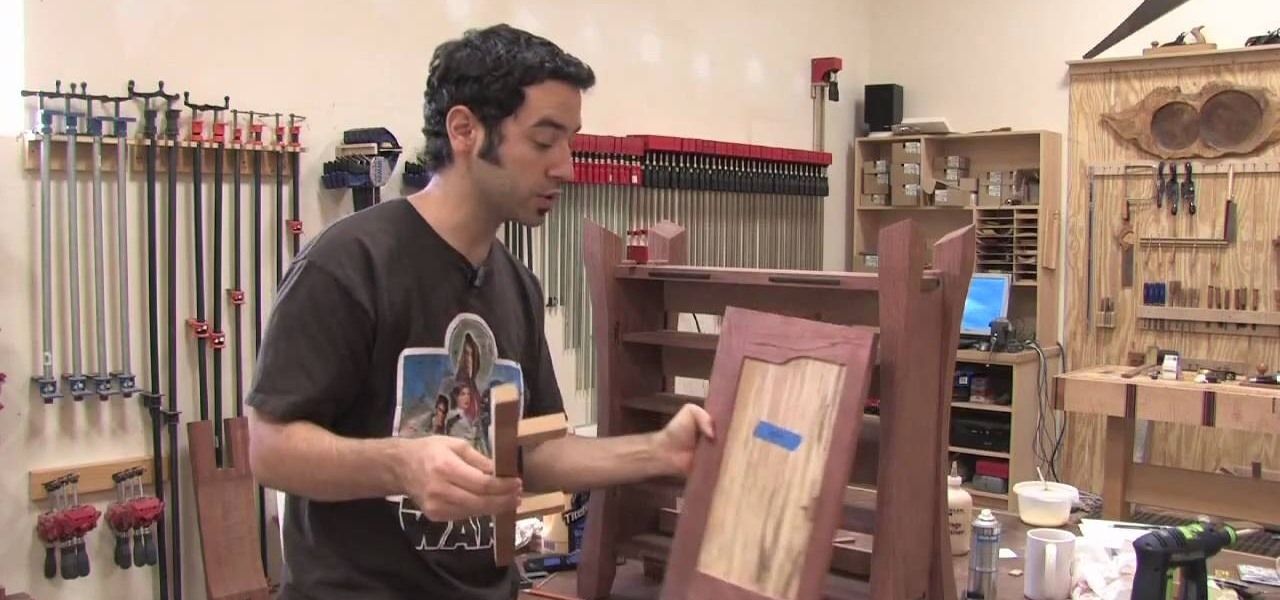
The Wood Whisperer demonstrates how we can install hinges on a cabinet without a tape measure, using relative dimensioning. In this example, we use center lines instead of marking the top and bottom of each piece that needs to line up. Using shims at the bottom and top of the door, we center the door on the cabinet to the desired spot. At this point, it's as simple as marking the center lines where you want your hinges to go on both the door and the cabinet frame. Now we can simply attach our...

This video illustrate us how to make a piano bracelet on a loom. Here are the following steps: Step 1: First of all secure the piano tabs to the loom and criss cross the string on the tabs.

In this how to video, you will learn how to make bag tags. You will need a tape runner, embellishments, elastic, a plastic bag, letters, cloud 9 rain dot eyelets, a trimmer, bits of card stock, and hole punches. First, cut the card stock and make it a square shape. Next, decorate the card stock with embellishments and the name of the child it is for. You can use the adhesive to stick these on. Next, cut more card stock and wrap it the piece around the decorated card stock. From here, place th...

In order to make an accordian- fold style greeting card, you will need a piece of card stock, glue or adhesive, scissors, markers, and stencils/stamps. Cut the cardstock in a diagonal. Fold the card into 3rds, lengthwise. Cut a 5 x 3 ¼” panel at an angle. Use Masking Magic and stamp the excess card stock. Cut out your stamp designs. Color in your designs with Sharpie brand permanent marker pens. Glue the 5 x 3 ¼” cut piece to the card, or you could use 2 sided tape. If you have addition...

In this Hobbies & Toys video tutorial you will learn how to modify a Nerf Firefly toy gun by replacing the barrels with CPVC and adding a new spring. You start with the power blaster and open it up. Remove the turret by removing other parts as shown in the video. Remove the screws from the turret and pull it apart. Cut off one side of the front end of the turret. Now cut 8 x 3” CPVC barrels, wrap black tape around one end and ram them into the back of the turret. Then pull out the plunger, ...

Try to use the same brand of spray paint throughout the project, read the instructions, follow them. Different brands may have different instructions, this is why we advise against mixing brands. Begin by lightly sanding your project with 600 grit sand paper, anything lower can potentially scratch your project. Use a sturdy tape to cover the parts you want to leave unpainted. Use a very light coating of primer, sand it with 600 grit sand paper (lightly). To add 'special effects' to the job, u...

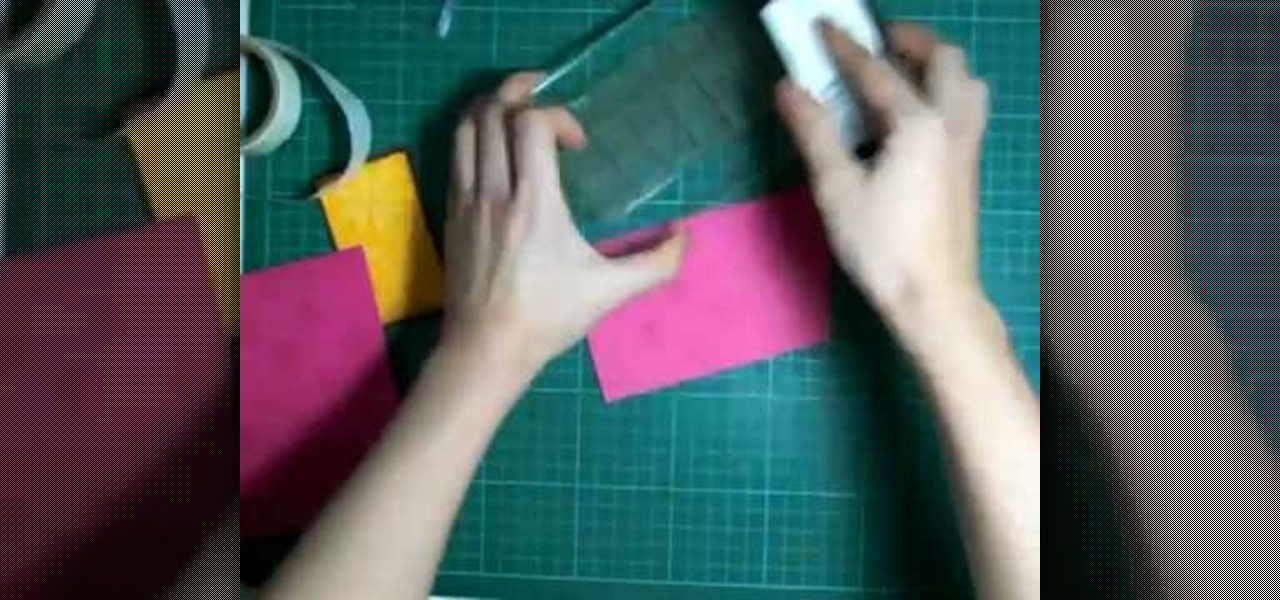
In order to make a Cuttlebug Smoosh Card, you will need the following materials: card stock (at least 3 different prints or colors), a ruler, distress tool, double sided tape or glue, distress ink, watermark stamp pad, decorative accessories, and scissors.

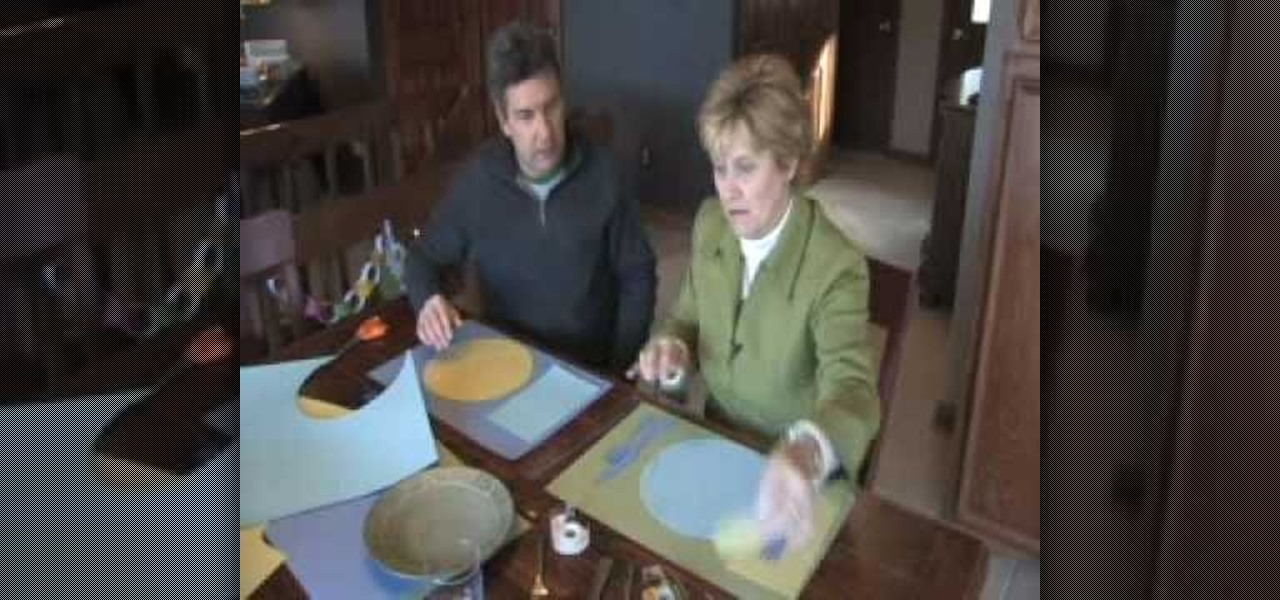
Now when it comes to setting the table you just need three things: fork, plate, and a napkin. But for some, things are more complicated than that. Sometimes they feature the soup spoon , salad fork, and so on and so forth. Although this video doesn't cover every single utensil, it does cover some of the basics. Find out how to make placemats for kids as well as teach them how to set the table. Enjoy!

In this free intermediate tape dancing lesson, several combinations of tap shuffles are gone over including the three-shuffle, front-side-back shuffle, and the shuffle ball change. Learn how to do these combos with help from an expert: Bonnie Gray is an award-winning choreographer in dance and musical theatre and here to teach you the basics of tap! Learn more tap dancing dance moves from this expert by searching WonderHowTo! You're only practice time away from ruling the dance floor!


