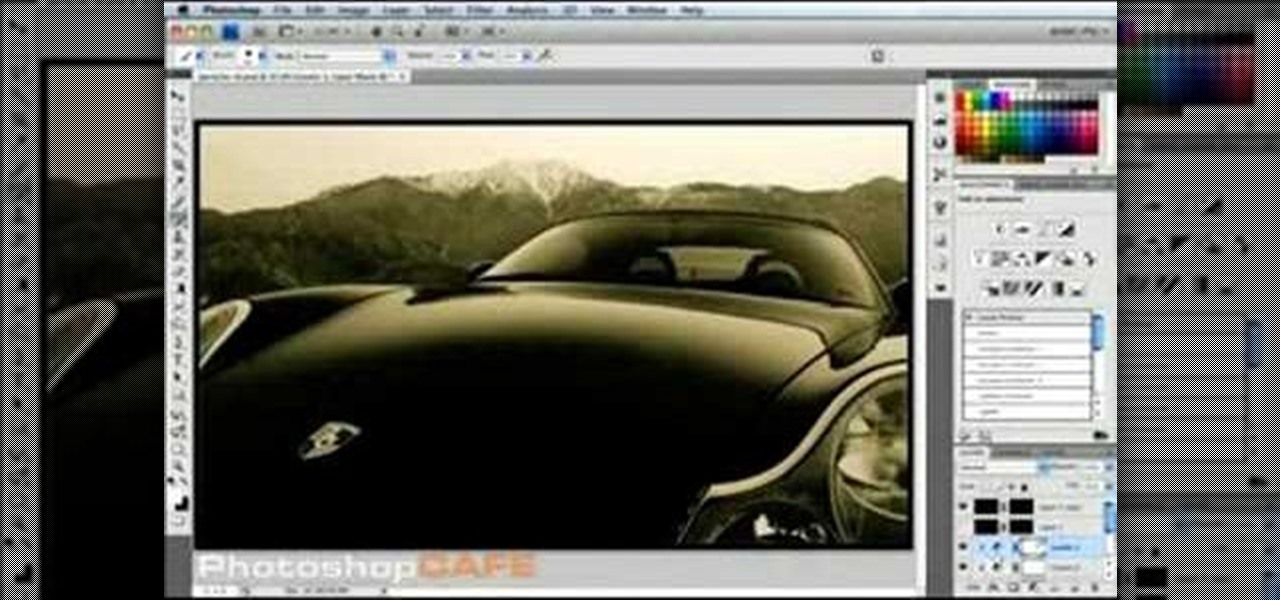
There are many ways to remove an image from its background in Photoshop and using the filter tool is probably the easiest way to do the job. In this detailed video you will learn to use the Extract Filter in Photoshop to take a portion of an image and remove it from the background.

Aperture's loupe tool is a powerful magnifier that lets you zoom portions of an image from 50% to 1600% to quickly check focus or view details in a photo.

Aperture's zoom tool makes it easy to view and edit your images up close and in great detail.

Aperture's crop and straighten tools allow you to quickly adjust the composition of your images.

Use the Spot Healing Brush Tool in Photoshop Elements 9 to remove power lines, trees, cars, even your Aunt Marge. If it's in the picture and you want it out, this simply tutorial will show you how to do it.
EA has released a world builder tool which allows you to create your own neighborhoods, towns and worlds for your sims to live in. Make a mountain community, a beach settlement, a small town or a suburban paradise! It's up to you, and this tutorial shows you how.

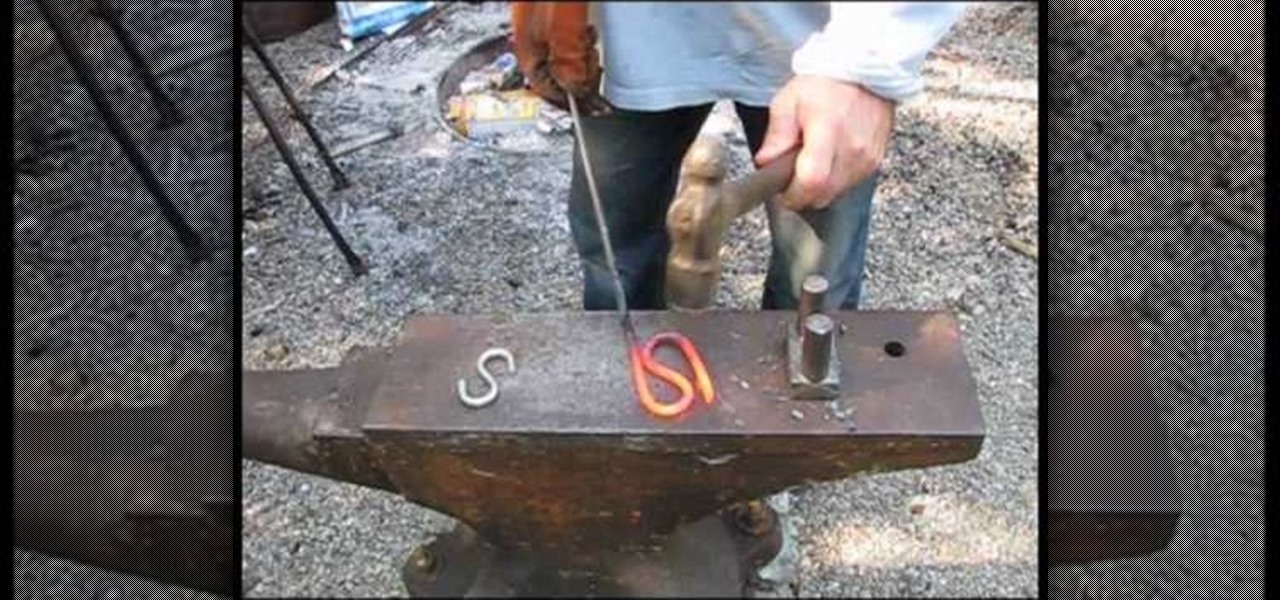
If you're looking to create curves and various shapes with metal, one way of doing it is using a hardy tool with your anvil. In this video you will learn what exactly a hardy tool is and also how to create your own curved S shapes out of metal.
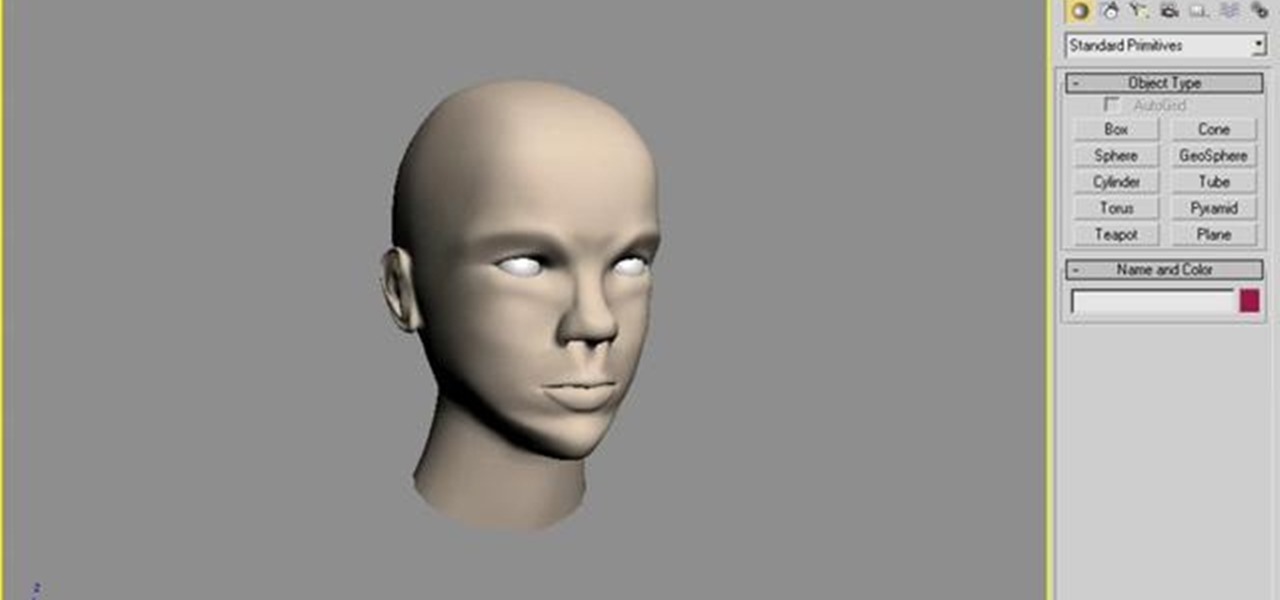
A polymodel head is being mapped. Keep the turbo smooth active to smooth out edges and seams. Use the relax tool to help even out the mesh and areas around the mouth, the ears and the neck as work proceeds. Use the stitch modifier to attach and combine the top and bottom of the head. To get all the seams and areas to match they must be moved, rotated and scaled. Use the weld tool on all the vertices and use the relax tool to get all the seams to match. Use the pelt map for the ears. Use the s...
In this video, we learn how to use the polygonal lasso tool in Photoshop. This will allow you to create a selection on your photo in a freehand style. First, select the tool from your toolbar, it's the third selection down. Once you select this, go to your picture and find the piece you want to cut out or copy. Press and hold the control and space bar, then highlight the area you want to. This is great to make a selection that has a straight edge. If you just click with it, it will have a dia...
If you're looking for tips on how to prune roses bushes, there's no one better than rose expert Muriel Humenick to show you how it's done. First, she shows you the proper pruning tools you'll need for the rose garden, and the main tools are bypass pruners, but there are others, like loppers, goatskin gloves and an elbow and arm cover. Now that you know the pruning tools, watch and learn the rose pruning process
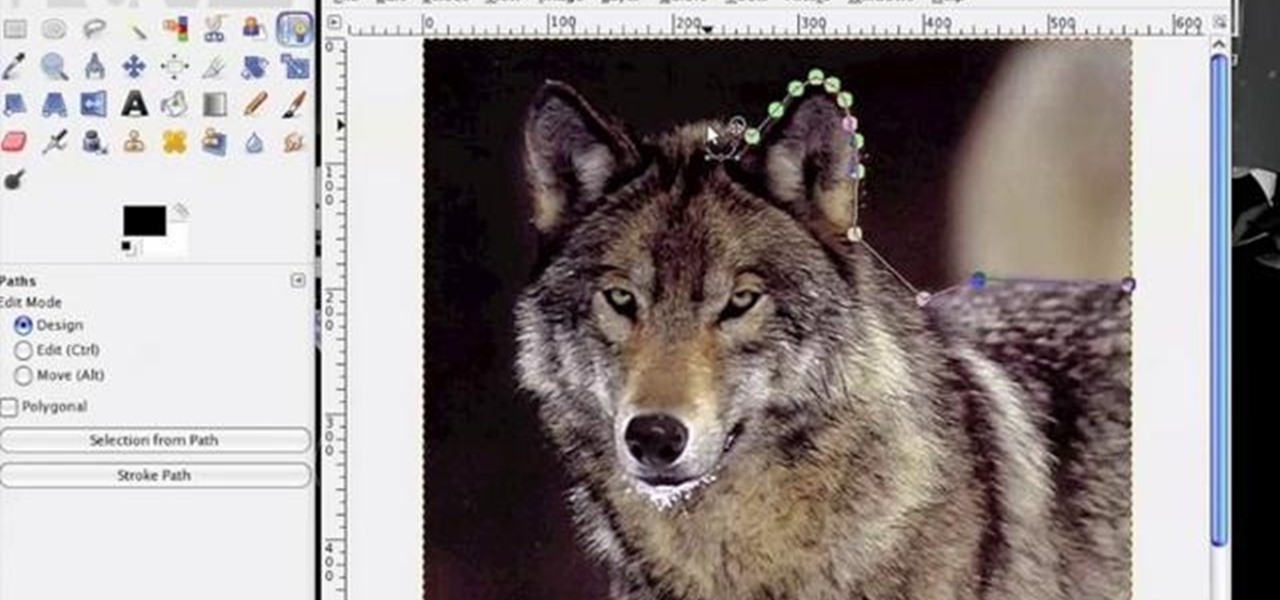
In this clip, learn how to use the Path tool in GIMP and edit your photos quicker and easier. This video will demonstrate exactly how to use this effective tool. GIMP is available for free online for both Mac's and PC's and is basically a freeware version of Photoshop. Enjoy!
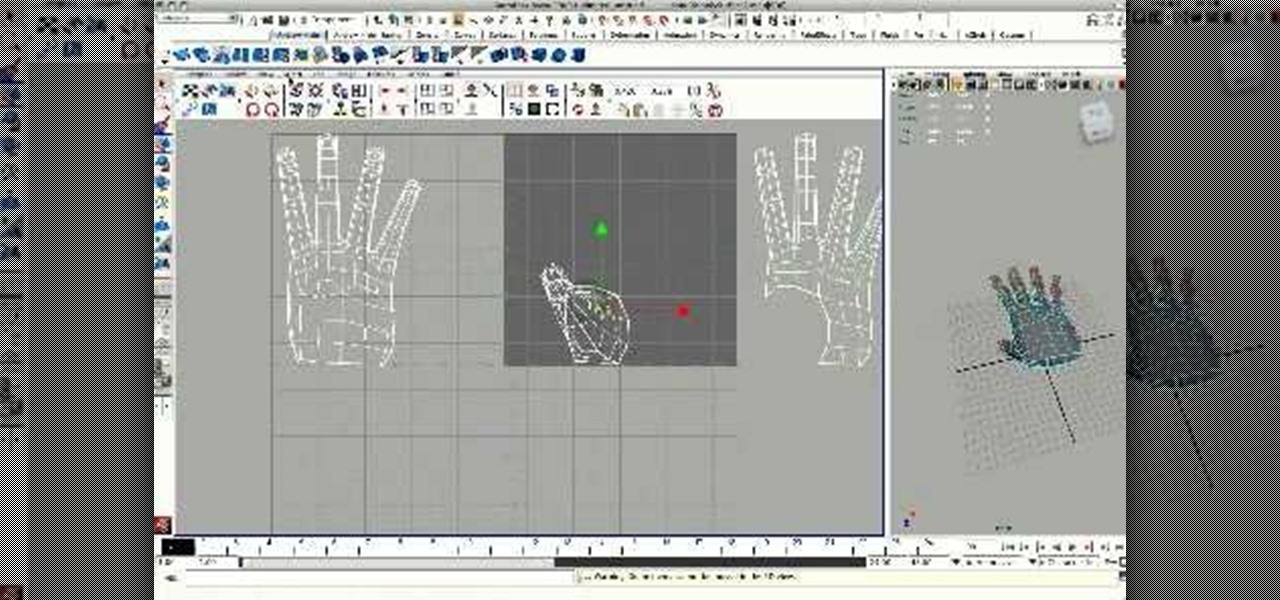
Maya 2009 introduced a lot of cool new UV tools to the already-powerful Maya 3D modeling software. This two-part video will teach you how to use some of these features to cut apart a 3D model of a hand by its UV edges. This technique is perfect for very fast organic UV unwraps, and should improve your skills and speed of modeling dramatically.
This clip demonstrates how to use Apple's Cinema Tools to batch conform 50p or 60p DSLR clips to a lower framerate (e.g., 30, 25 or 24p). As you might expect, the conversion process is actually quite easy to go about it. For detailed, step-by-step instructions, and to get started conforming your own footage in Cinema Tools, watch this free video software tutorial.
Create quick animations and graphics with ease! Learn how to work with the Deco Tool in Adobe Flash CS5. Whether you're new to Adobe's popular Flash-development platform or a seasoned web developer looking to better acquaint yourself with the new features and functions of the latest iteration of the application, you're sure to benefit from this free software tutorial. For more information, and to get started using the Deco tool yourself, watch this video guide.
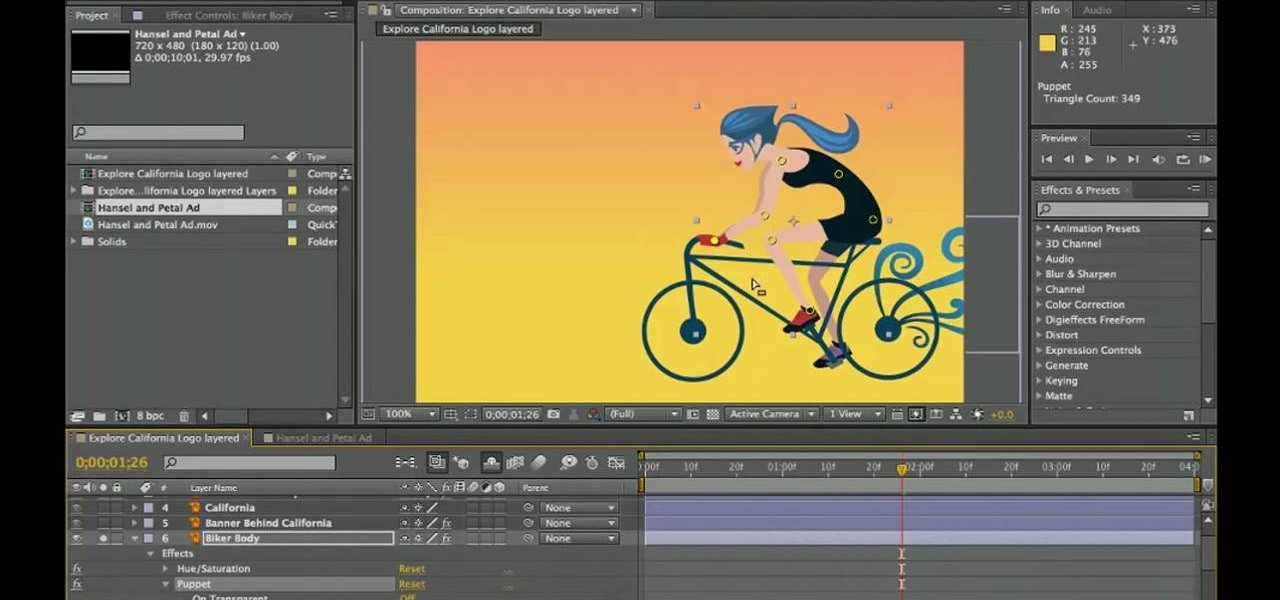
Bring still graphics to life with the After Effects CS5 Puppet tool. Whether you're new to Adobe's popular motion graphics and compositing software or a seasoned video professional just looking to better acquaint yourself with CS5's new features, you're sure to be well served by this video tutorial. For more information, and to get started using the Puppet Tool in your own AE projects, watch this free video guide.
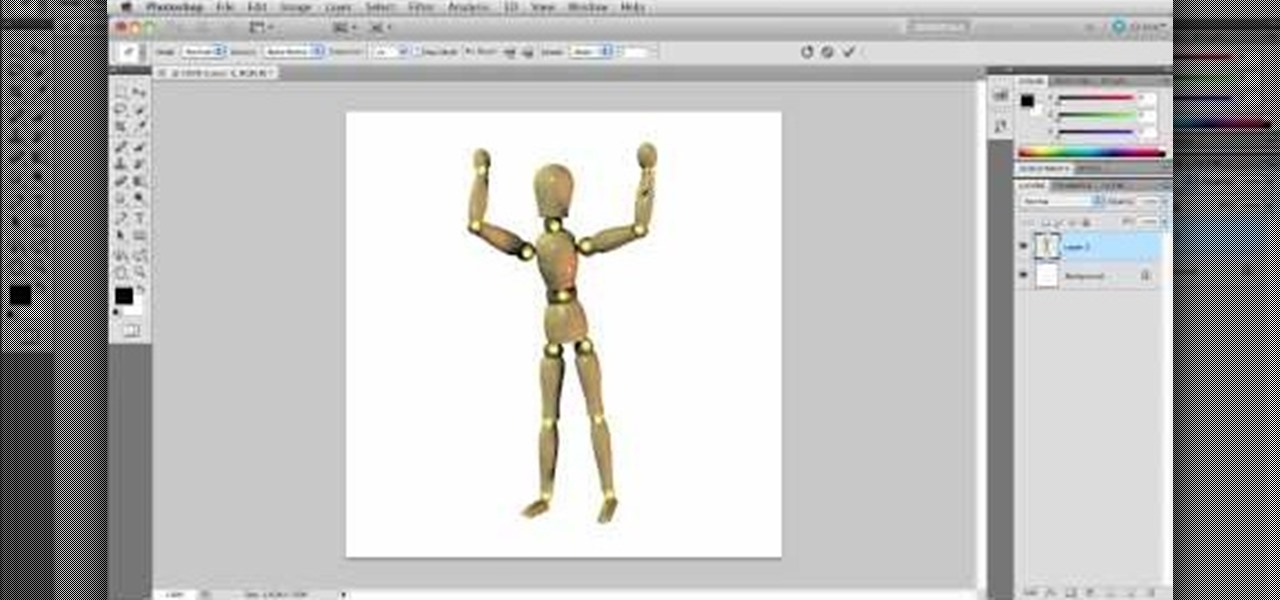
This video offers instructions on how to use the all-new Puppet Warp tool in Adobe Photoshop CS5. Whether you're new to Adobe's popular image editing software or a seasoned graphic design professional just looking to better acquaint yourself with the unique features of Photoshop CS5, you're sure to find something of value in this video tutorial. For more information, and to get started using the Puppet Warp tool yourself, watch this video lesson.
Looking for a Photoshop-style Curves tool in Aperture 3? Look no further. Whether you're new to digital photography or merely unfamiliar with Apple's Aperture 3, you're sure to benefit from this free video software tutorial from Lynda, which presents a thorough, step-by-step overview on how to use said Curves tool to make curve adjustments to your digital images.
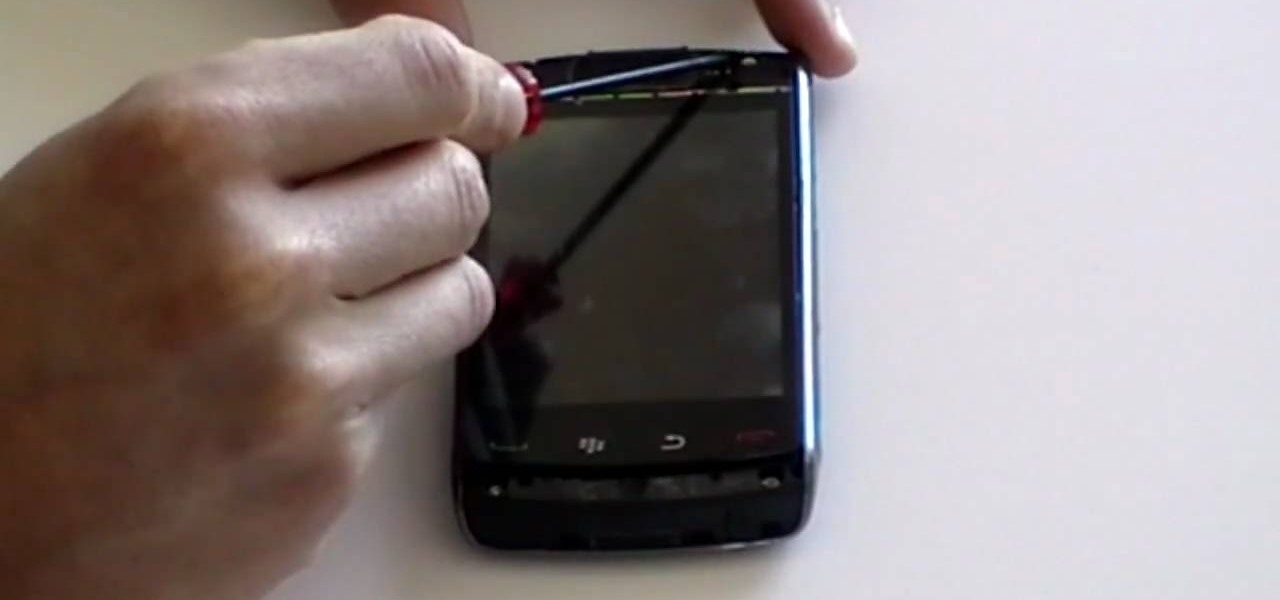
Repairs Universe demonstrates how to take apart the BlackBerry Storm 2 to replace the LCD. First, flip the phone over and take out the battery, SIM card and memory card. Then, use a safe pry tool to pry off the top and bottom covers which are held on by adhesive and clips. Next, use a T-6 screwdriver, remove the size screws on the front of the device. Flip the phone over and remove two more screws. Use the pry tool to release the clips and remove the outer casing. Flip the phone over and usin...
Repairs Universe demonstrates how to replace the LCD screen on the BlackBerry Curve 8900 phone. First, remove the SIM card, the battery and the back cover of the phone. Run a safe pry tool between the gap in the phone and the small back cover to remove the cover. Use a T-6 screwdriver, remove the six screws from the back of the phone. Then, pull up to remove the back layer from the phone. Flip the phone over and remove the front layer. Release the four clips with a safe pry tool and release t...
Photoshop's hue & saturation tool is great for tweaking the colors of an image en masse but what if it's only one particular color that you'd like to enhance or change? Then, my friend, you use the color replacement tool. This video tutorial will show you how to use it in Adobe Photoshop CS4.
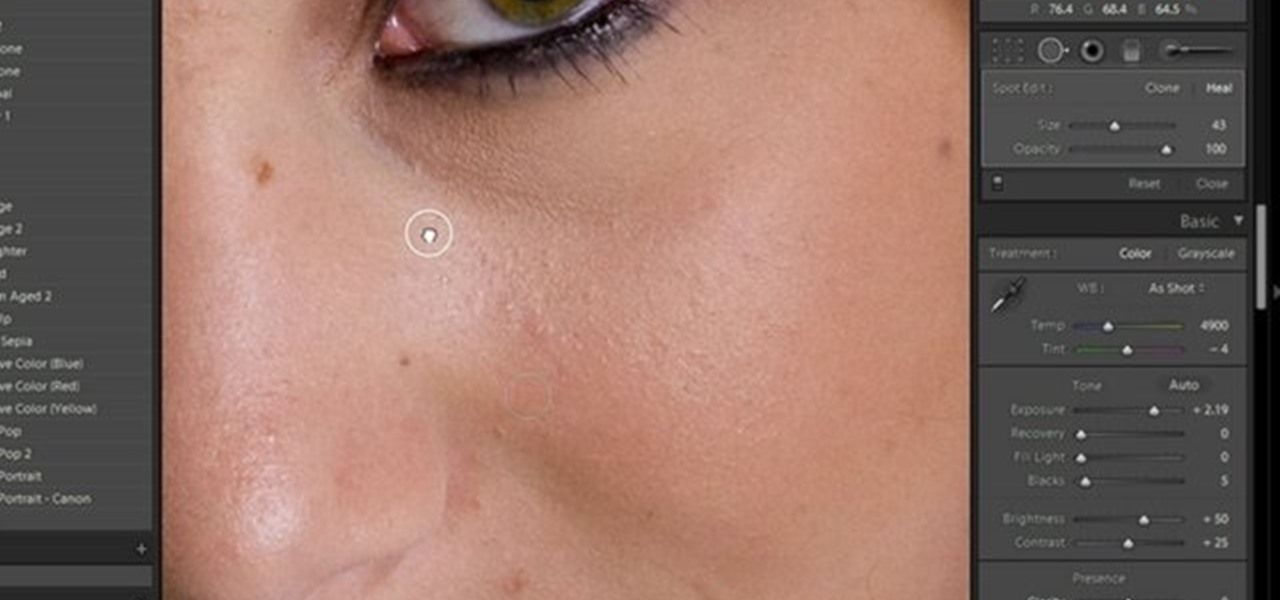
Kerry Garison demonstrates a quick tip of healing tool (Lightroom 2. 0), which is situated on the upper right hand corner of the screen, with the help of lady's image. Click on spot removal tool which can be used for cloning and healing. In order to change the brush size, scroll wheel mouse or left or right rapid keys can be used. Brush size, change in opacity can be changed also by clicking and dragging the bar; from there cloning or healing options can be selected also. After clicking the h...
In this video tutorial, viewers learn how to remove and replace vinyl siding. Users will need a siding removal tool (zip tool). Insert this tool beneath the bottom edge of the overlap and pull down while sliding the tool horizontally. Remove the nails underneath and simply pull down the siding. Now measure the length of the siding. With the new siding, connect it on the exterior wall and reinforce it with some nails. This video will help those viewers who need to learn how to replace a vinyl ...
This how-to video is about how to enable the commenting tools in the free Adobe Reader using Acrobat 9 Pro and Acrobat 9 Pro Extended.
This video will walk you through the process of creating your very own icon to use for your email by using Adobe Photoshop. Photoshop is a great tool to use for a variety of purposes and in this instance can make the perfect icon in just minutes.
In this video tutorial the instructor shows how to perform basic lighting corrections in Adobe Photoshop. The levels tool is the Photoshop's most used command which has many features to it. Its most basic function is as a lighting correction tool. In this video open an image and work on its adjustment layer so that you do not damage the original picture. Now choose the levels option by right clicking and it shows a pop up window which contains a histogram which shows the population of the col...
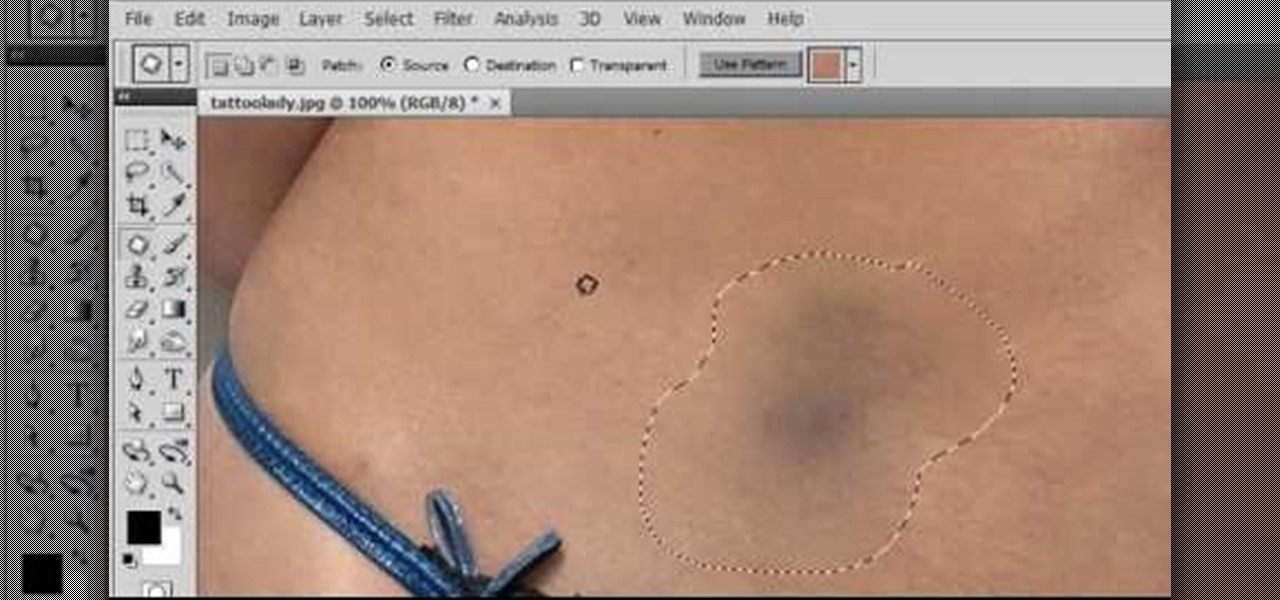
As each new version of the award winning Adobe Photoshop is released certain functions remain the same from prior versions while other functions are changed. In the latest version of Photoshop, Adobe Photoshop CS4, the patch tool works significantly differently than prior versions. In this video we are shown how the patch tool originally worked in Adobe Photoshop CS2 compared to how it now functions in Photoshop CS4. Finally the author gives us step by step instructions on how to operate the ...
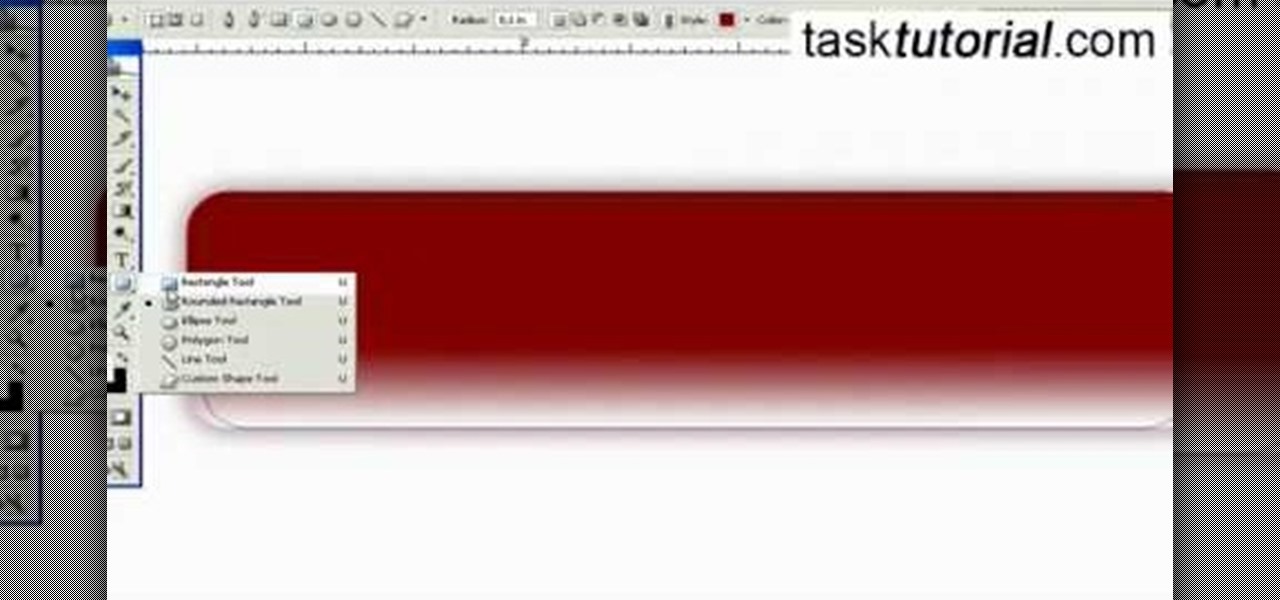
This video will show you have to make a glass bar in Photoshop. Adobe Photoshop is a great program for manipulating photo and adding interesting effects to your pictures. The glass bar is distinctive because of it’s colored shading.
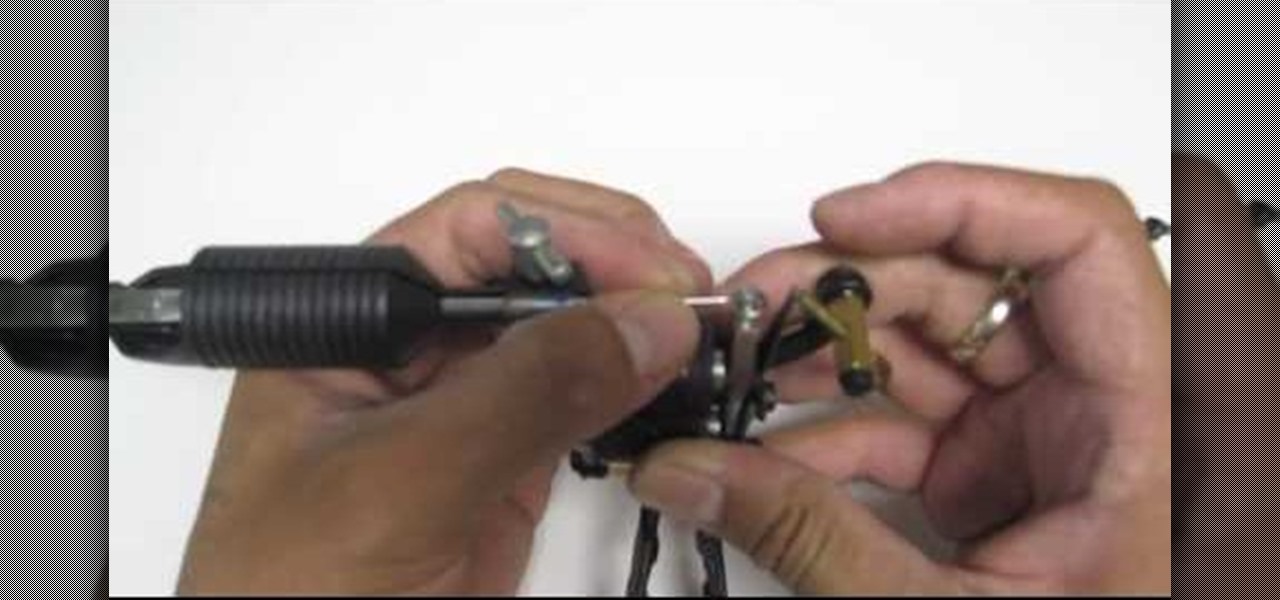
Elementtatootech explains the various tools of the industry and their uses to novice tattoo artists and interested viewers. In this tutorial, Elementtatootech focuses on the old school tattoo tool known as grommets or nipples. Utilizing a single close up shot, the instructor quickly educates viewers on the purpose of the grommet in addition to the most common users of the device. The instructor additionally shows viewers how to set up and assemble using this tool and a simple trick utilizing ...
This Photoshop CS3 for beginners tutorial introduces new Photoshop users to the rectangular marquee tool, the fill command and working with text. You will learn how to create a "senior pic" type graphic using some simple text and basic shapes created with the rectangular marquee tool in Photoshop CS3.
Retouching images is one of the main reasons the world loves Photoshop, and version CS4 has added some new twists and tools to your retouching options. Rediscover the Adjustment layers through the powerful Adjustments panel in Photoshop CS4. Colin Smith shows you all the main features as well as using the new Mask panel. The revamped Dodge, Burn and Sponge tools are mentioned too in this image retouching Photoshop CS4 tutorial.
This software tutorial shows you how to design a really graphical splash page in Photoshop. You will learn how to use the gradient tool, outer glow tool, paintbrush tool, and layer blend modes within Photoshop to create this graphical splash page.
Learn how to design an abstract wallpaper design in Adobe Photoshop. Use the pen tool, rotational tools and clone stamp tools to create awesome effects in Photoshop and turn them into abstract wallpaper designs.
The bezier tool in Corel Draw allows you to create a certain type of curve. In this tutorial you will learn how to work with and control the bezier tool in Corel Draw as you create scroll saw patterns.
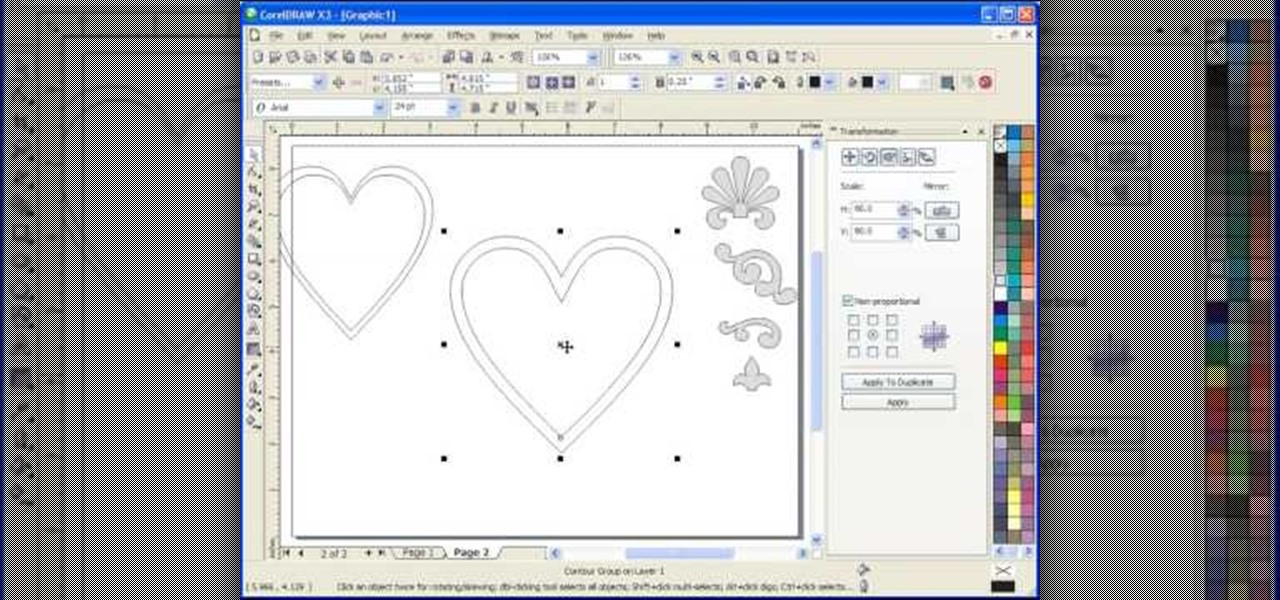
This Corel Draw X3 vector graphics drawing software tutorial shows you how to use the interactive contour tool. Learn how to use the interactive contour tool in Corel Draw X3 to create scroll saw patterns for your scroll saw woodworking projects.
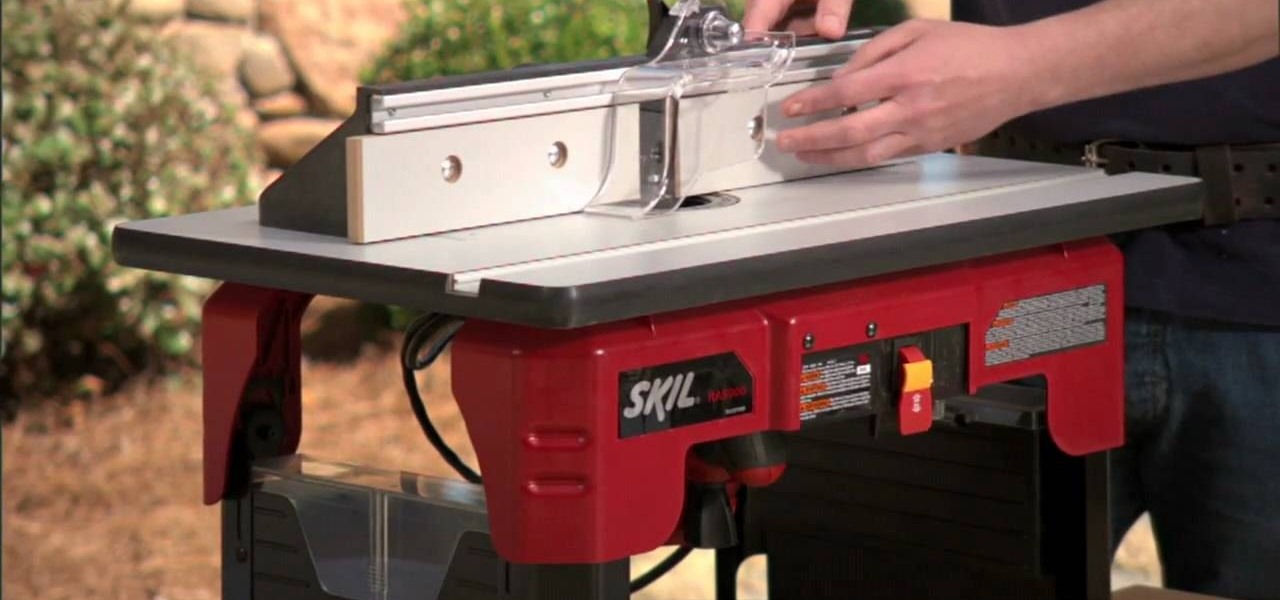
There are numerous tools that can be added to a collection that make house projects so easy to complete. One of those tools is a router. This device is perfect for making your own crown molding, grooves, and indents. But carrying it can be a pain.
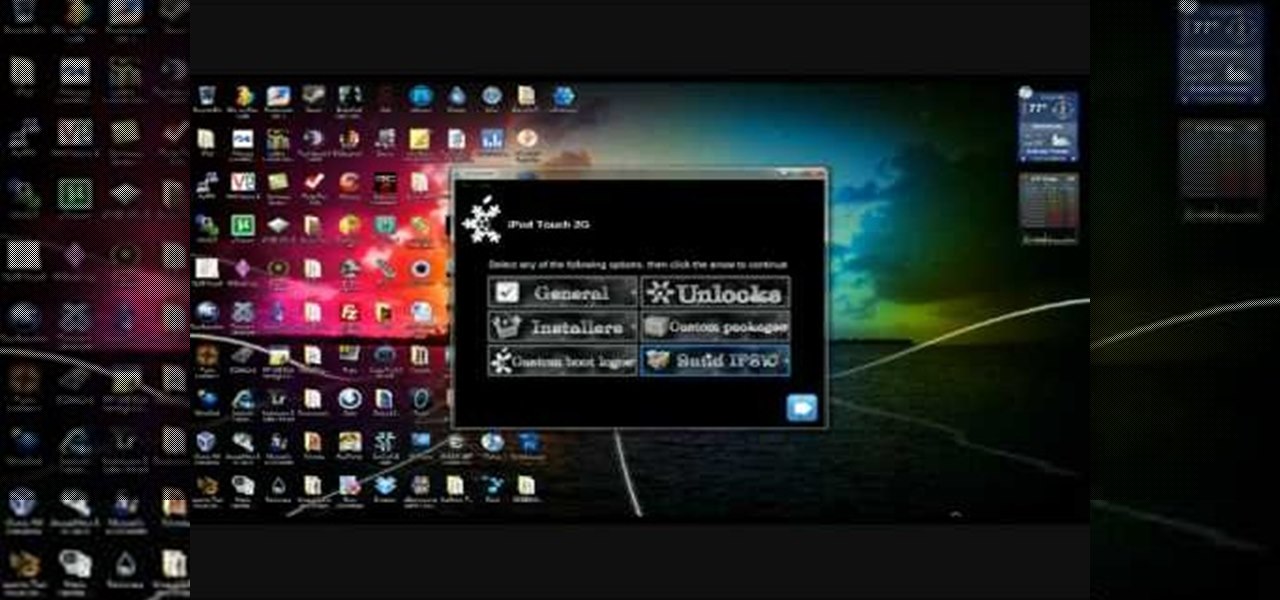
In this tutorial, learn how to jailbreak your new iOS 4 on your iPhone or iPod. This jailbreak will let you take advantage of cool new features including the huge app superstore: Cydia. Enjoy!
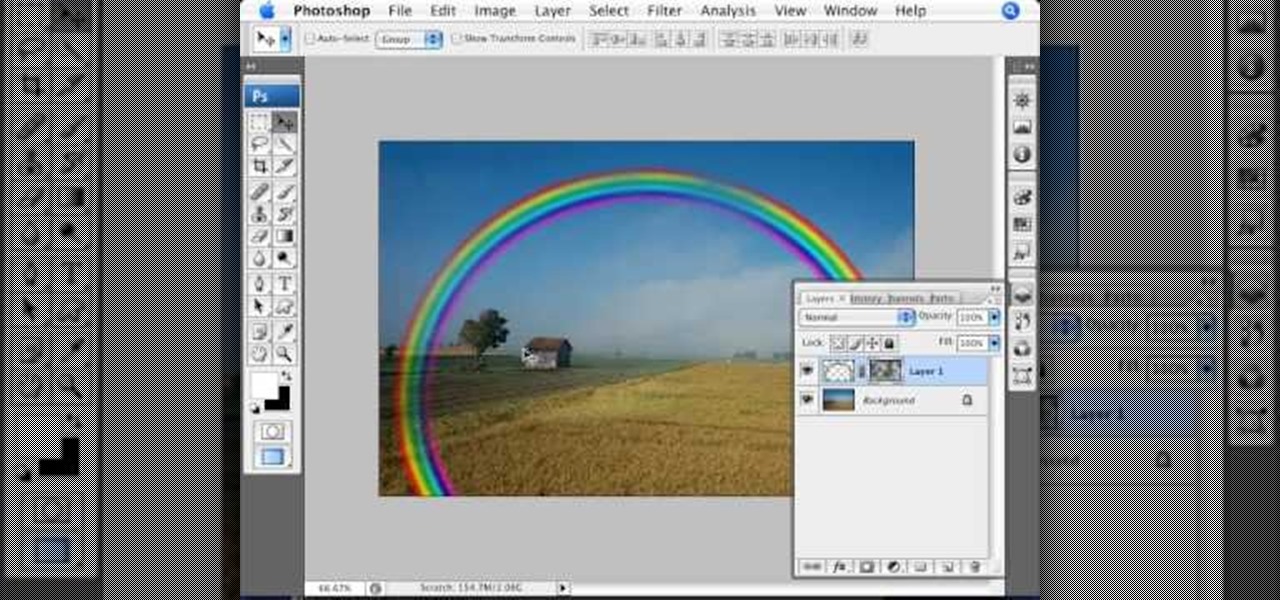
Open the picture you wish to place a rainbow within. A good scene has clouds that are receding into the distance and the light angle coming in from the front of the scene. A rainbow effect appears when by the sun is shining from behind you into the mist-filled air where it is refracted by raindrops.
Systm is the Do It Yourself show designed for the common geek who wants to quickly and easily learn how to dive into the latest and hottest tech projects. We will help you avoid pitfalls and get your project up and running fast.
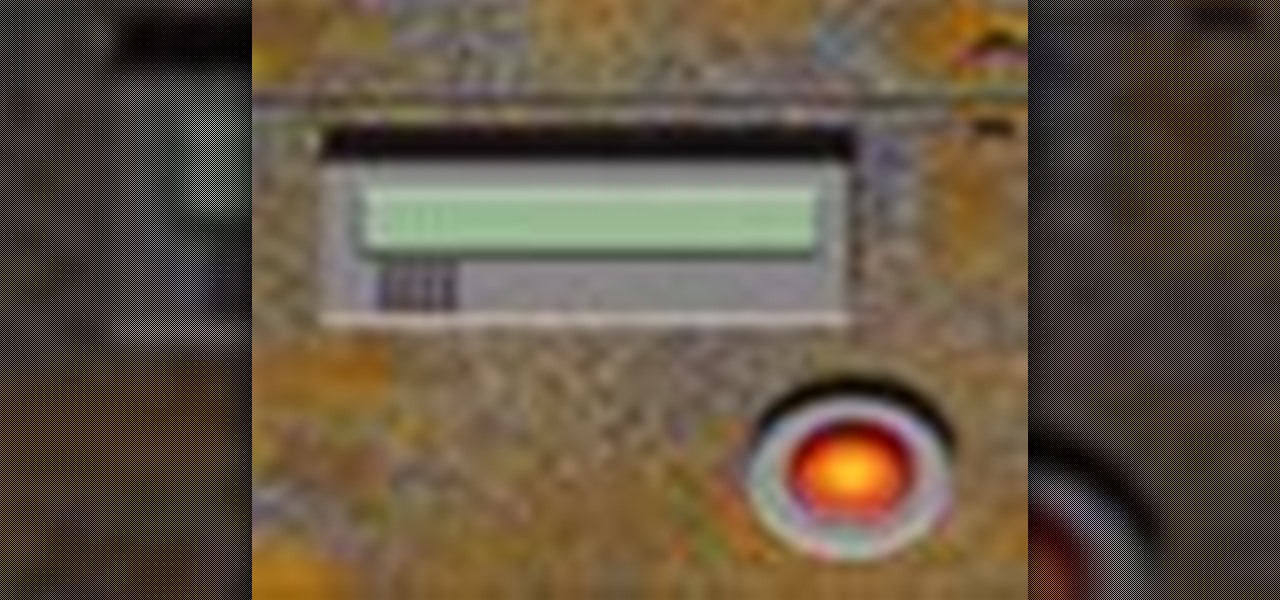
Pixel Perfect is the "perfect" show to help you with your Photoshop skills. Be amazed and learn as master digital artist Bert Monroy takes a stylus and a digital pad and treats it as Monet and Picasso do with oil and canvas. Learn the tips and tricks you need to whip those digital pictures into shape with Adobe Photoshop and Illustrator. In this episode, Ben shows you how to create an old rusty control panel in Photoshop.
This is an intensive one-day overview video tutorial of the fundamental concepts of the Ruby on Rails Web programming framework, presented by the UC Berkeley RAD Lab. The overview consists of six sections of approximately one hour each. Click through the video chapters to go through the Ruby on Rails programming course.