

How To: Draw a cartoon smiley head in Inkscape
This video shows you how to draw a cartoon smiley head in Inkscape: Open a new page.

This video shows you how to draw a cartoon smiley head in Inkscape: Open a new page.
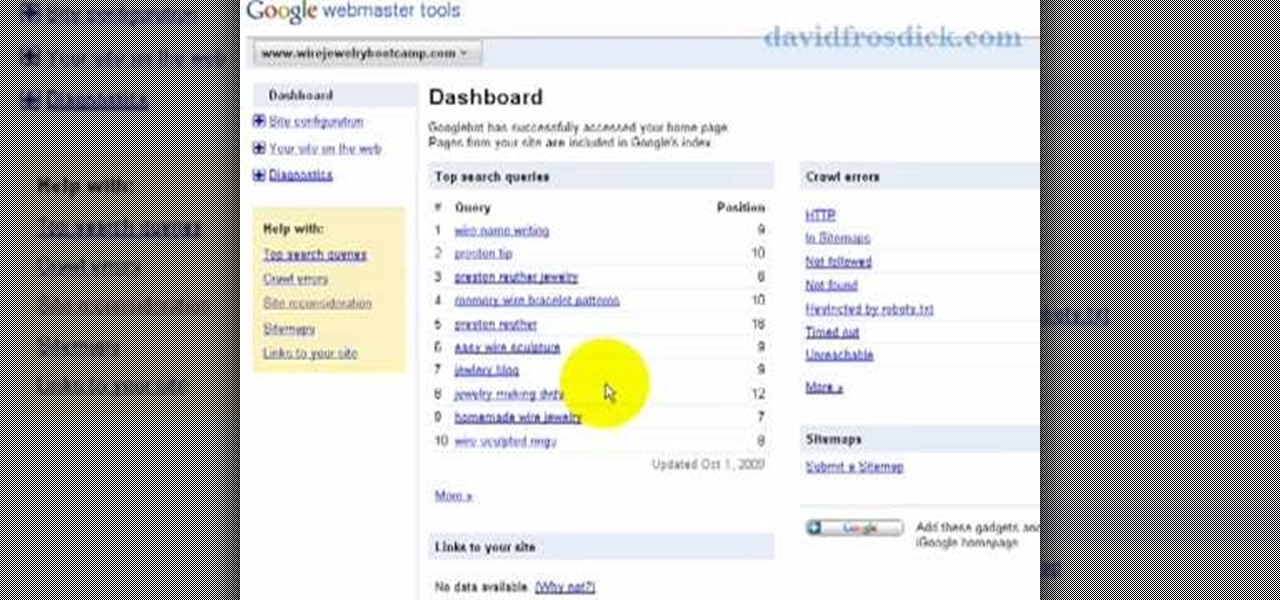
Freelance web developer and Internet marketer David Frosdick offers some tips and tricks in this video tutorial on how to add your site to Google Webmaster Tools.
This video tutorial will show you how use the 3D rotation tool in Flash CS4. The 3D rotation tool in Adobe Flash may be a bit tricky for people that are new to Flash, because if you just draw a square, you're not going to get anything. See exactly how to use the rotation tool.
Go beyond the traditional 3D workflow to an immersive creative experience with the software Modo, created by Luxology. Modo is the next evolution of 3D modeling, painting and rendering for Mac and PC. Modo includes 3D sculpting tools, animation and network rendering, and advanced features such as n-gons and edge weighting.

Go beyond the traditional 3D workflow to an immersive creative experience with the software Modo, created by Luxology. Modo is the next evolution of 3D modeling, painting and rendering for Mac and PC. Modo includes 3D sculpting tools, animation and network rendering, and advanced features such as n-gons and edge weighting.
Developed by the same team of engineers responsible for LightWave 3D, modo, lowercase, delivers the next evolution of 3D modeling, painting and rendering in a single integrated and accelerated package for the Mac and PC. And now, modo is a true end-to-end solution that includes true 3D sculpting tools, animation and network rendering! More than just features, modo is a truly elegant integration of technology, raw horsepower and refined workflow. With such a wealth of inbuilt features, however...

In this how-to video, learn the best methods for applying your paints. Find out which tools to use on a particular surface along with the type of brush, roller or power sprayer that best fits your paint job. Watch this video home improvement tutorial and learn how to select painting tools.
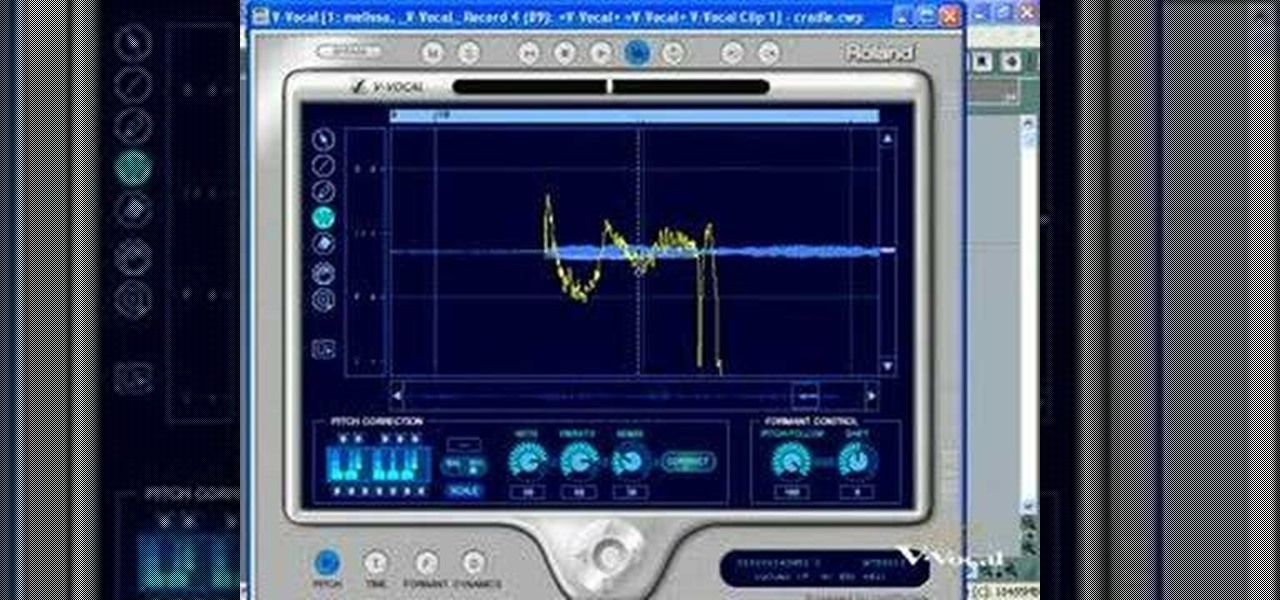
SONAR Producer Edition features Roland® V-Vocal™, an exclusive vocal editing tool. V-Vocal features state-of-the-art VariPhrase technology for working with vocals. This SONAR 5 tutorial shows you how to use this powerful audio production tool to create perfect vocal tracks and create edits you never imagined possible all with the V-Vocal tool. The worst karaoke singer will soon be the best pop singer around!
This beginners Photoshop CS3 tool will introduce you to the clone stamp tool. The clone stamp tool is most often used to eliminate parts of an image by cloning a part you DO want and "stamping" it over the parts you DON'T want. If you are new to editing images in Photoshop, you should definitely watch and learn how to use the clone stamp tool. This tutorial is best viewed at full screen.
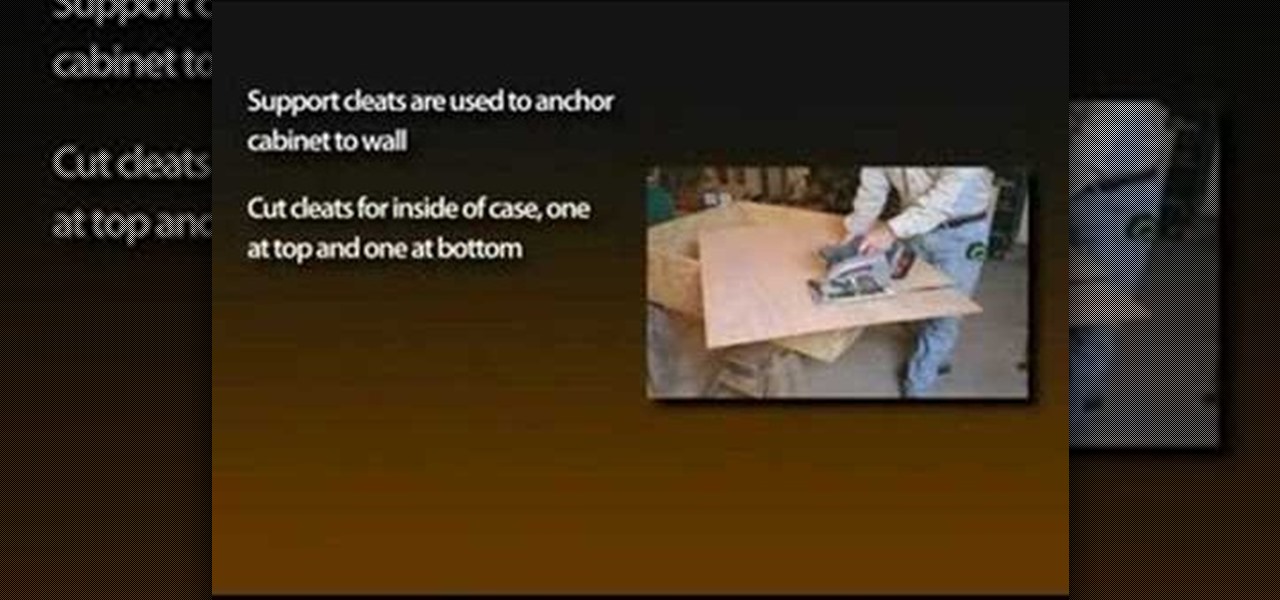
With the growing popularity of cordless power tools, it's extremely easy these days to accumulate a lot of portable tools, and when you add in quality corded tools, such as circular saws, routers, planers and air nailers, you can end up with a pretty hefty investment. These same tools are the first to “walk away” in a theft. Left lying around a shop or garage, they can also be somewhat dangerous for youngsters. A locking cabinet not only provides a secure place, but protects the tools as well...

Many of the modo tools have extra controls via Advanced Handles. Advanced handles have corner handles and numeric readouts. This quick clip reveals some hidden goodness in the Cube tool and shows you how to use the advanced handles in modo.

This 3D modeling software tutorial shows you how to use the text tool in modo 301. Create any type of 3D text you need and manipulate it with the text tool in modo 301. This is a great beginners tutorial.
This modo 101 3D modeling software tutorial examines the much uner-touted power of the Flare tool. Have you got Flare? modo does. The Flare Tool combines the push tool with a linear falloff. See how to use the Flare tool when modeling in modo in this tutorial.

This 3D modeling software video covers multiple tools that will help you be more accurate and precise when building in SketchUp. SketchUp has many tools that make it easy to be creative when designing buildings or models, but it's just as important that they be accurate. Learn how to use numeric values and SketchUp tools to add accuracy and realism to your work.

Watch this instructional knitting video to knit eyelets on a knitting machine. You will need a three prong tool as well as a single prong tool. By making a few twists with the pronged tools, you can knit a neat eyelet pattern in a matter of seconds.

Watch this instructional blacksmithing video to make hold down tools on an anvil for securing work. Forge a mushroom cap hold down, a bicycle chain hold down, and a spring hold down. Follow these clear instructions to begin the craft of metalsmithing and forge some useful tools.

In this Adobe Illustrator tutorial, Bert Monroy from PixelPerfect shows you how to use the Gradient Mesh tool, which lets you divide pretty much any shape (like an apple) into a mesh. Wish a mesh created, you can alter the color of an intersecting point of the mesh with a solid color. This tool will help give your Illustrator objects more dimension and realism.

Bert shows us how to utilize Photoshop's warp tool to manipulated images. Download the sample files and play along with Bert as he shows you how to use the warp tool in Photoshop.
This software tutorial is a comprehensive exploration of the Marquee Selection tool in Photoshop using Photoshop CS2. Learn how to use the marquee selection tool when editing images and photos in Photoshop.

Take a look at this instructional vidoe and learn how to use the paint bucket tool in Google SketchUp. Selecting the paint bucket tool will open the materials browser. The materials browser is different for windows and mac users. On windows, the browser has two main tabs to select and edit materials. On the mac, you have several tabs giving you different ways to paint colors into your model. To start using the paint bucket tool, simply pick a material and choose a surface to paint it into you...

Take a look at this instructional video and learn how to use the position camera and look around tools in Google SketchUp. This tutorial covers how look around is a stationary viewing tool, how position camera allows you to place your view, how to position your view exactly, and change your field of view.
Take a look at this instructional video and learn how to use the navigation tools in Google SketchUp. This tutorial covers how to use the orbit, zoom, and pan tools; how to navigate using the scroll wheel on your mouse; tips for zooming; and the functions of zoom previous, next, and zoom extents.
Take a look at this instructional video and learn how to use the axes tool in Google SketchUp. The axes tool will be particularly helpful if you want to draw rectangles and lines in a different orientation. This tutorial covers how to reorient the default red, green and blue axes, and tips for quick axes orientation.
Take a look at this instructional video and learn how to use the protractor tool in Google SketchUp. To measure in any direction or orientation, the protractor will align itself to any surface that it touches. This tutorial covers how to measure angles, create construction guidelines, control the tool orientation, and how to establish roof slopes.
Take a look at this instructional video and learn how to use the tape measure tool in Google SketchUp. You can use this tool to measure edges and distance, create construction geometry or dashed guidelines, and resize individual groups or the entire model. This tutorial covers all three of these functions in a step by step guide.

Take a look at this instructional video and learn how to use the scale tool in Google SketchUp. The key into using the scale tool correctly is in the scale grips. This tutorial covers how to scale in 2d and 3d, accuracy when scaling, how to use modifier keys for more options, and paying attention to the axis when scaling.

Take a look at this instructional video and learn how to use the walk tool in Google SketchUp. The walk tool allows you to explore model from eye height. When you click and drag, you'll see a plus sign appear. YOu'll be able to move slowly or rapidly accordingly. This tutorial covers how to walk around your model, collision detection, and how to use modifier keys for more options.
Take a look at this instructional video and learn how to use the offset tool in Google SketchUp. To click on any surface to offset its edges, in or out. The tool auto selects any surface if no particular surface is selected. You can select a number of different surfaces or an individual surface. This tutorial covers offsetting surfaces versus edges, inferring, and some speedy tips.

Take a look at this instructional video and learn how to use the select tool in Google SketchUp. Making good selections in SketchUp is crucial in properly using the other tools available in this 3 Dimensional modeling program. This tutorial covers the basic selections, window selections, modifier keys to add to and subtract from your selection, and tips for accurate and quick selection sets.

Take a look at this tutorial and learn how to use the push pull tool in Google SketchUp. This tool is the core of SketchUp. It allows you to pull any flat shape into 3D. This instructional video covers how to pull any flat shape into 3D, tips for accuracy and efficiency, how to cut away geometry and infer to other geometry.
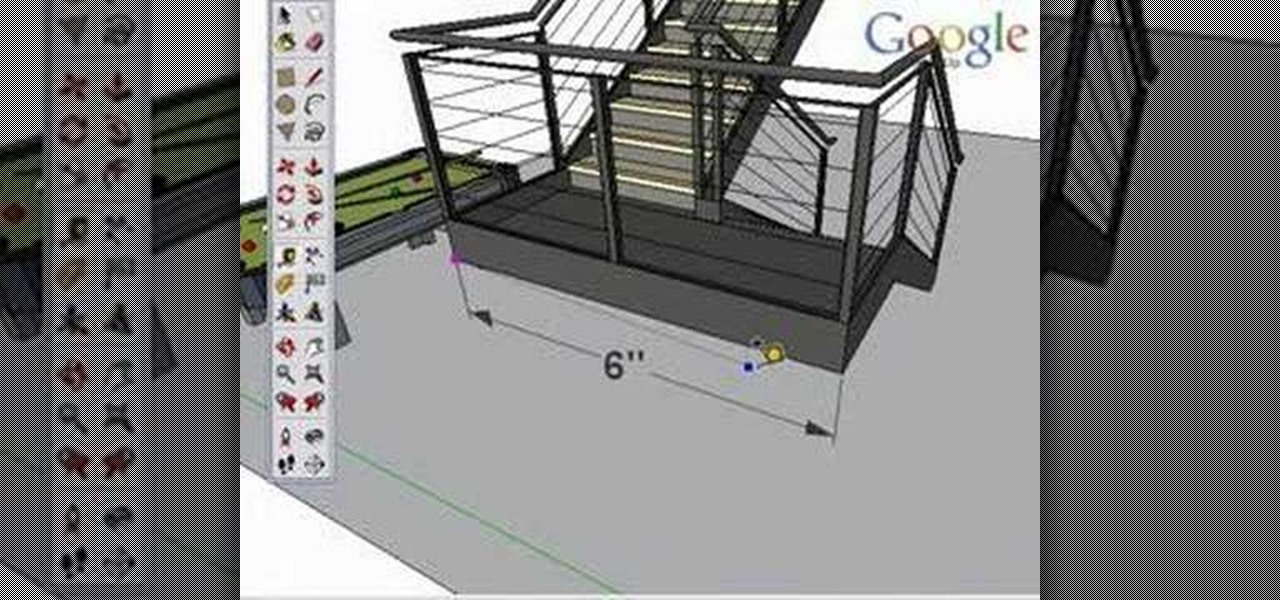
Take a look at this instructional video and learn how to use the dimension tool in Google SketchUp. This tutorial covers how to add dimensions directly to your model and how to adjust dimension settings. To dimension a distance between two points, simply select the dimension tool and click between the two points your want to measure. Pull away and click to finish.
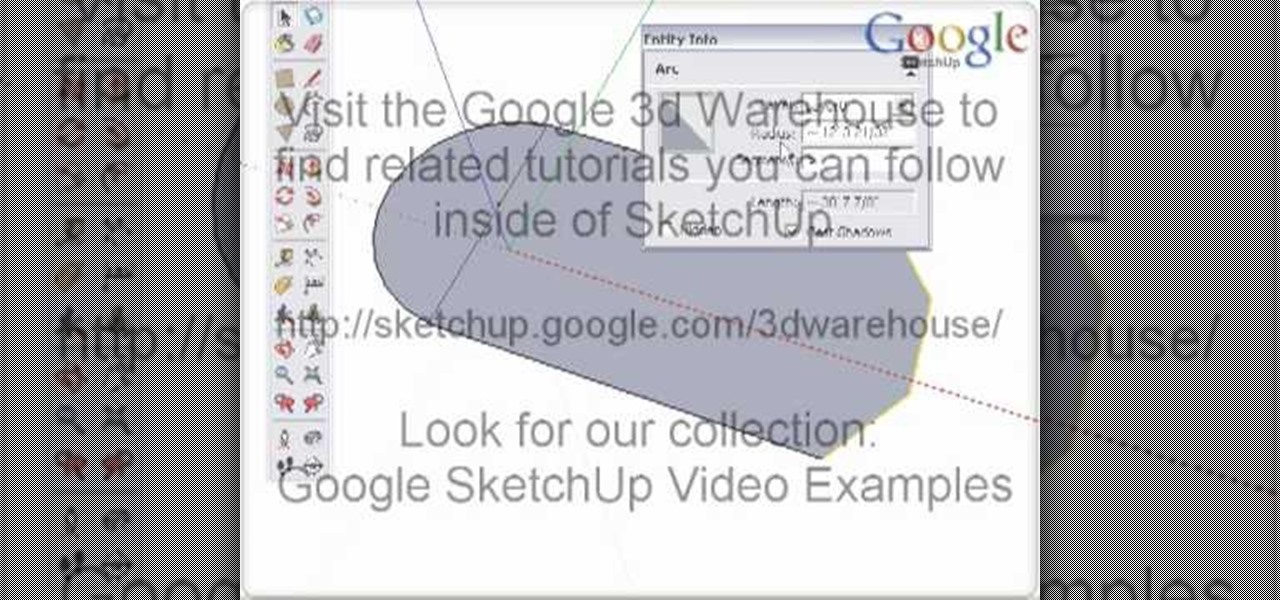
Take a look at this instructional video and learn how to use the arc tool in Google SketchUp. Using the arc tool is a three step process based on defining the two endpoints of the arc first and then pulling out the radius of the arc. This tutorial covers how to draw arcs, drawing tangent arcs, continuous smooth arcs, and defining the number of arc segments.
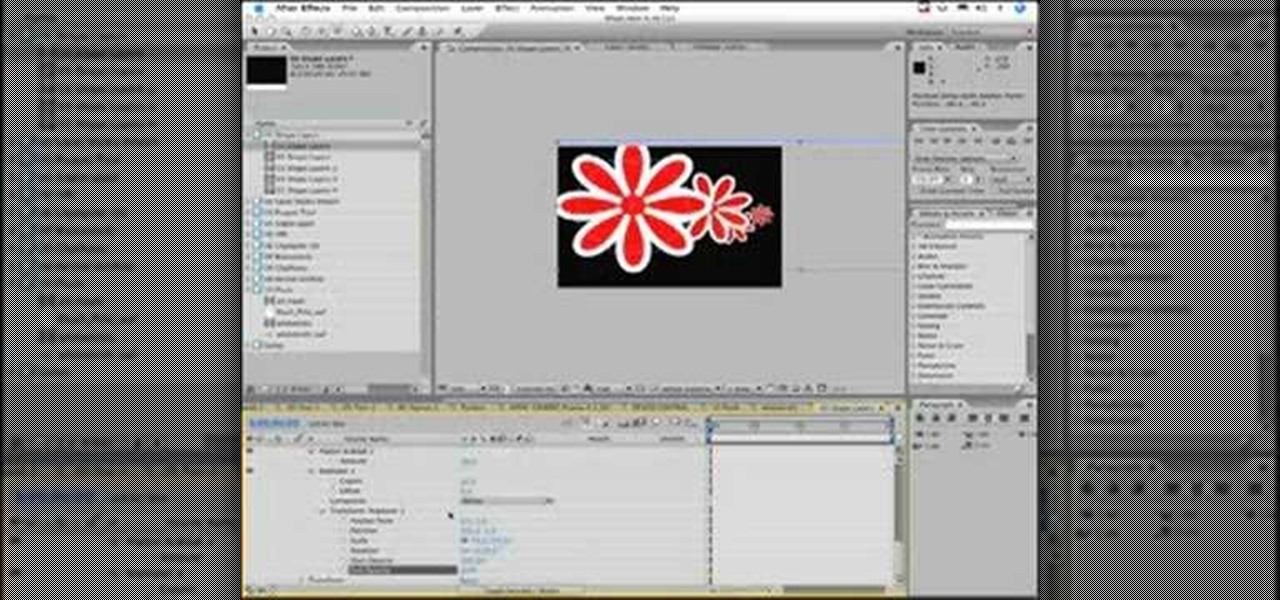
Learn how to use the Shape Tools to create dynamic motion graphics elements in After Effects. This tutorial was recorded as part of a session at the 2007 NY Post Production Conference. Watch and learn how to effectively use the shape tools in After Effects CS3 for your motion graphics and compositing projects.

Non-linear video editing tools are great, but they're not always the best tool for the job. This is where a powerful tool like ffmpeg becomes useful. This tutorial covers the basics of transcoding video, as well as more advanced tricks like creating animations, screen captures, and slow motion effects.
In this scroll saw pattern creation tutorial you will learn how to work with another tool in Corel Draw. Watch and learn how to use the envelope tool in Corel Draw to aid in your scroll saw pattern design.

Watch this instructional woodworking video to learn how to use a skew tool. This is a difficult and slightly dangerous tool to use. Pay attention to these safety tips to help you carve wood with accuracy.
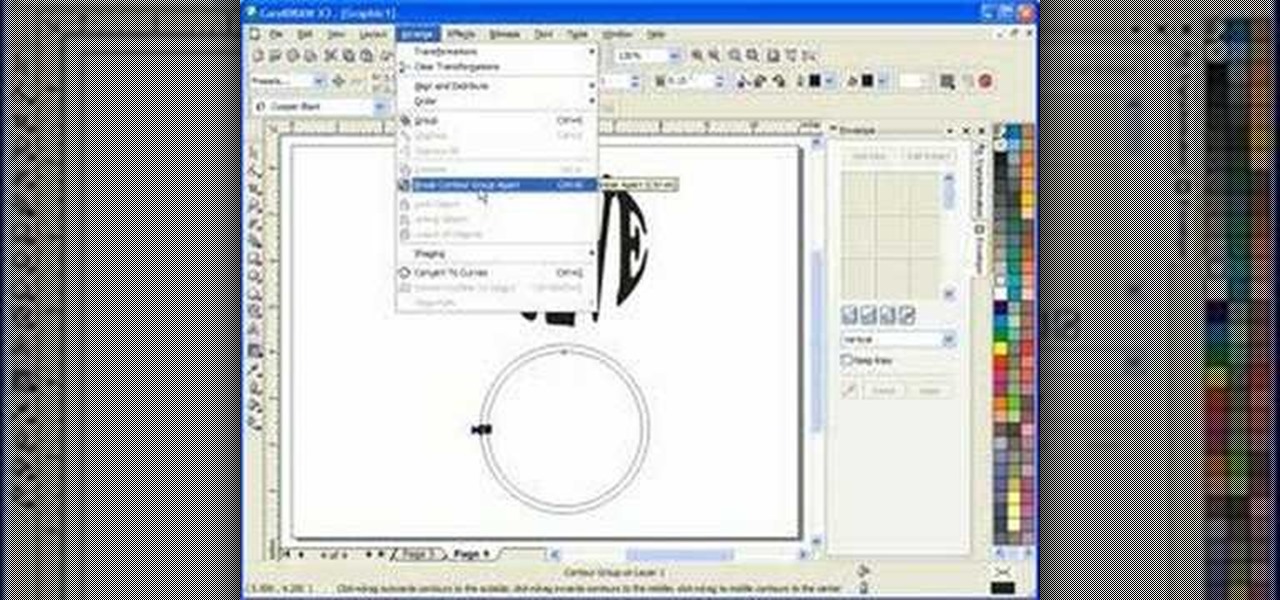
This software tutorial shows you how to use the interactive envelope tool in Corel Draw X3 to create scroll saw patterns. If you are a scroll saw woodworker and want to create your own patterns, you can learn how with the interactive envelope tool and Corel Draw X3.

Here are some of necessary the tools for hobby crafting and diorama making. This model maker uses wood rasps, sanding pencils, wire cutters, small pliers, a box cutter, a wood carving knife, and a Japanese pull saw. When building miniatures you may find yourself making your own tools or finding useful sculpting aids around the house. Occasionally, a wood burning gun can help you achieve detail for tiny window shutters and other fine work.

In this Corel Draw X3 tutorial you will learn how to work with the line tools. This video is geared towards wood workers who use scroll saw and want to create designs in Corel Draw X3. No matter what your Corel Draw needs, if you are just learning and want to understand how to use the line tools, this tutorial will break them all down for you.
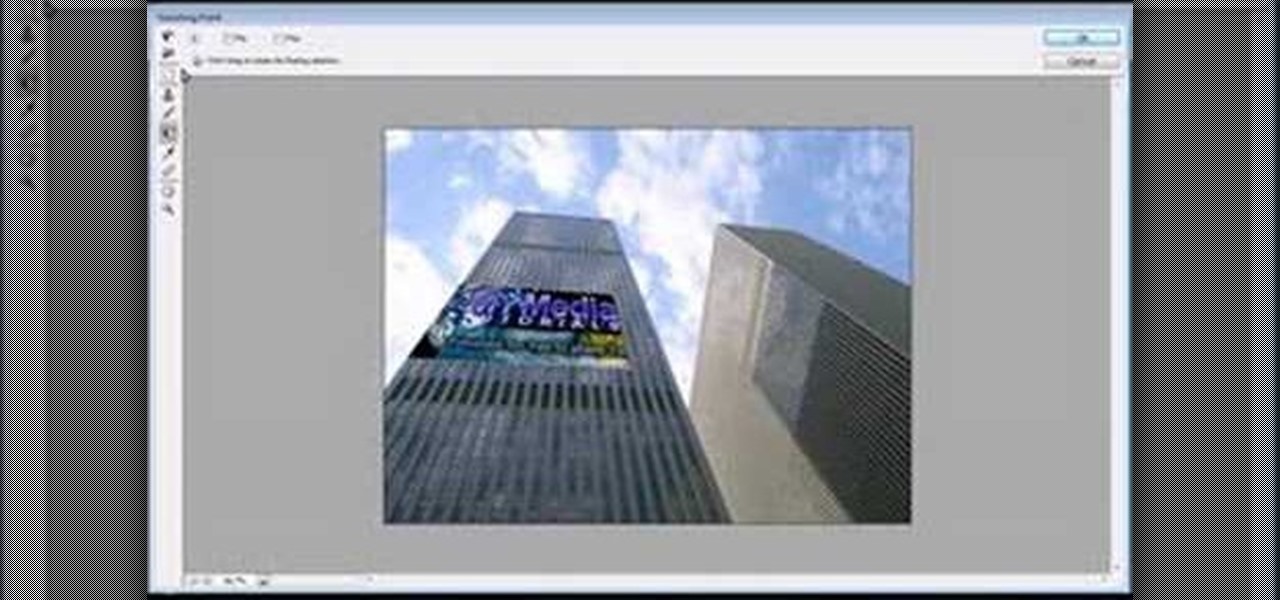
Jordan shows how to use Vanishing Point - a useful tool is Photoshop! The vanishing point tool is Photoshop's way of allowing you to create images that look 3-dimensional and allows you to add components and lighting to an image while maintaining the proper perspective. So check out this Photoshop tutorial on the vanishing point tool and prepare to add some cool 3D effects to your photos.